Ok so I googled “carne asada” and Wikipedia said it literally means grilled meat. I didn’t grill my meat. I thought carne asada involved marination in citrus fruits and aromatic veggies (like onion and garlic). Hold on, I need to have google moment….
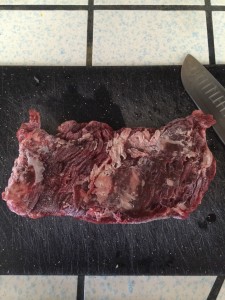
Back! So I was kind of right, basically there are different marinations you can use and the best cut of meat to use for this is a thin steak like flank steak or skirt steak. I got some skirt steak from Sprouts for like $3 and some change. Yay Sprouts! No, I don’t work for them I just like feeling like I’m getting healthy food for cheap. Plus they are really, really tasty! I mean like reaaaaallyyy…
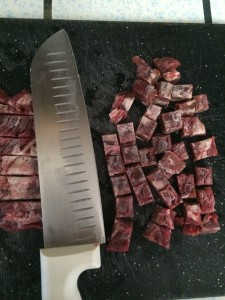
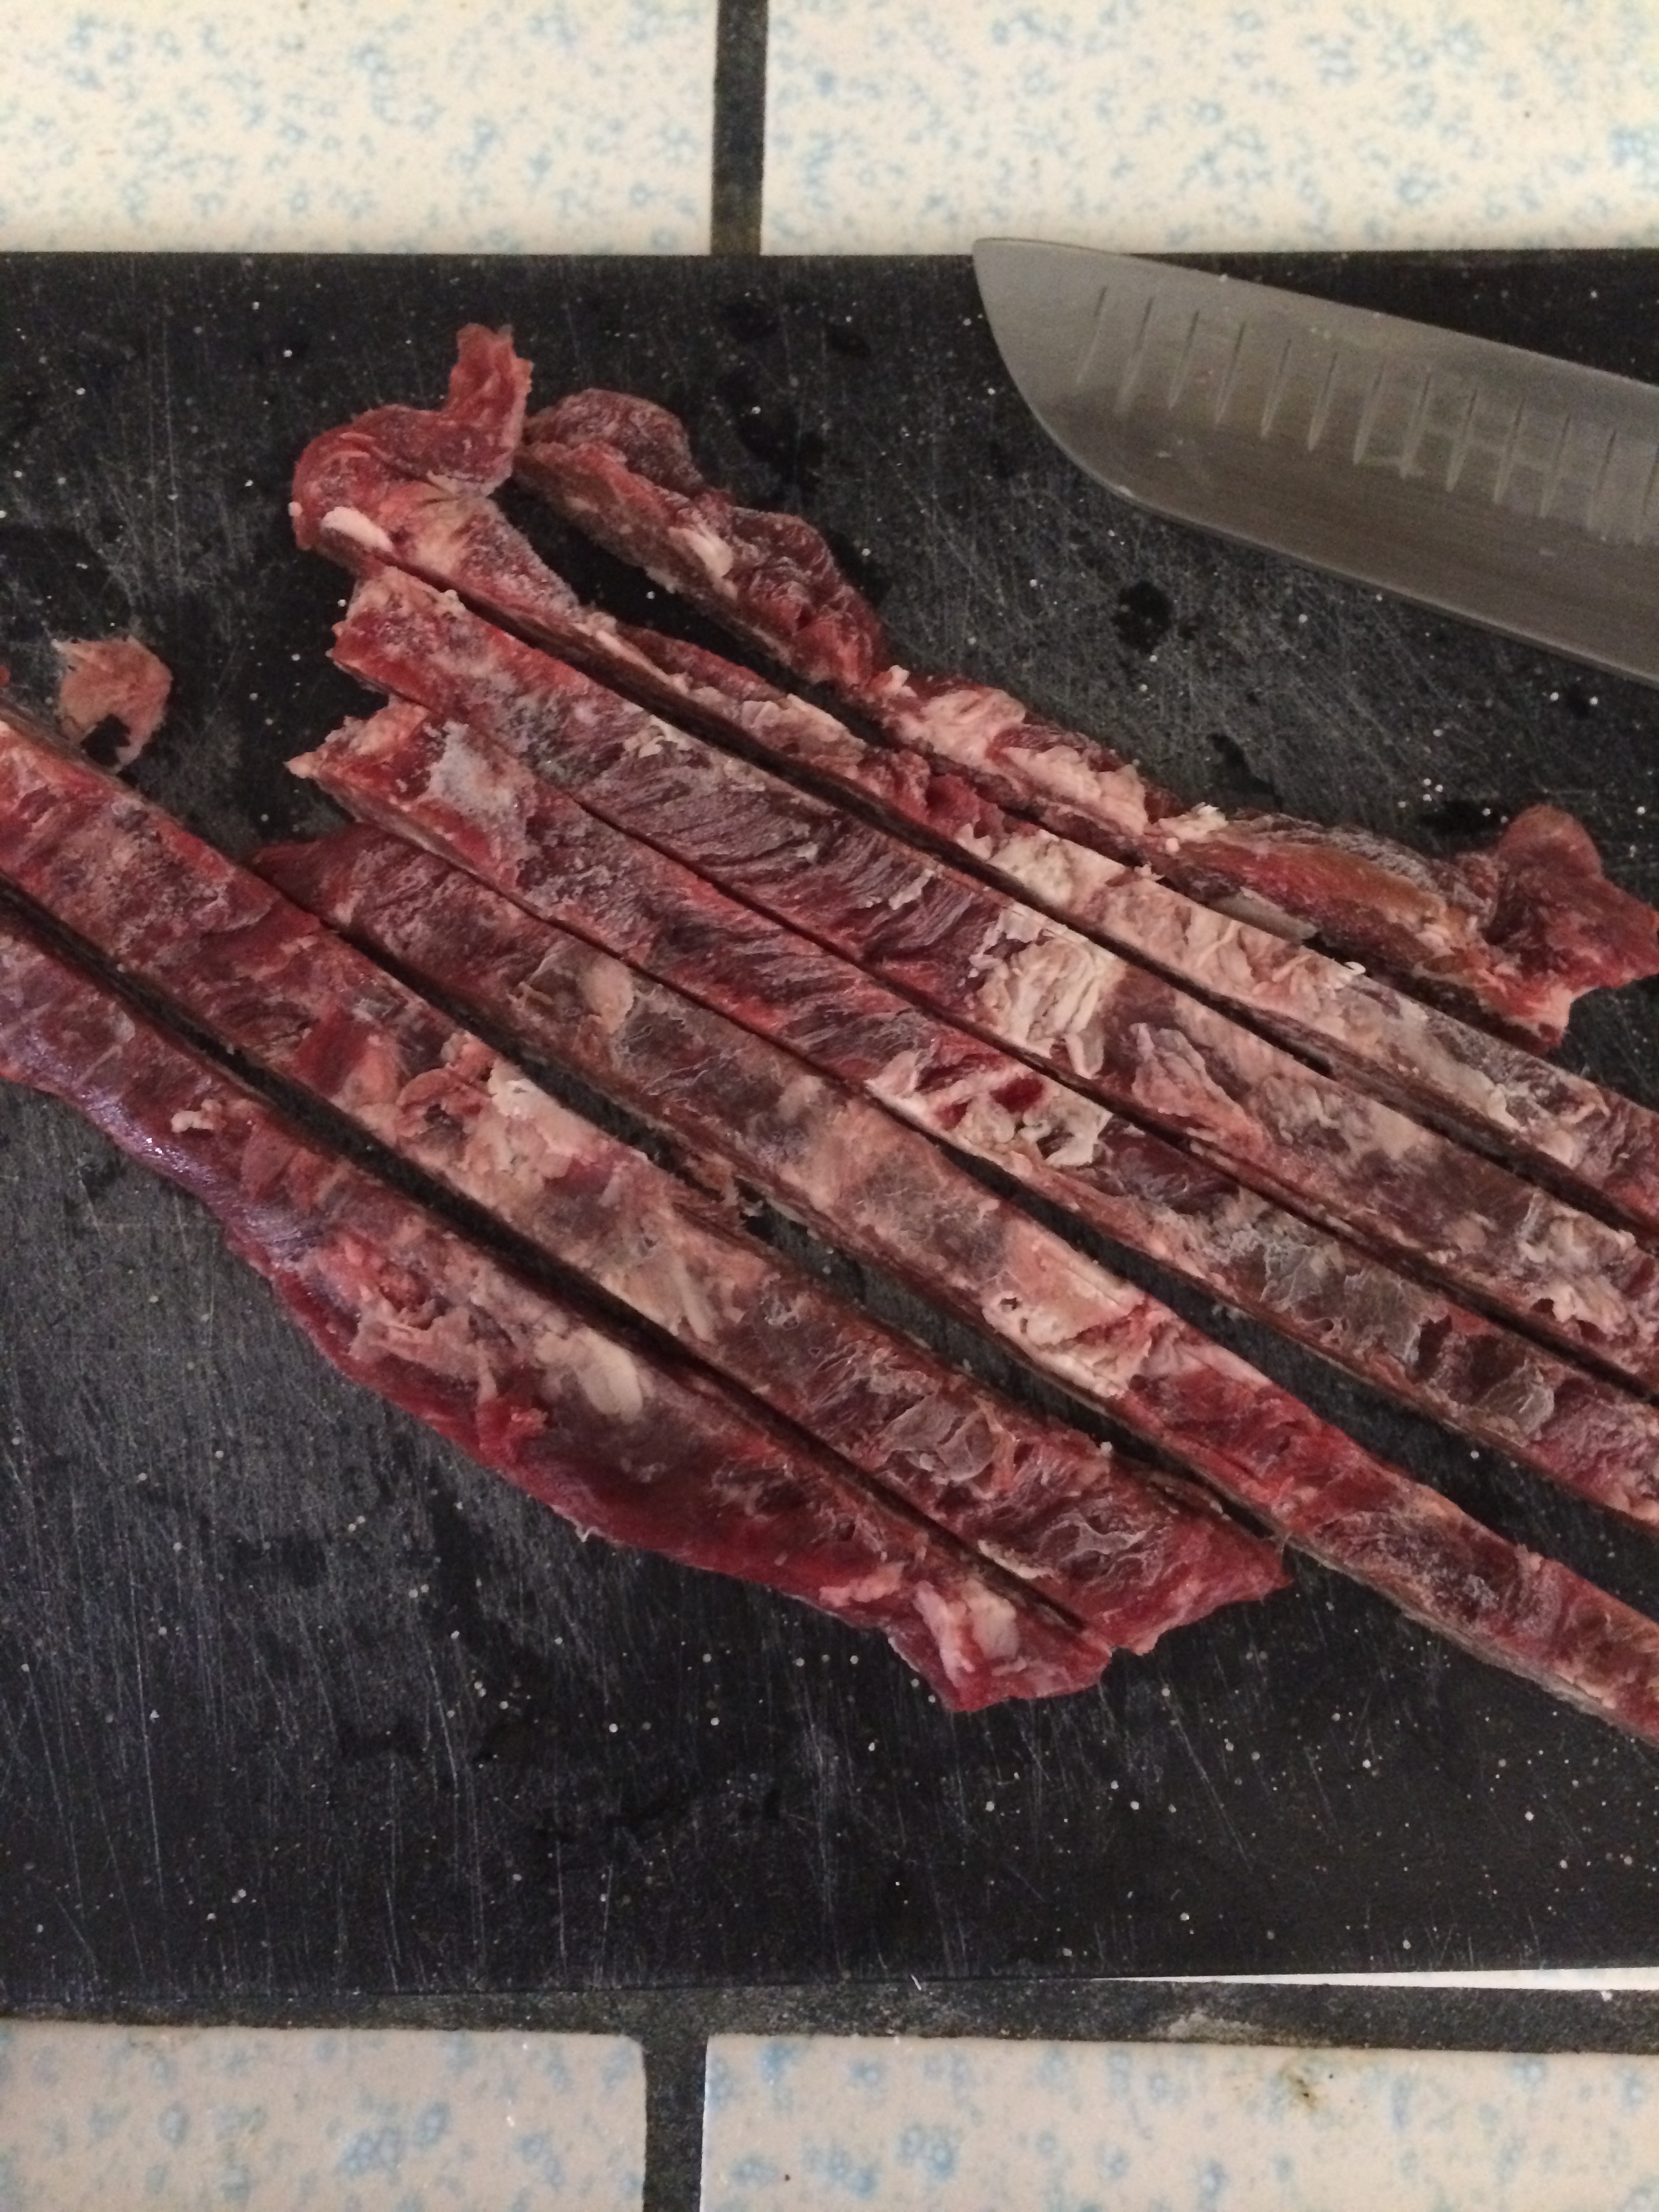
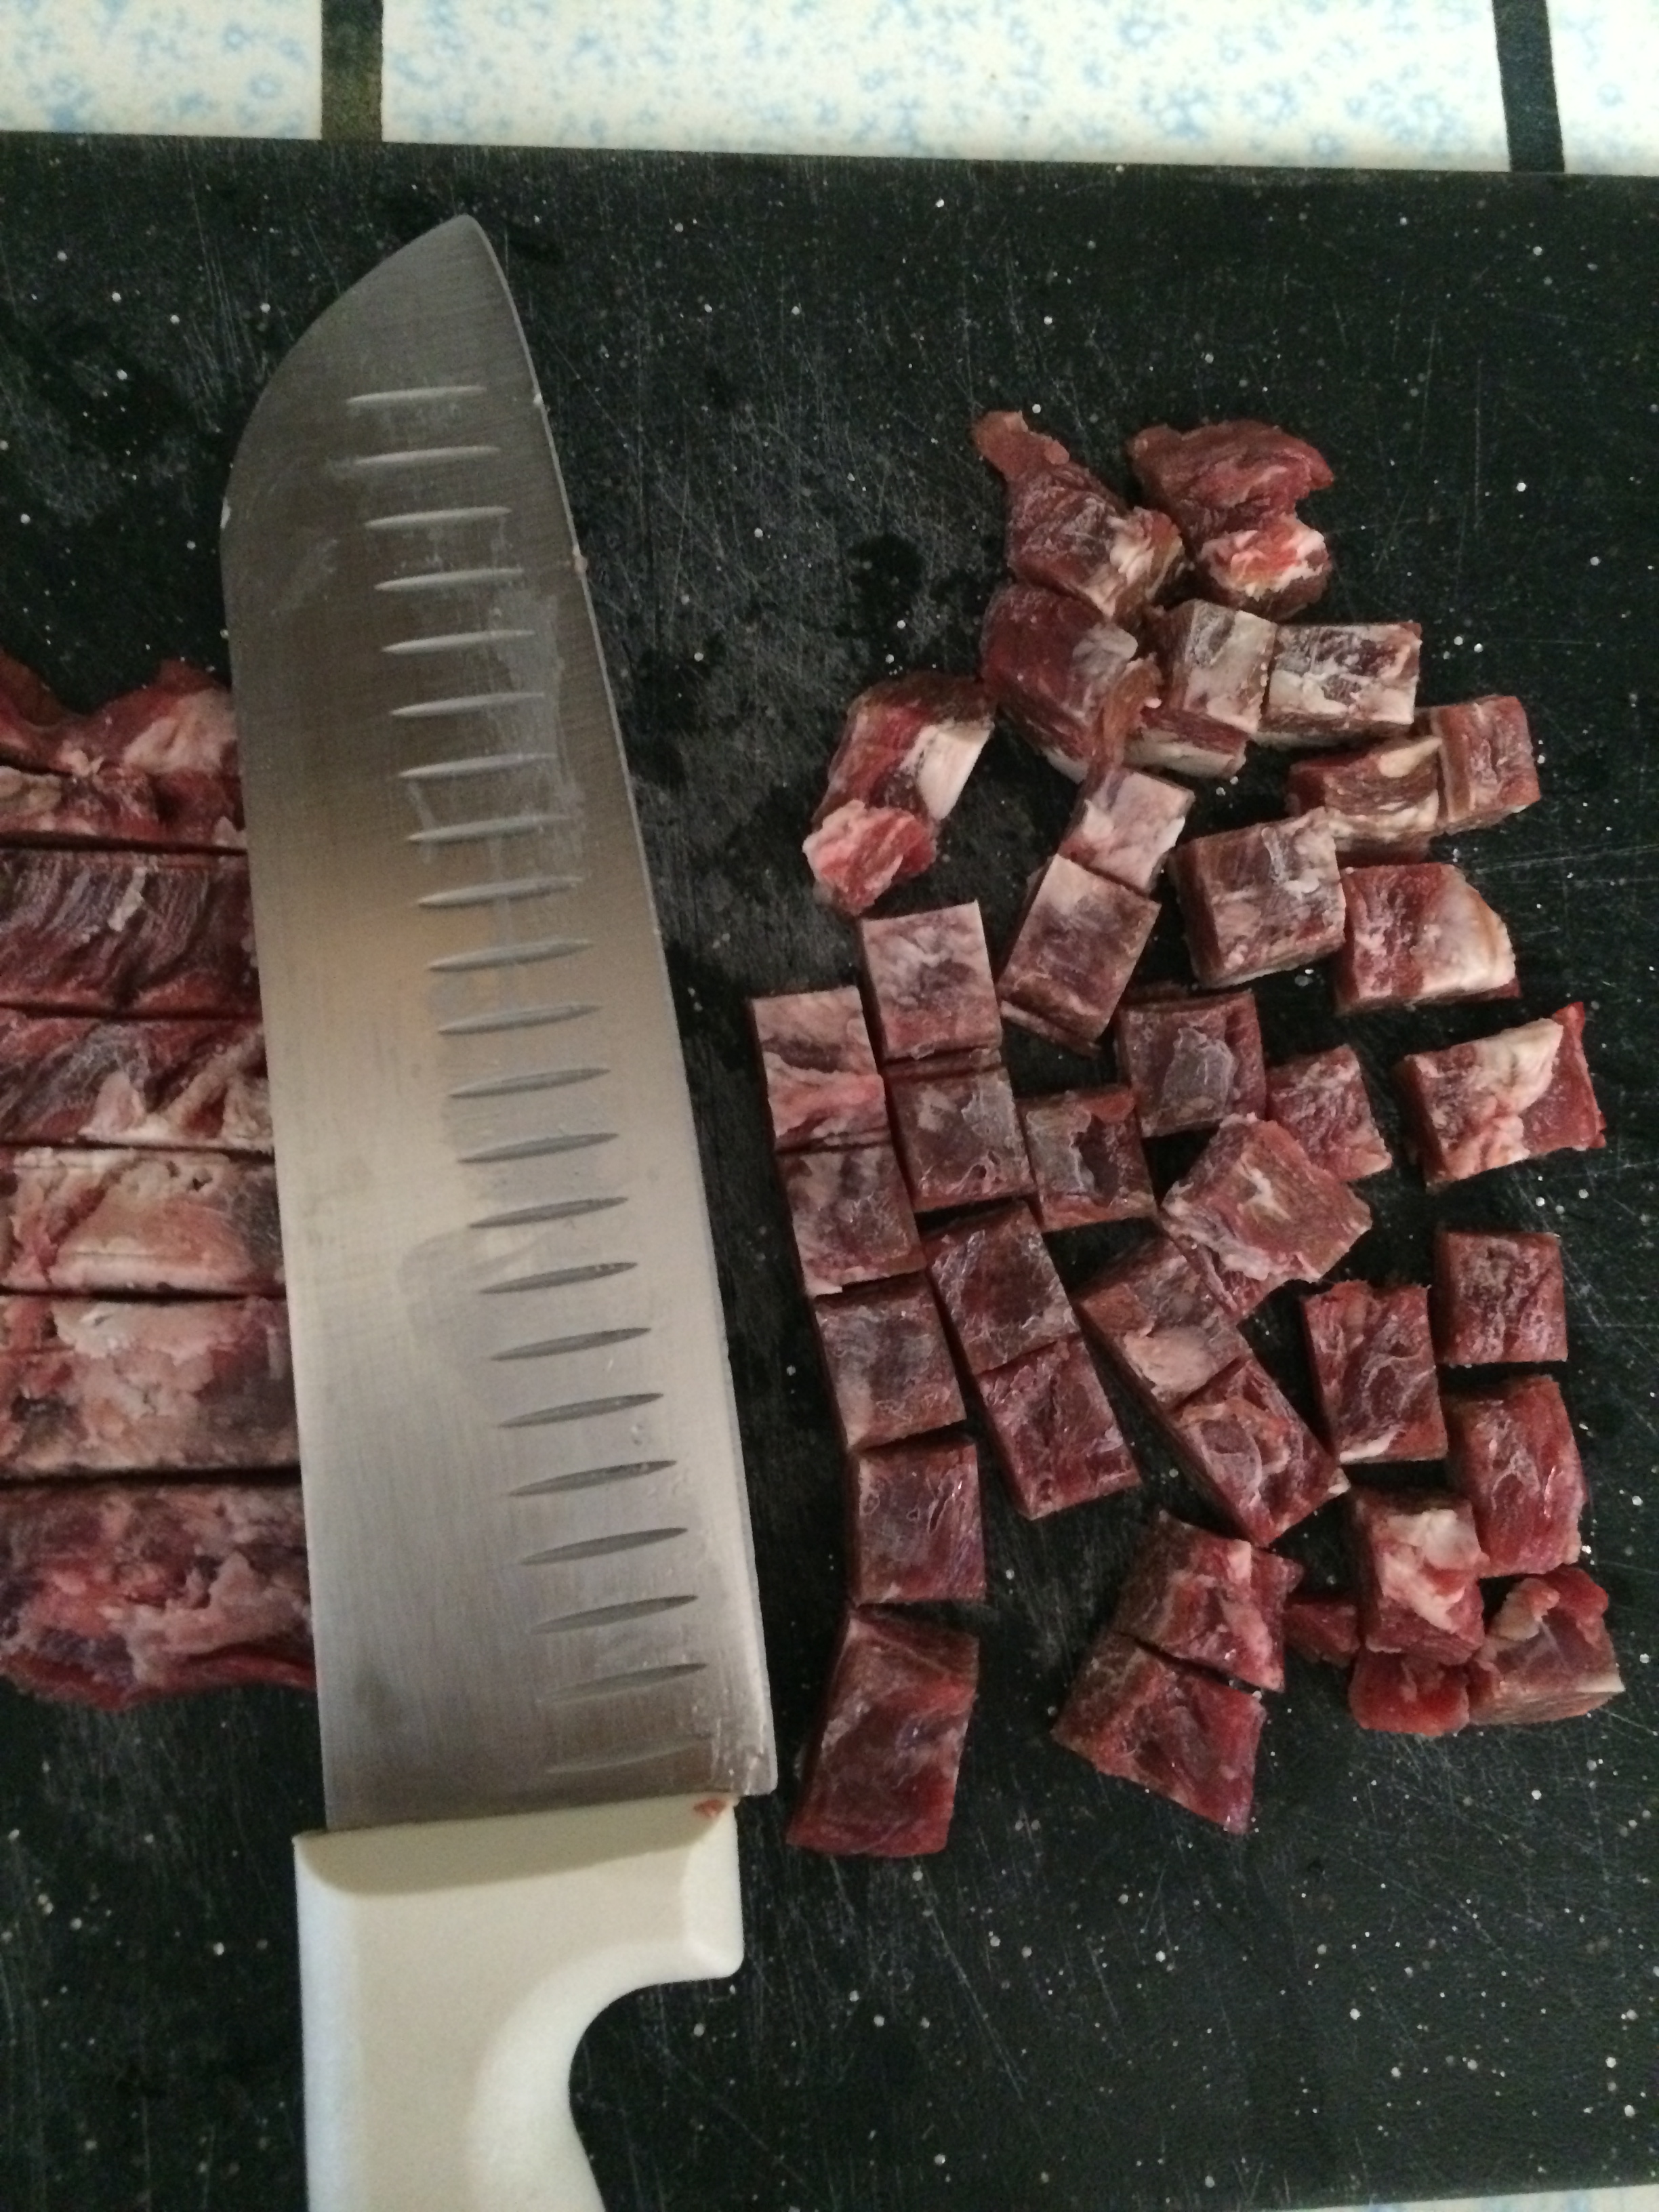
Anyway, so I like to chop my meat into little cubes and then cook them. Ok, yes, I have OCD. No I don’t. Otherwise my house would be way cleaner. I don’t know why I cube them, so you don’t have to. Also, since I don’t like cutting slimy meat (maybe I do have like a mild form of OCD), I like to cut it when it’s still mostly frozen. A sharp knife helps!

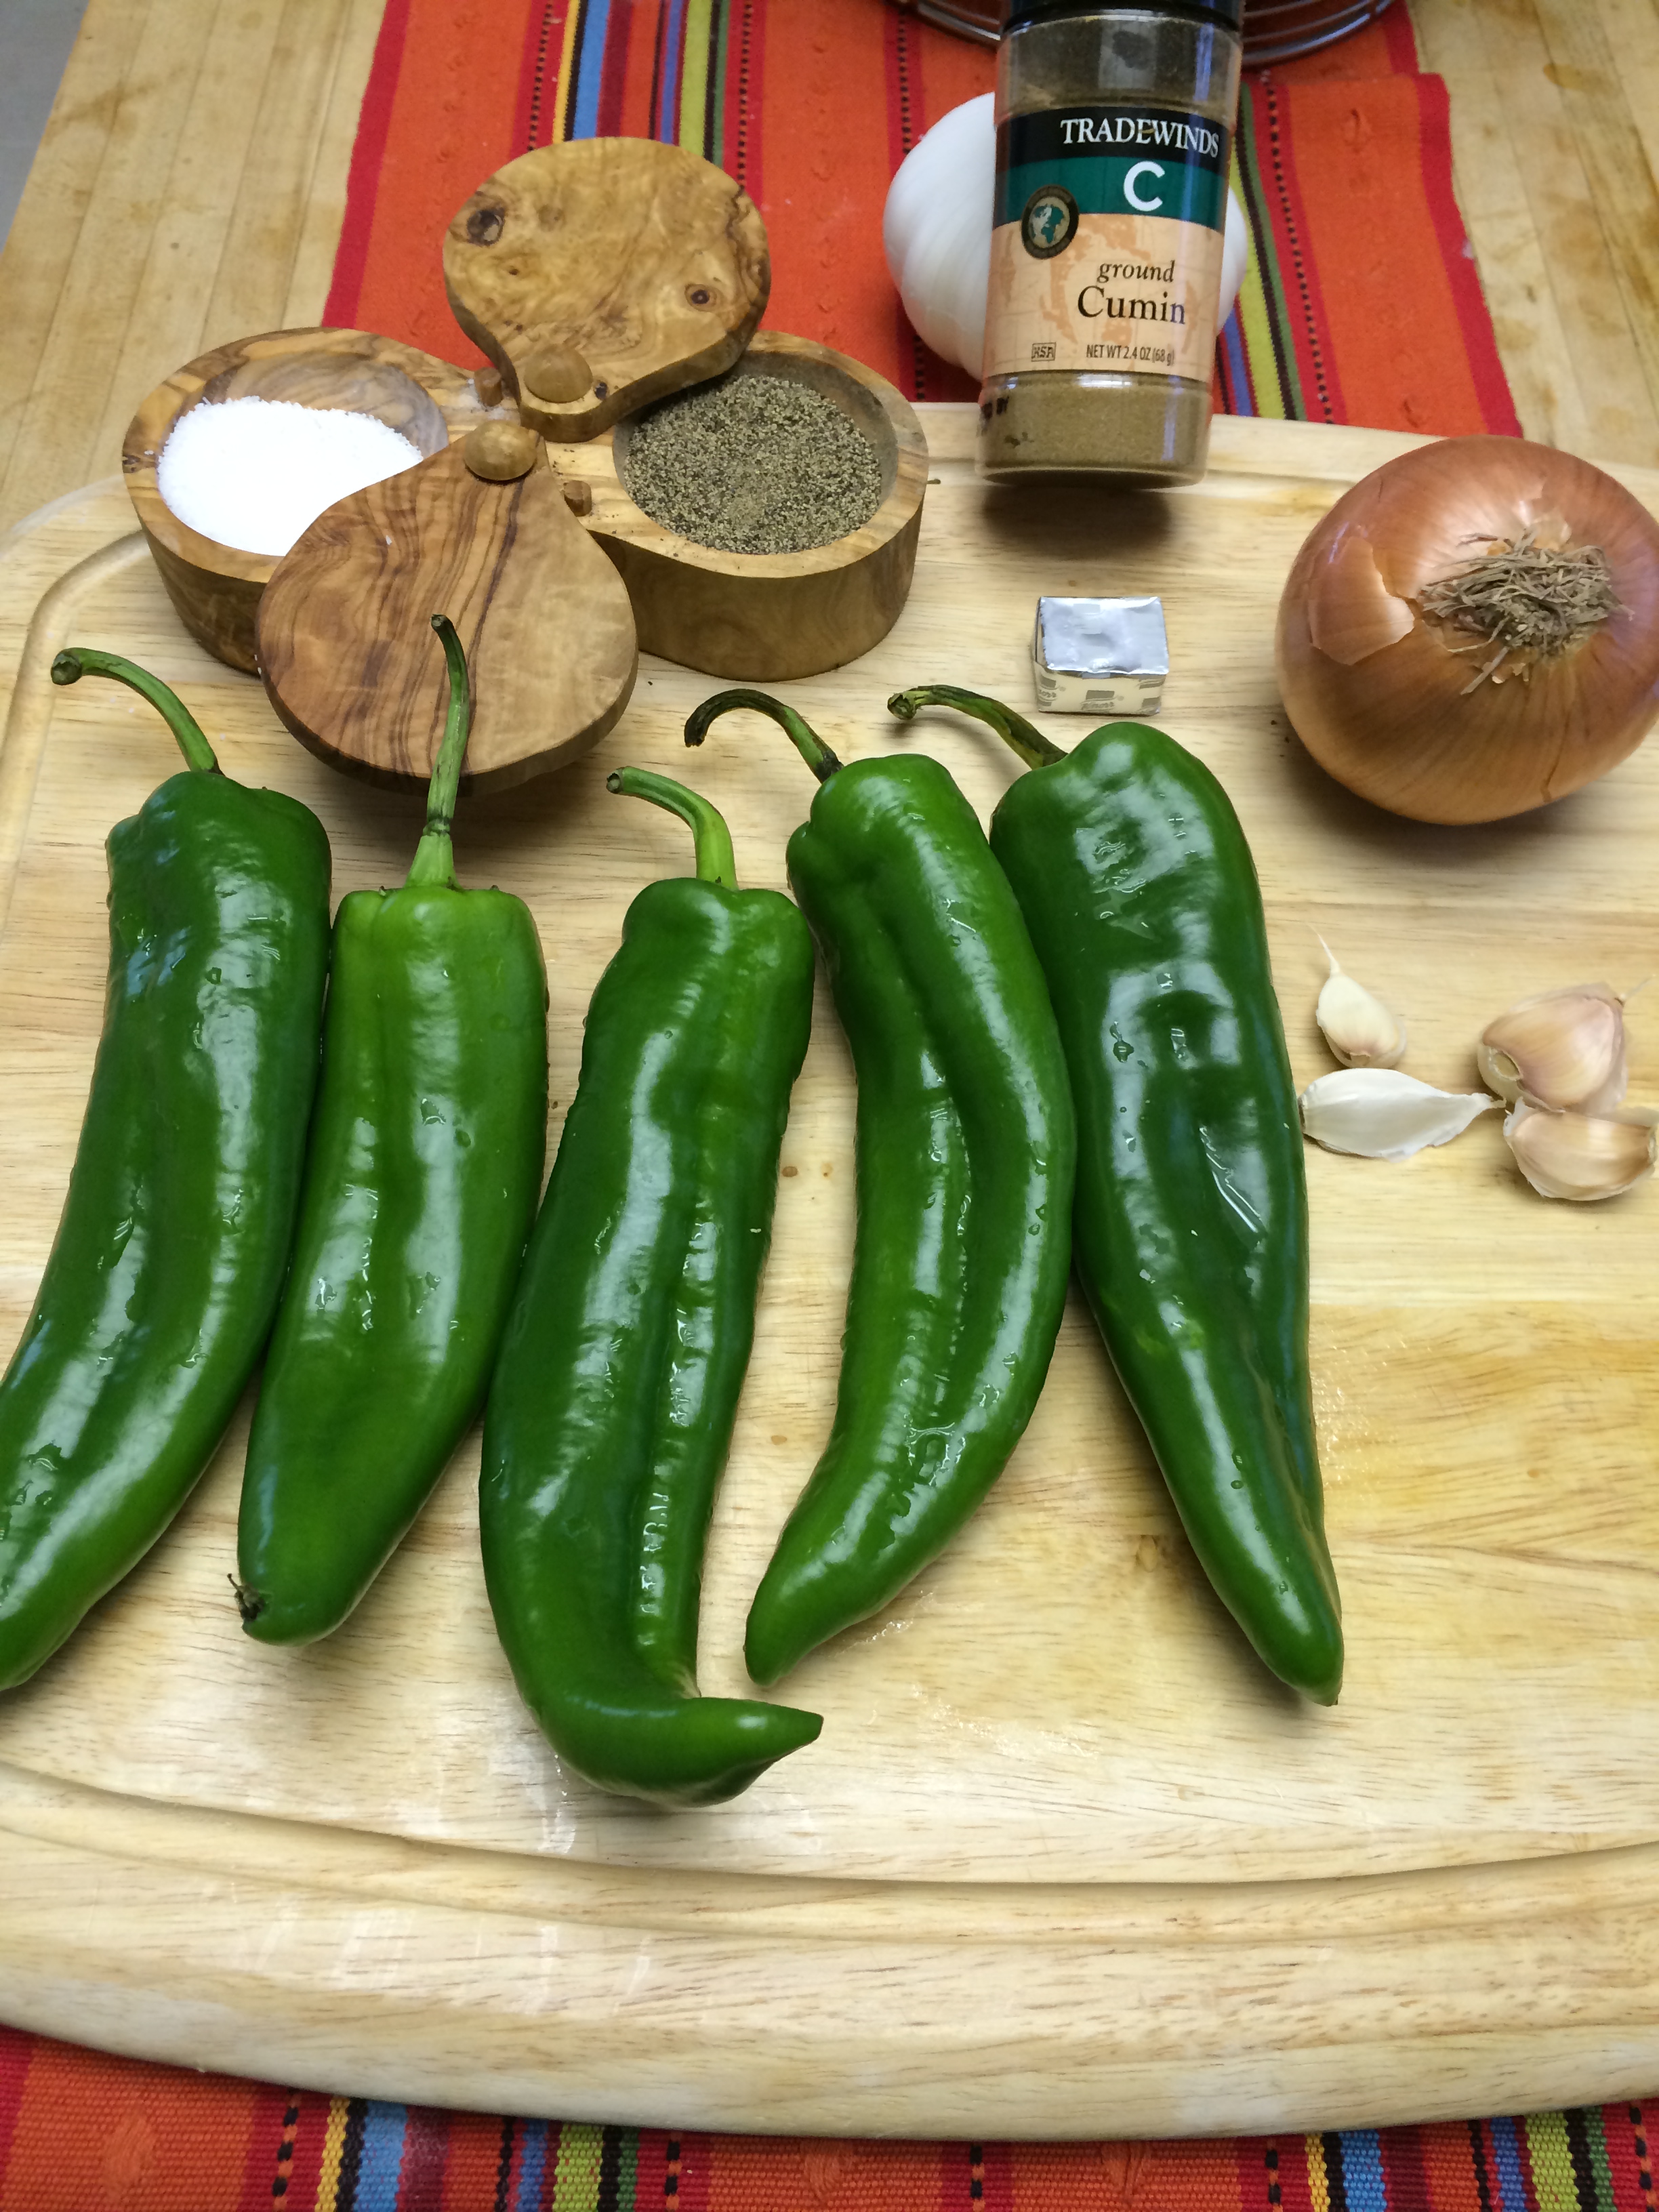
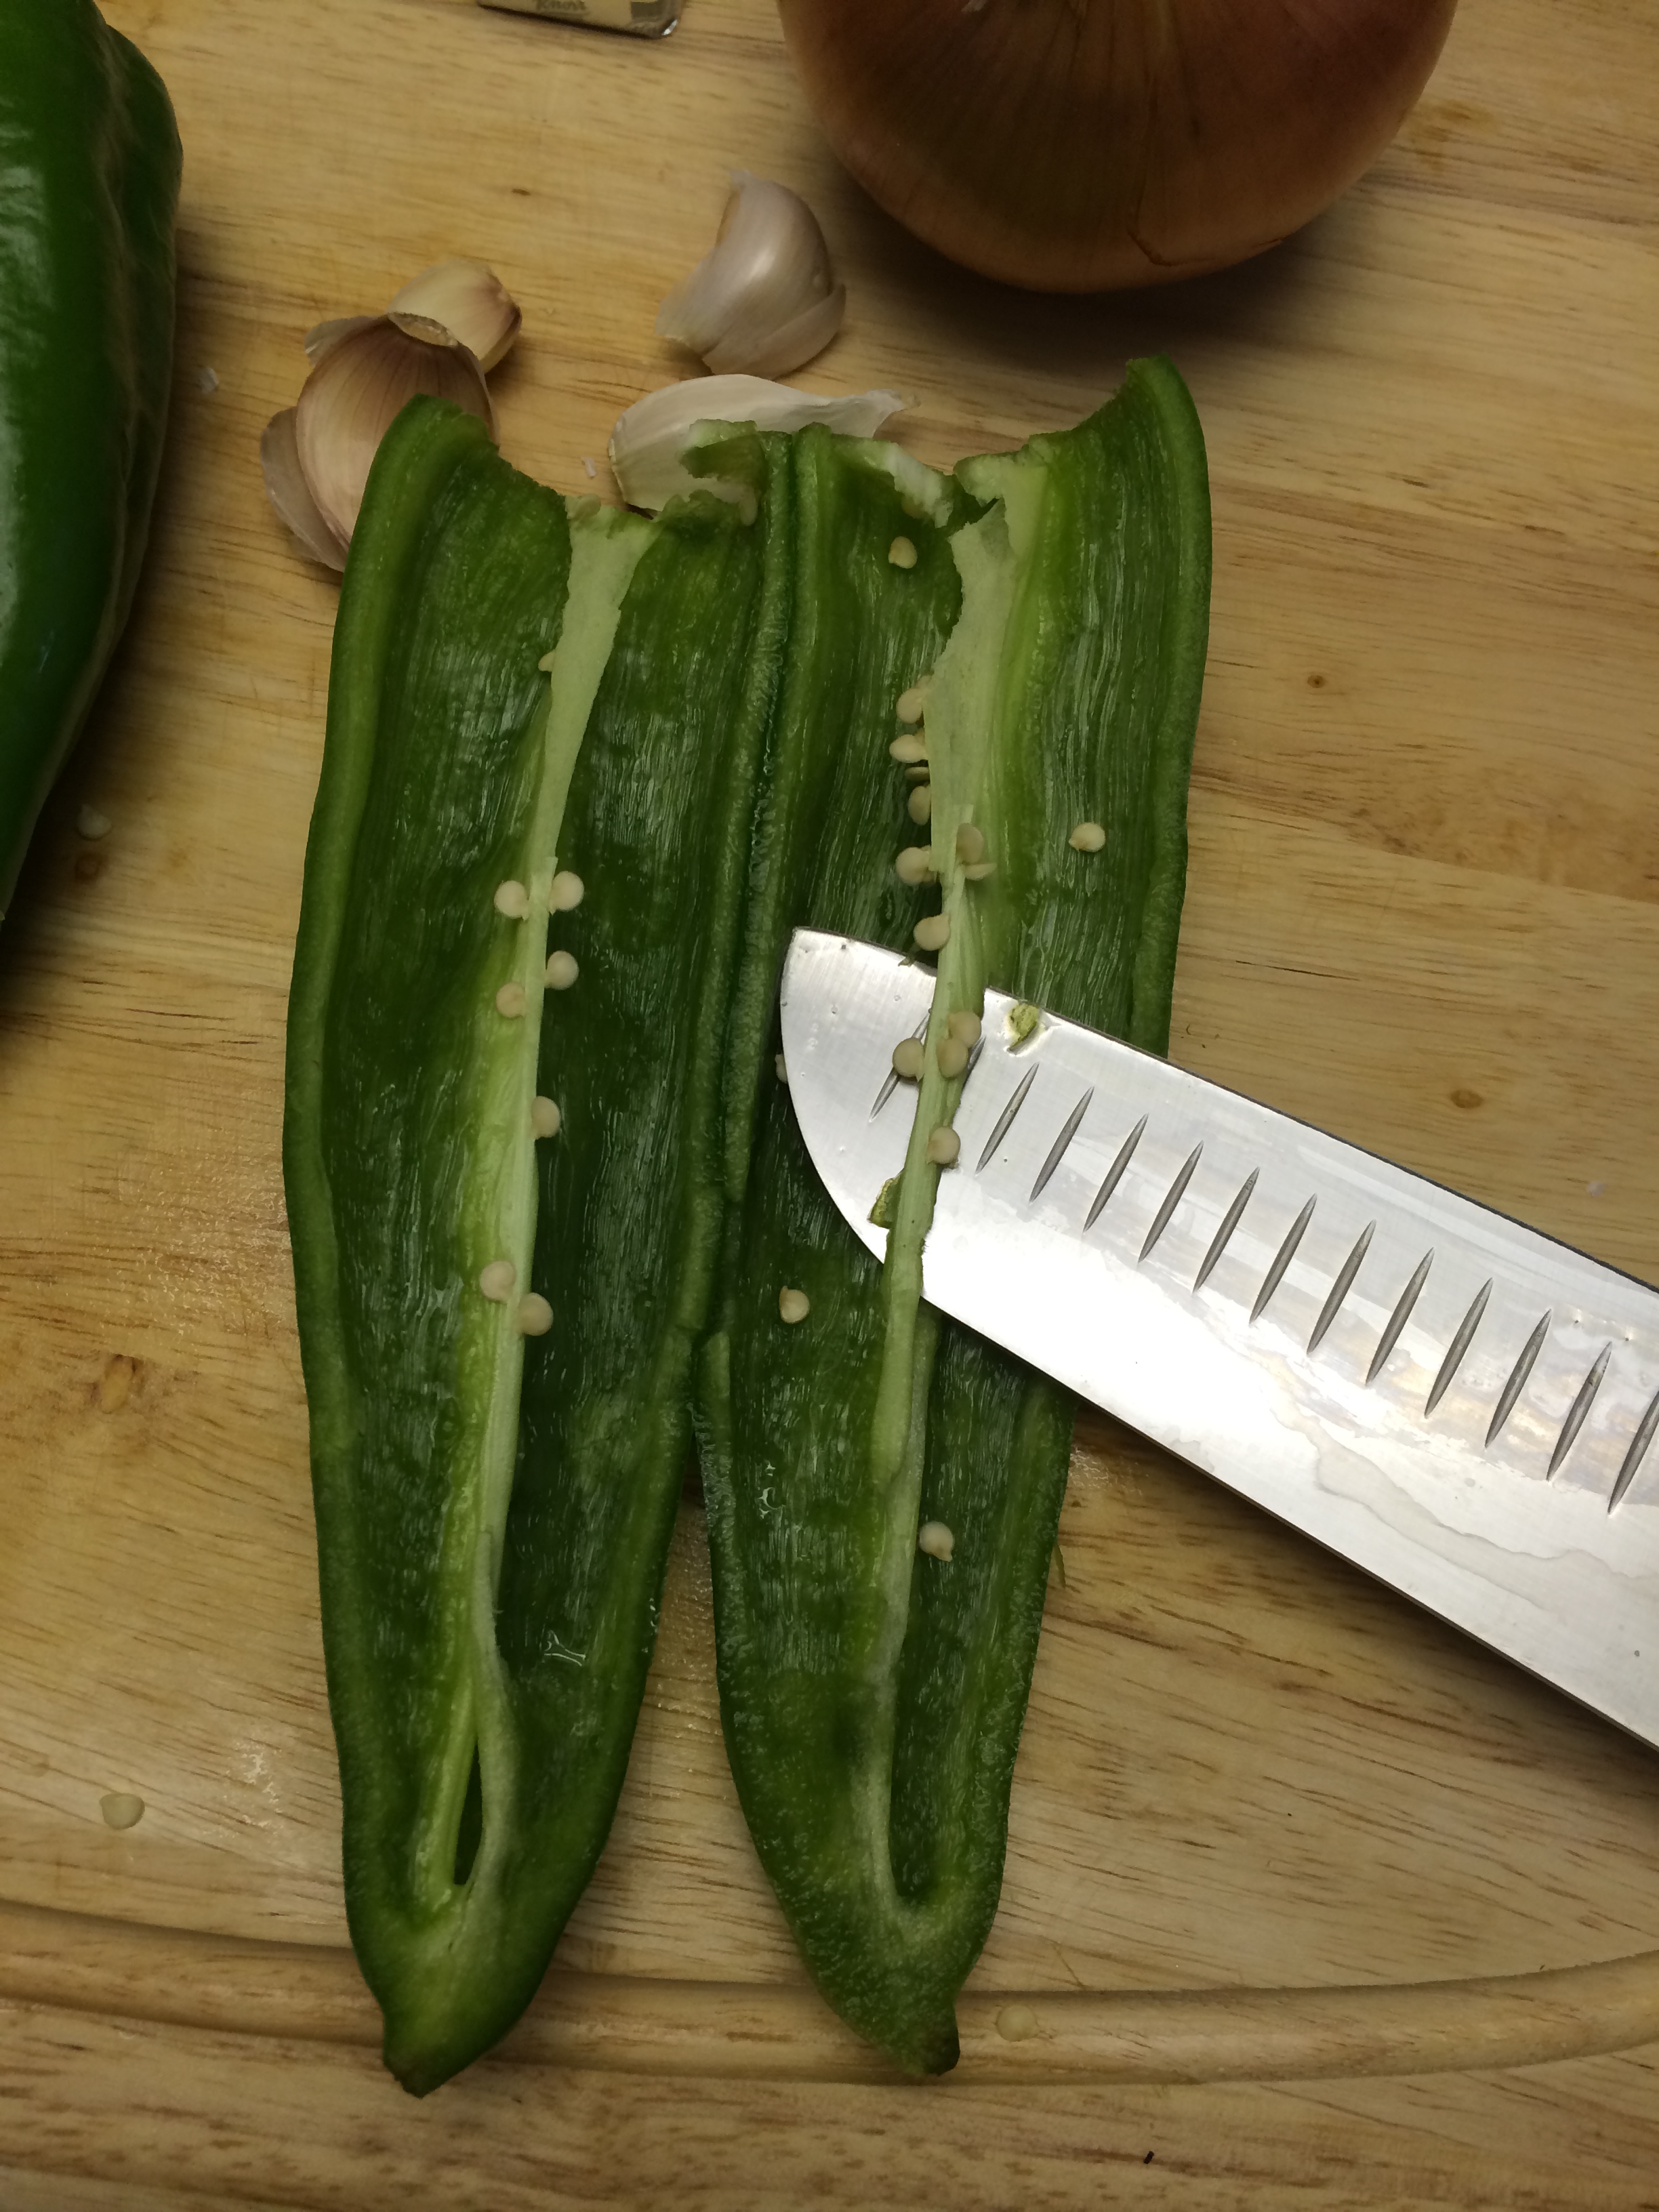
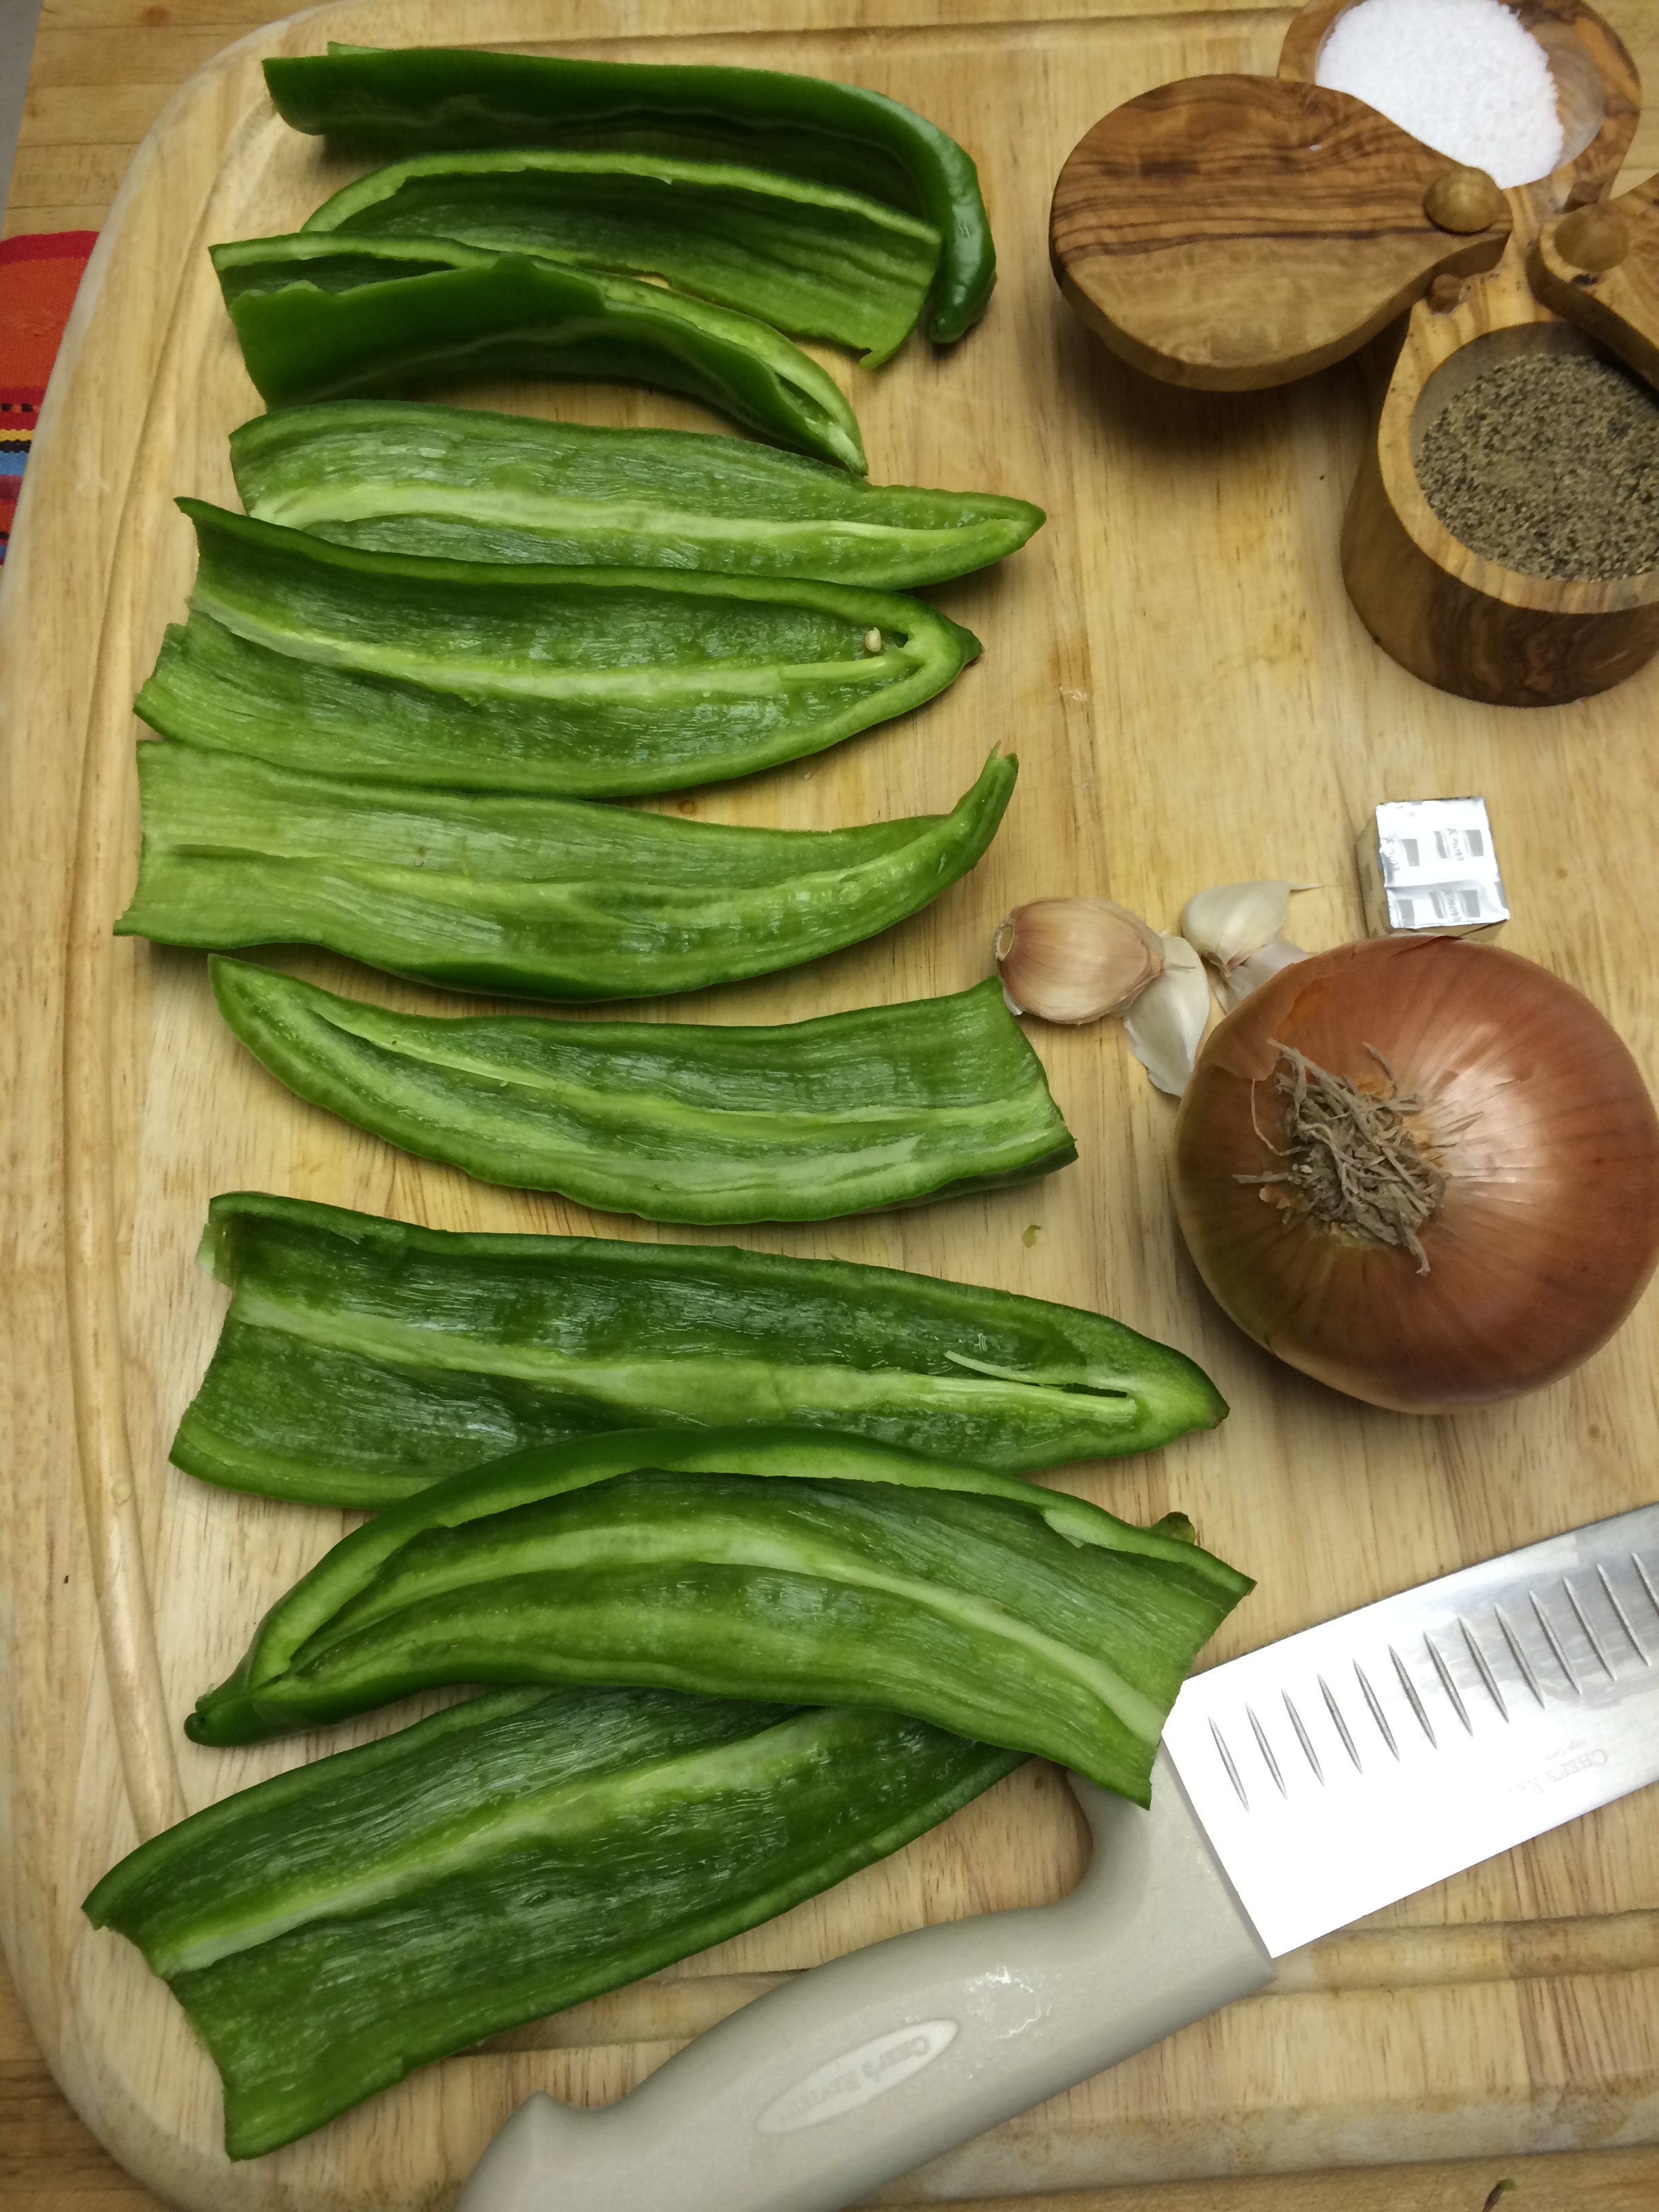
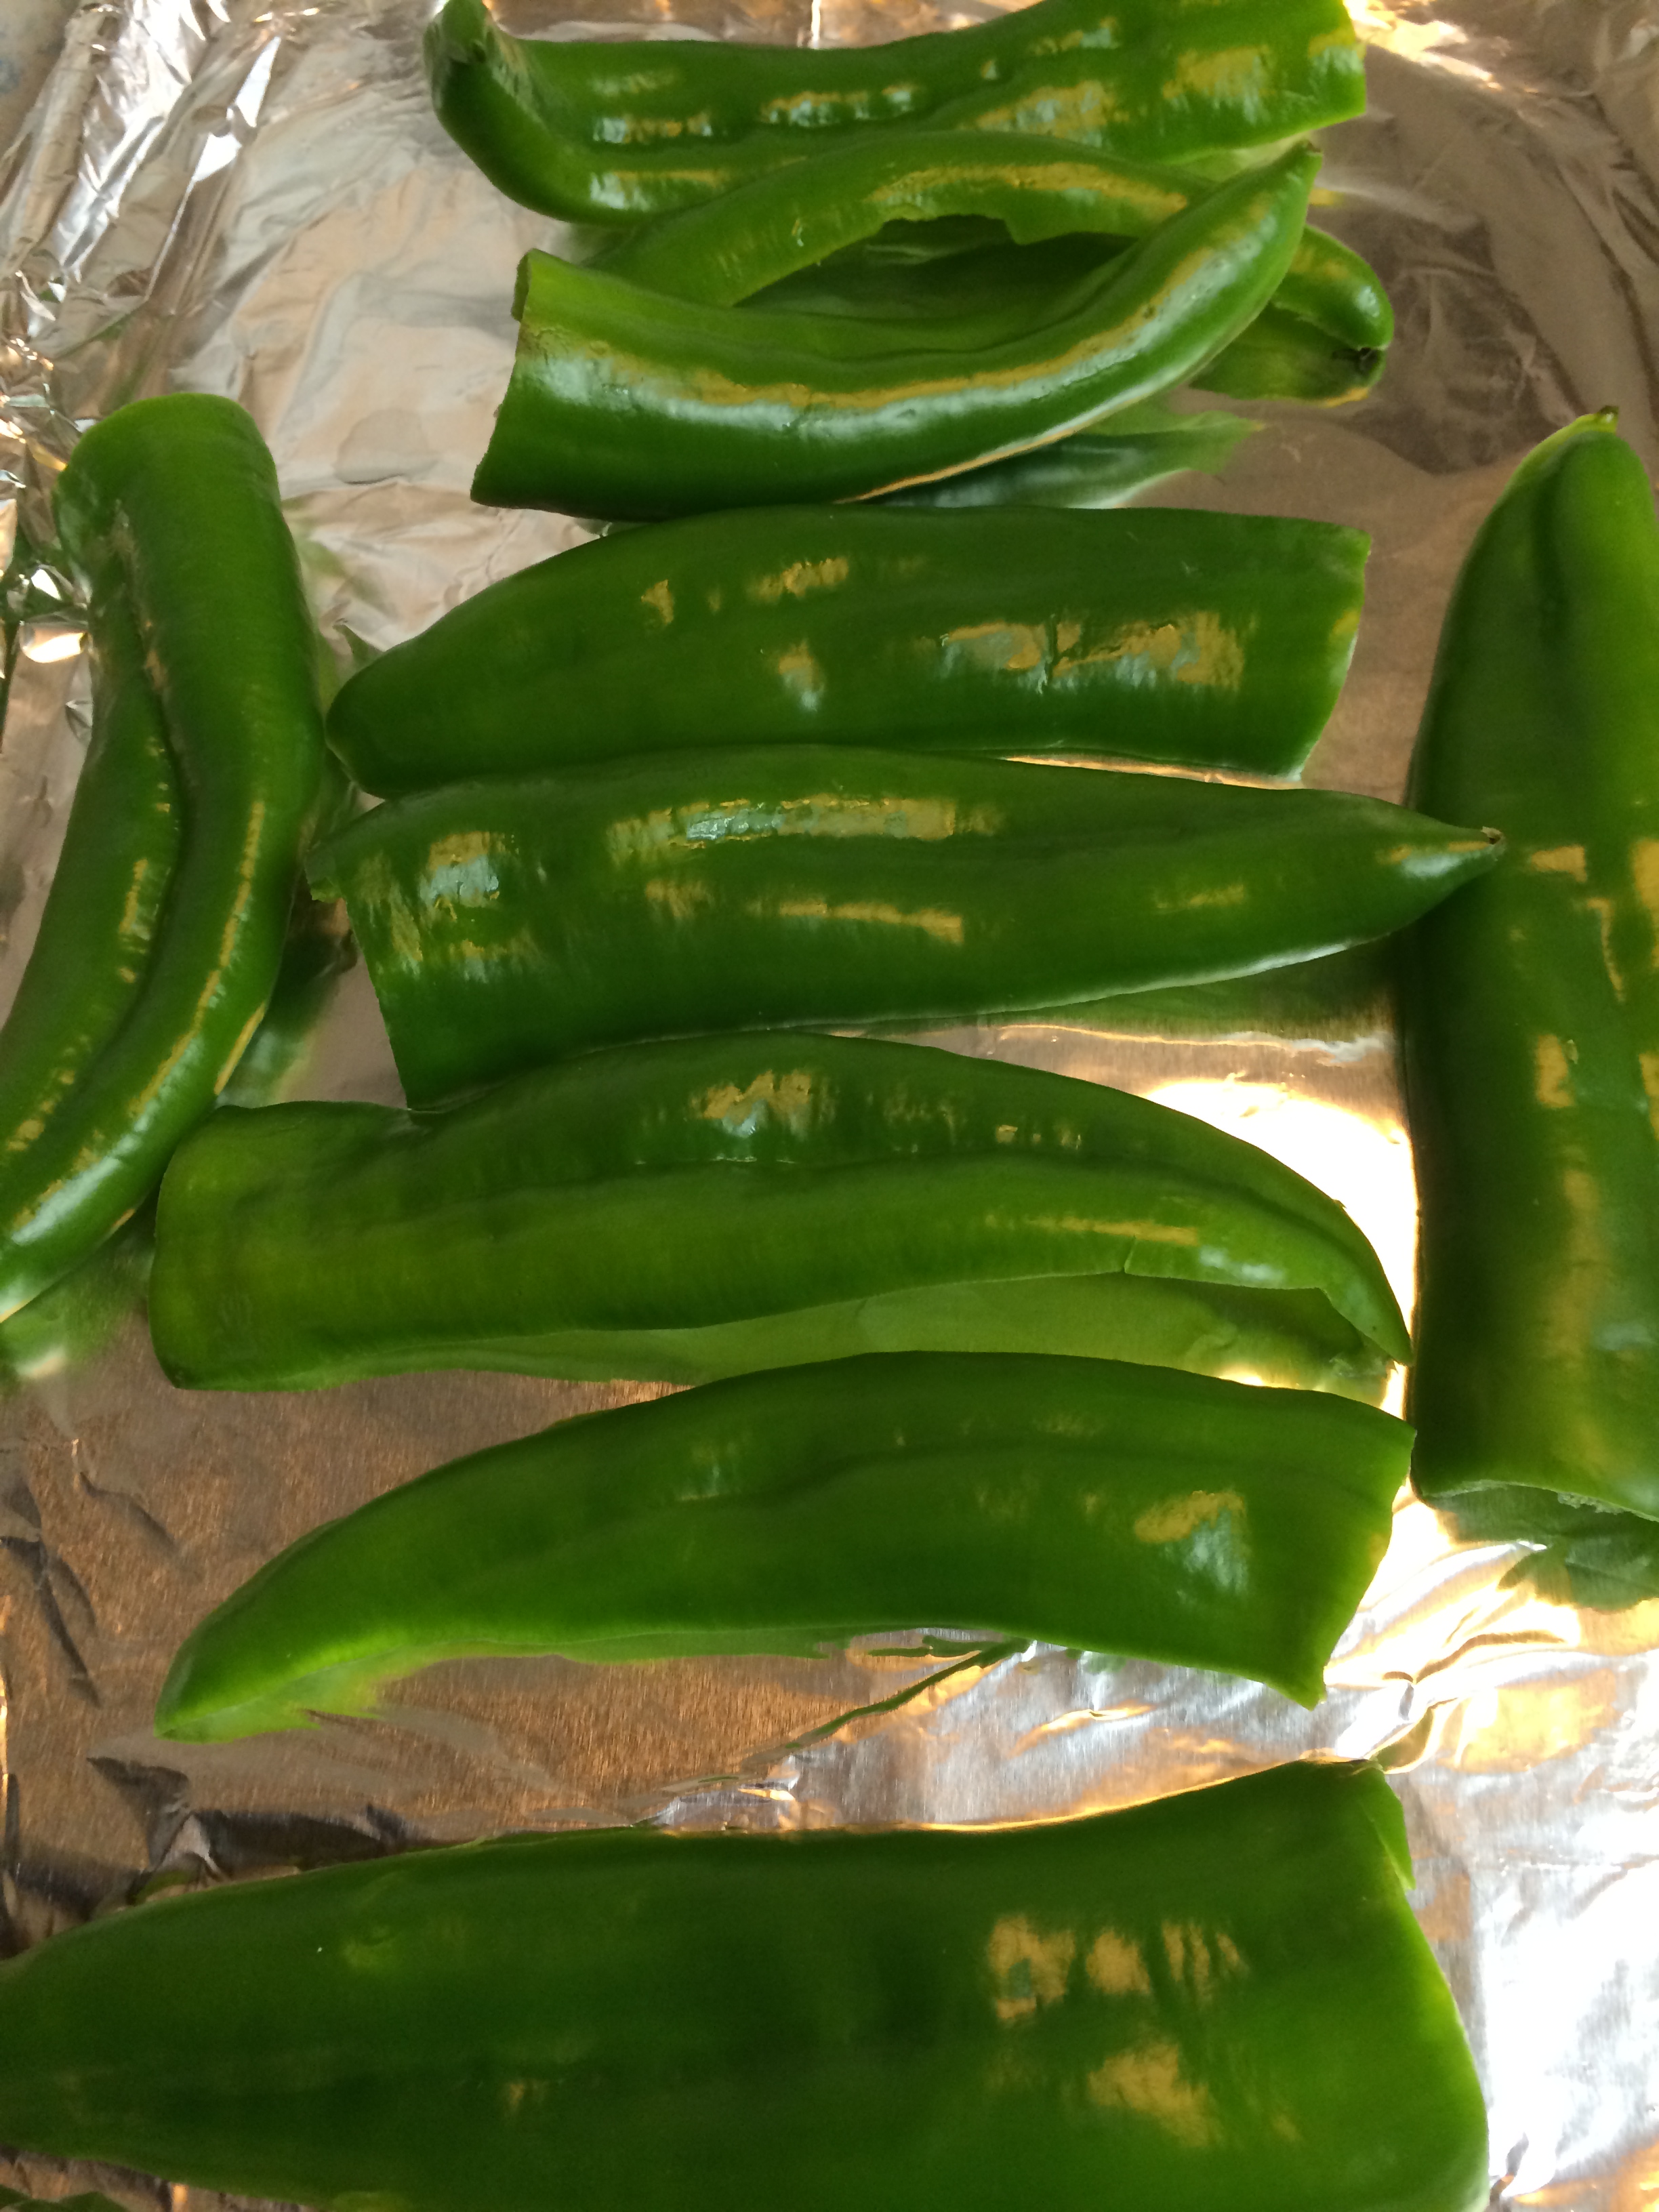
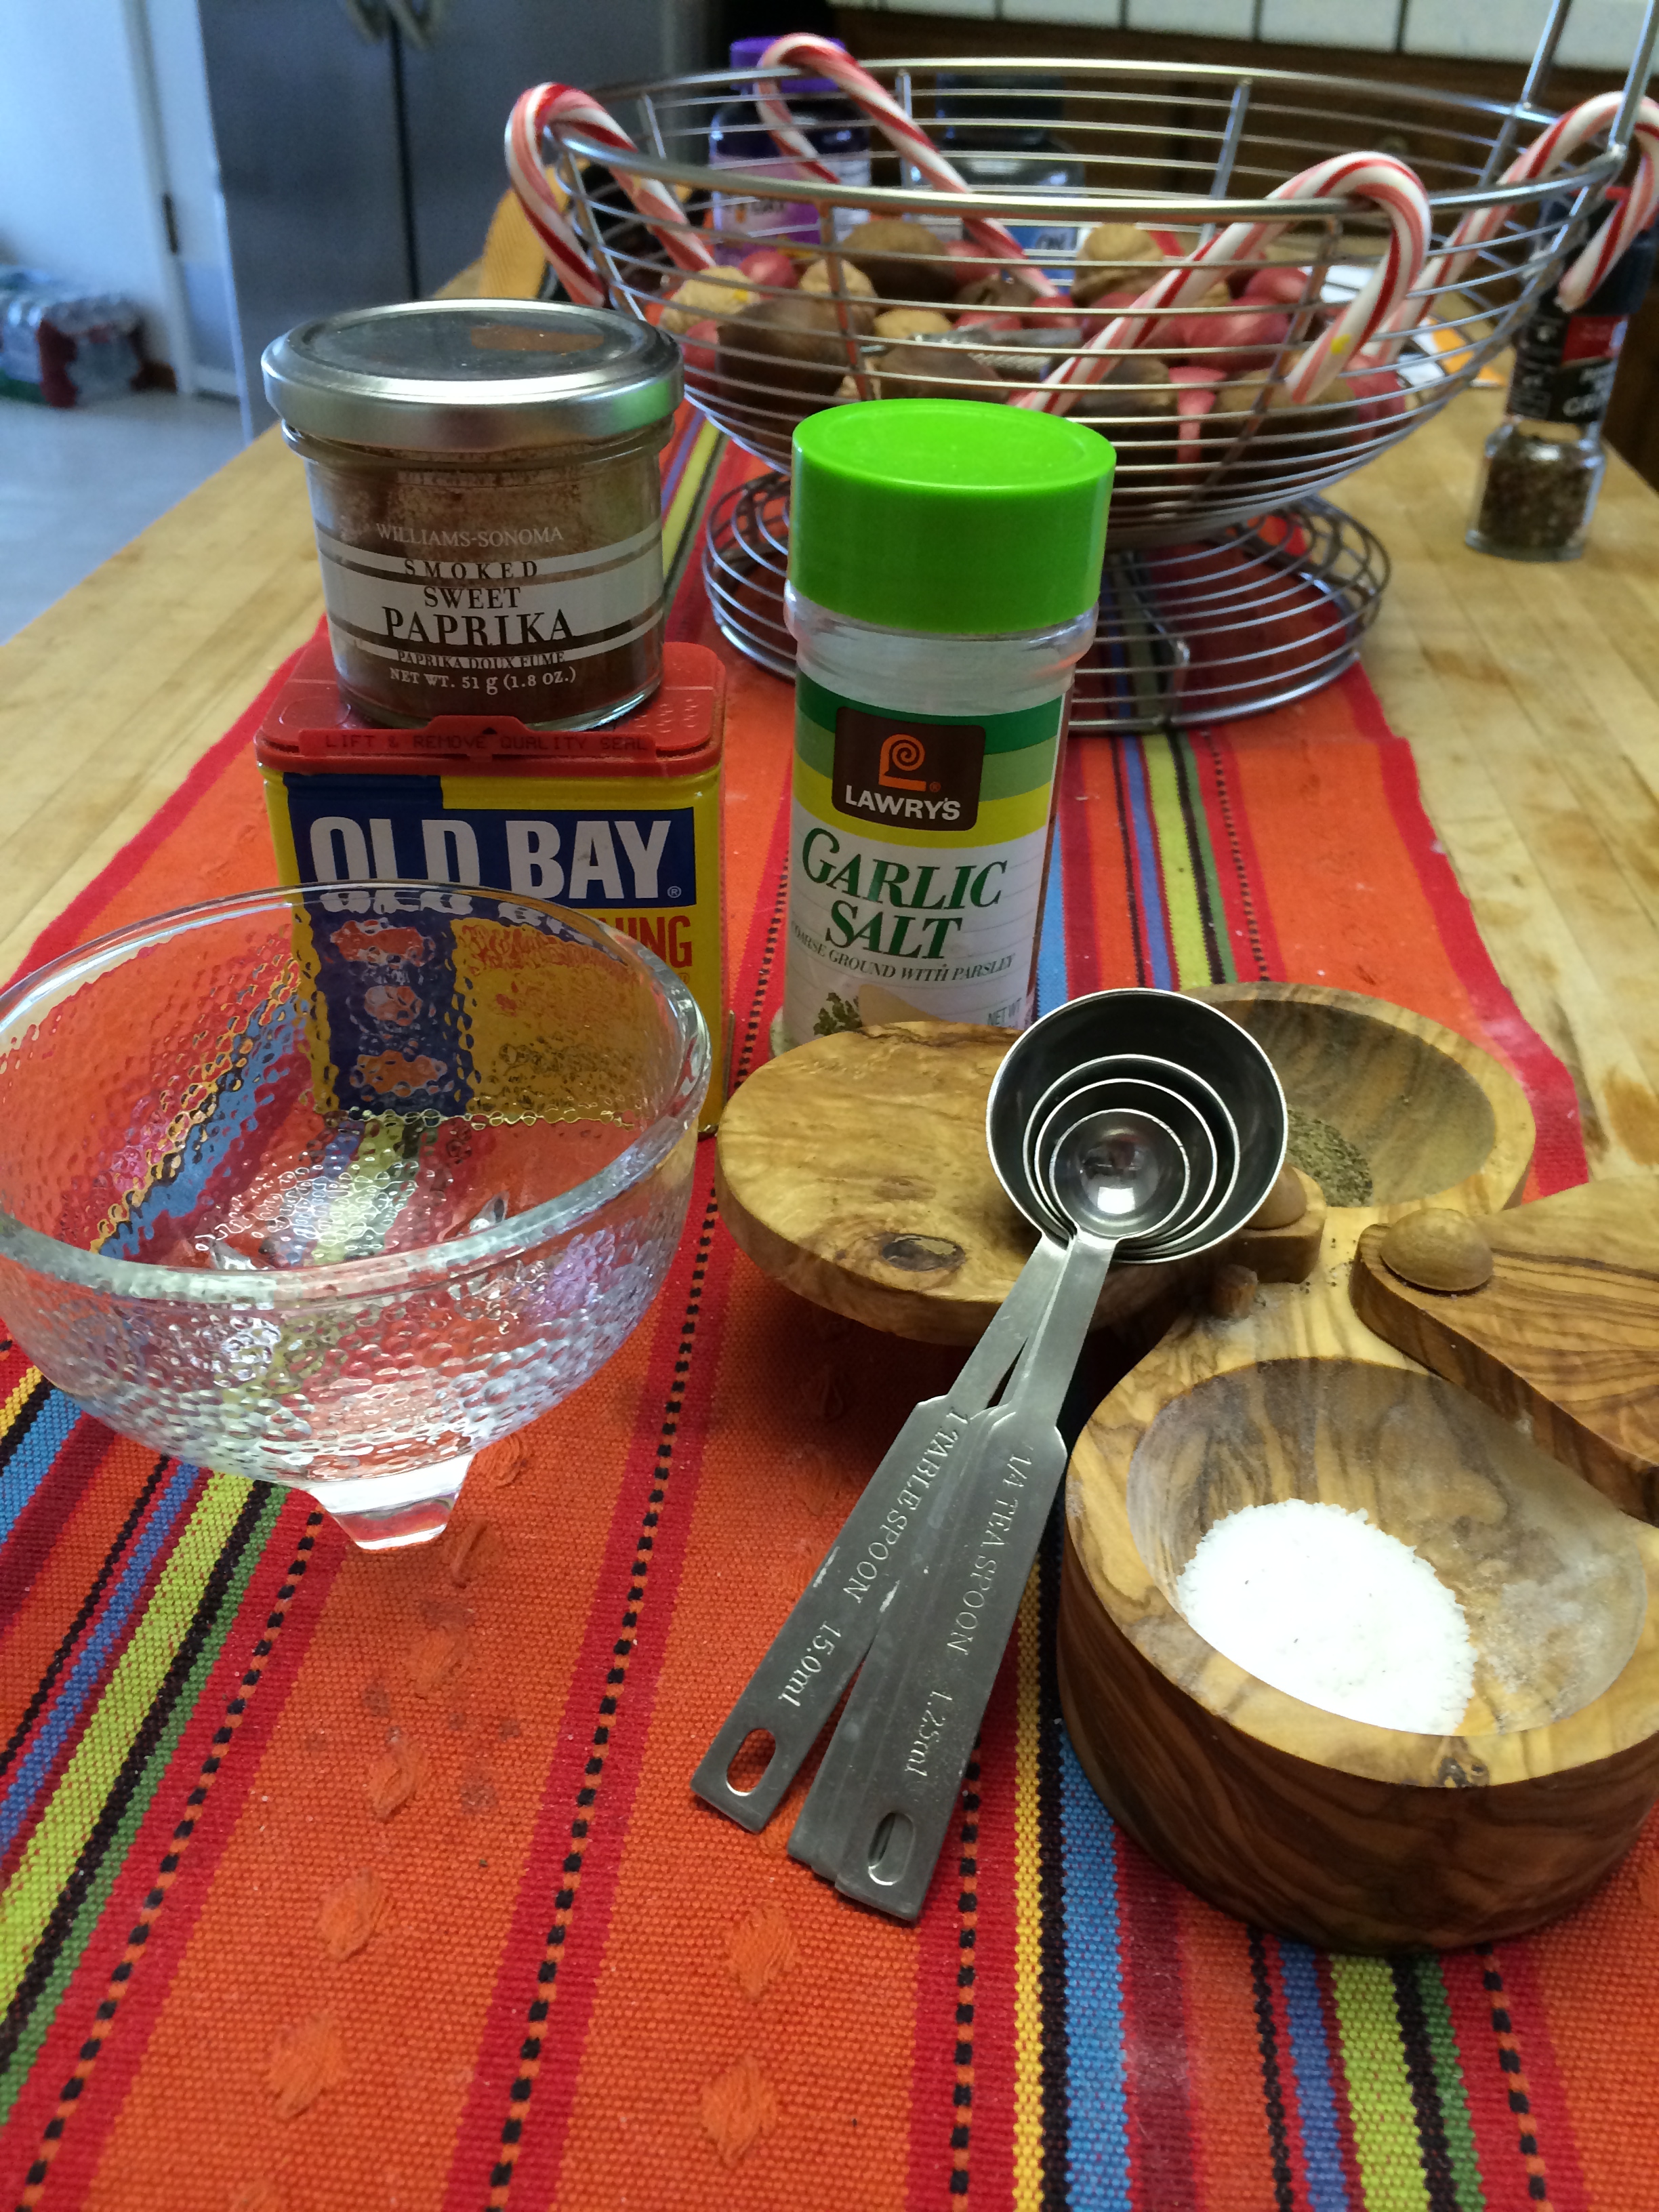
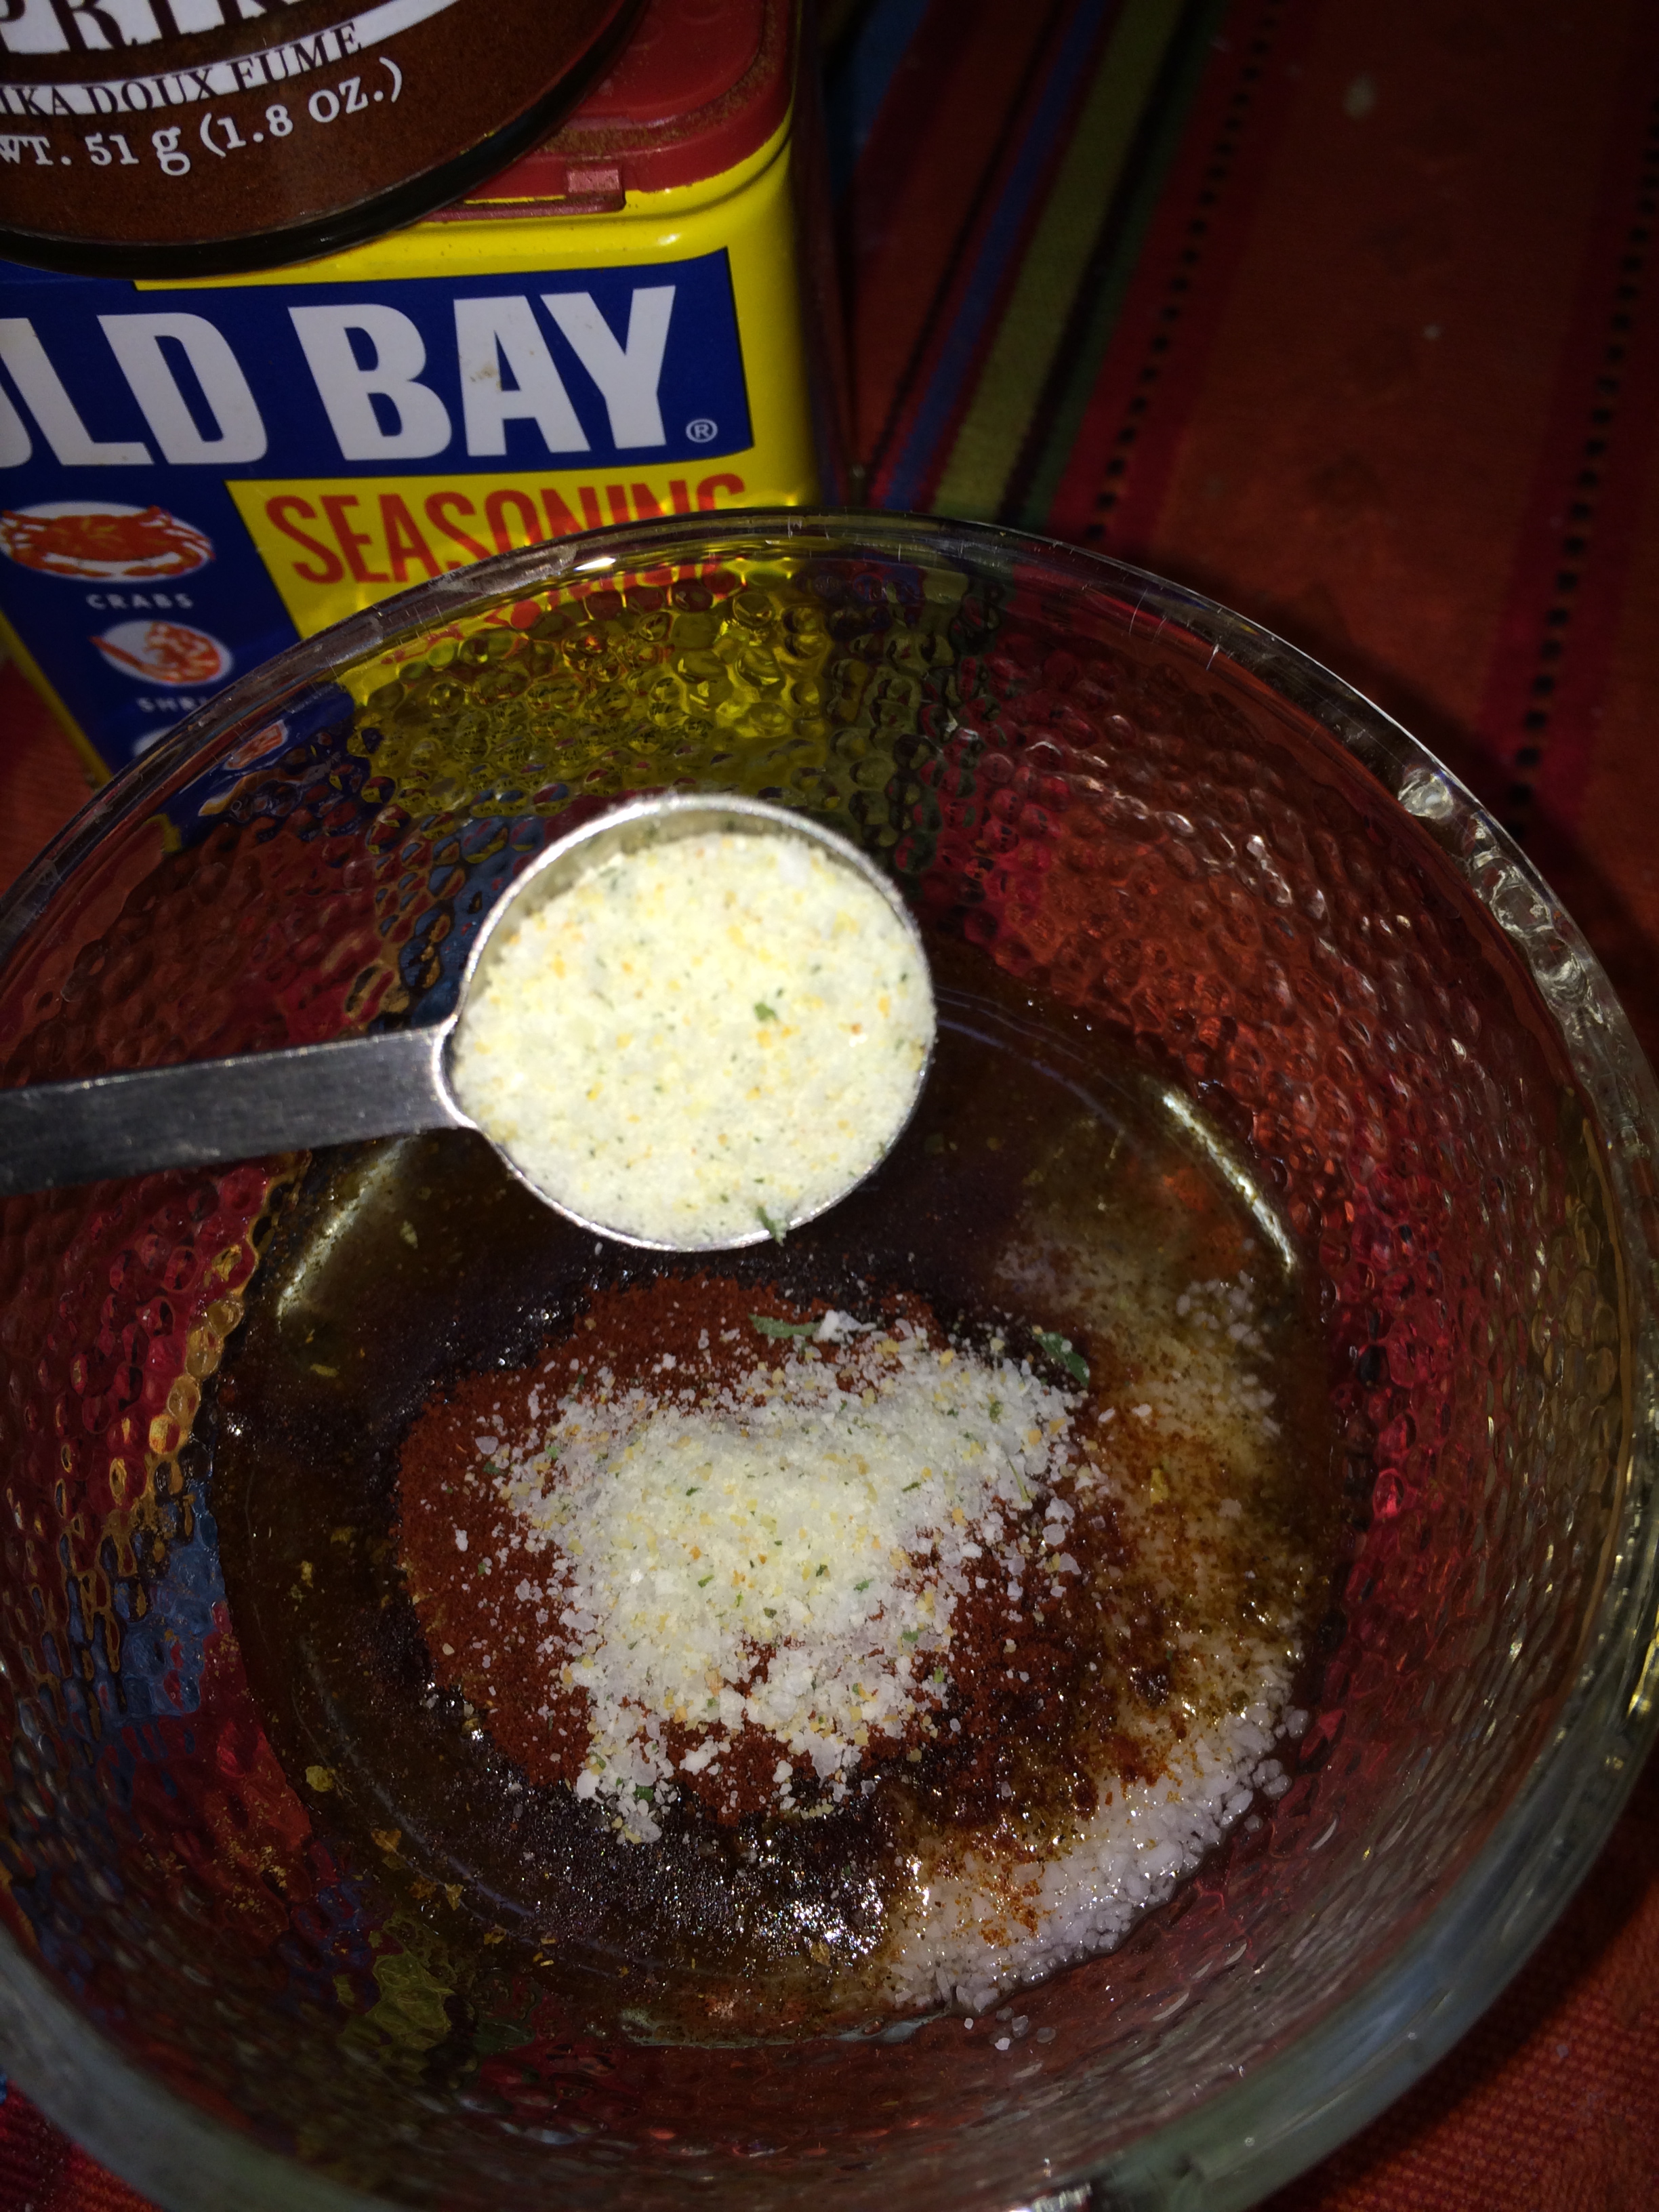
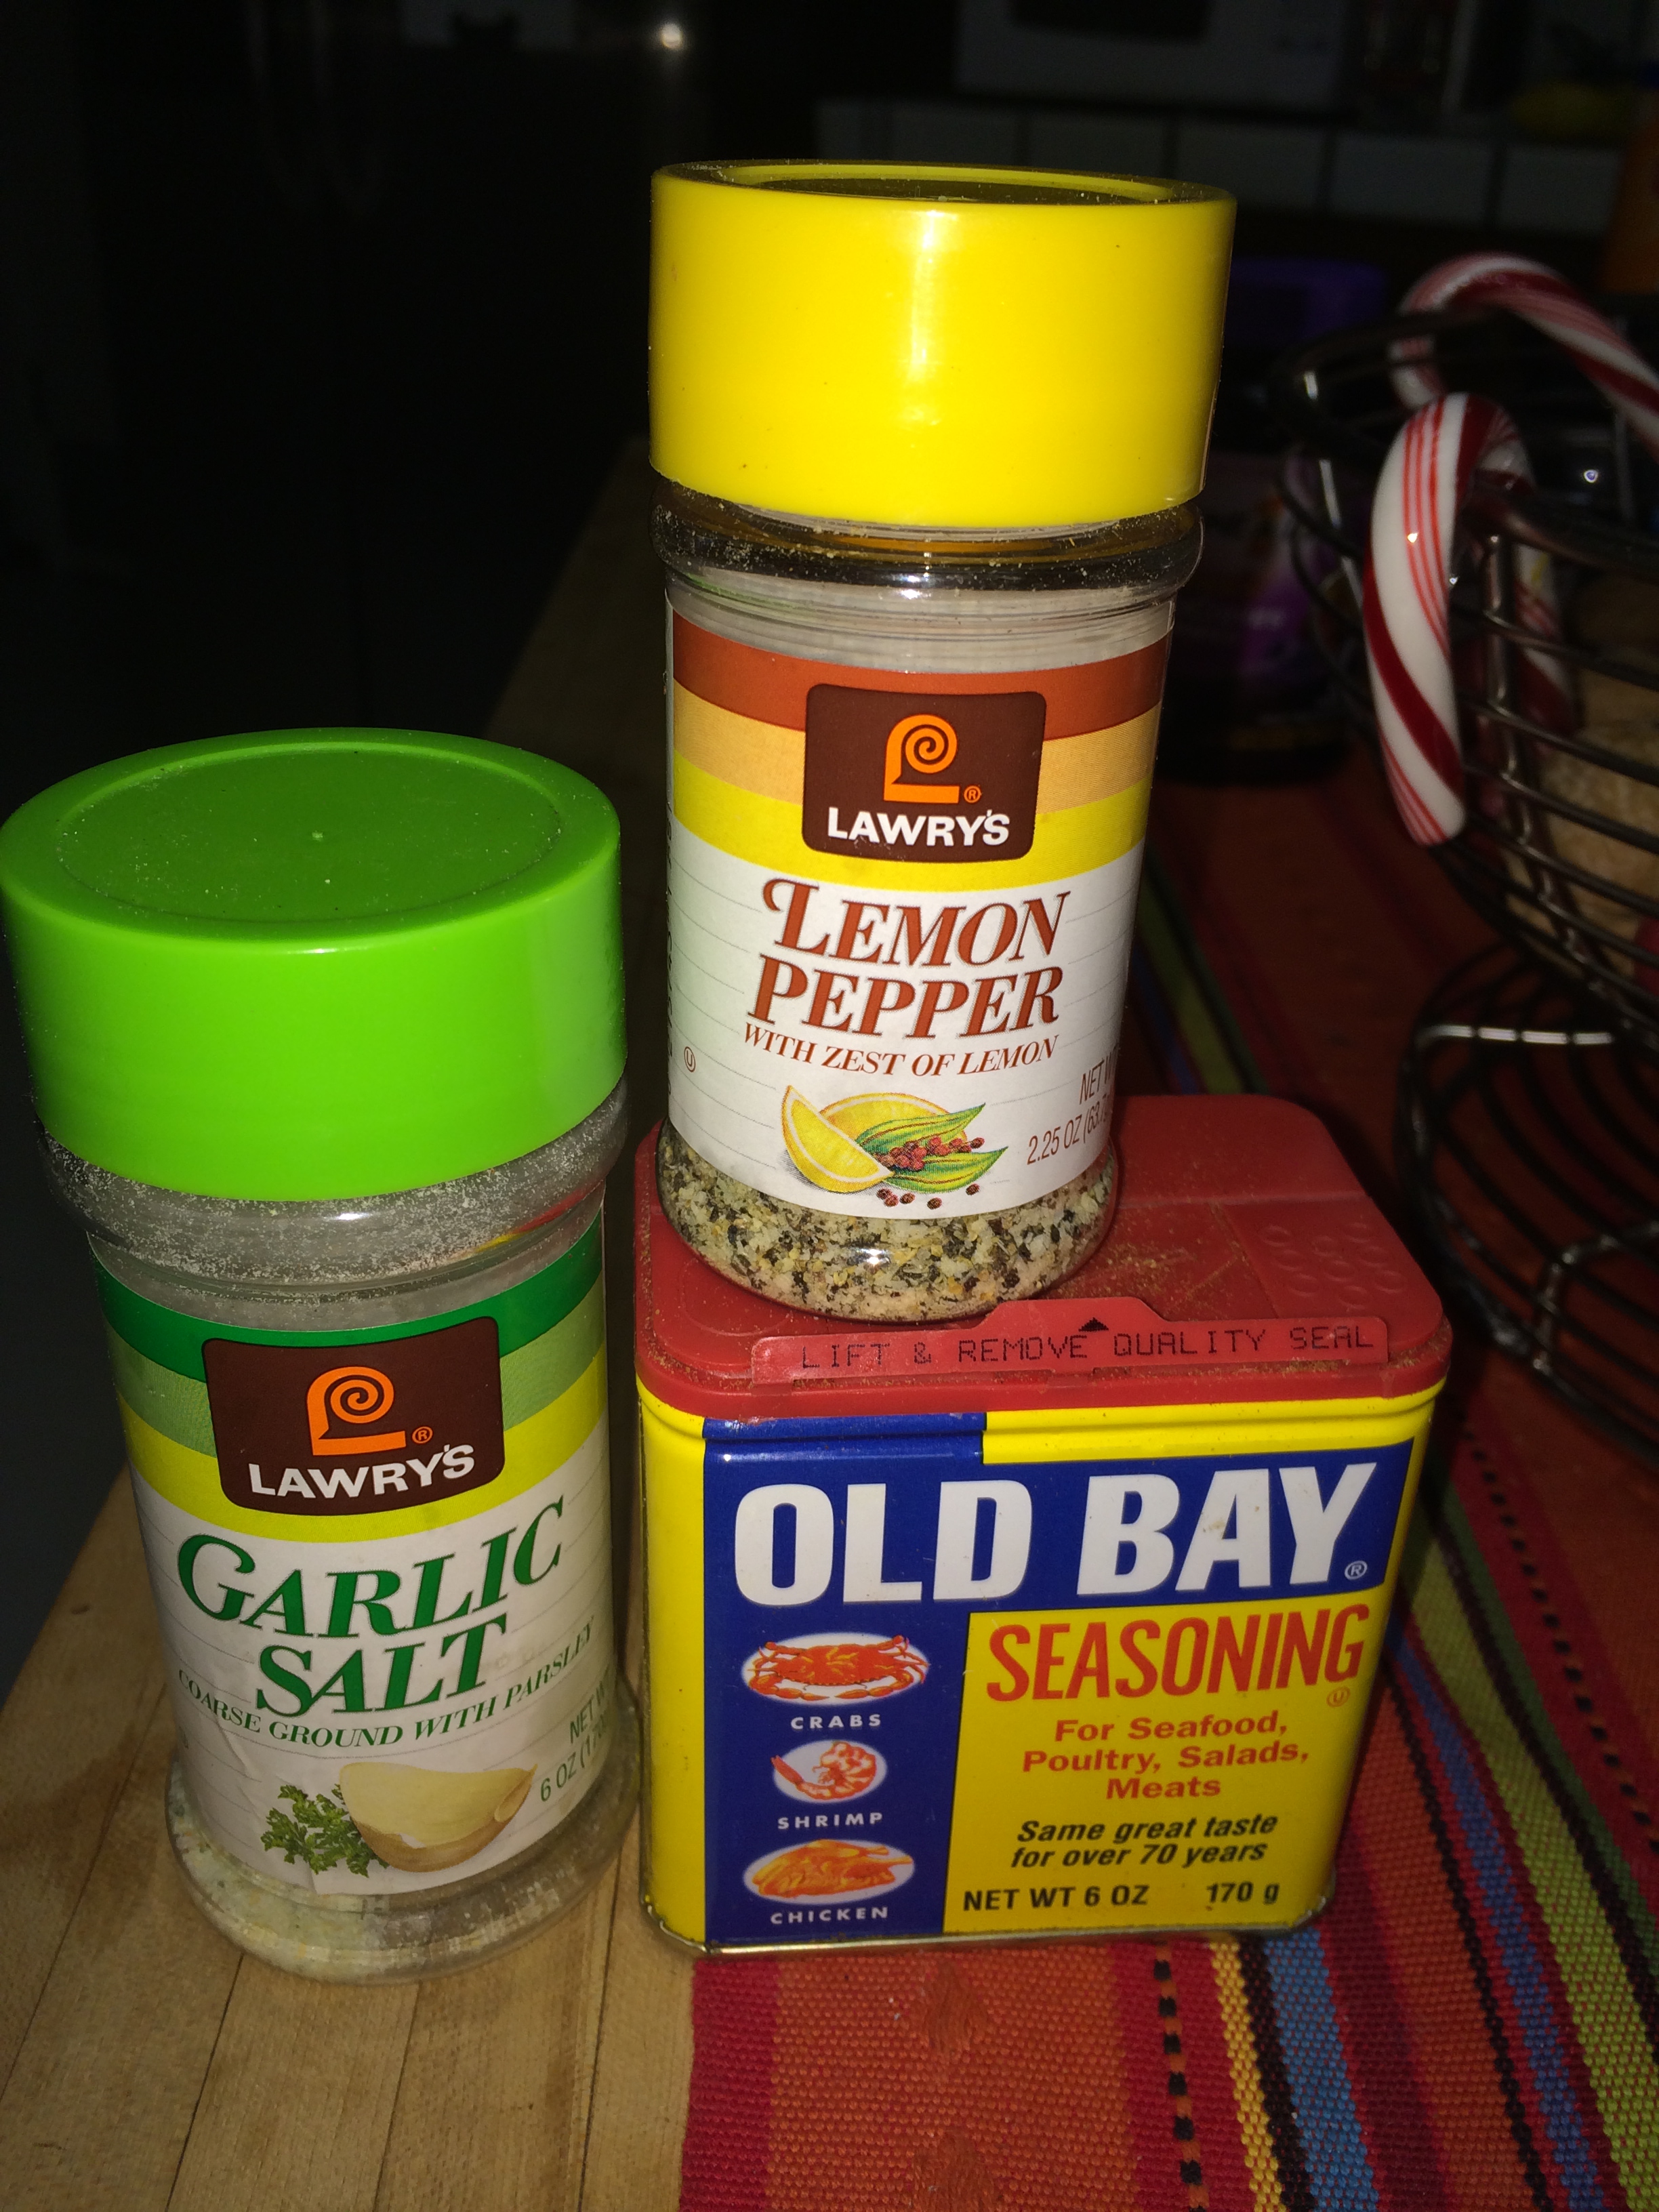
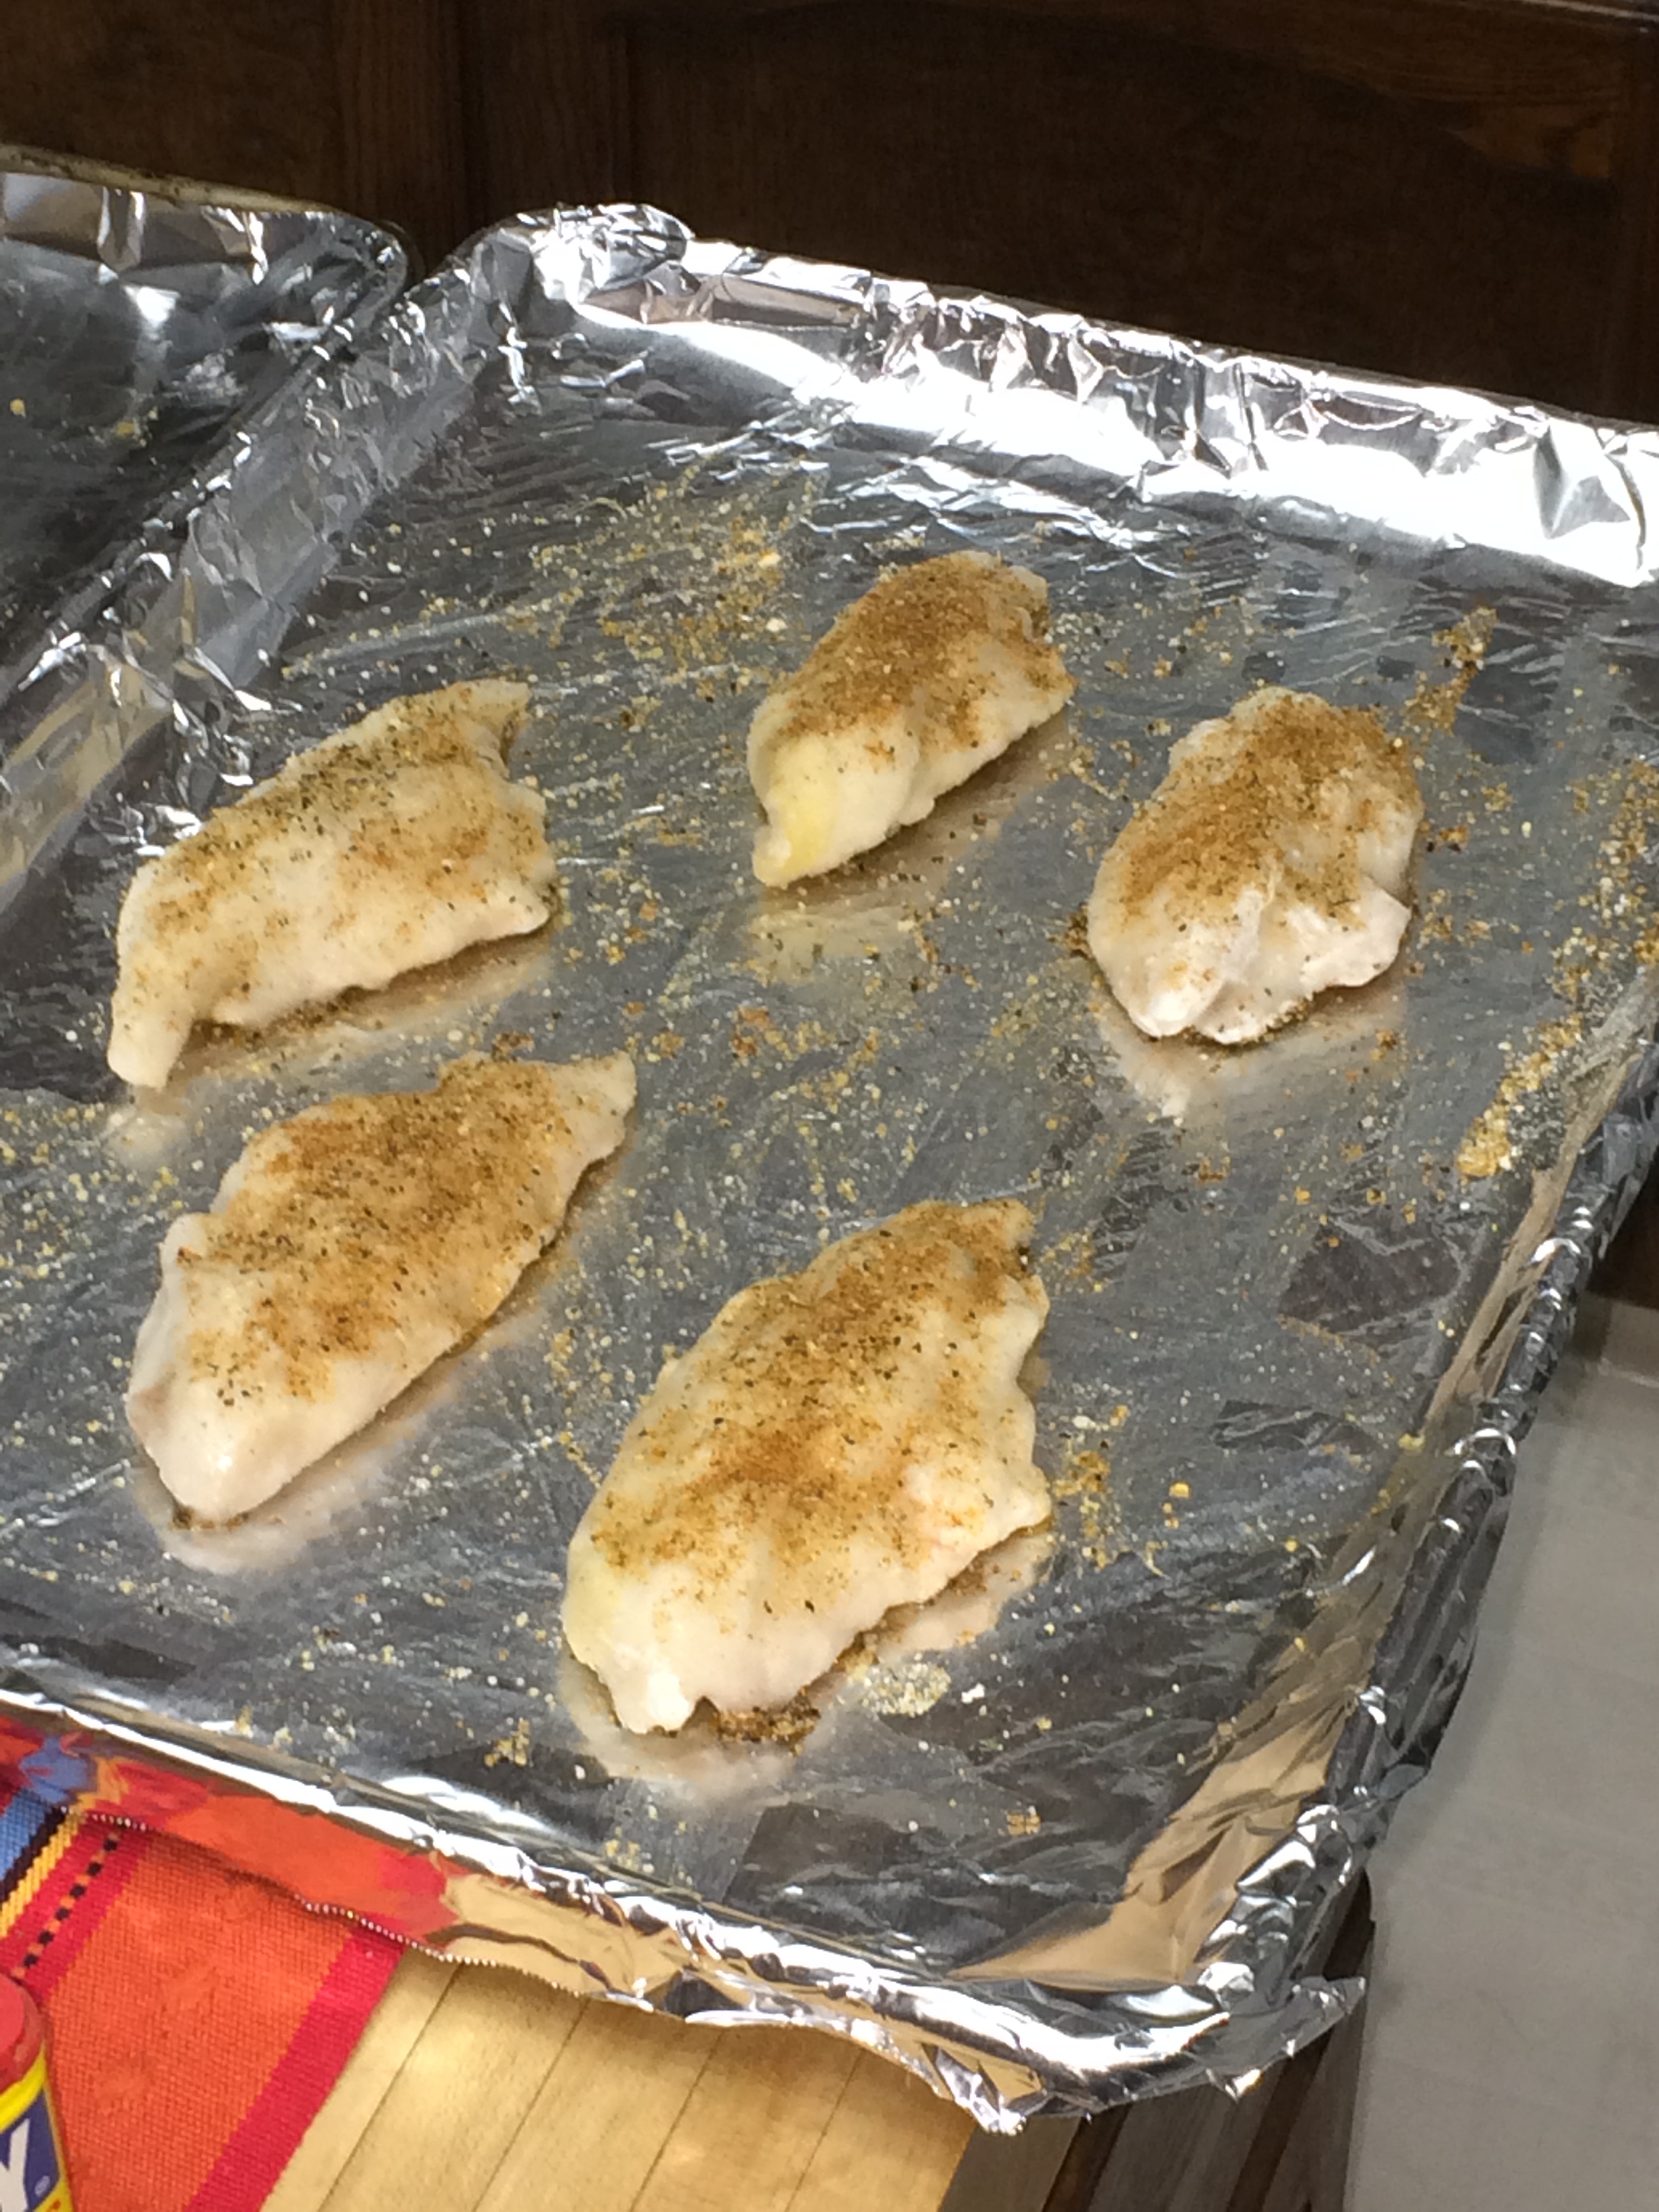
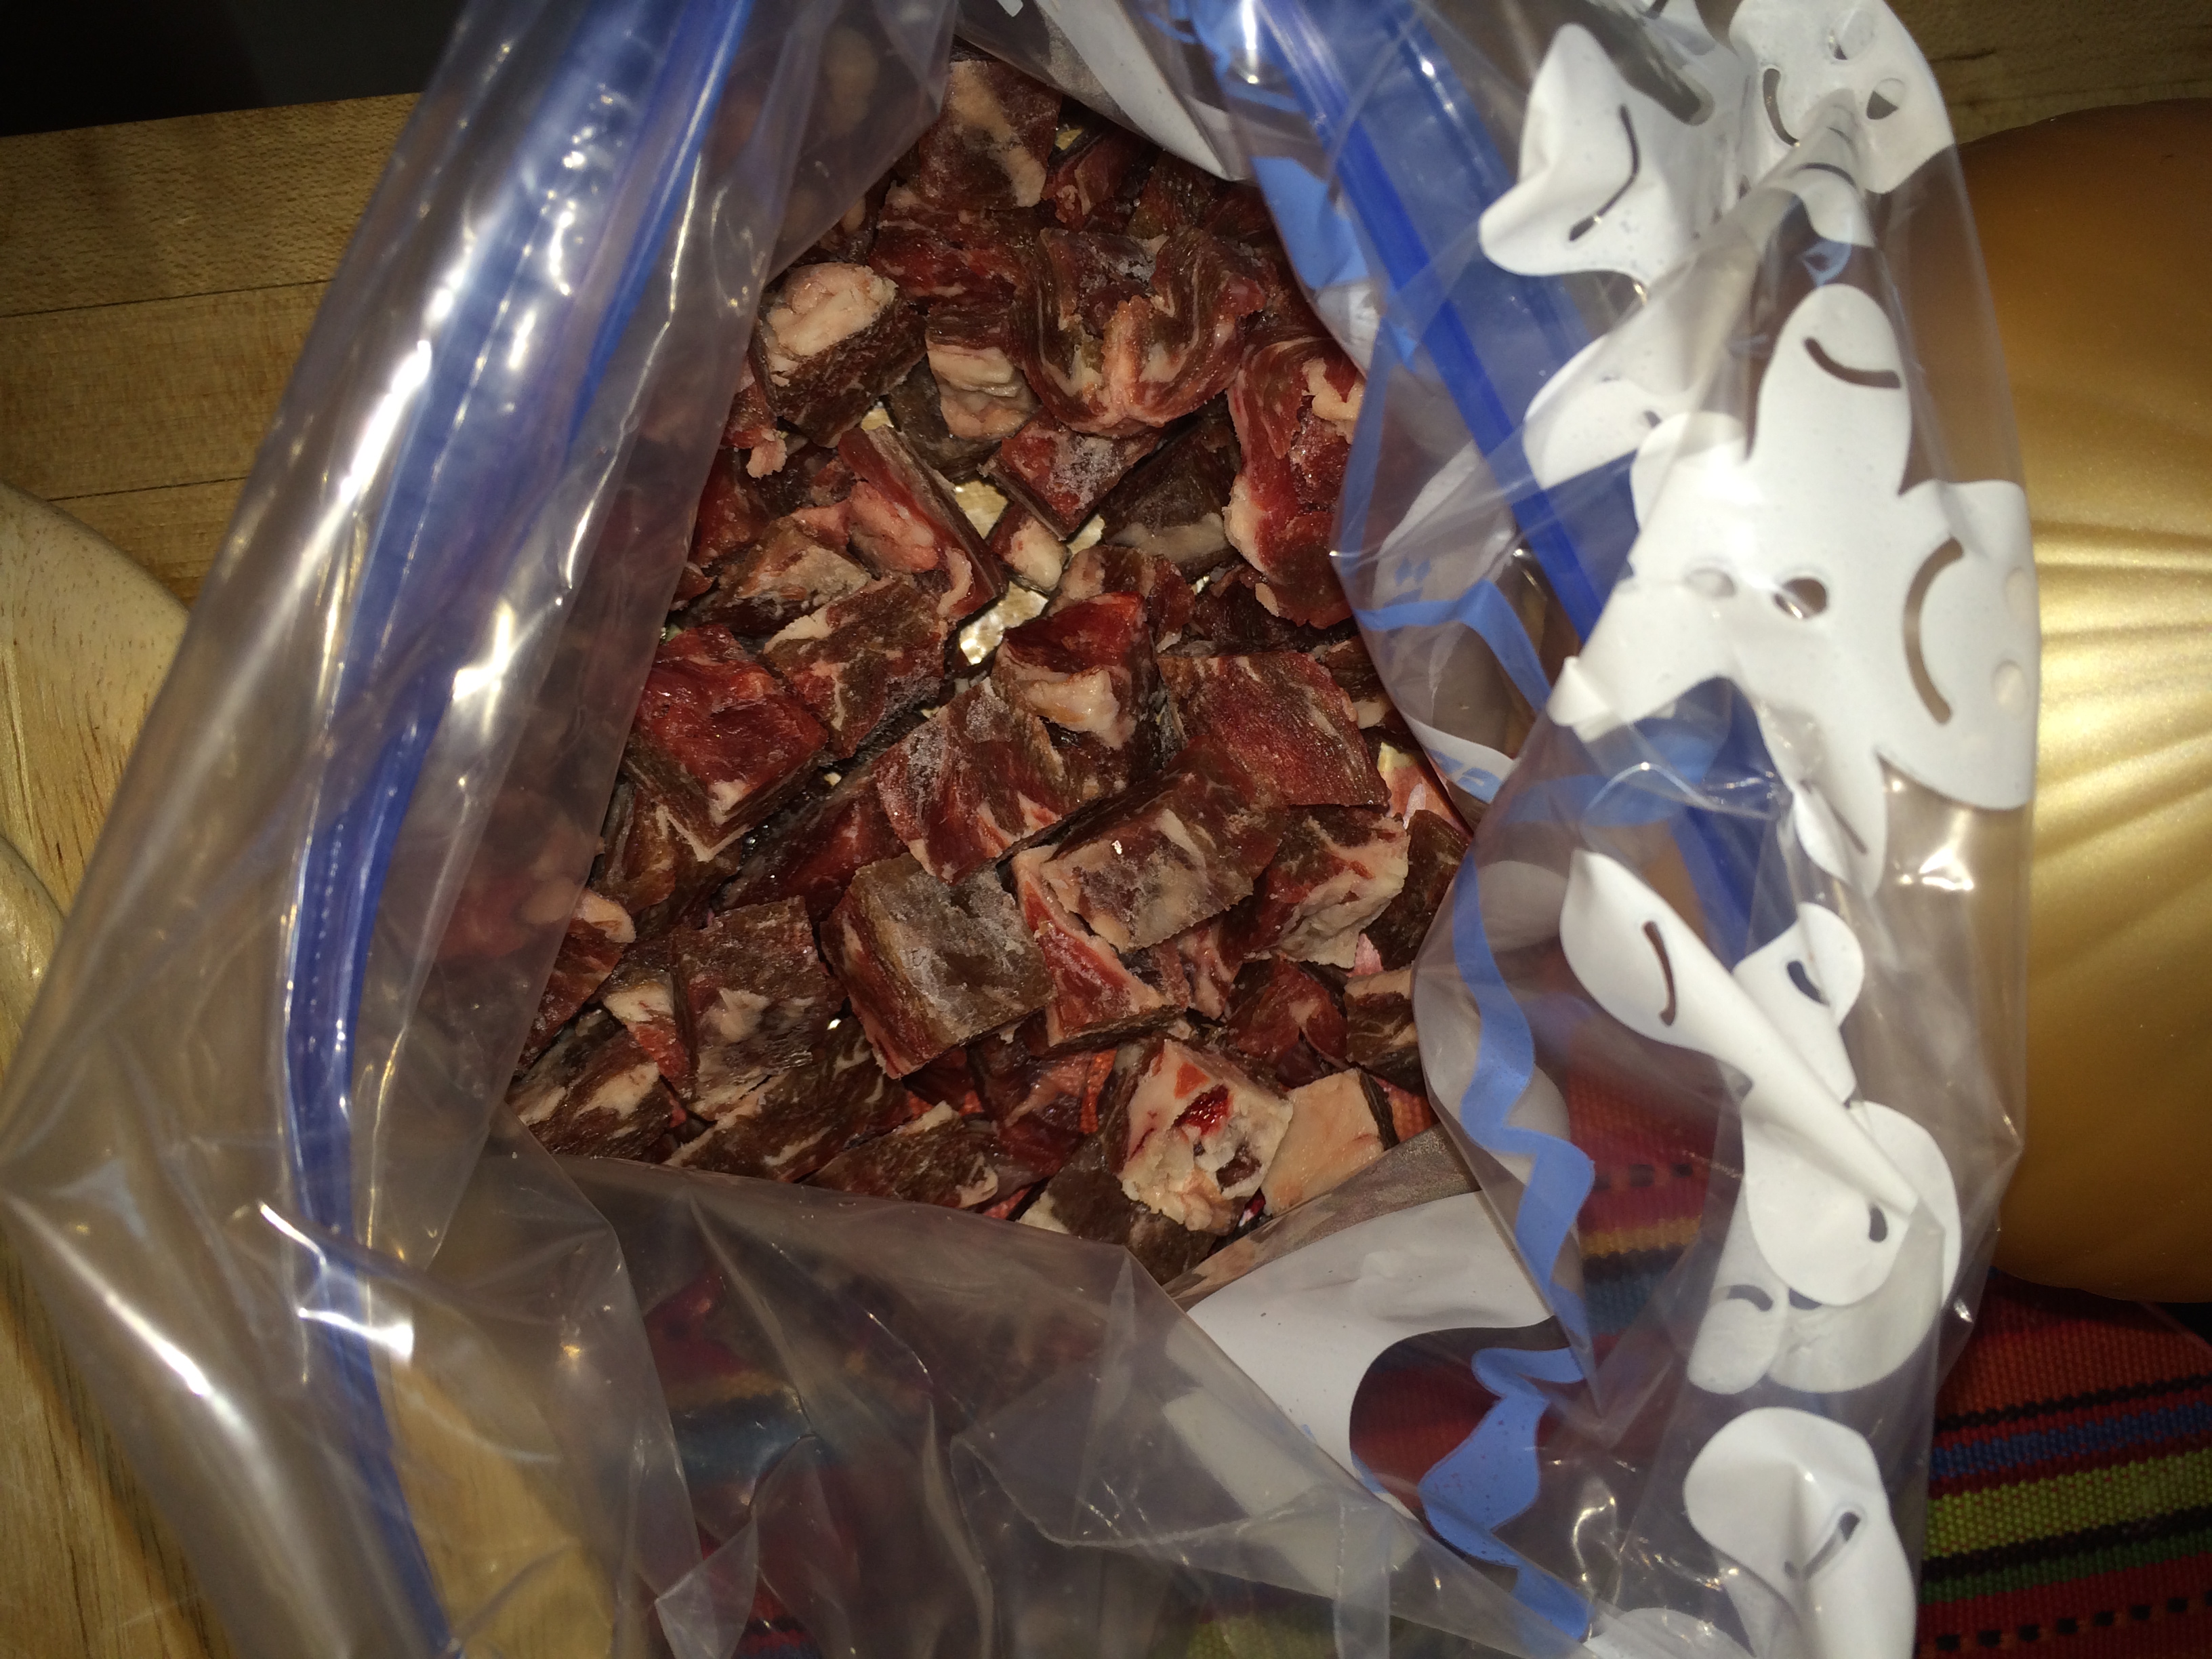
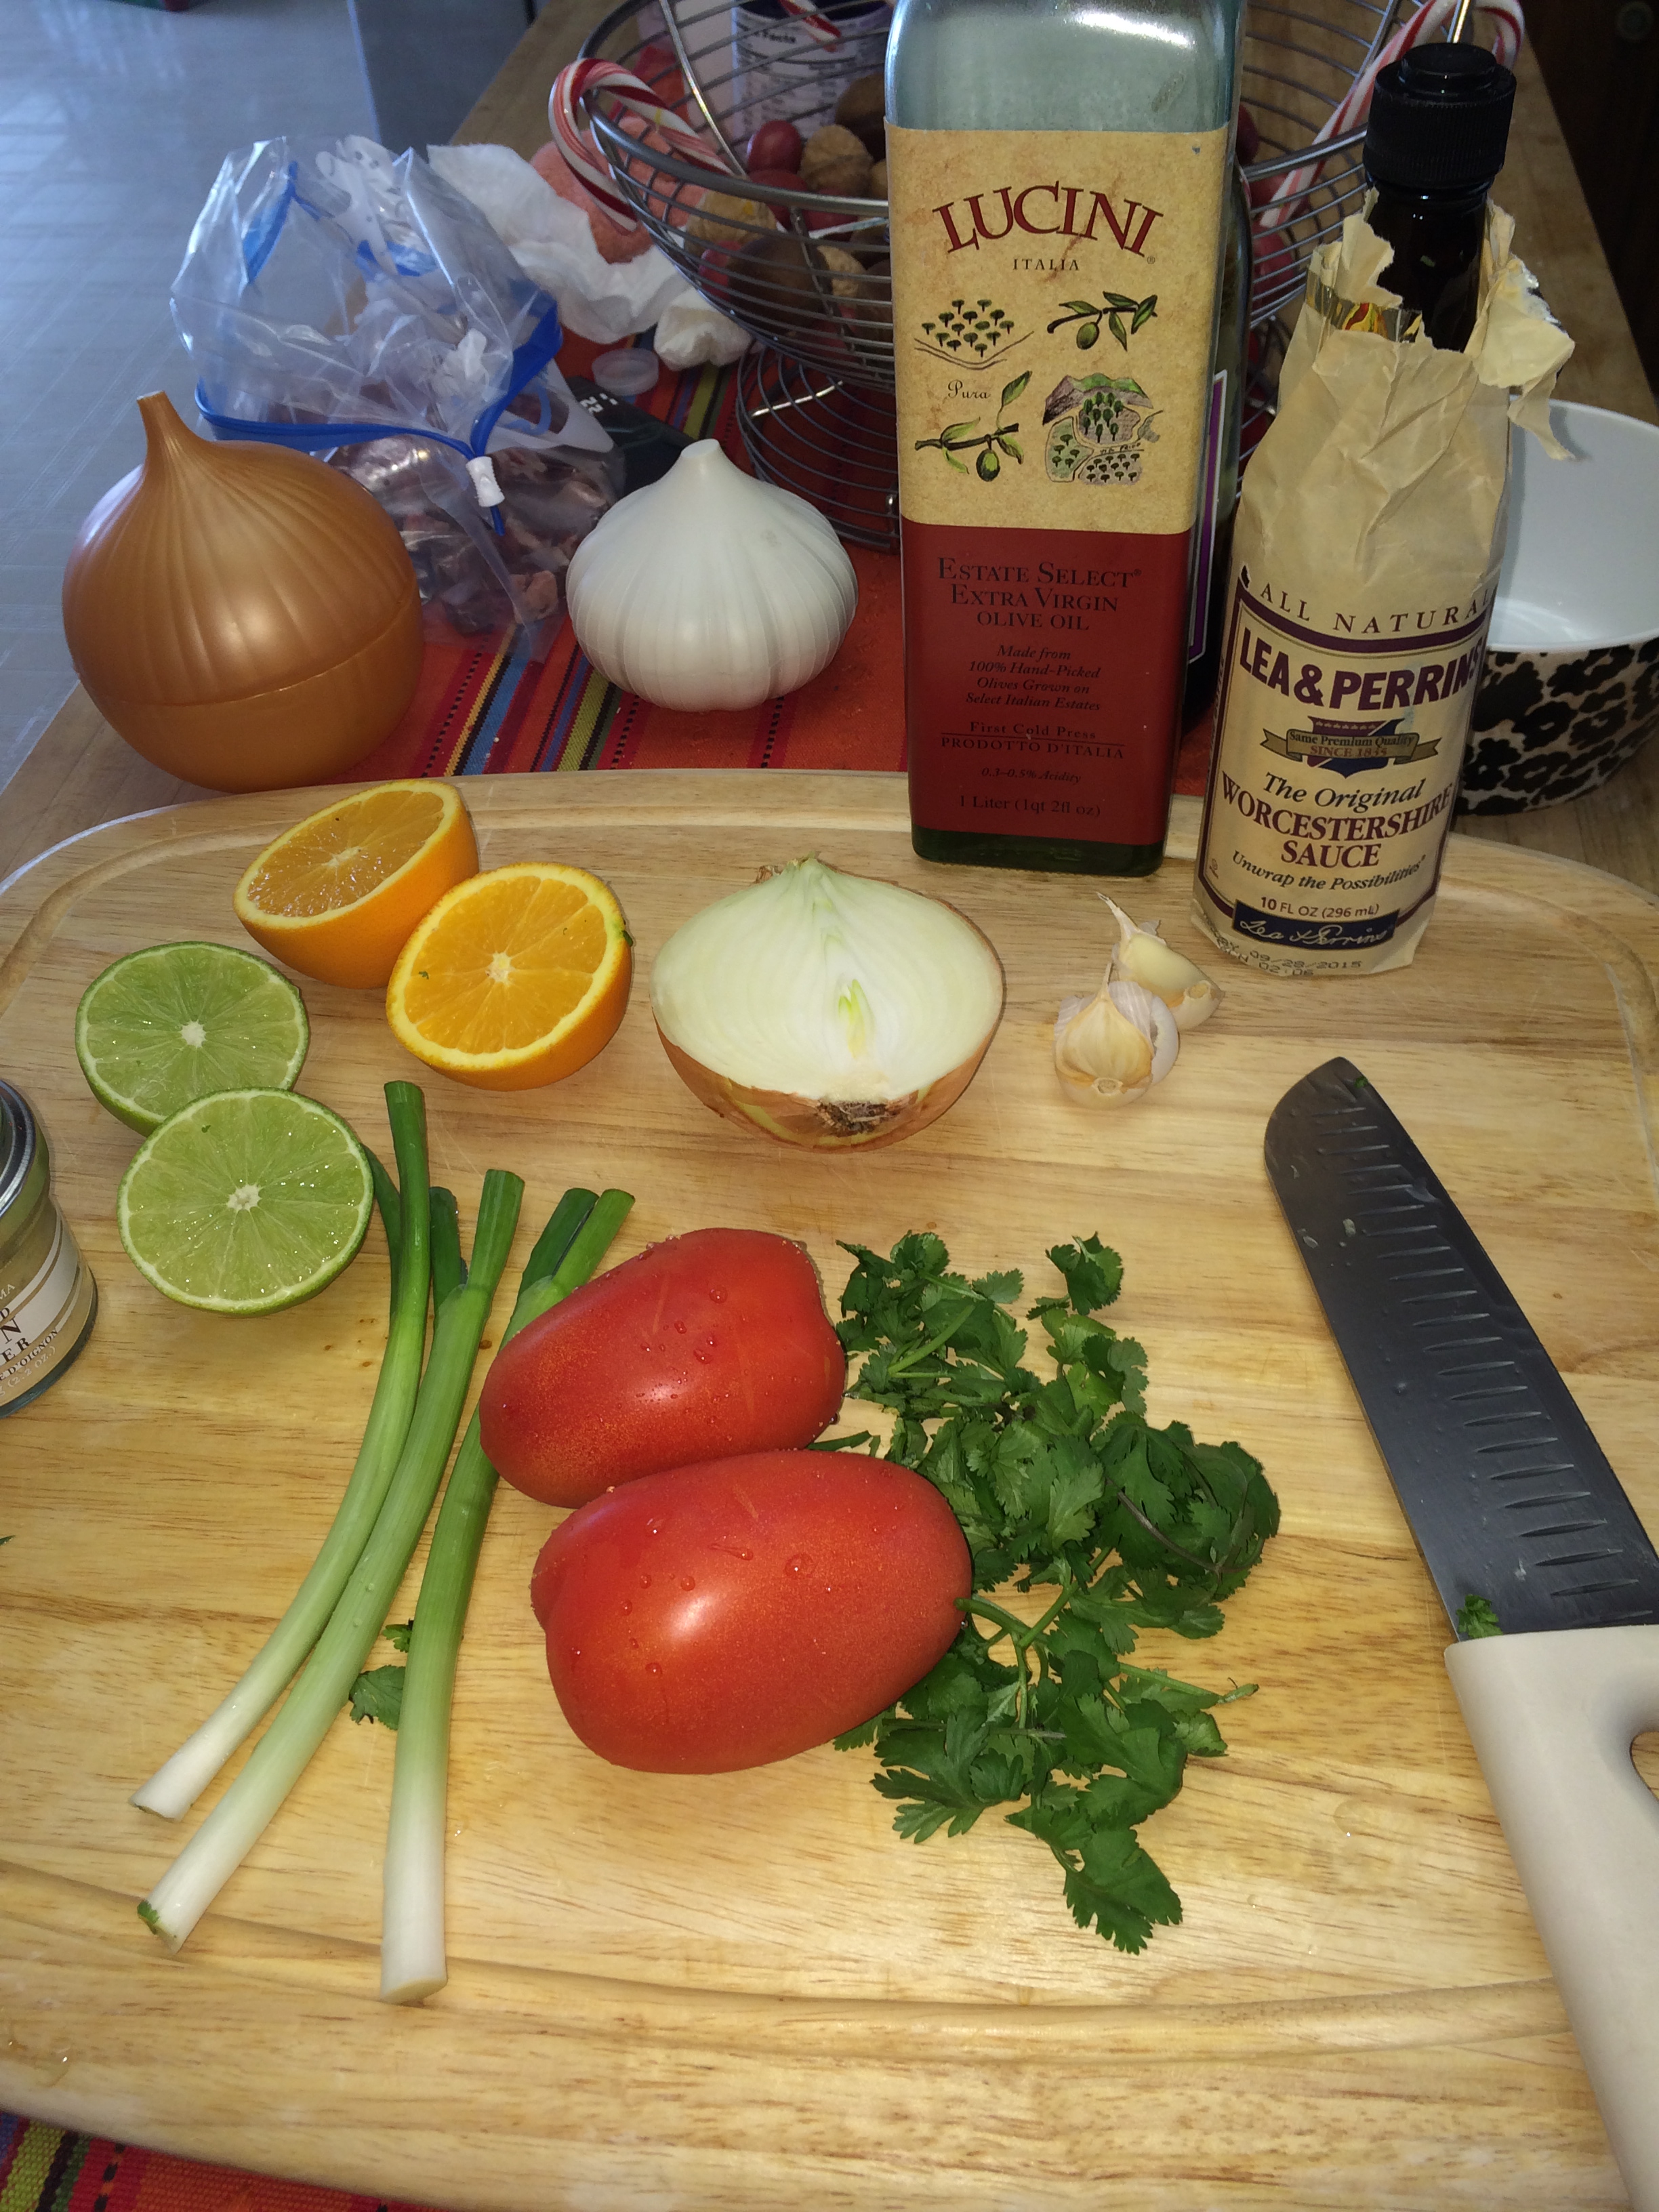
At this stage, place your meat (chopped or unchopped .. is that what they call the people who win on Chopped? The Un-Chopped?) in a ziploc bag, and grab these things:
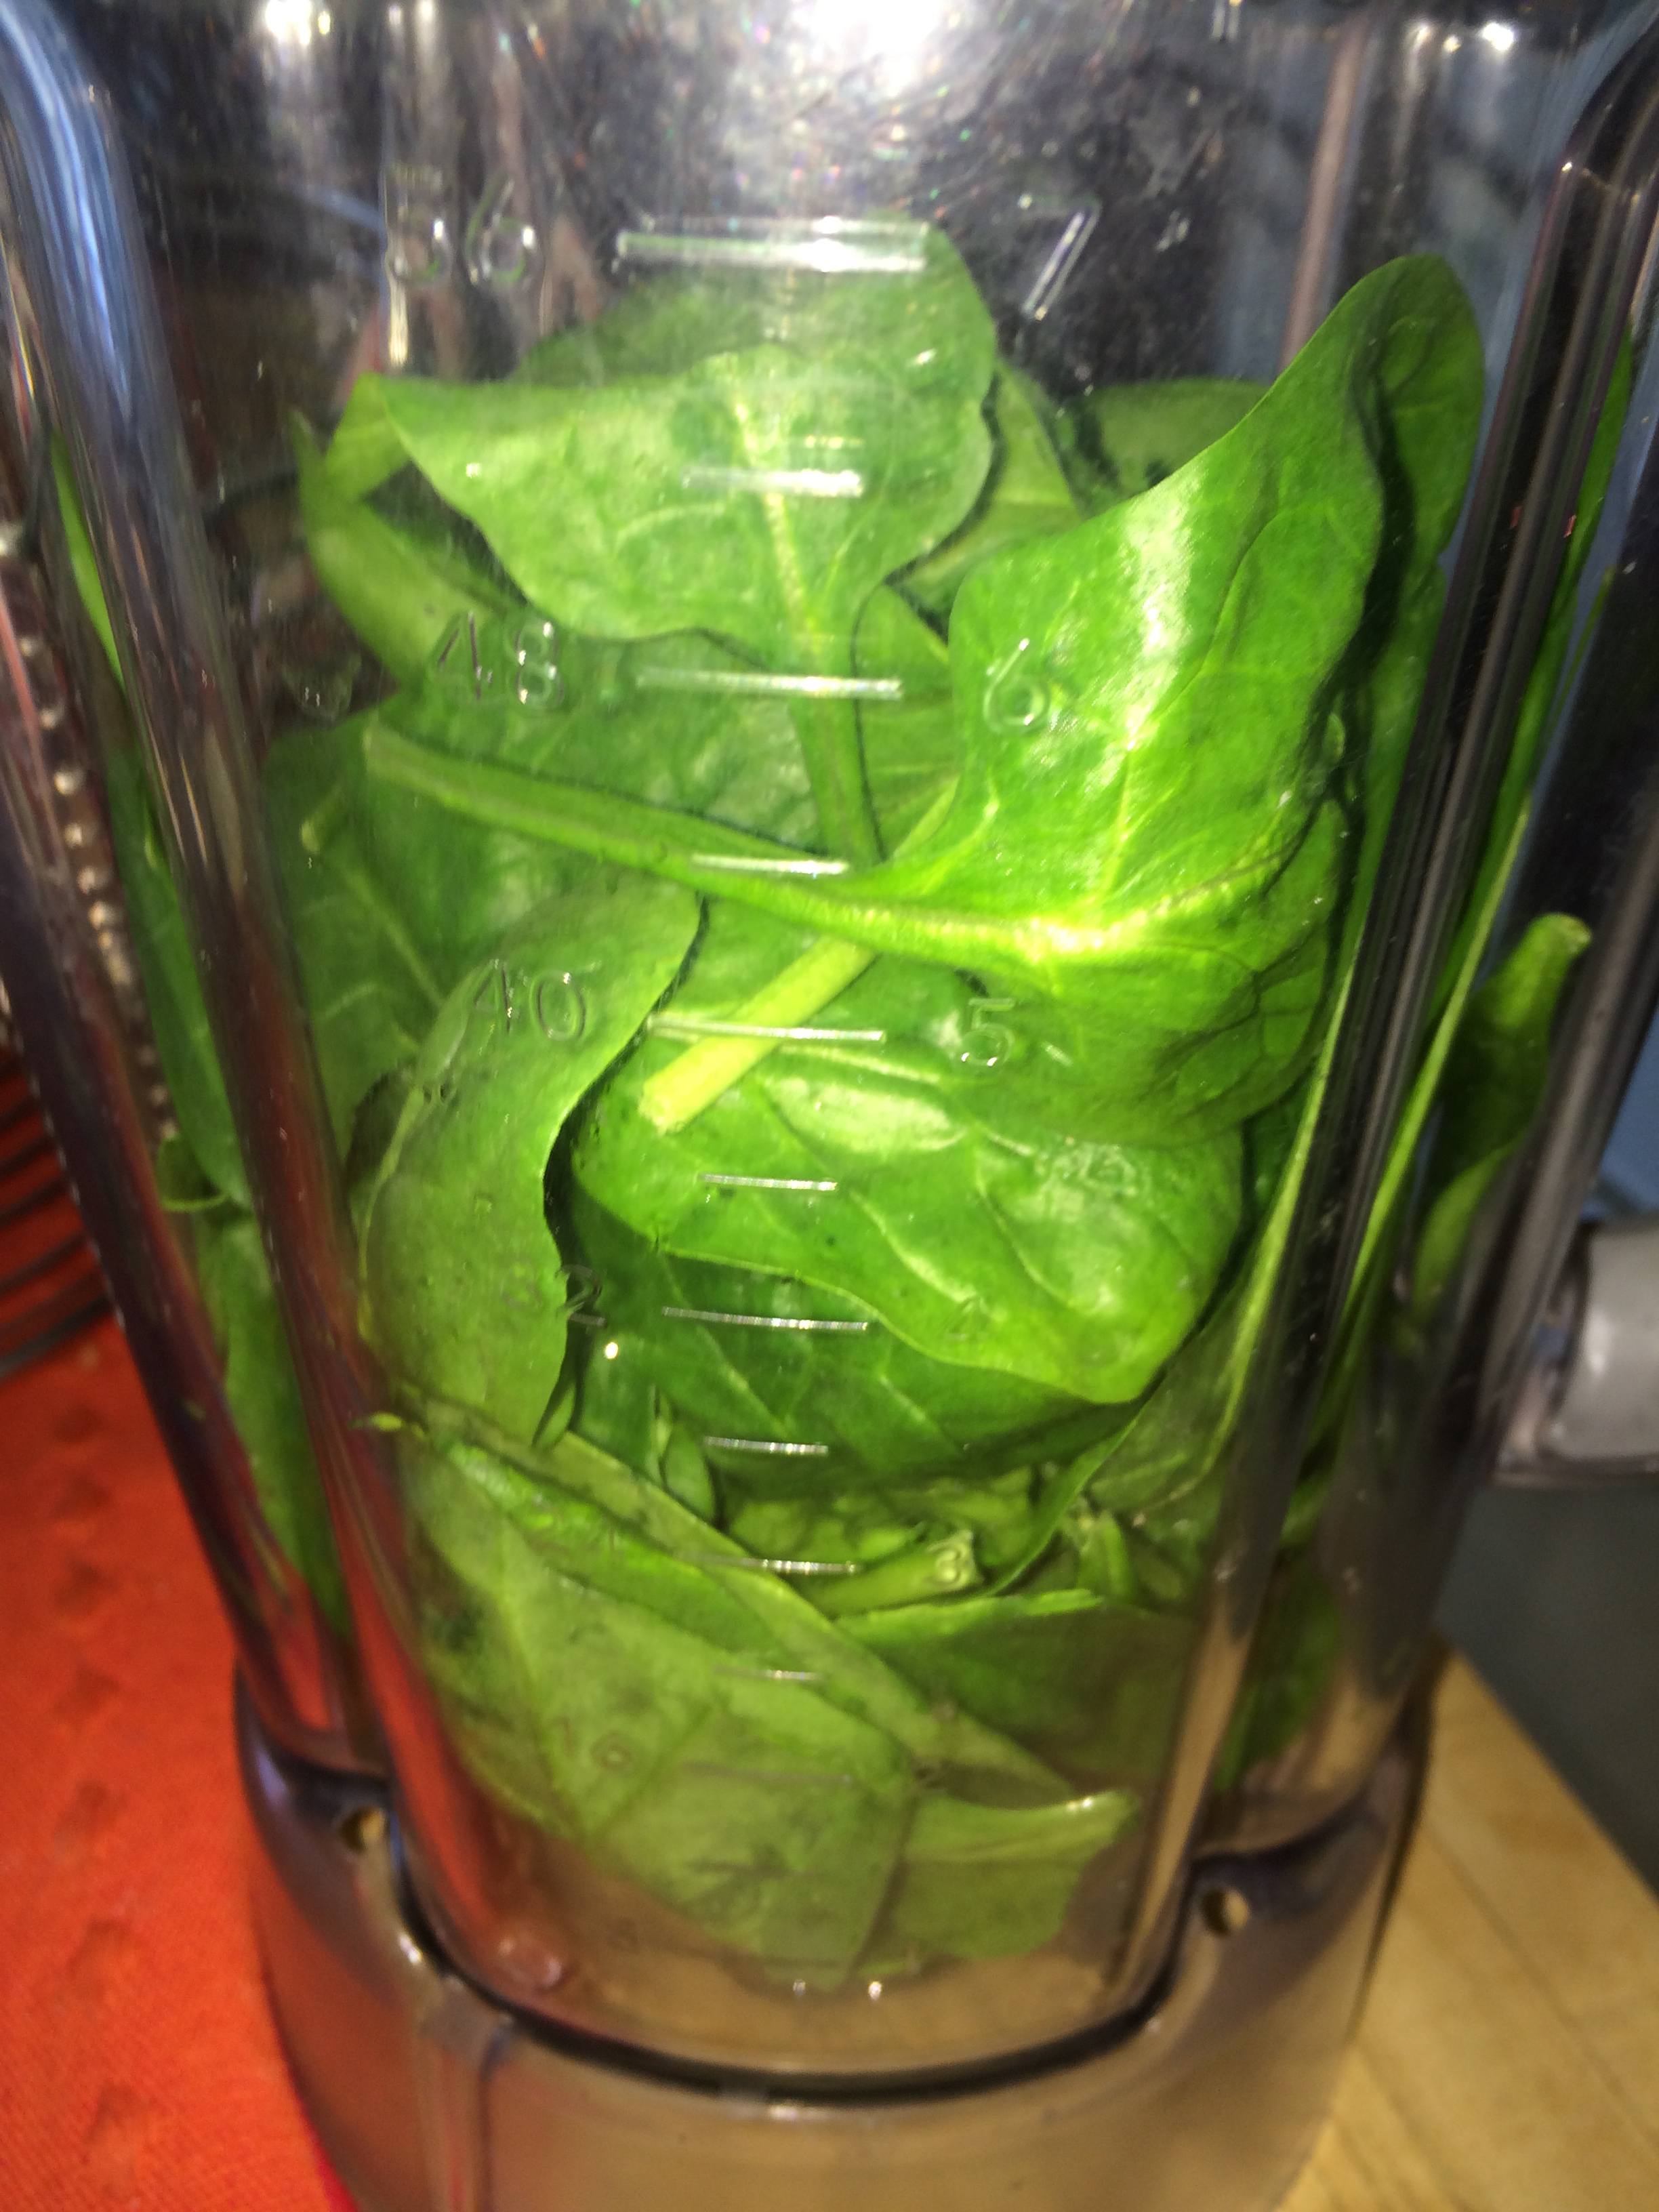
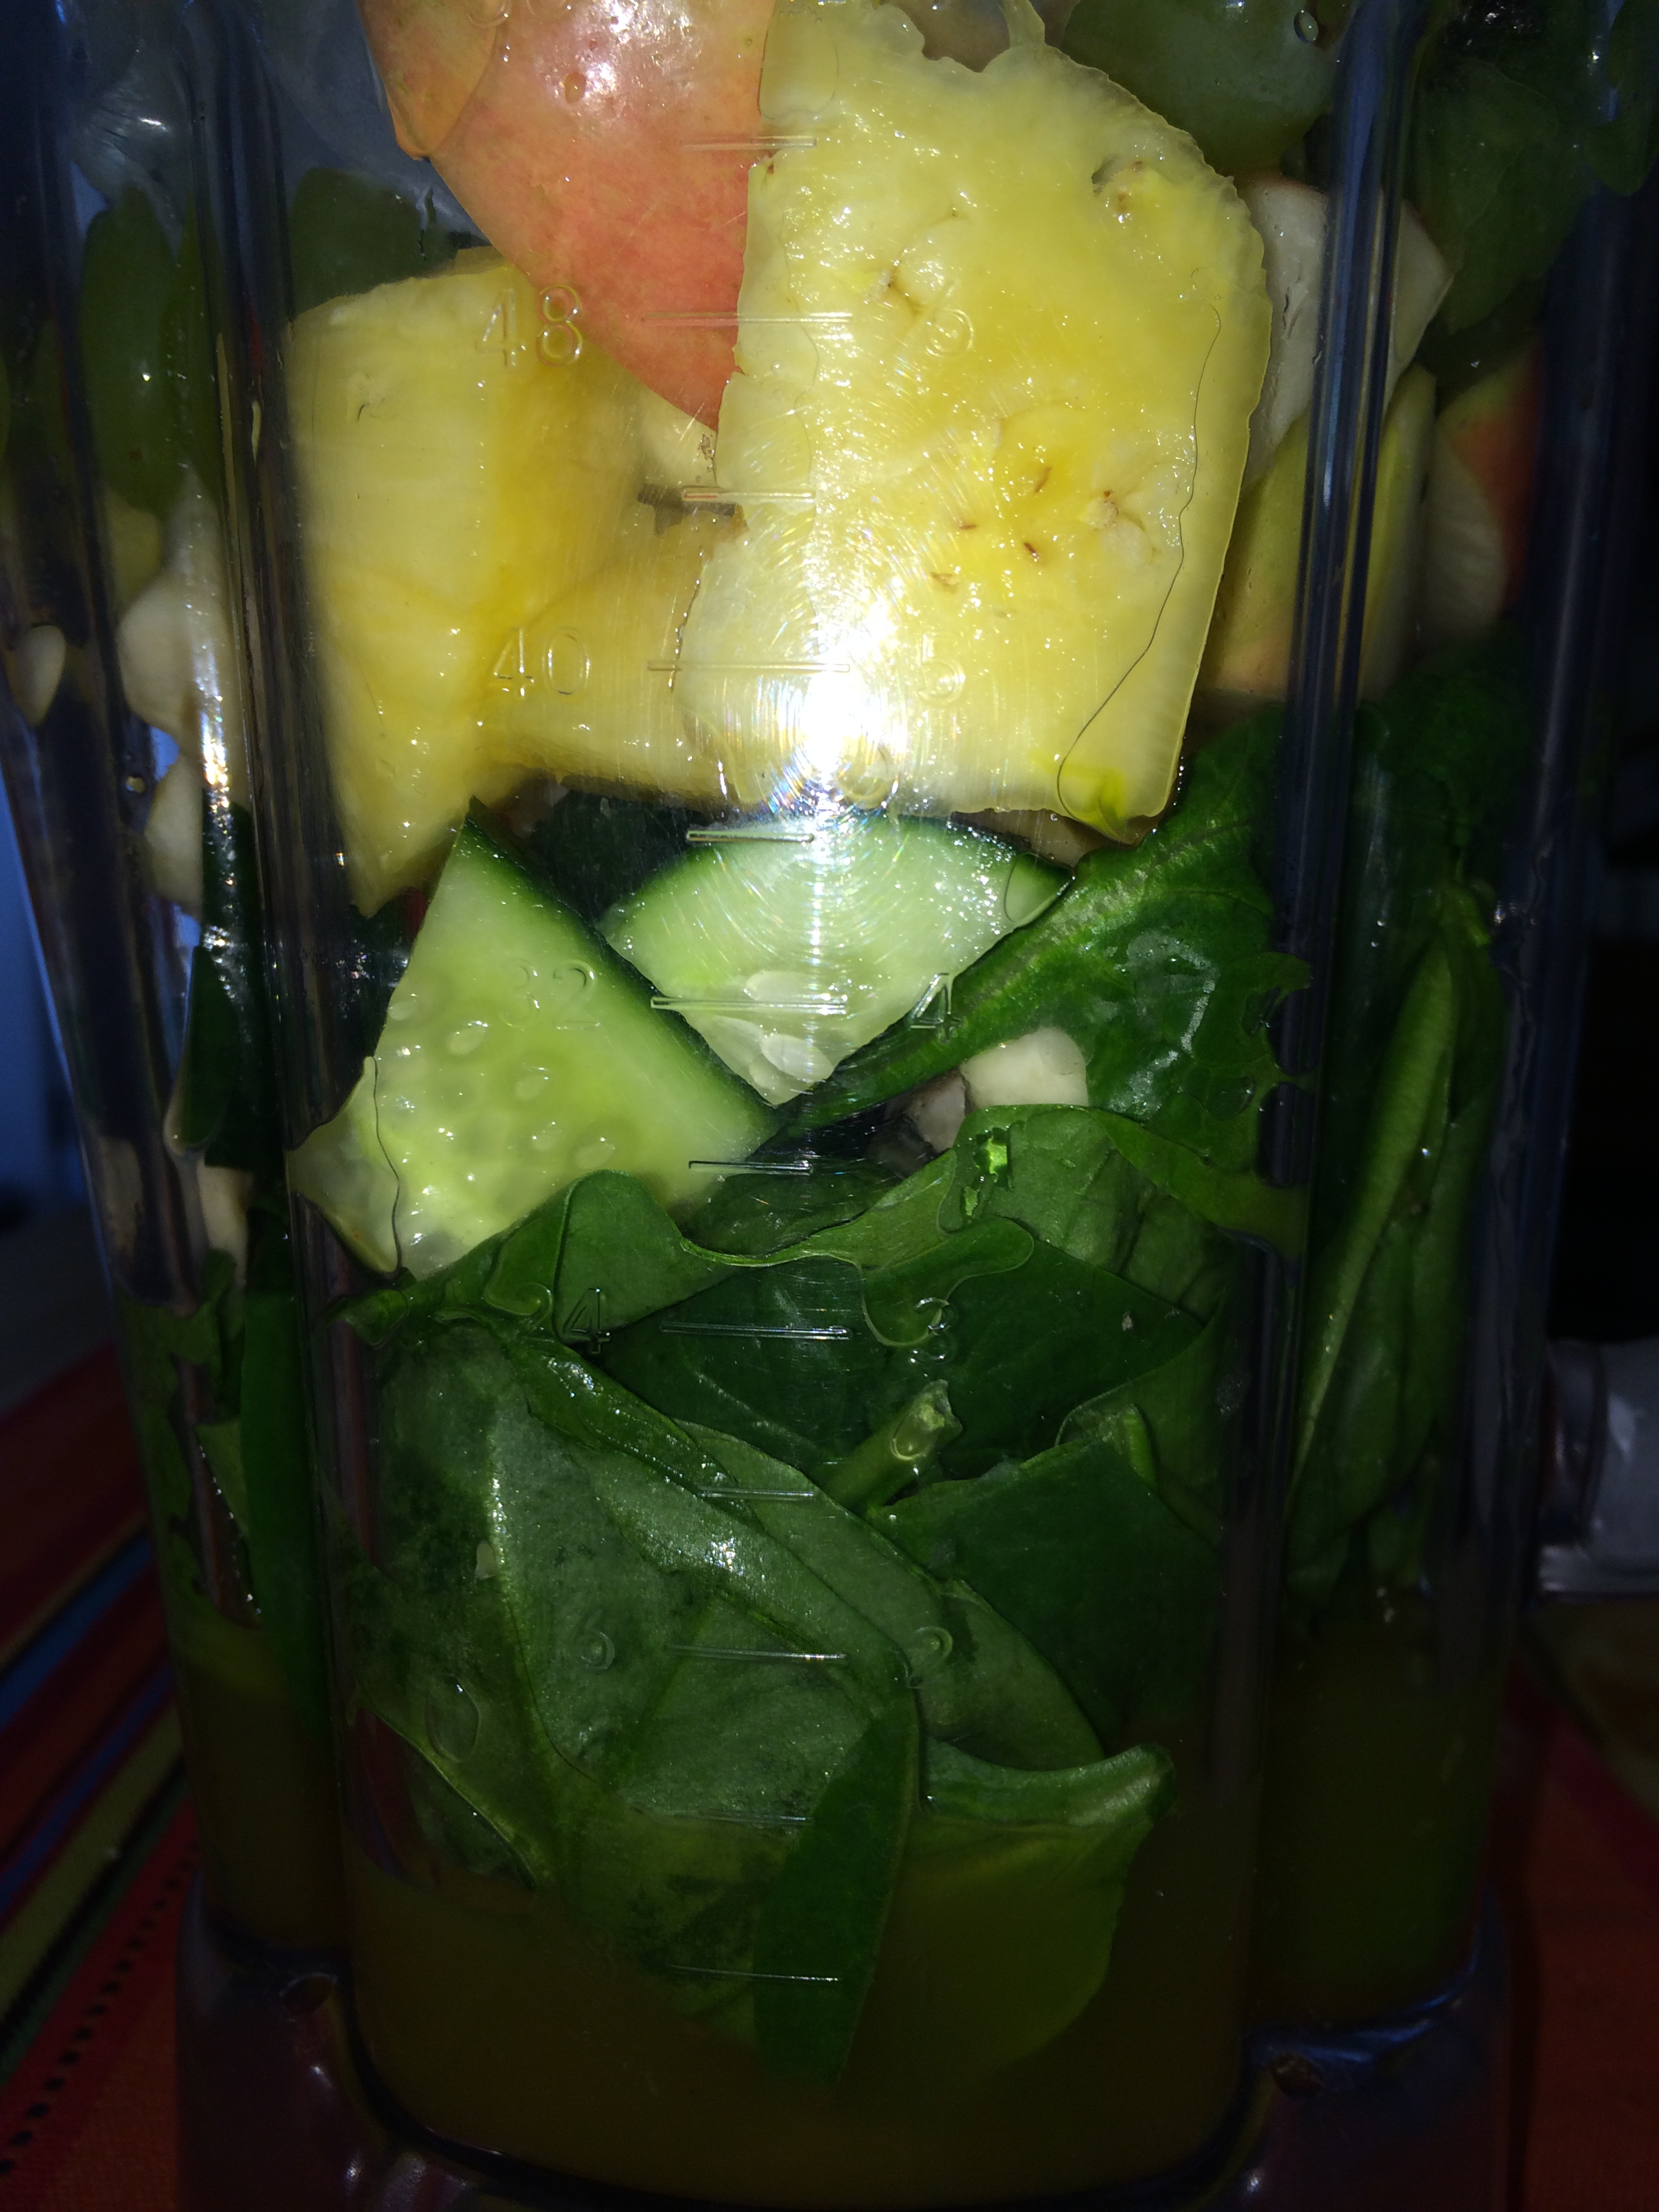
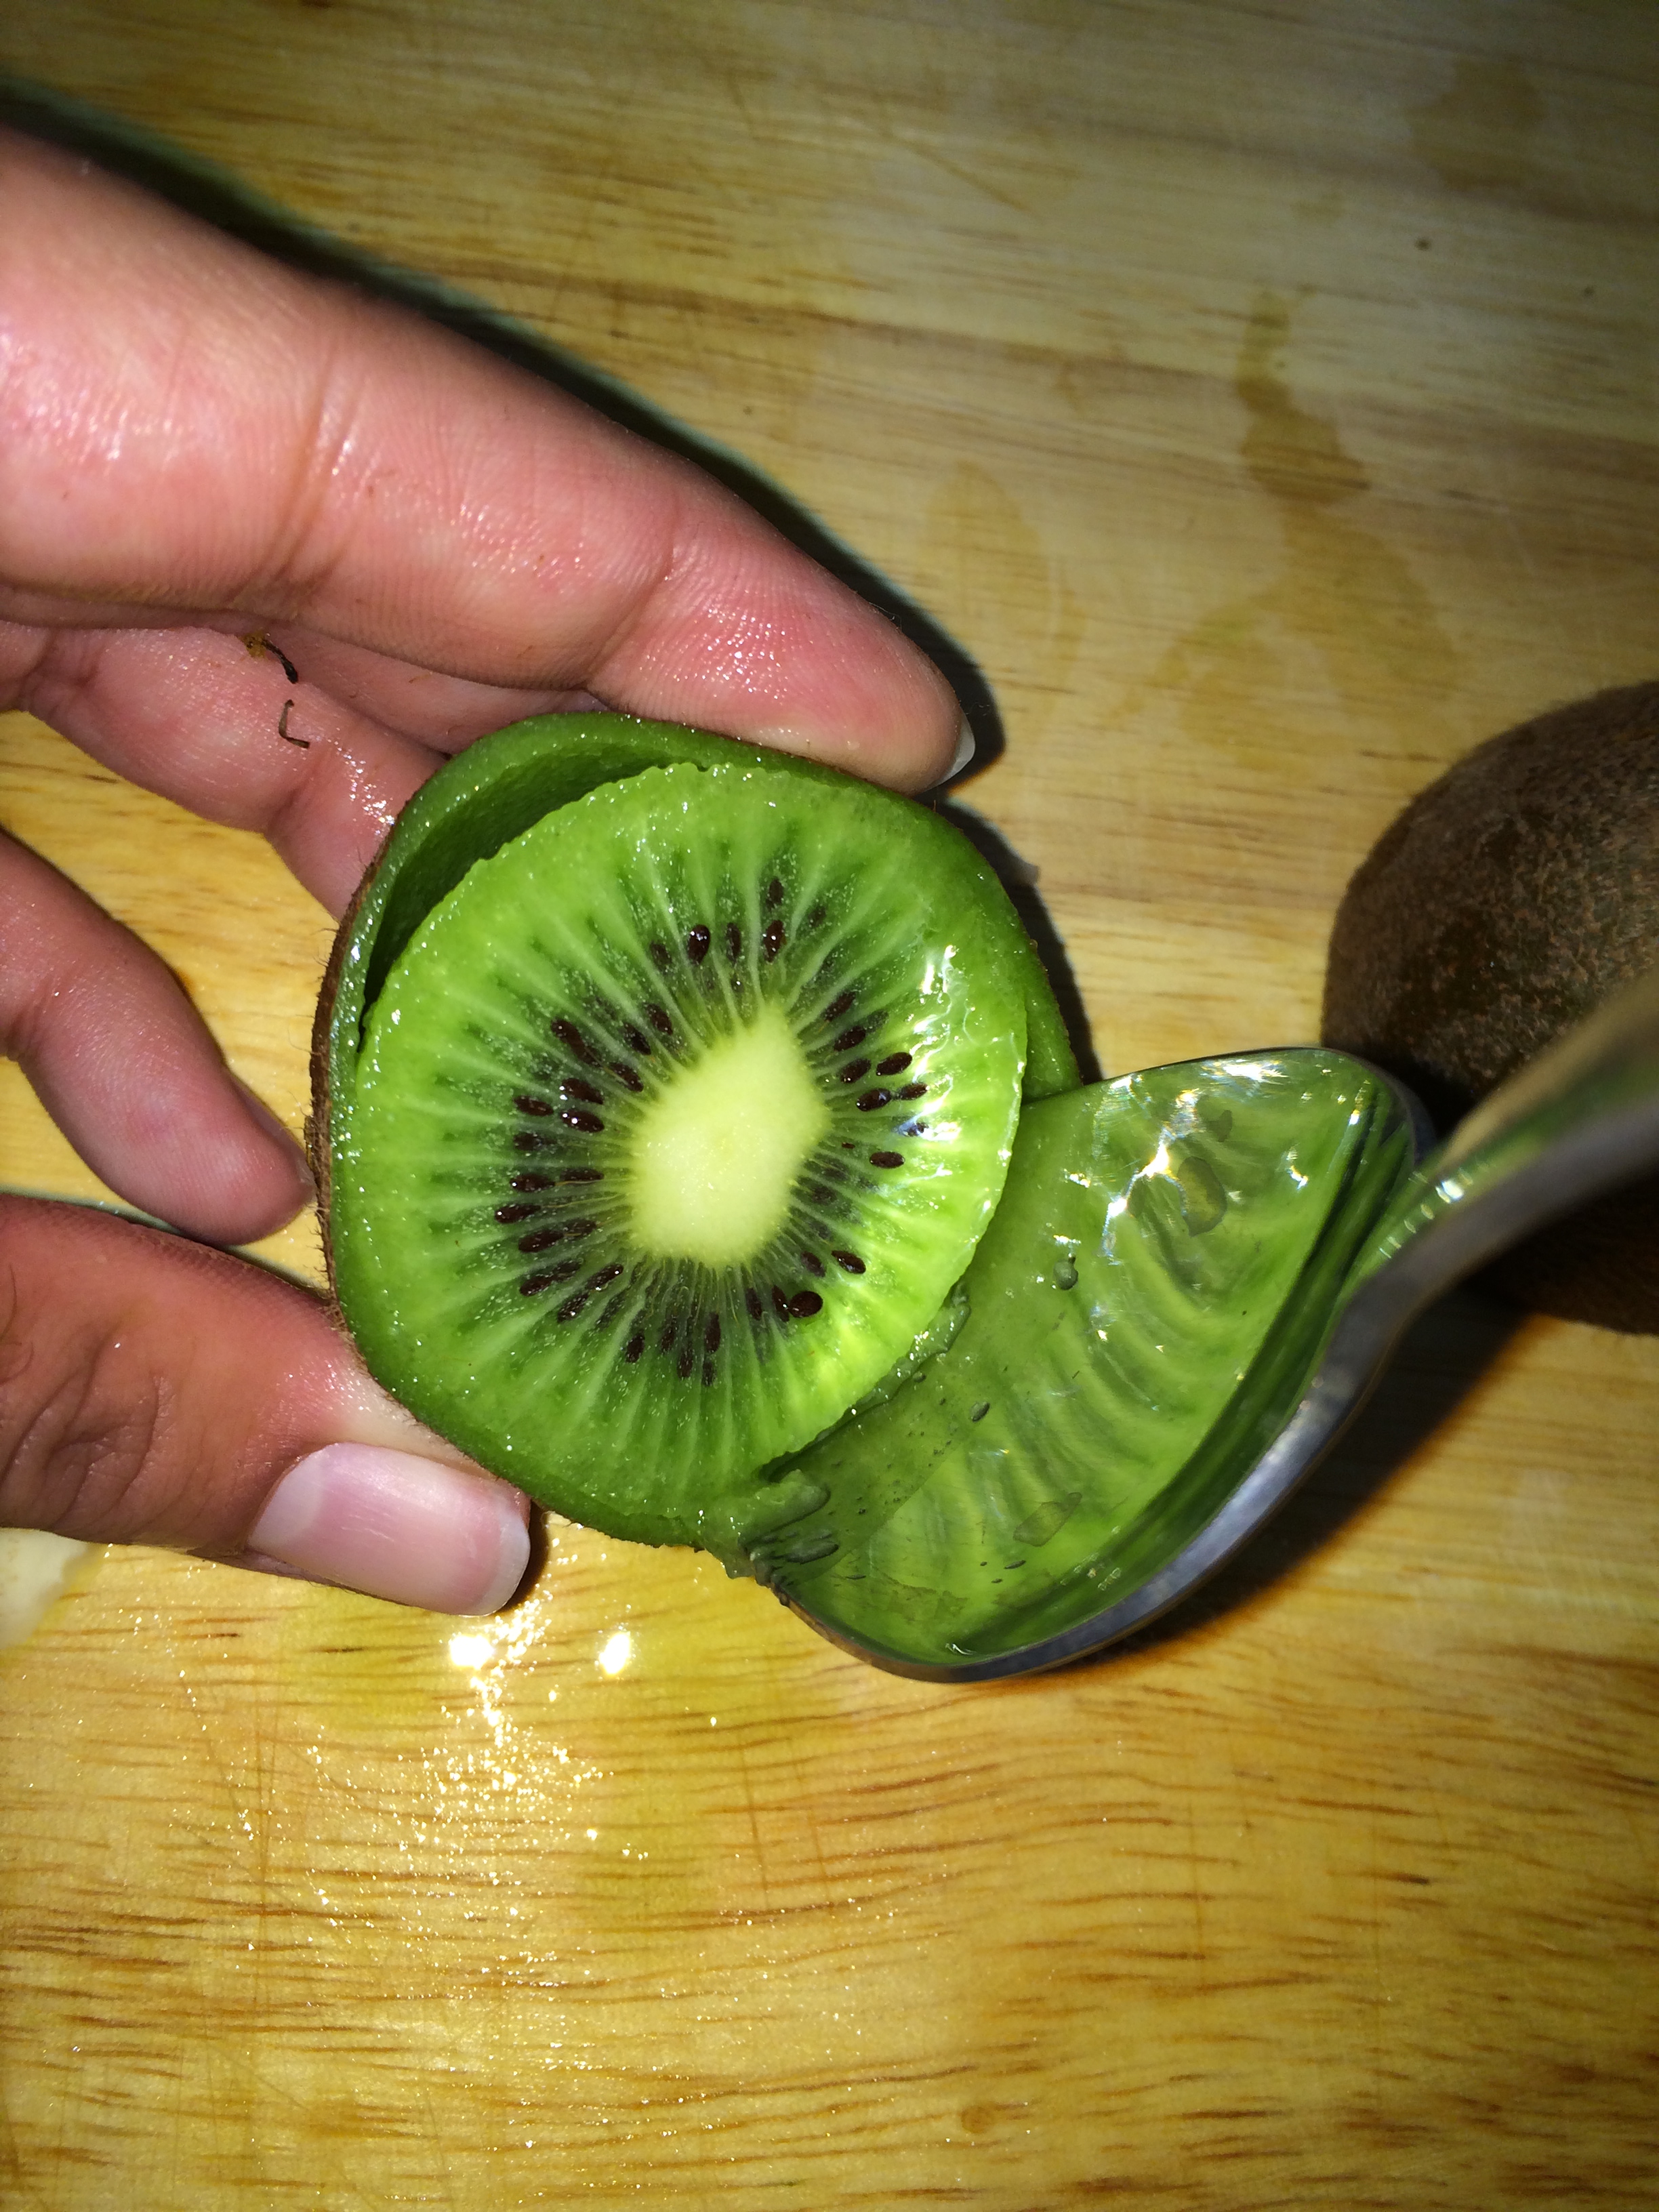
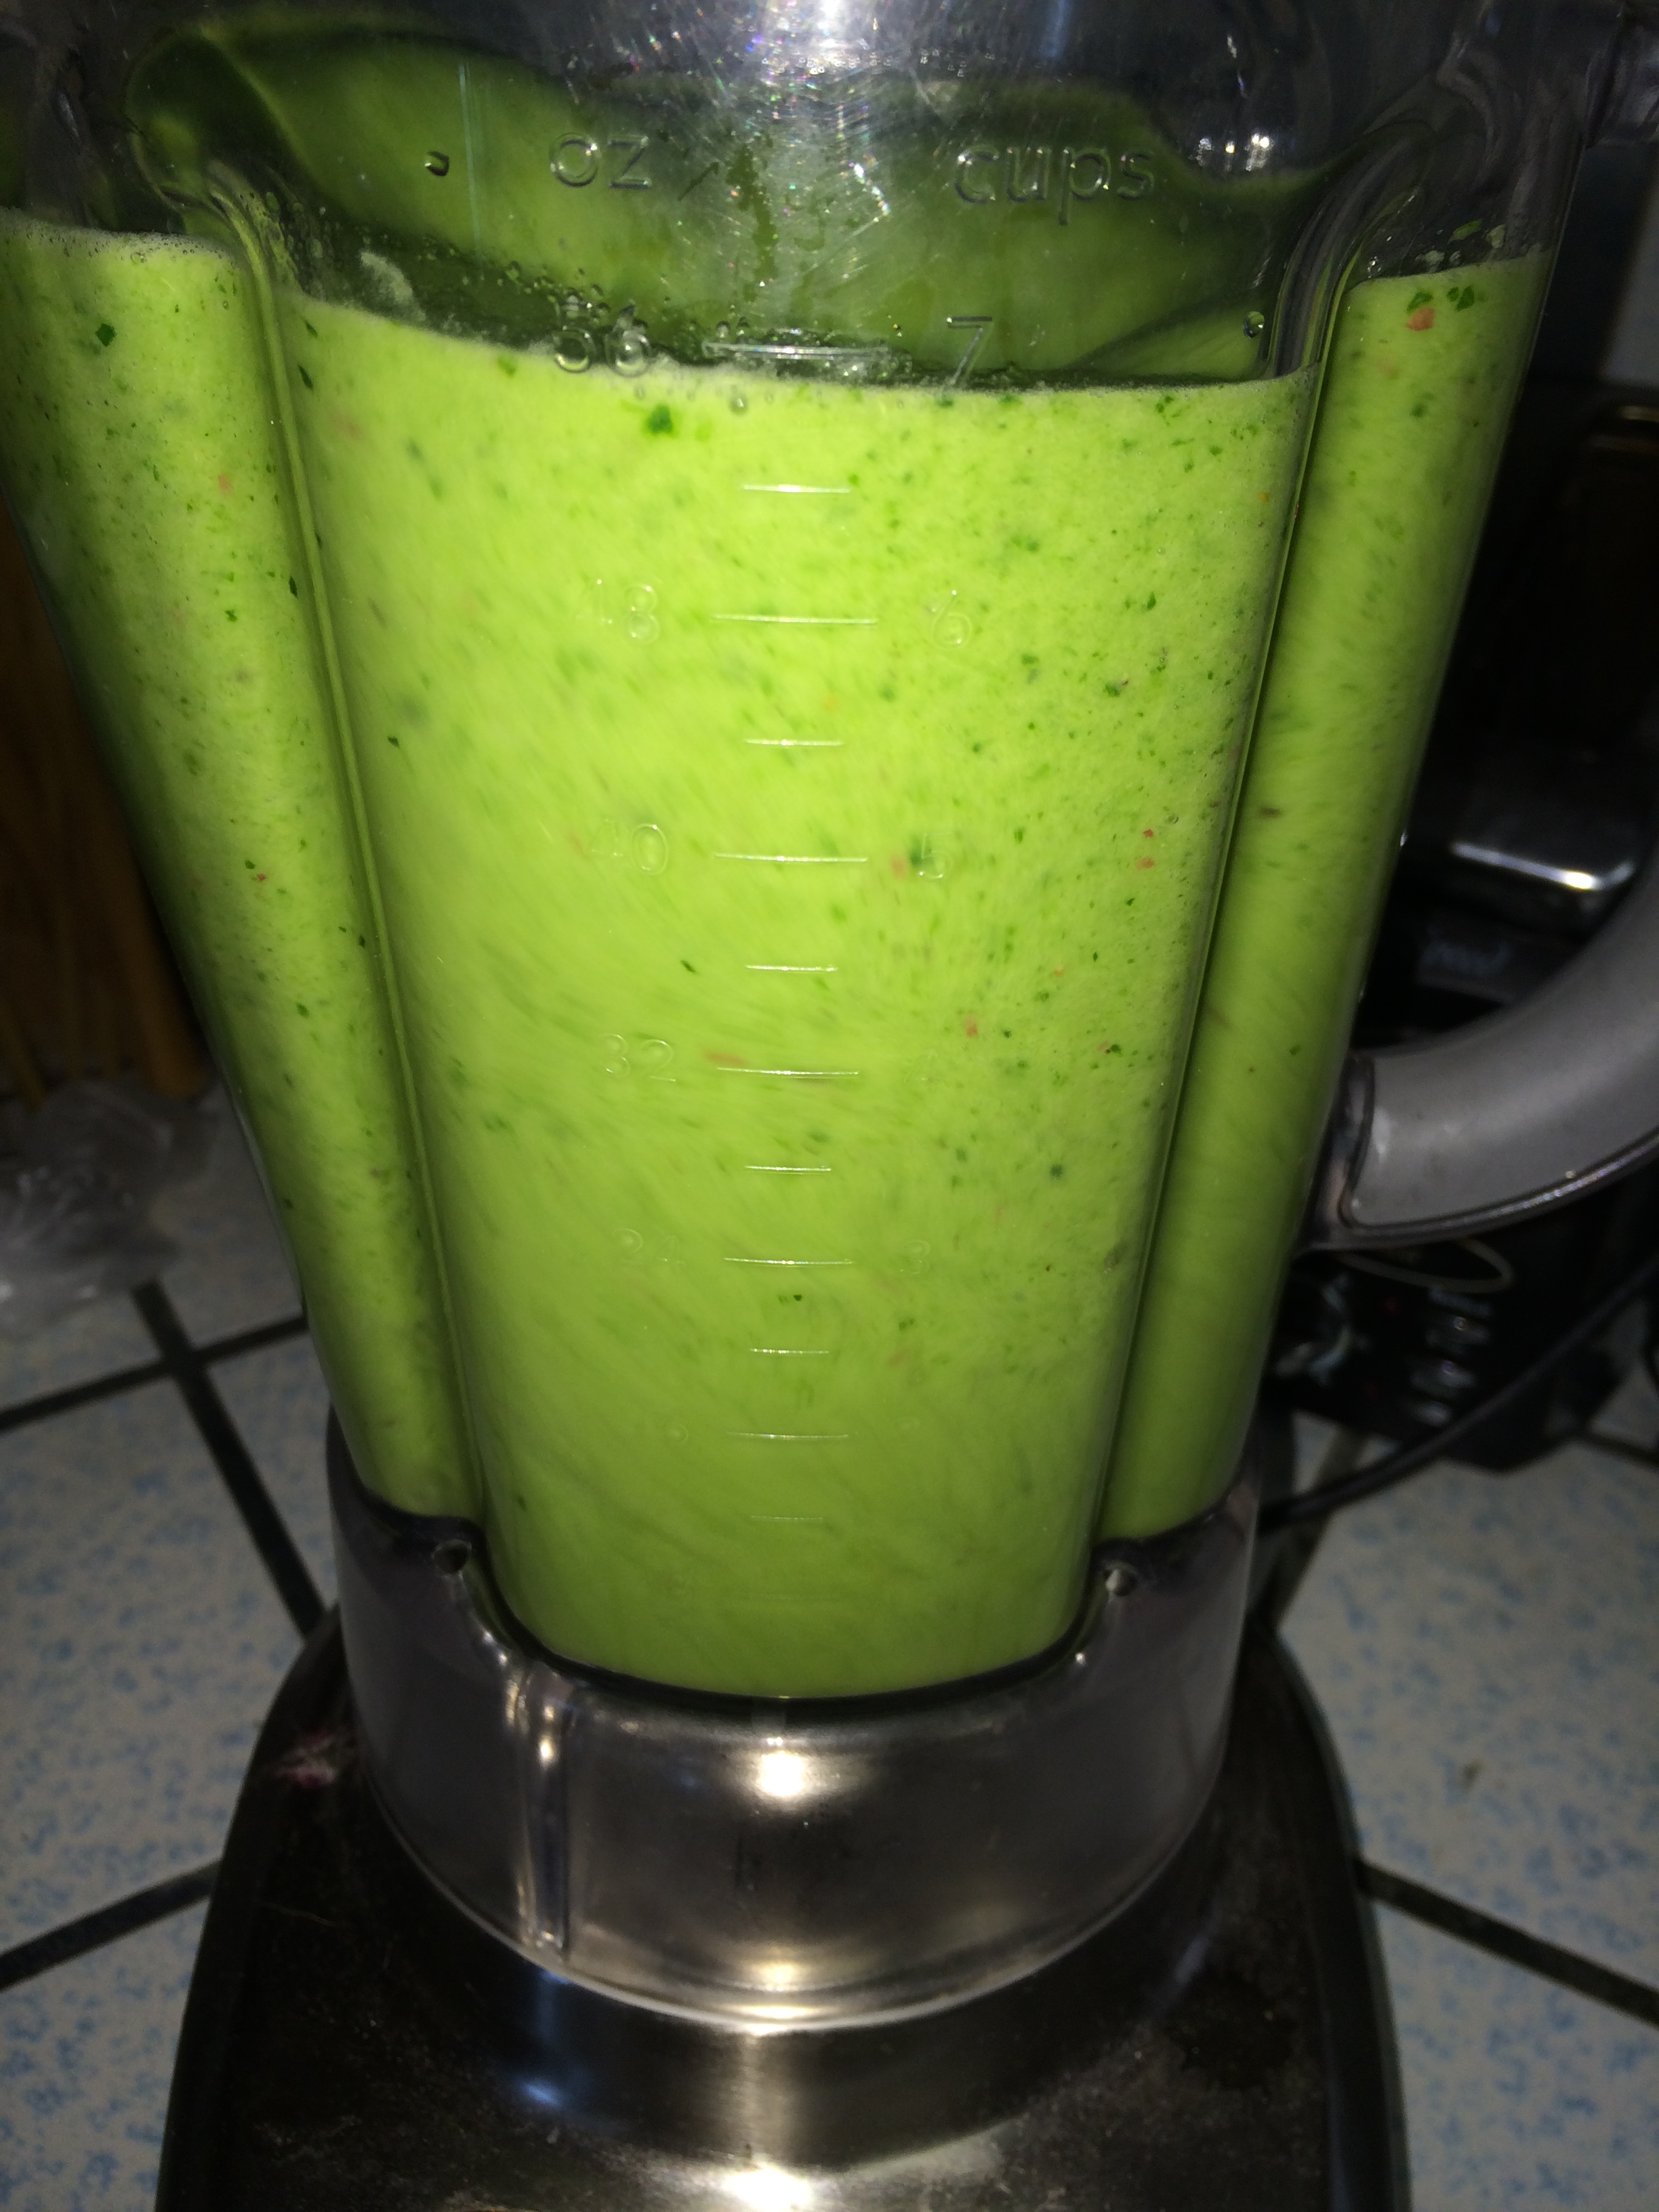
Btw, you can click on any of the pics to enlarge them.
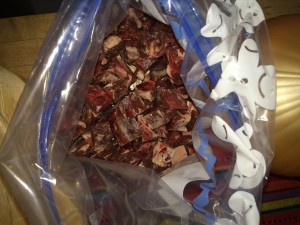
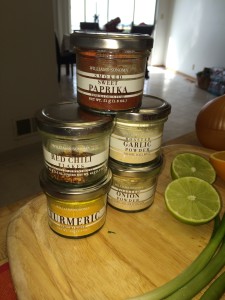
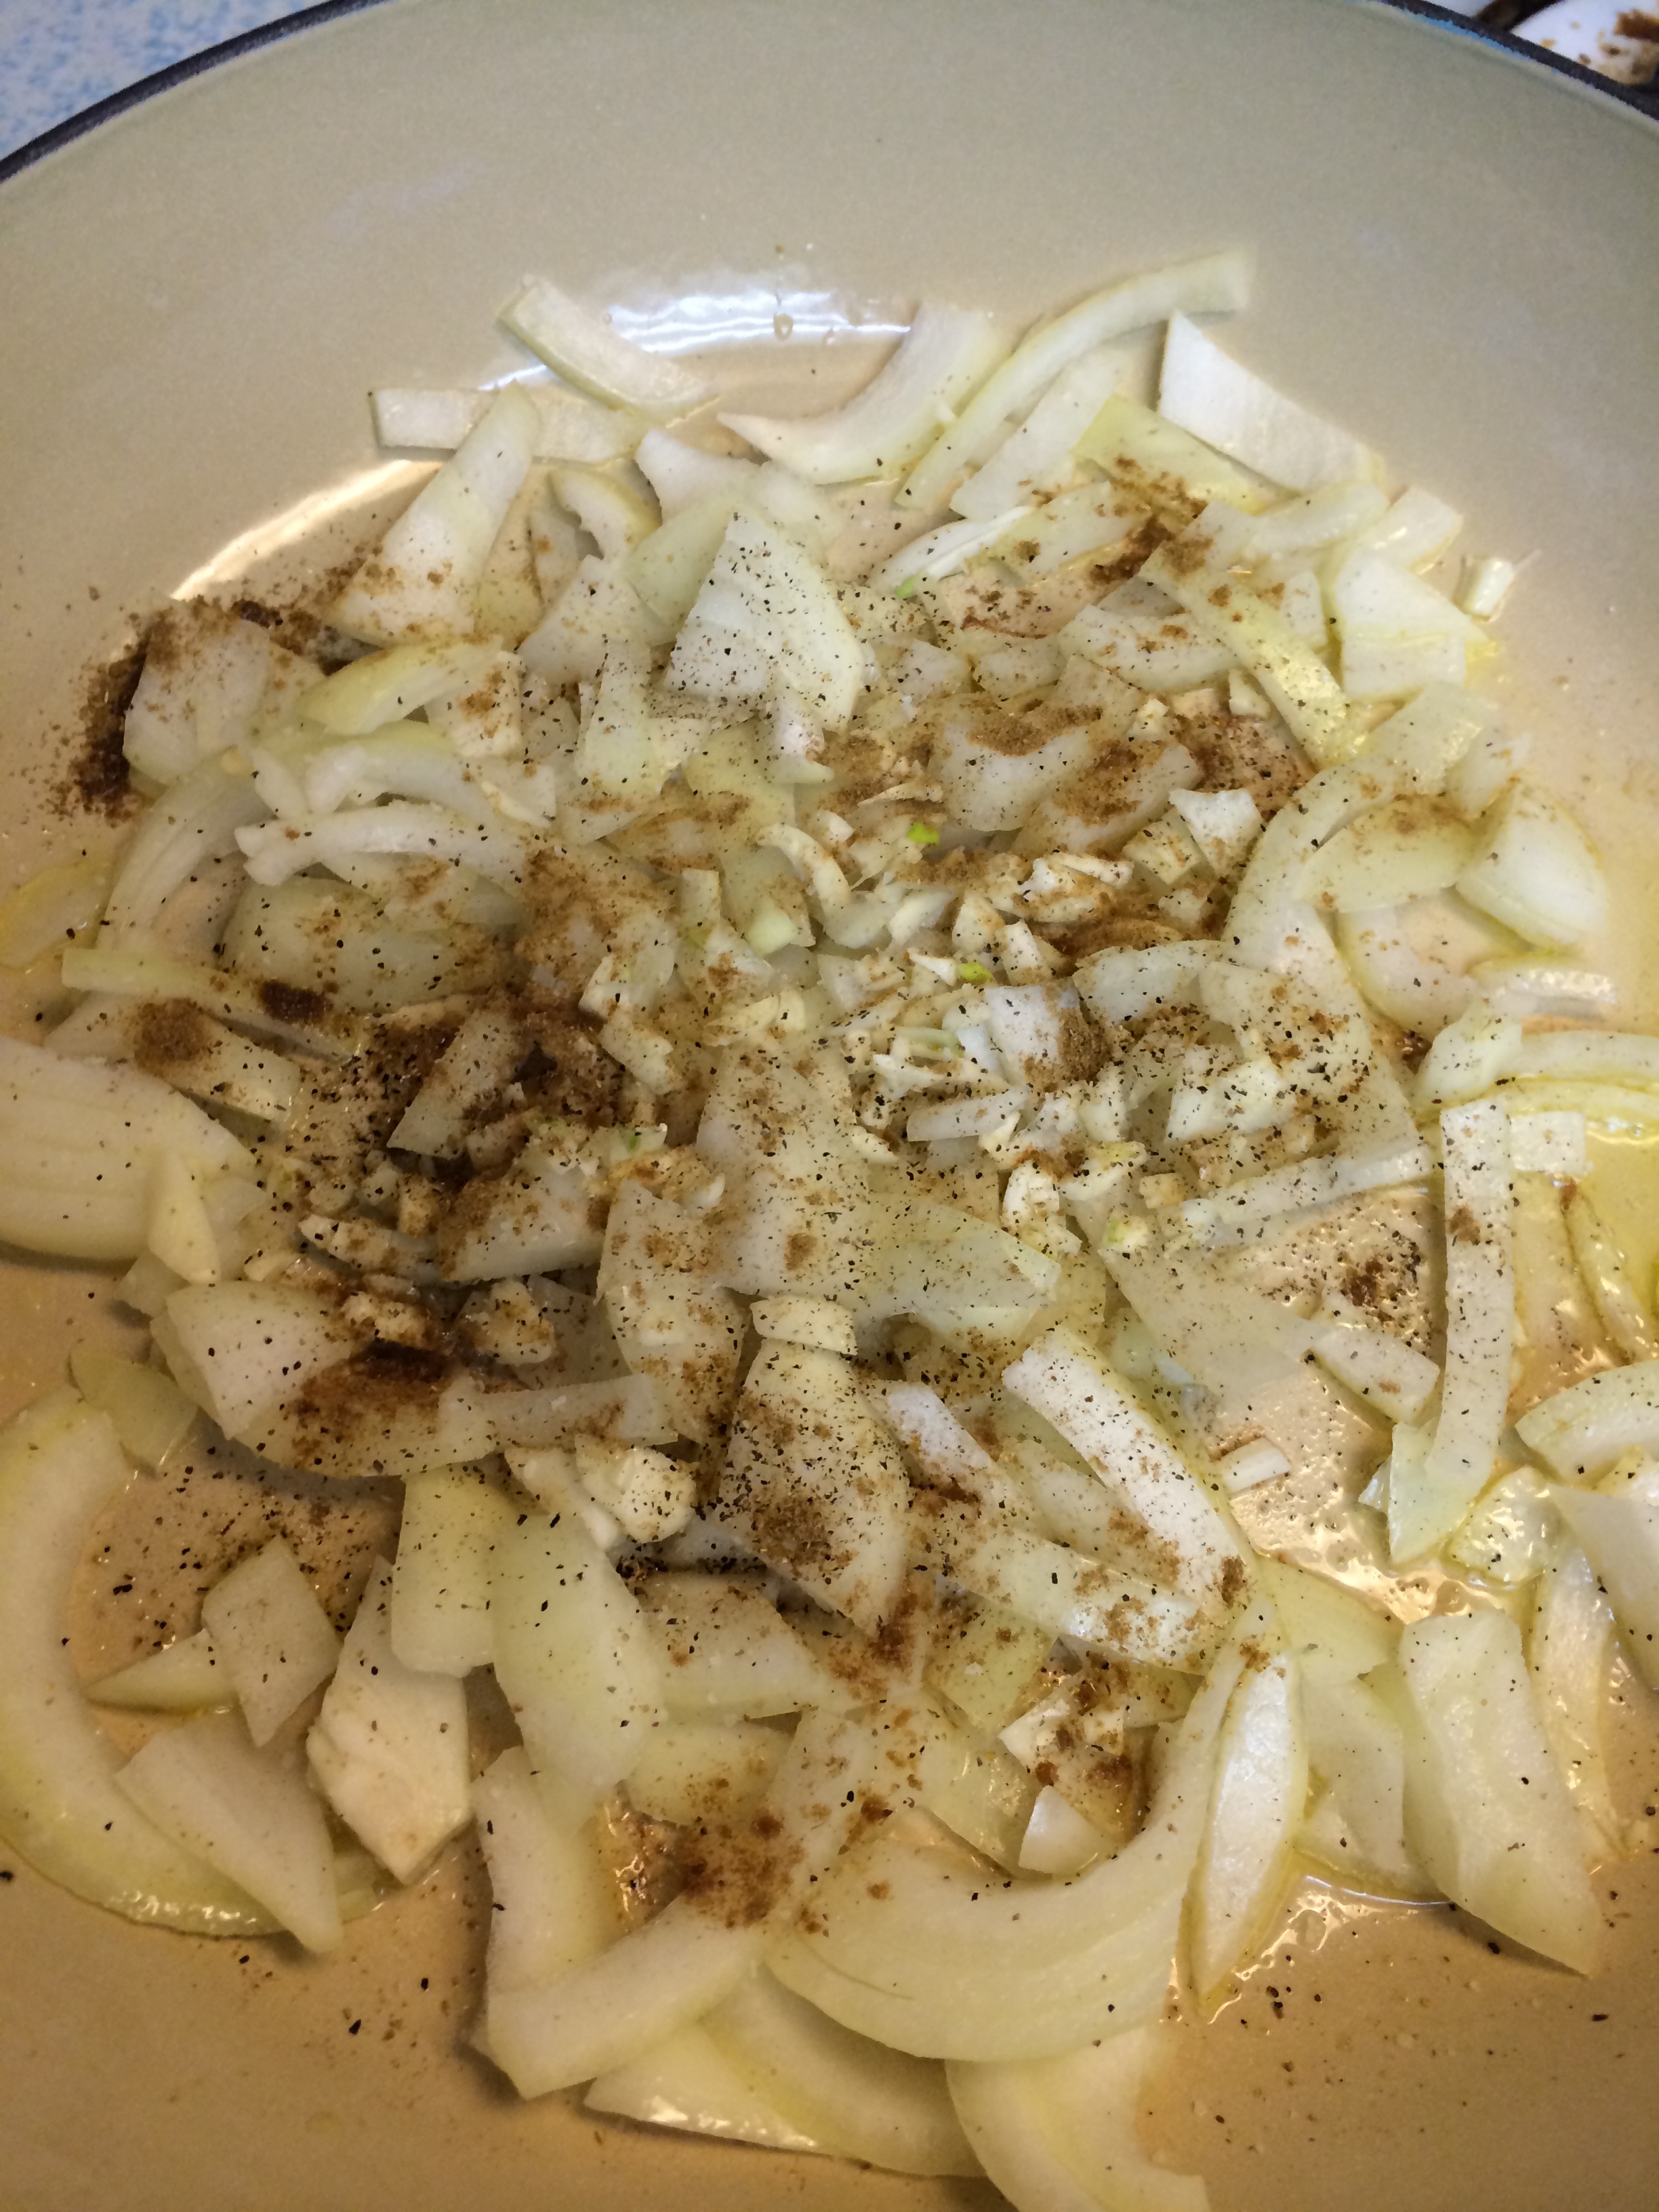
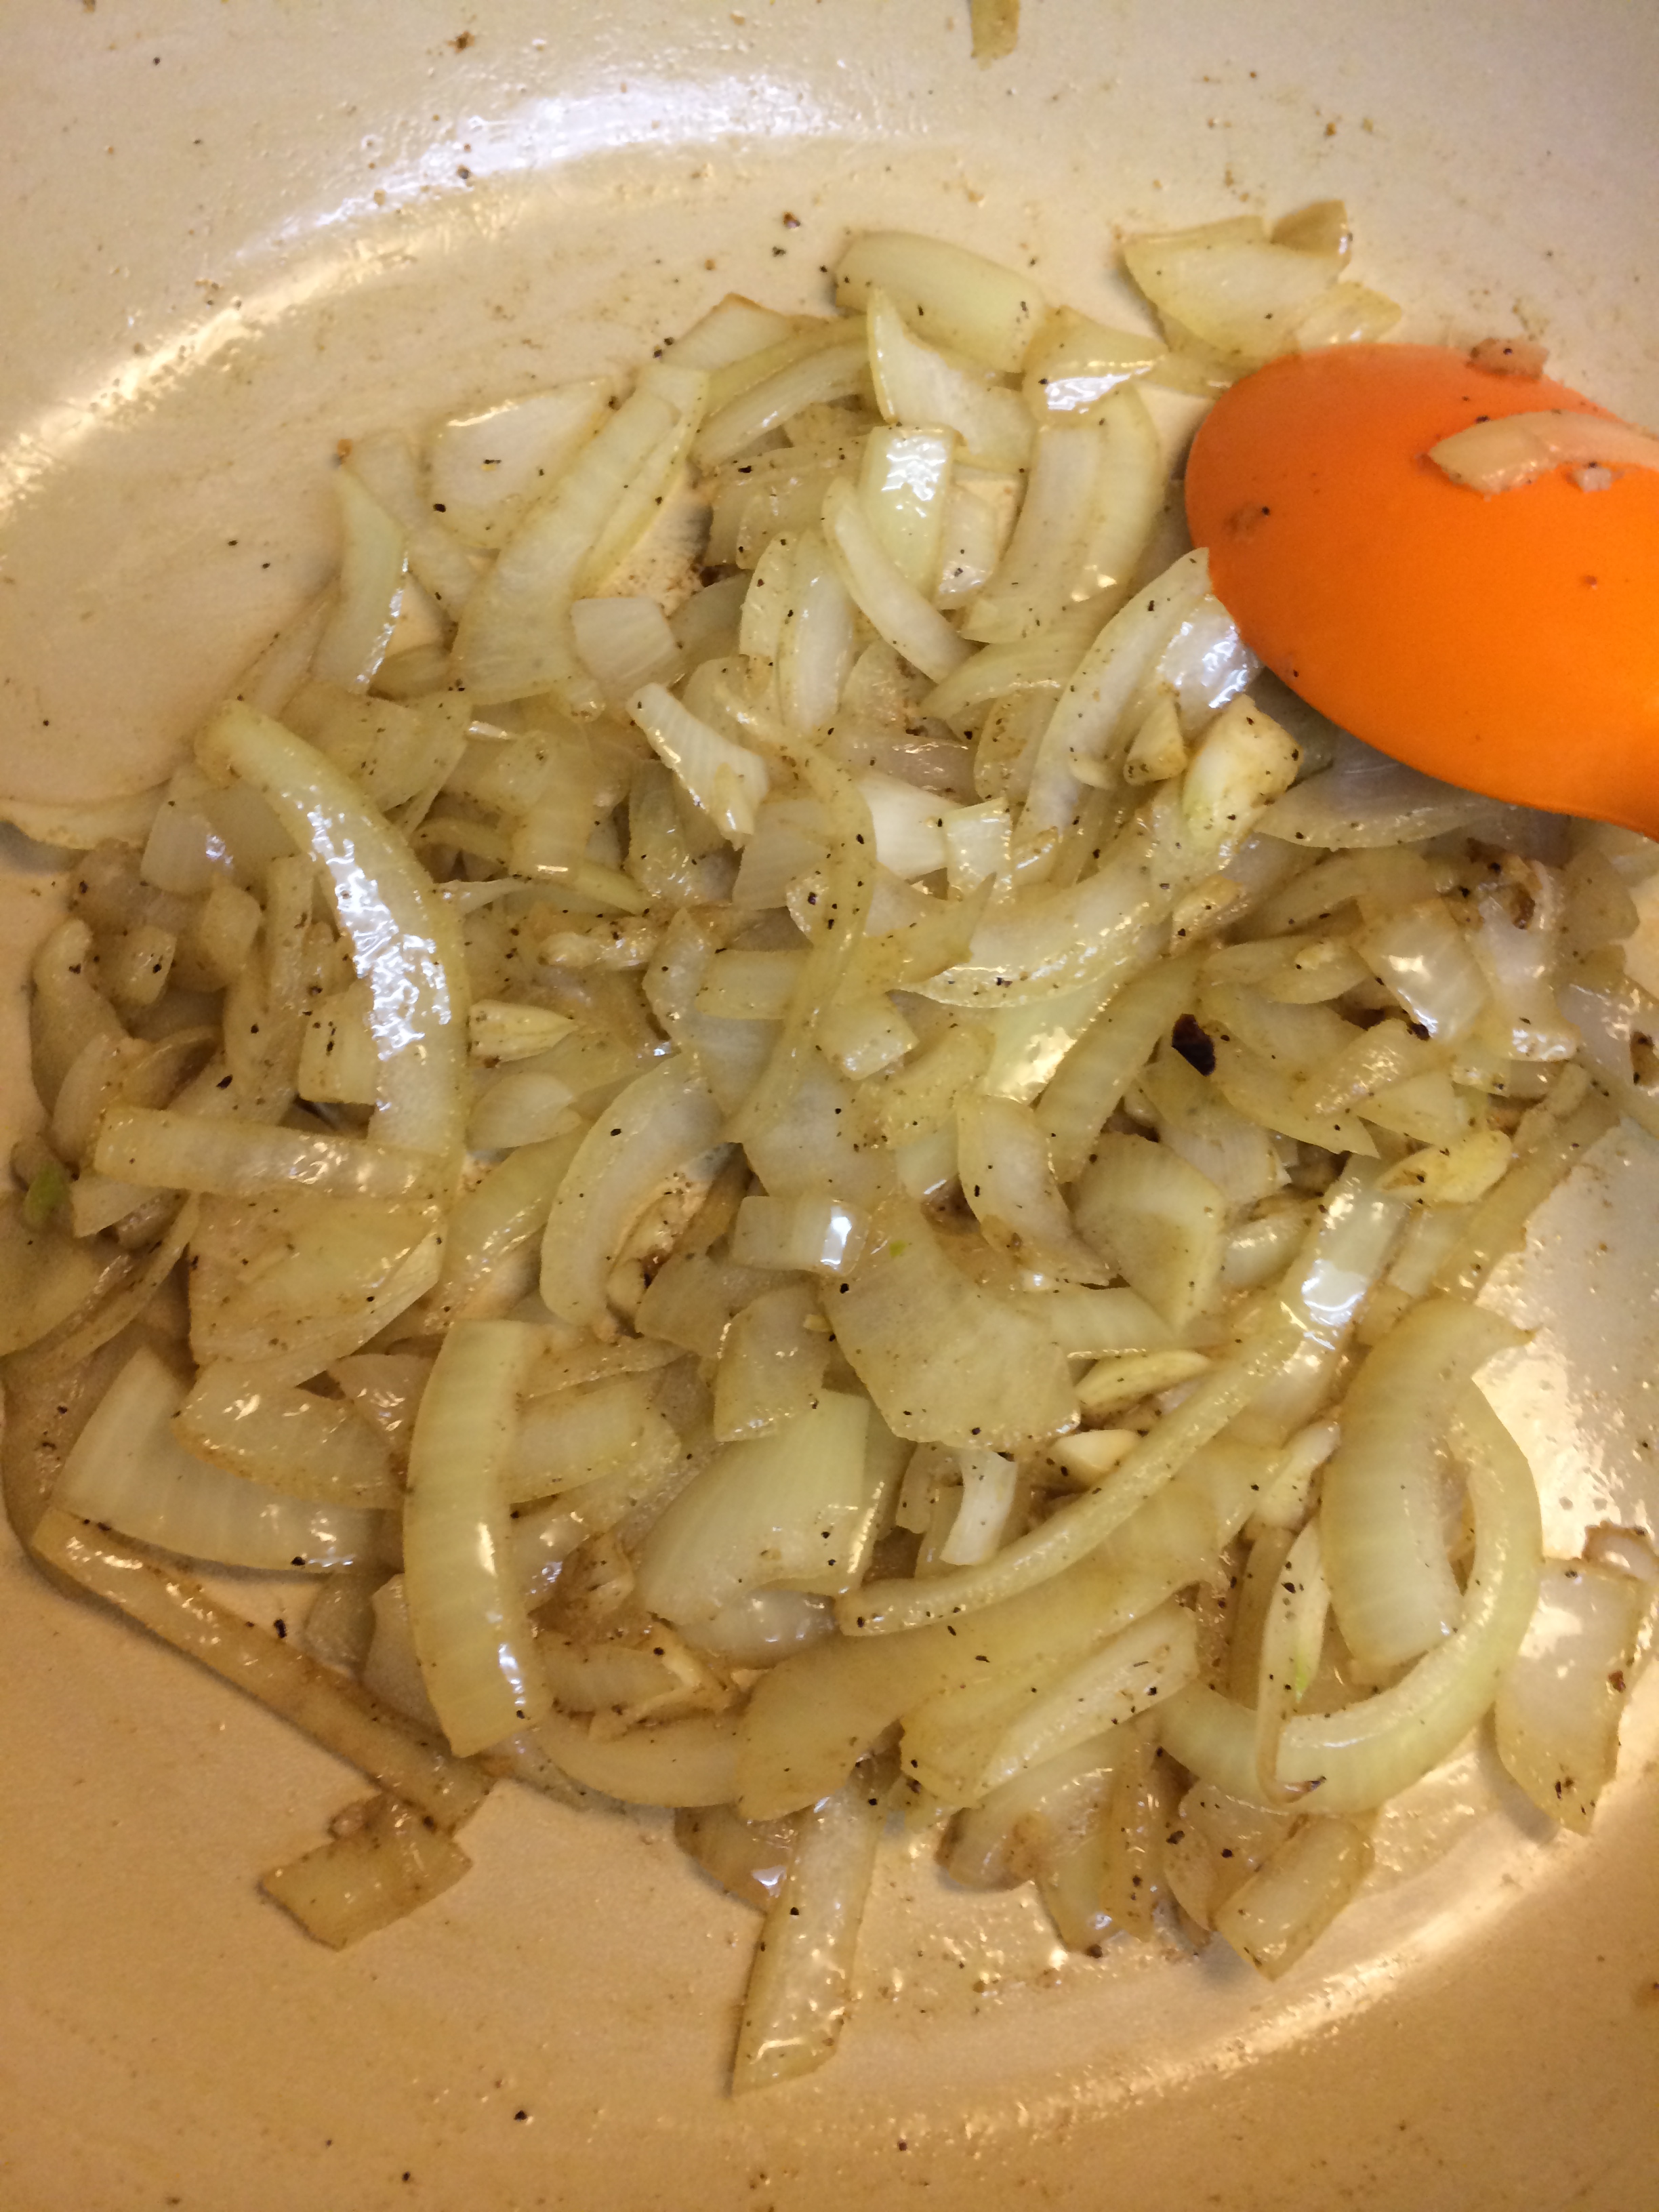
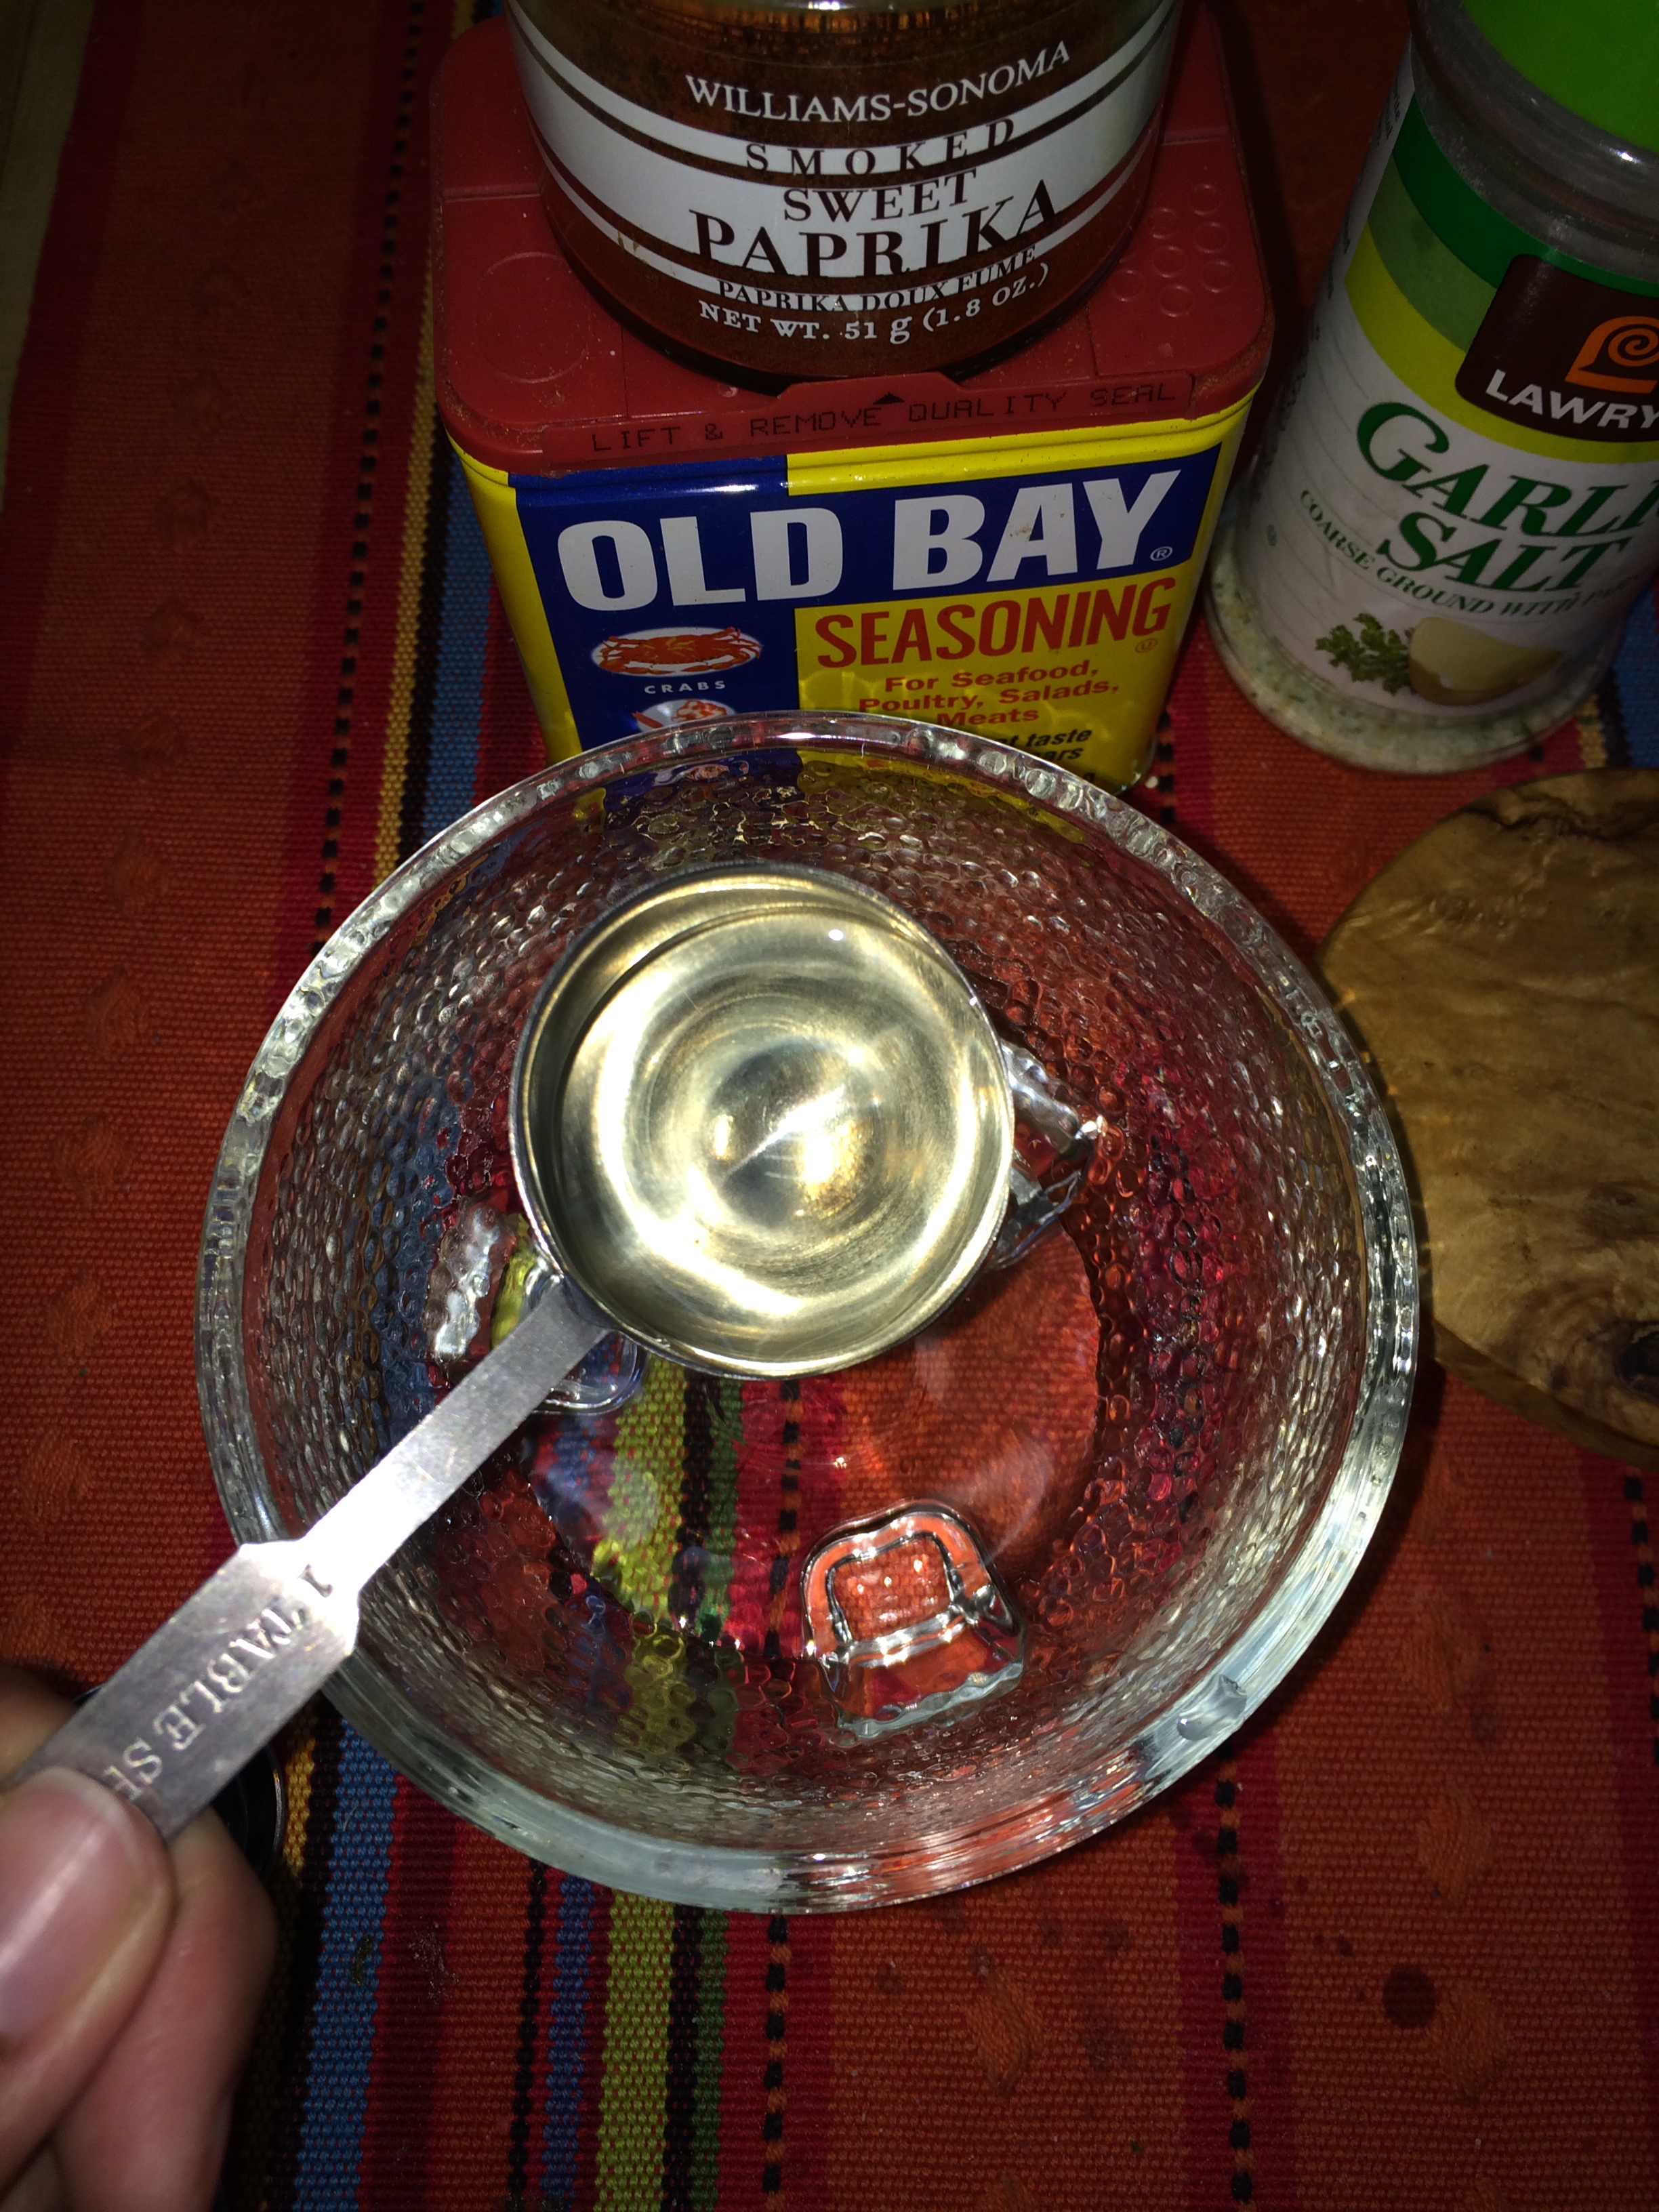
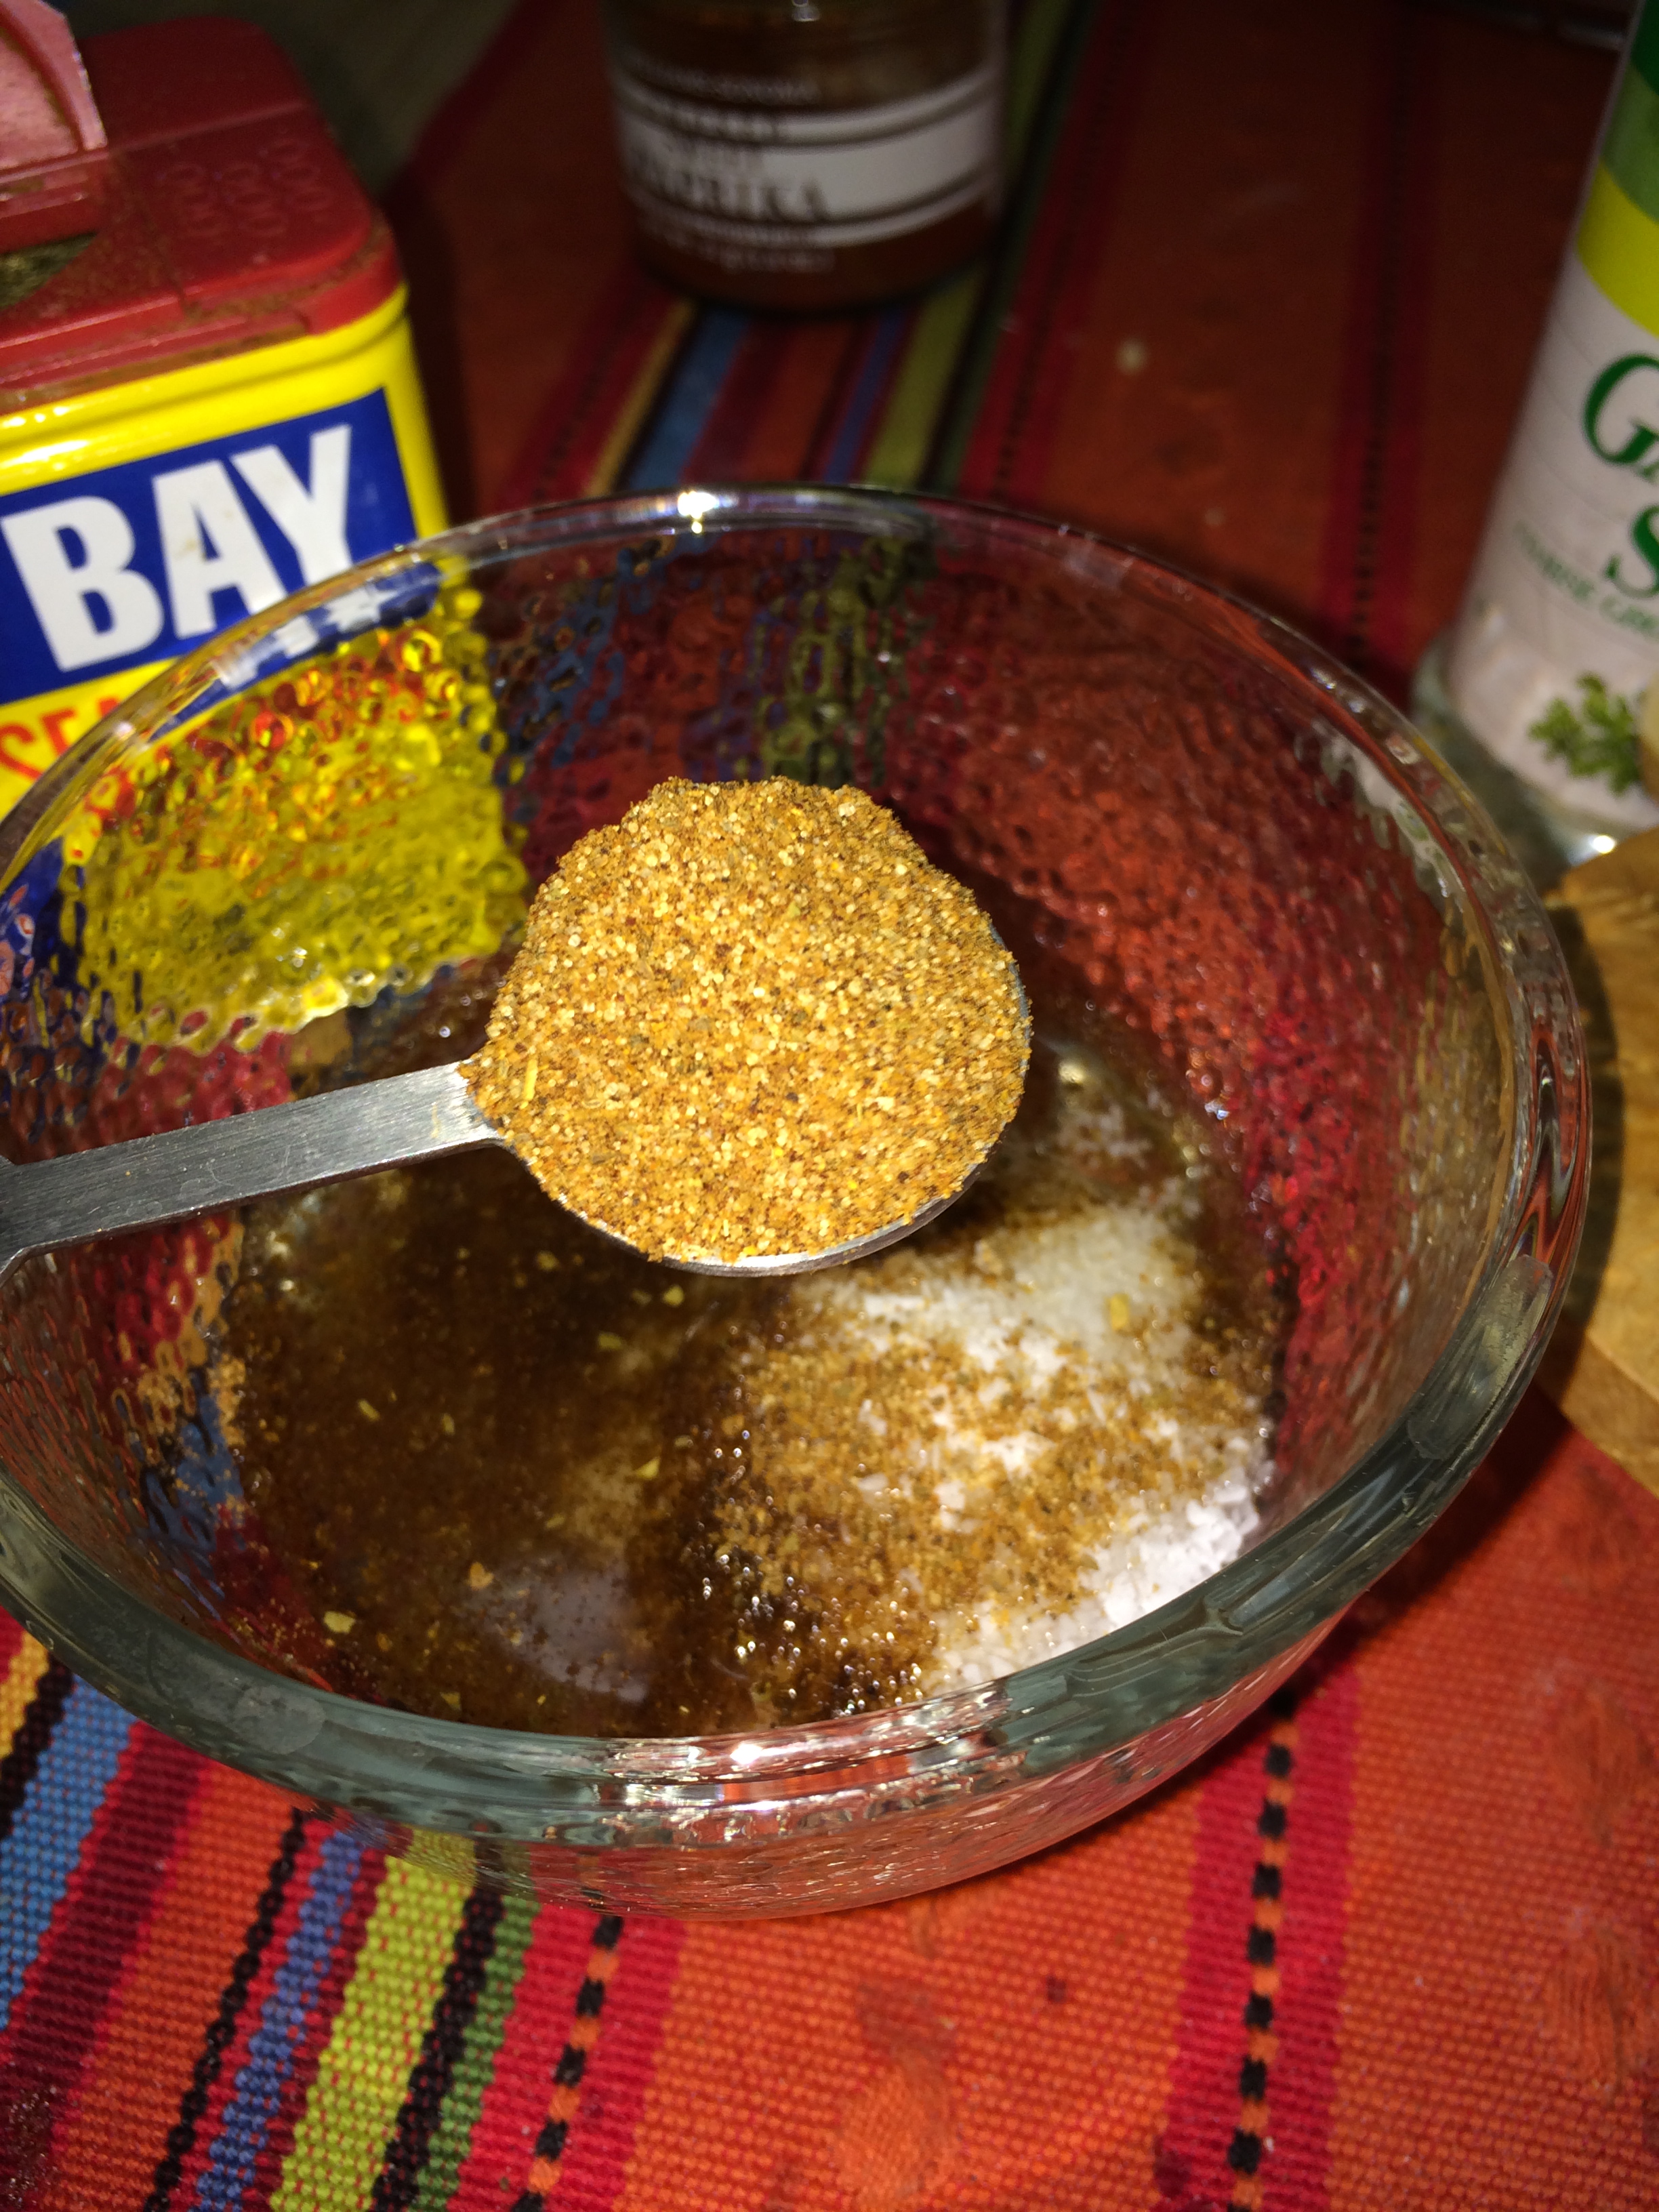
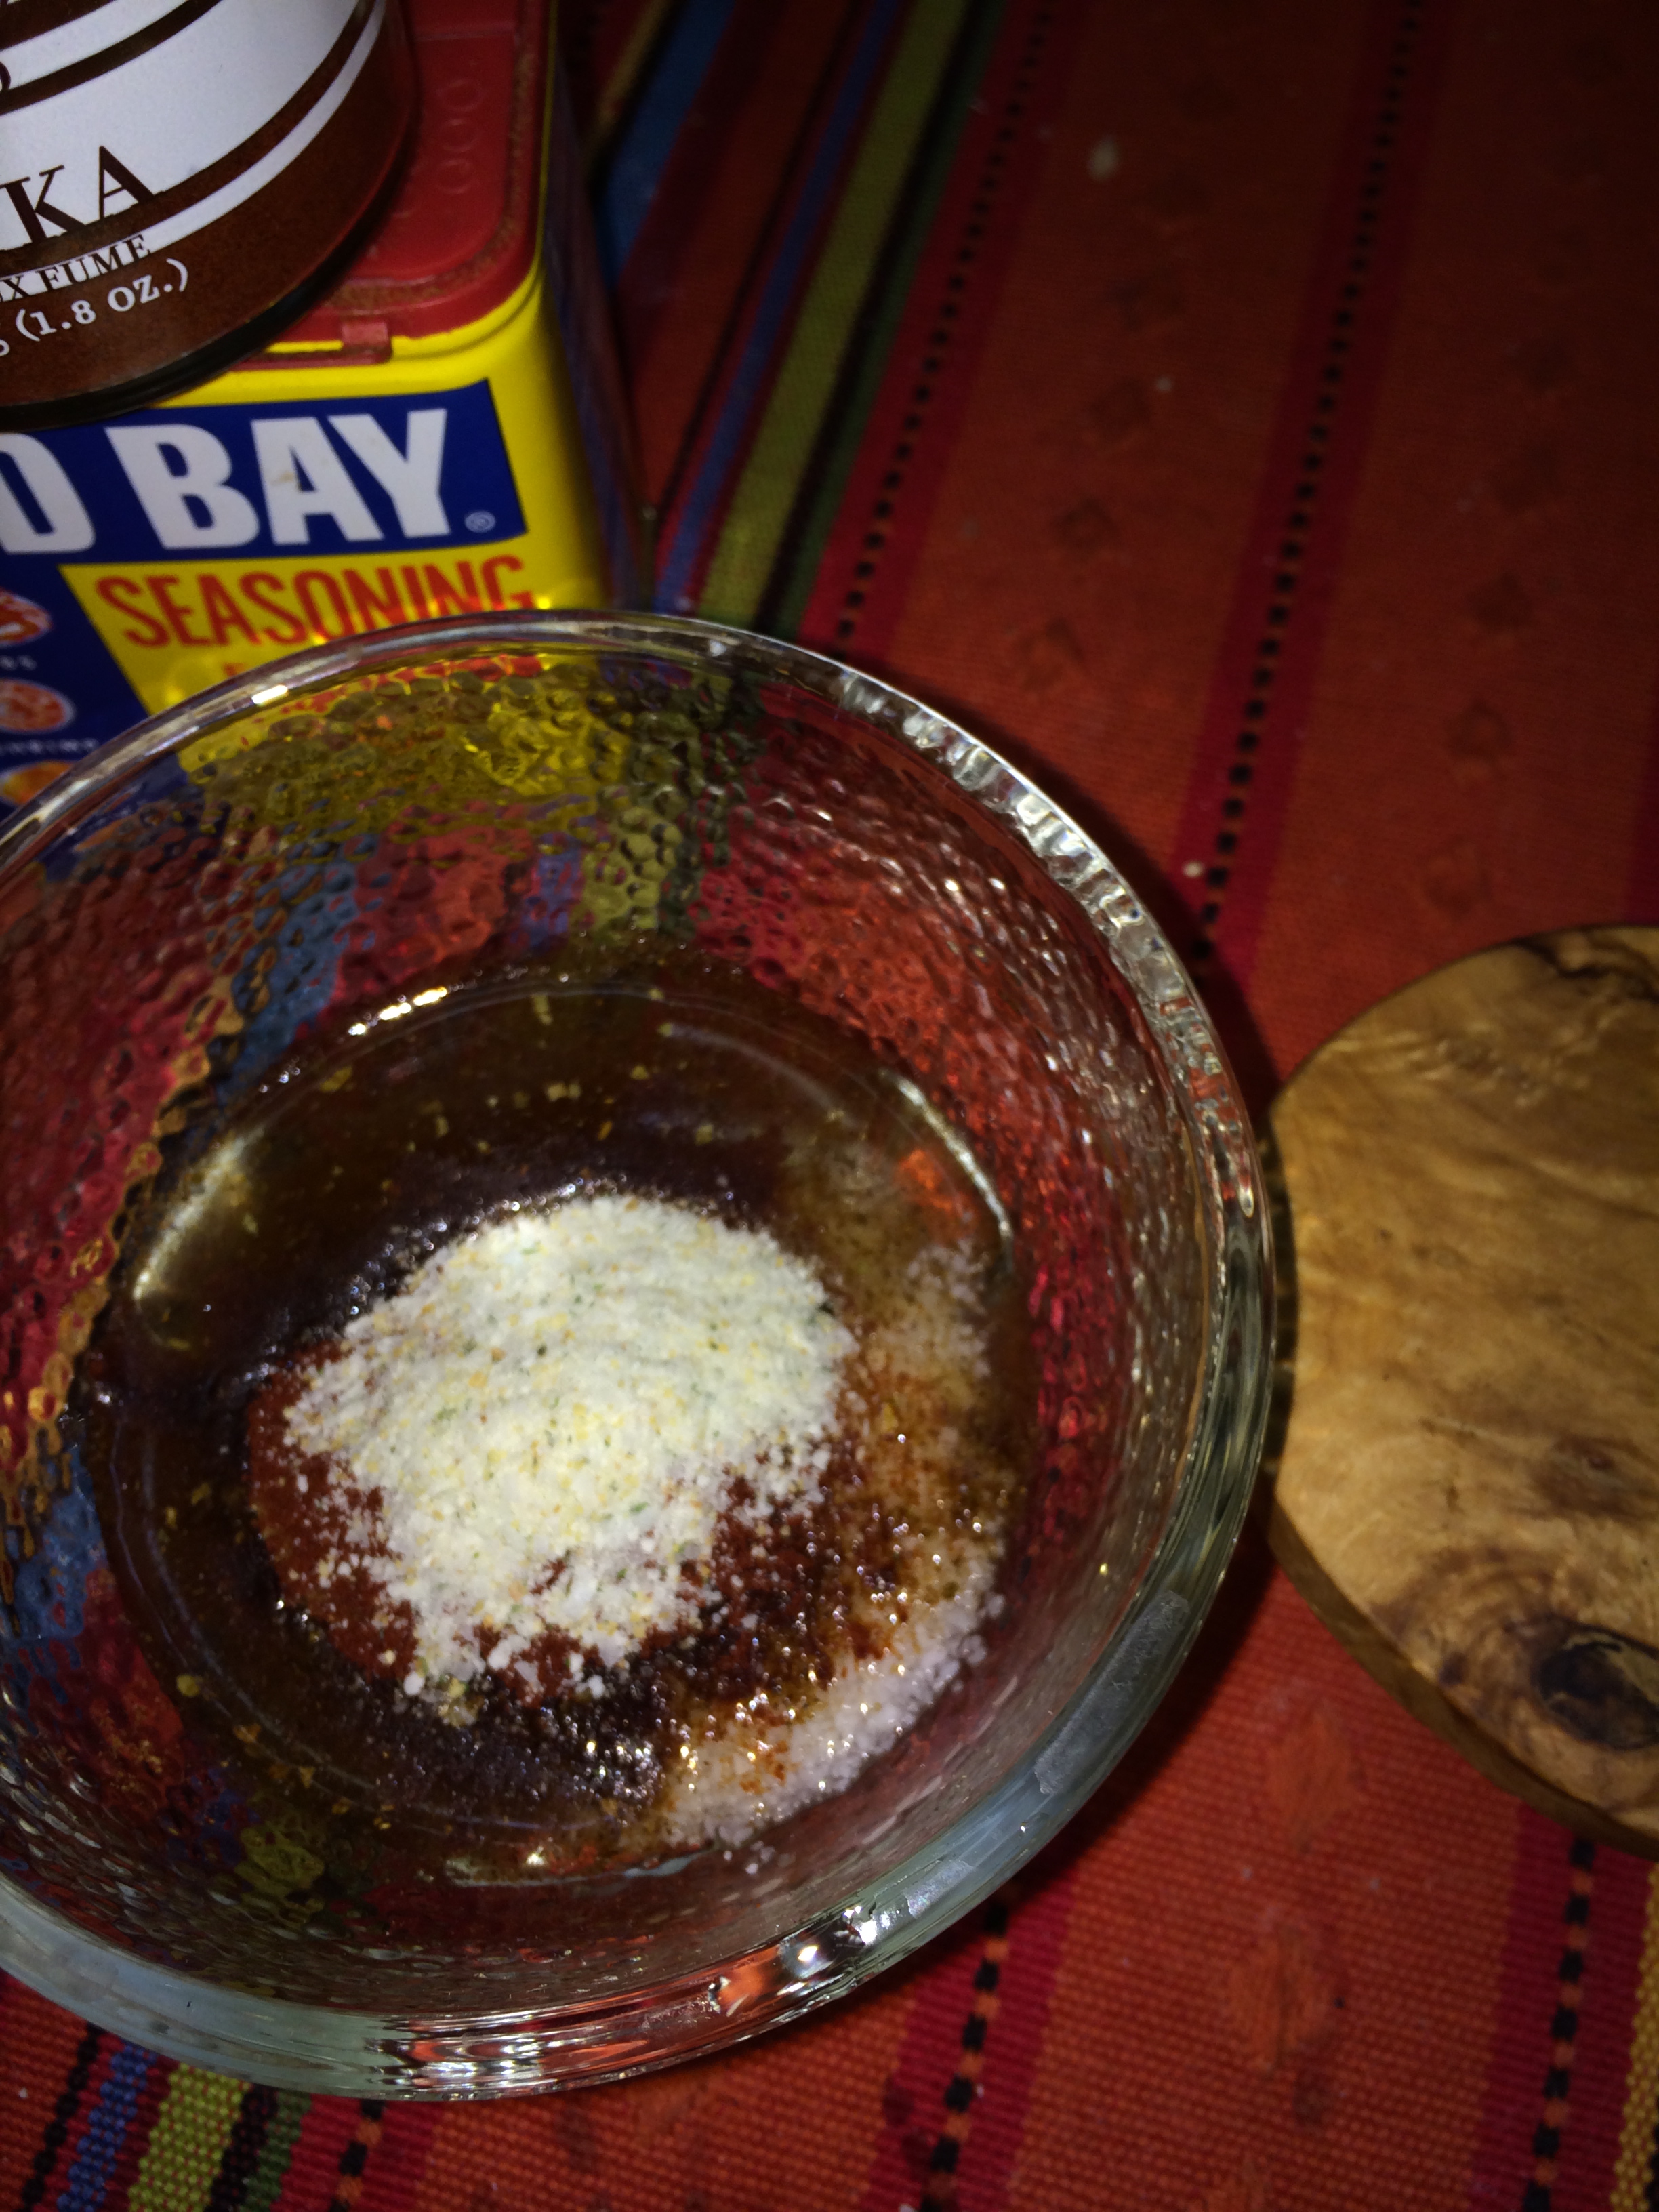
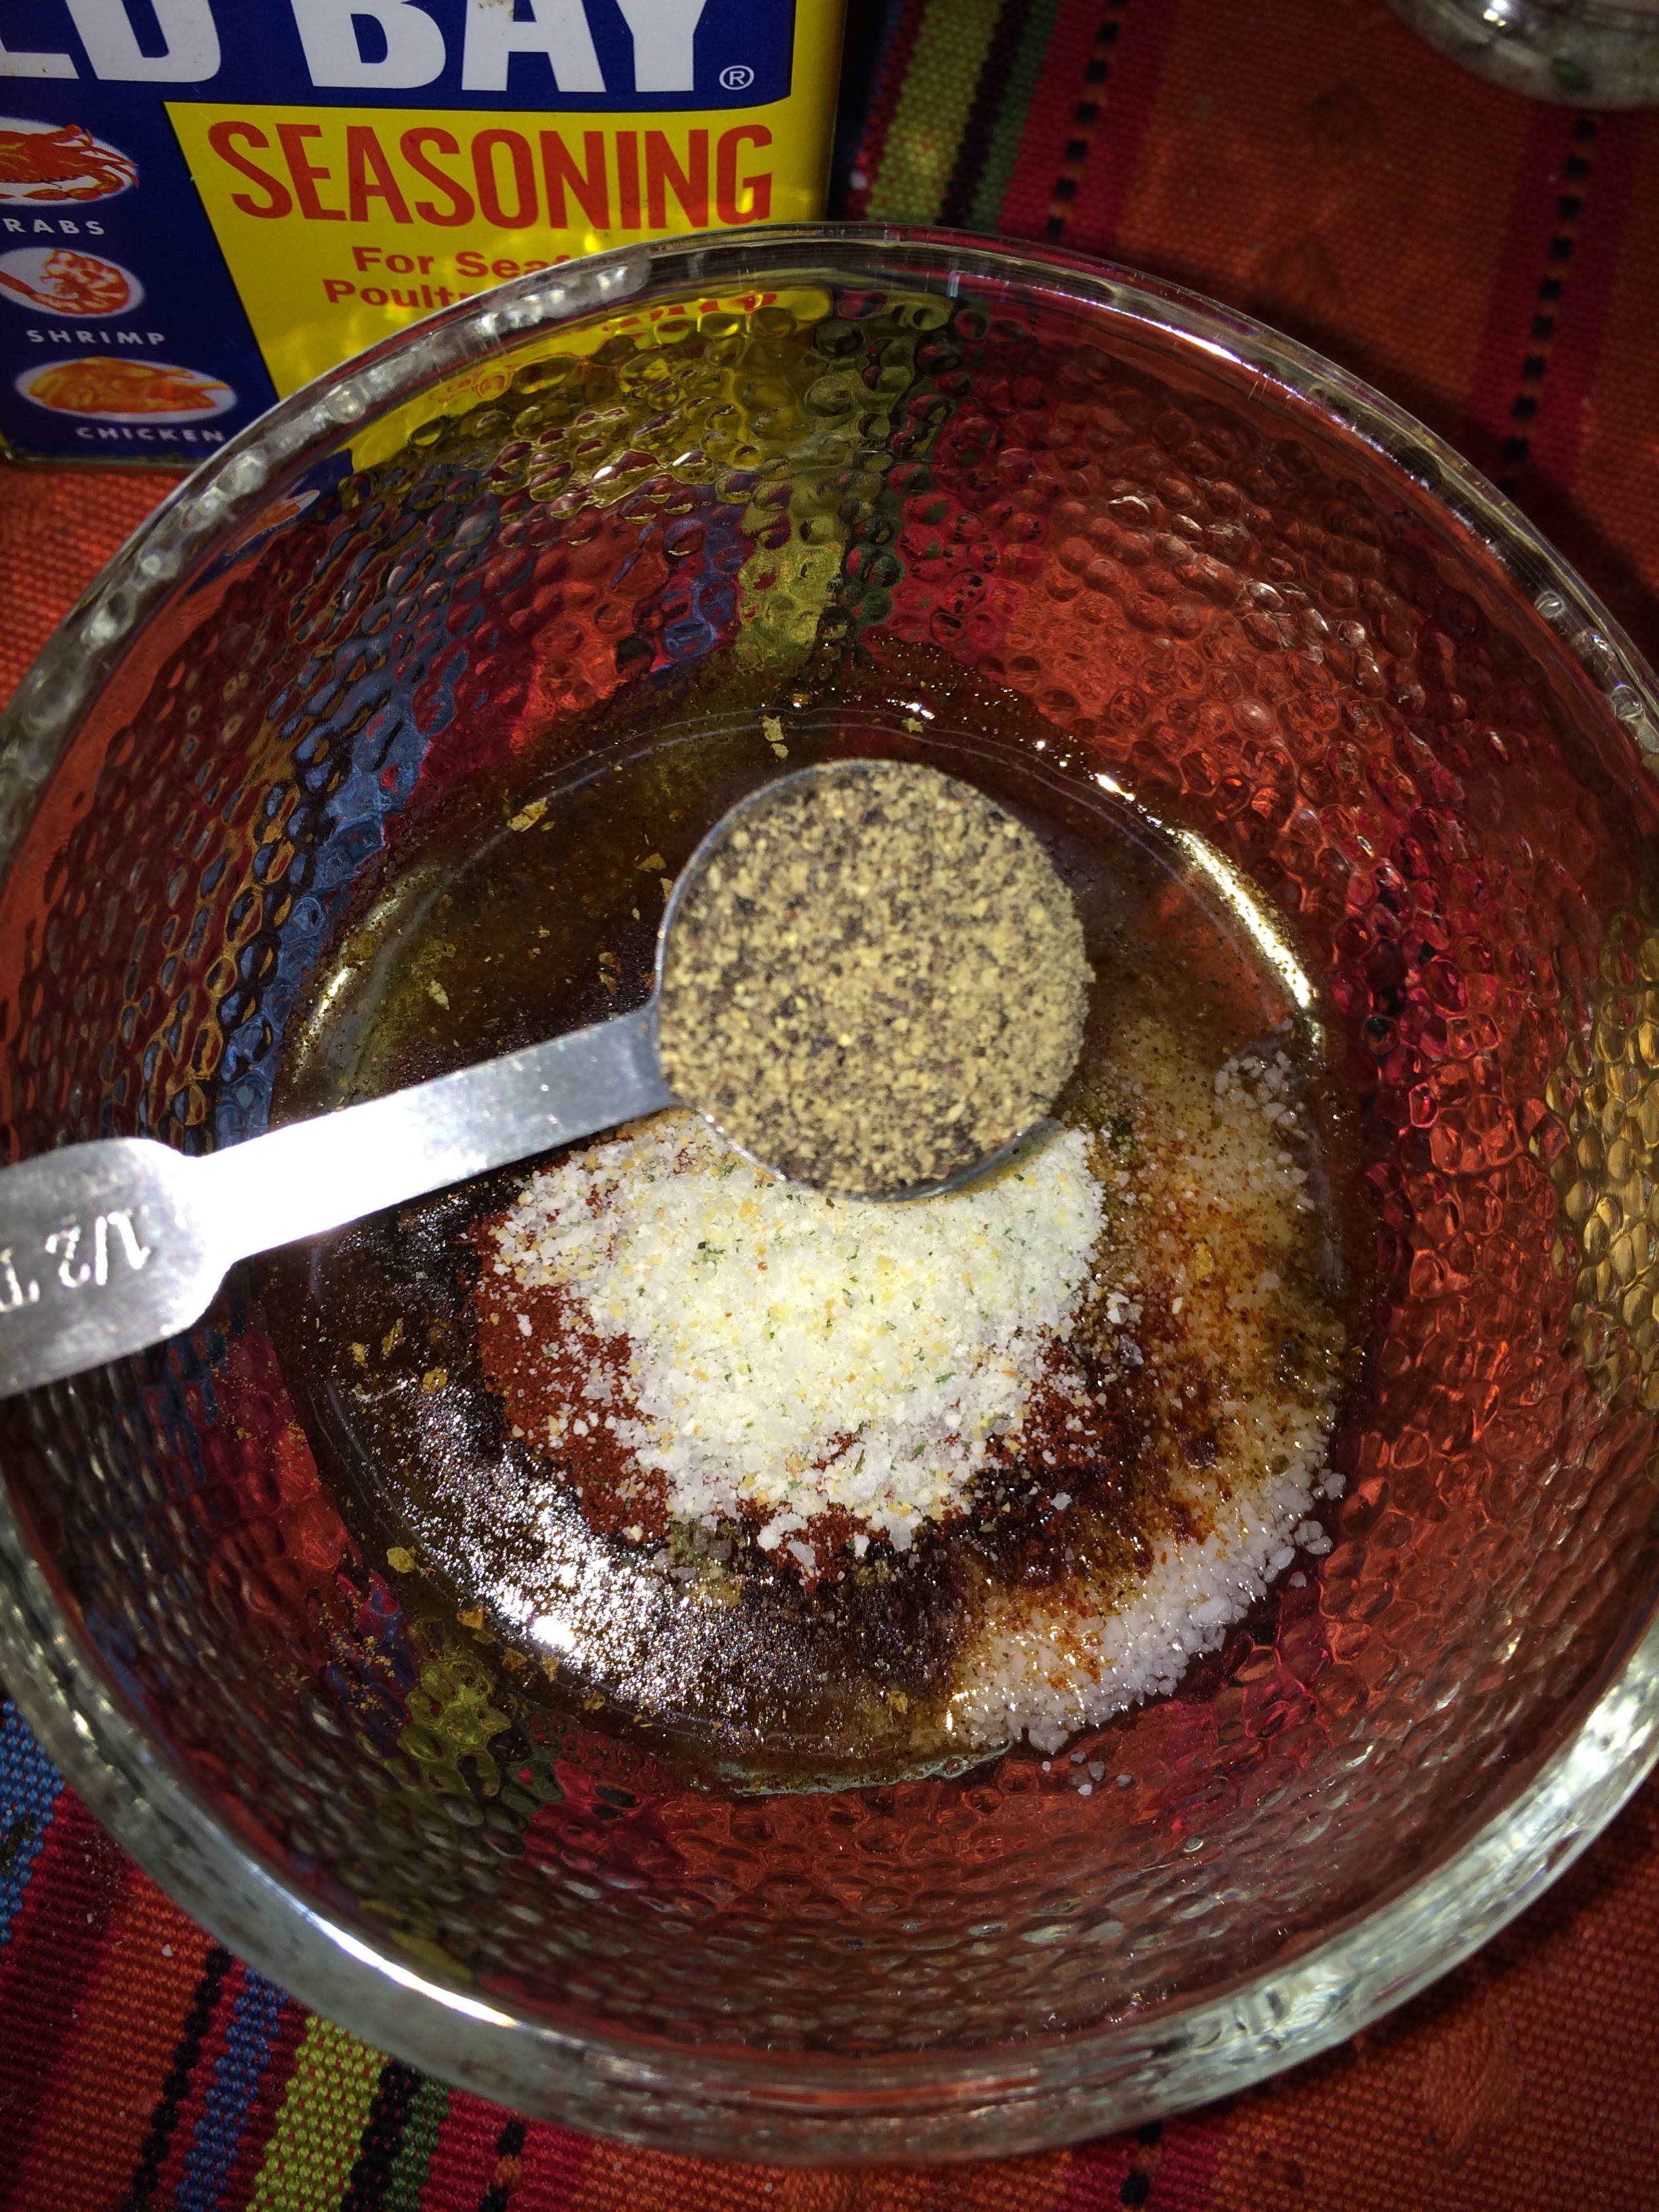
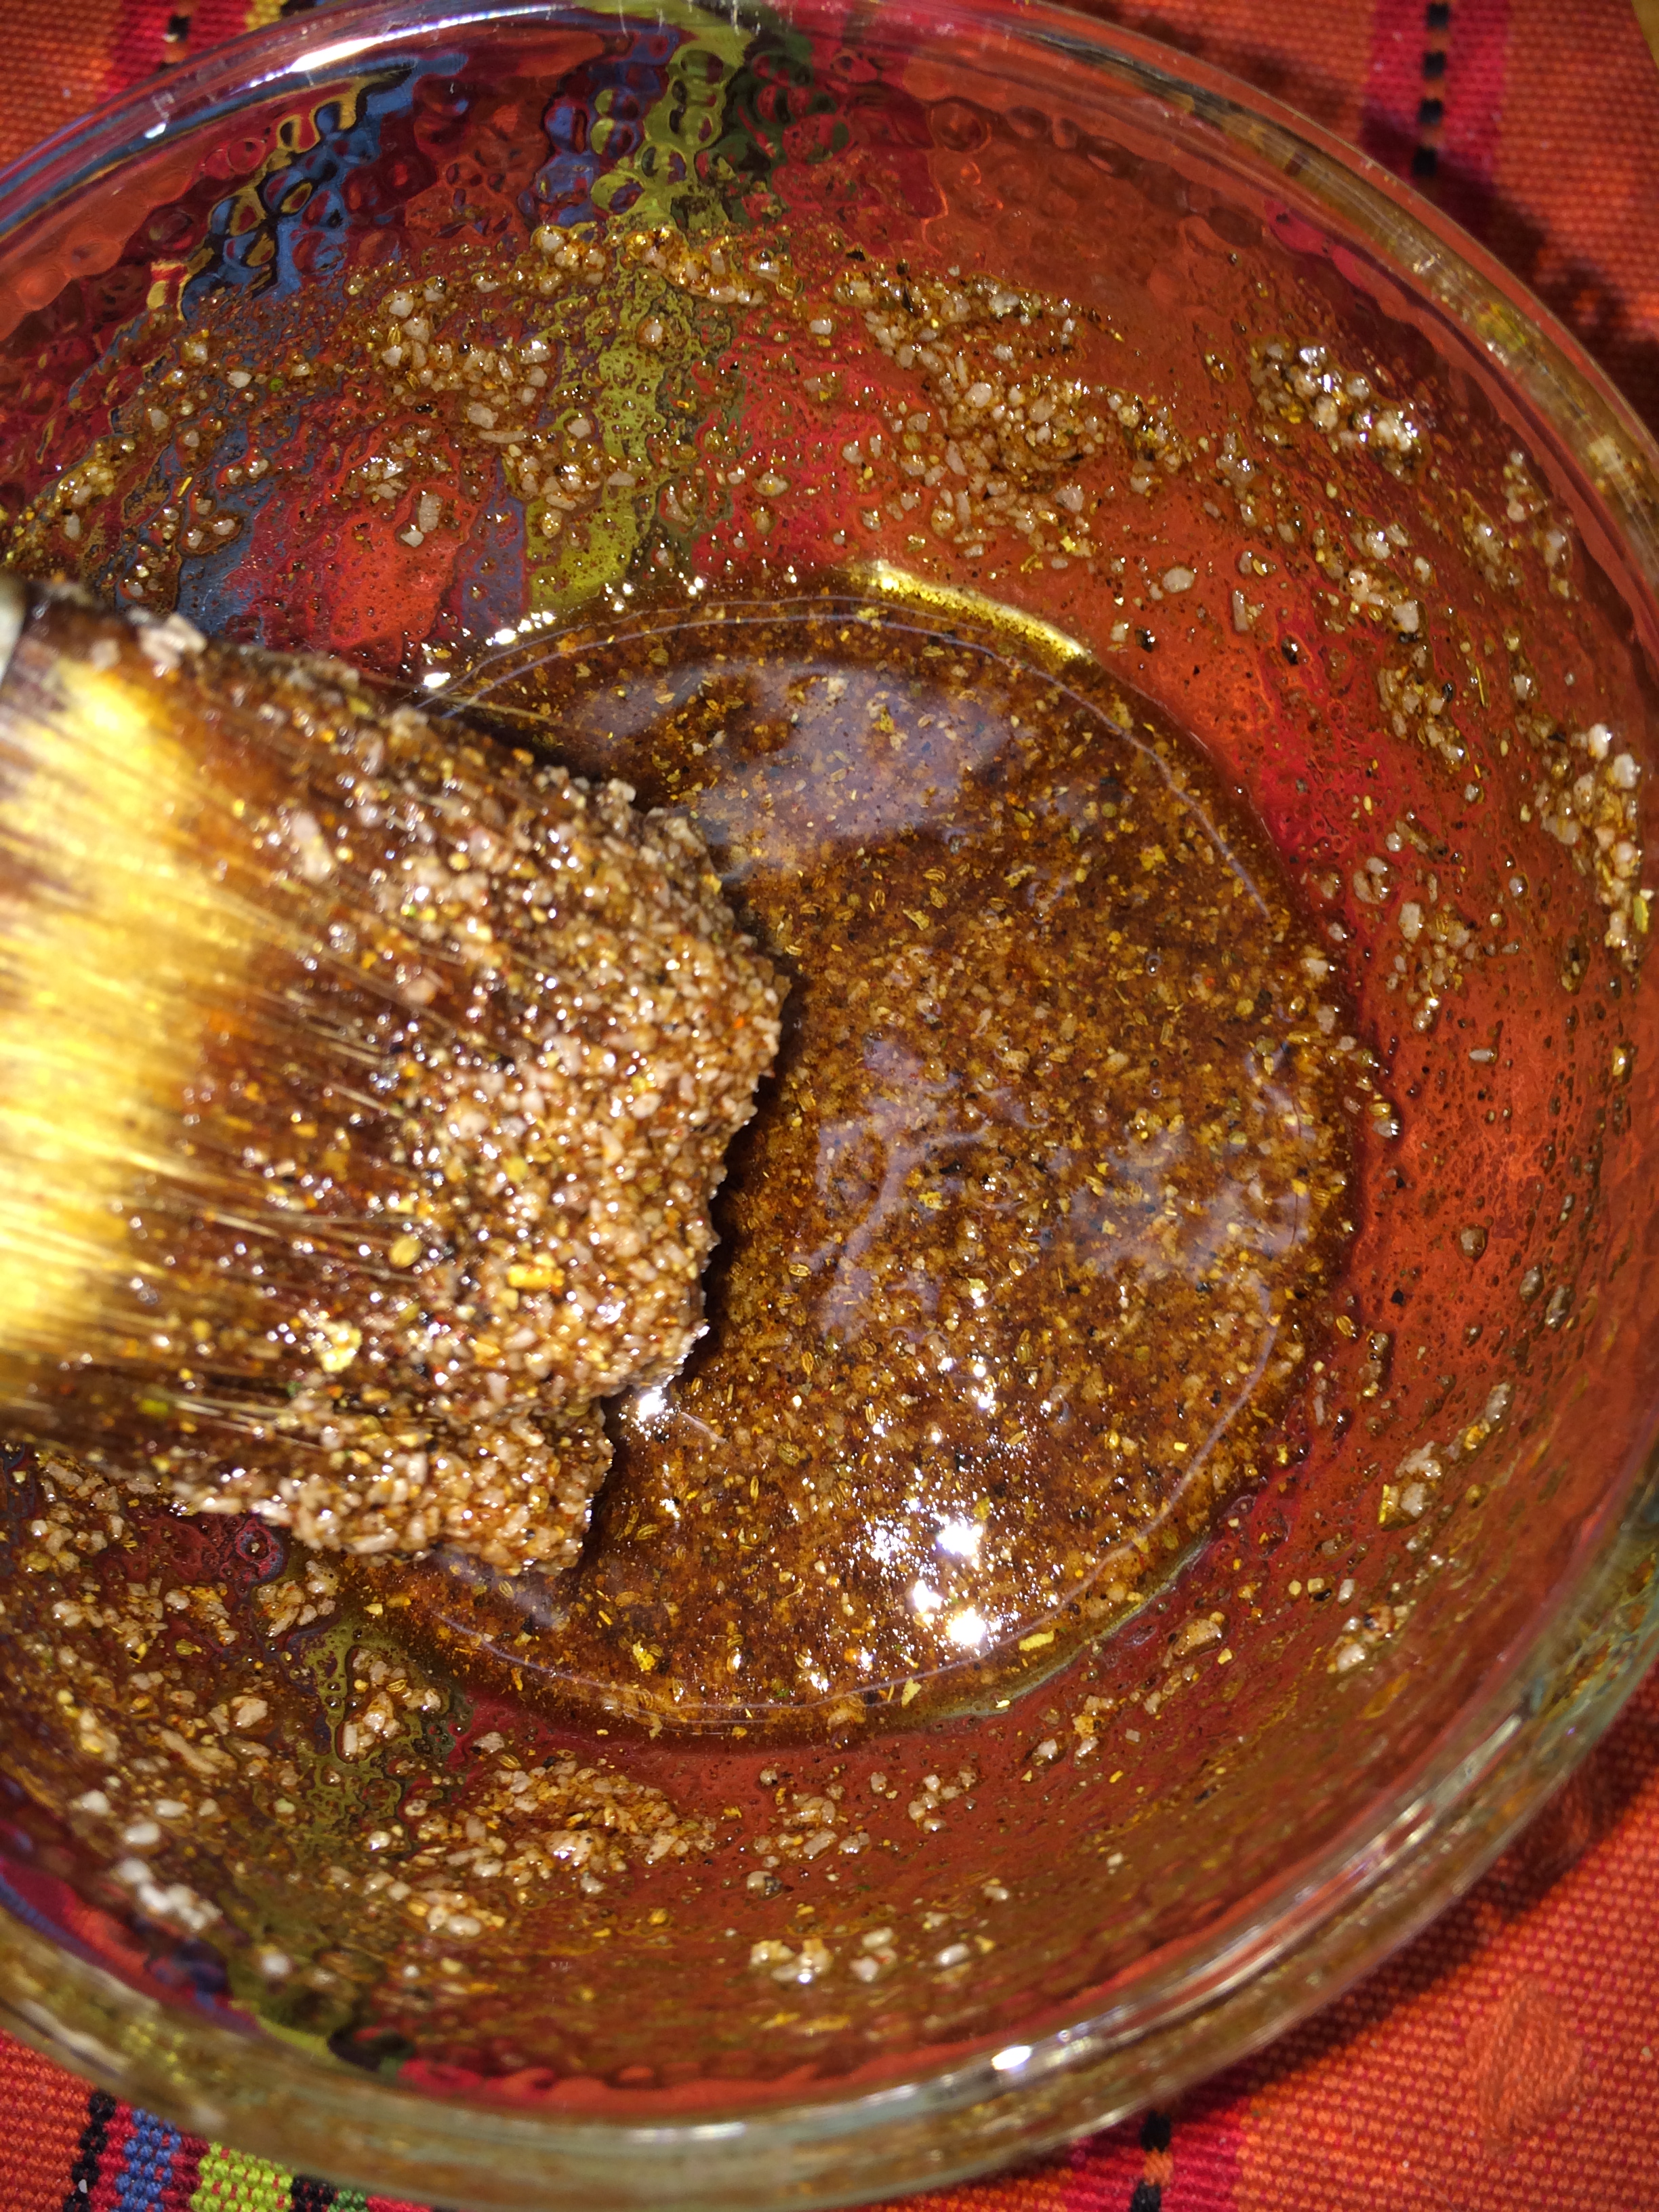
Add one clove of minced garlic, salt, pepper, about a pinch (or heaping spoonful 😉 )of each spice to the bag with the meat. Squeeze the juice of one orange and half a lime (and throw the squeezed fruit in the bag too), a few dashes of Worcestershire sauce and a drizzle of olive oil. I love the word drizzle … and sizzle .. fo shizzle….
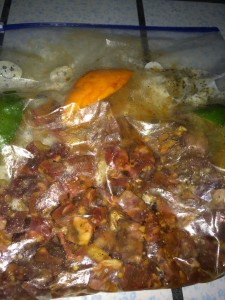
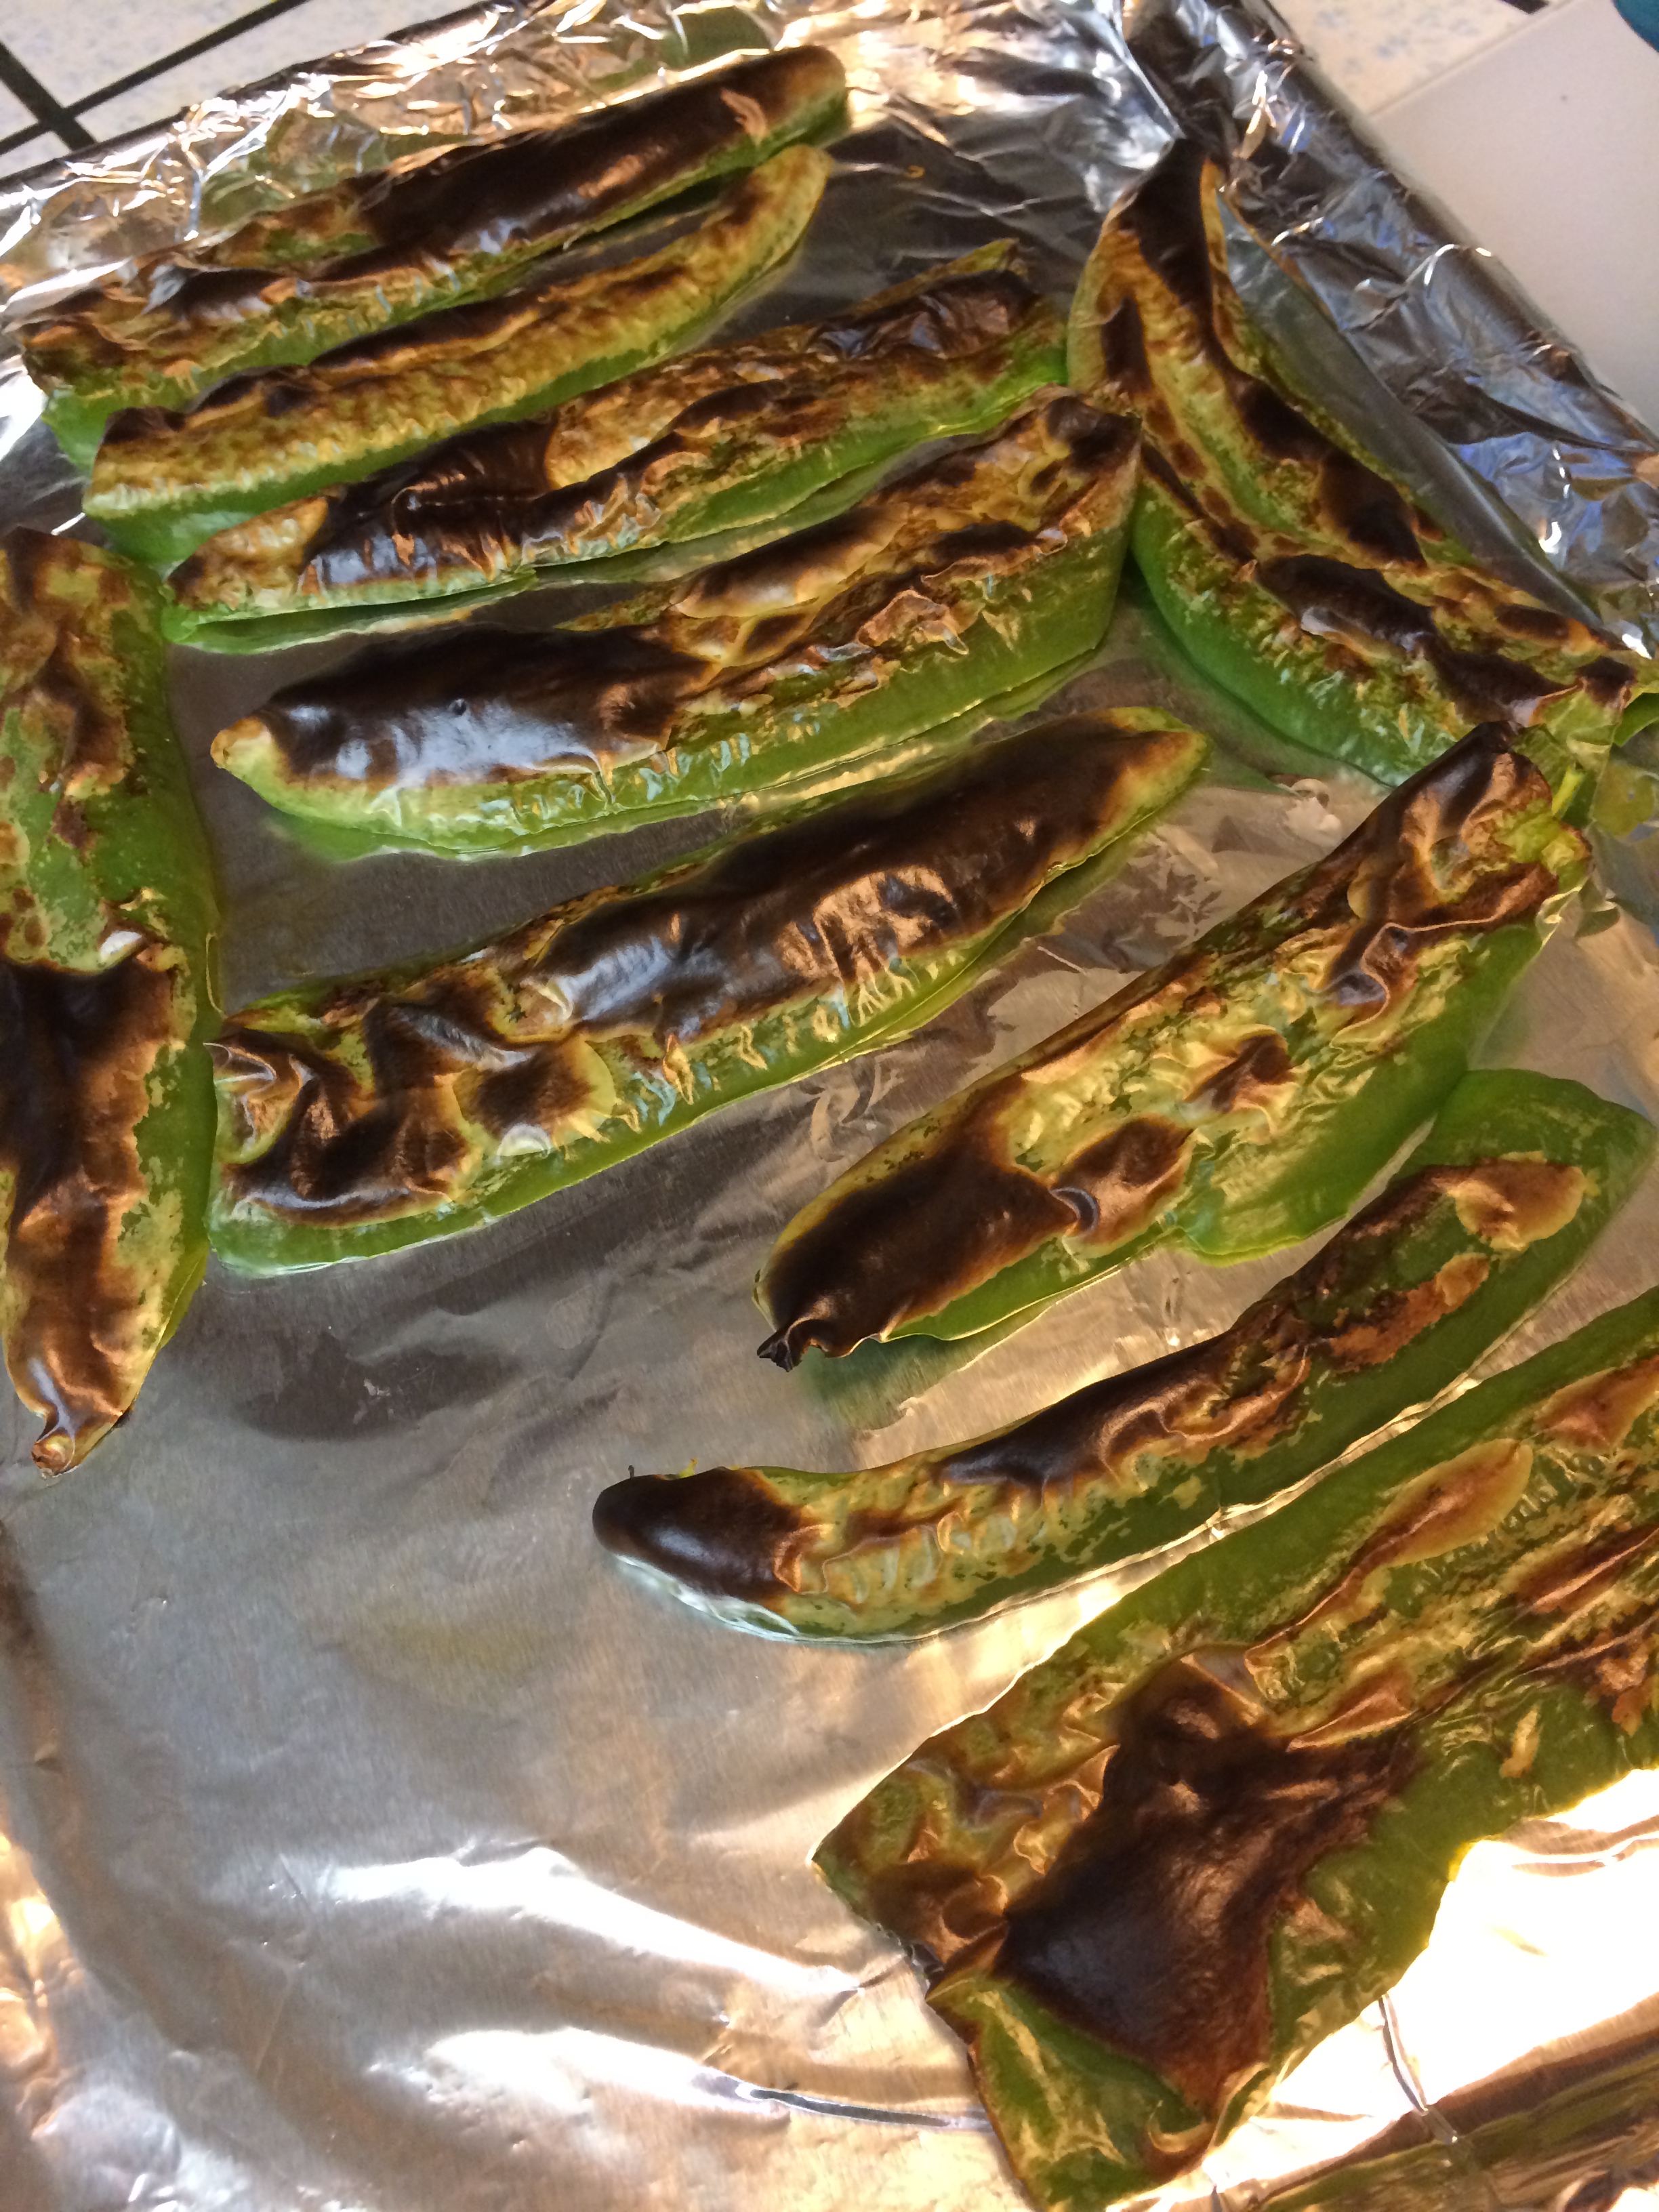
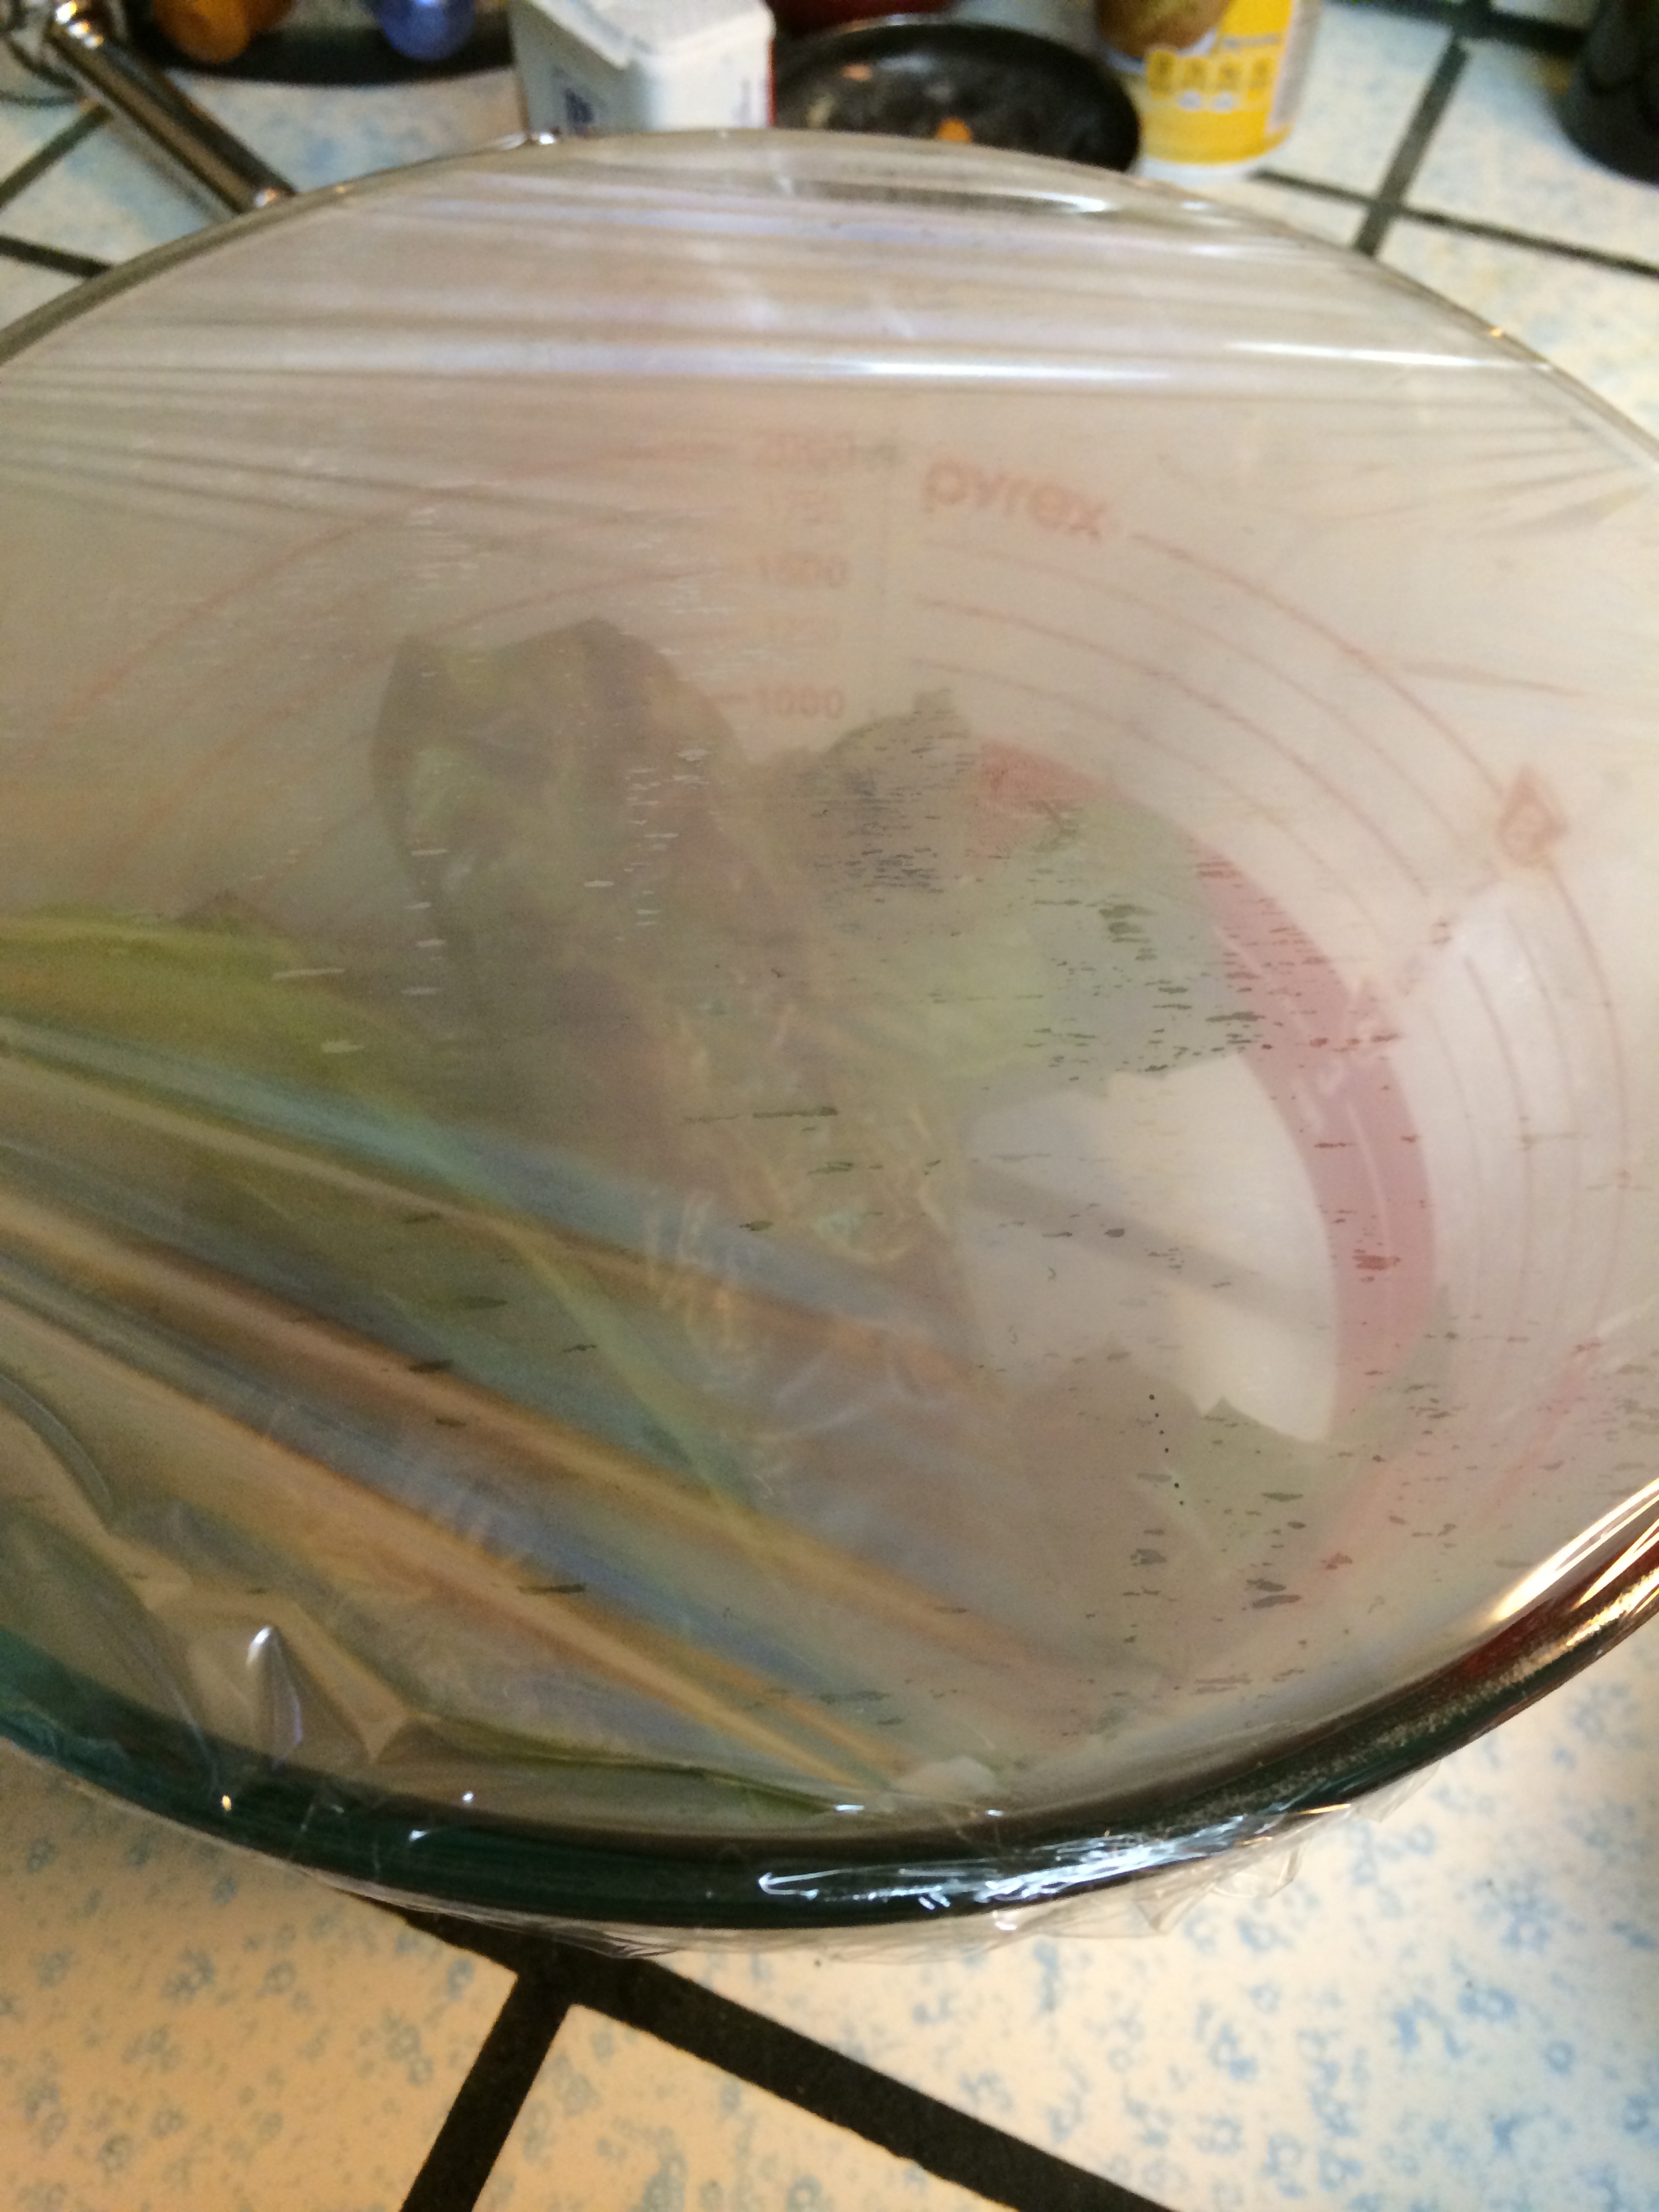
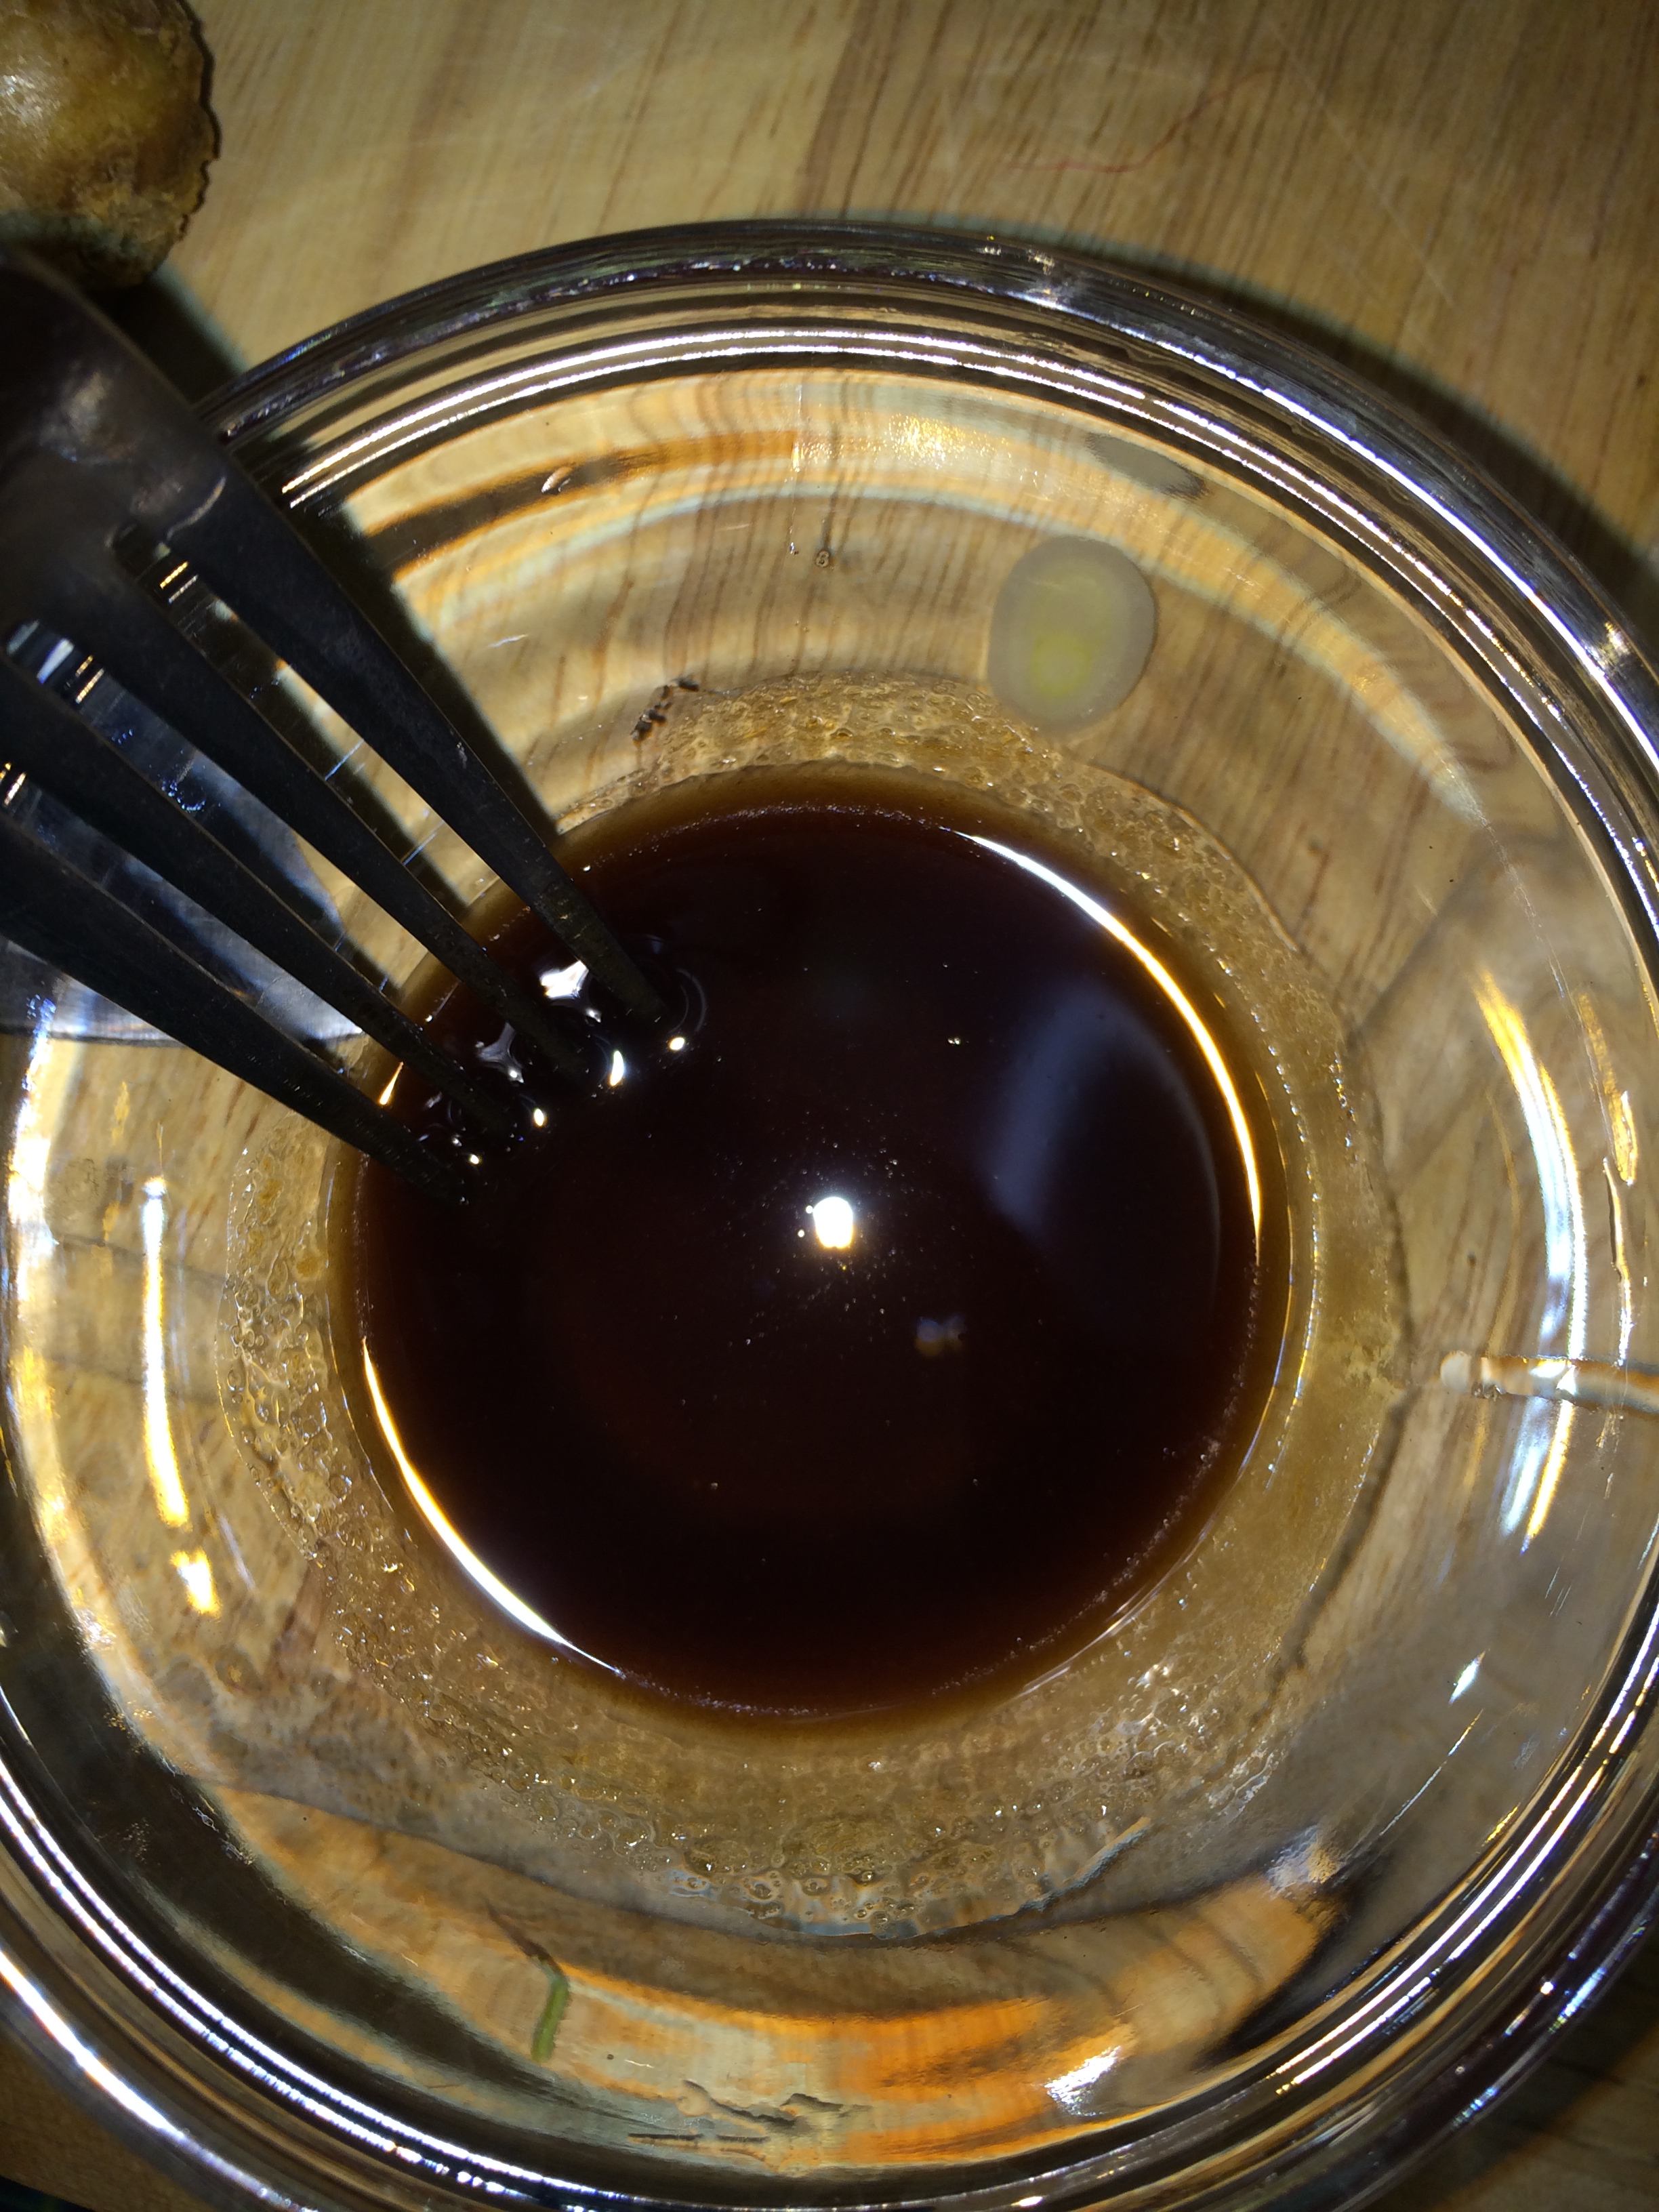
Then seal the bag squeezing out most of the air to allow the sauce to smother the meat (hehe). This pic isn’t very appetizing but I wanna show you what it should look like now. Sorry ……. not sorry.
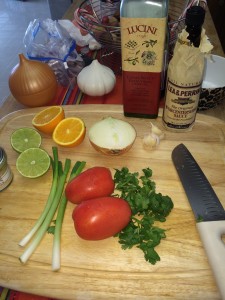
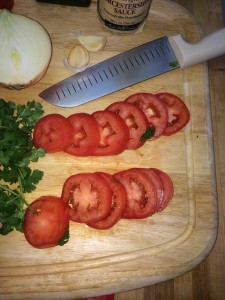
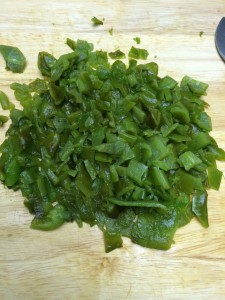
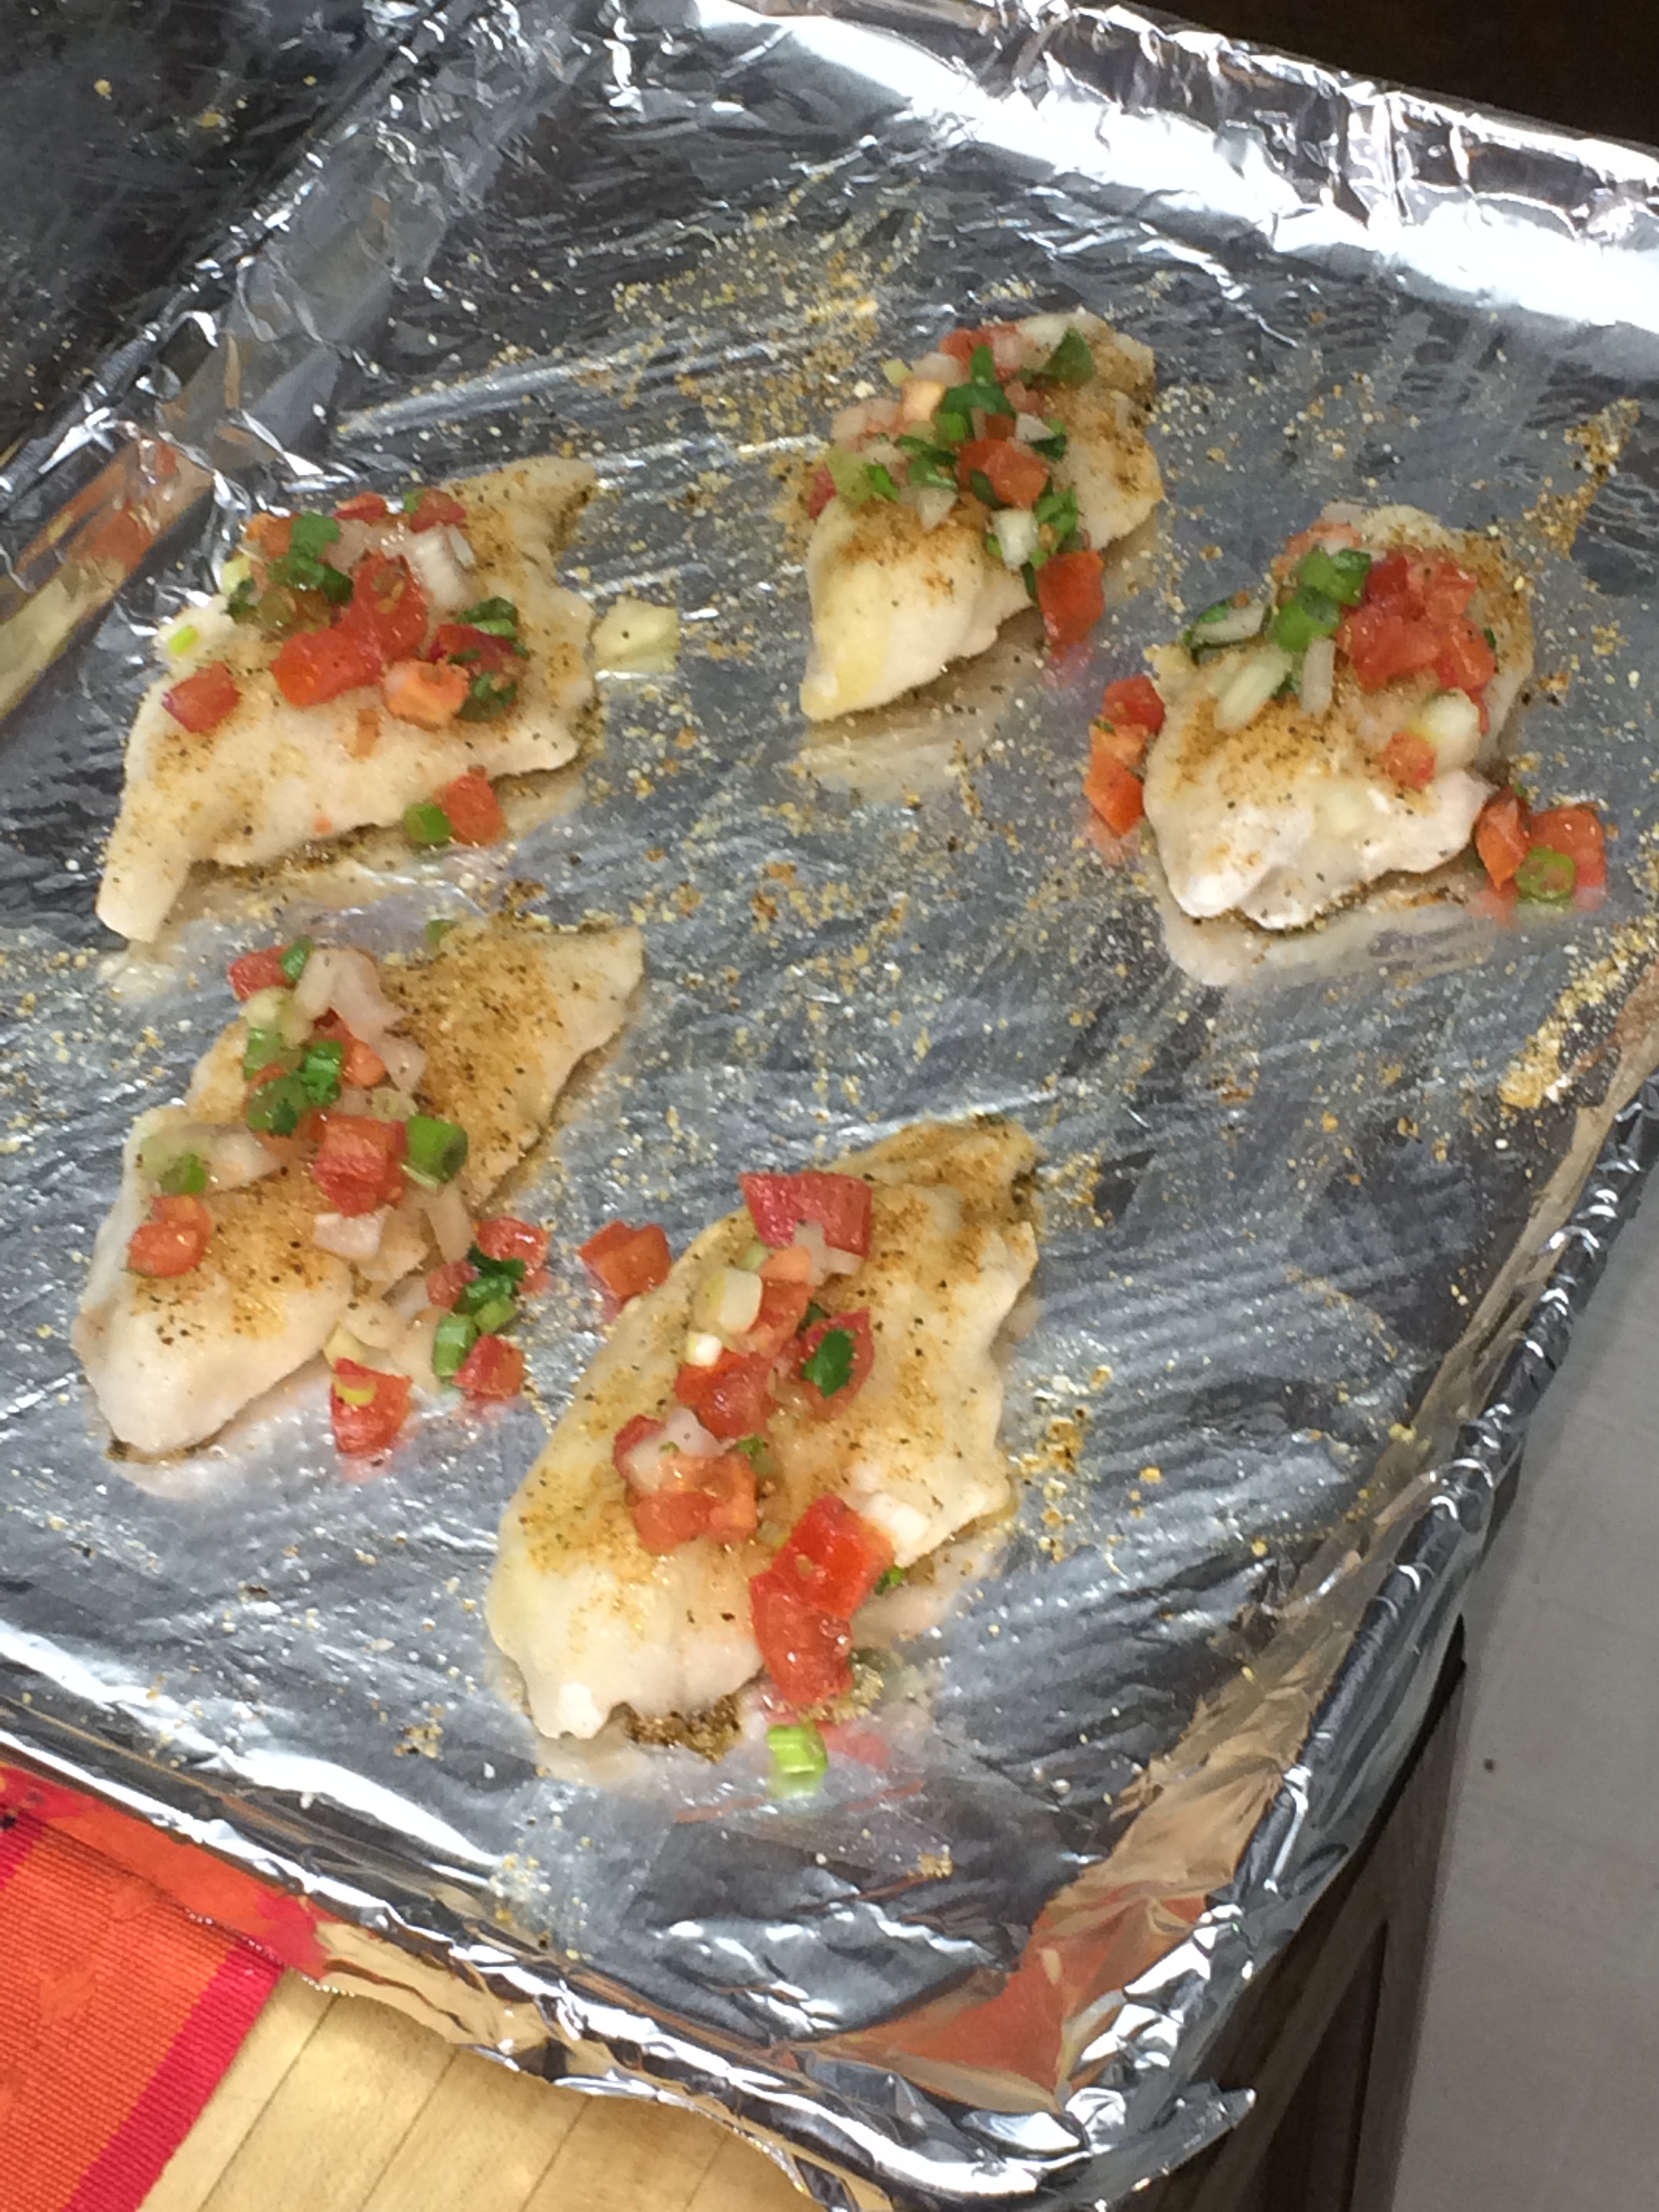
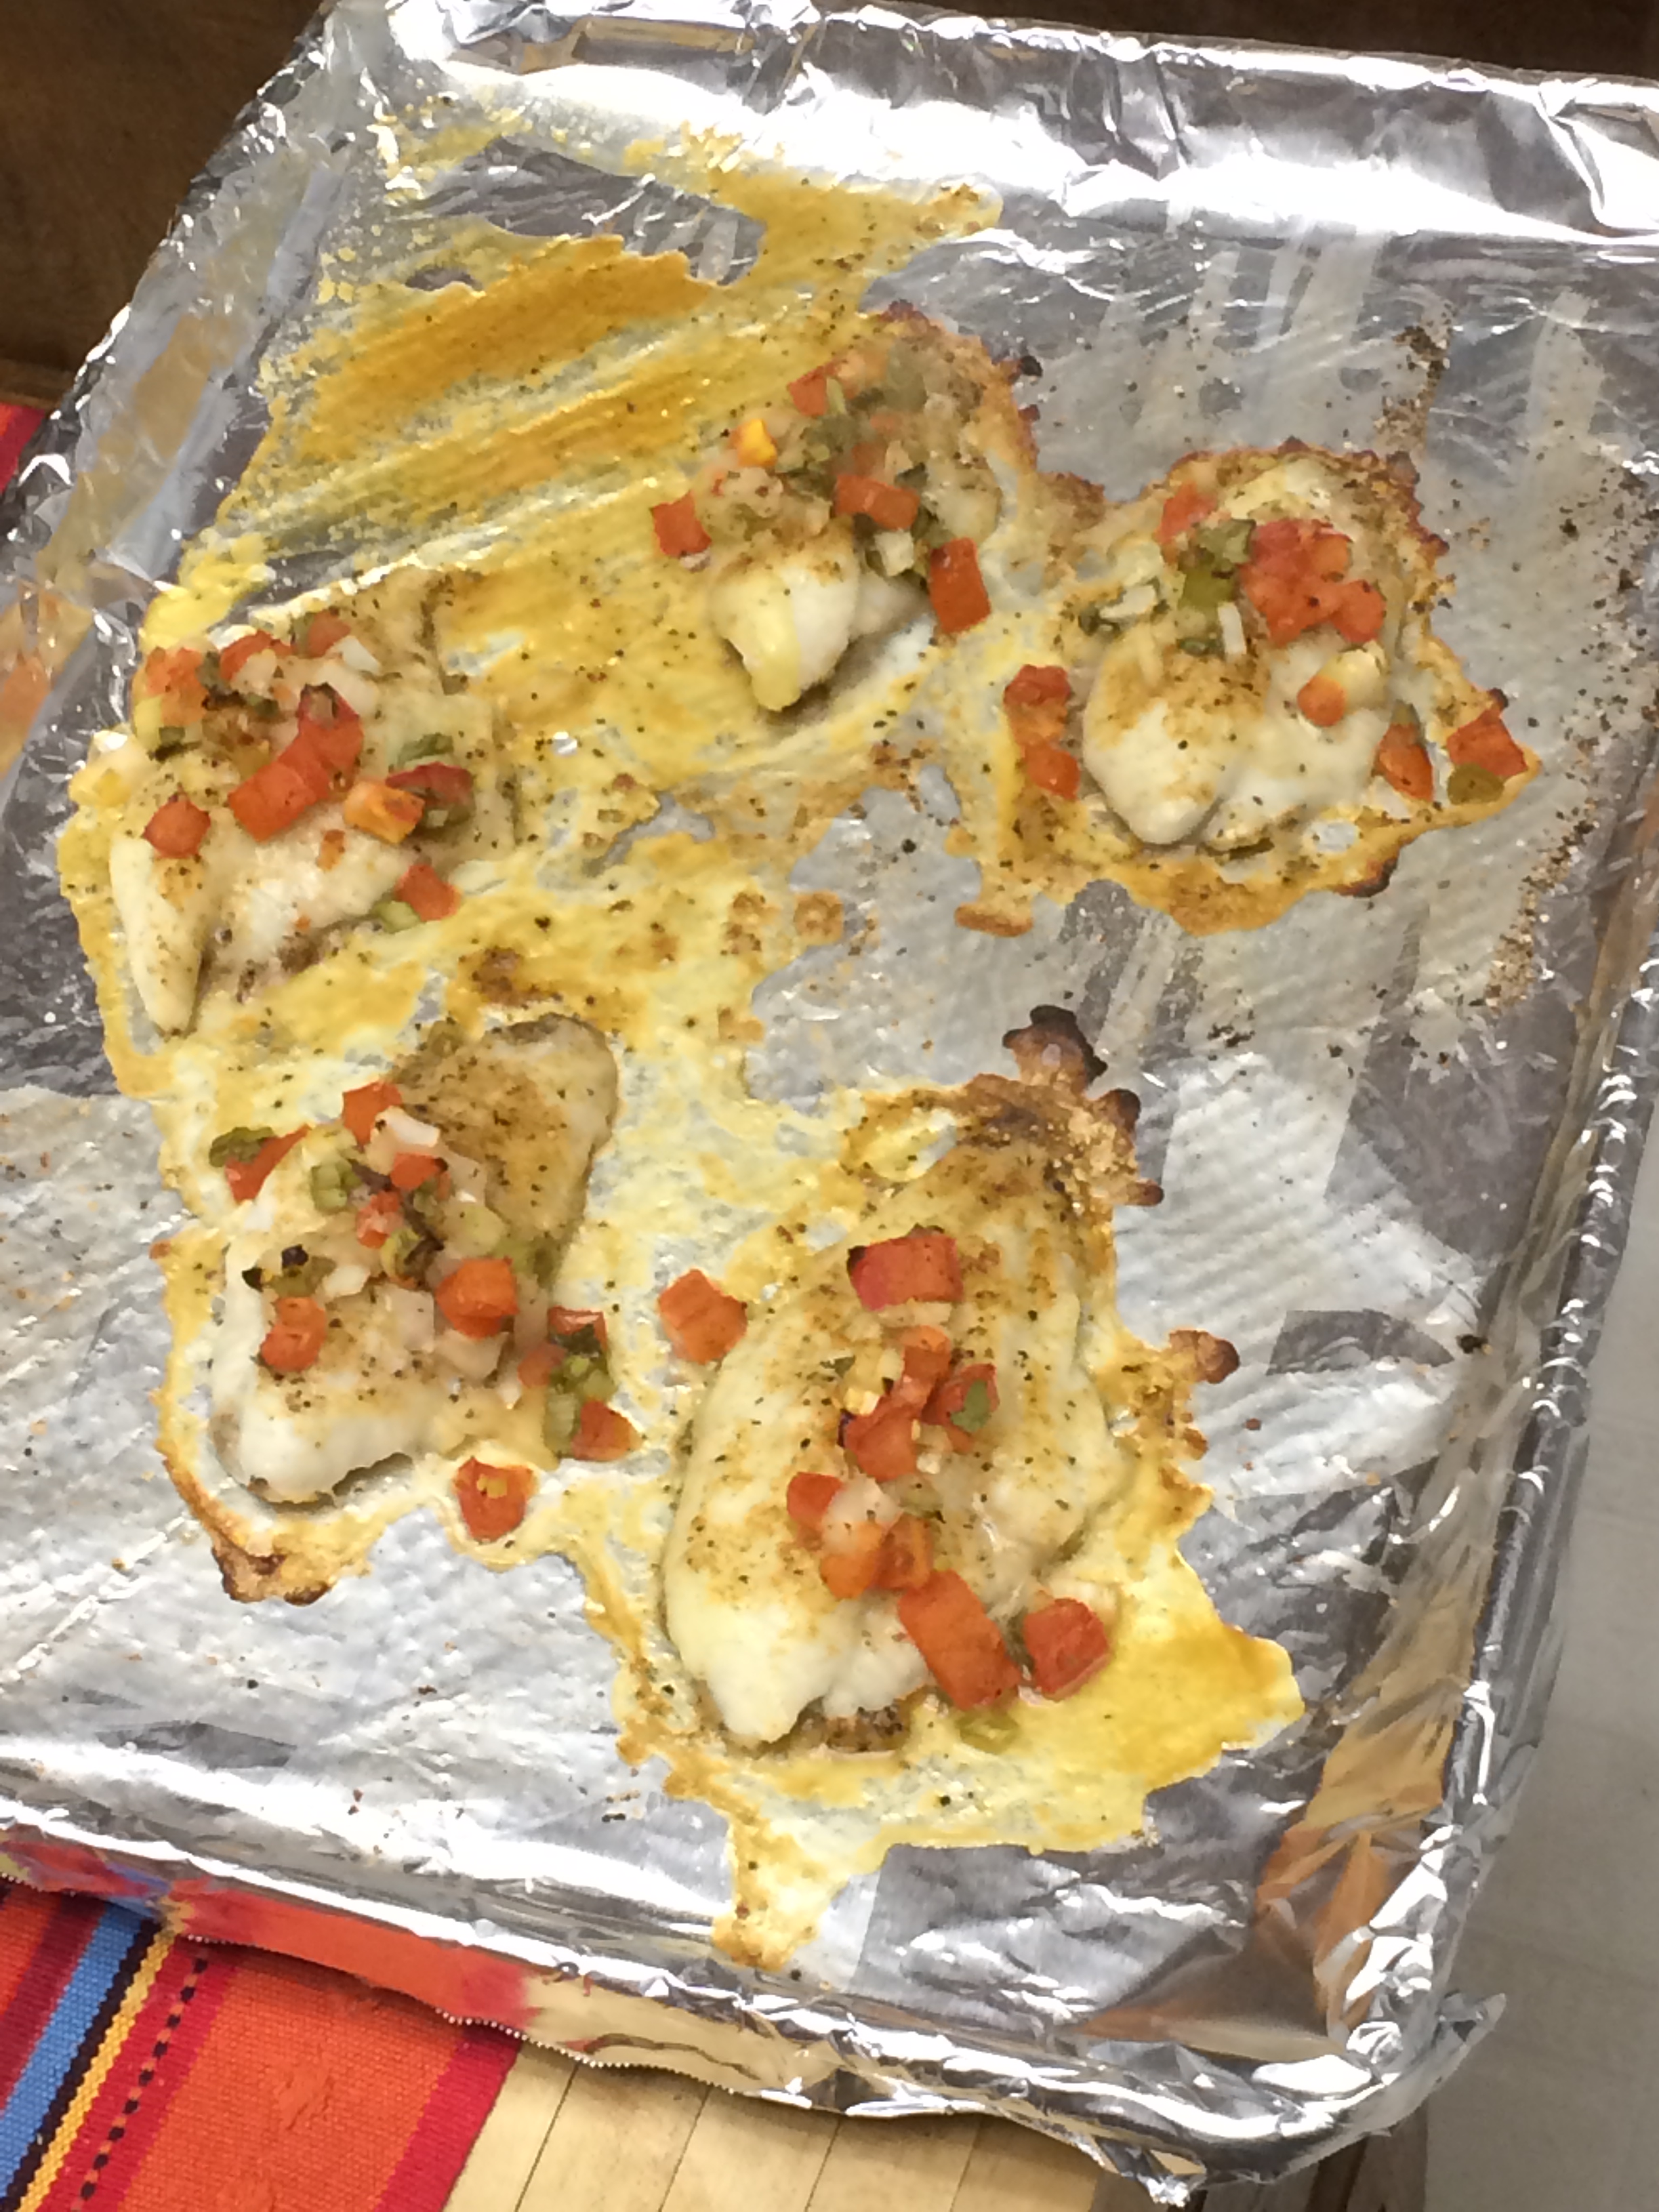
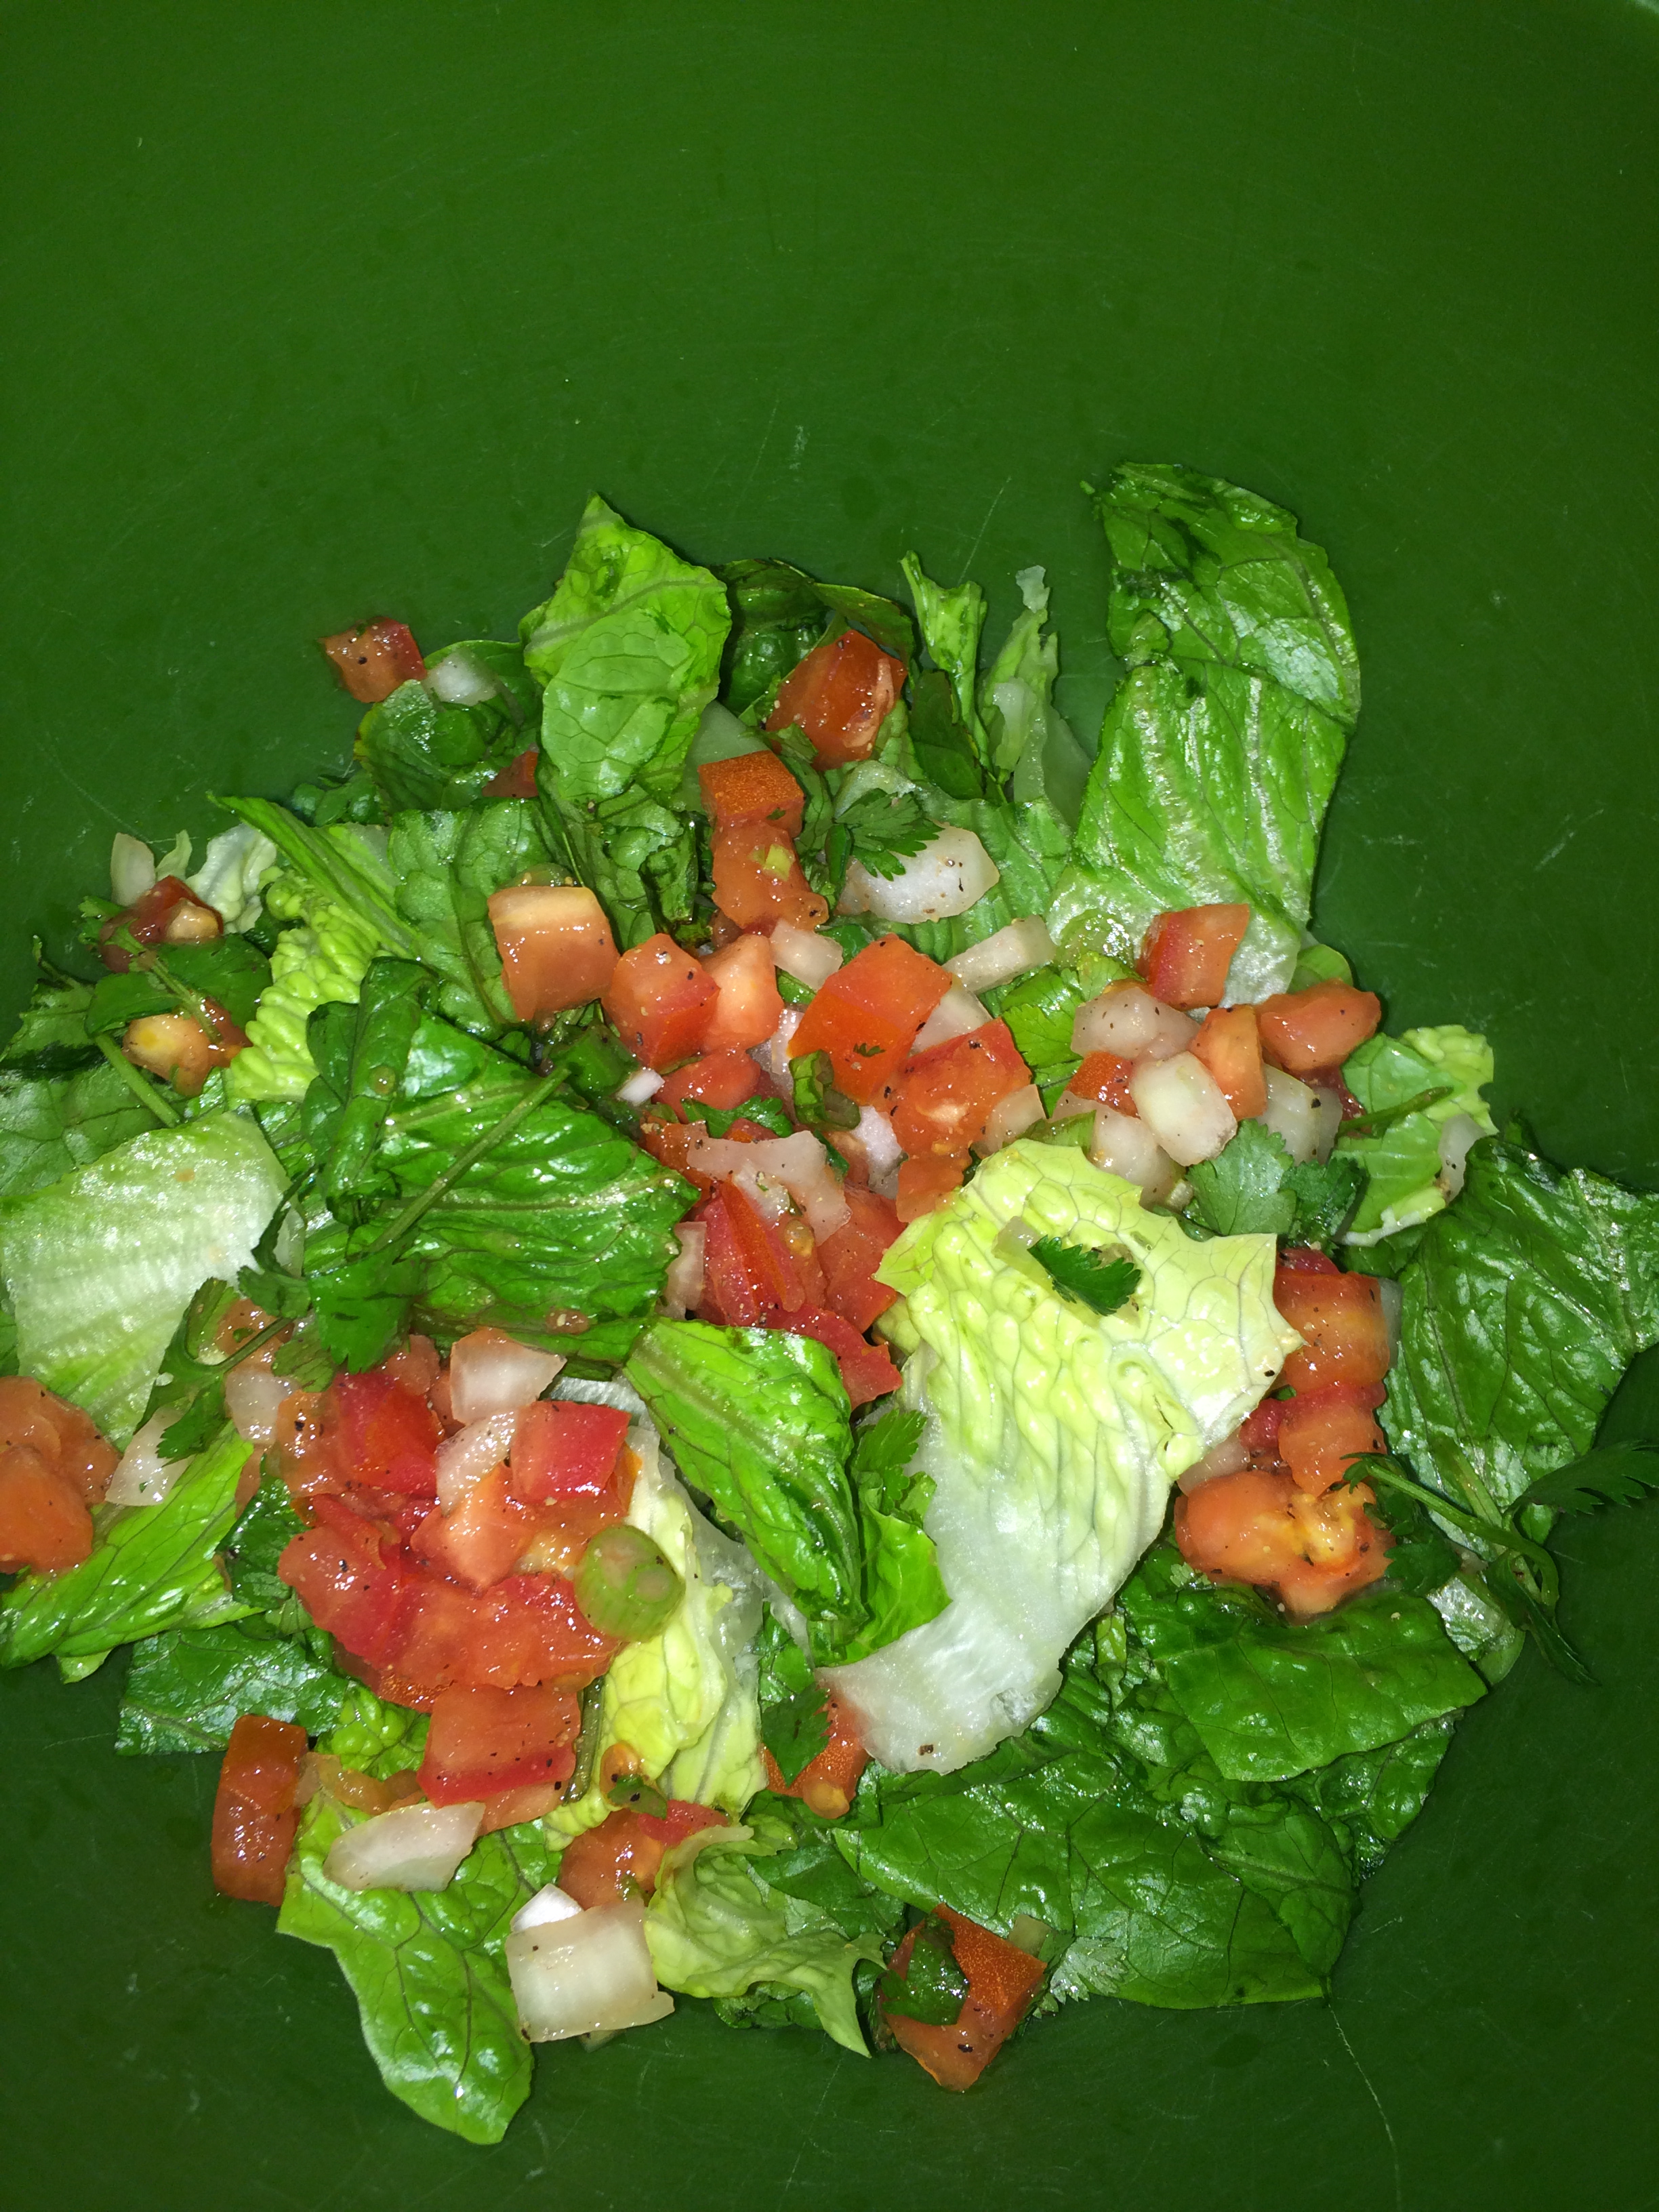
While the meat muuurinates .. Let’s make some salsa! Pico de gallo (the Ls are silent but you already knew that, right?) This is a slightly different version in that I also use green onions and I didn’t use a jalapeño (the J is also silent, my friend’s cousin once ordered a faJita with flour tortiLLas and extra Jalapeños, she pronounced all the Ls and Js and I pretended I didn’t hear her but my eyes were like huge and my nostrils were flaring and I was silently judging her which is not cool and I don’t know why I’m telling you this).
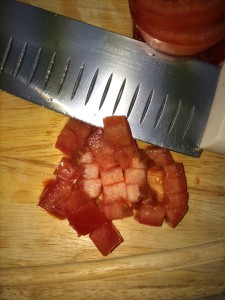
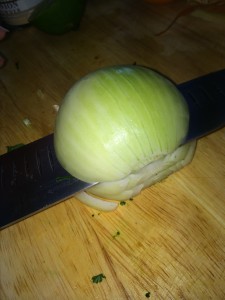
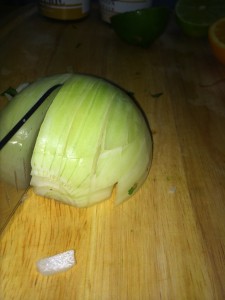
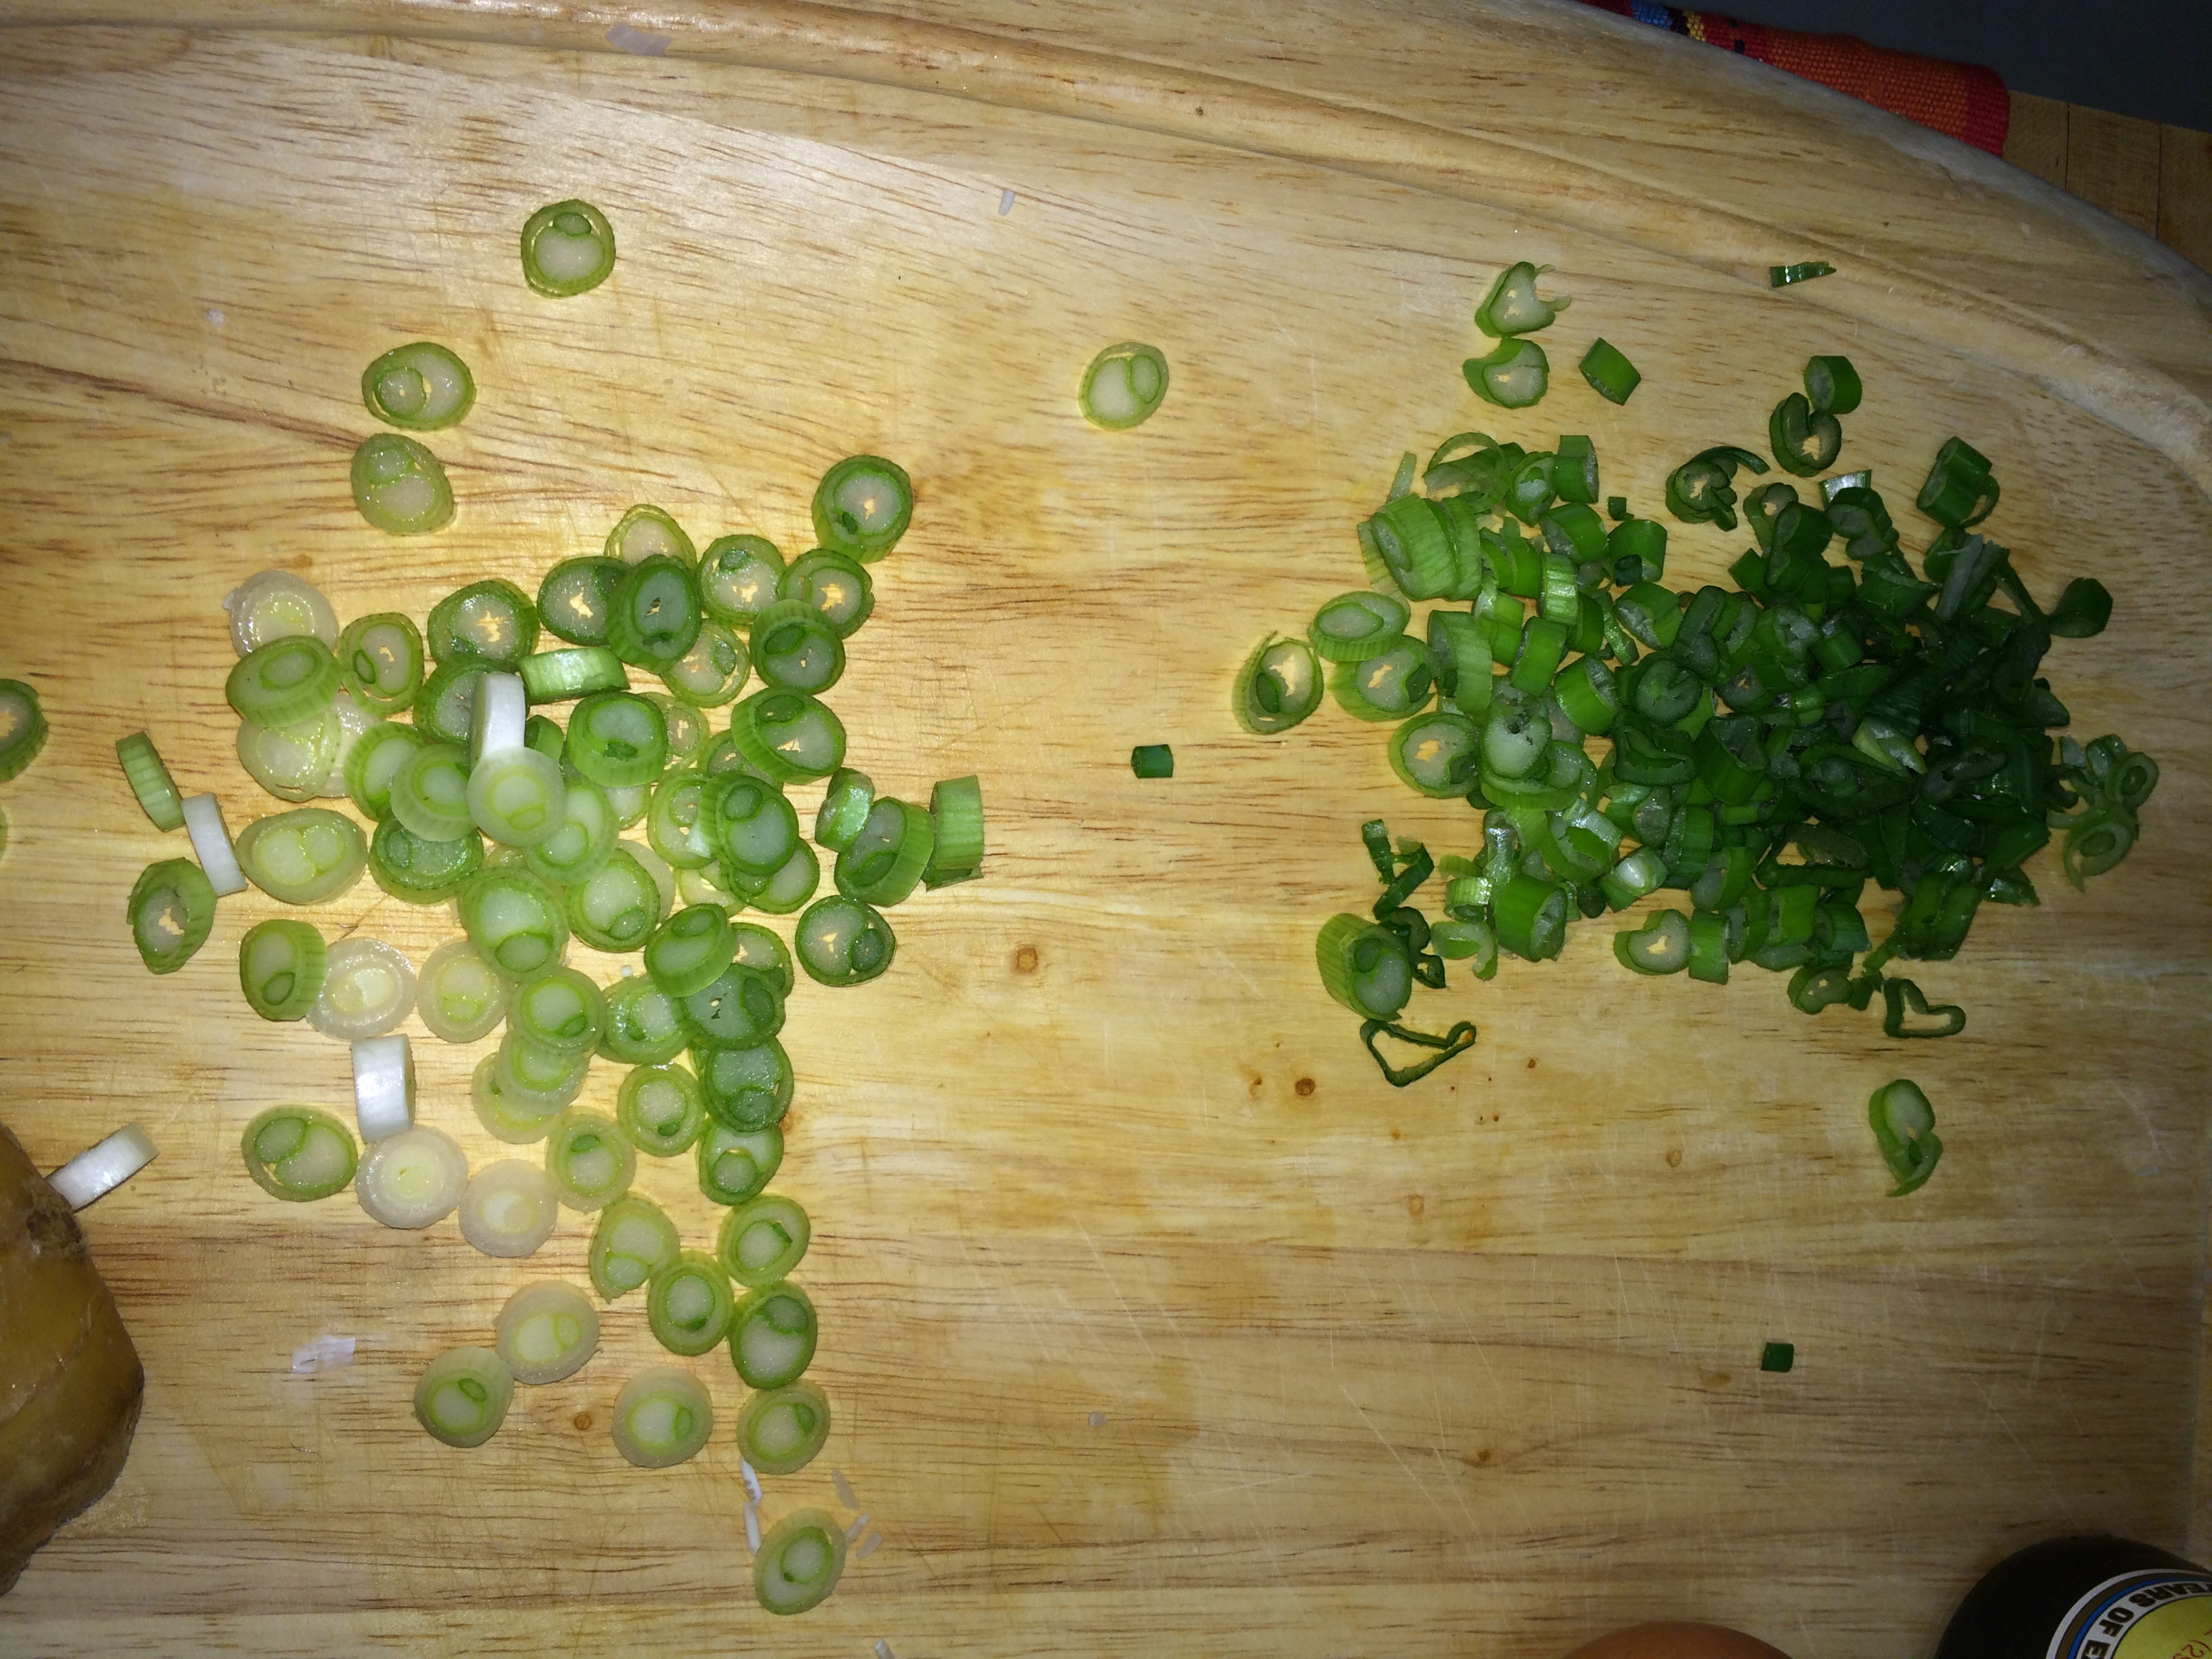
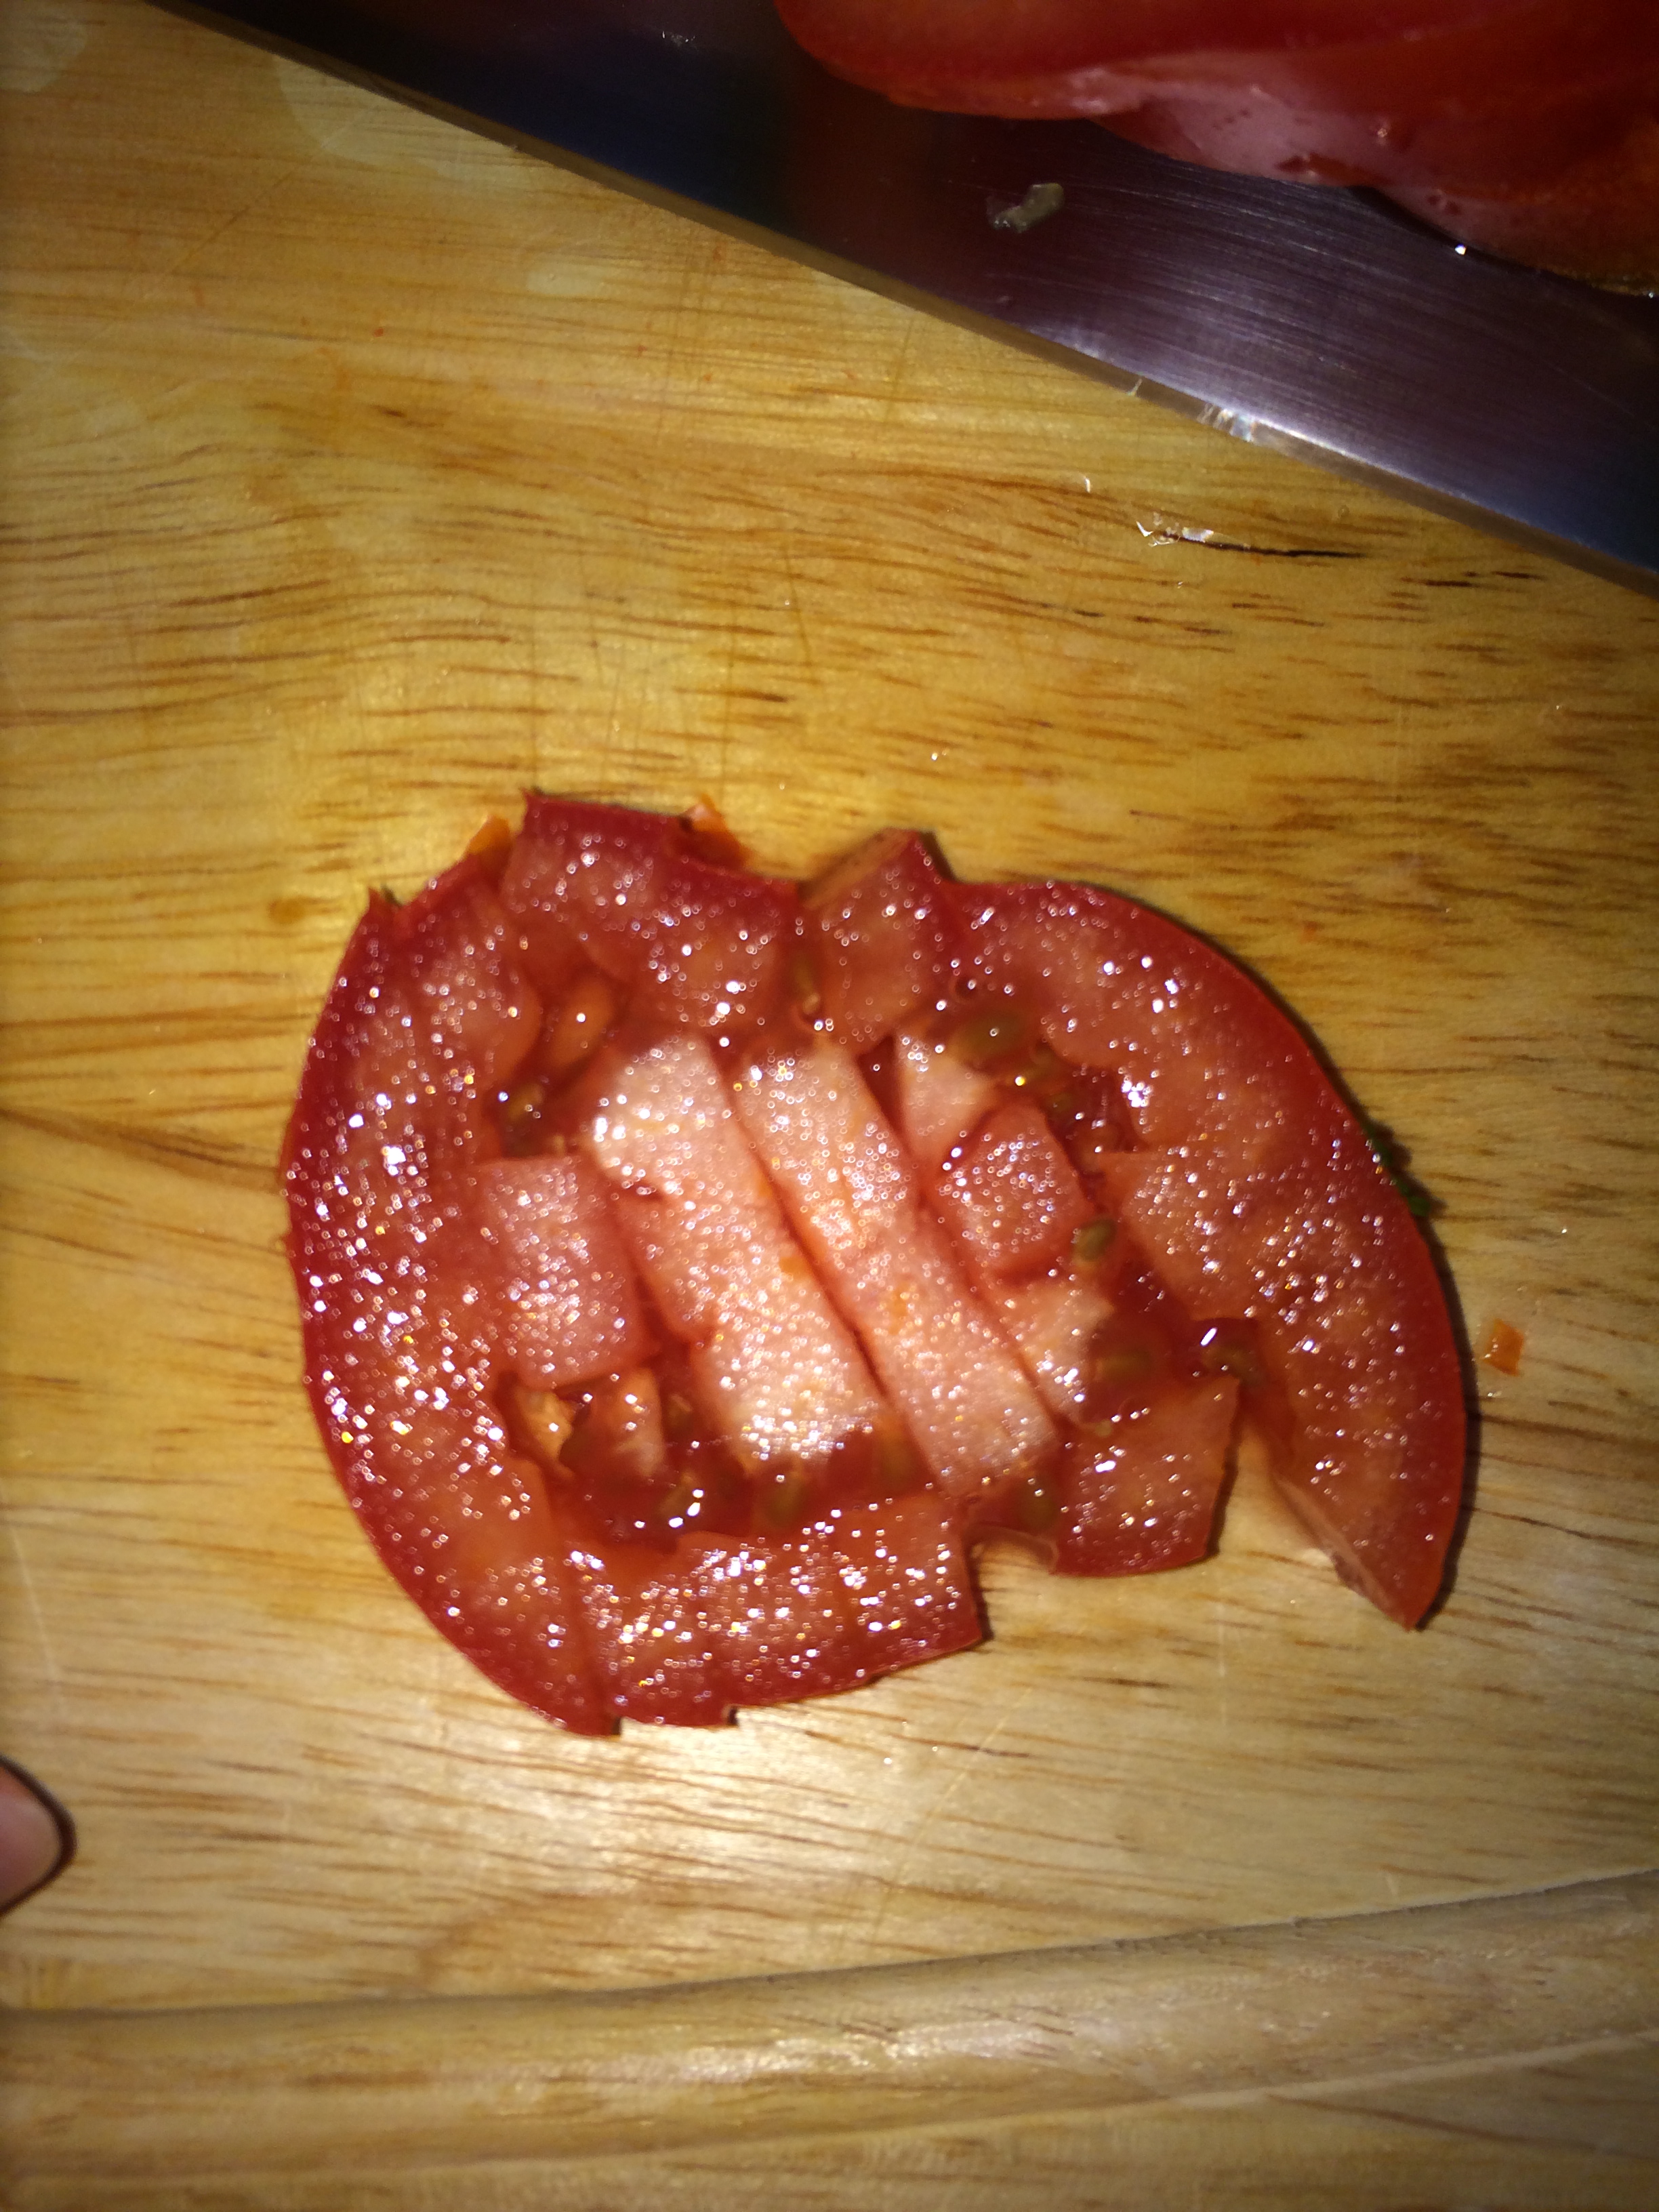
Sooooo … dice up two tomatoes, half an onion, 3 green onions, a bunch of cilantro and mix together with salt and pepper and the juice of the other half of lime.


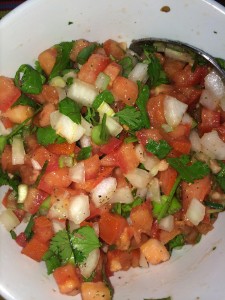
You just made salsa!!
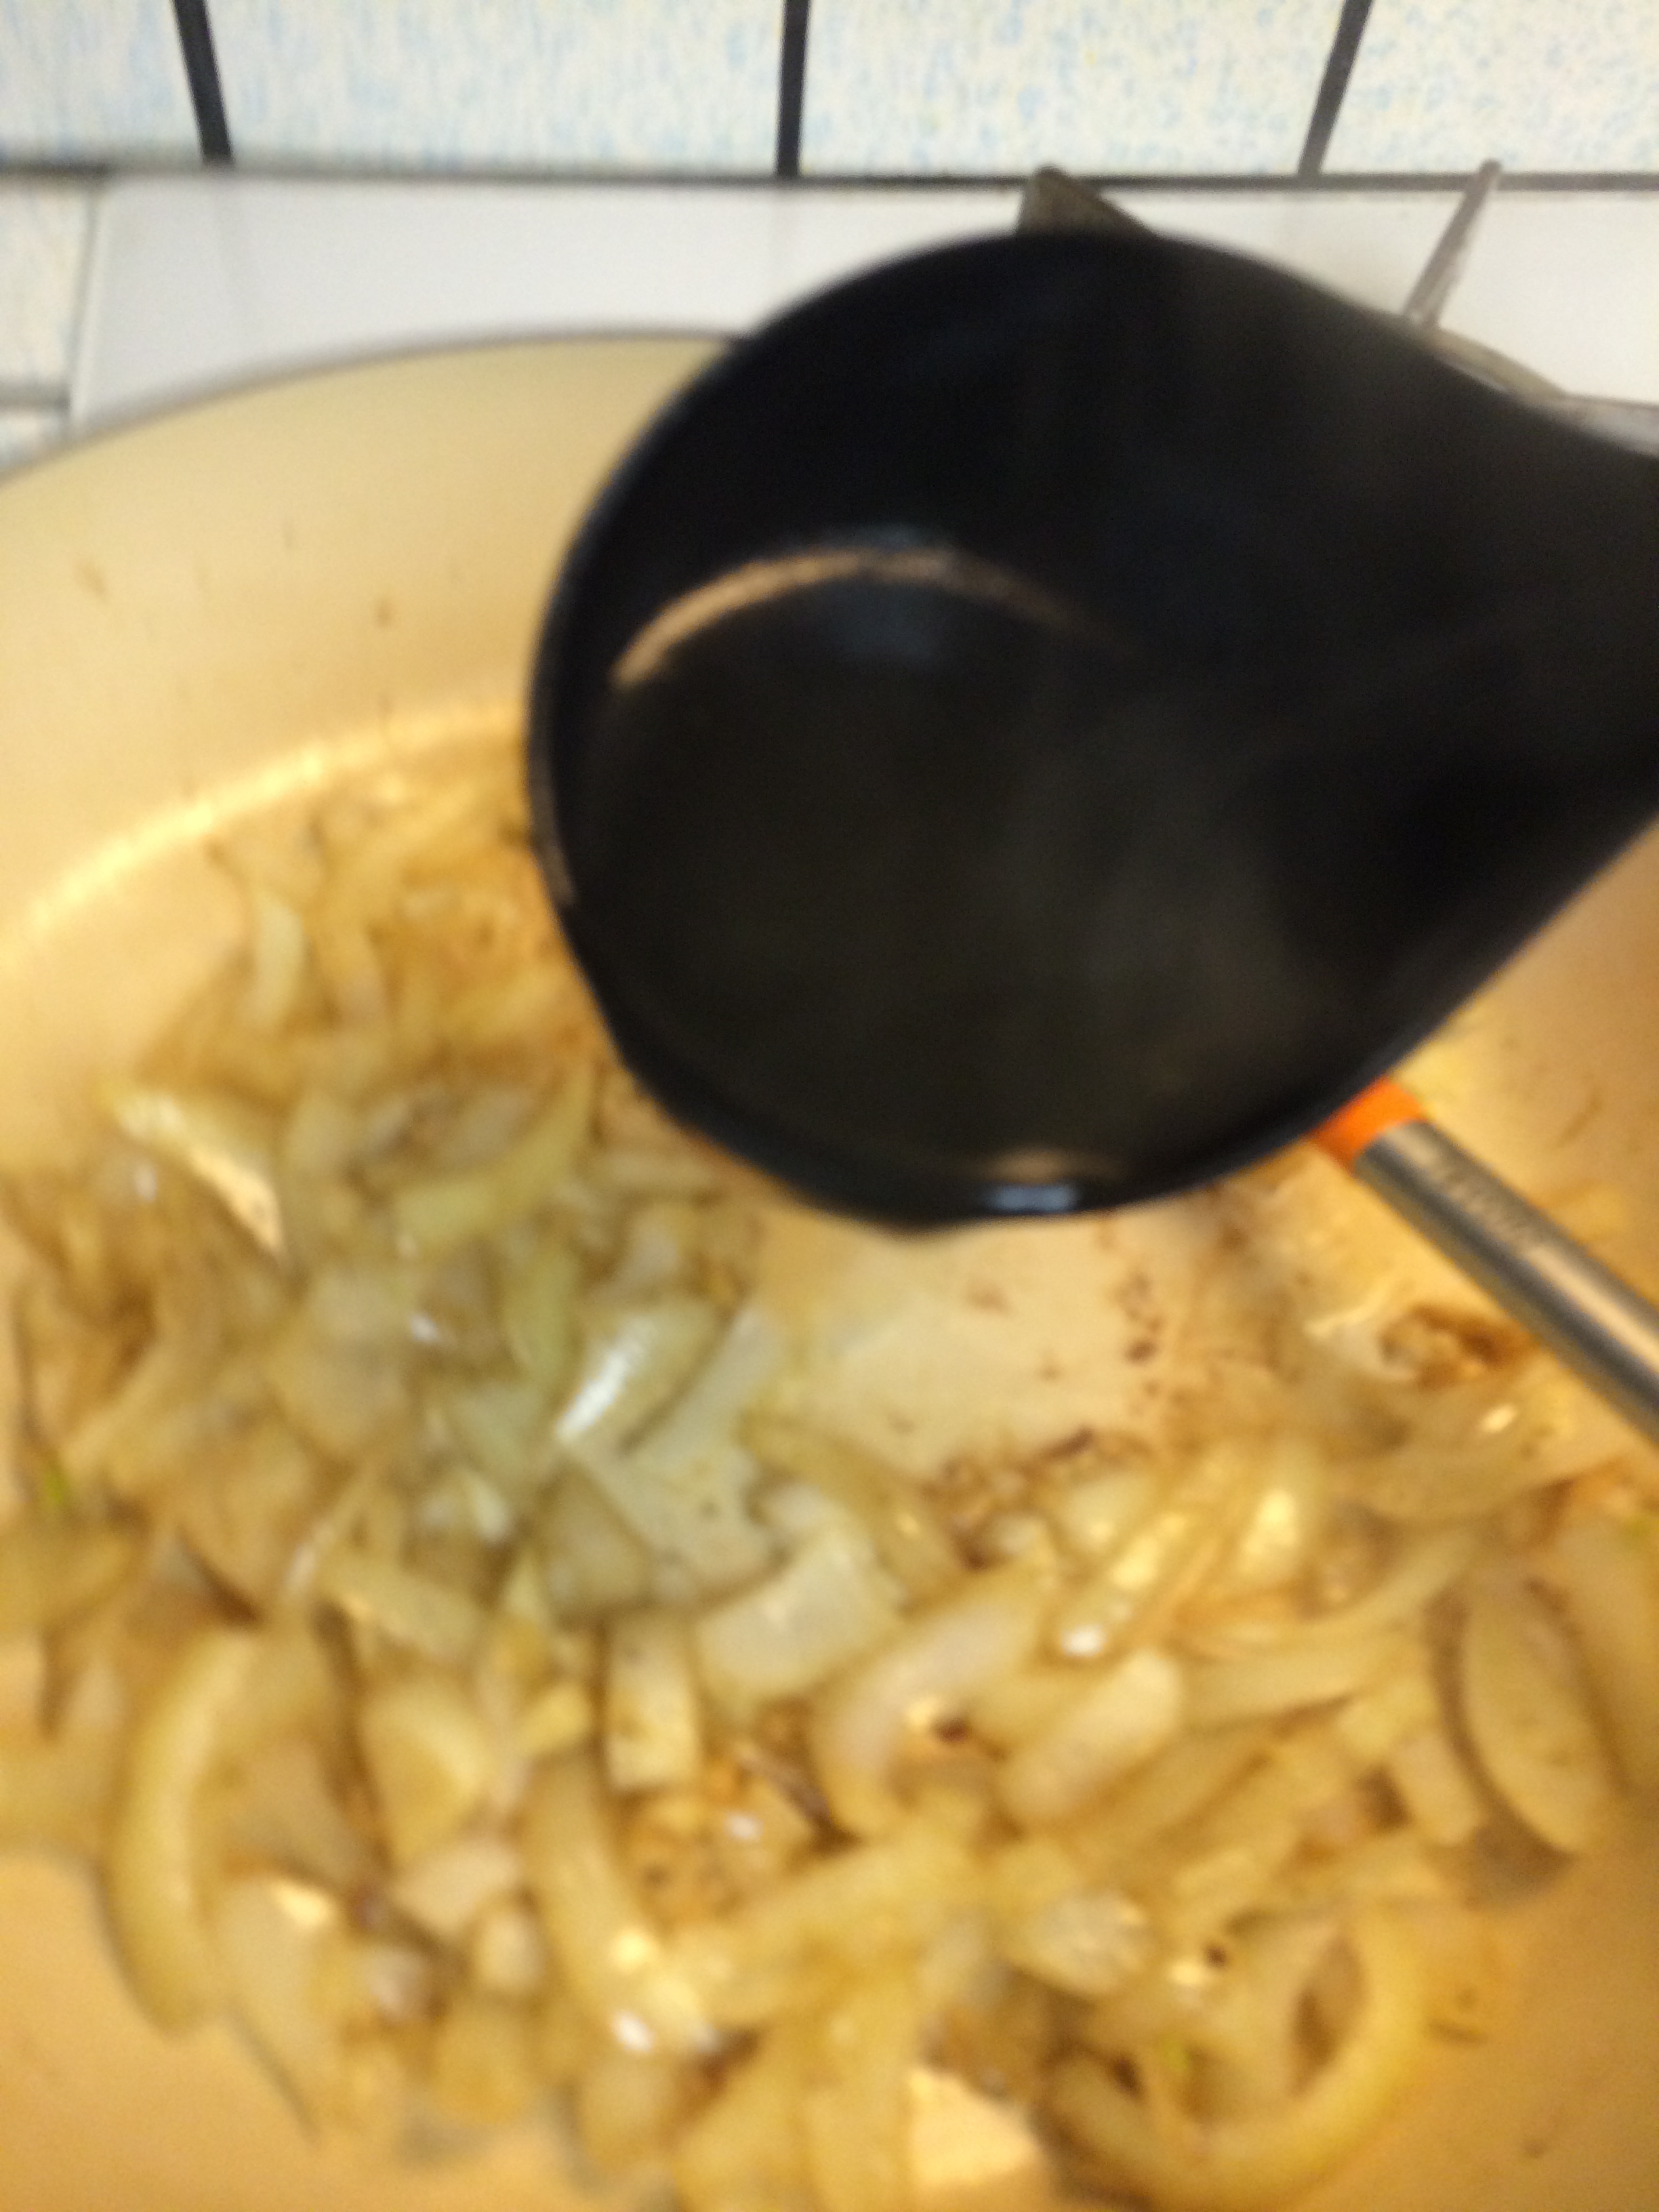
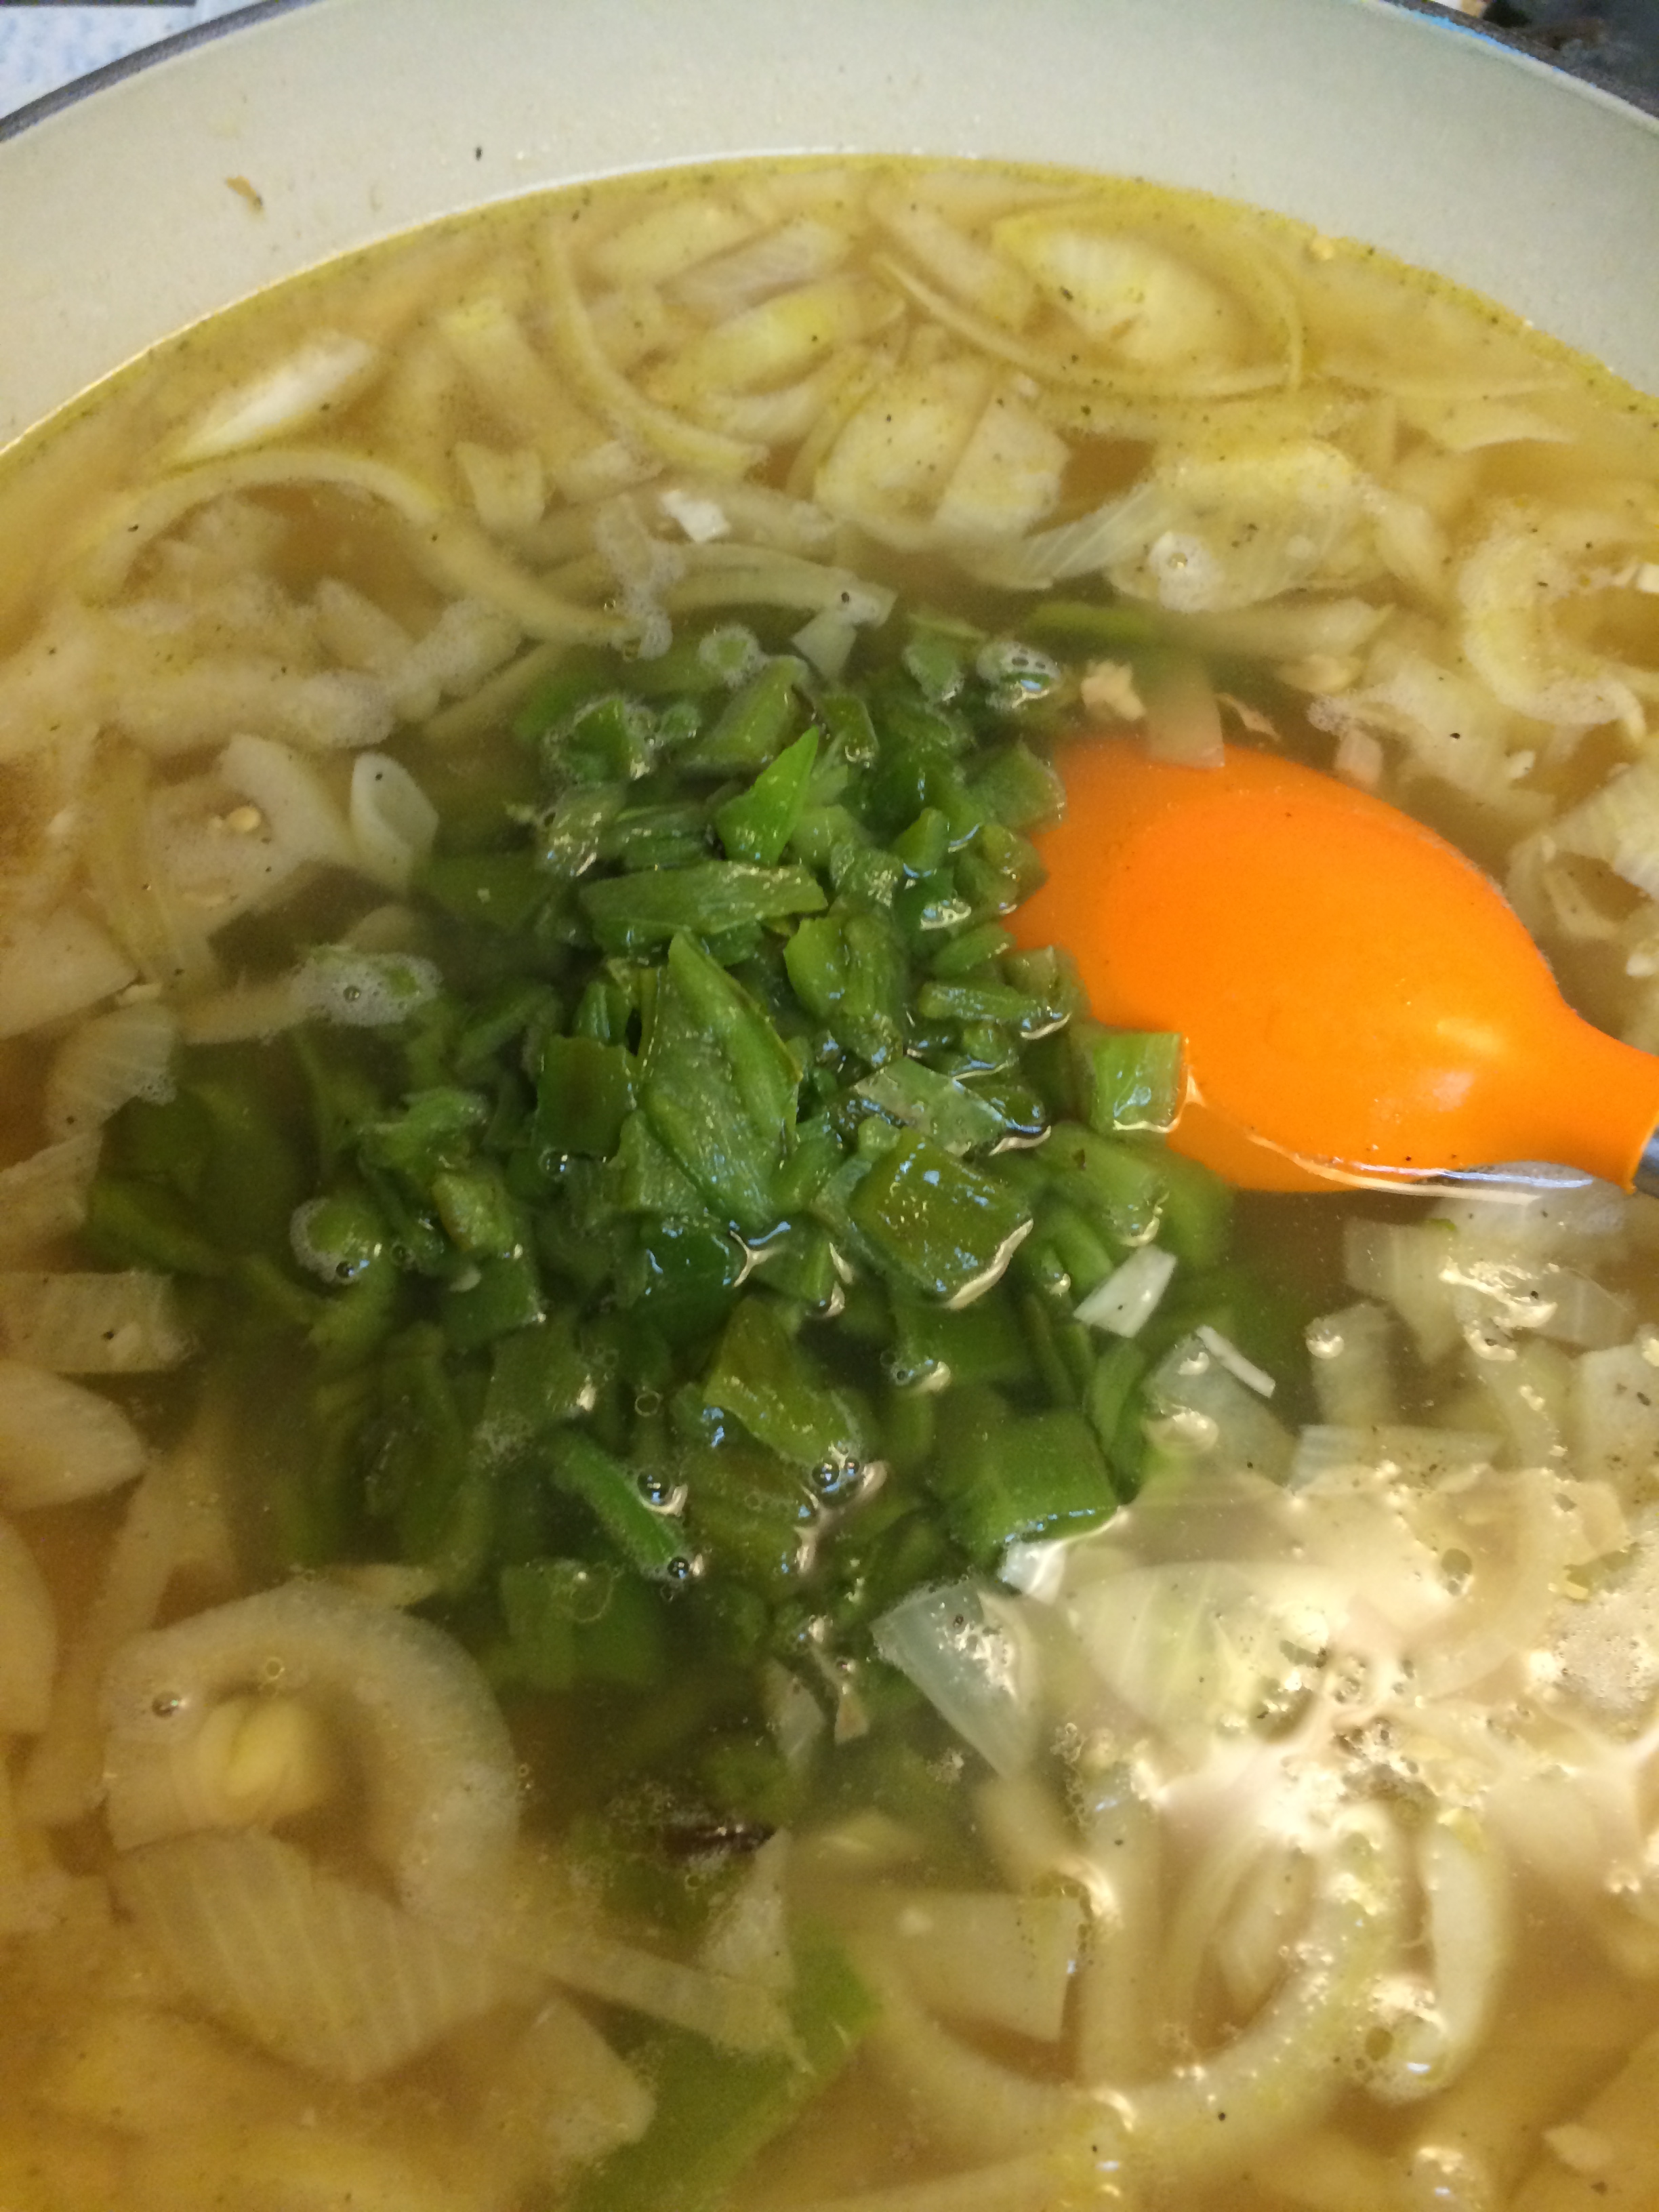
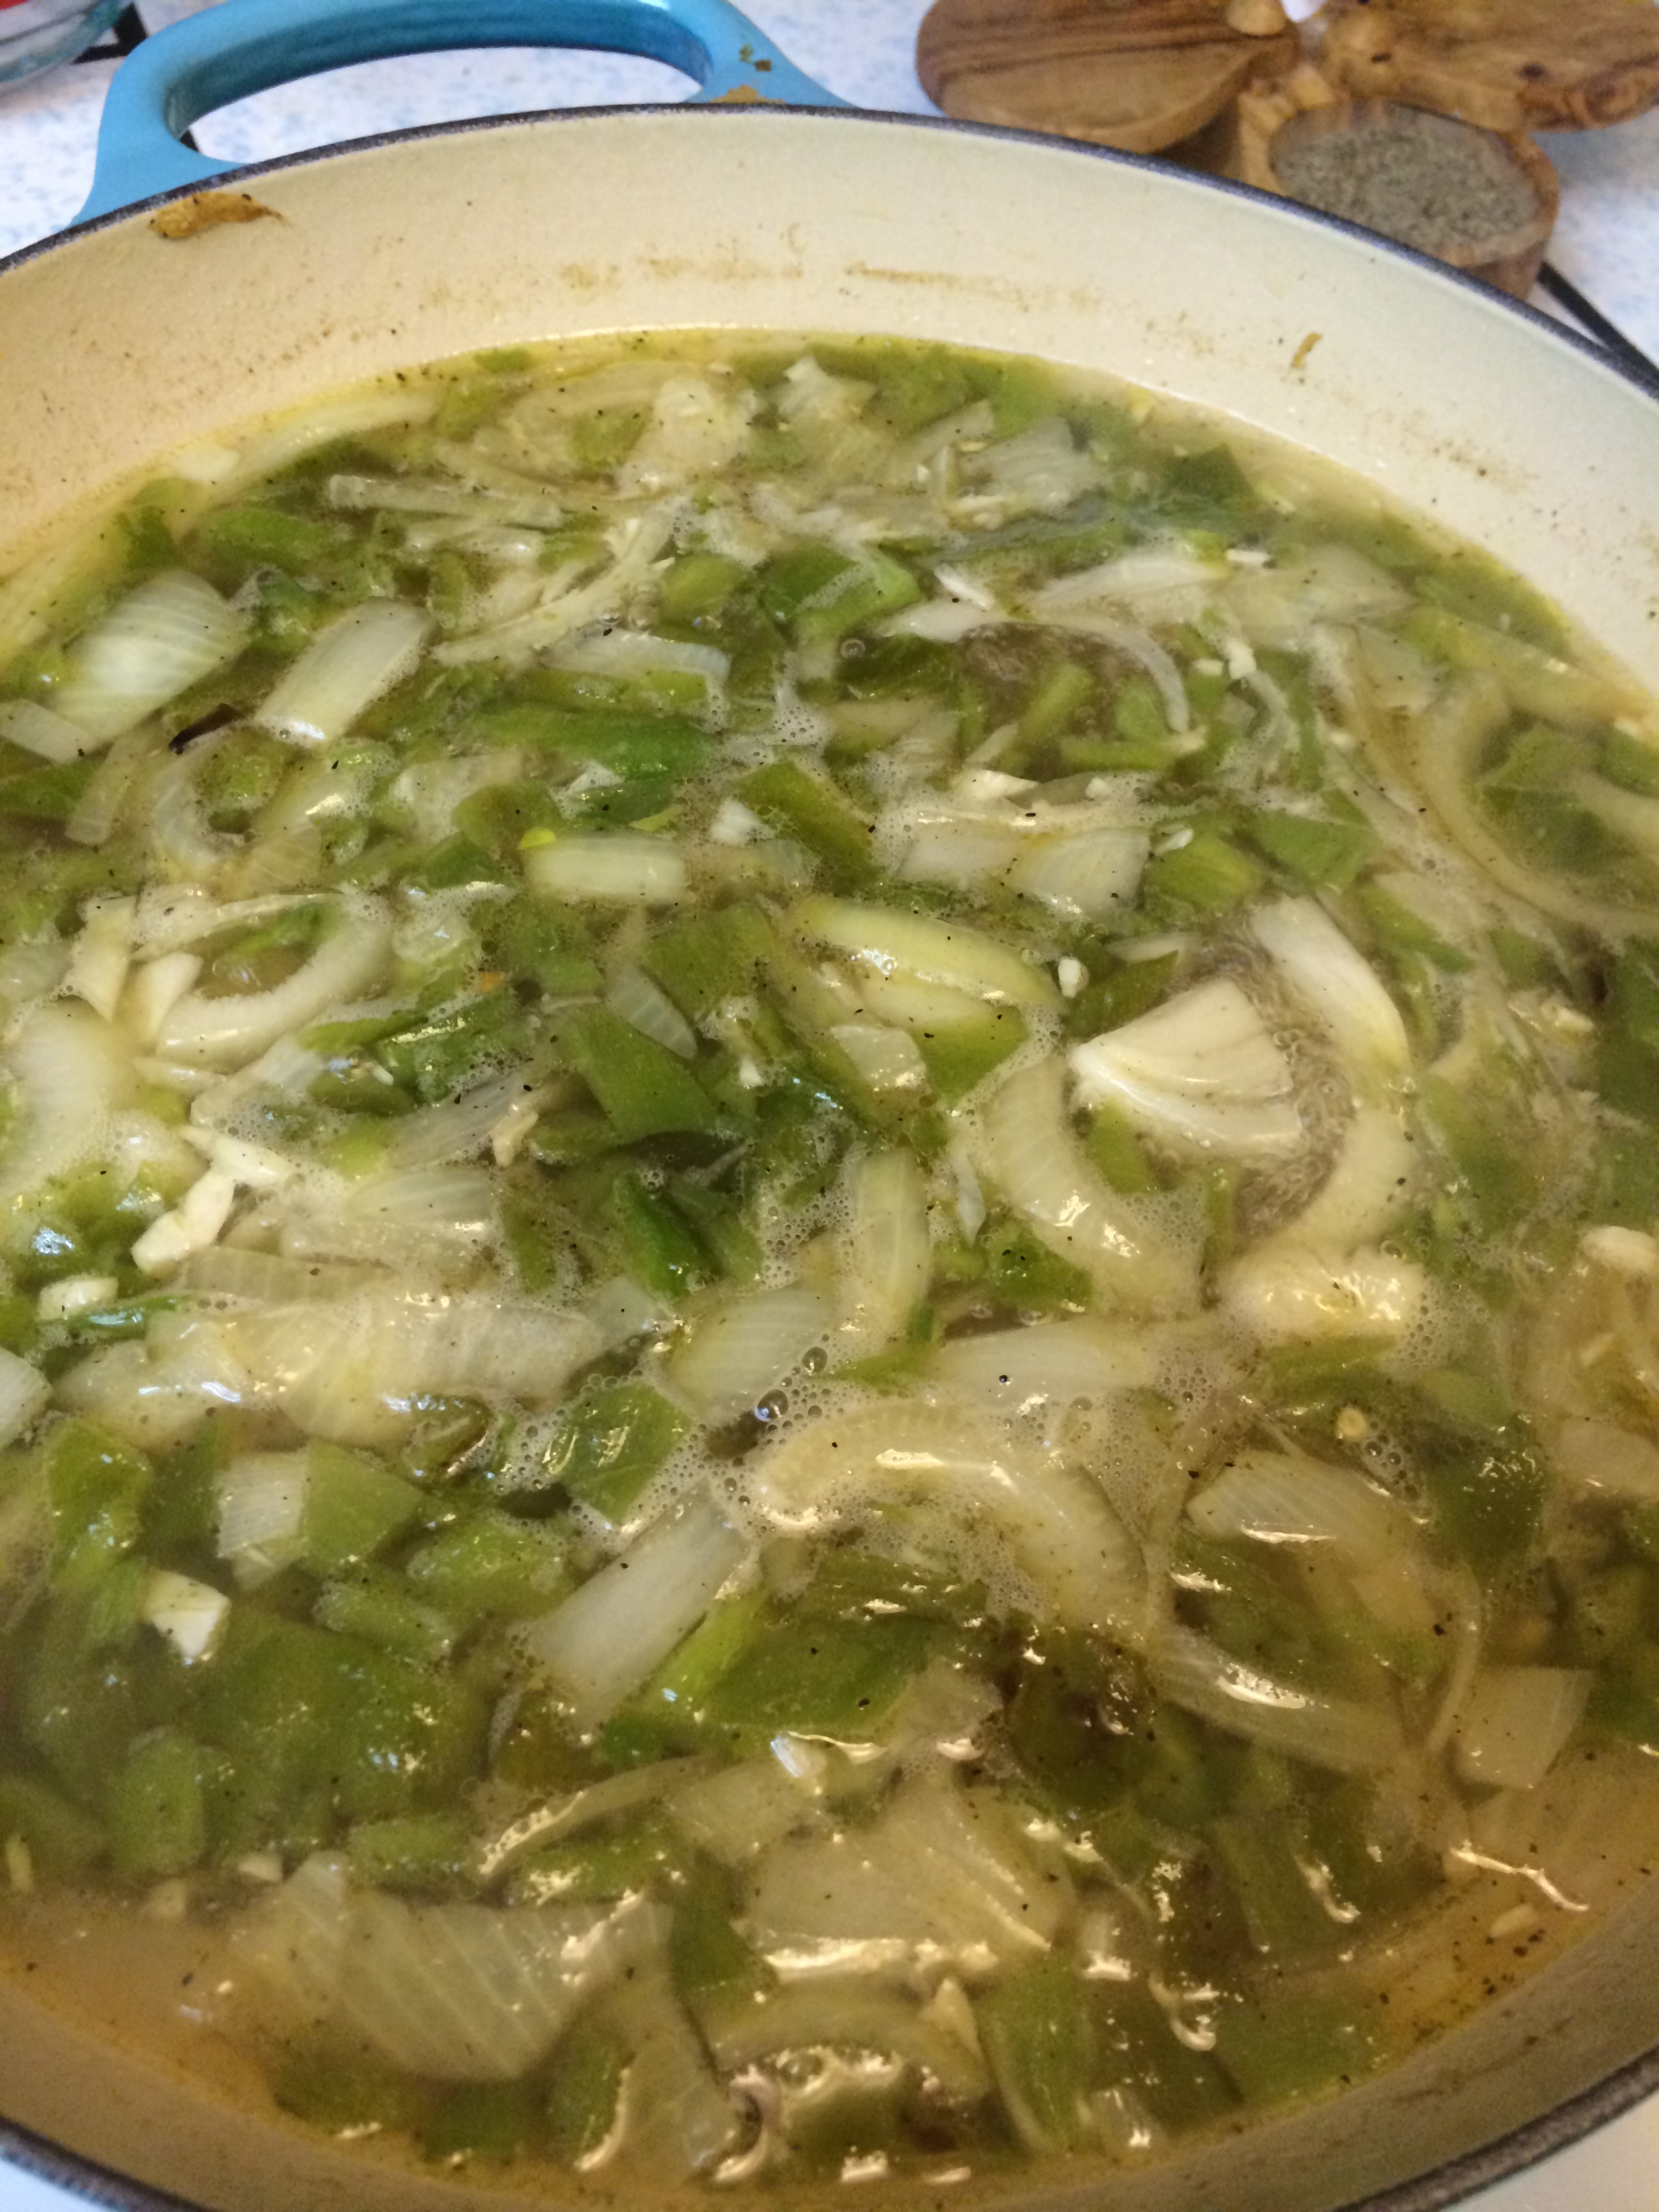
Back to the meat. Now put the beef (minus the oranges and lime) in a HOT pan. Spread in one layer and leave them alone! It’s like that saying, “if you love something, let it go and if it’s meant to be yours it will brown nicely and develop great flavor” …
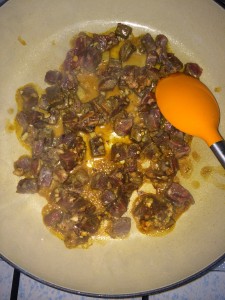
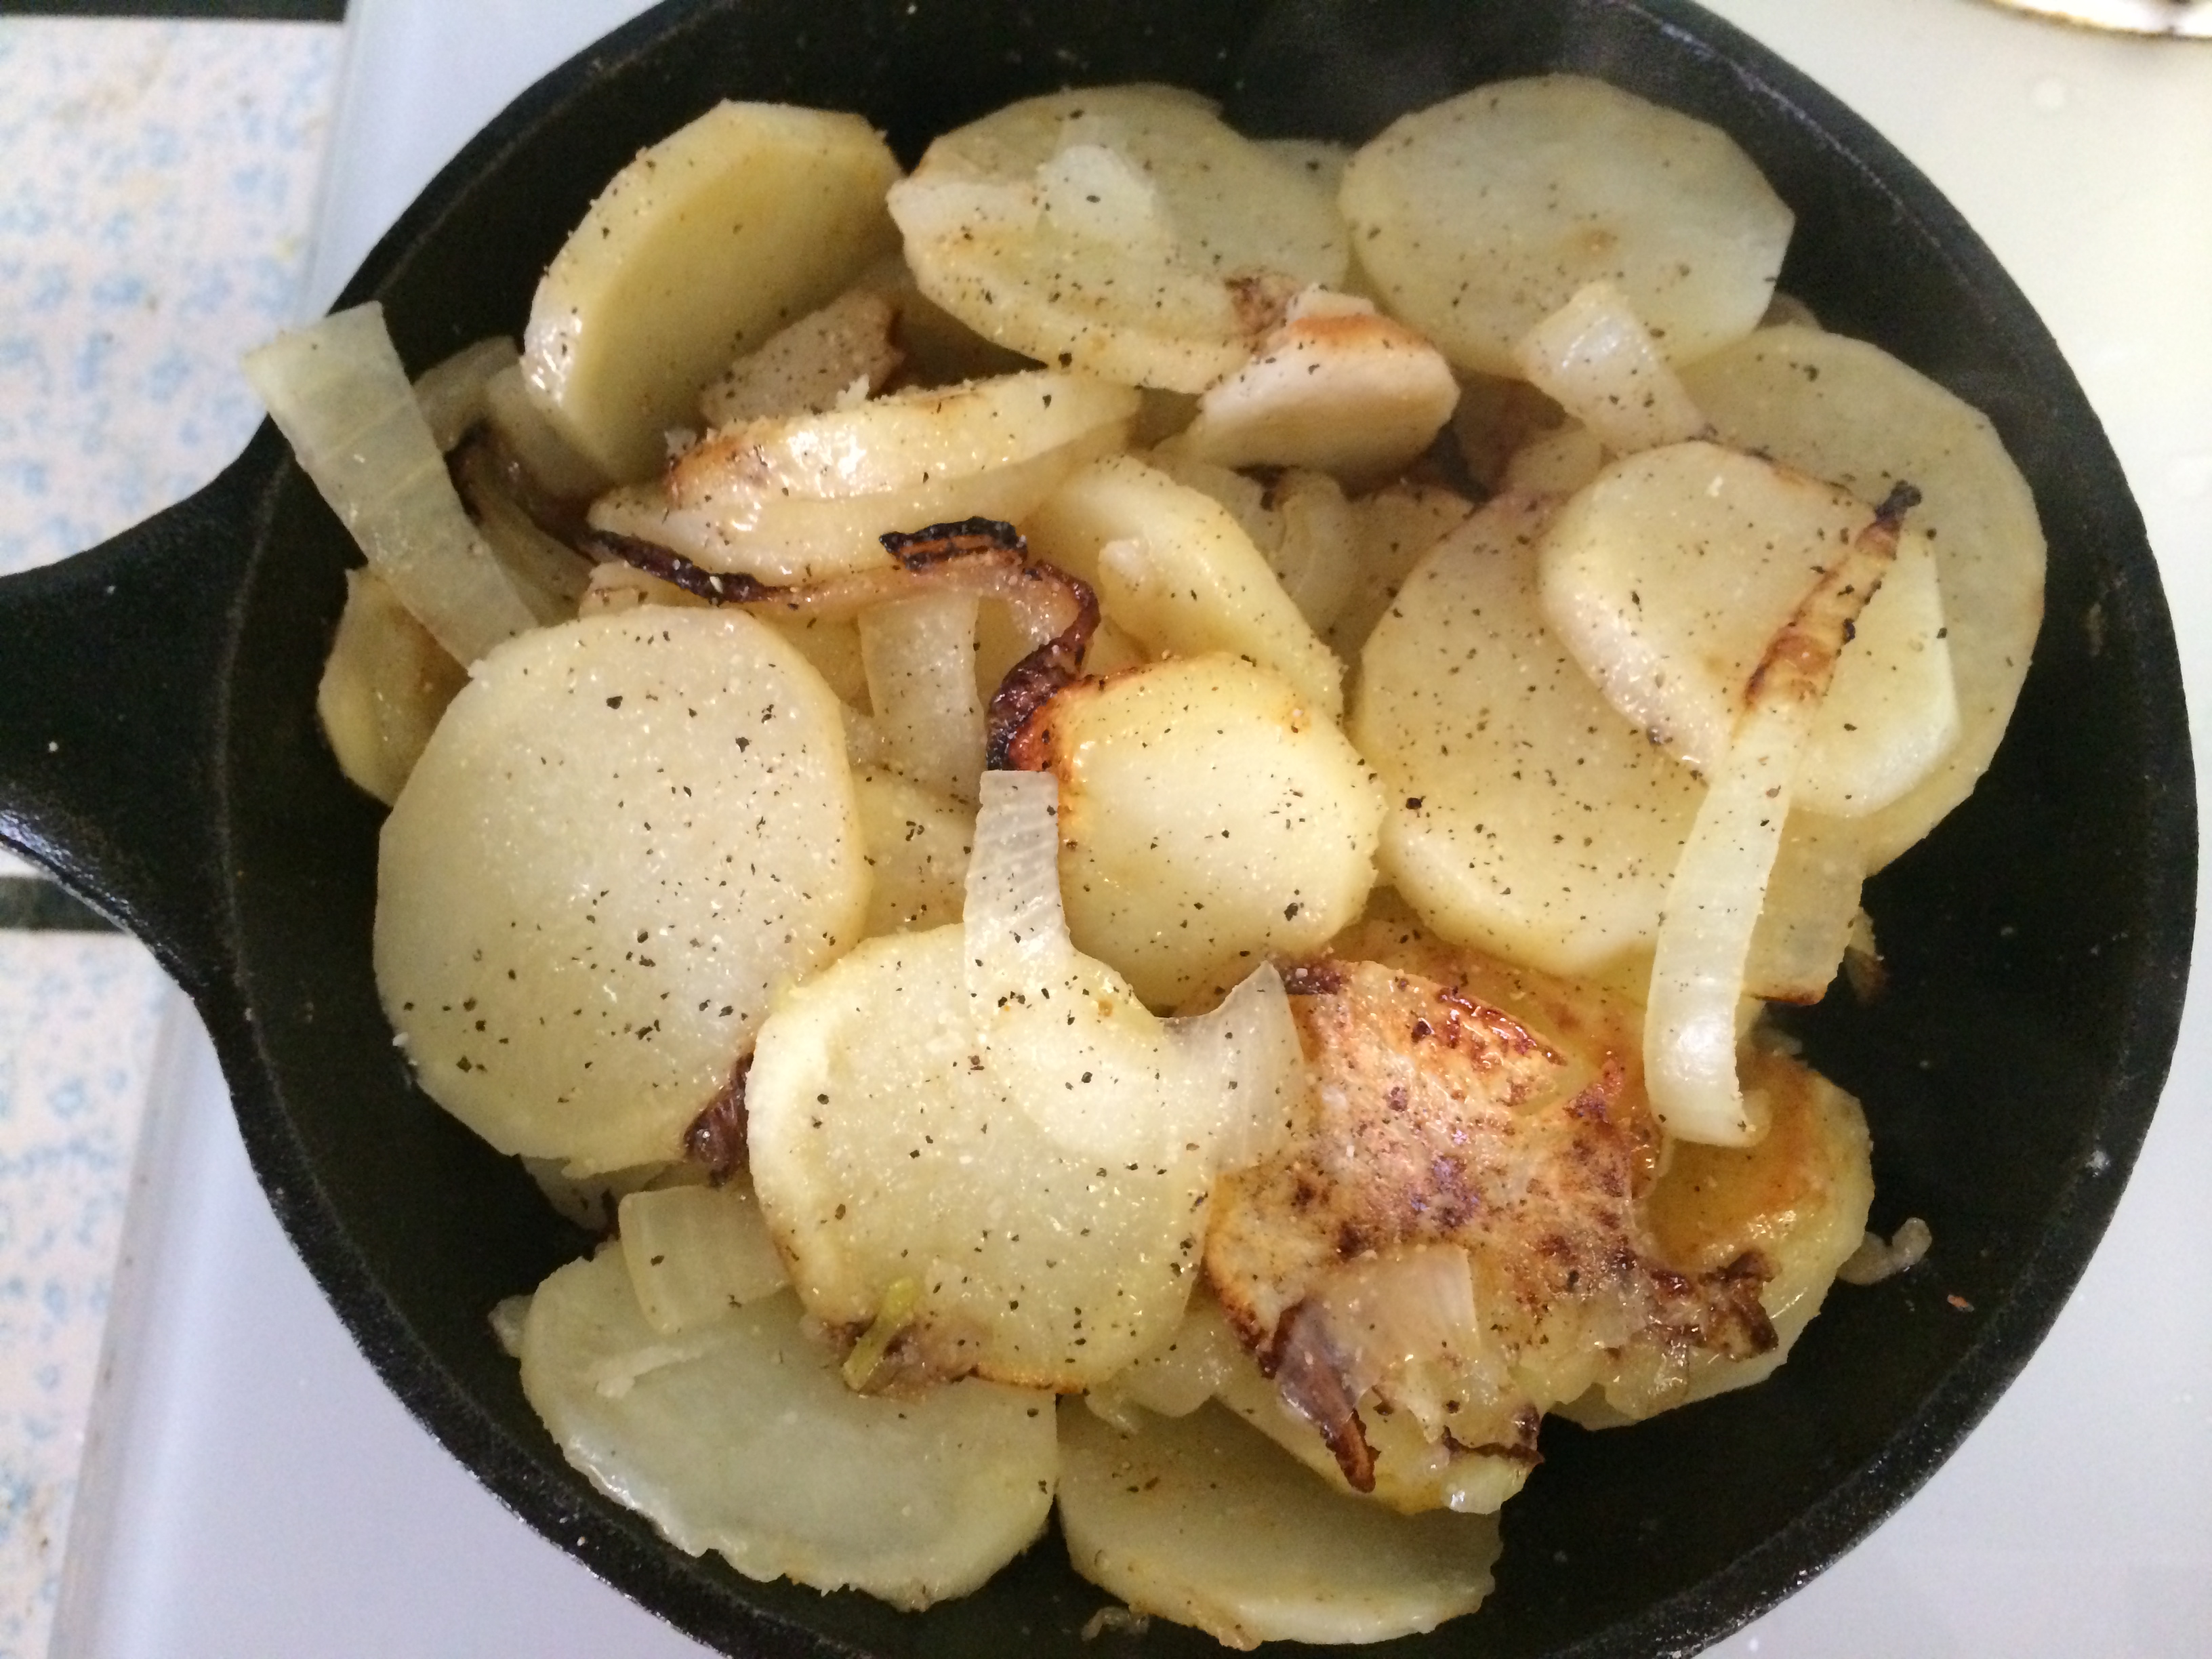
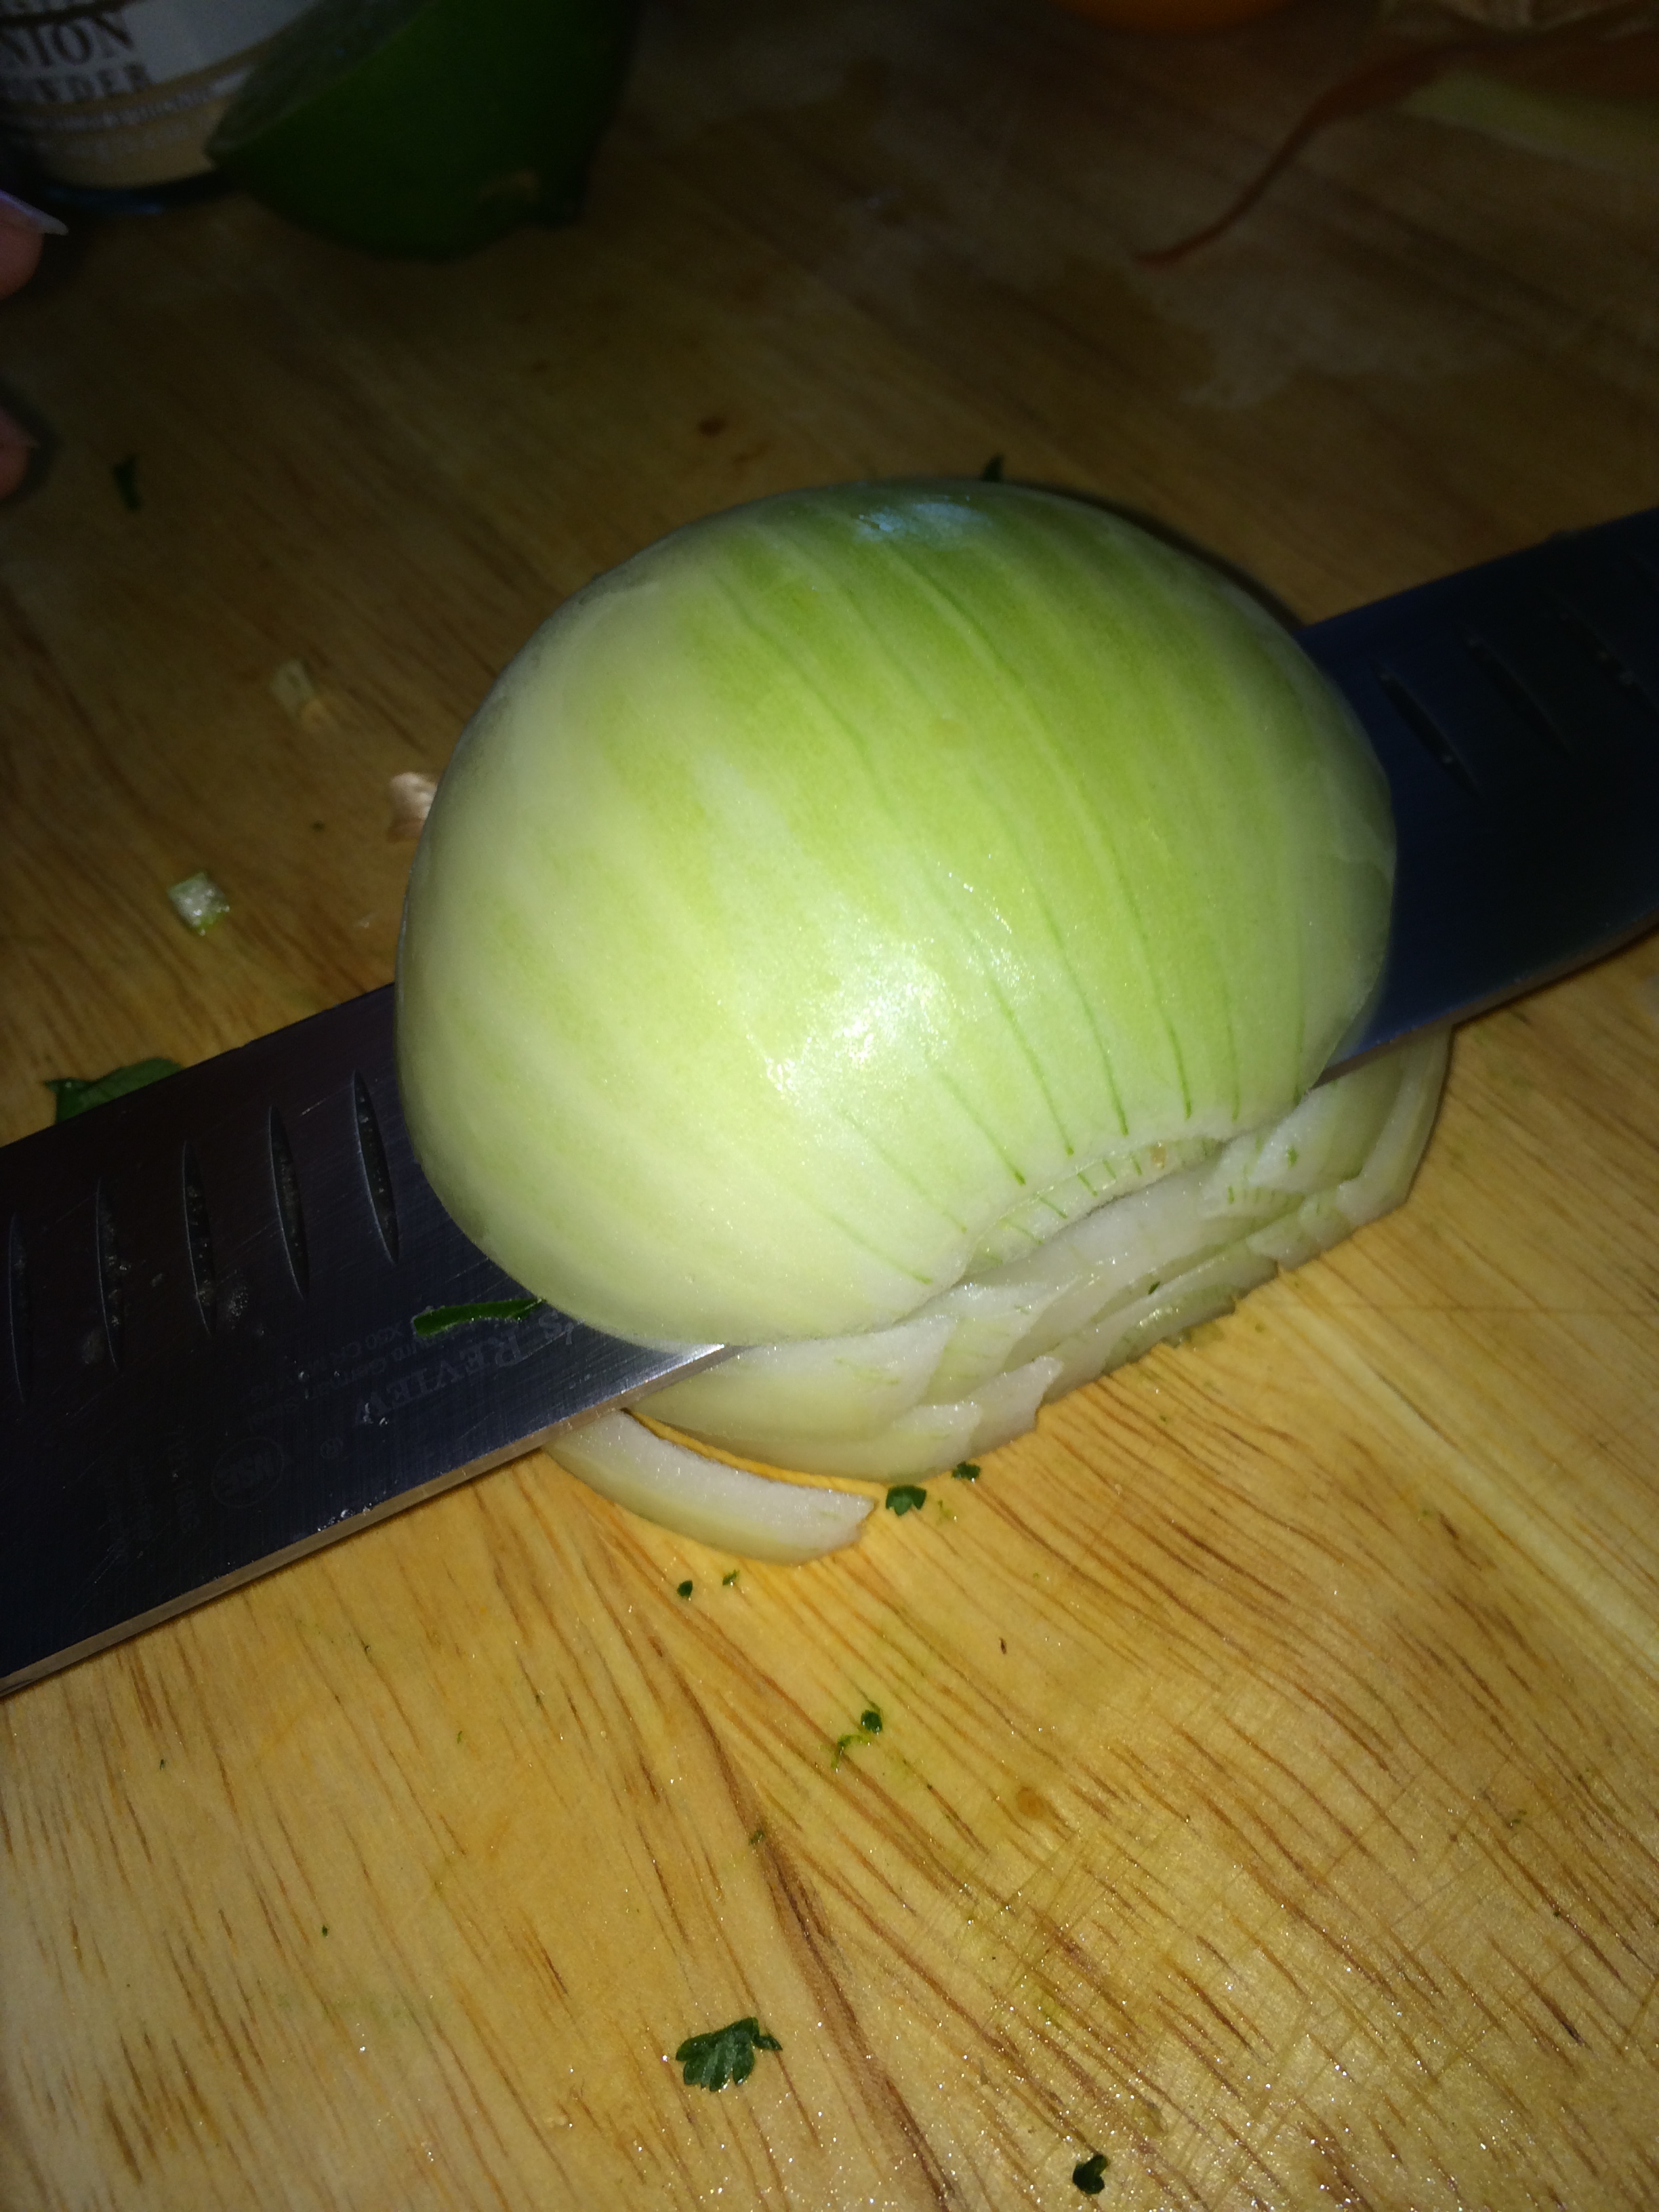
Once you don’t see a lot of pink in the meat, add the other half of the onion, diced:

Cook for a few more minutes till the meat is cooked through (test a small piece) and the onions have some color.
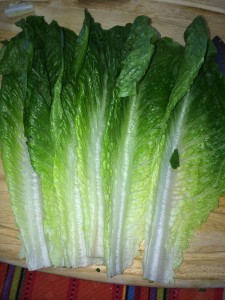
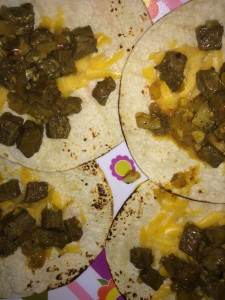
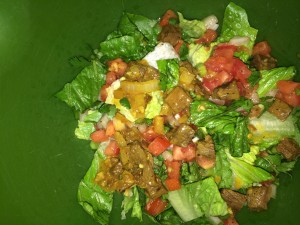
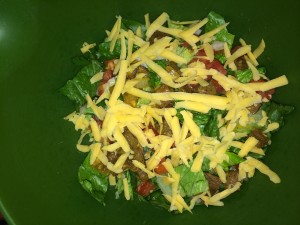
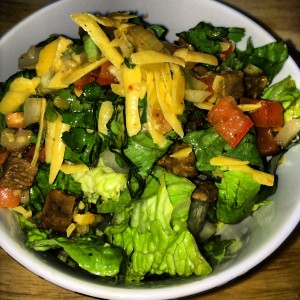
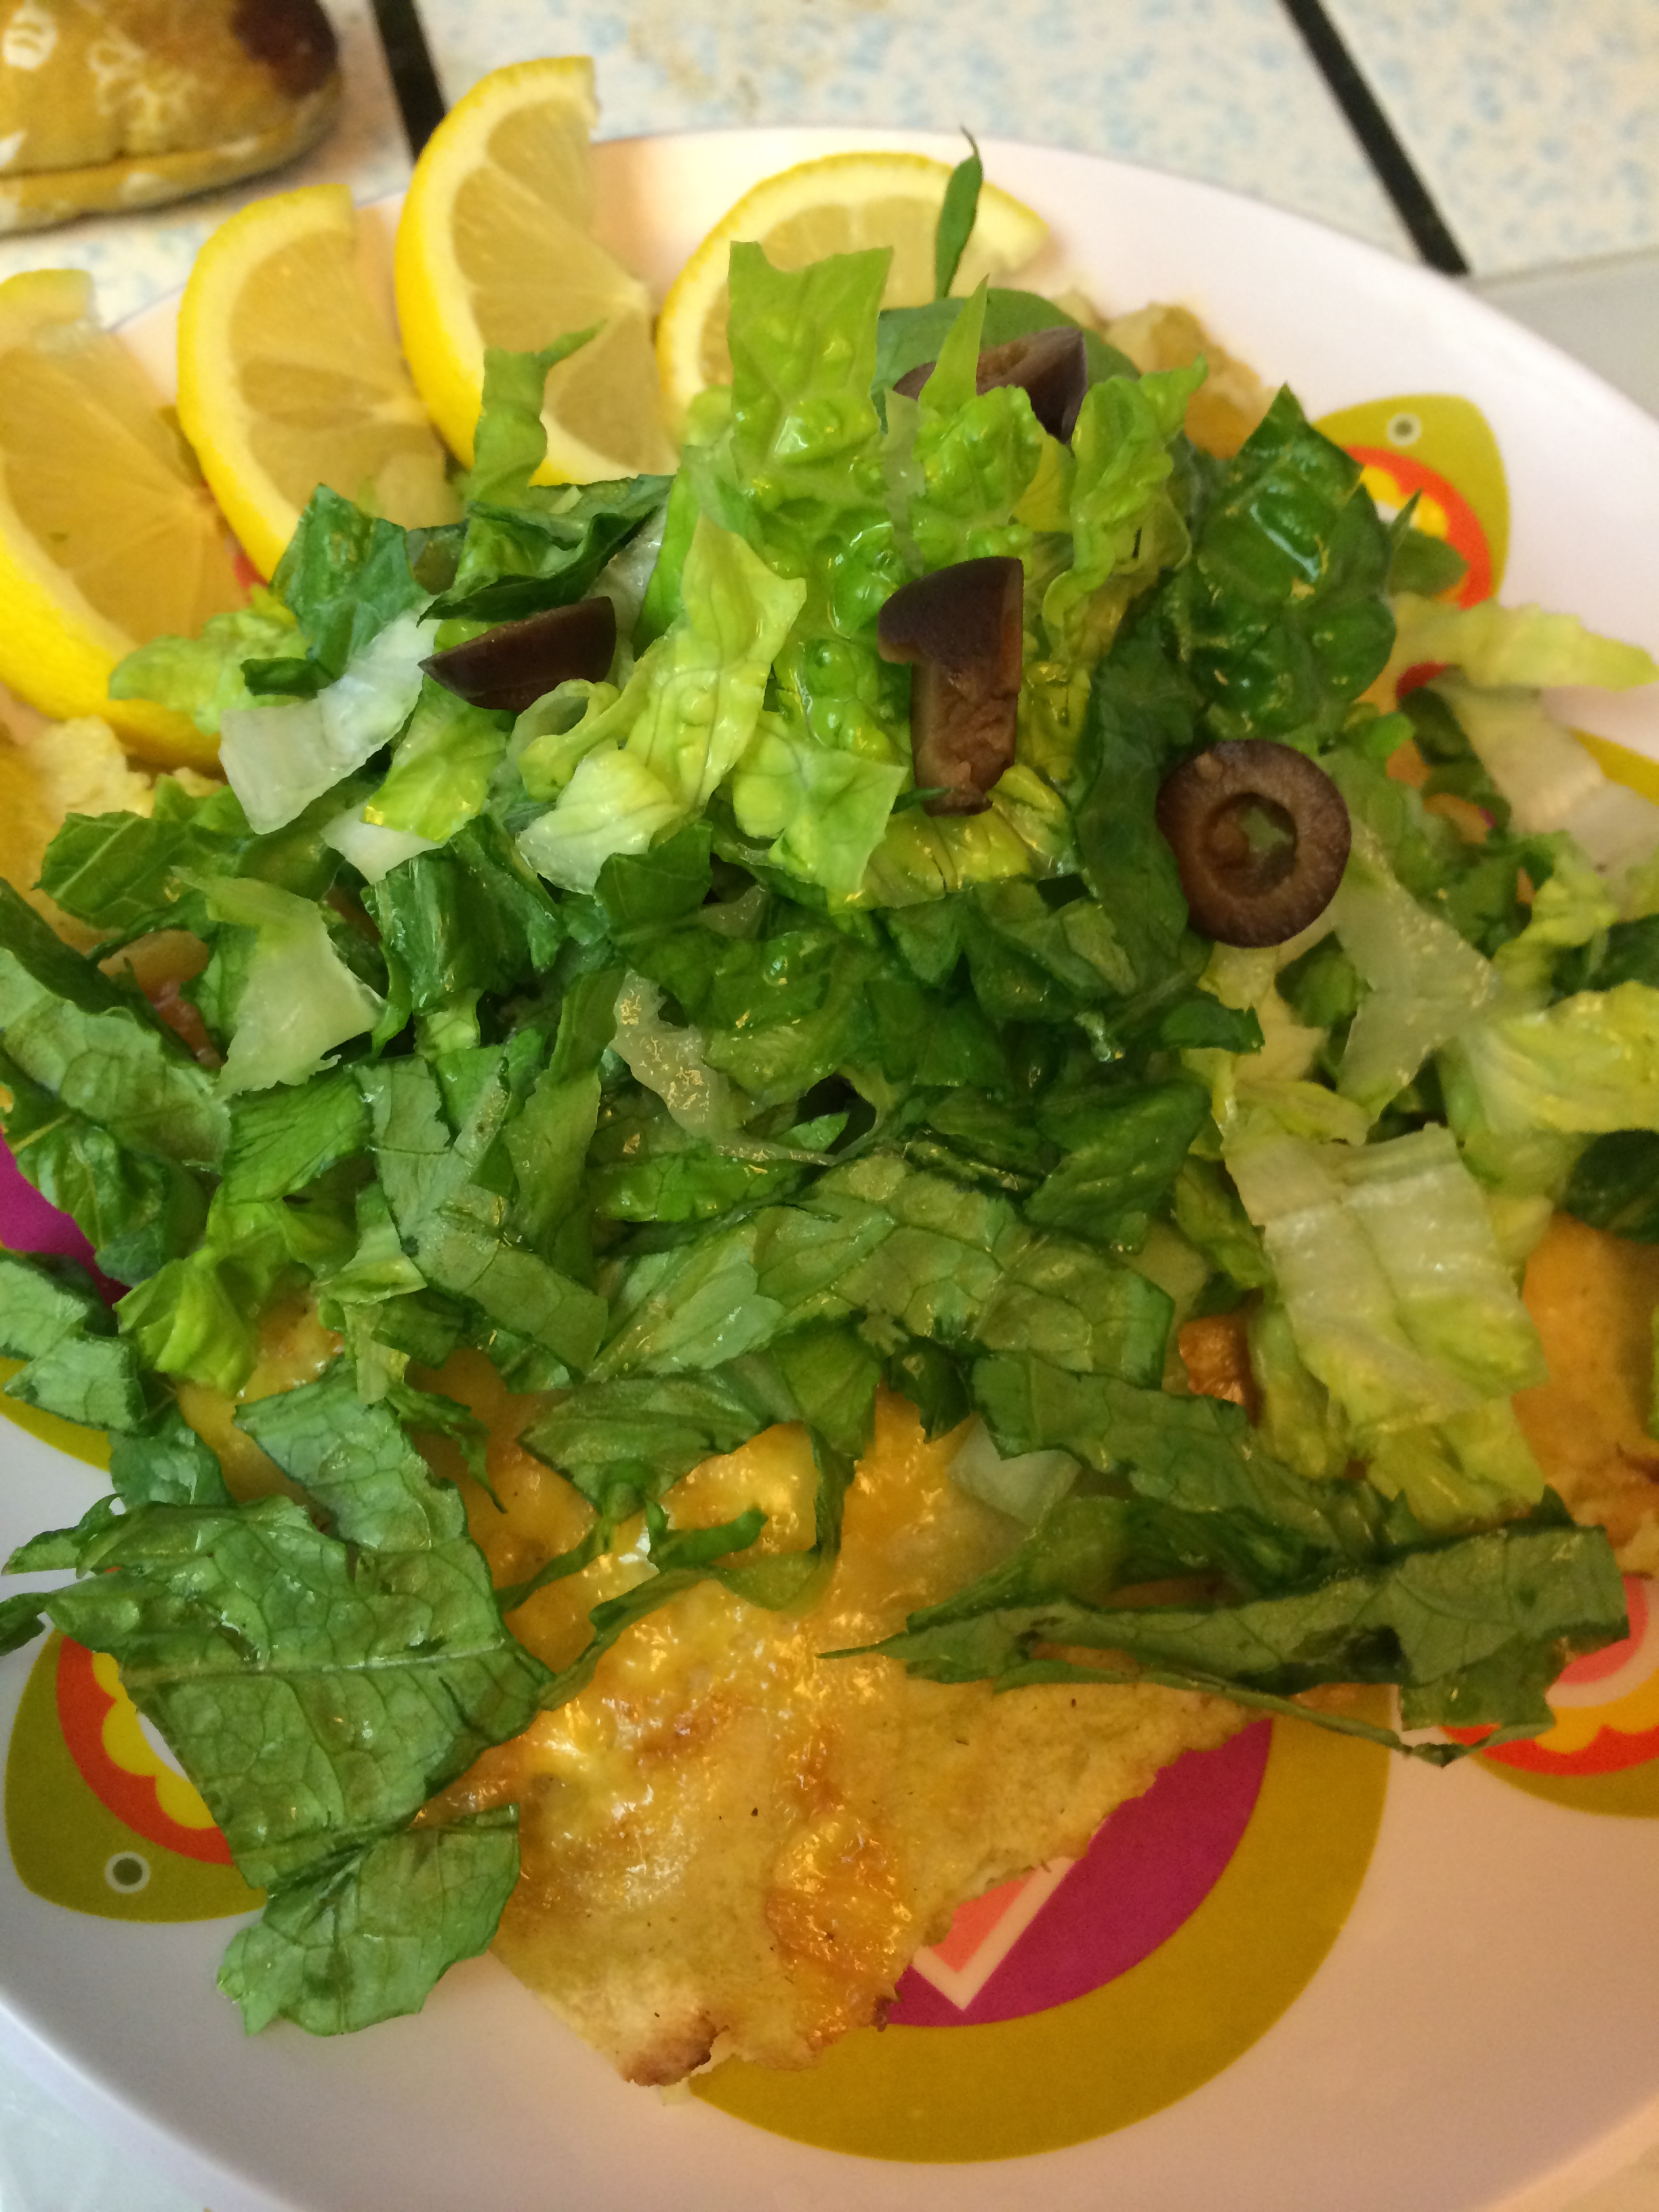
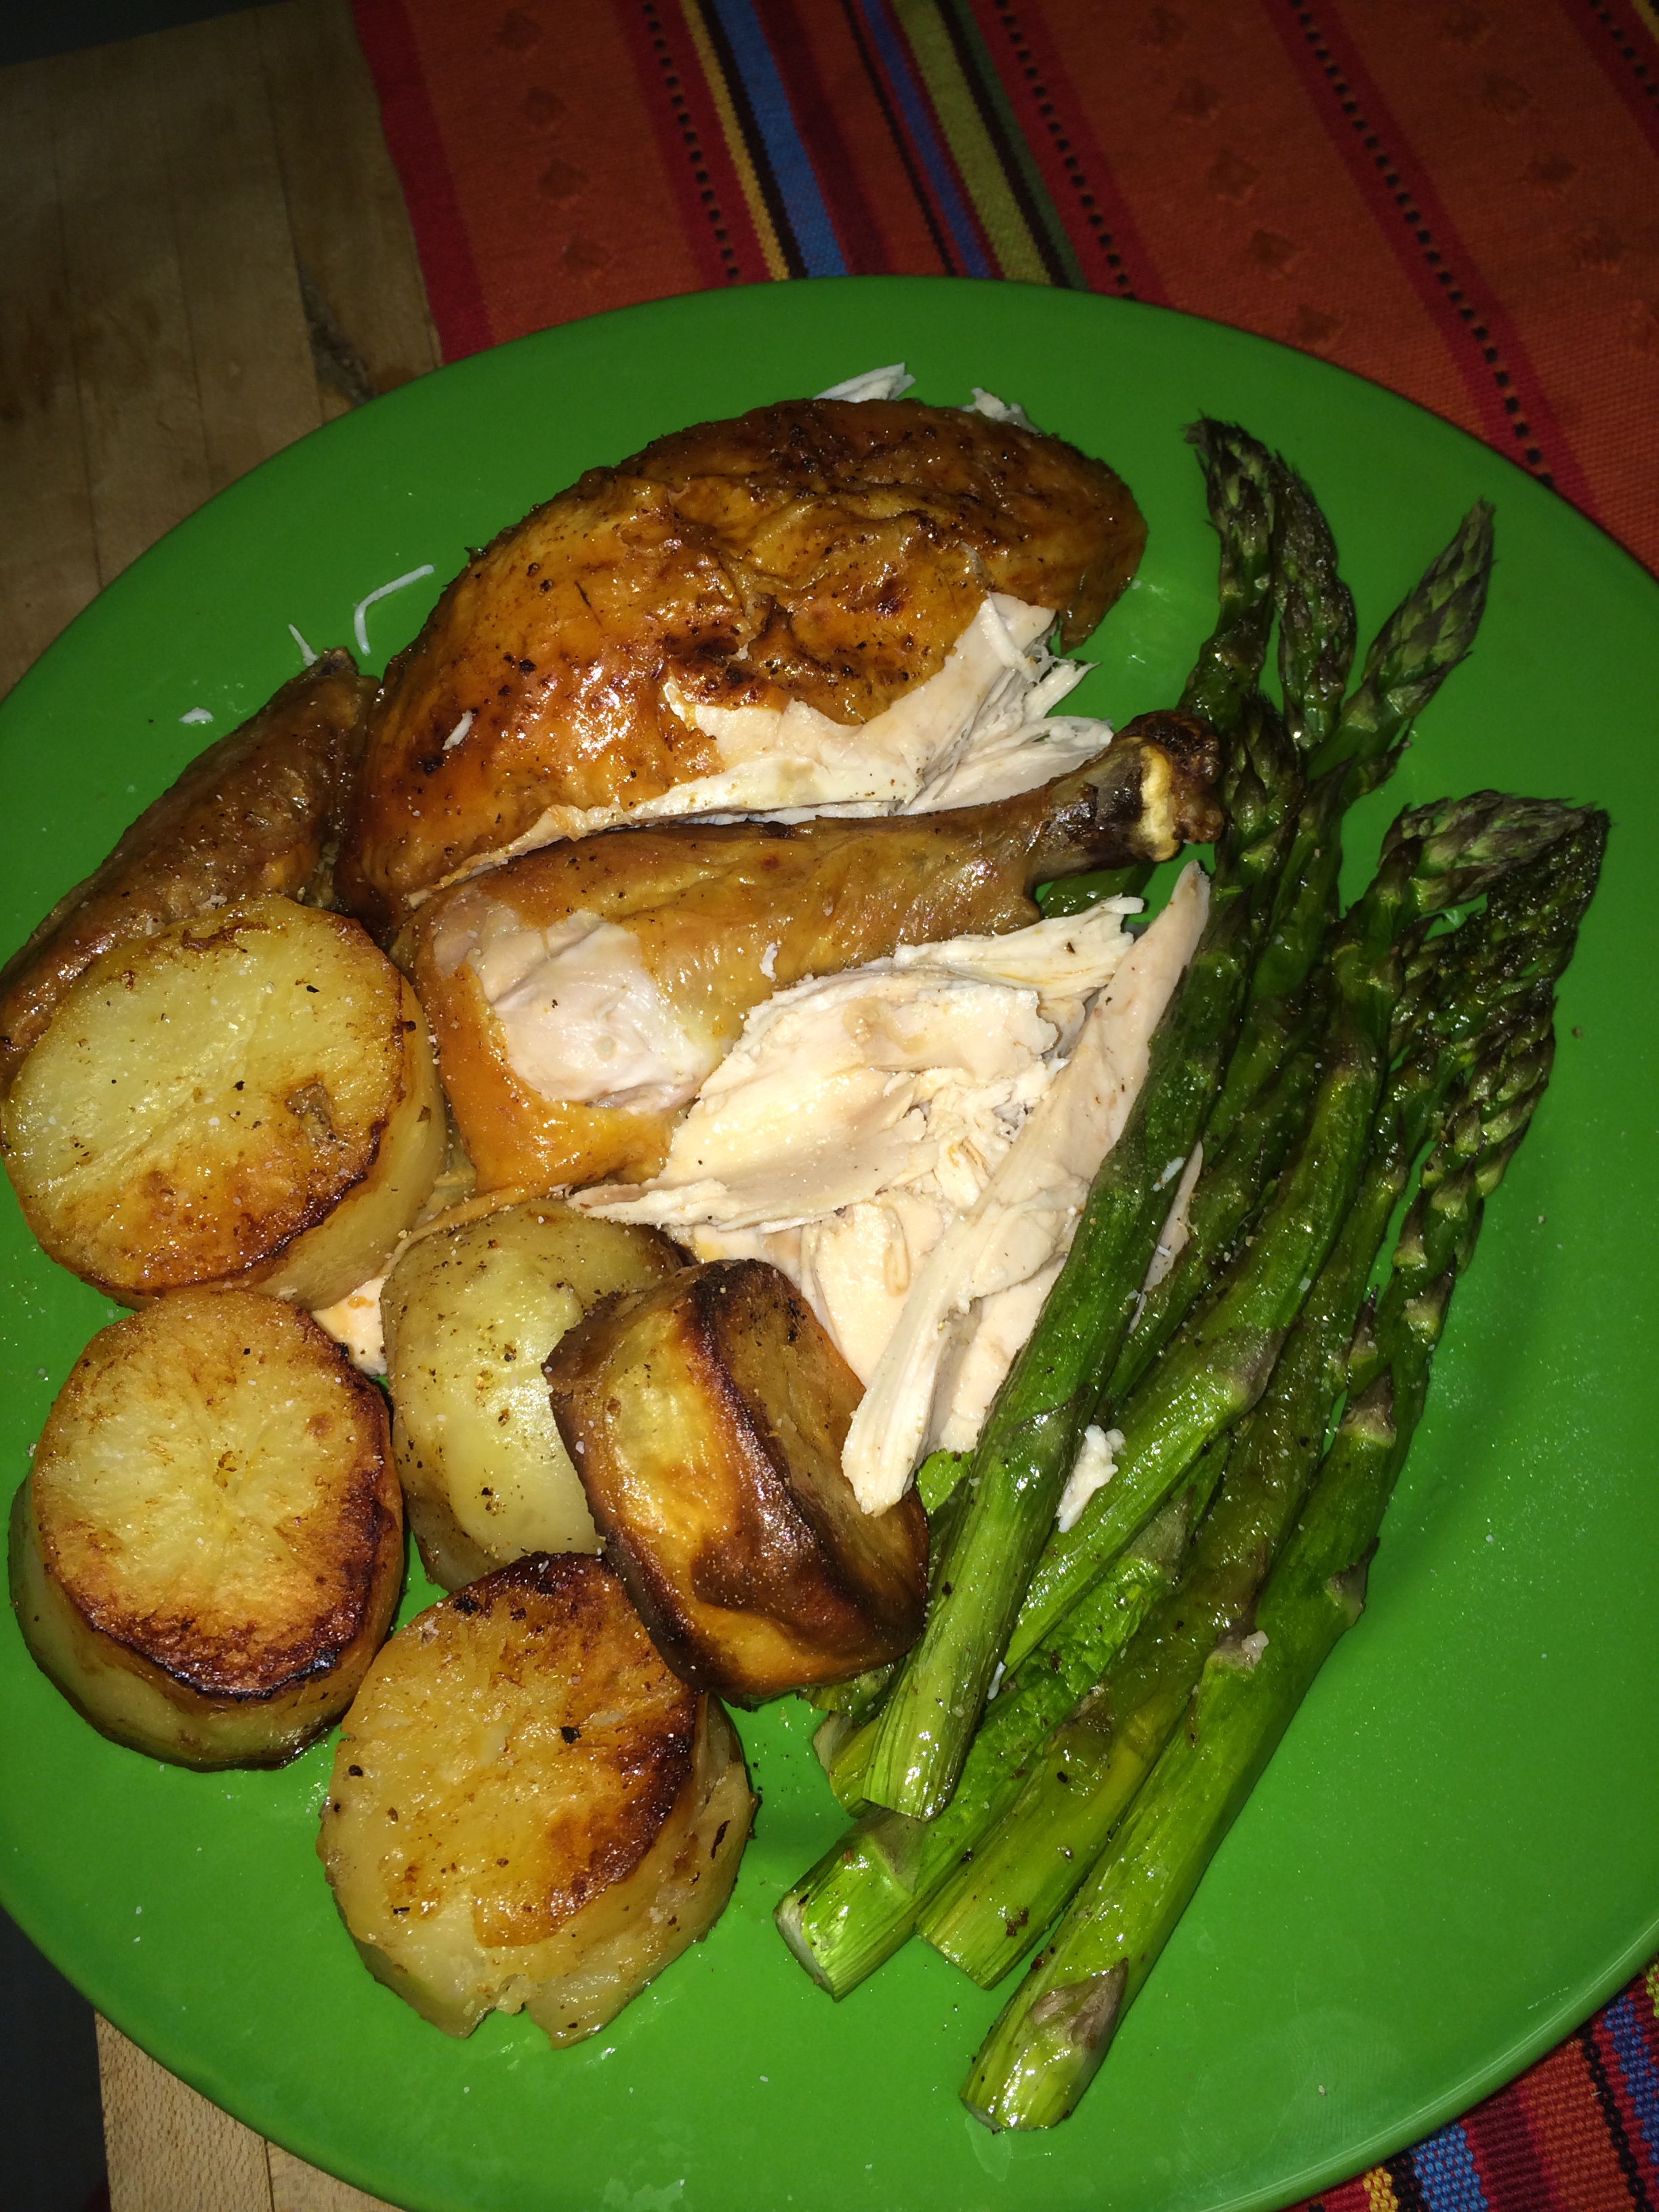
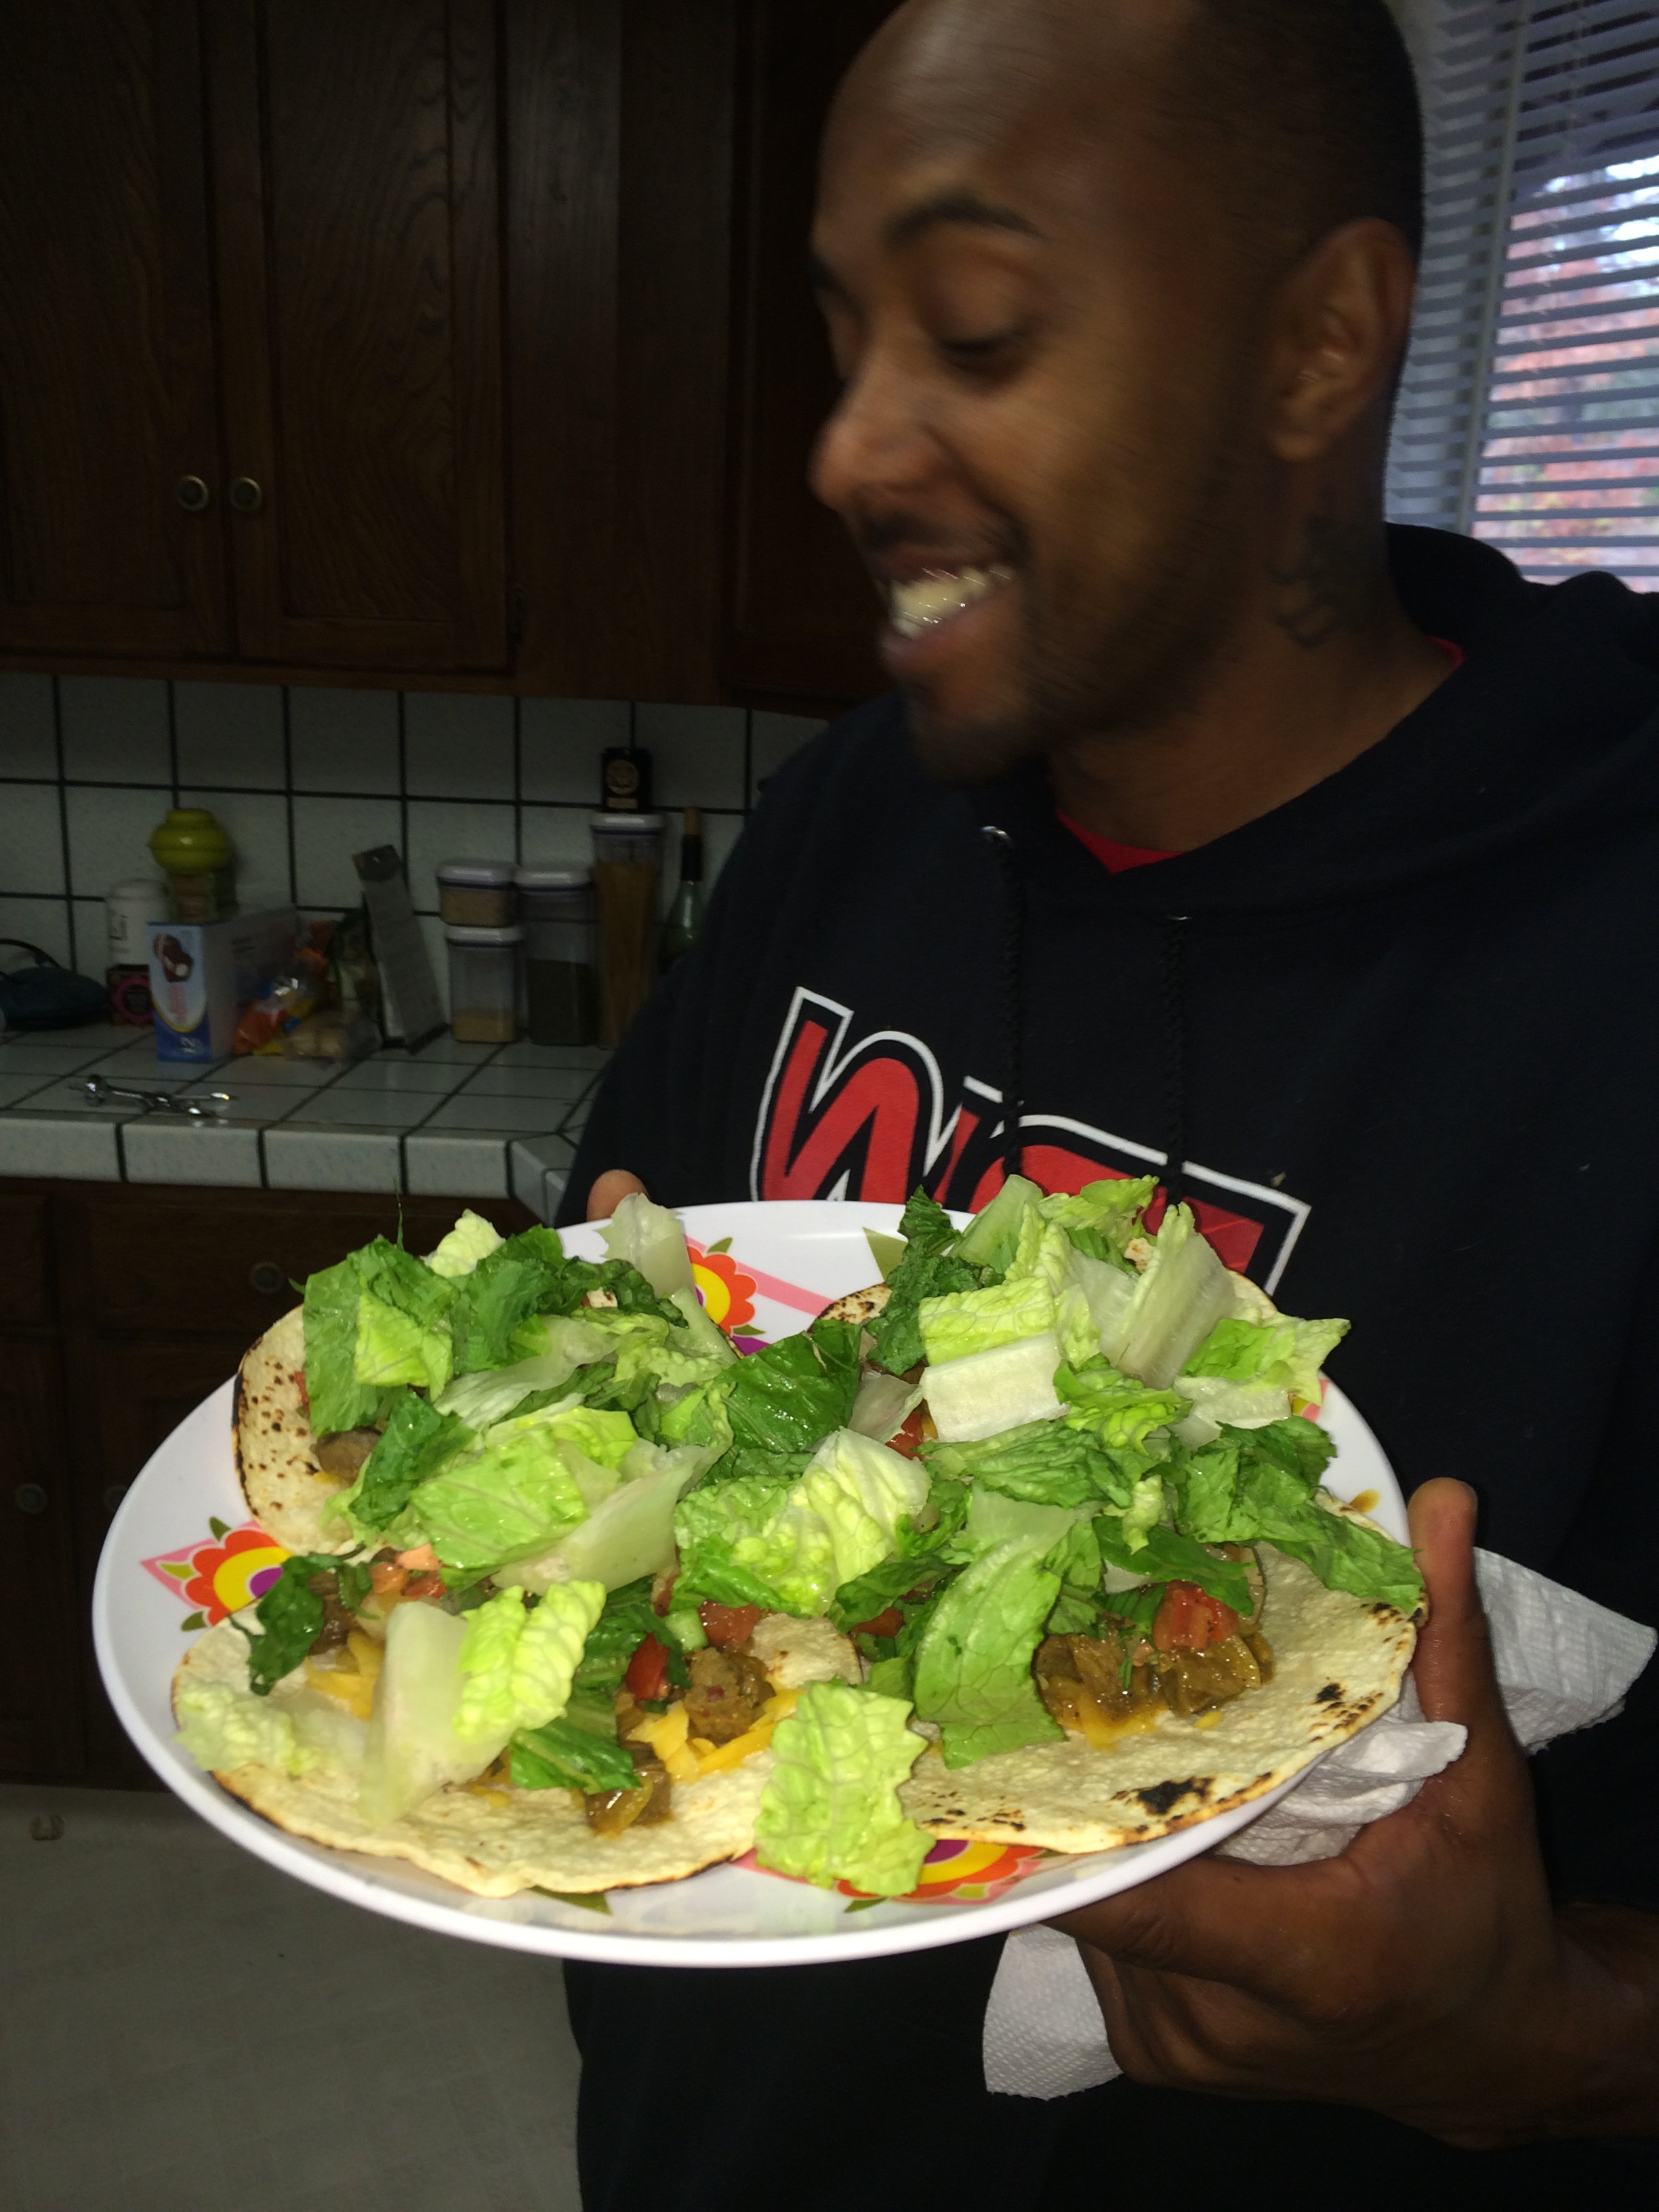
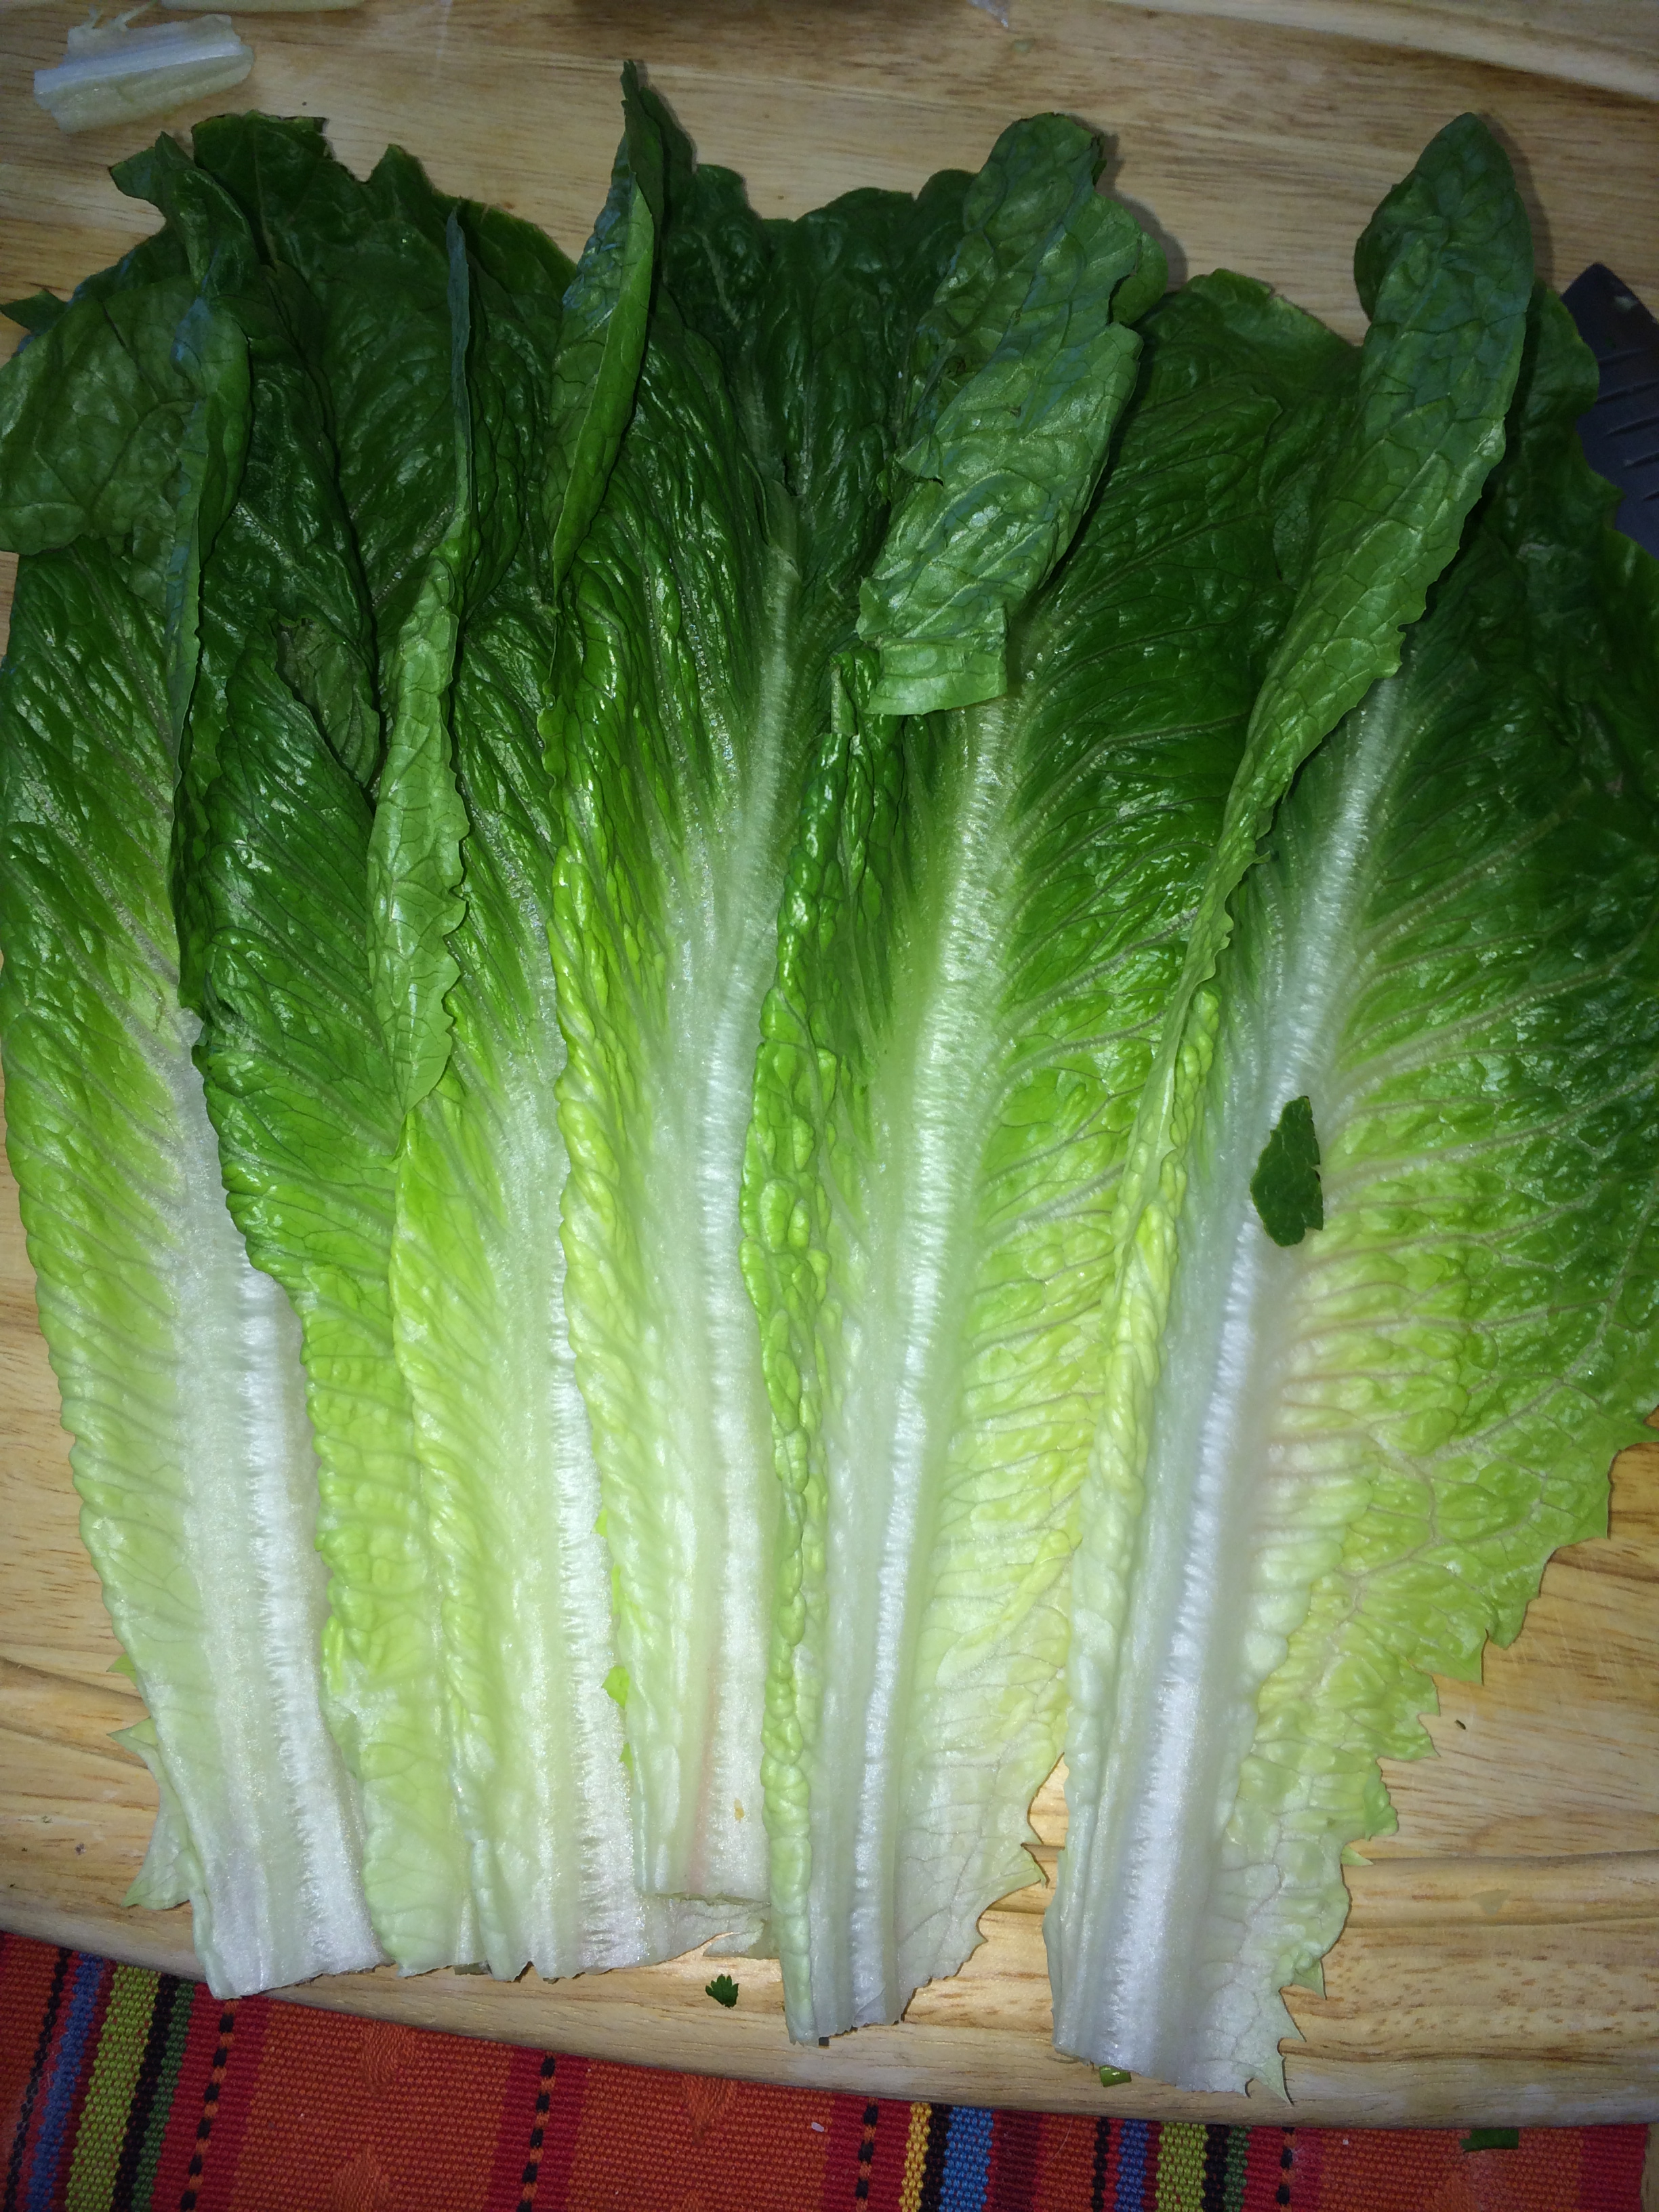
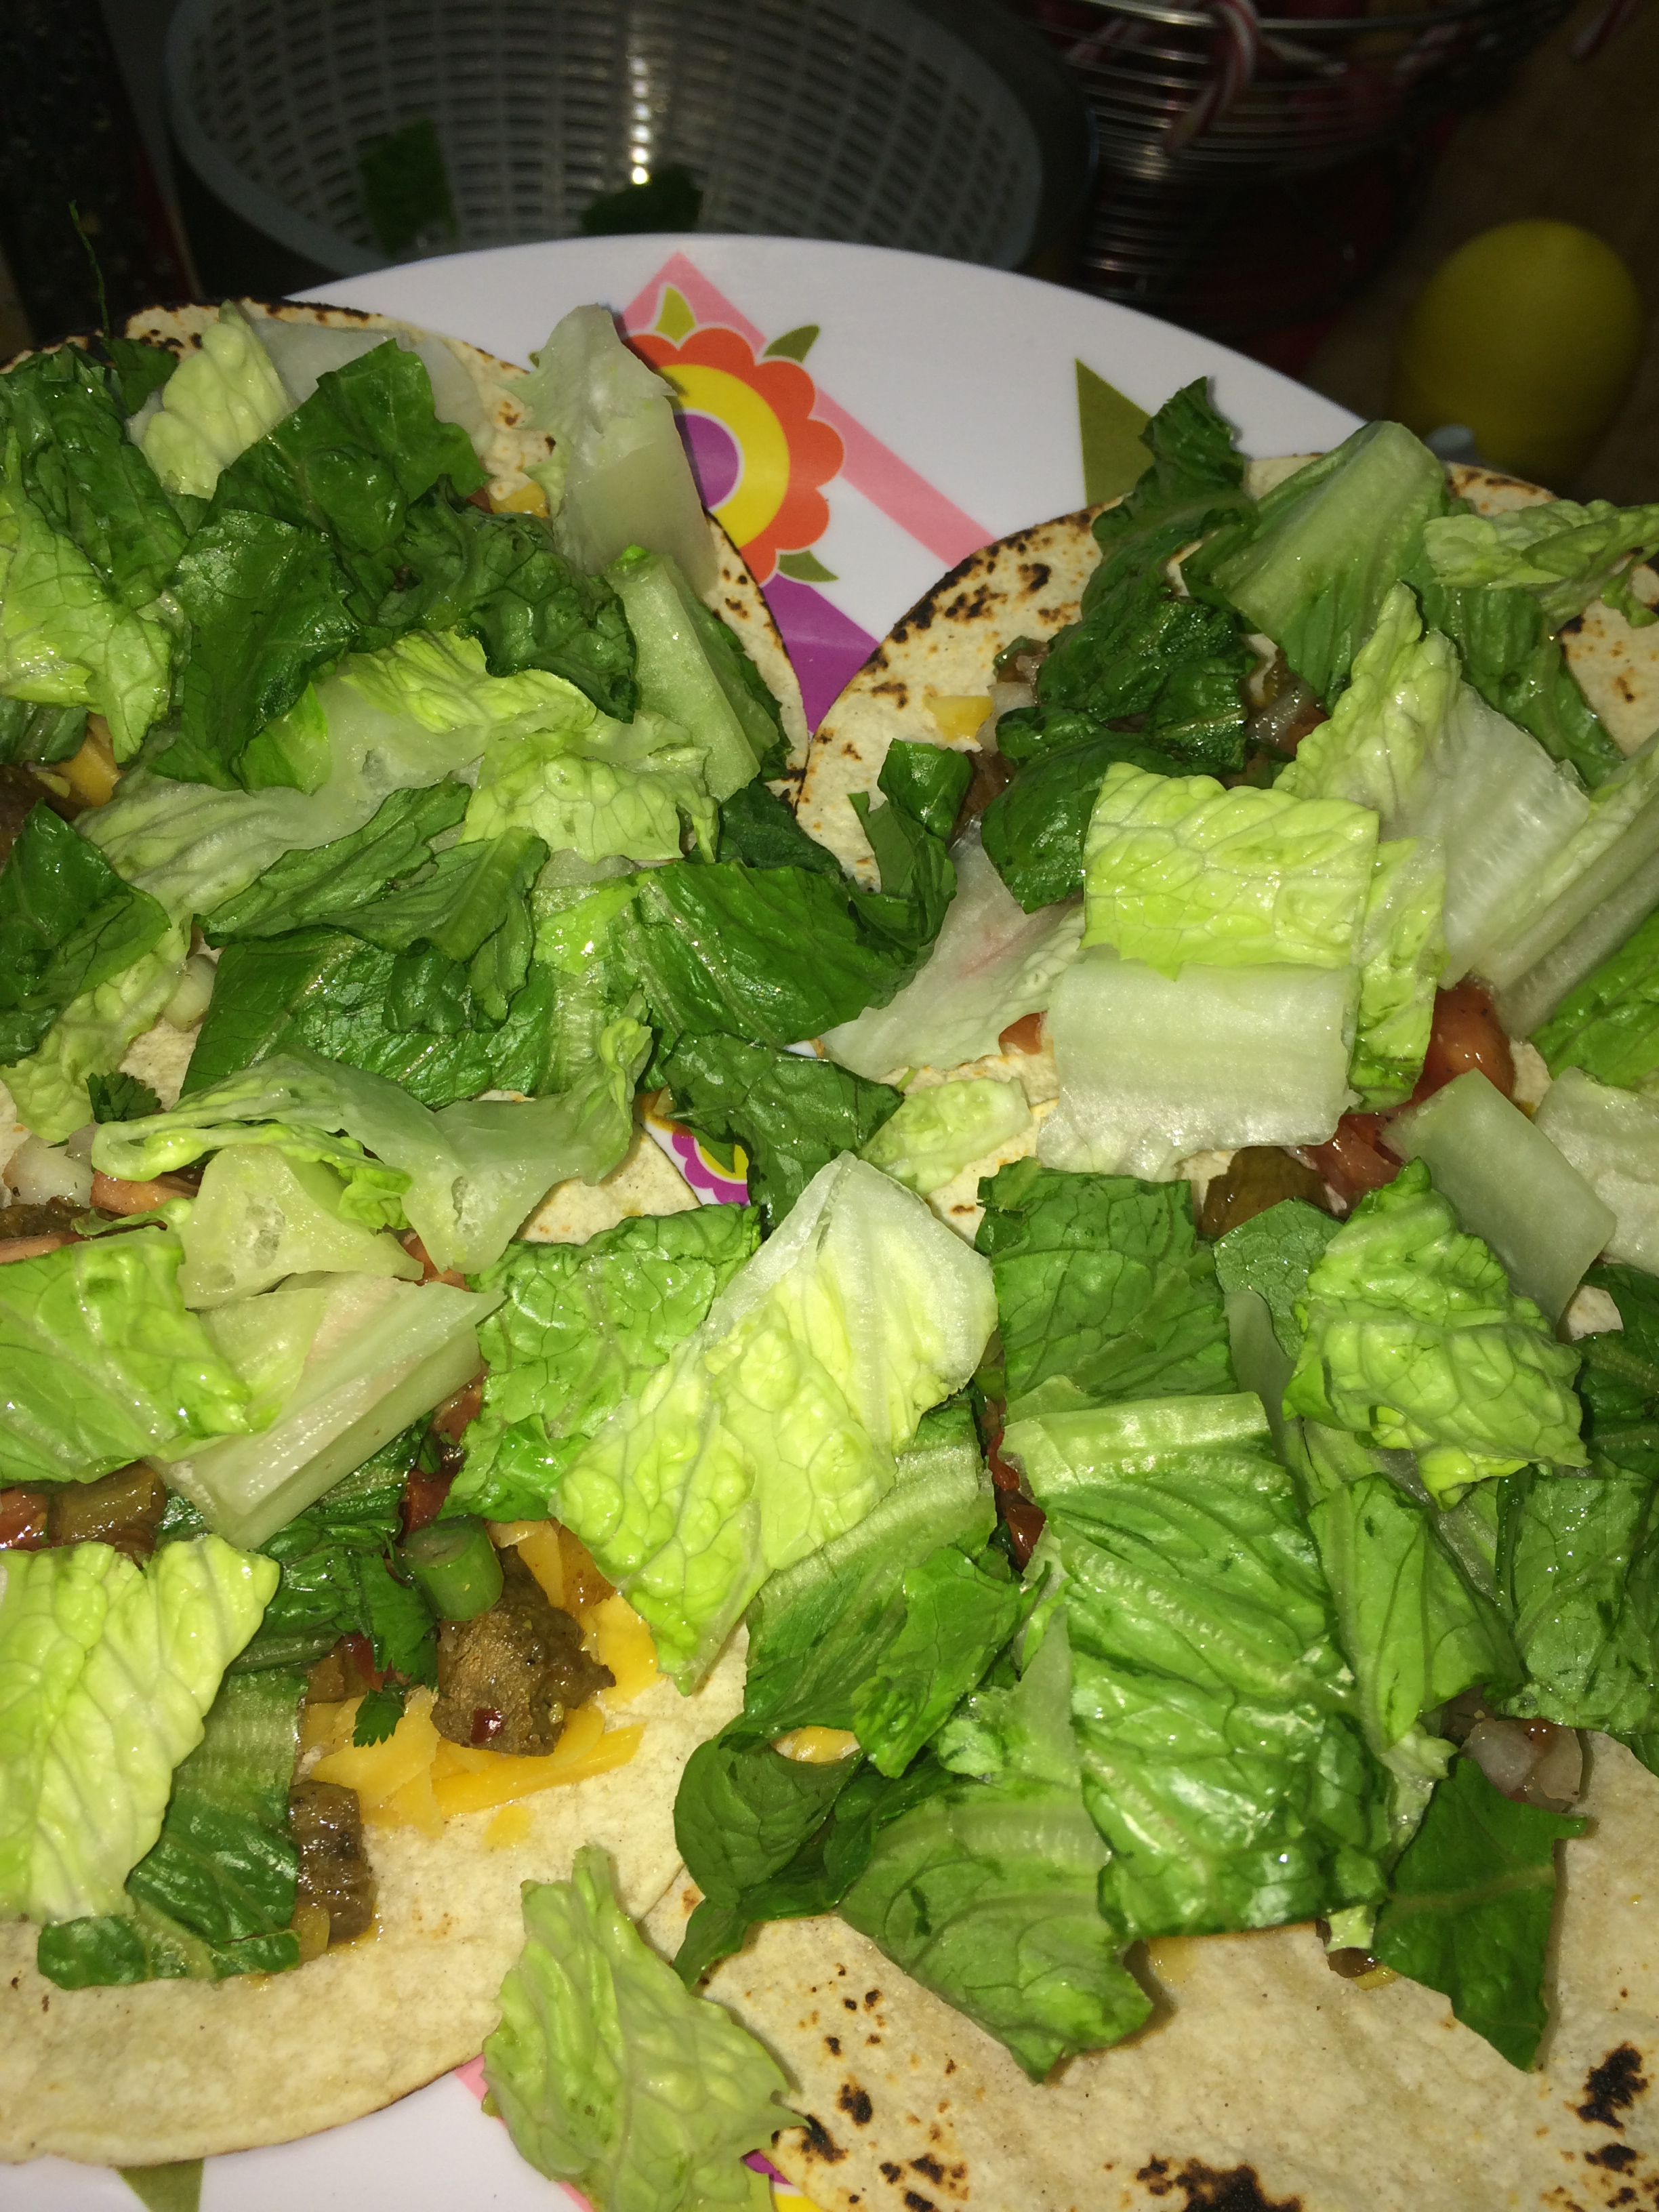
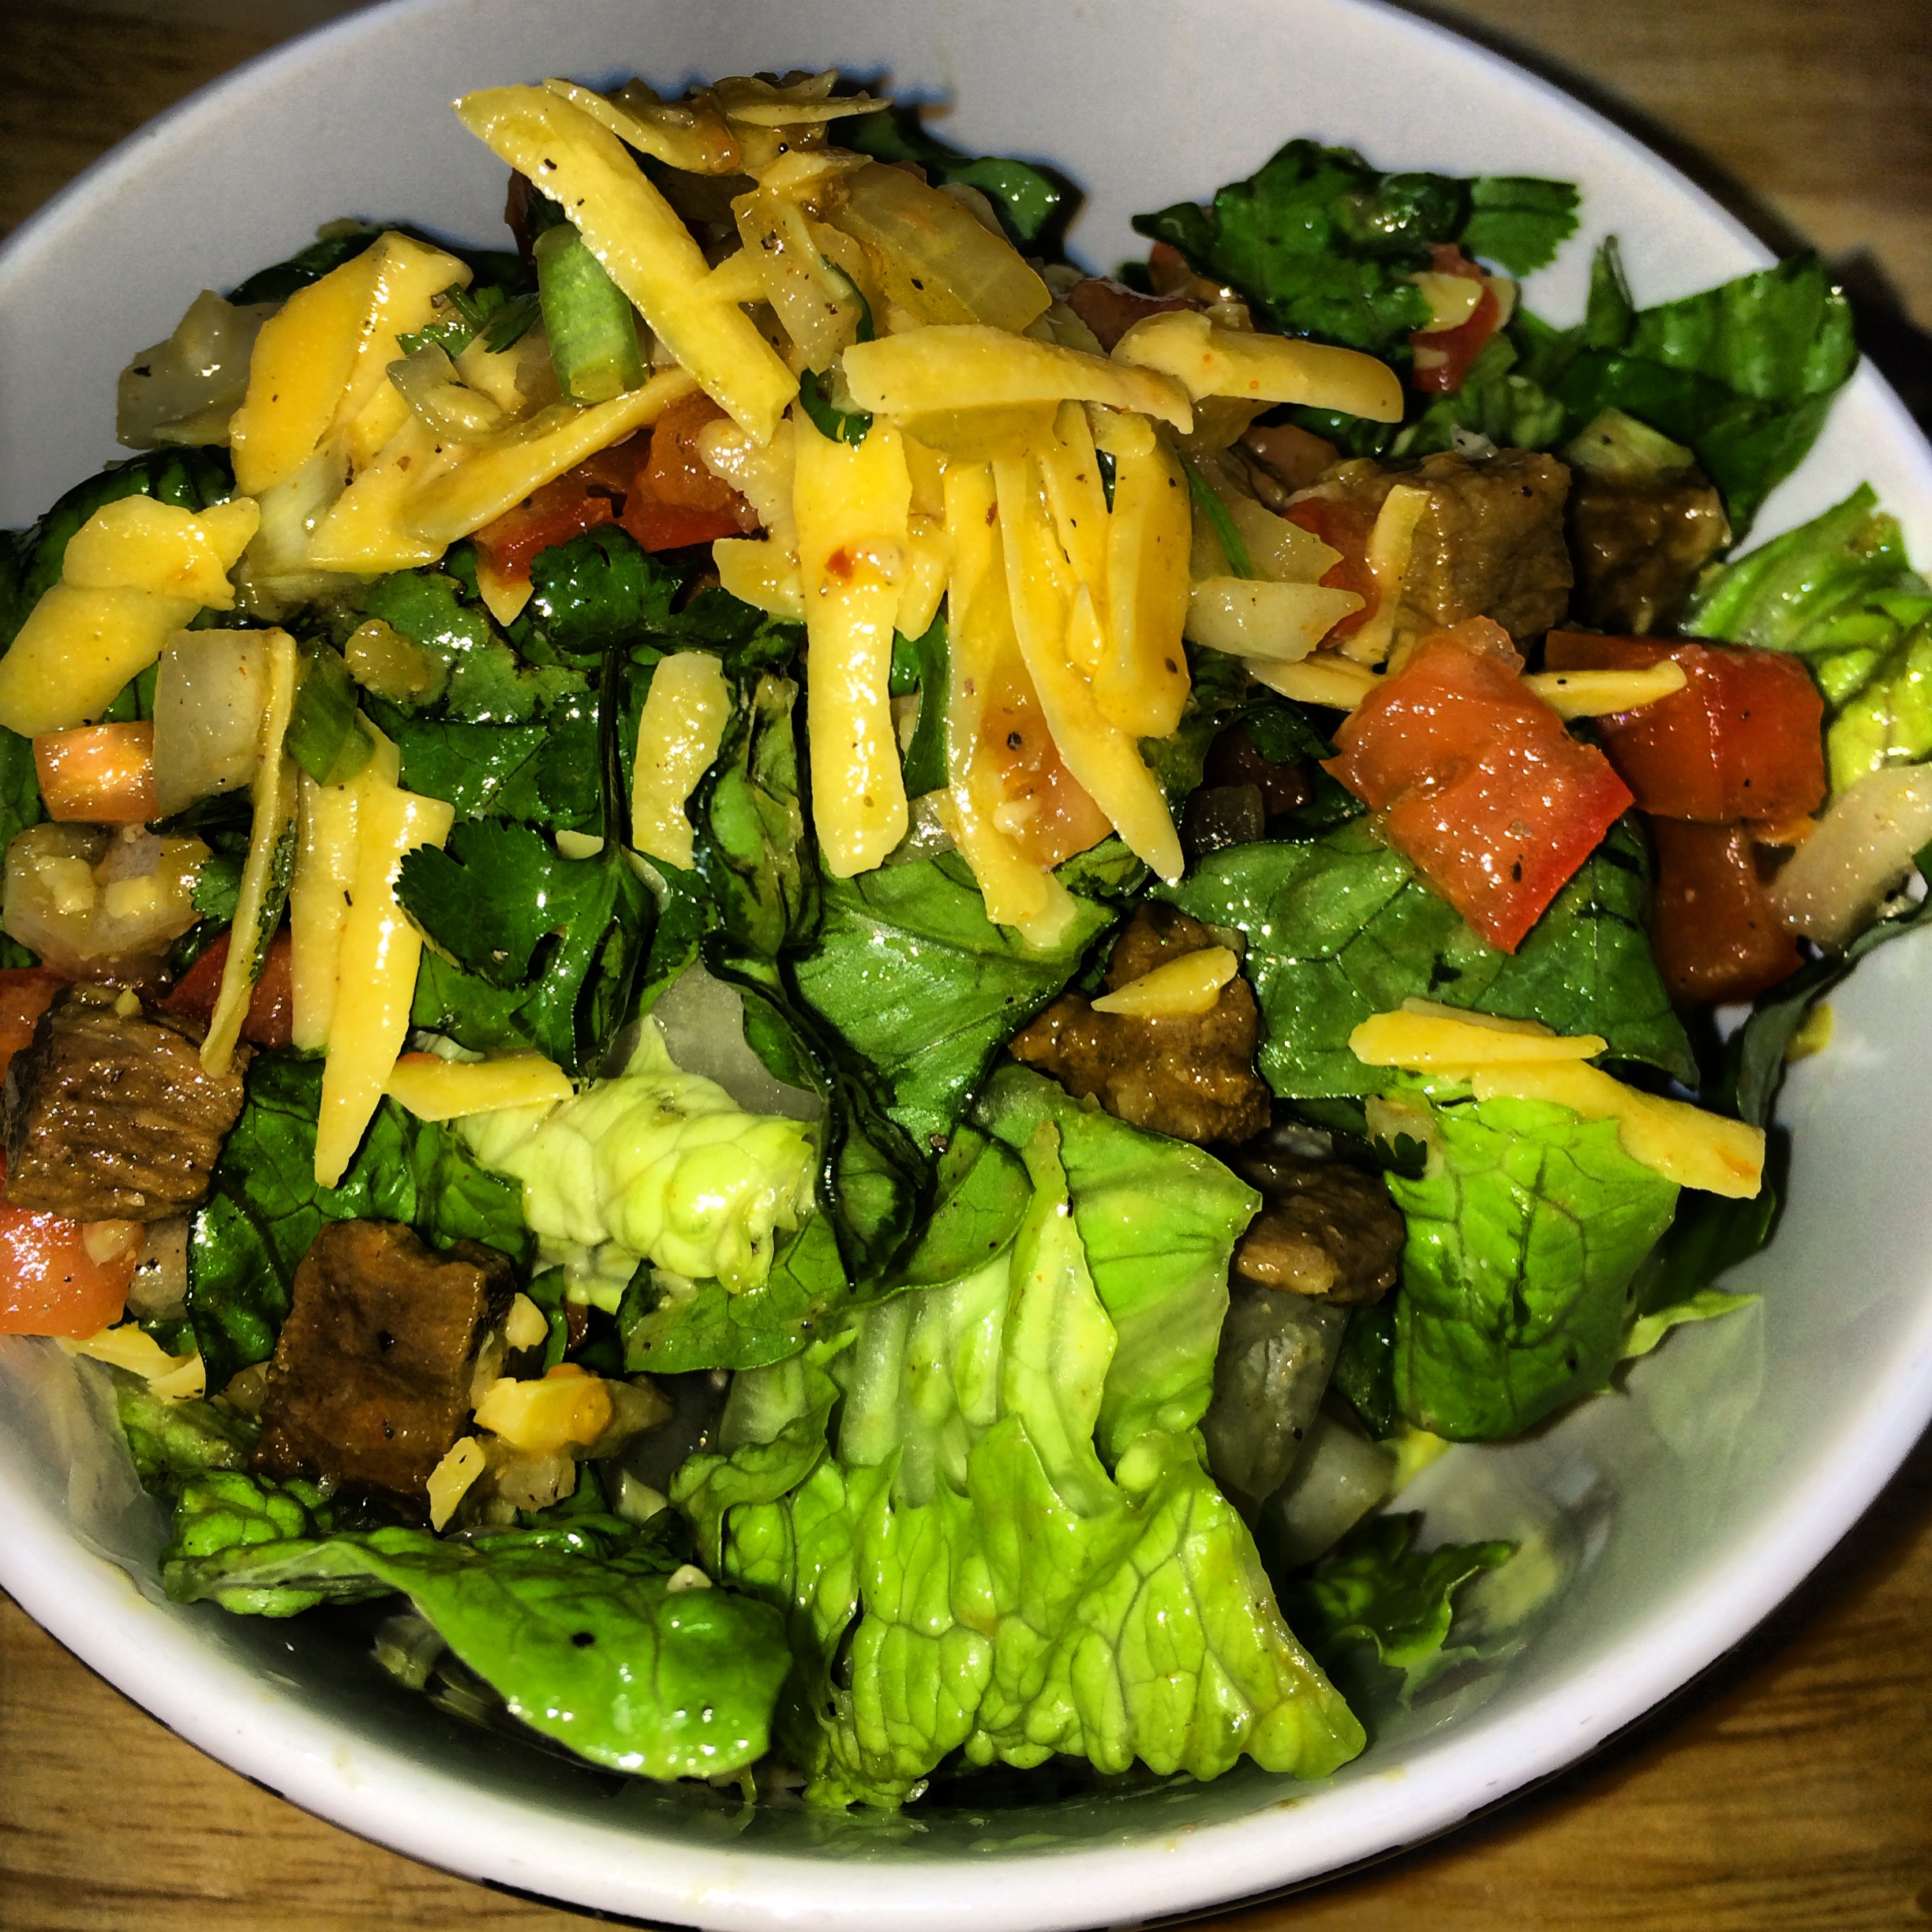
At this point, I made a carne asada salad, and my hubby had tacos. Both need lettuce.
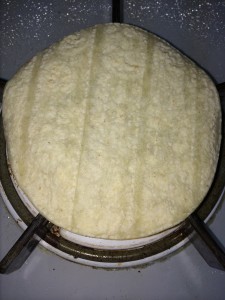
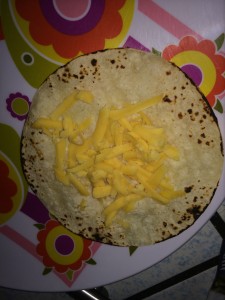
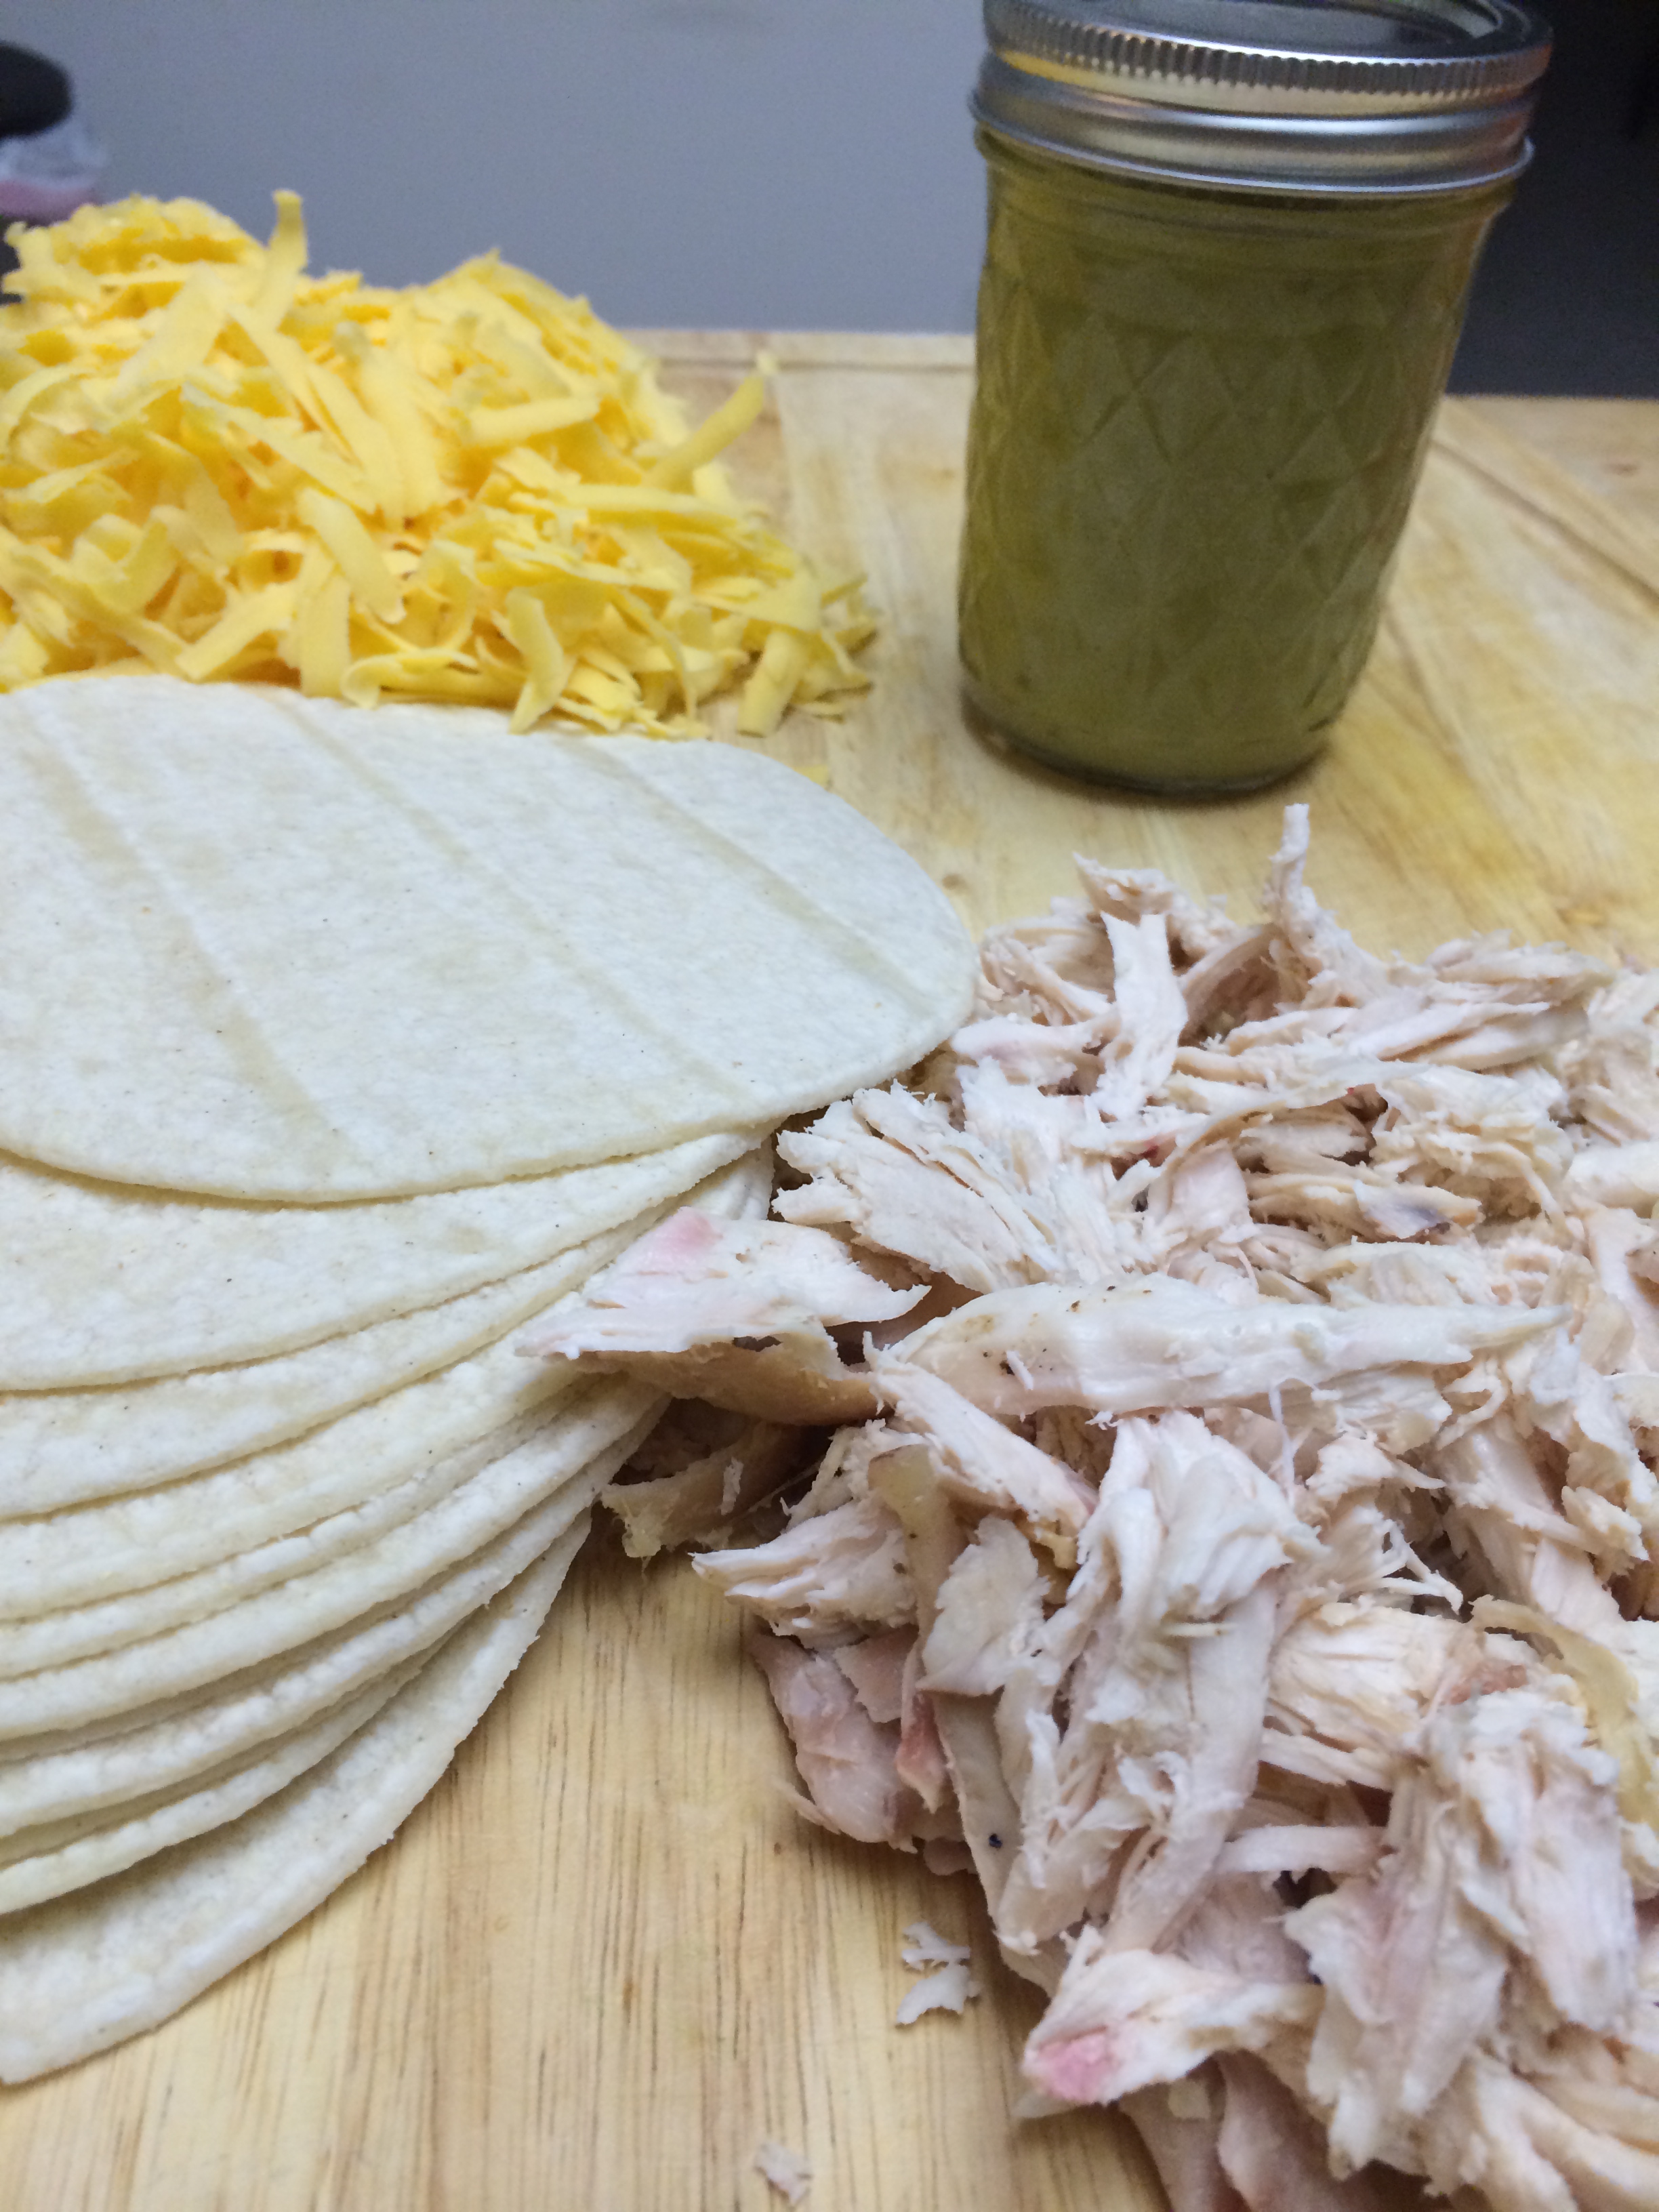
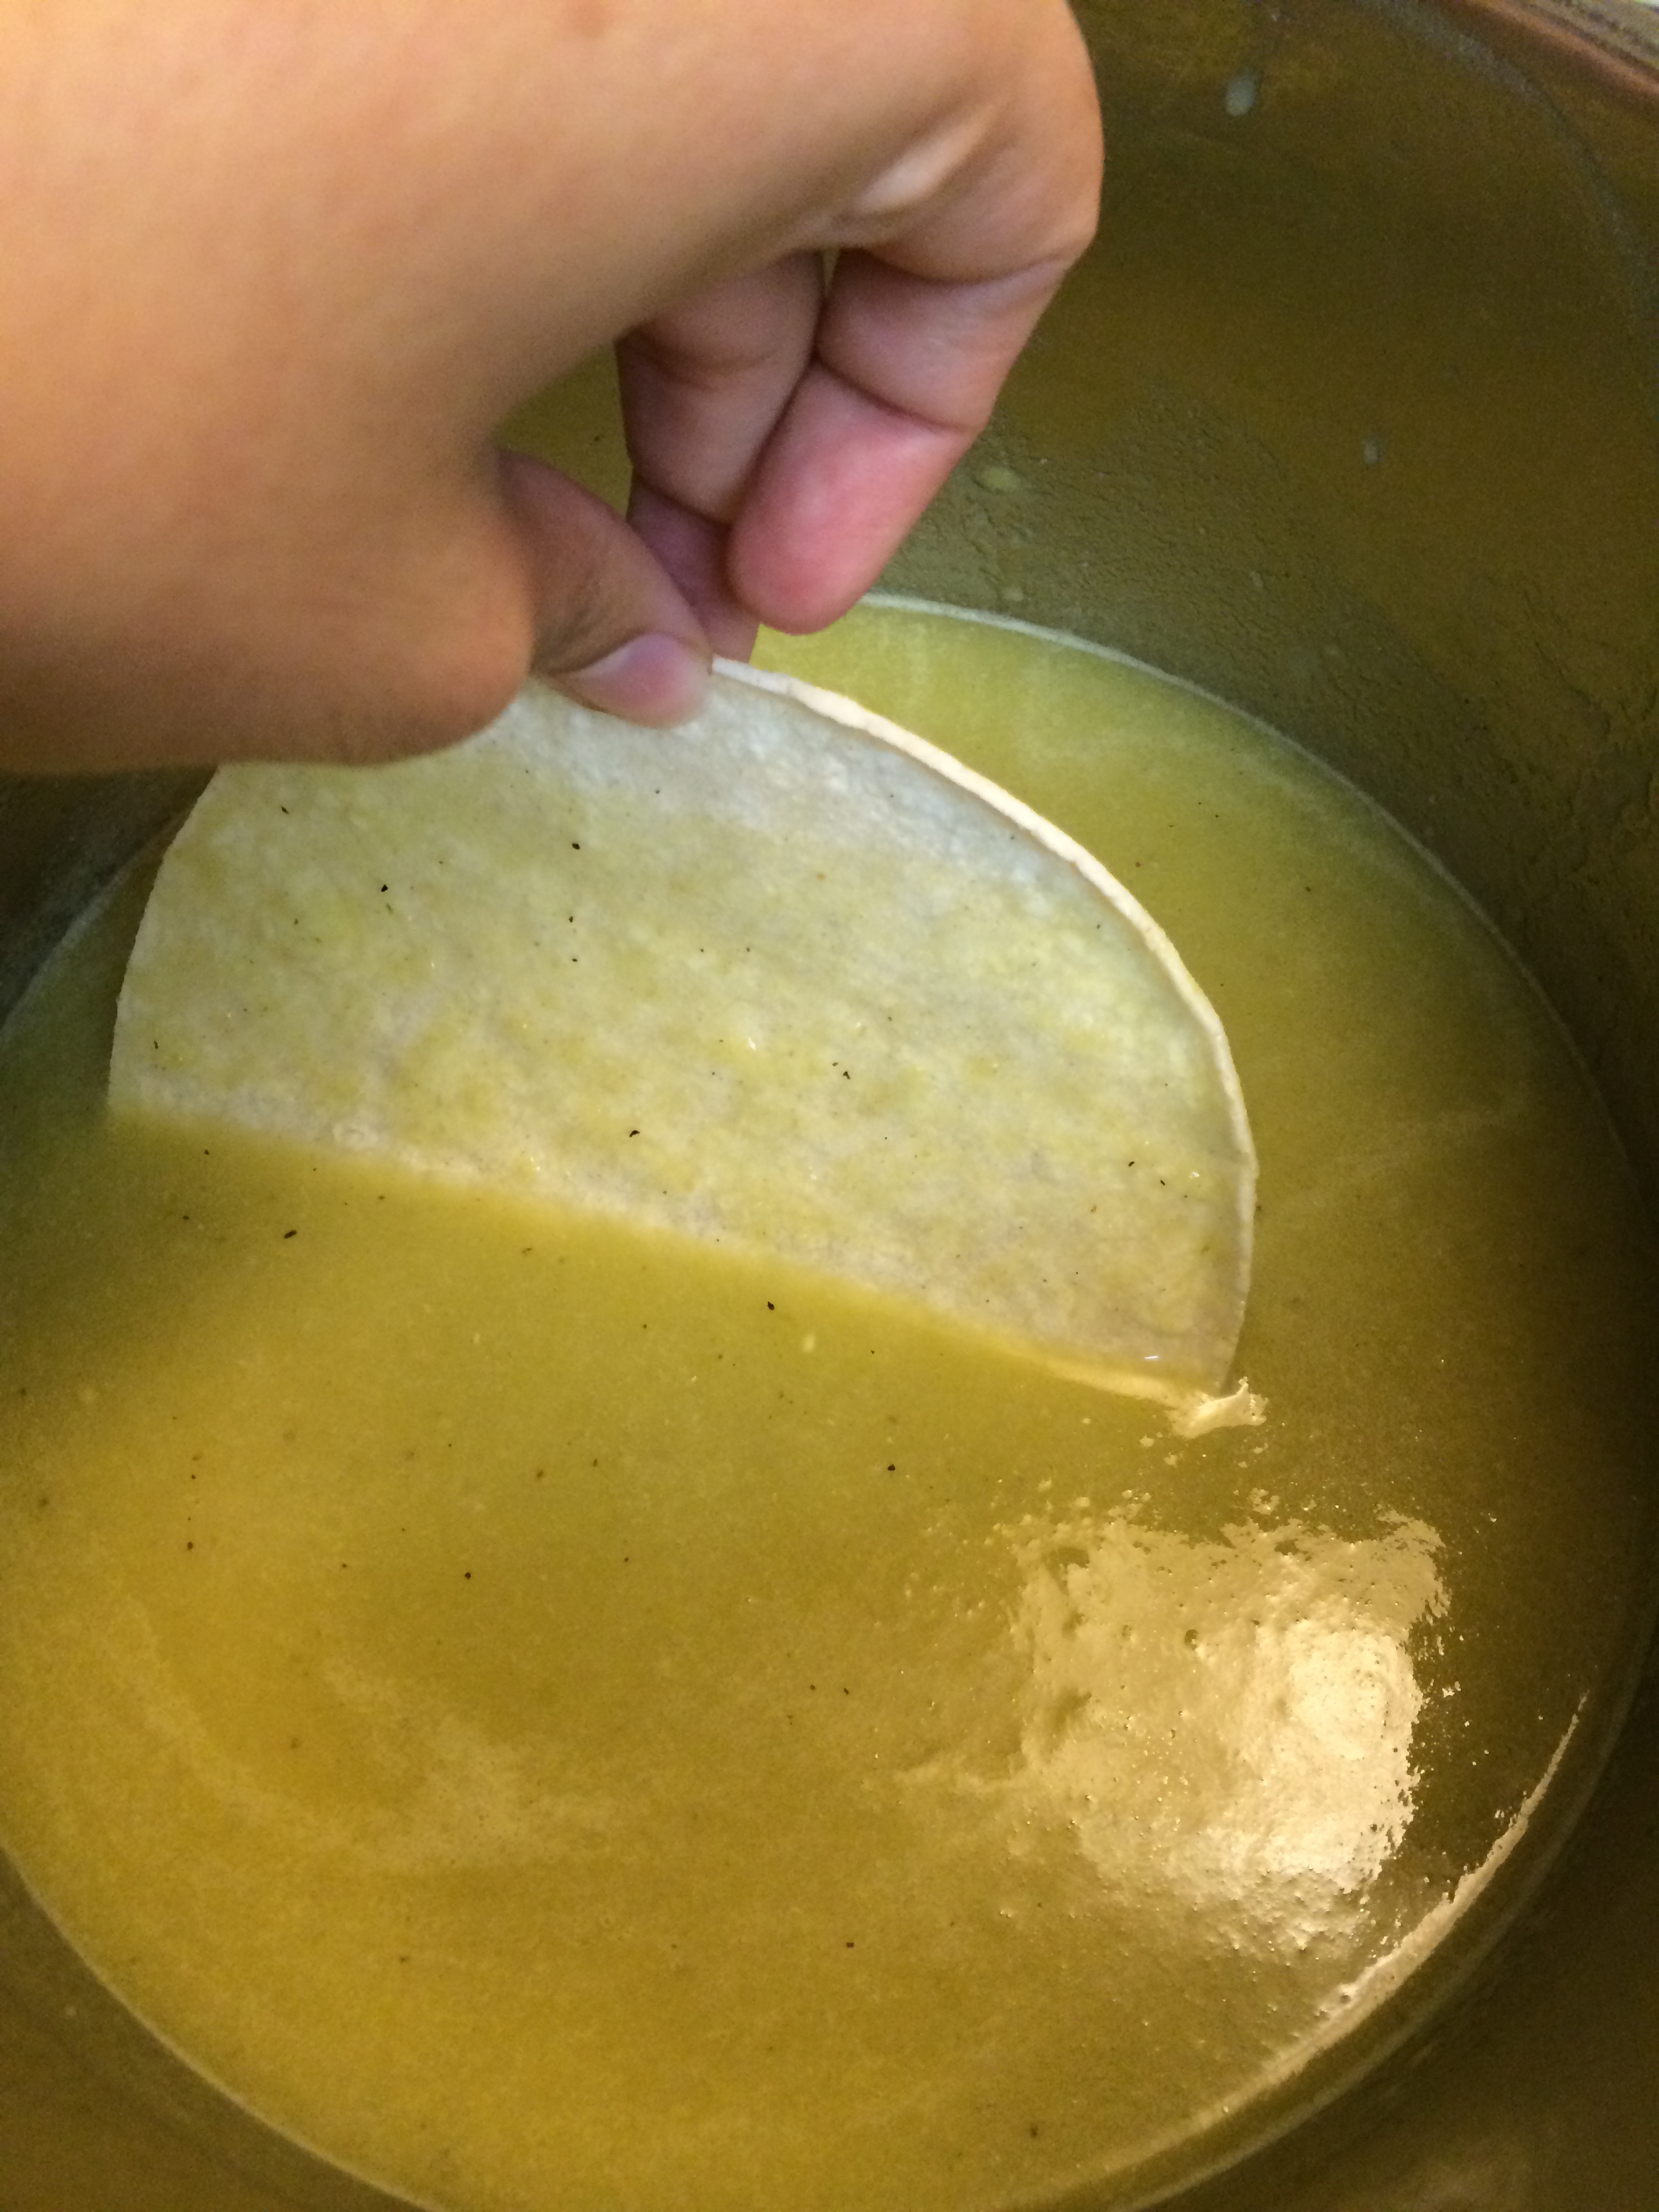
For the Tacos:

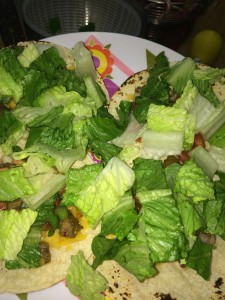
For the Salad:

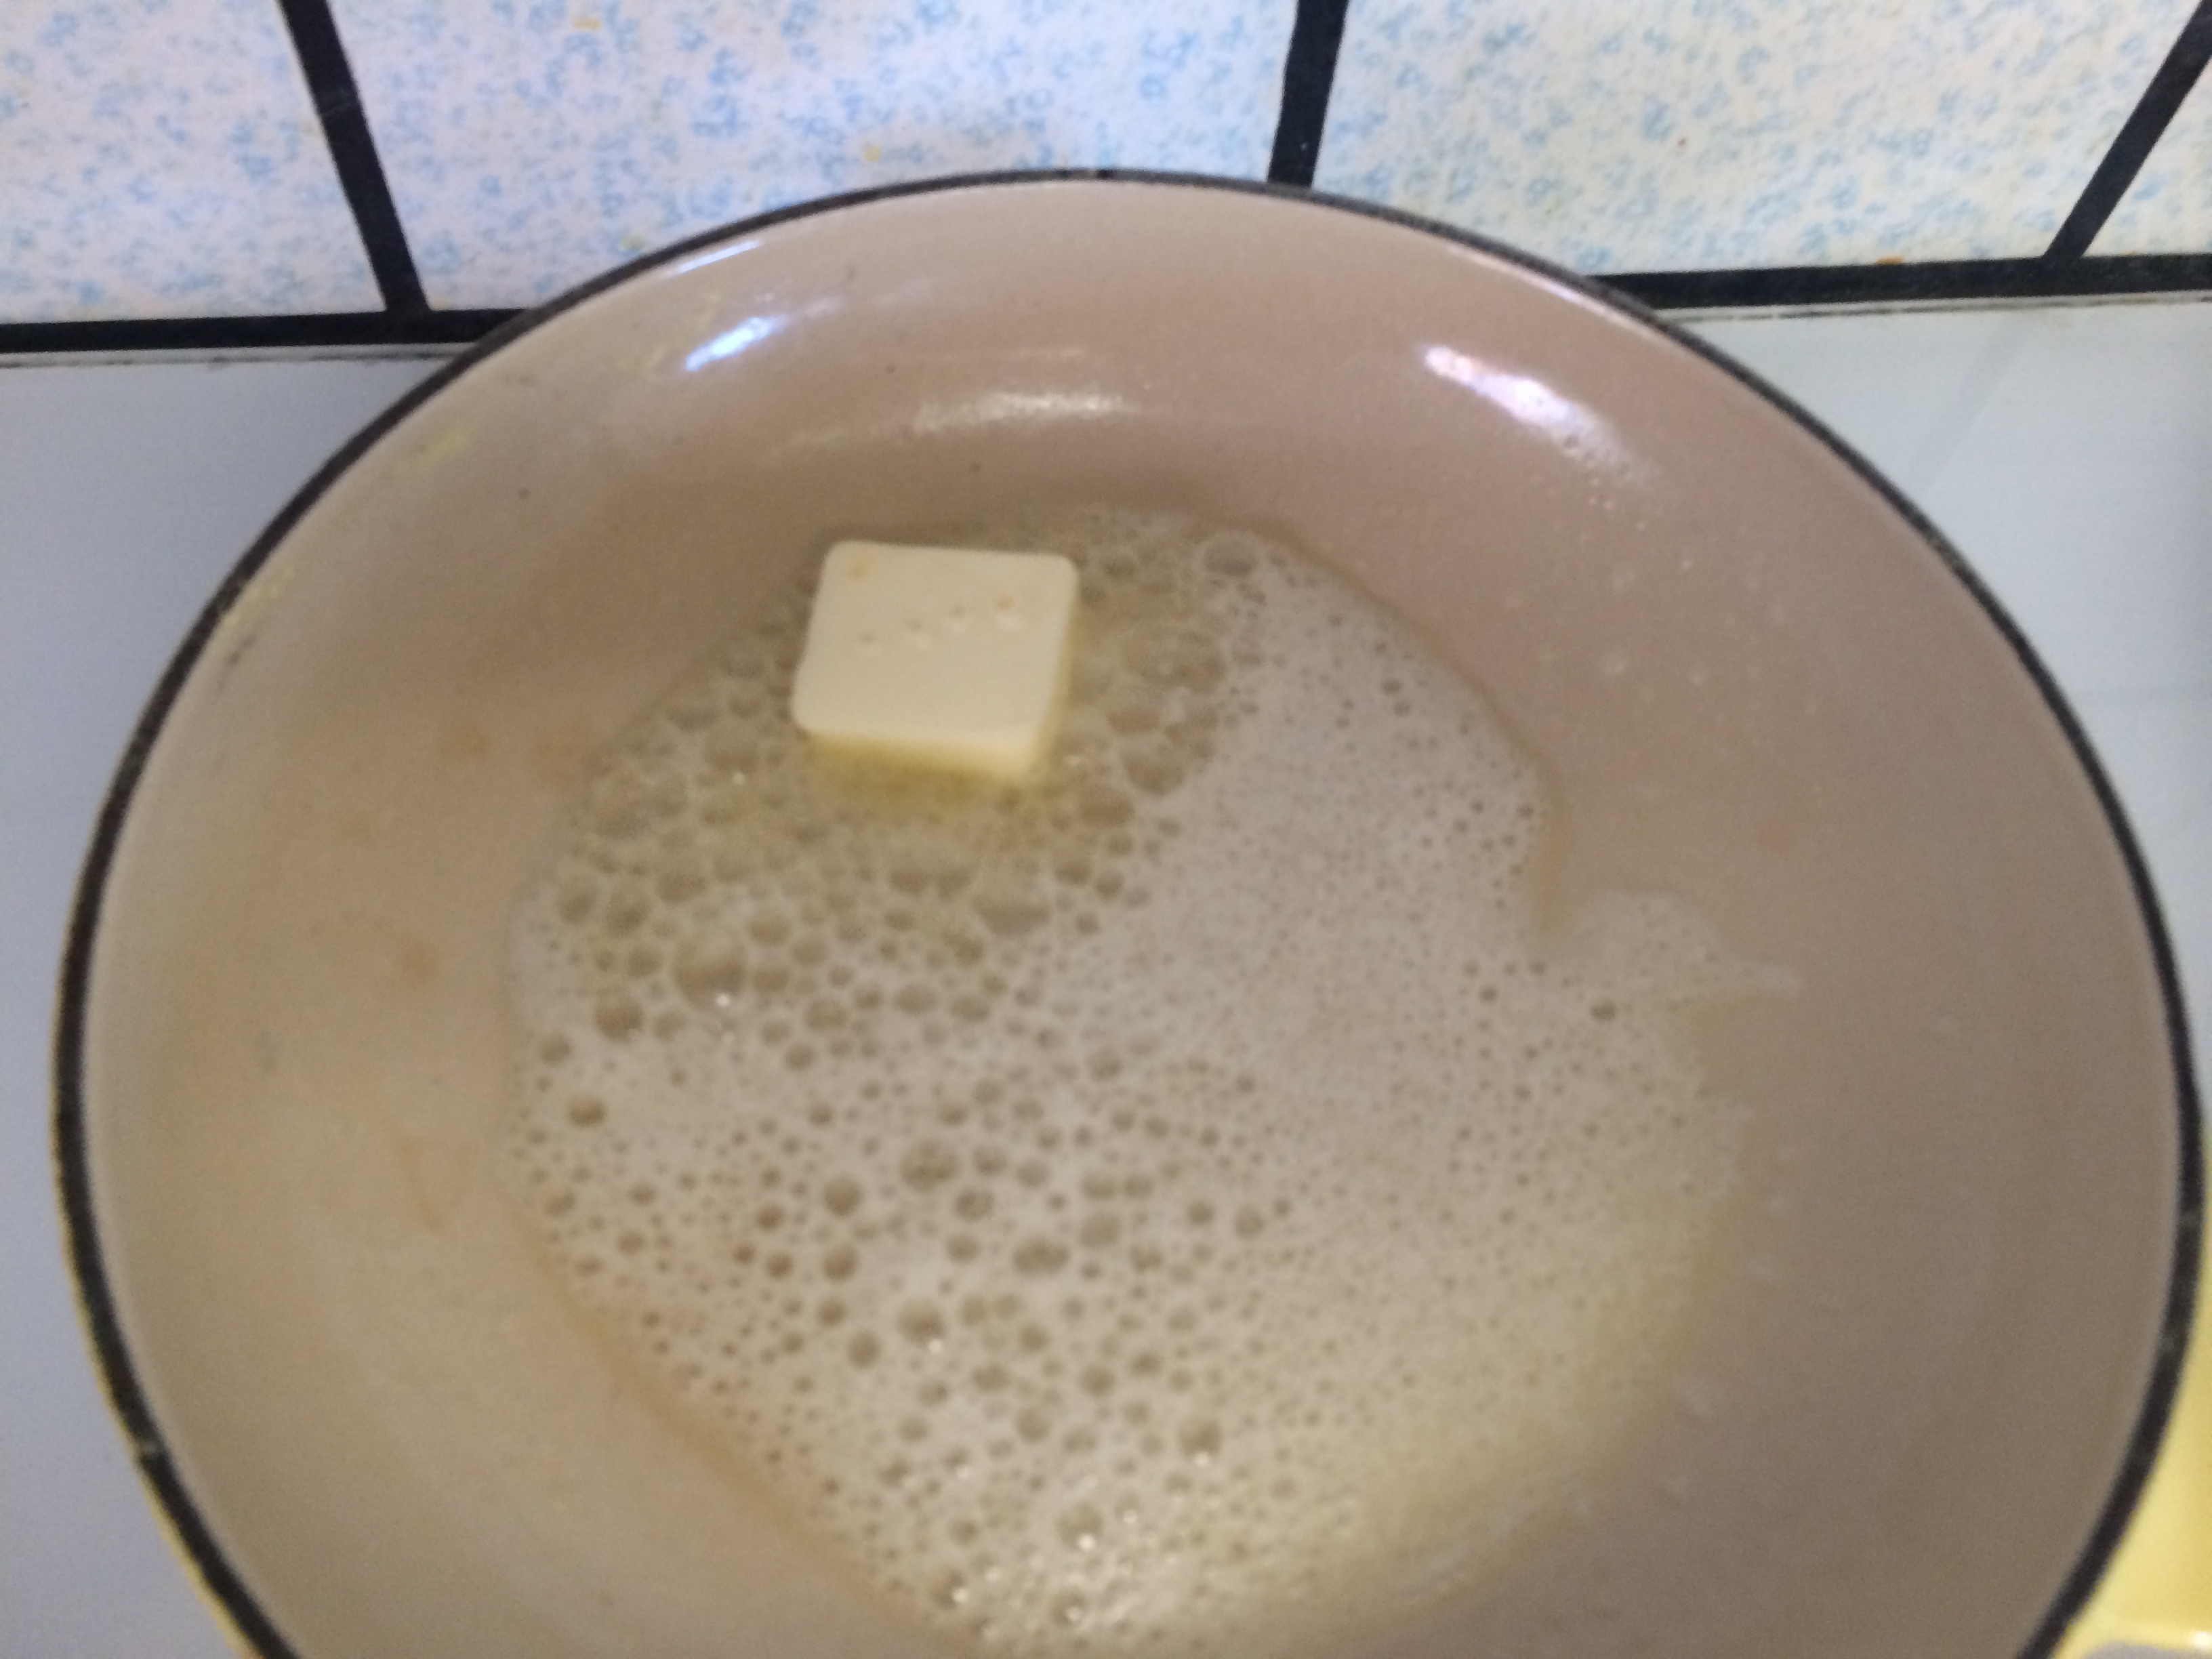
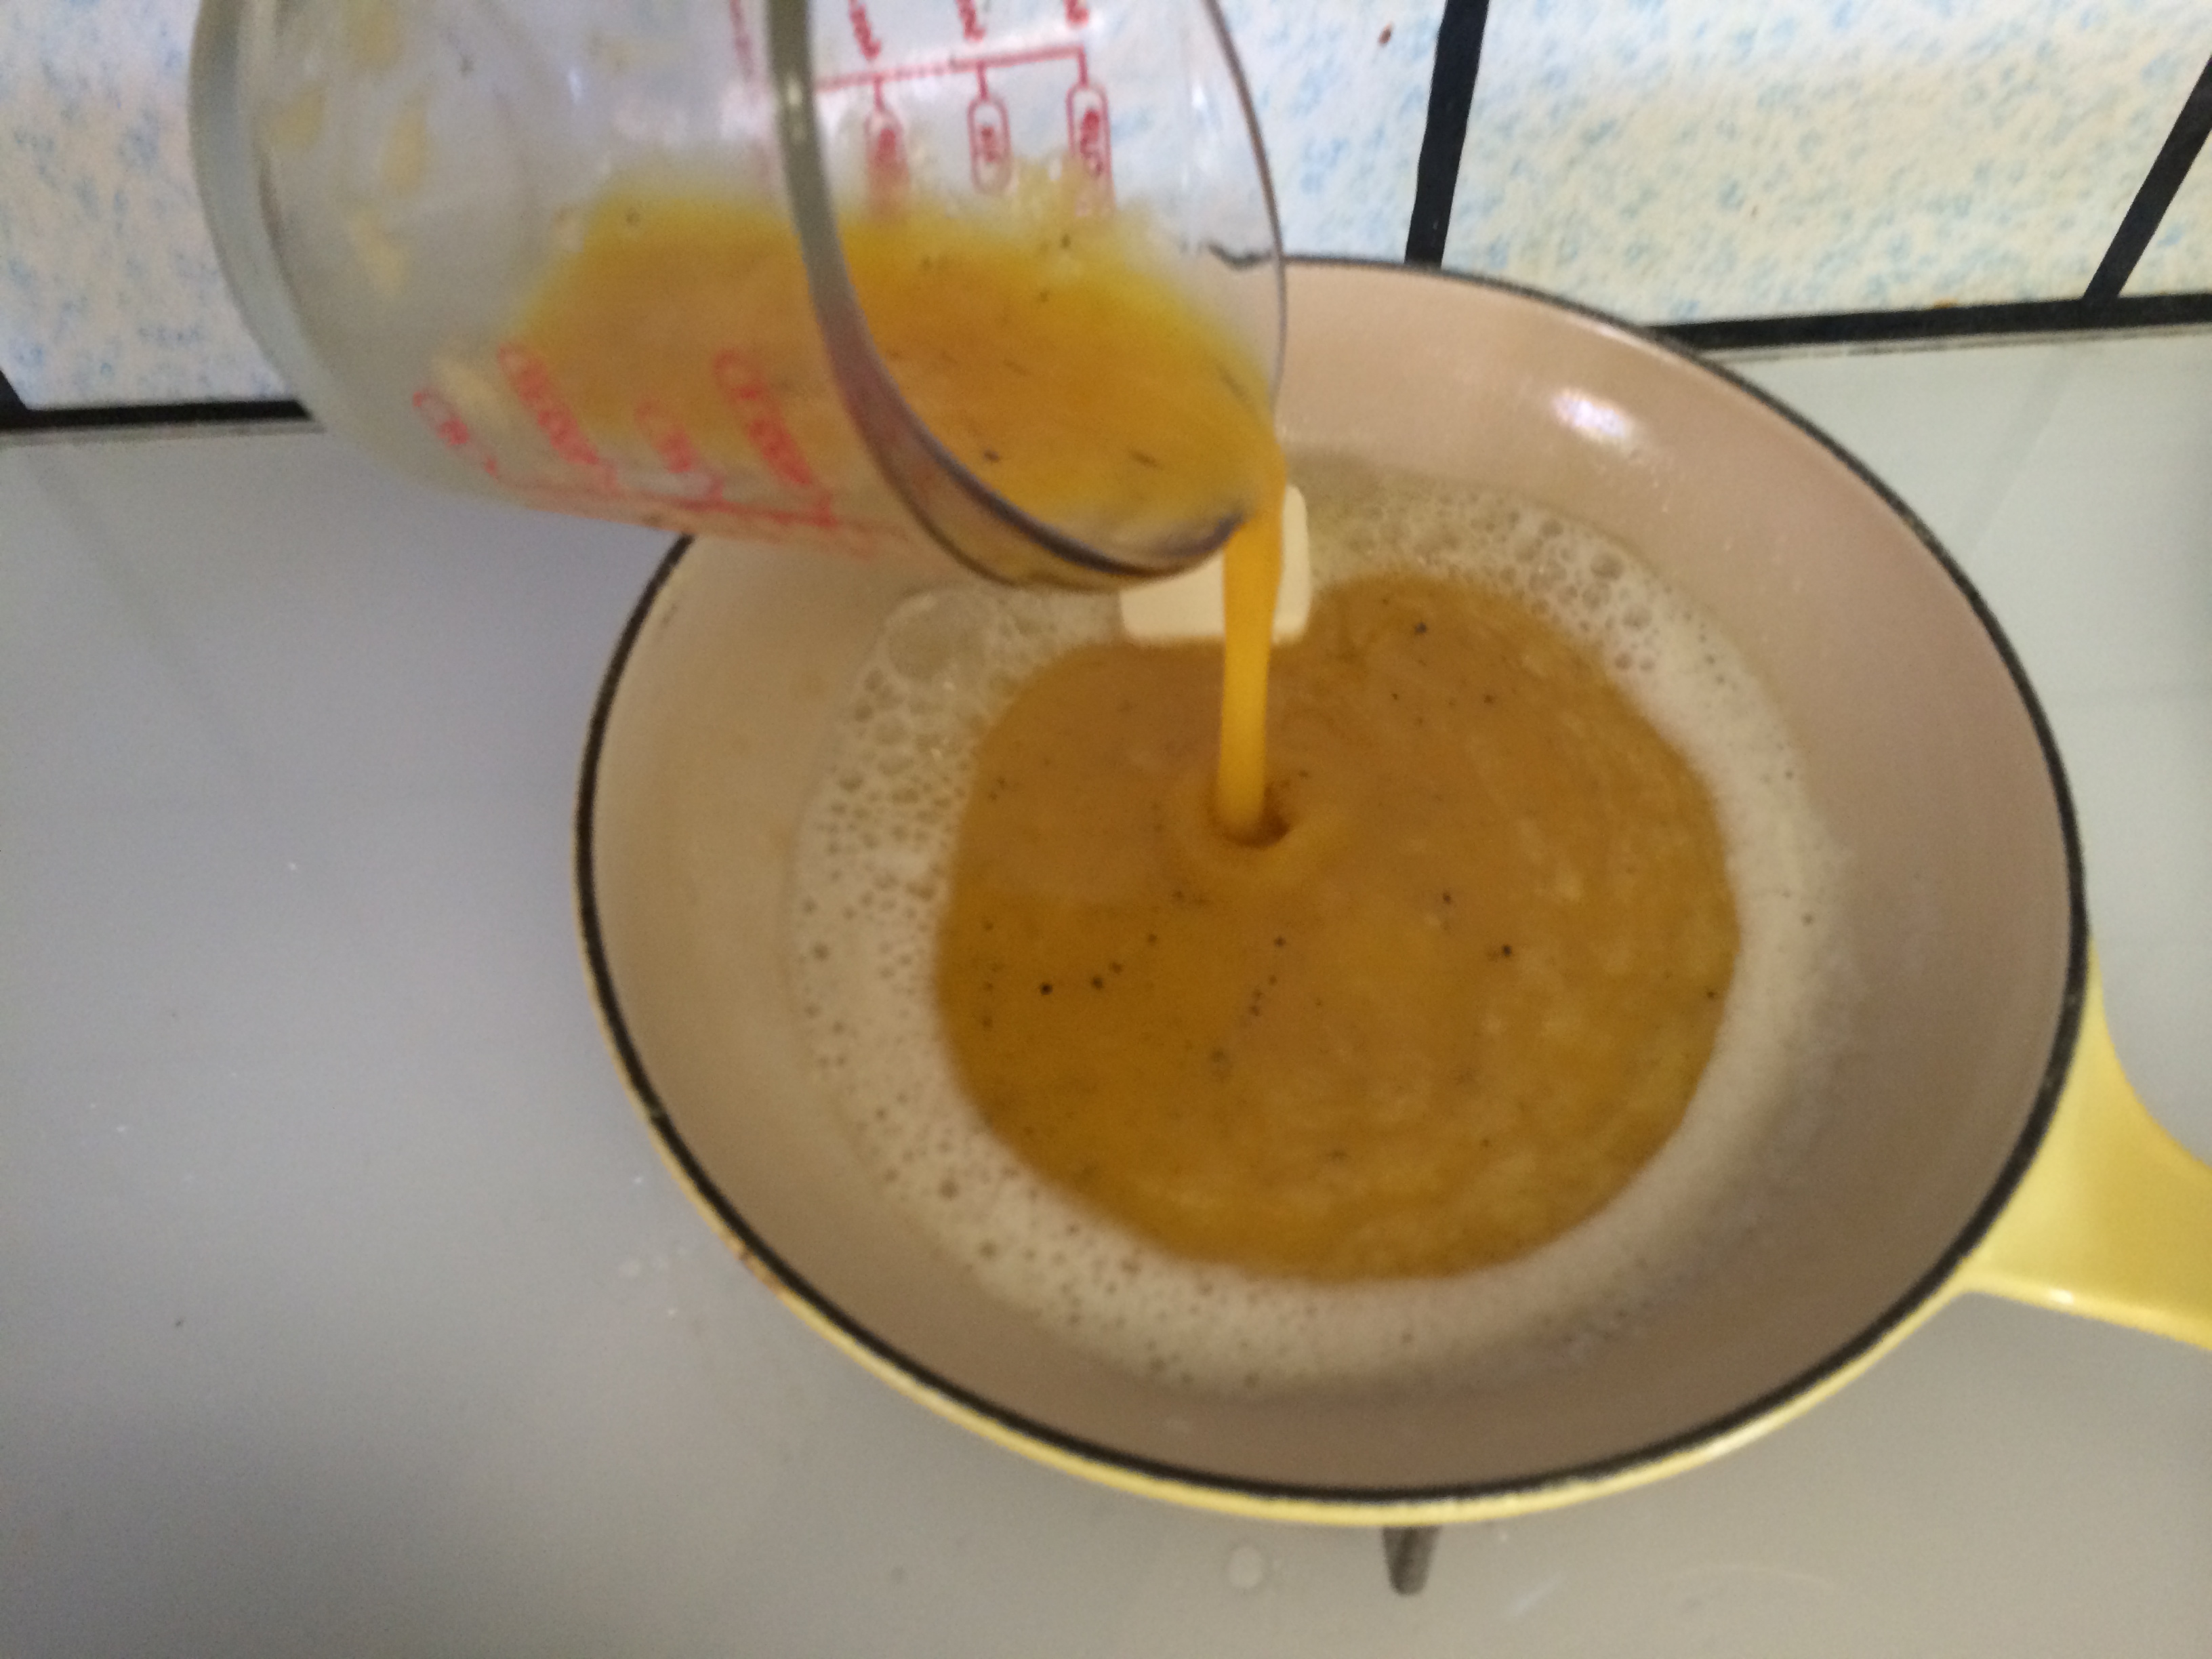
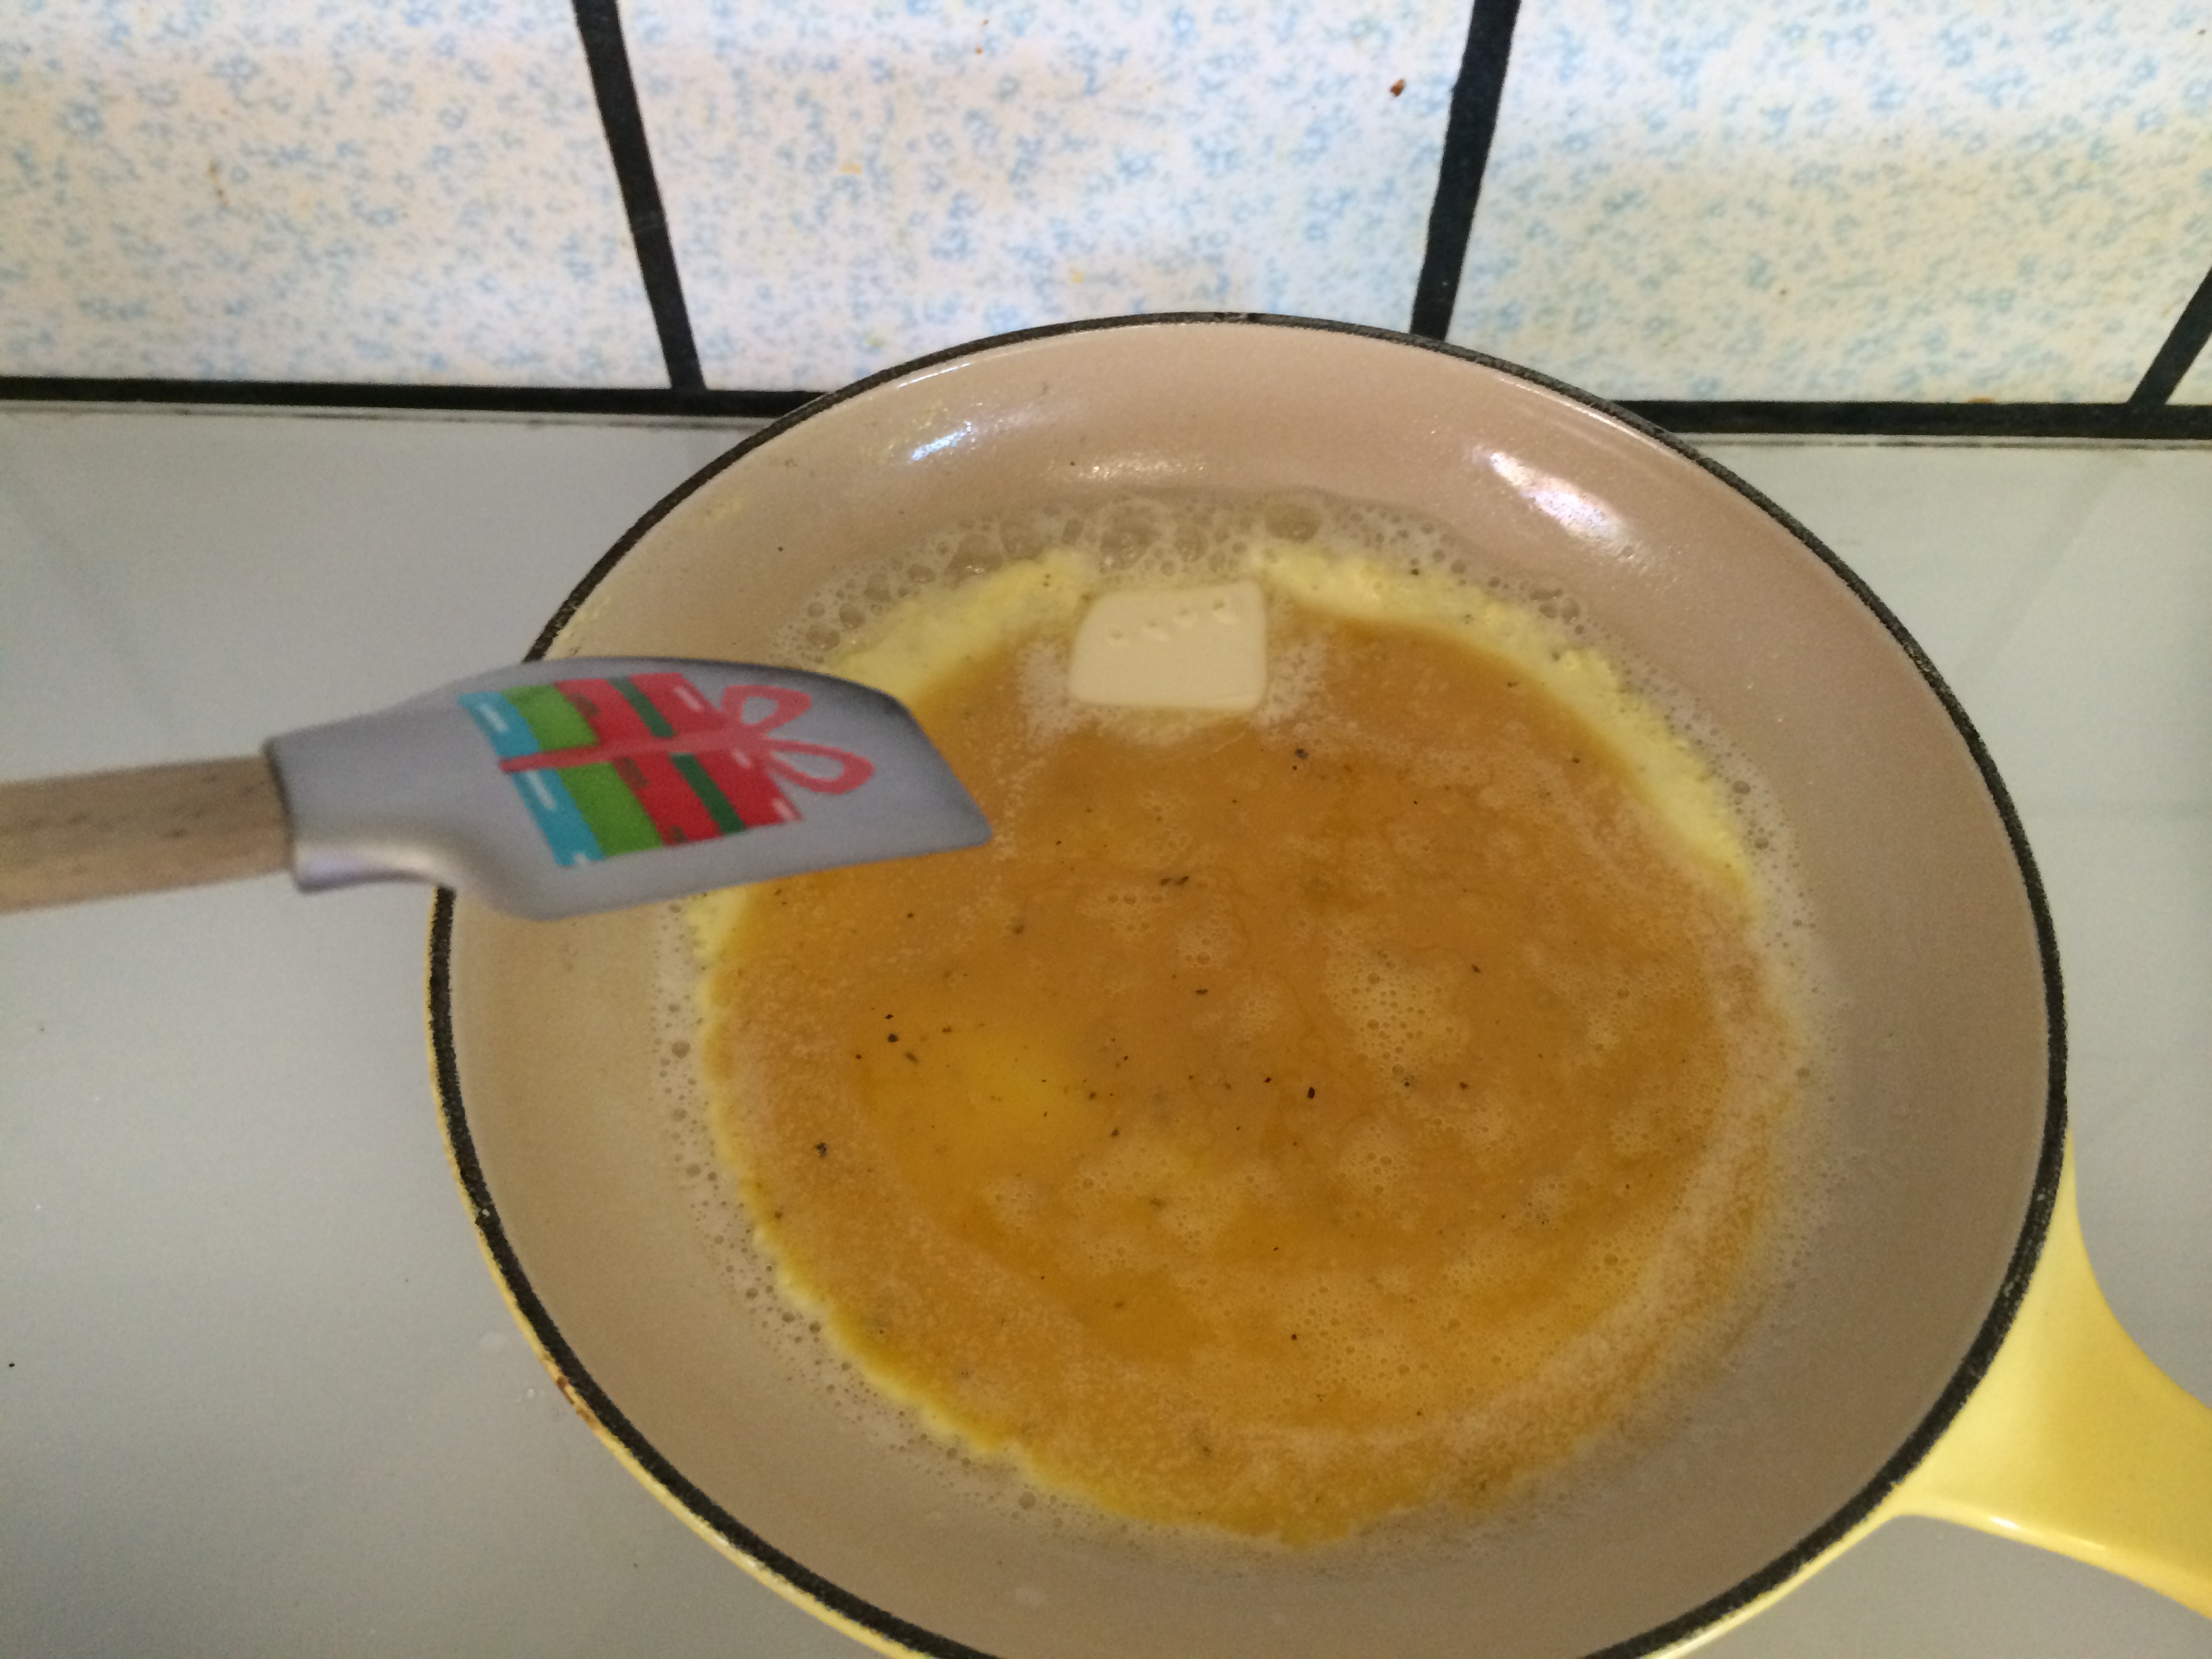
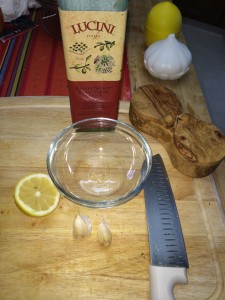
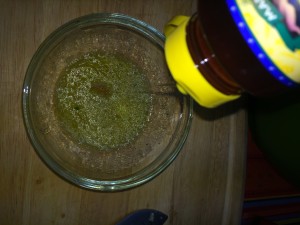
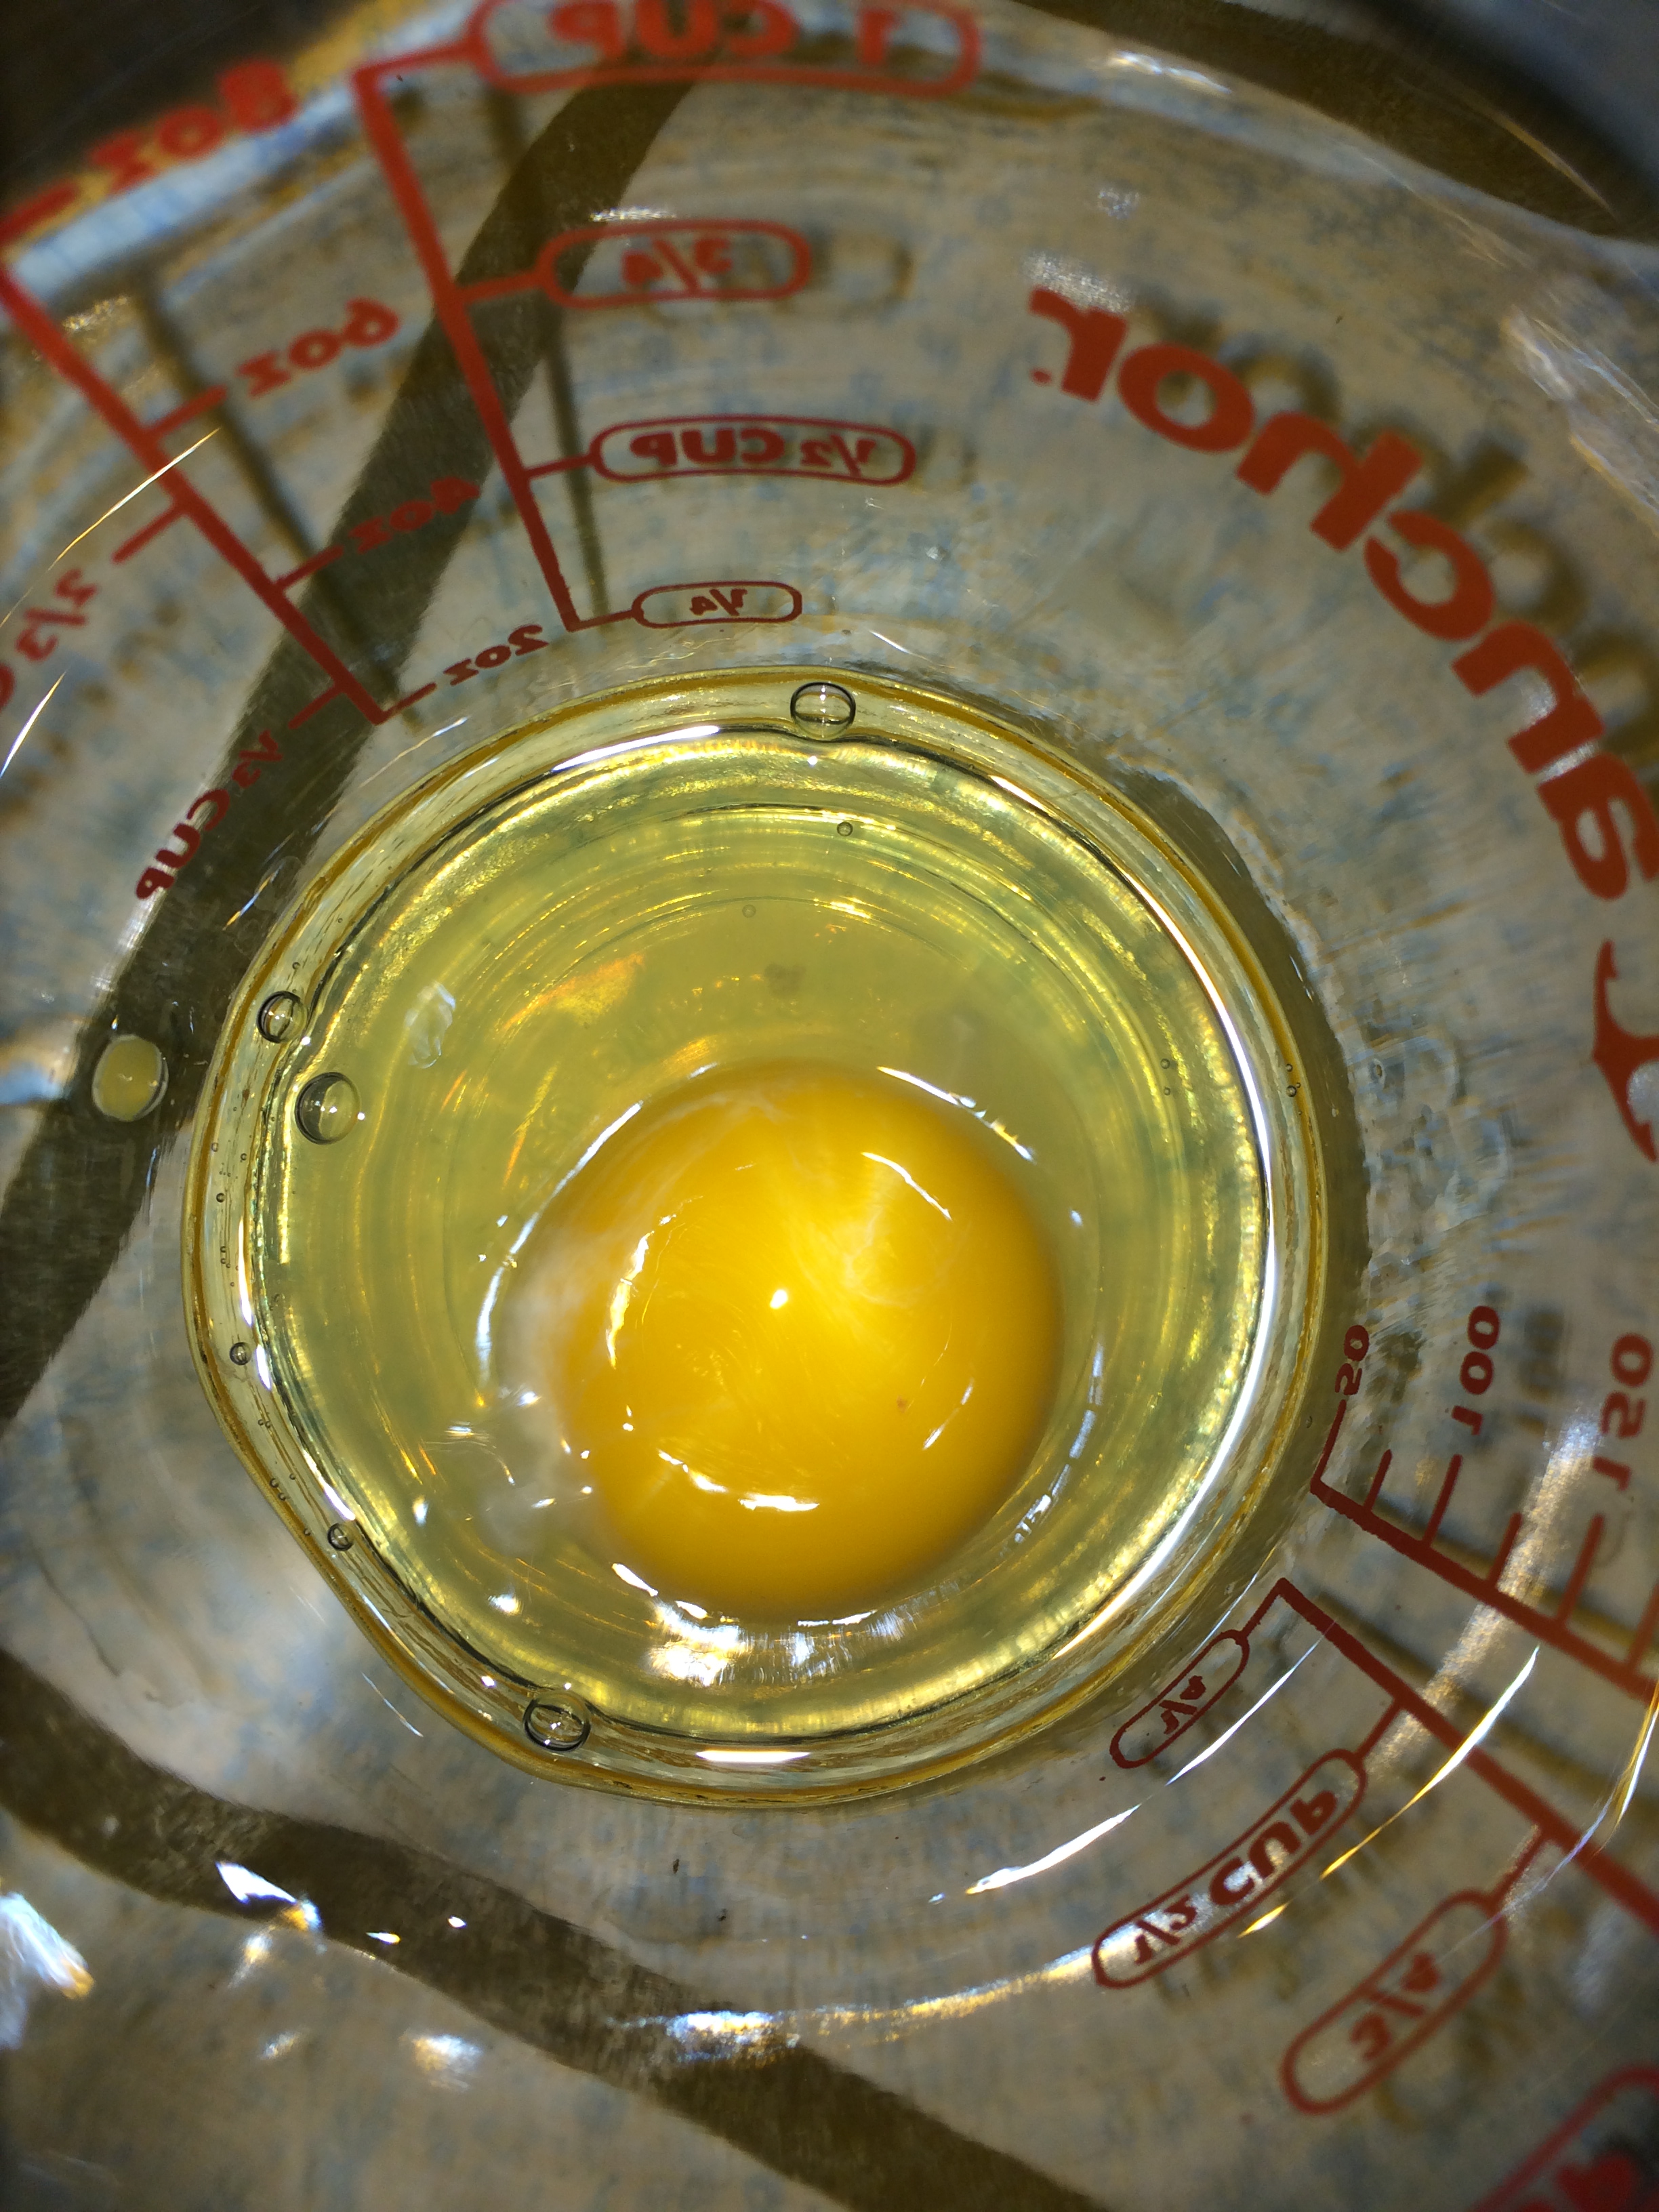
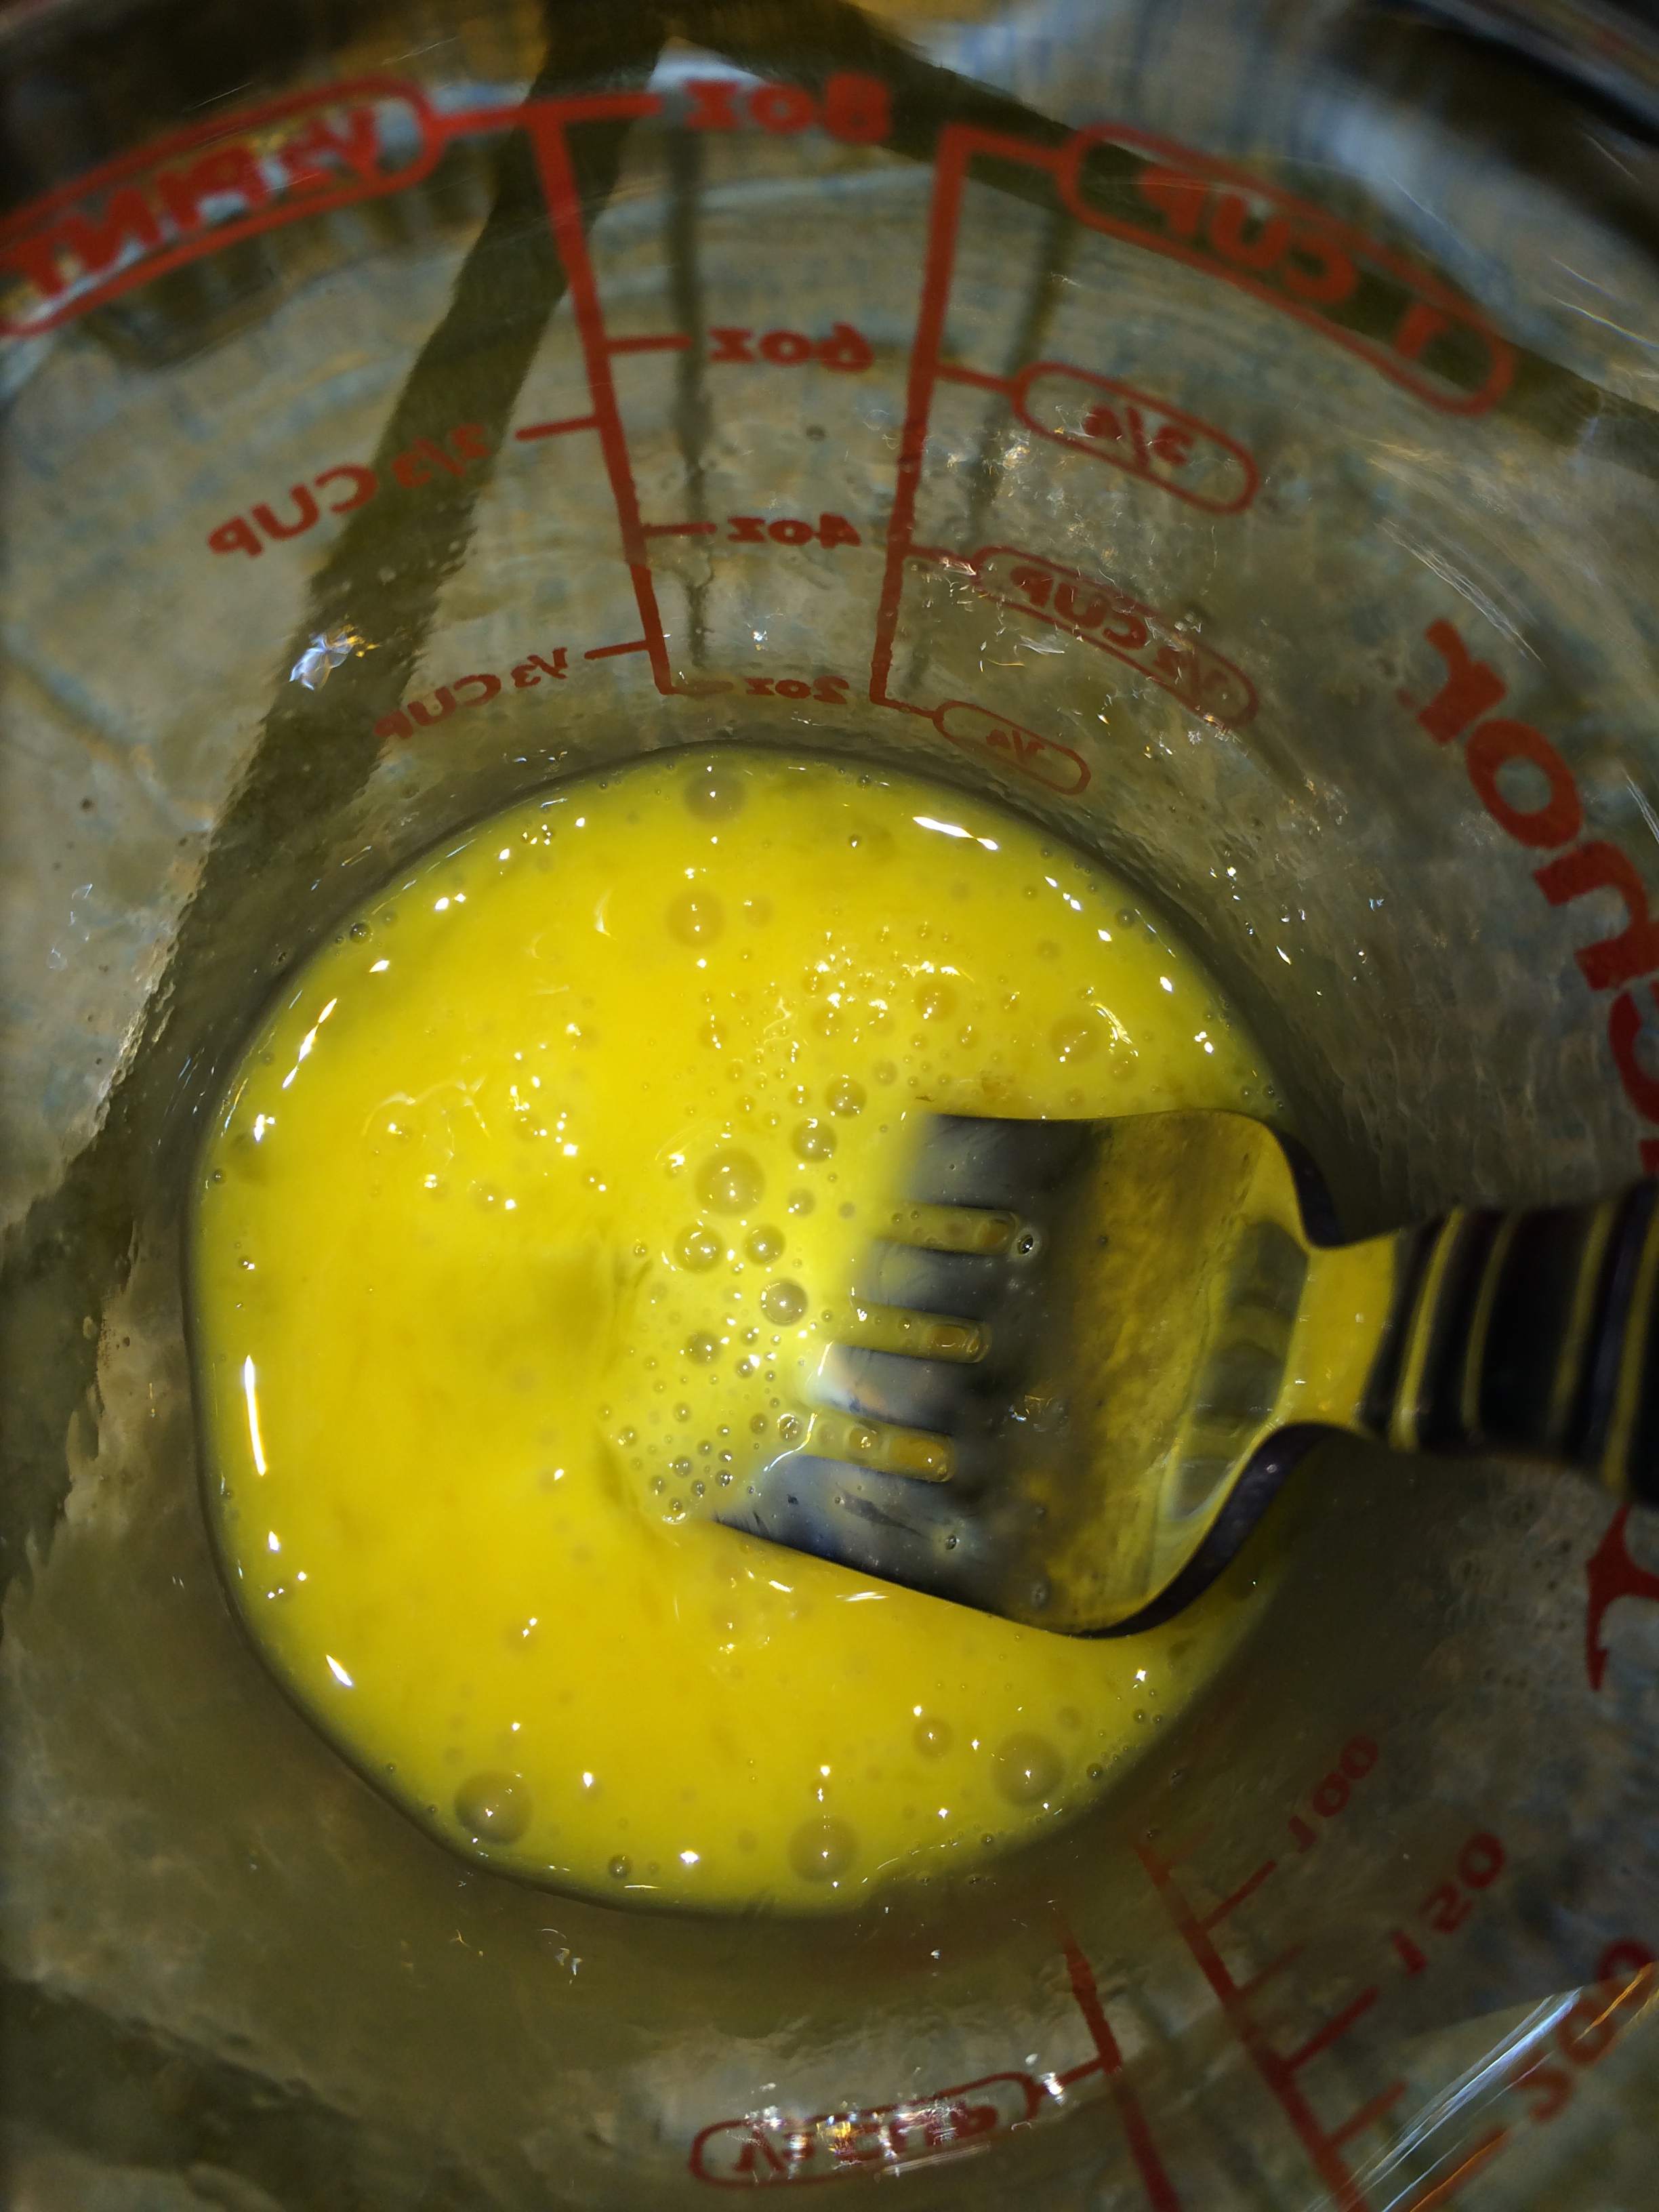
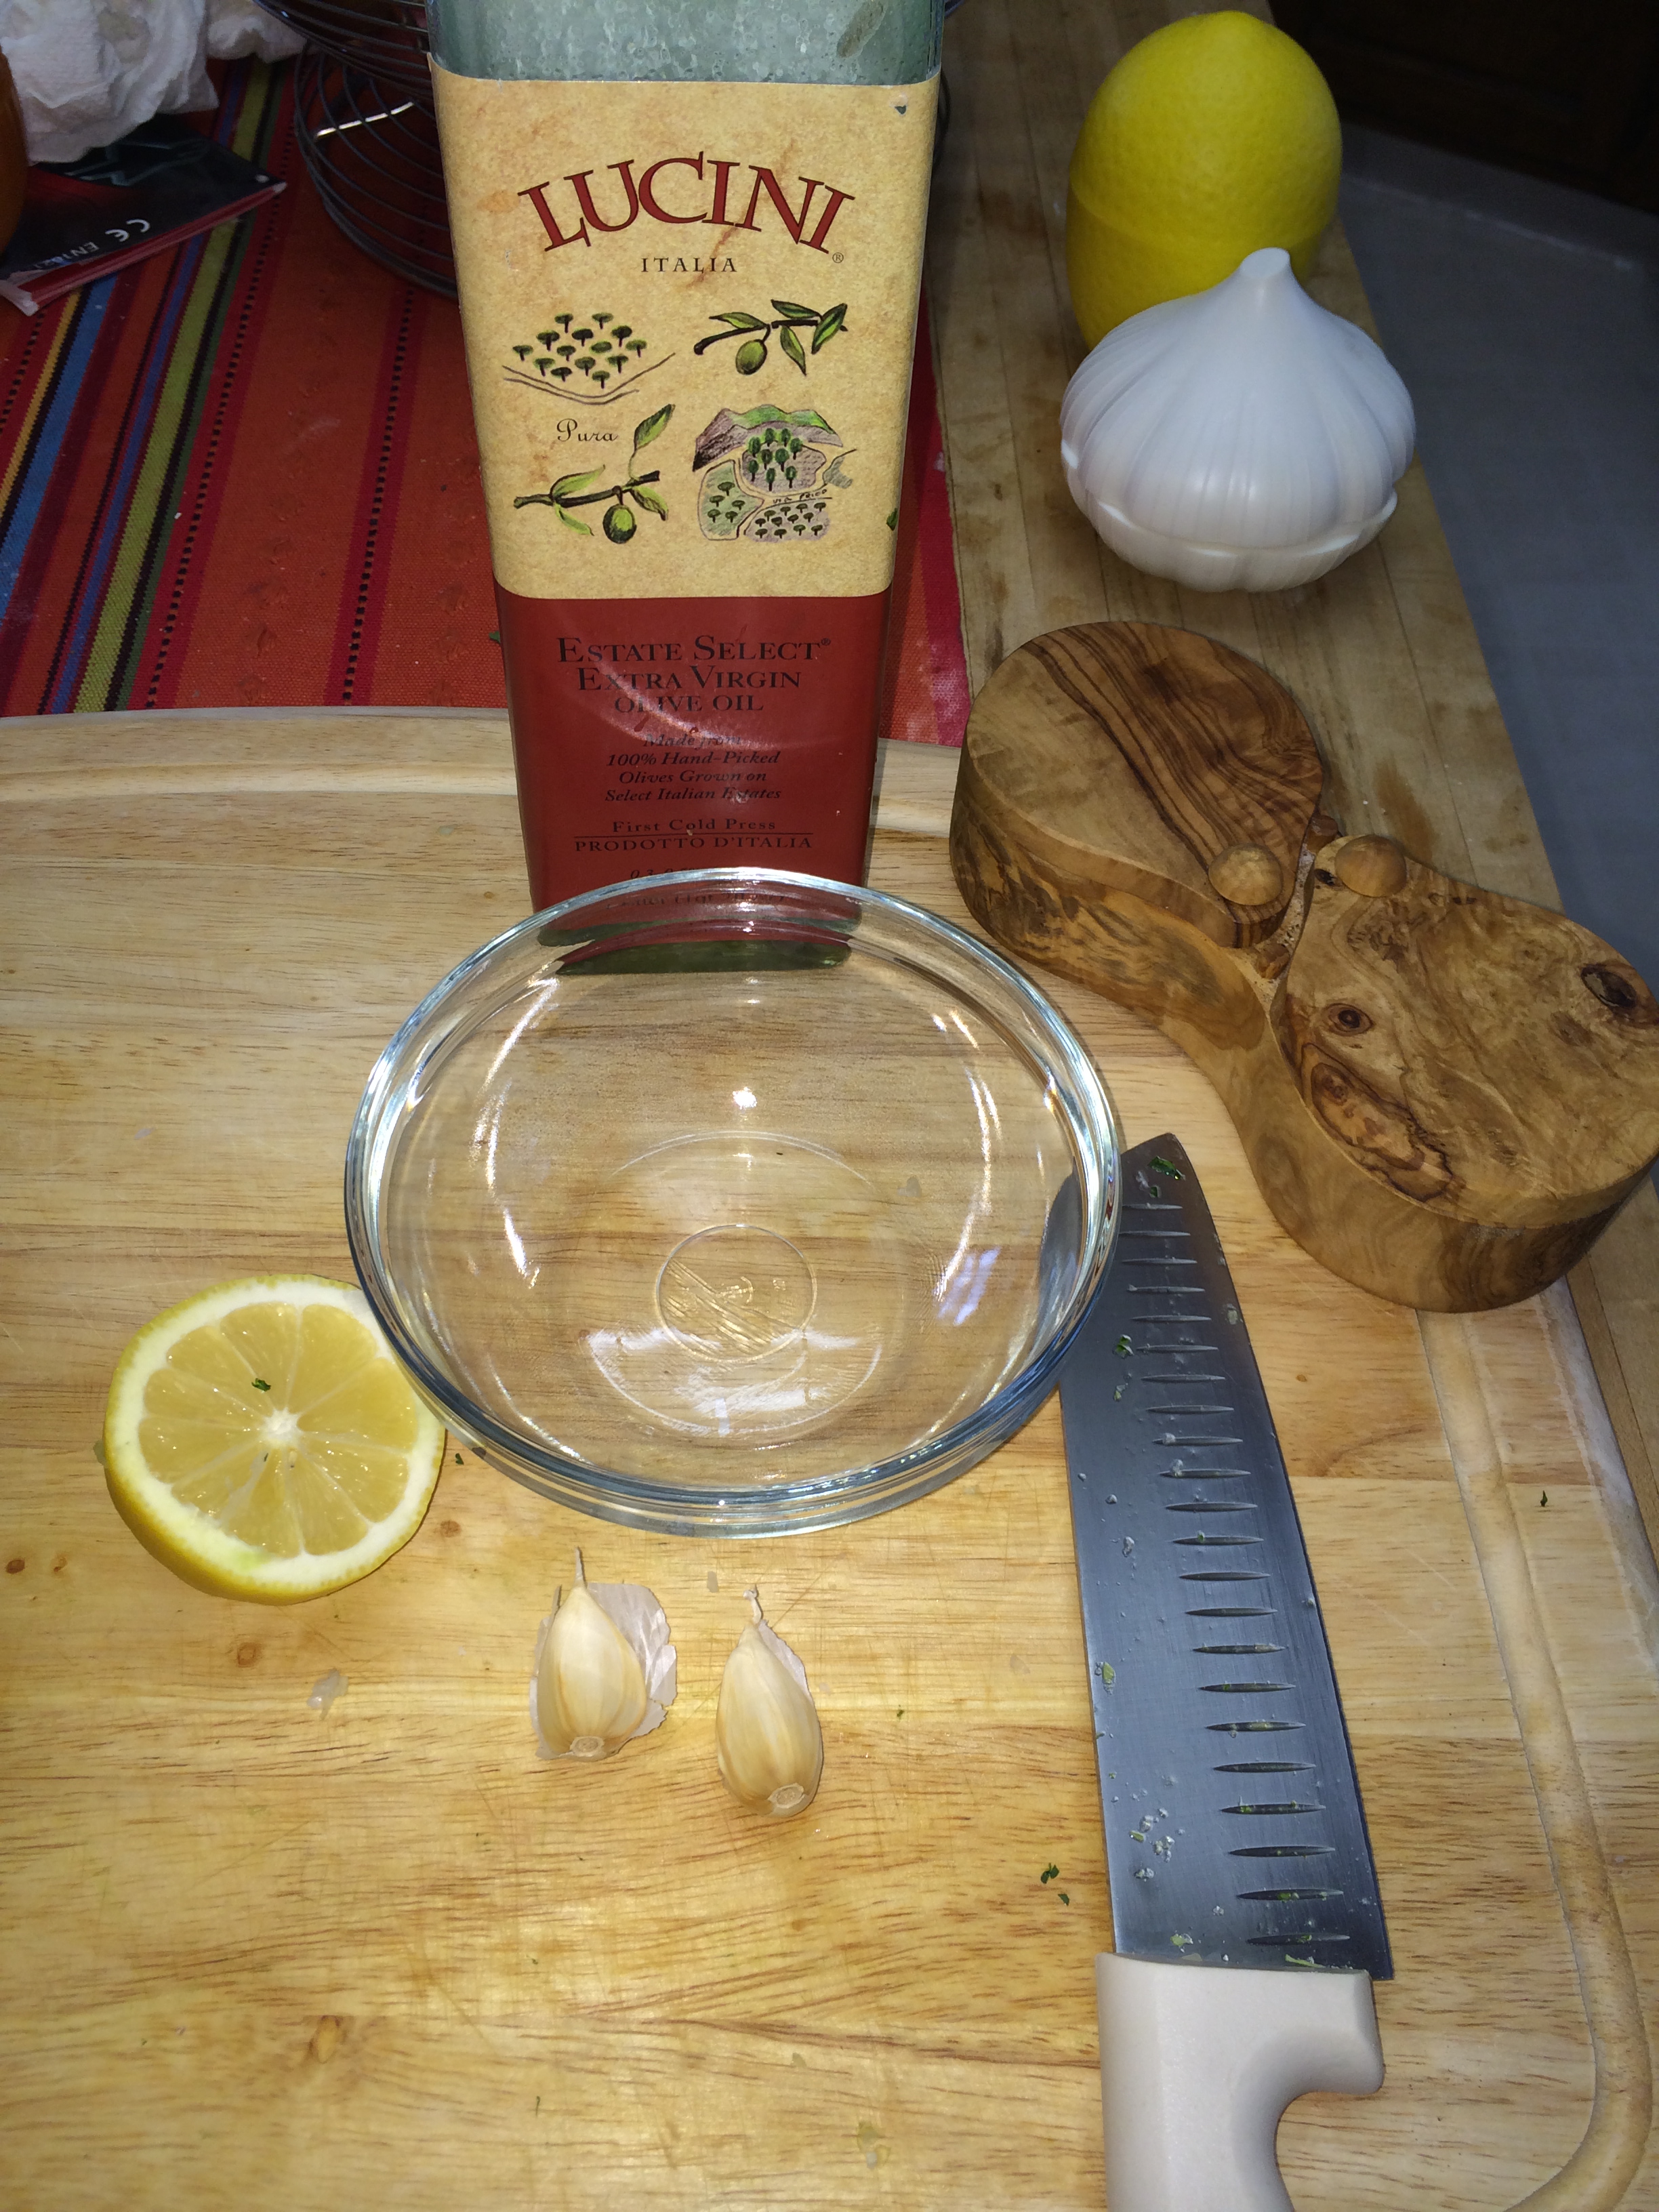
For the salad dressing, I made a vinaigrette with garlic, lemon juice, honey, olive oil and salt and pepper. This is what you need:
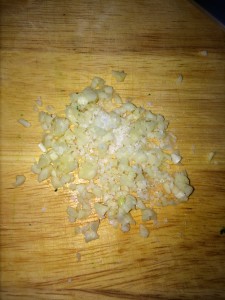
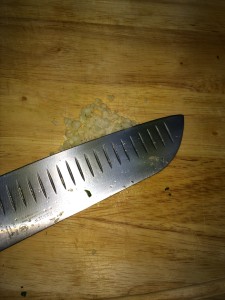
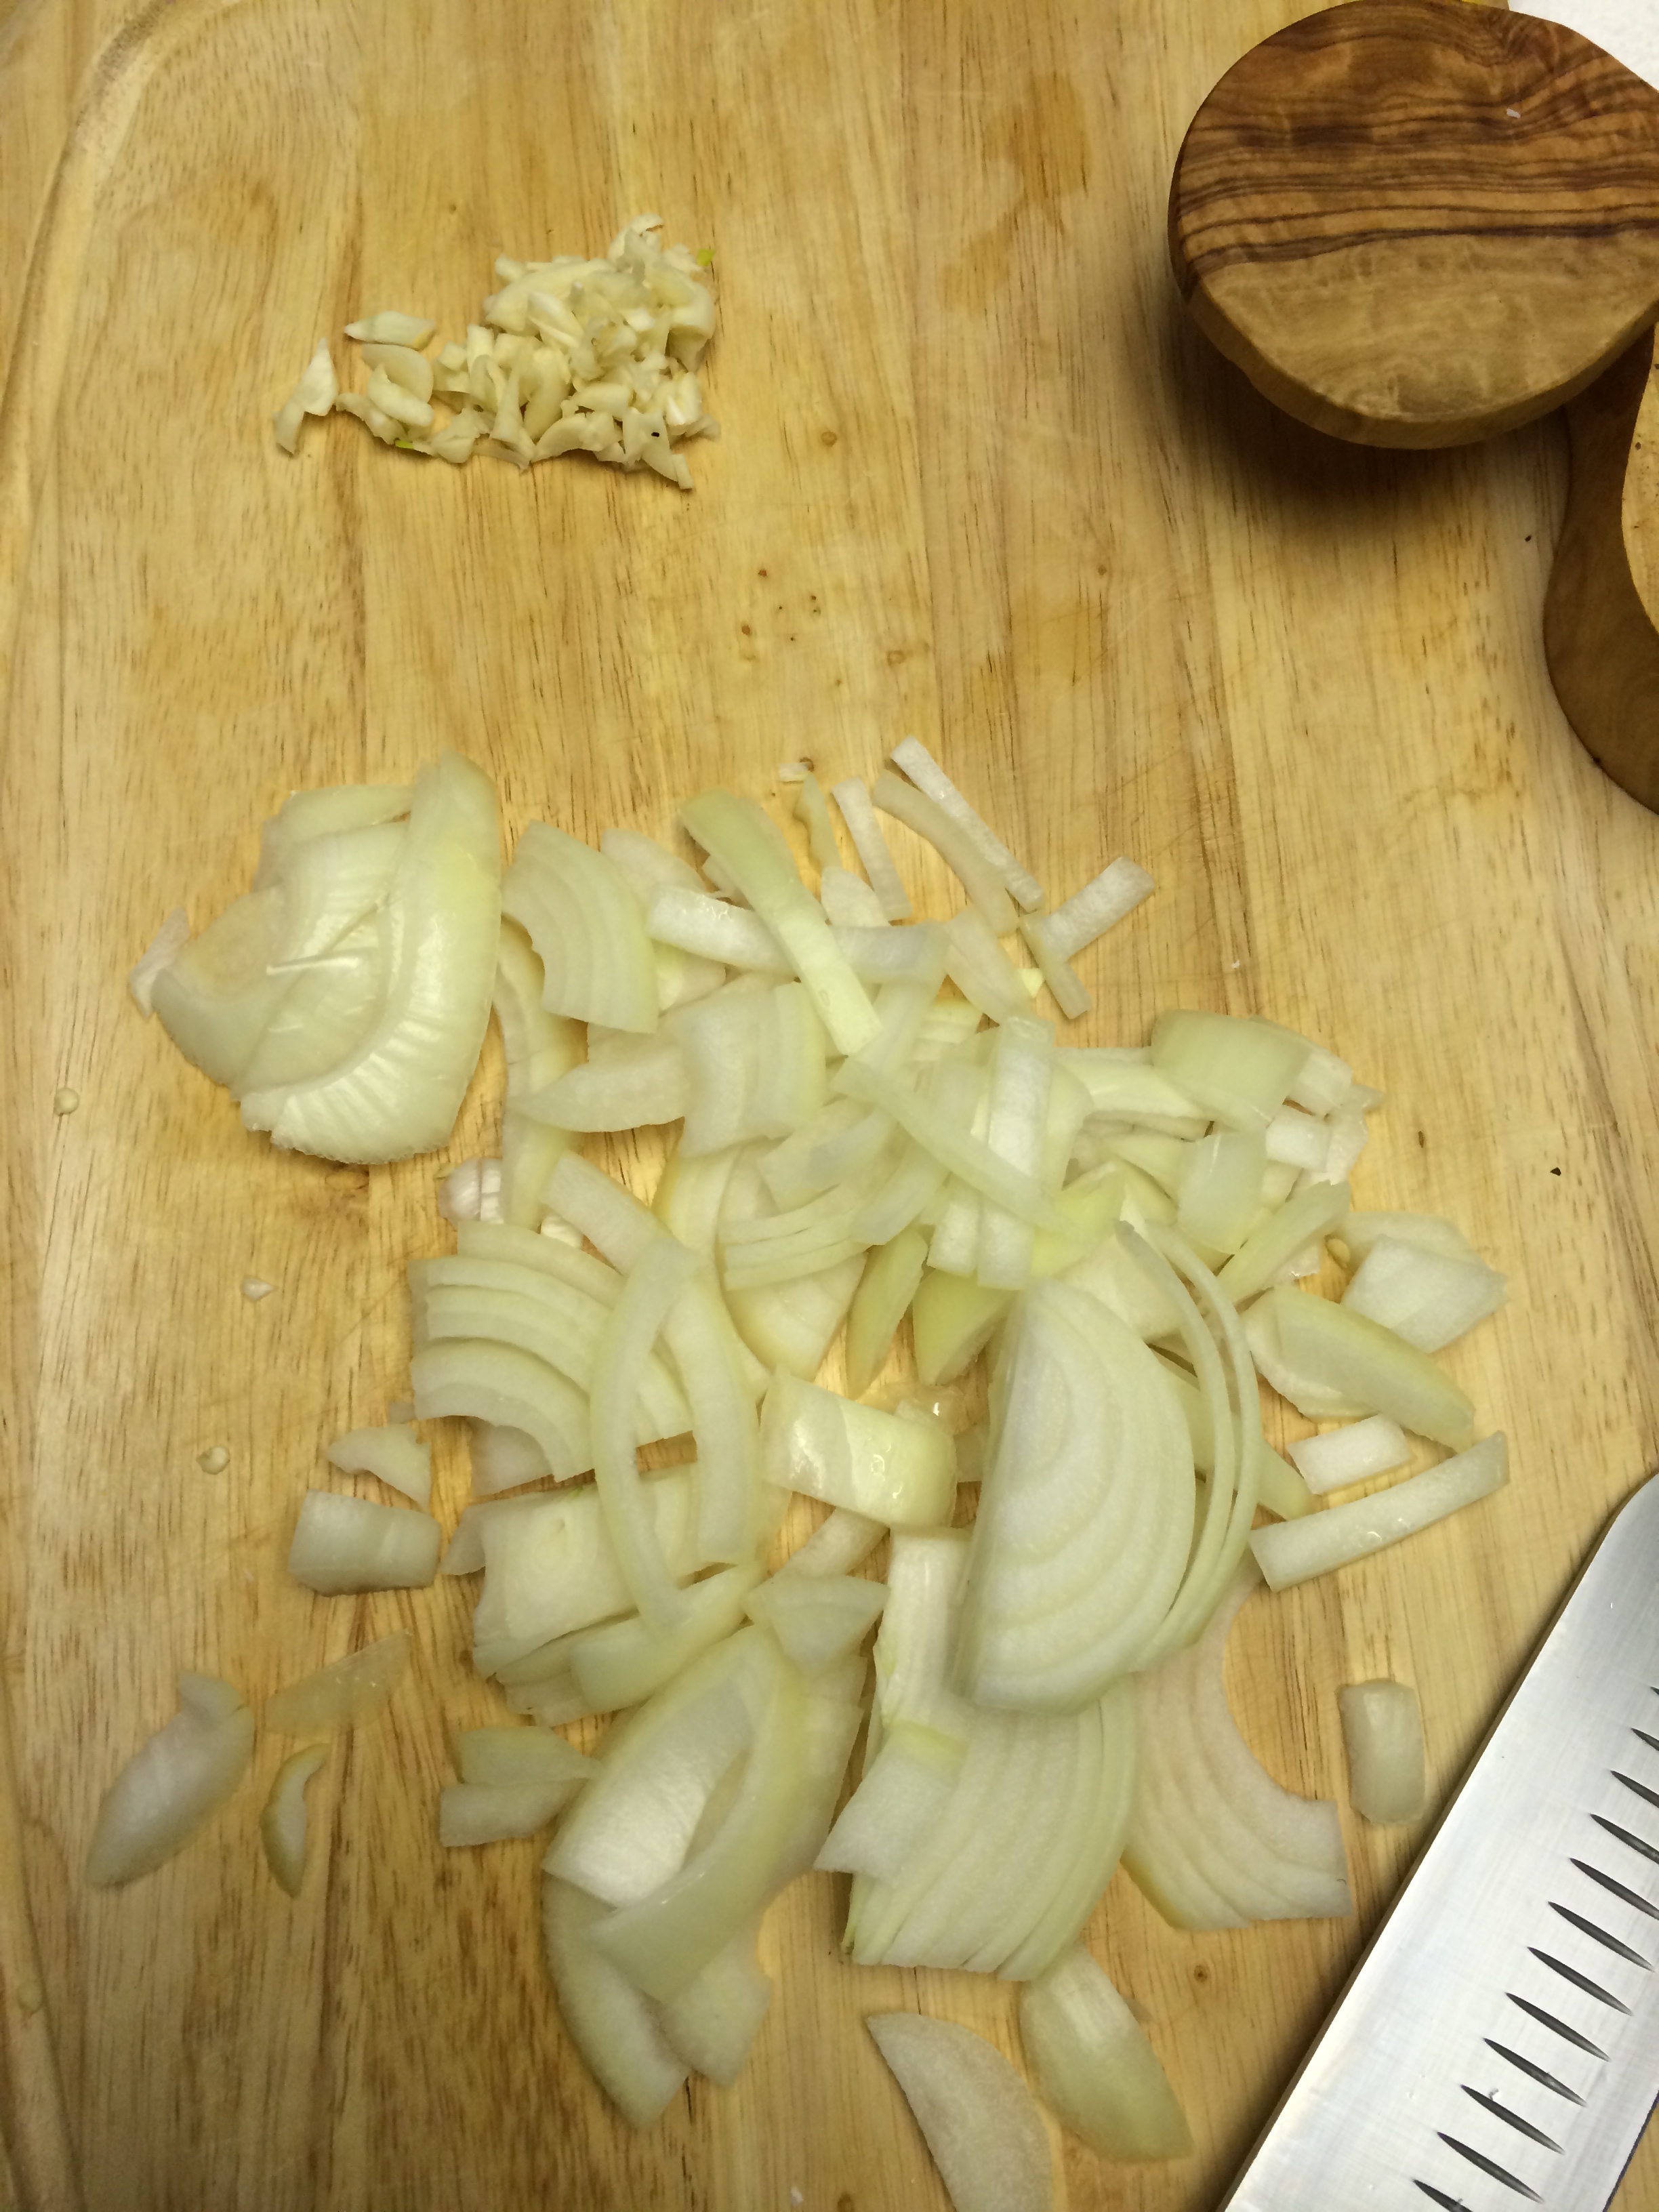
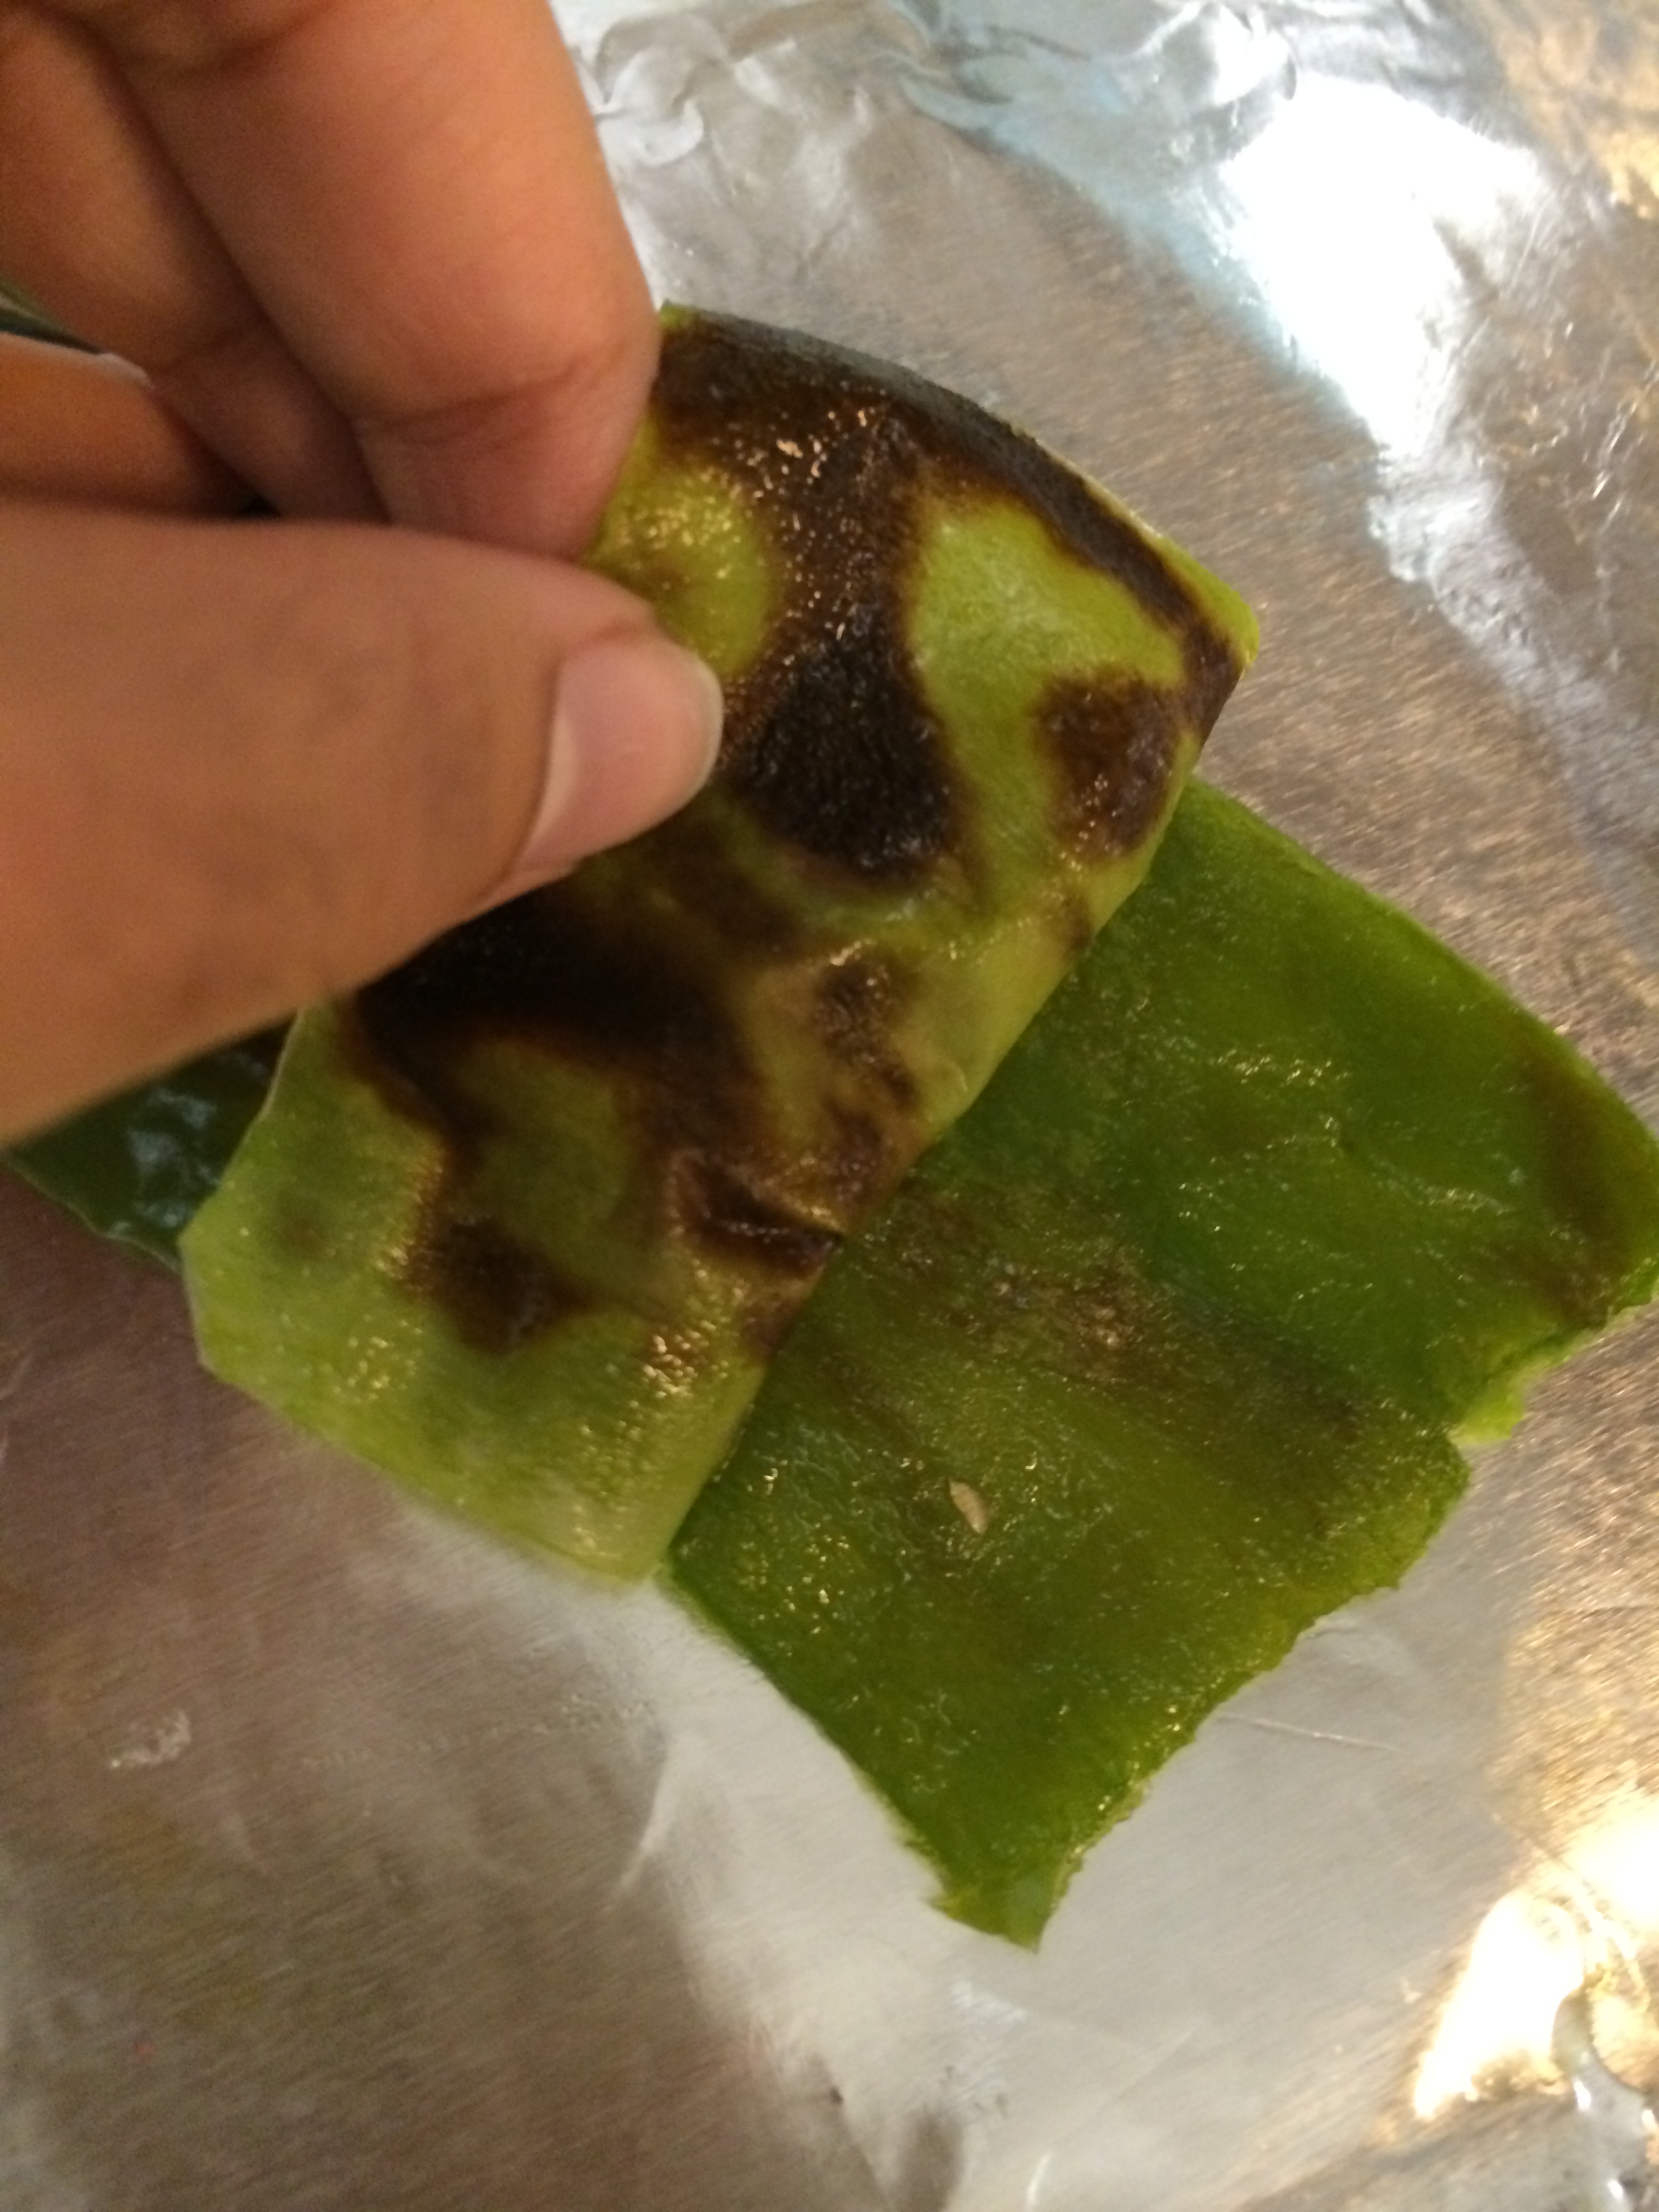
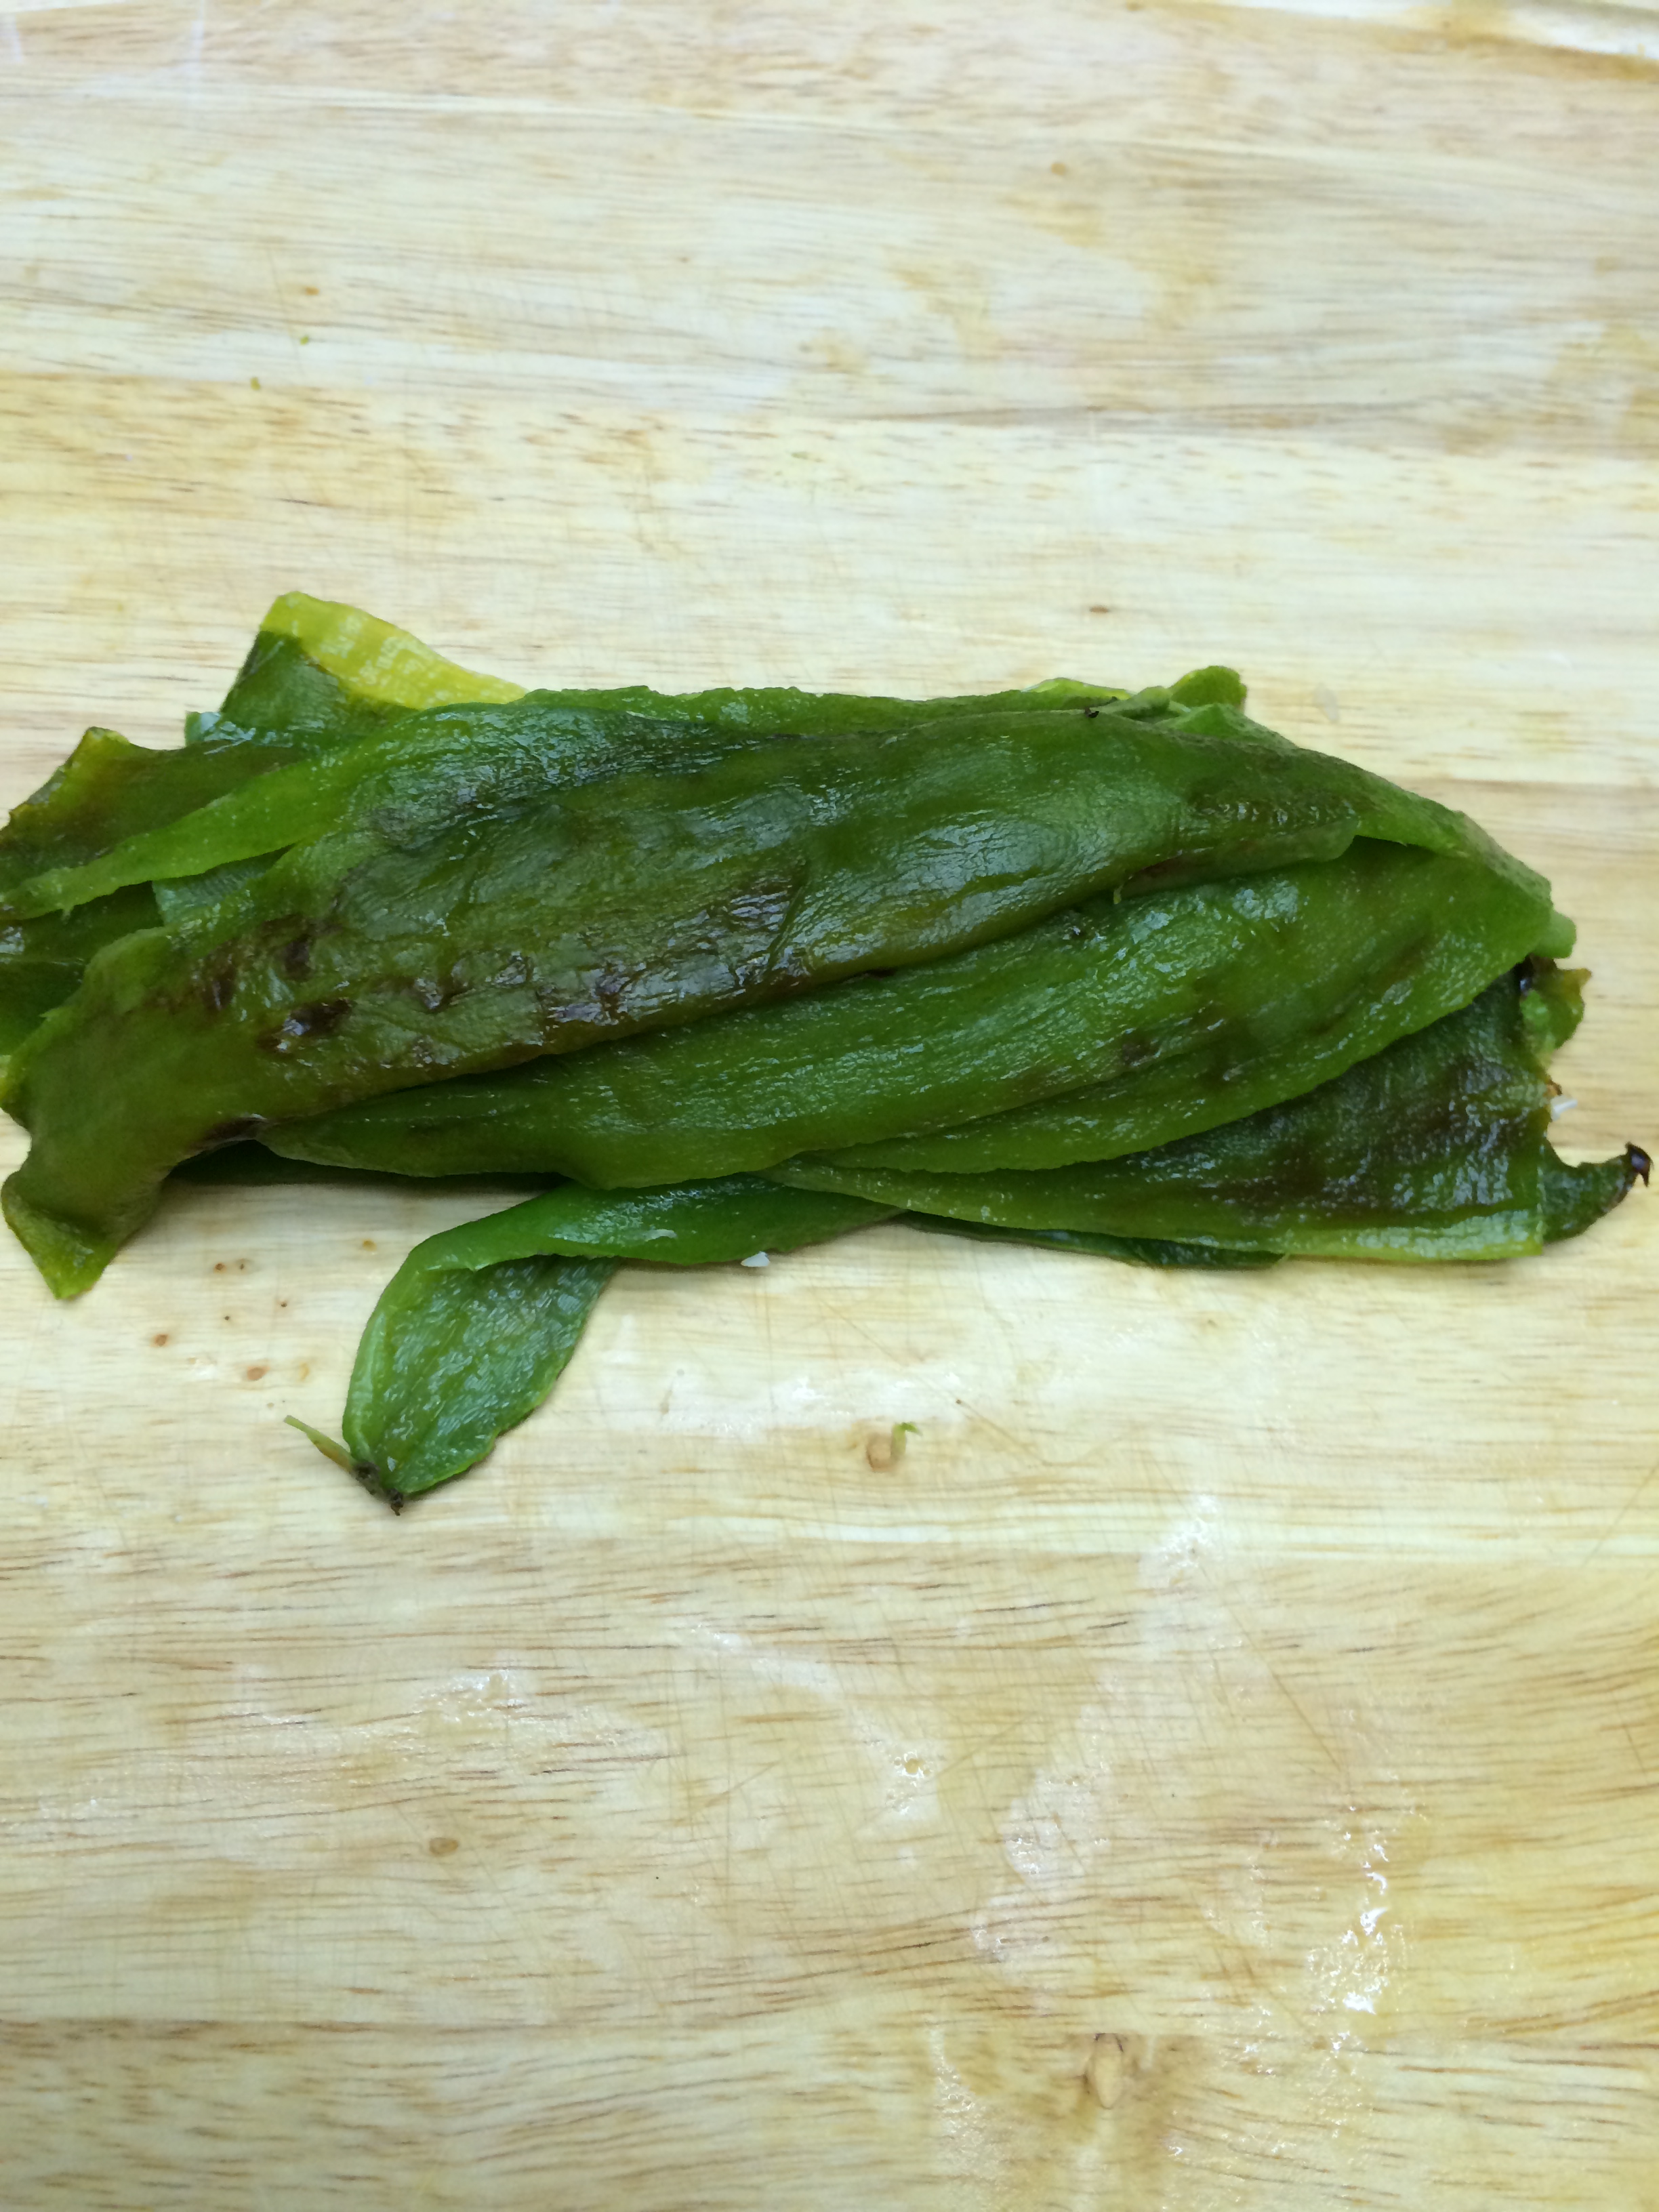
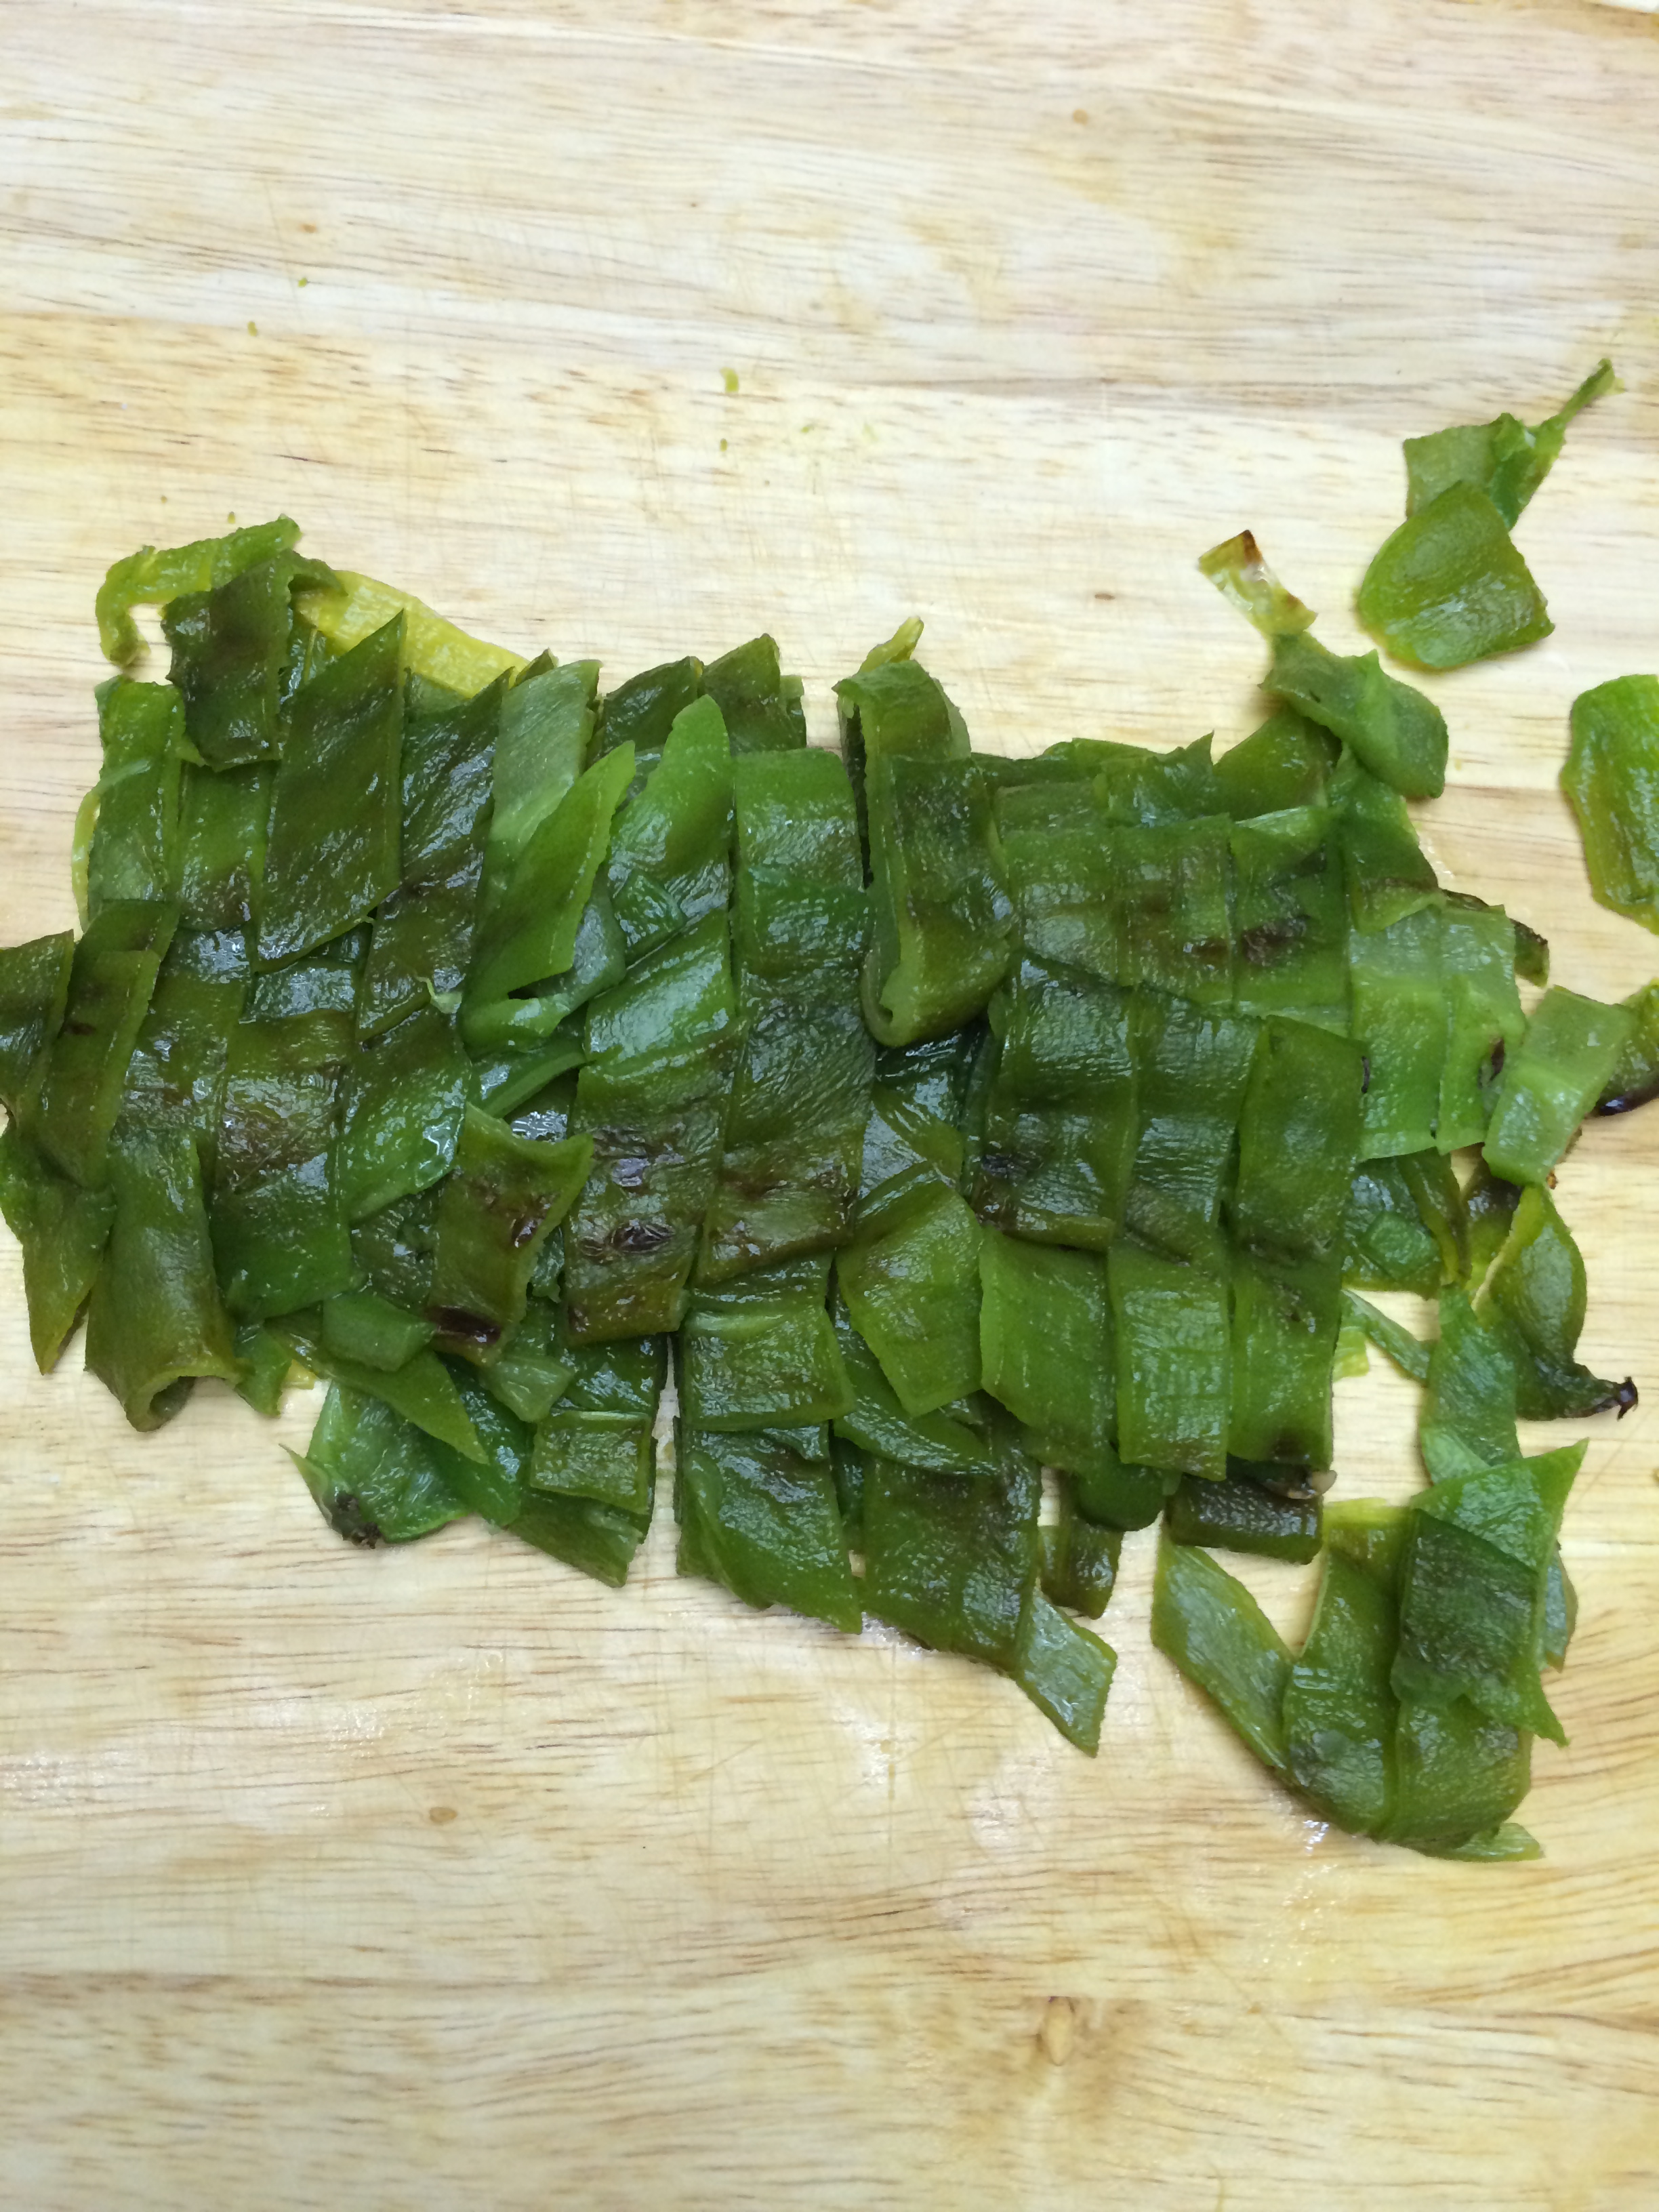
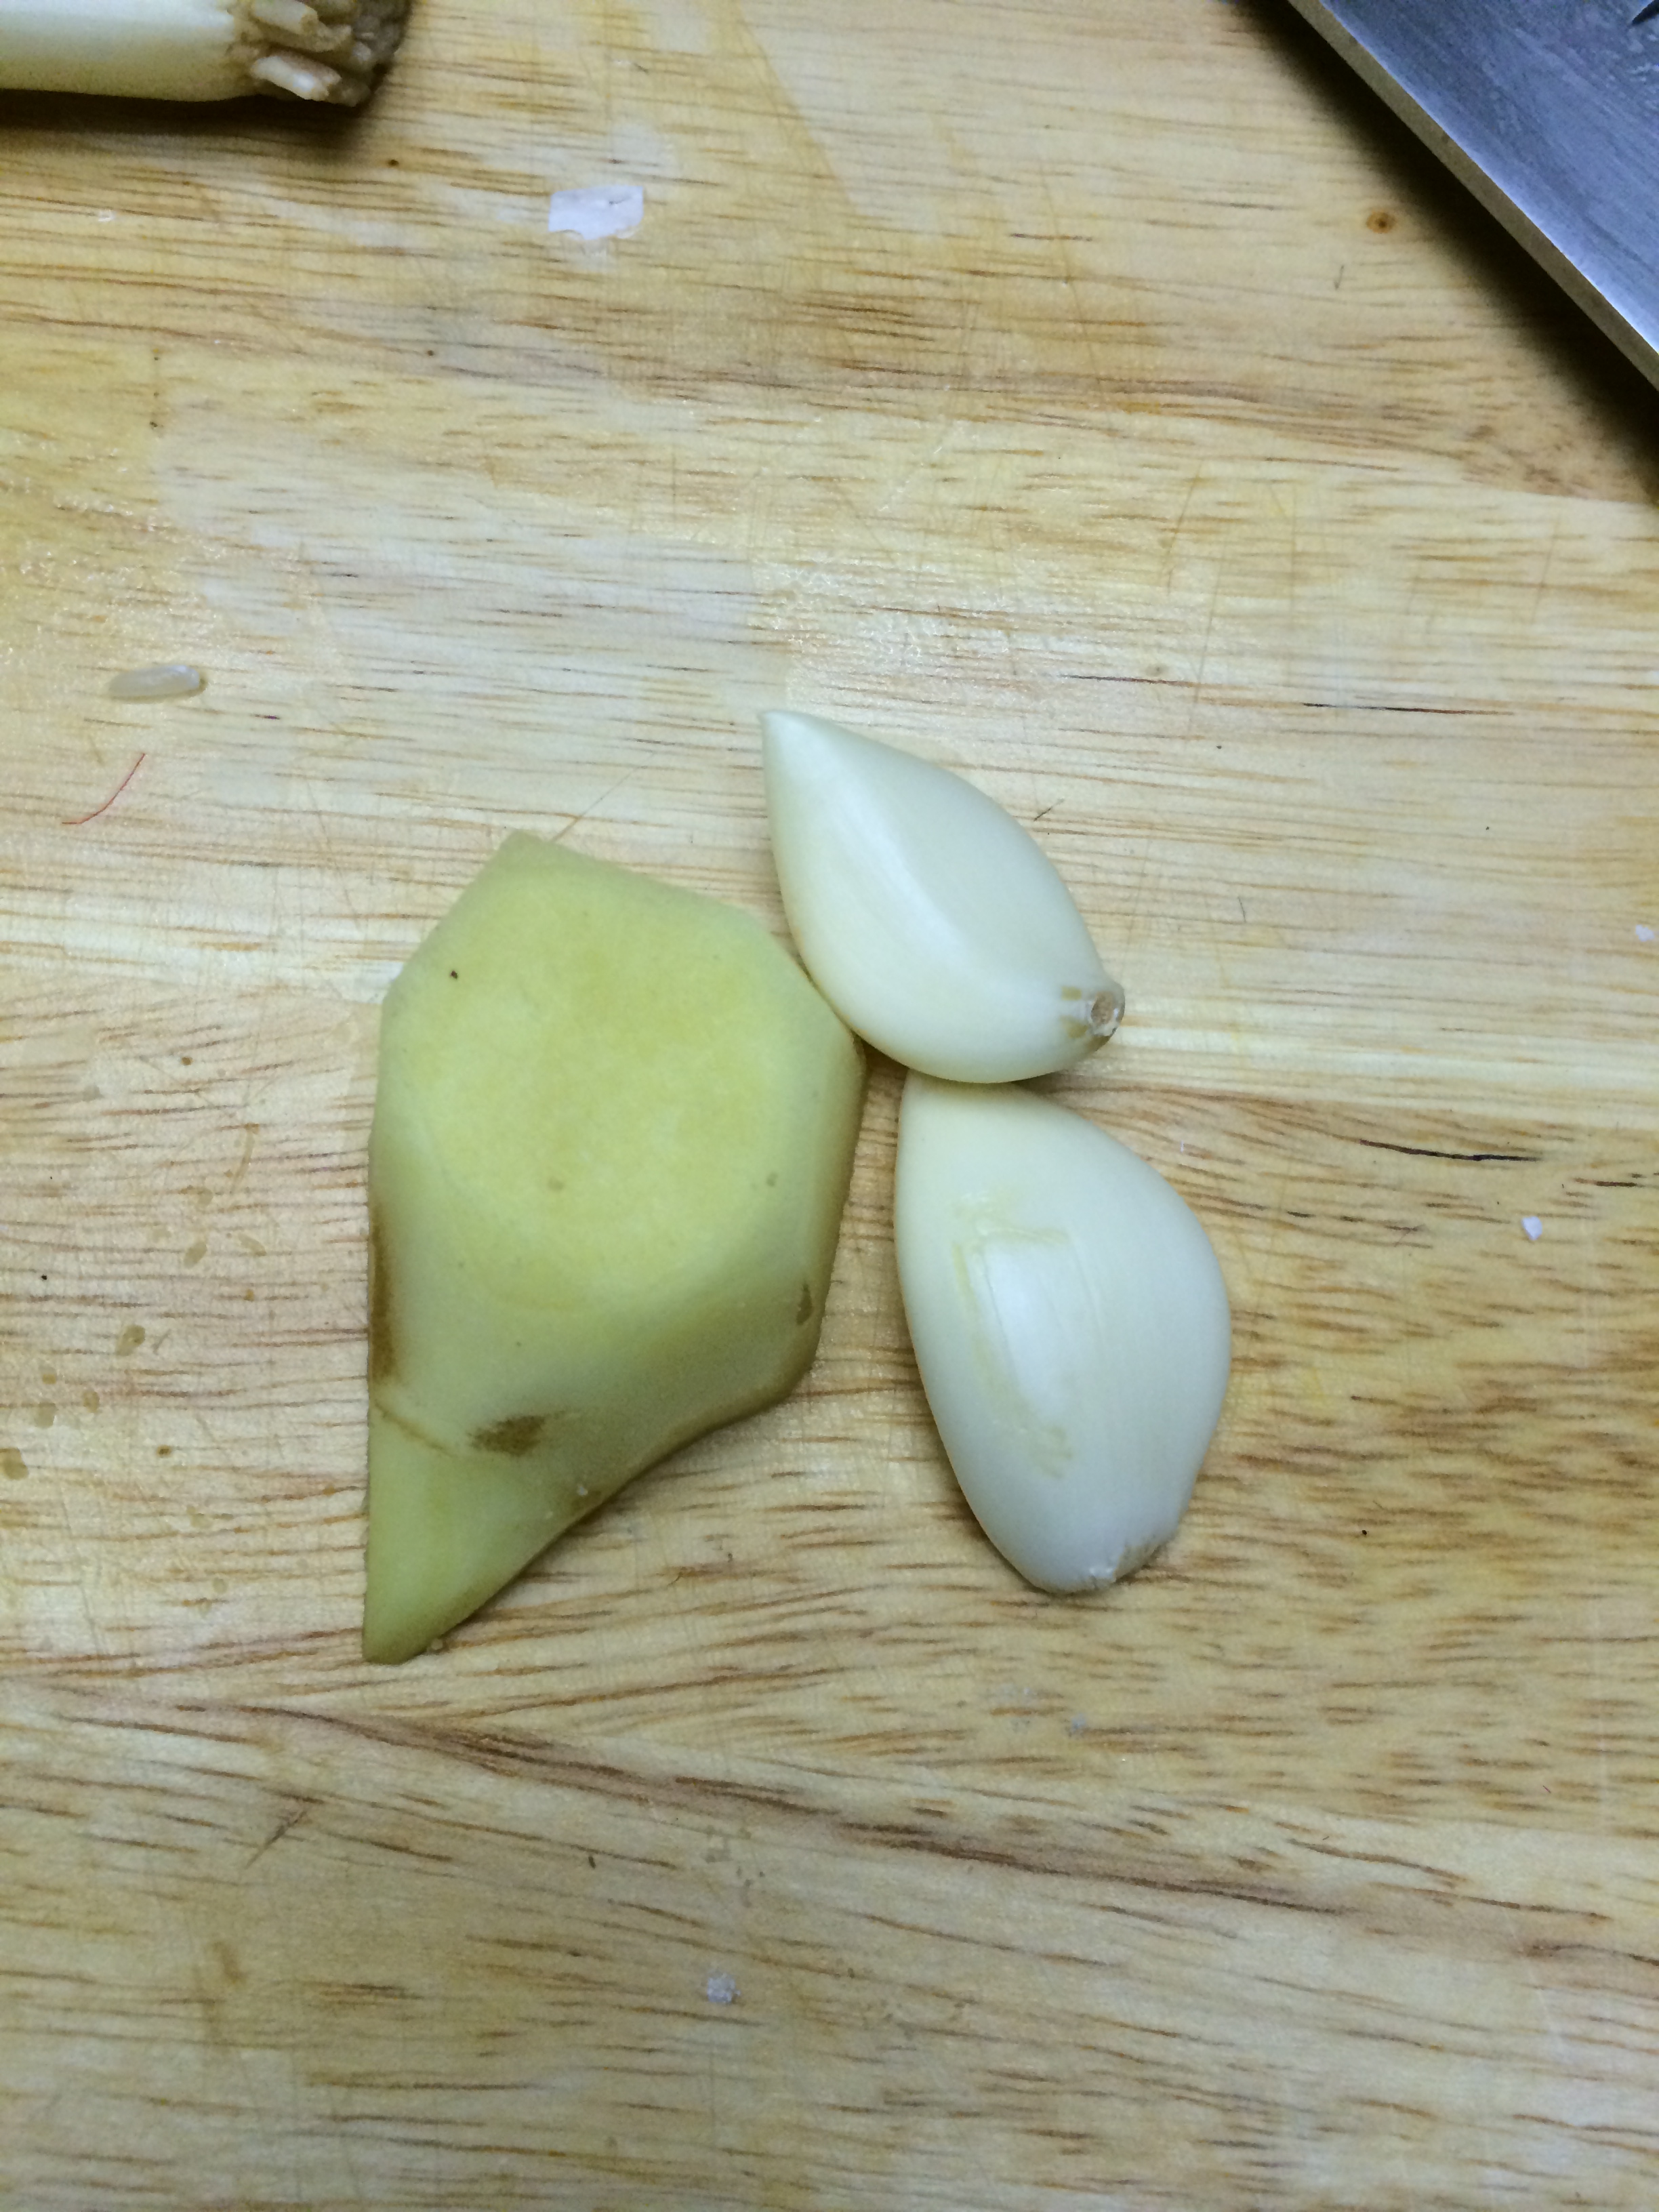
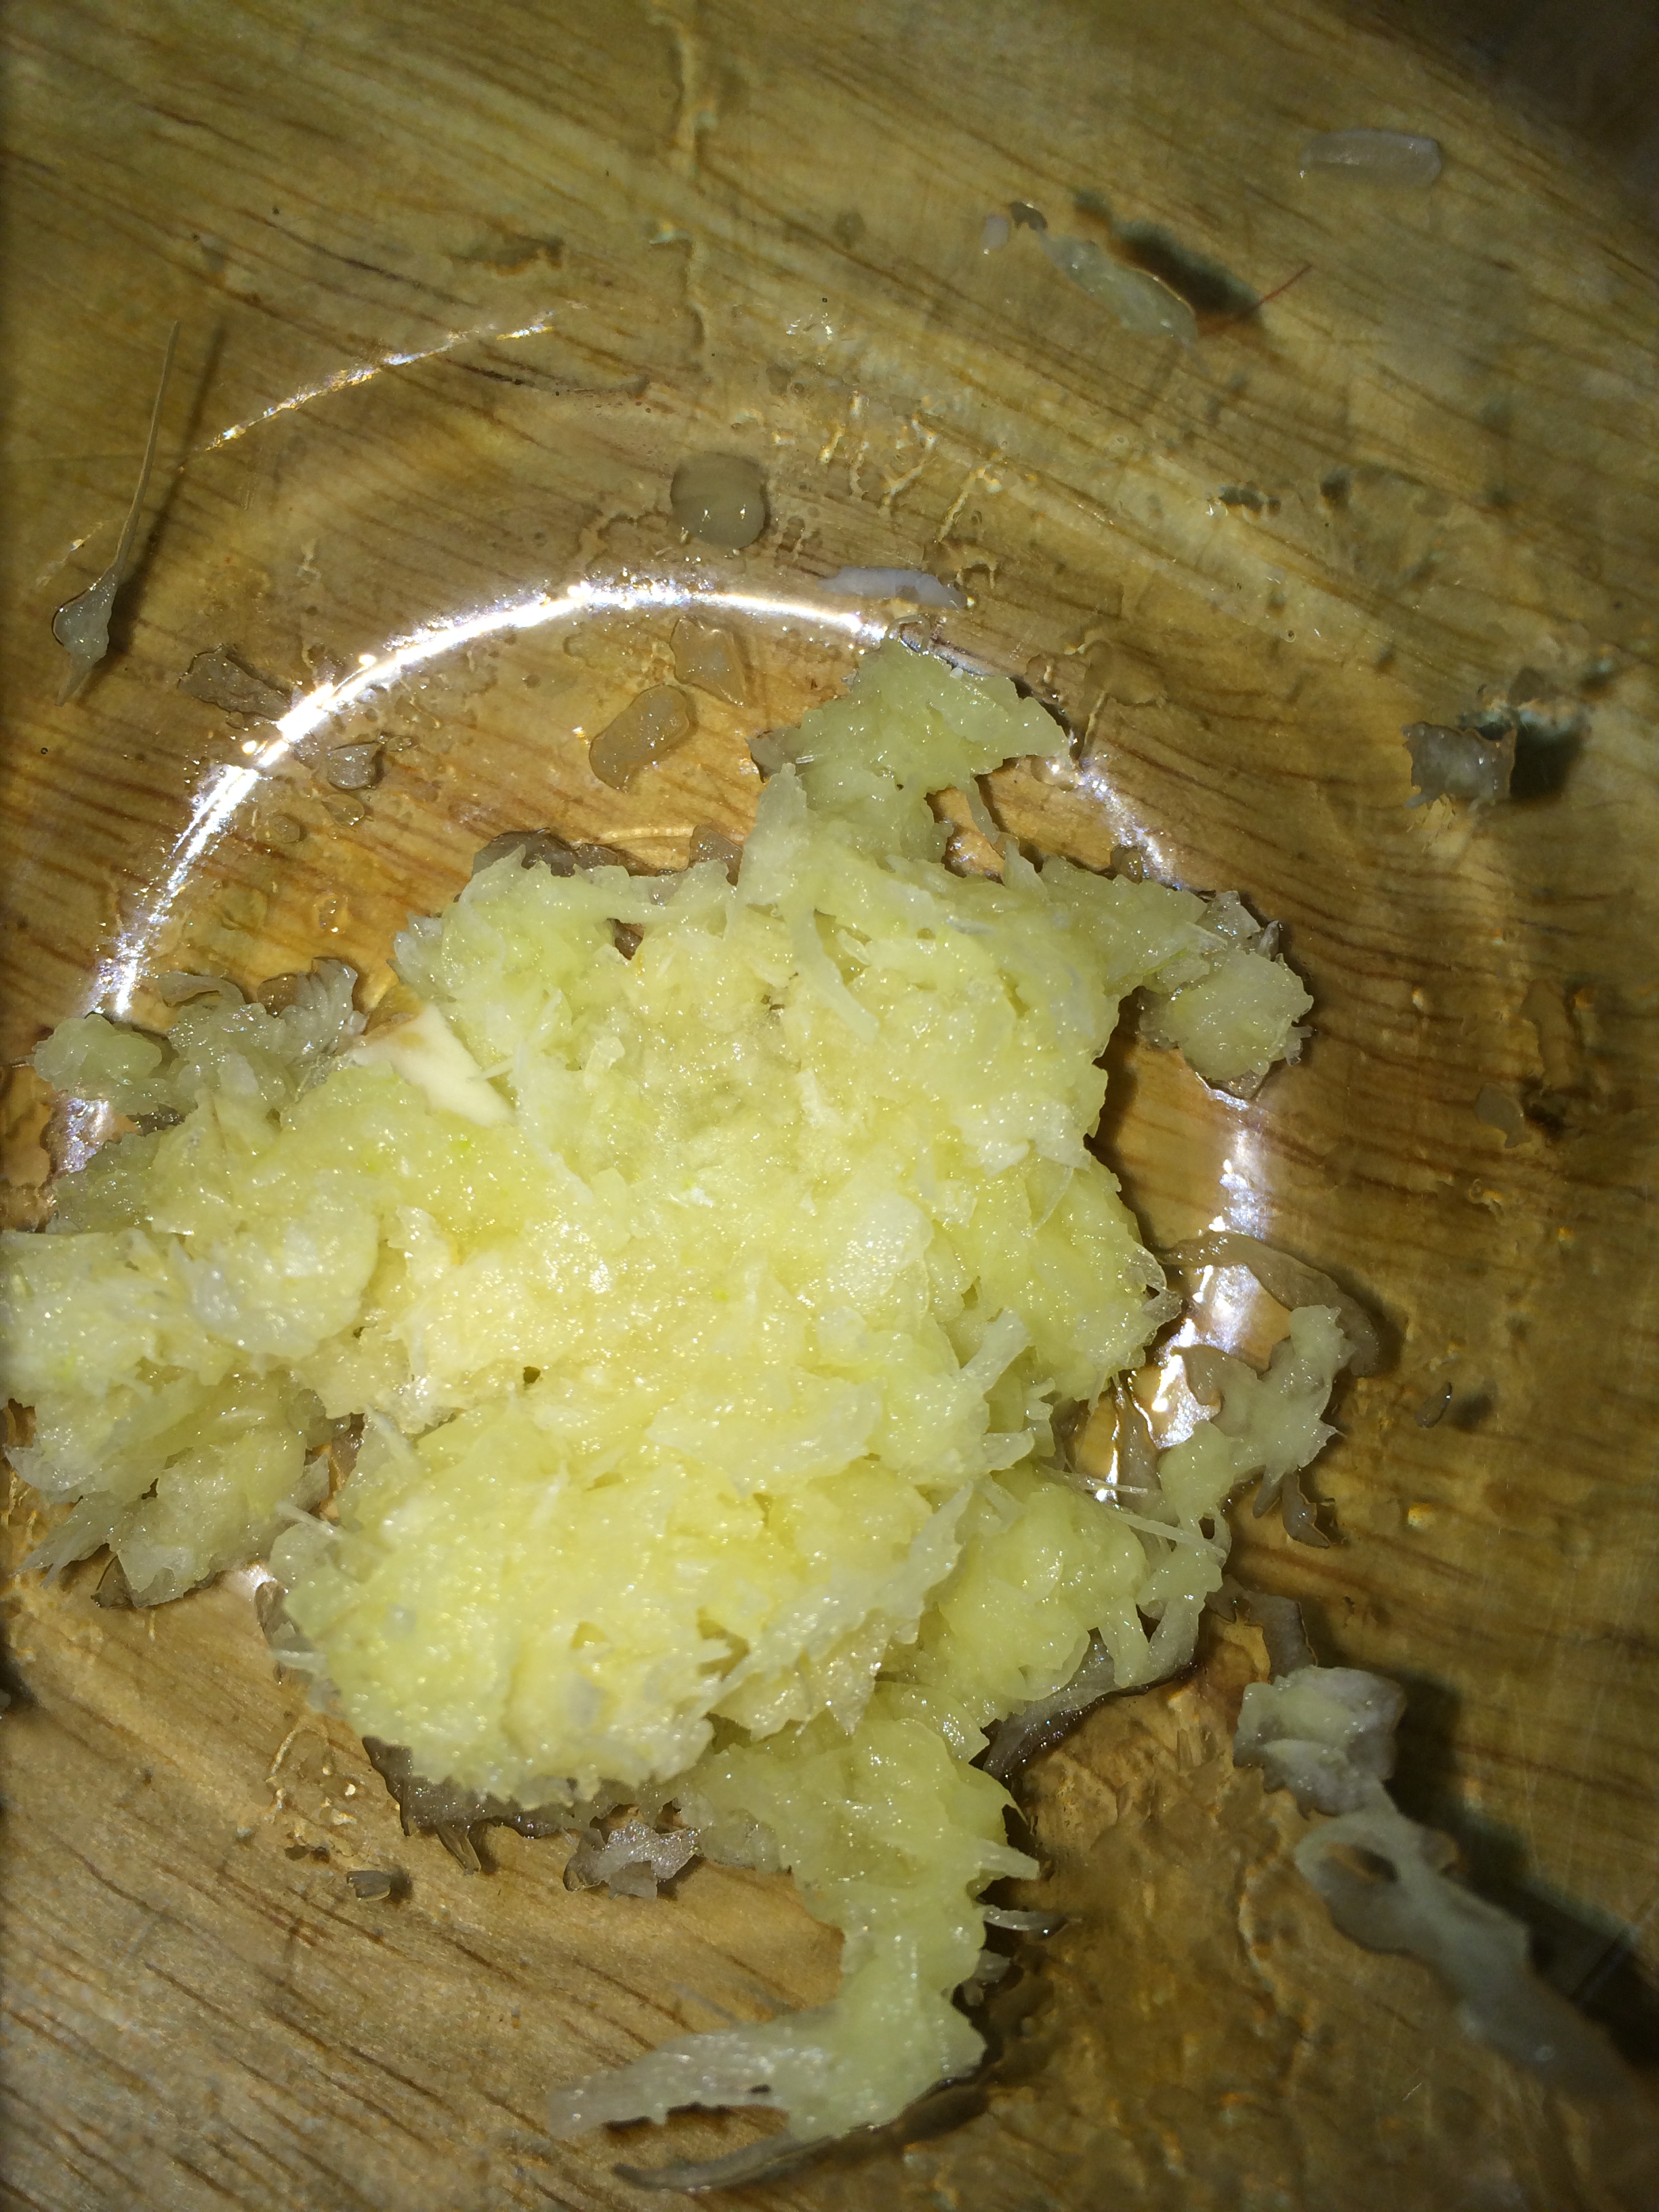
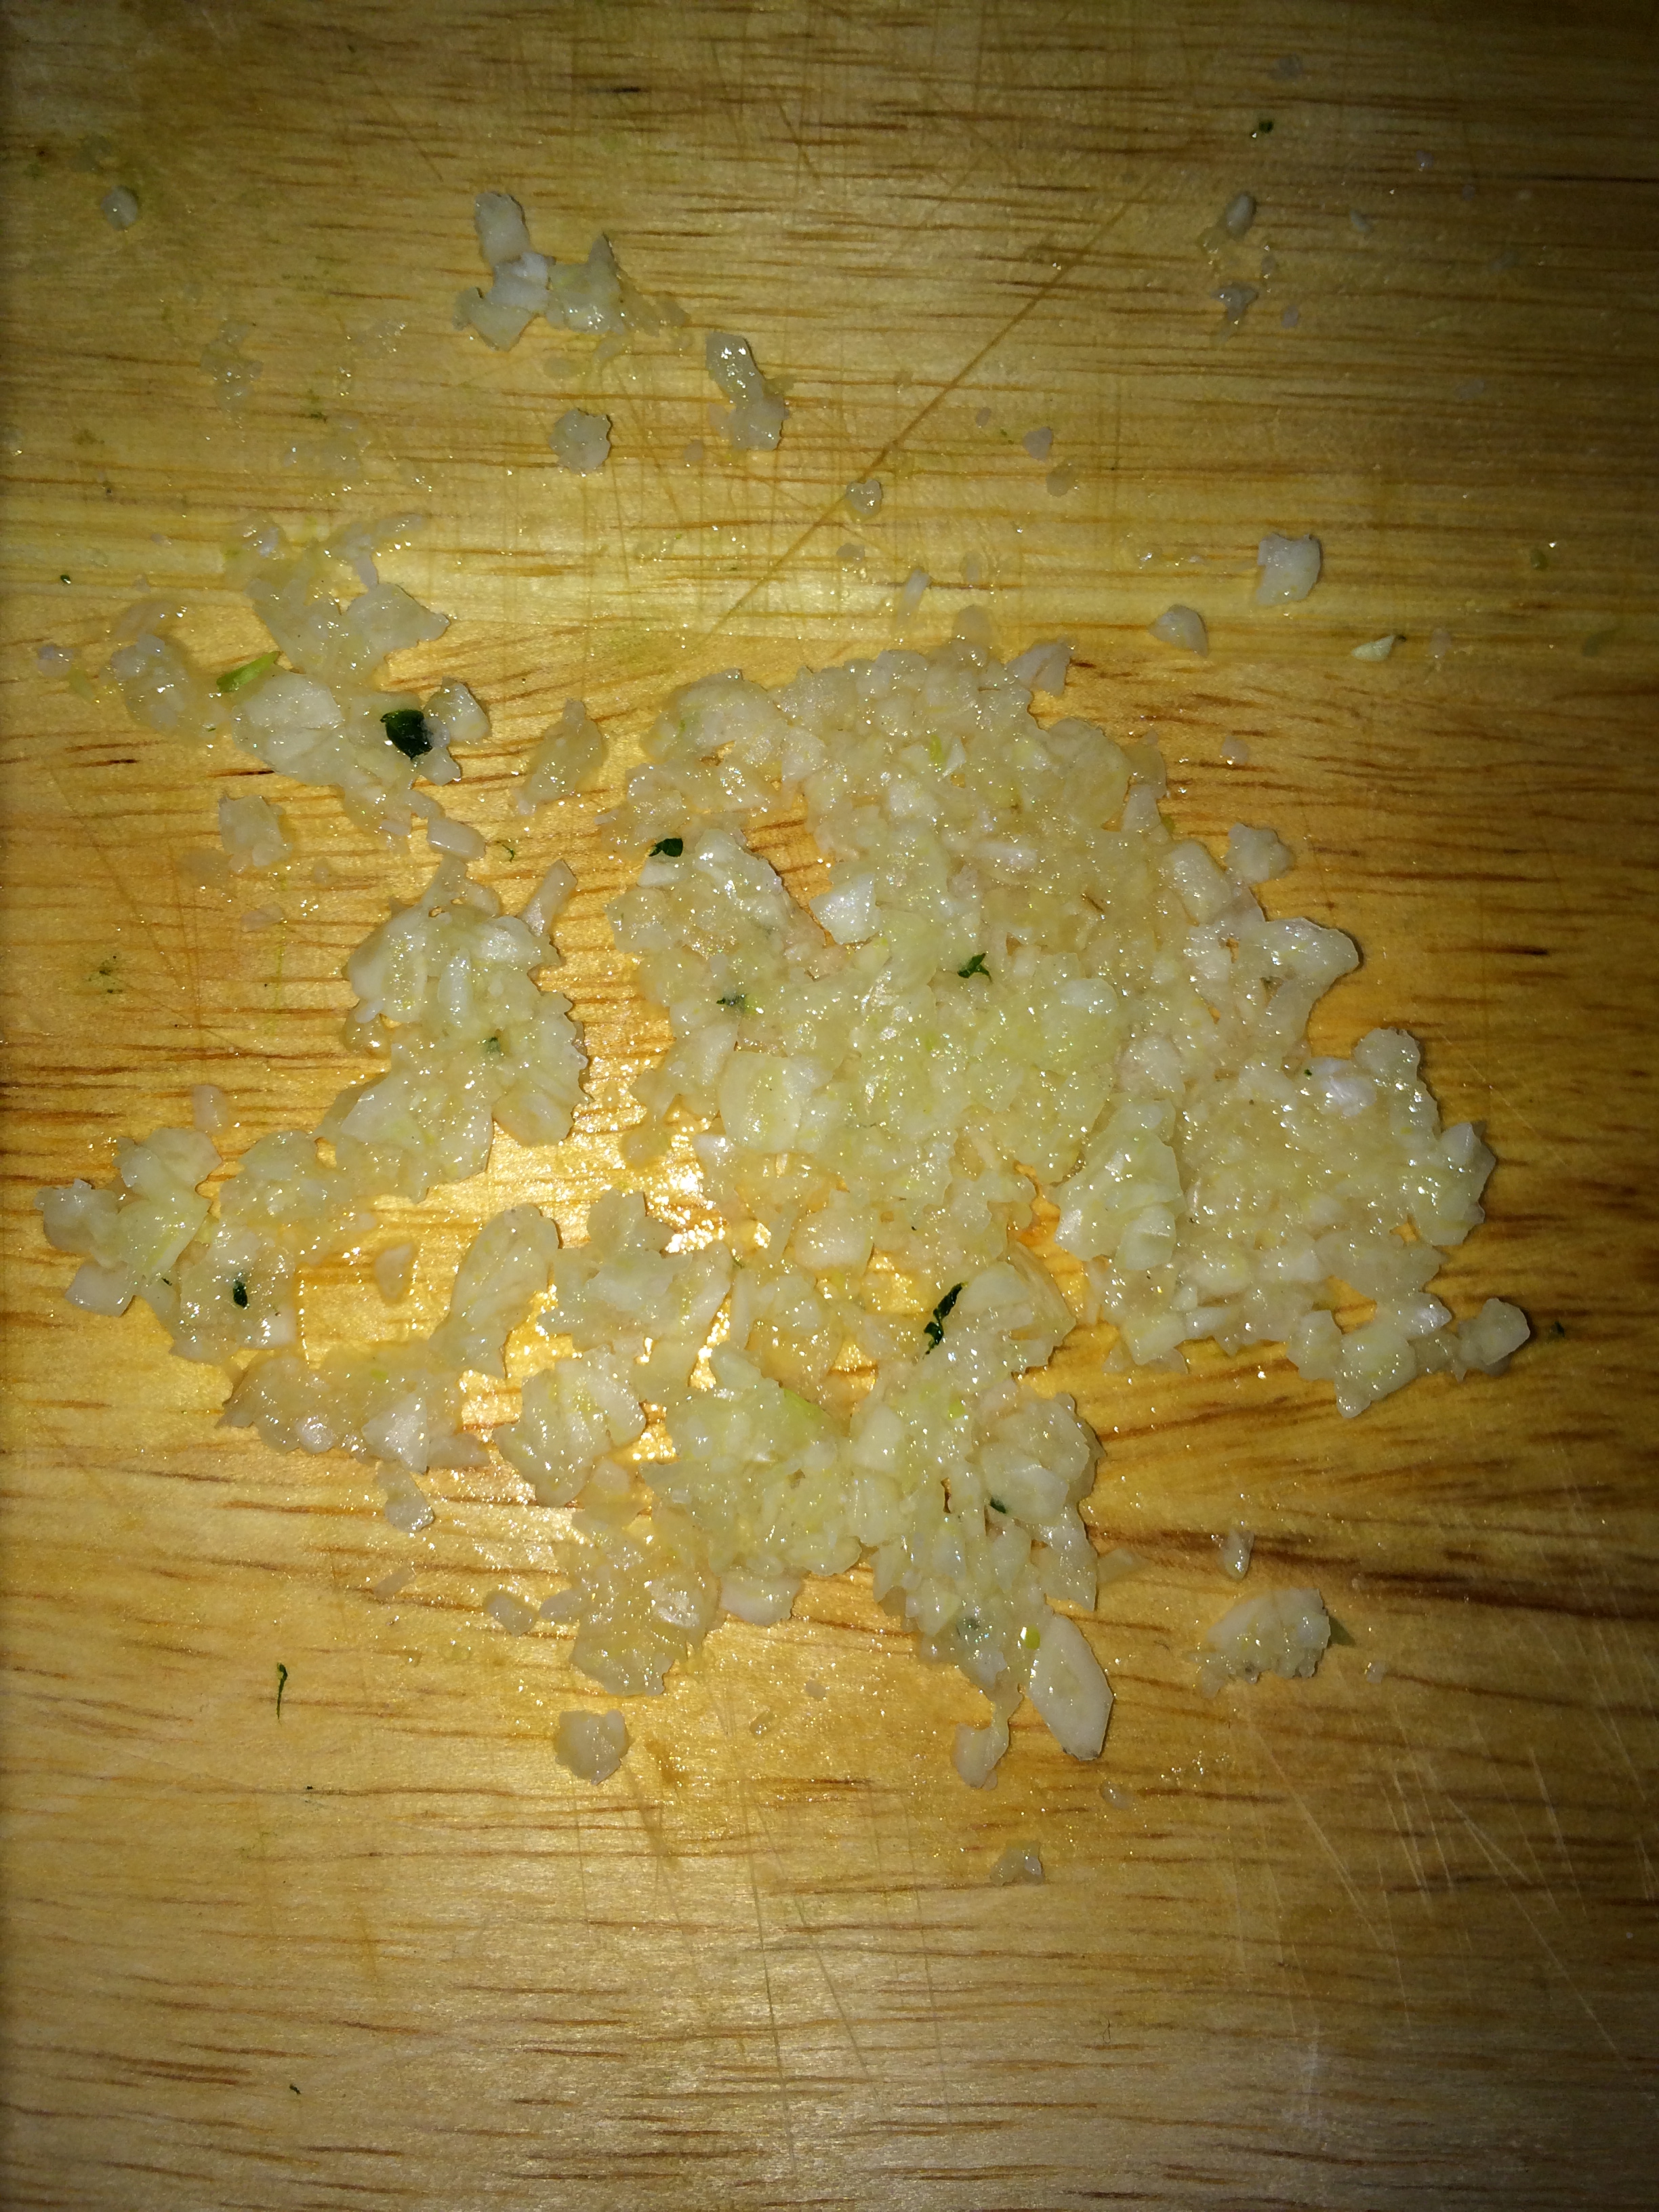
For the garlic, I like to mince it and then add some kosher salt (or regular salt, whatever, no need to get fancy) and used the salt as an abrasive. Use the flat side of your knife to push salt into garlic and create a paste. Have I lost you? Sorry, here are some pics:
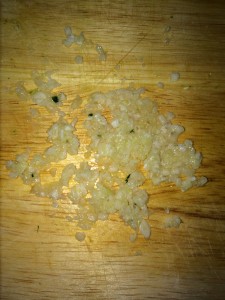

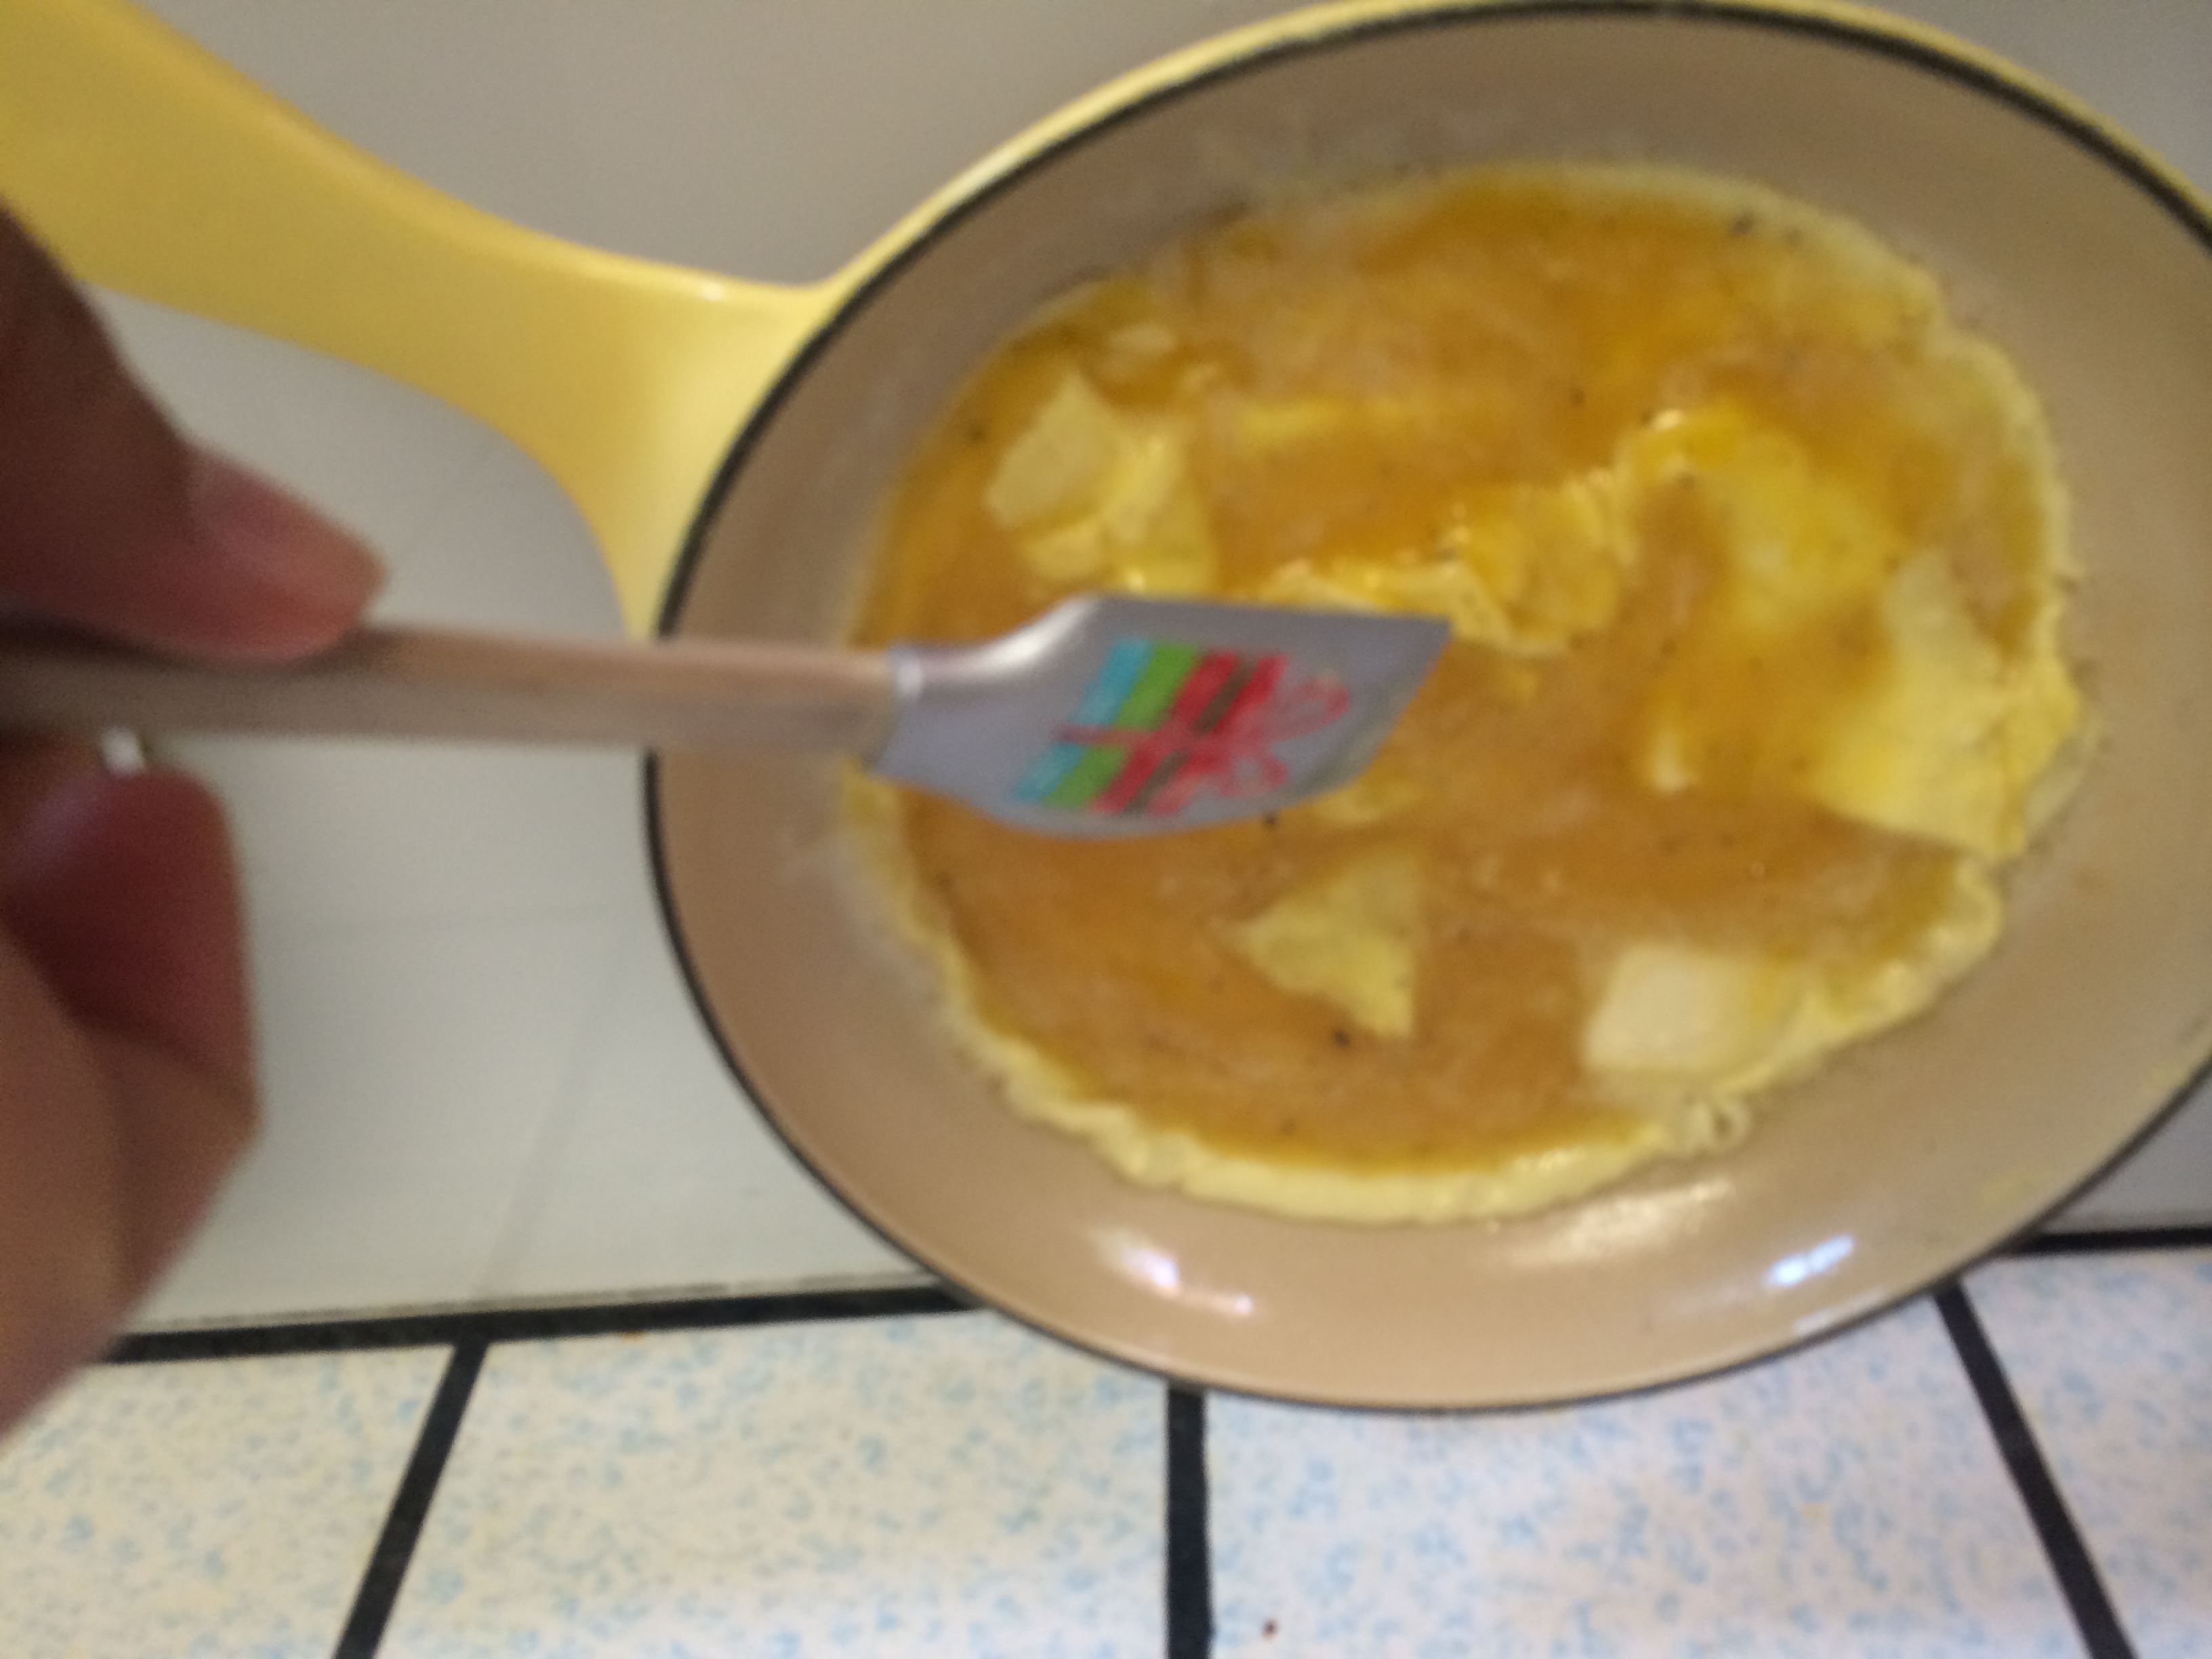
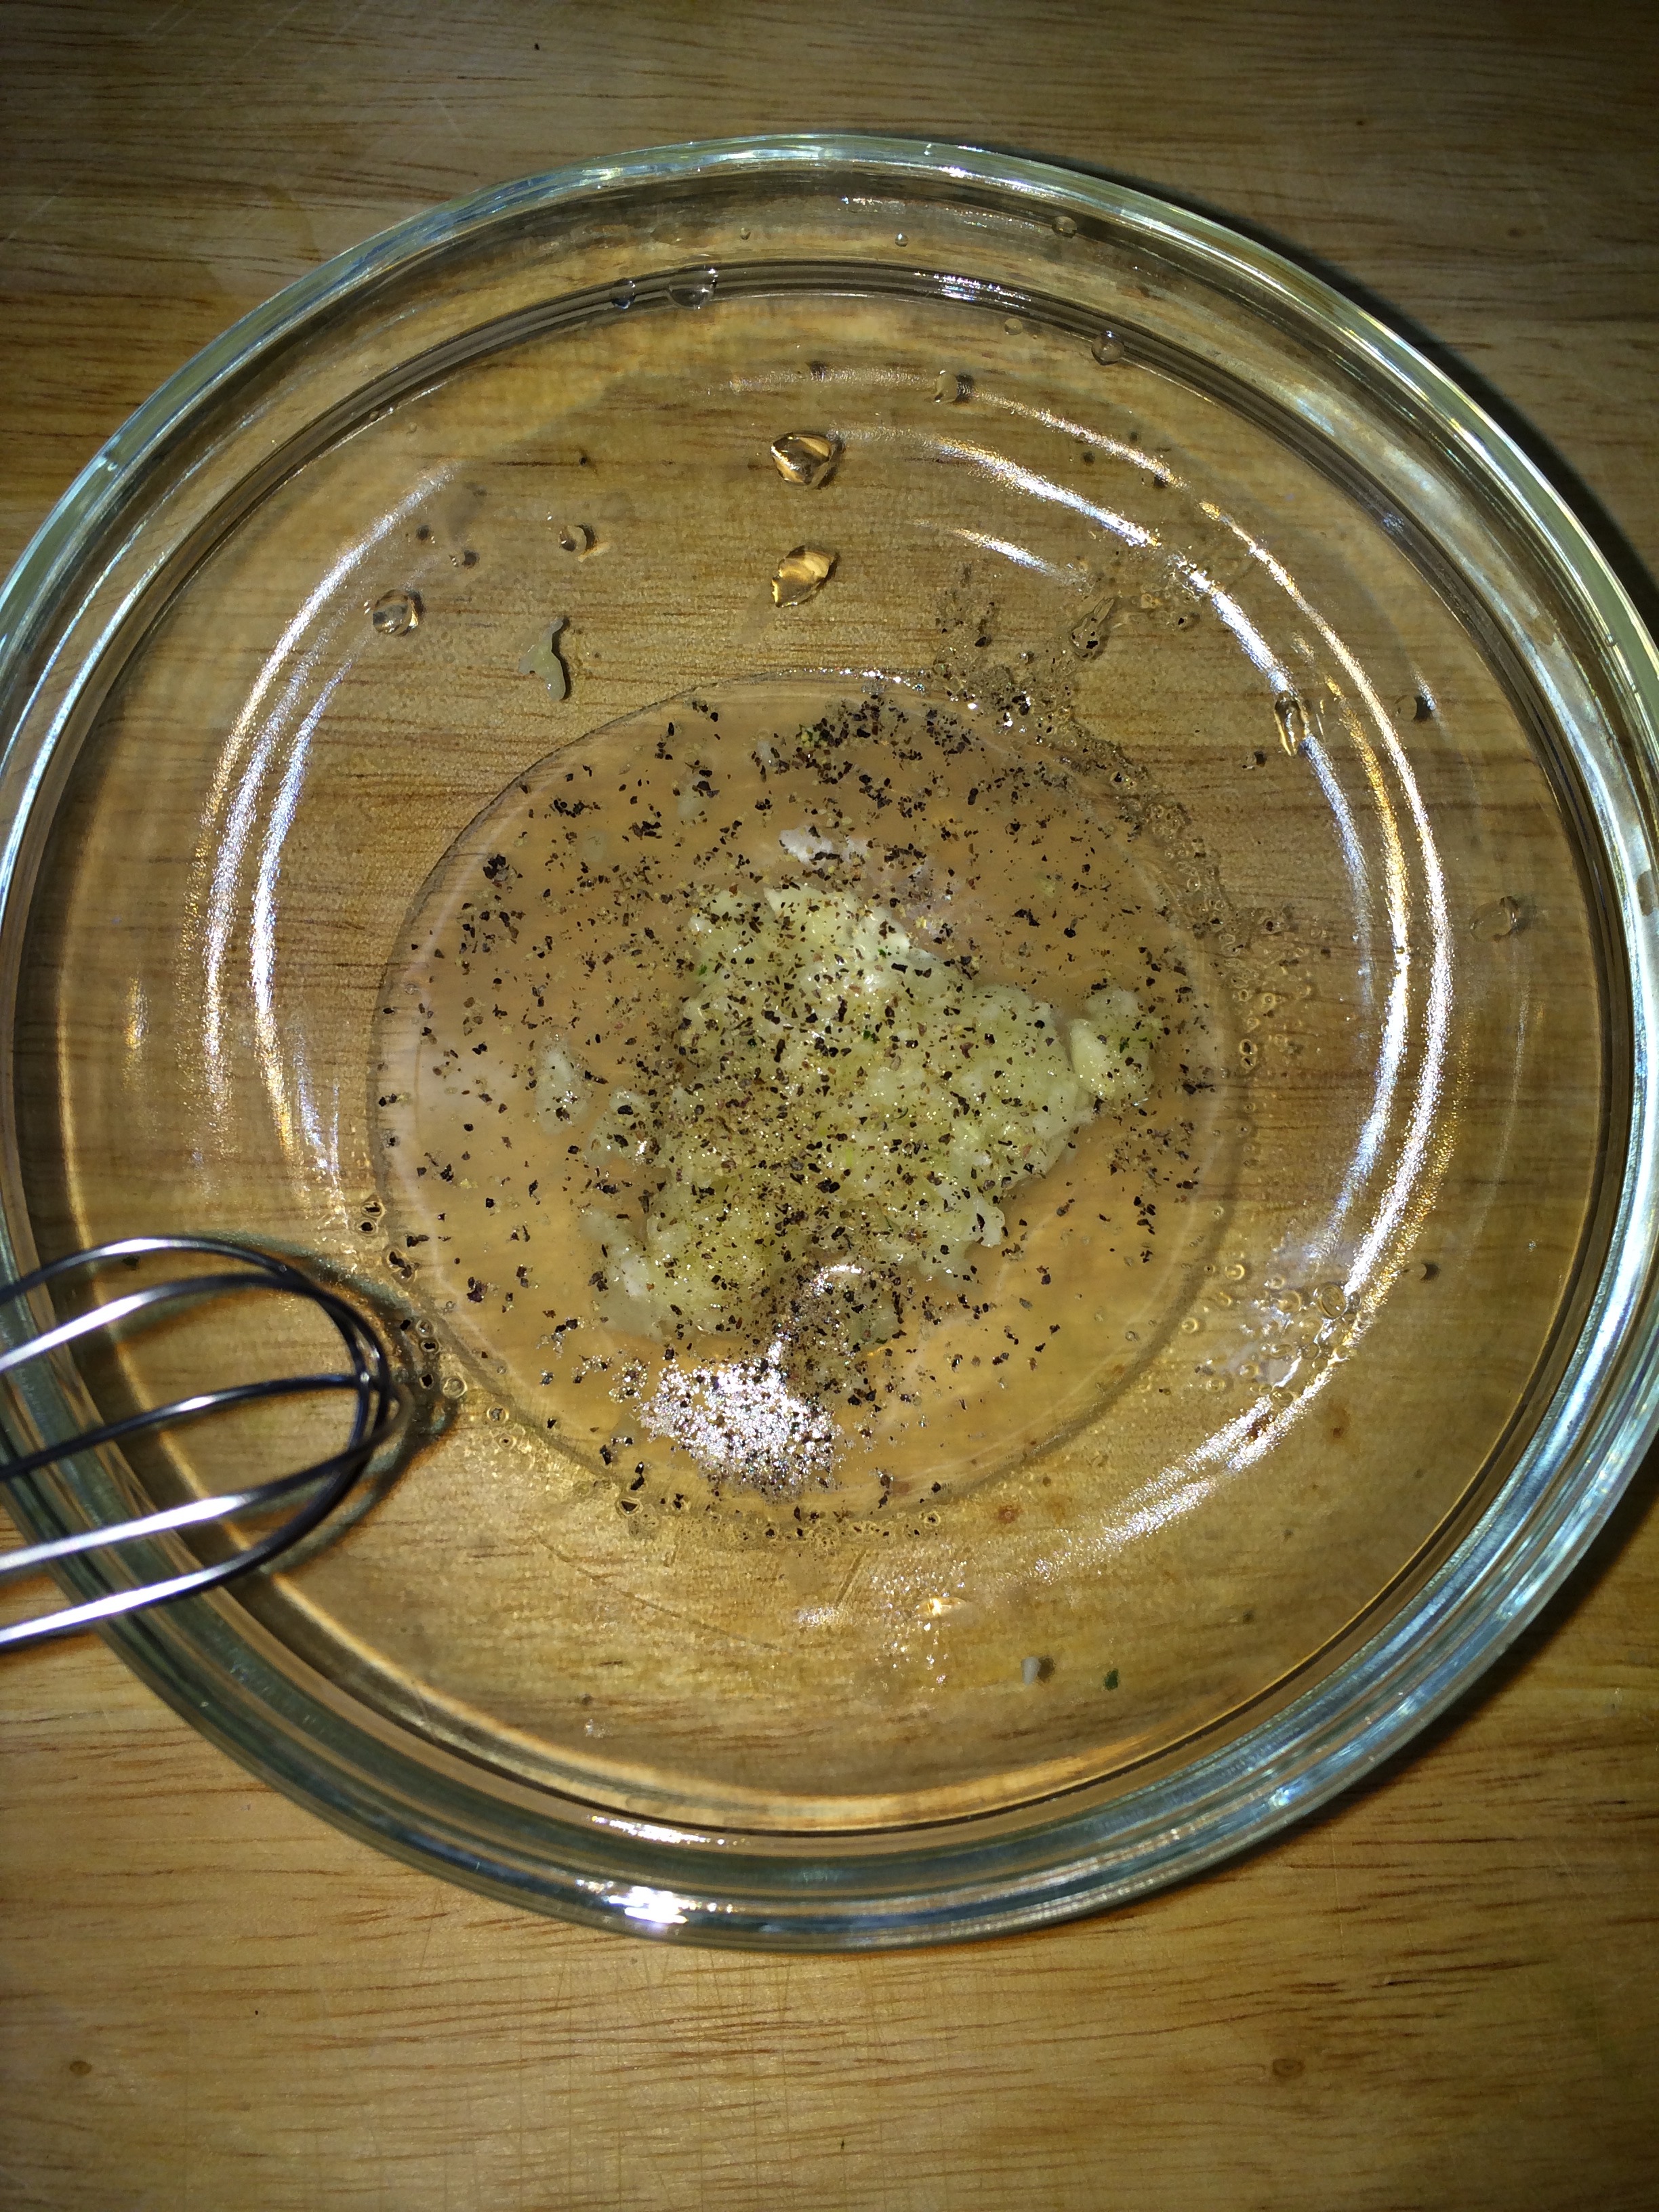
Now you have the garlic paste you made (yay you!! you made garlic paste!!) add the juice of half a lemon and then add olive oil and honey and whisk till emulsified. Taste and adjust any proportions to your liking.
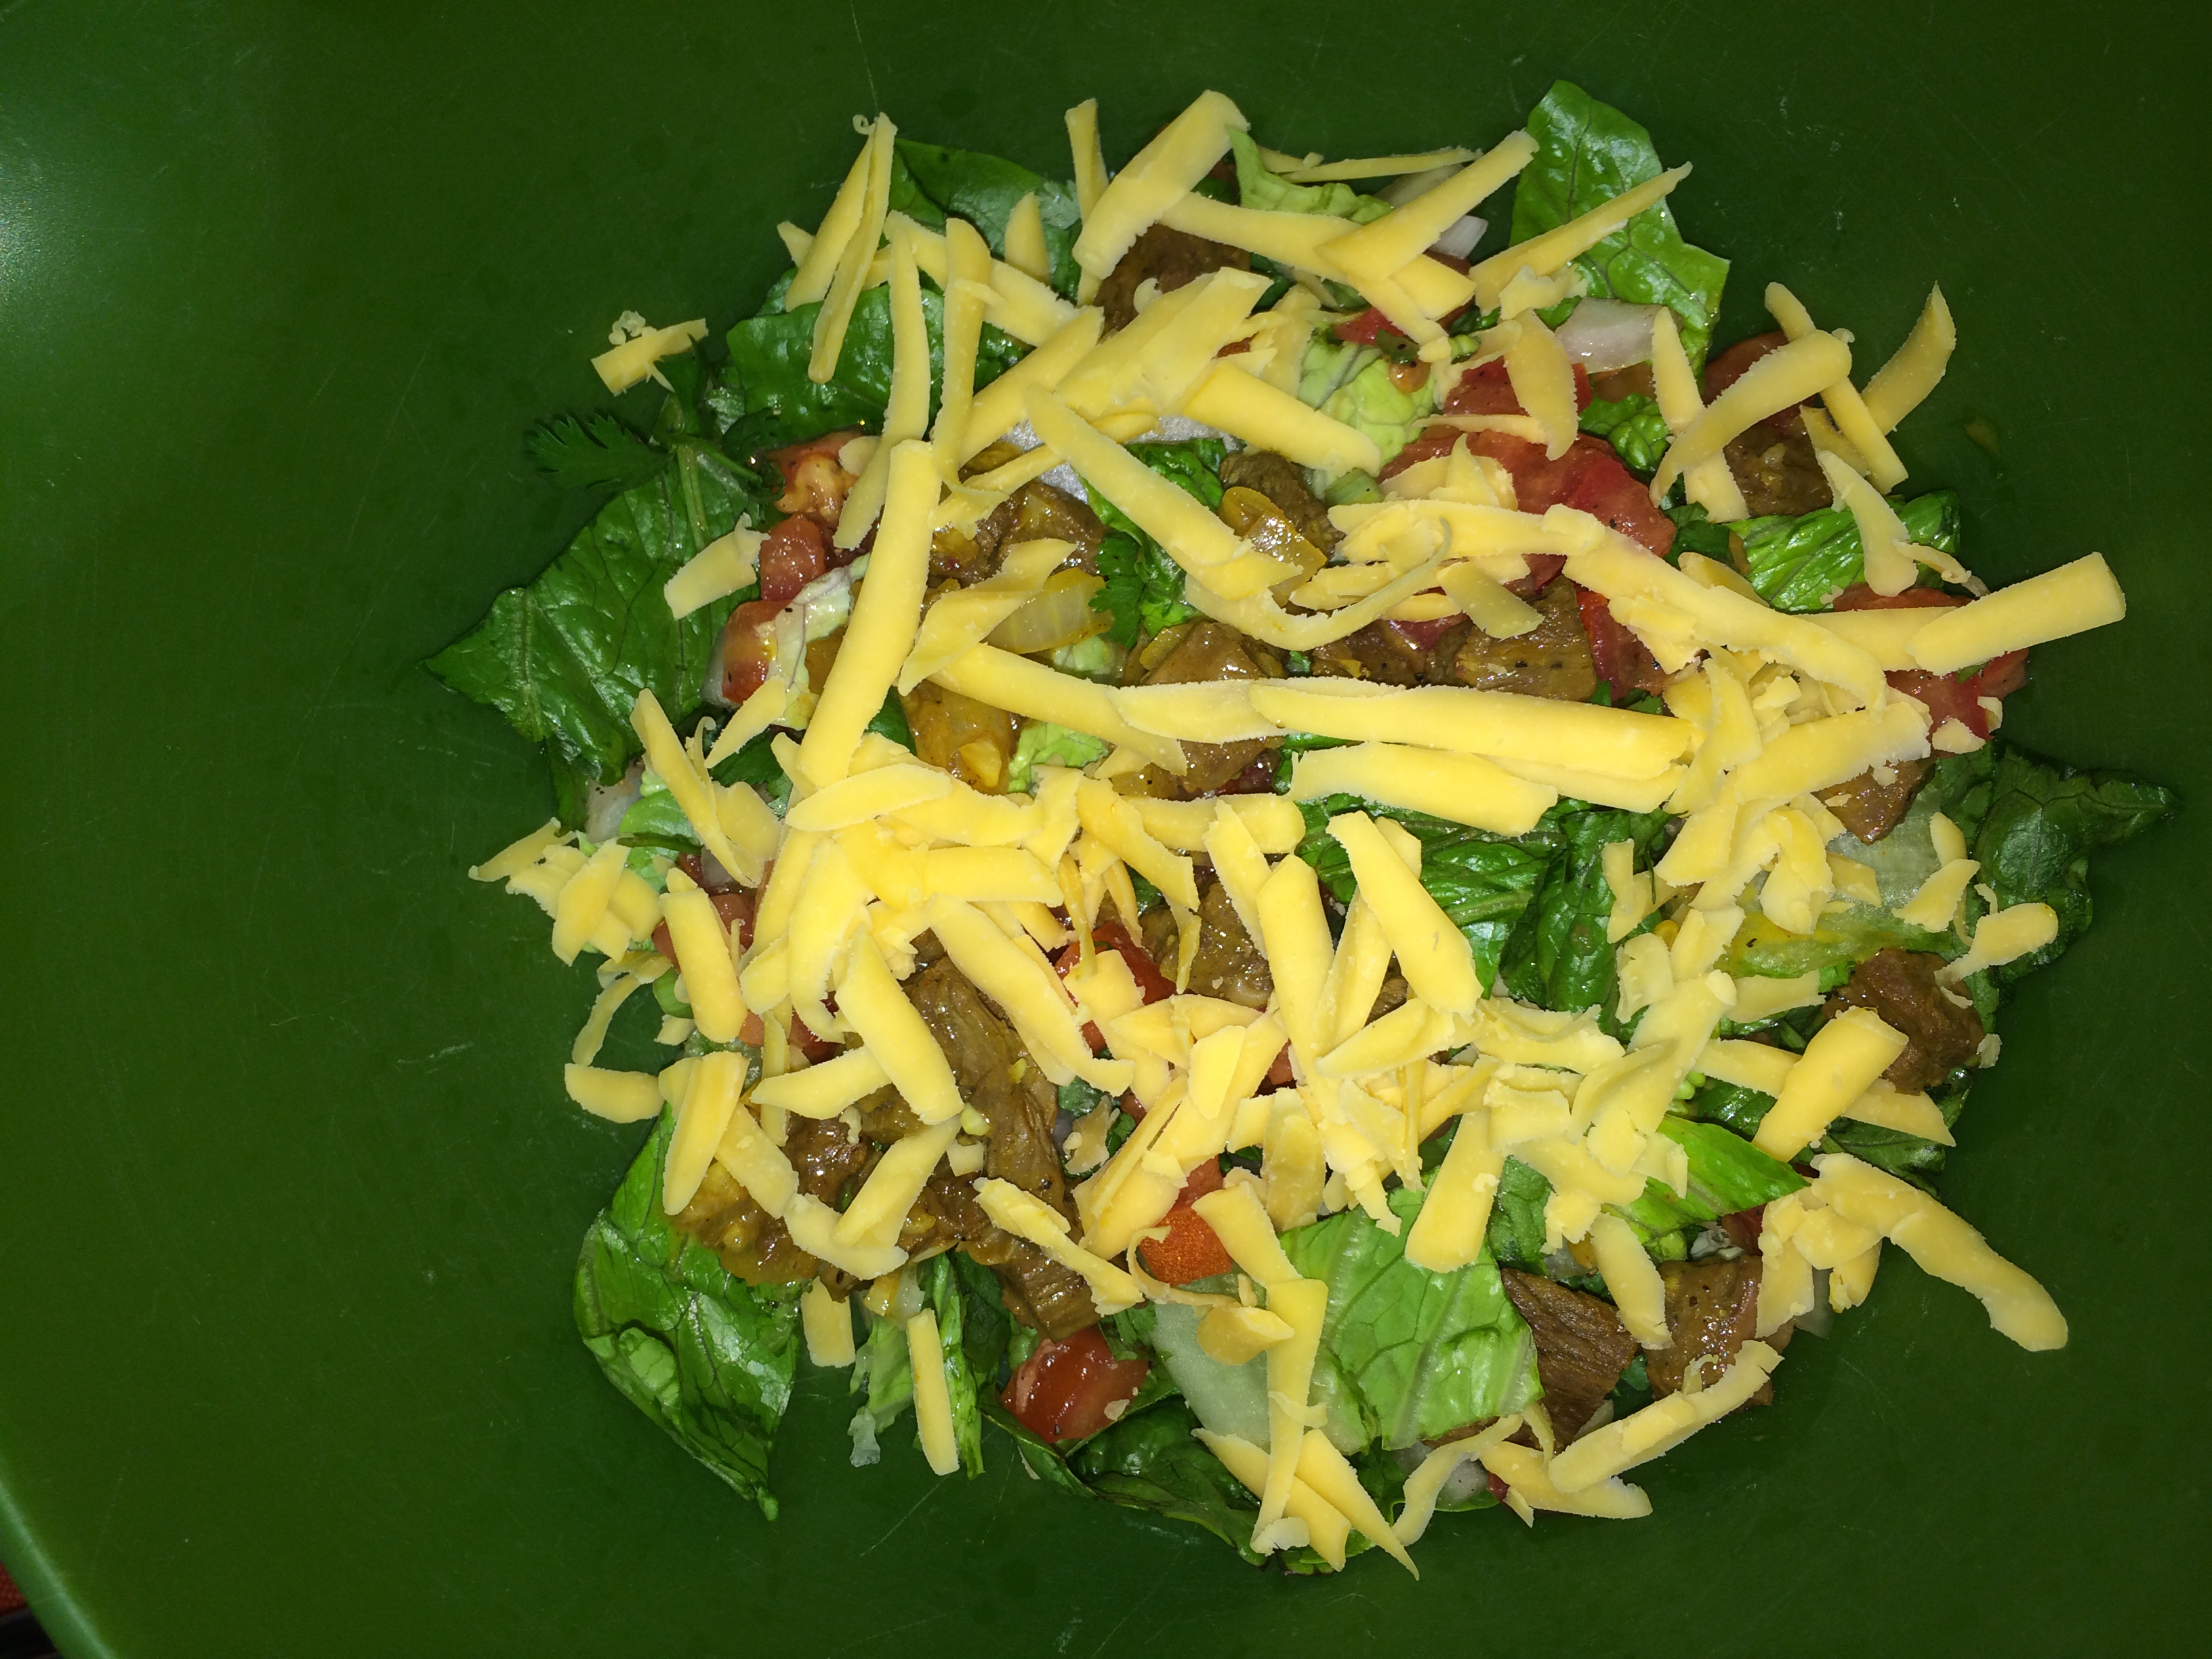
Add dressing to salad, toss and enjoy!!
Yum! It was soo good and filling! I didn’t miss the tortillas at all! Really! I swear! I sound a little hysterical … Ok byeeeee!!
P.S. Comment and tell me if you prefer the salad recipe or the taco recipe…Thanks!
[yumprint-recipe id=’2′]


![image[1]](https://aheapingspoonful.com/wp-content/uploads/2014/02/image12.jpeg)
![image[2]](https://aheapingspoonful.com/wp-content/uploads/2014/02/image22.jpeg)
![image[1]](https://aheapingspoonful.com/wp-content/uploads/2014/02/image11.jpeg)
![image[3]](https://aheapingspoonful.com/wp-content/uploads/2014/02/image31.jpeg)