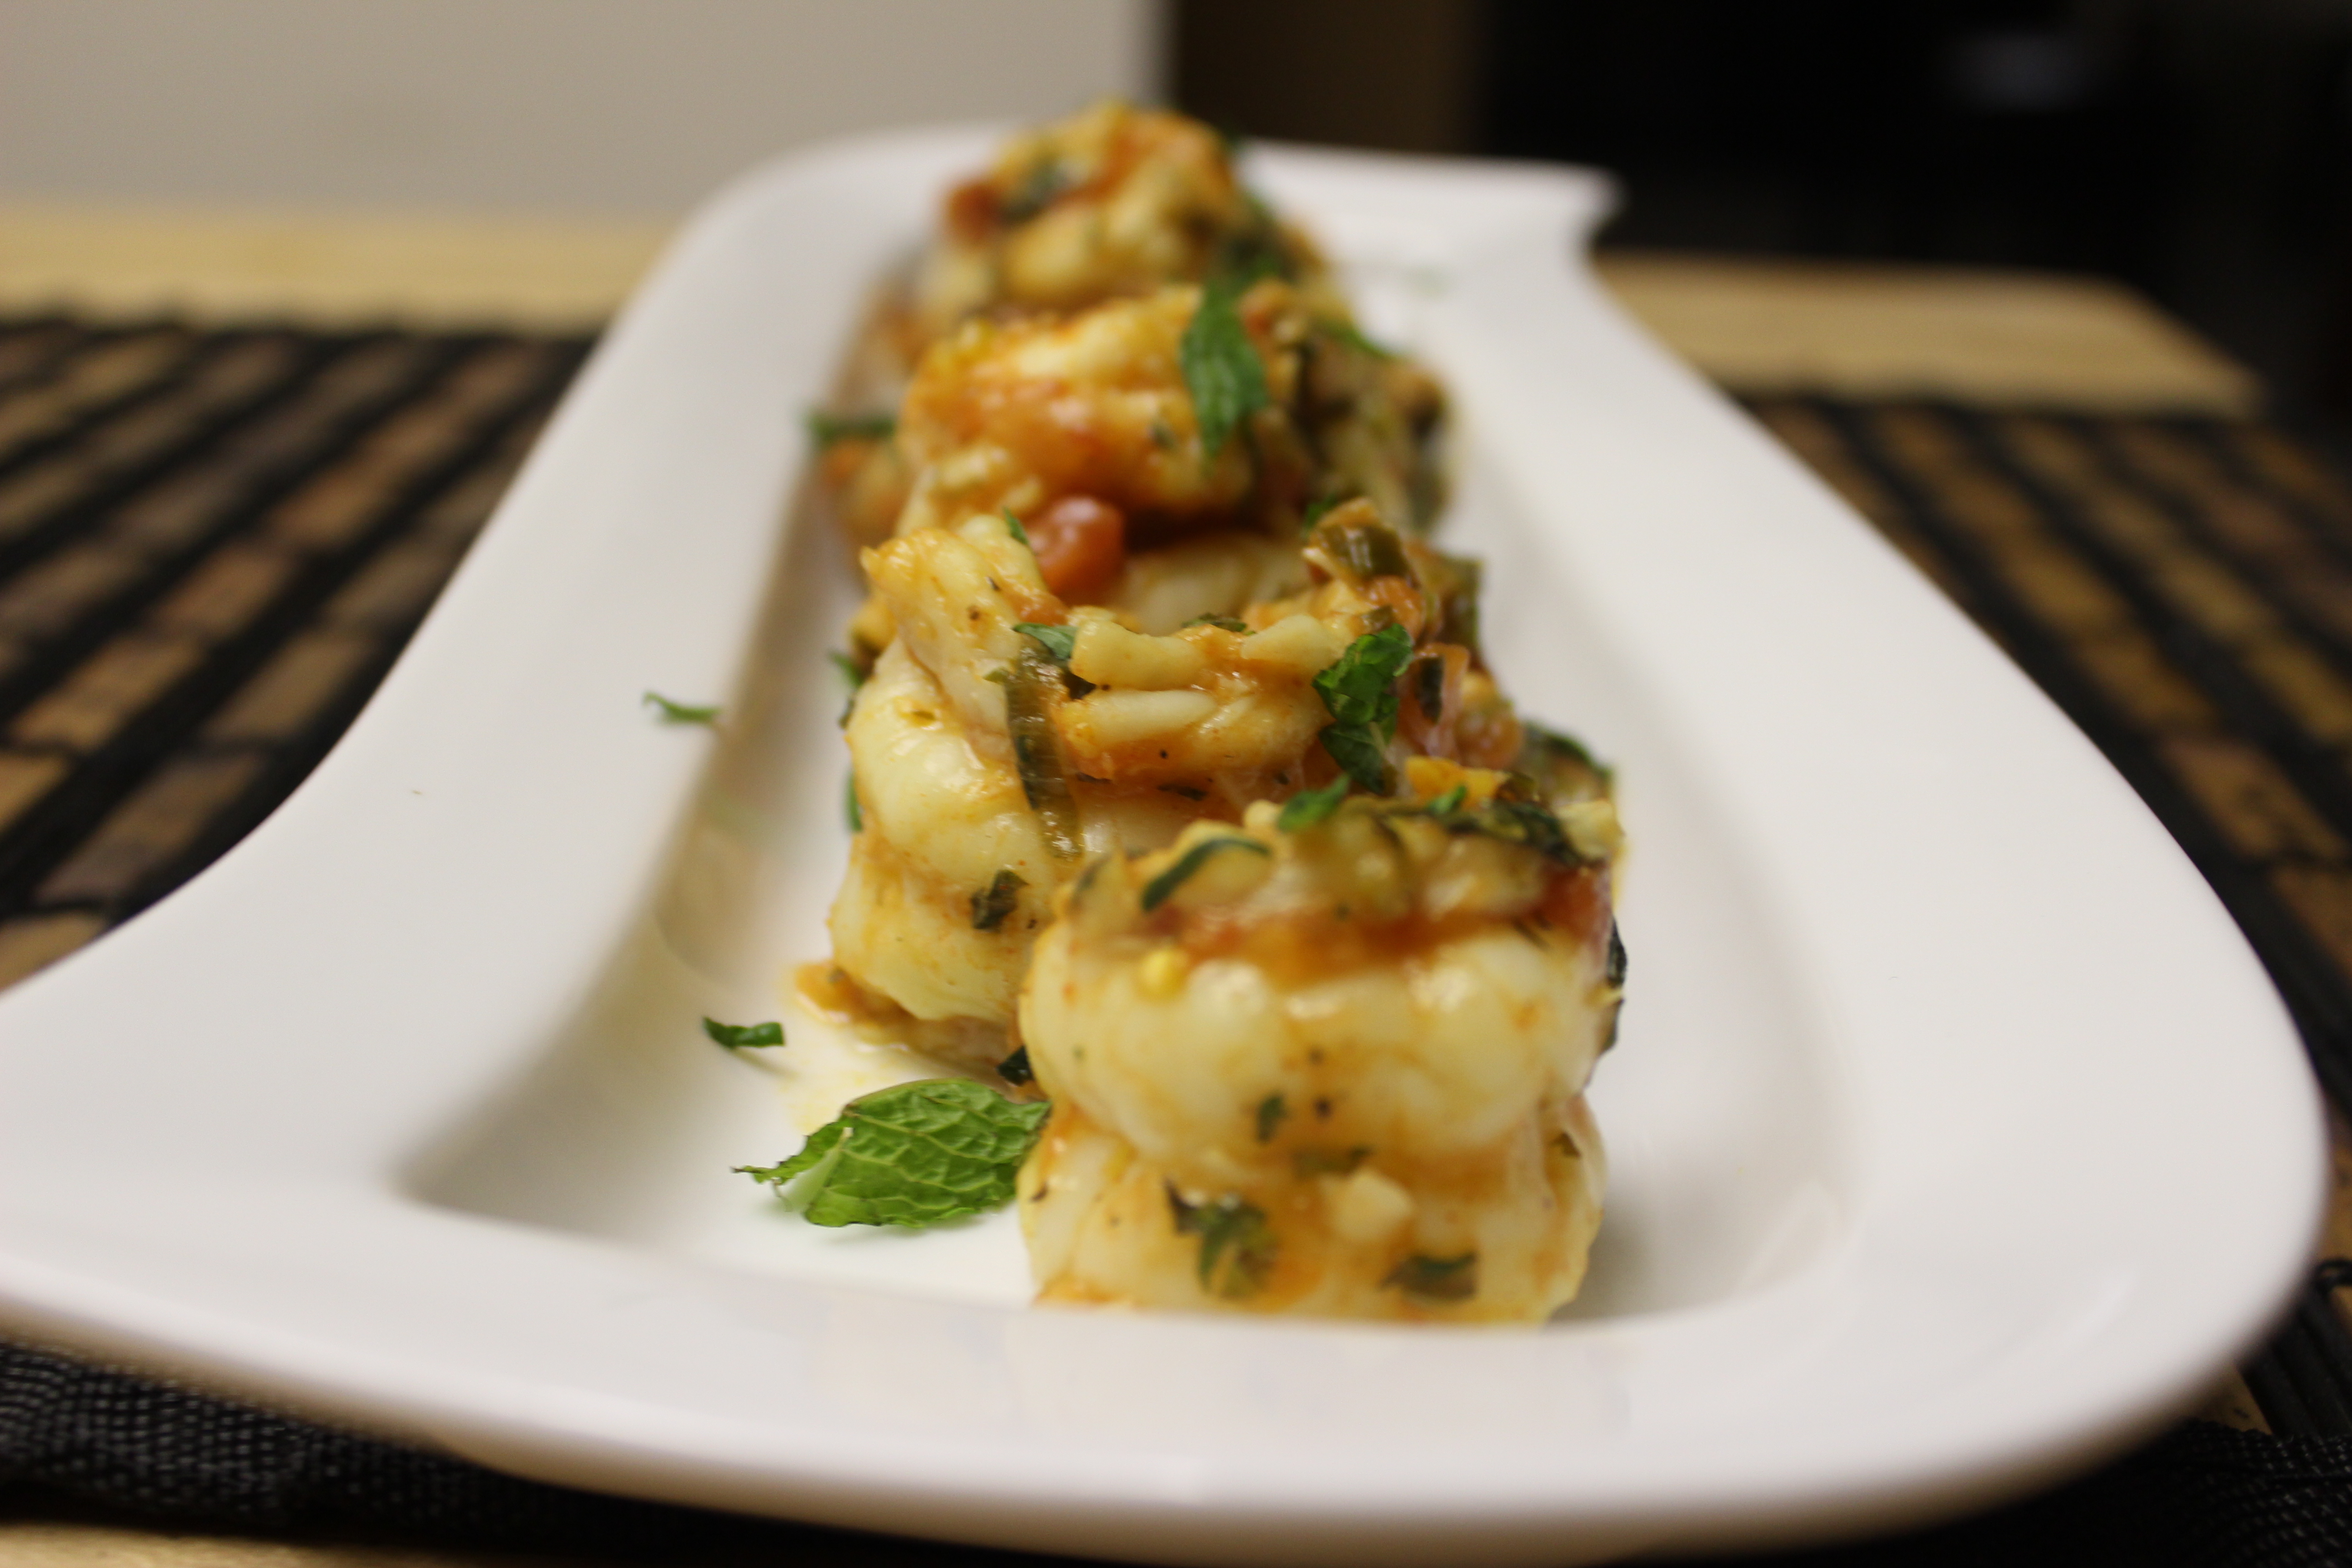
I love mint. I love garlic. I loooove shrimp. Actually these are prawns. Prawns are bigger than shrimp. I found they taste the same, but the meatiness of the larger prawns gives them an amazing texture.
The sauce is really fresh and light and perfect for spring.
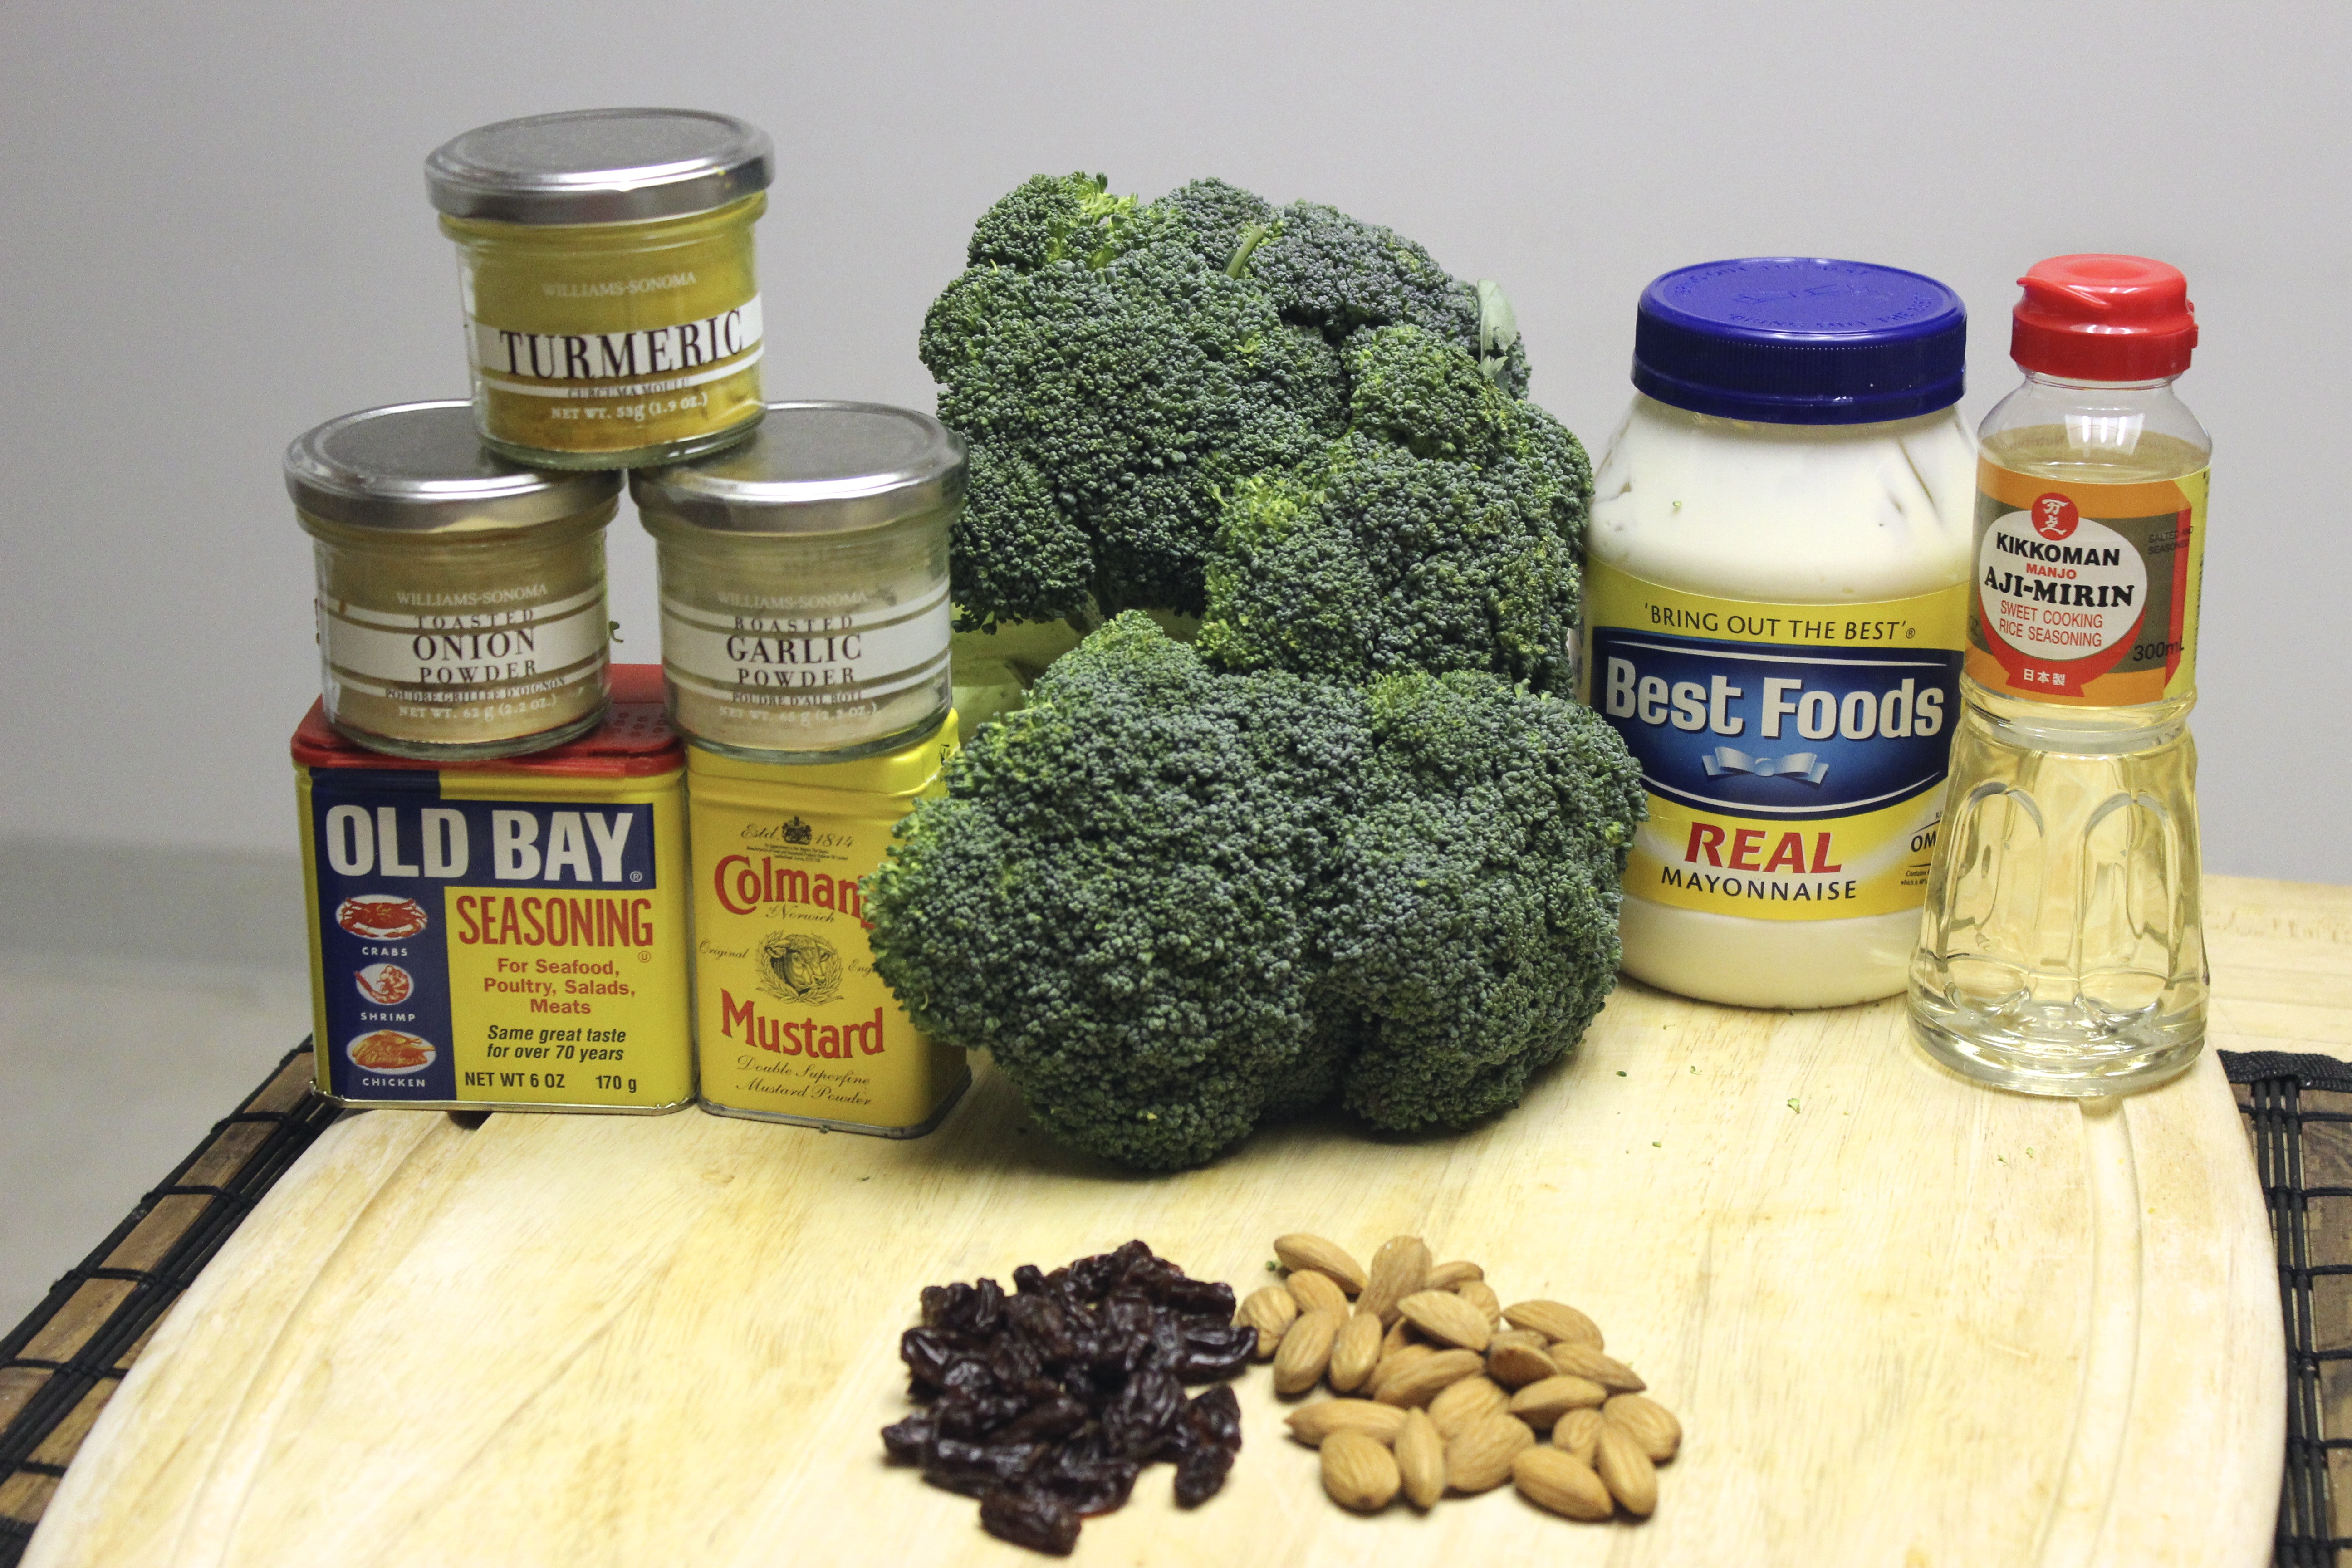
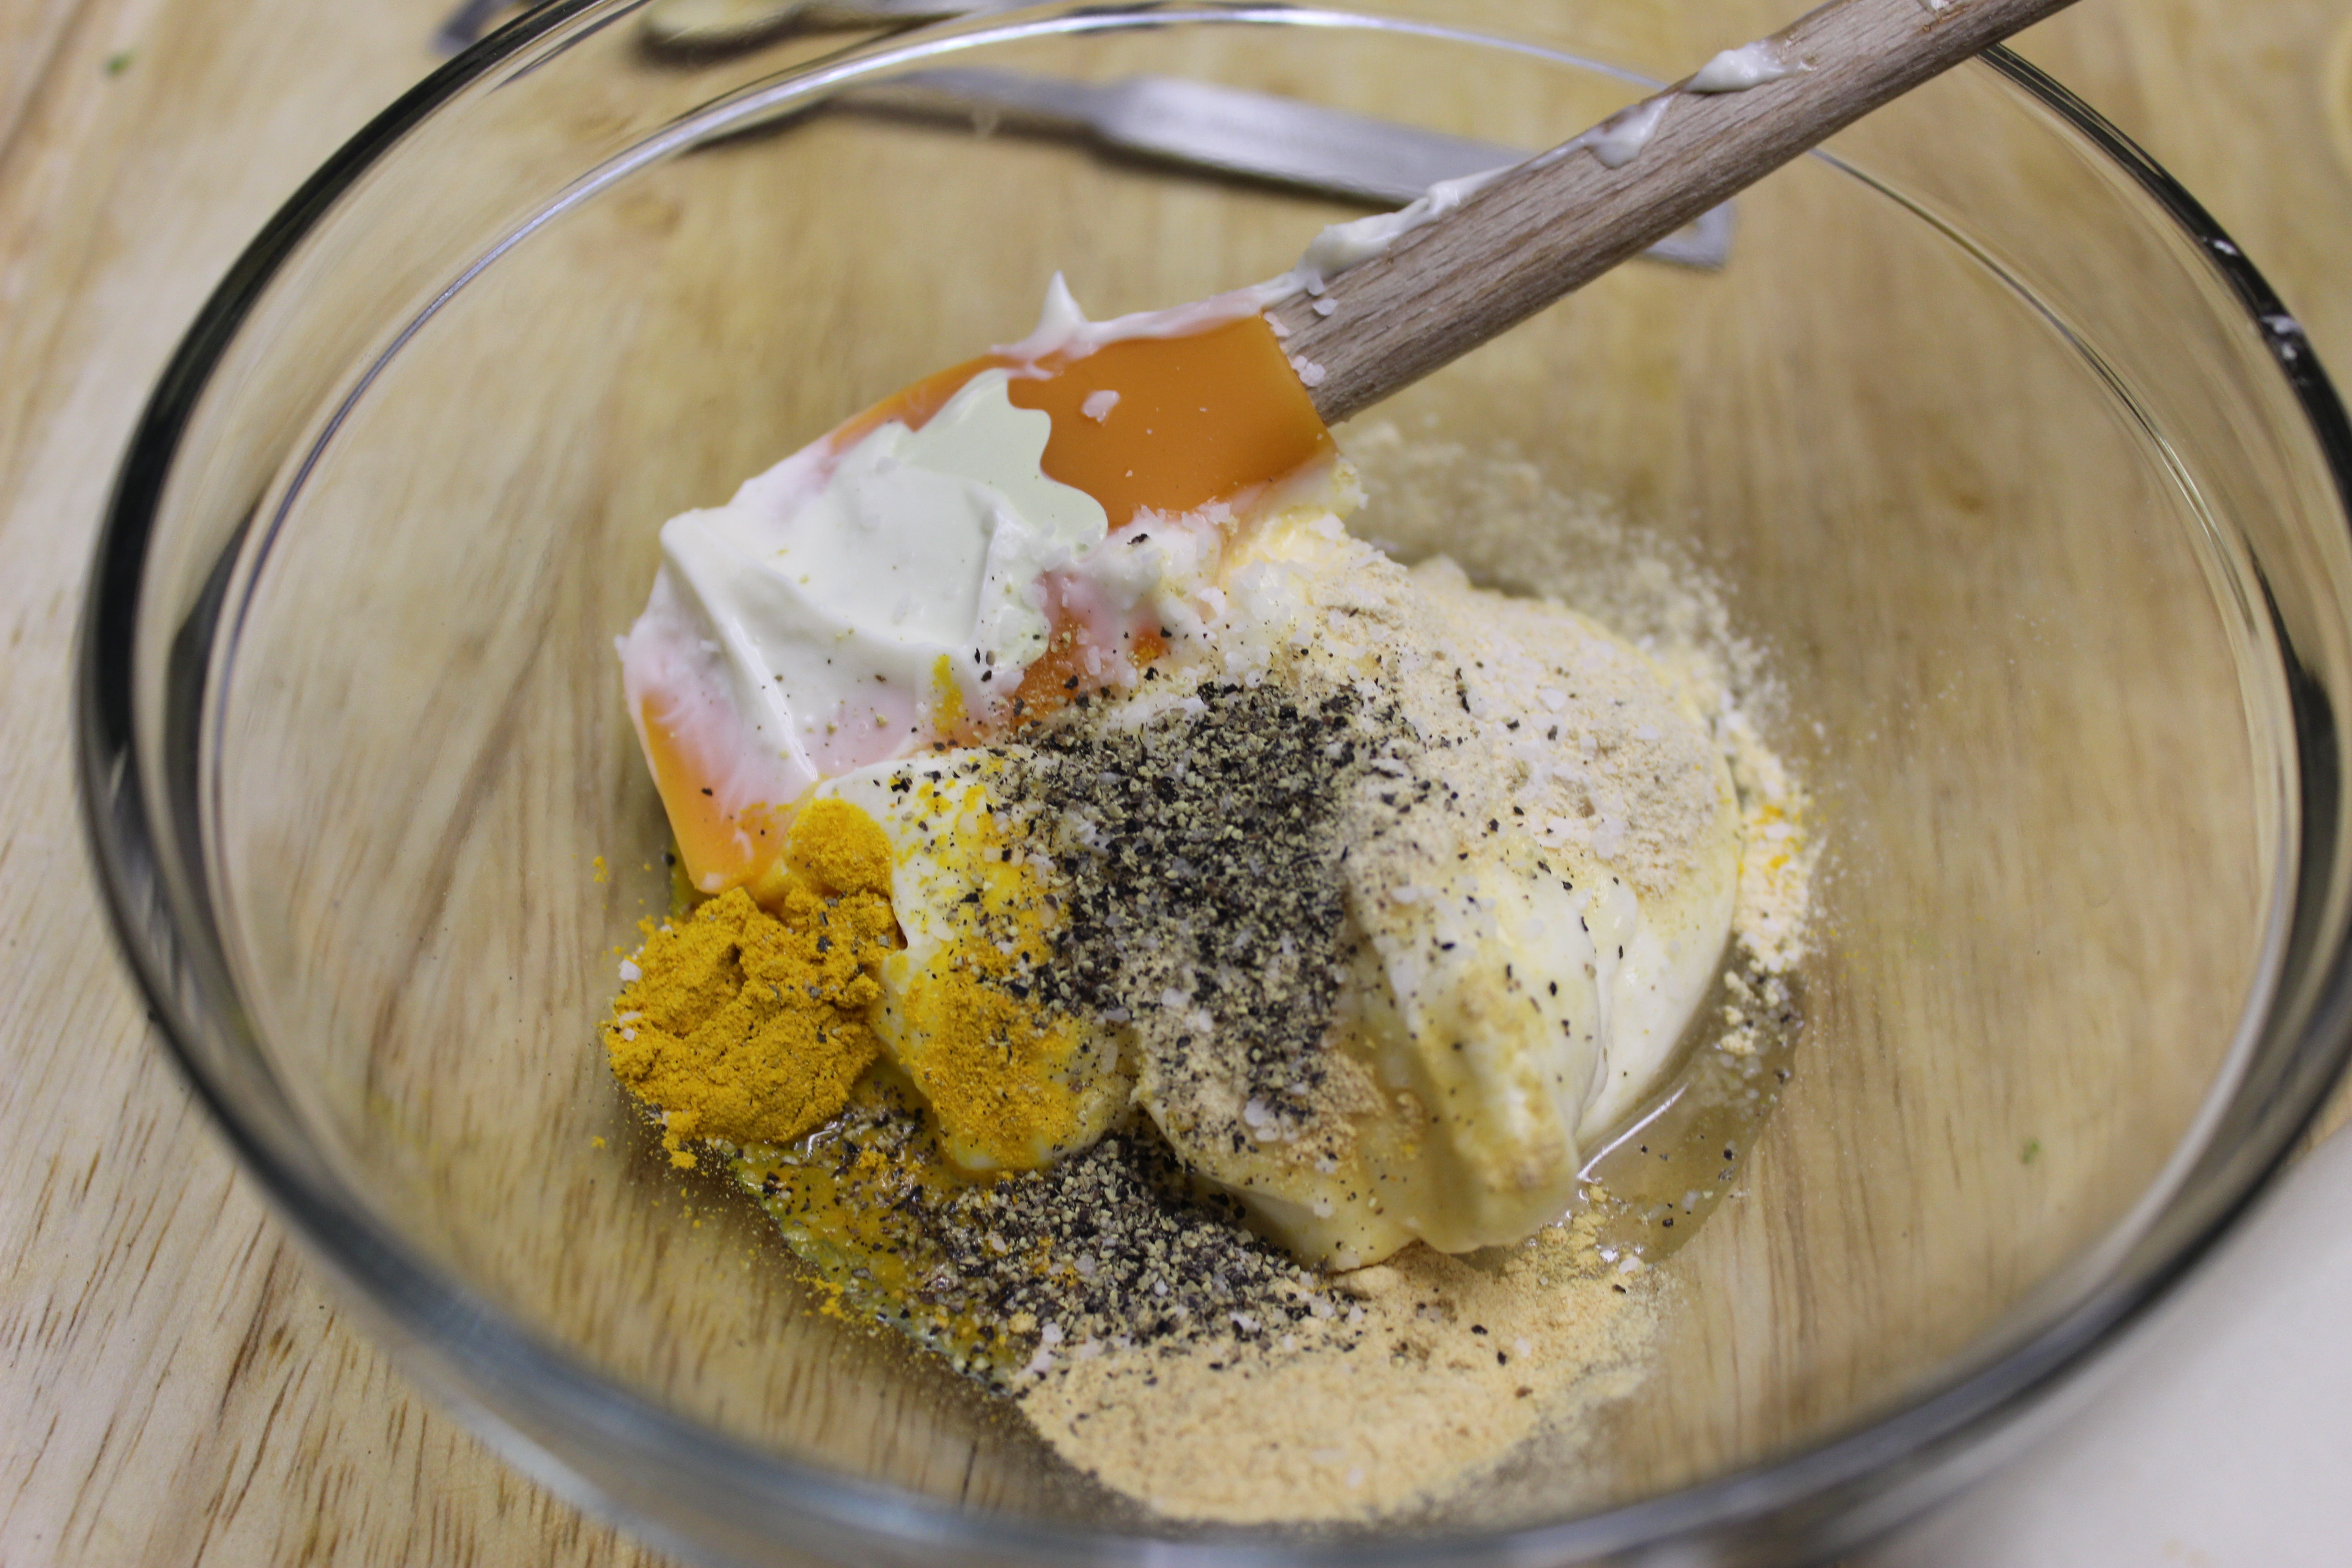
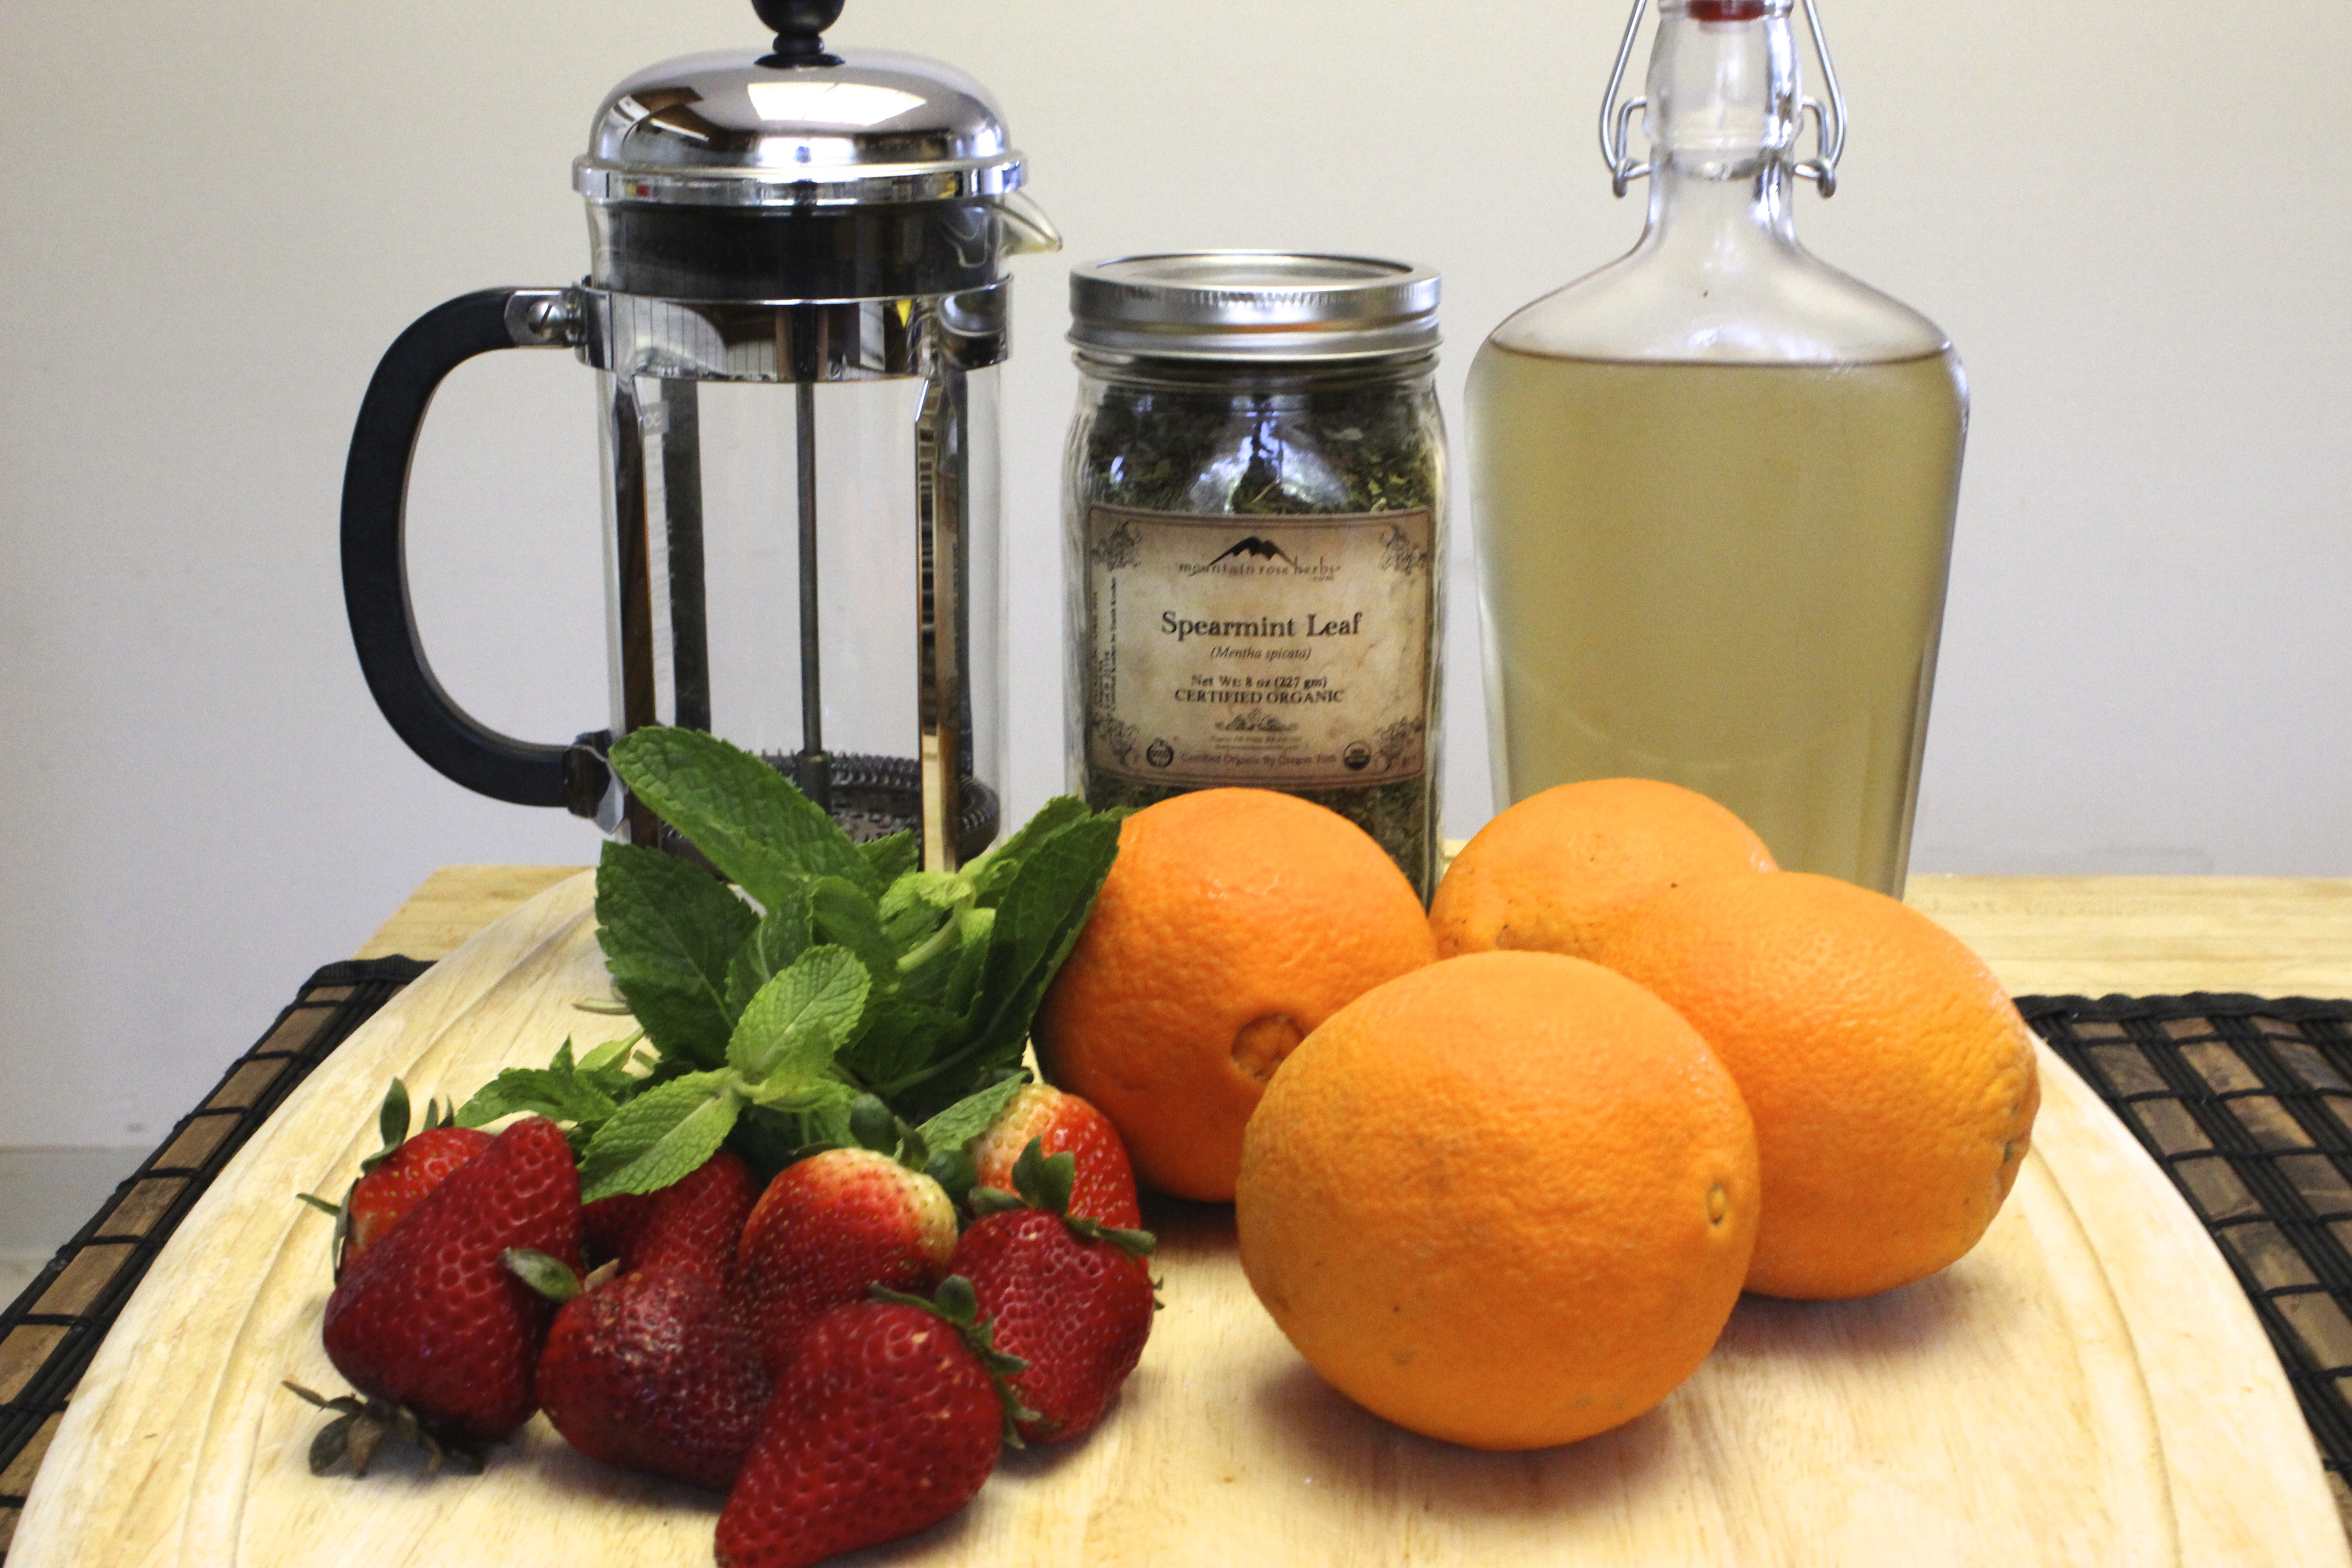
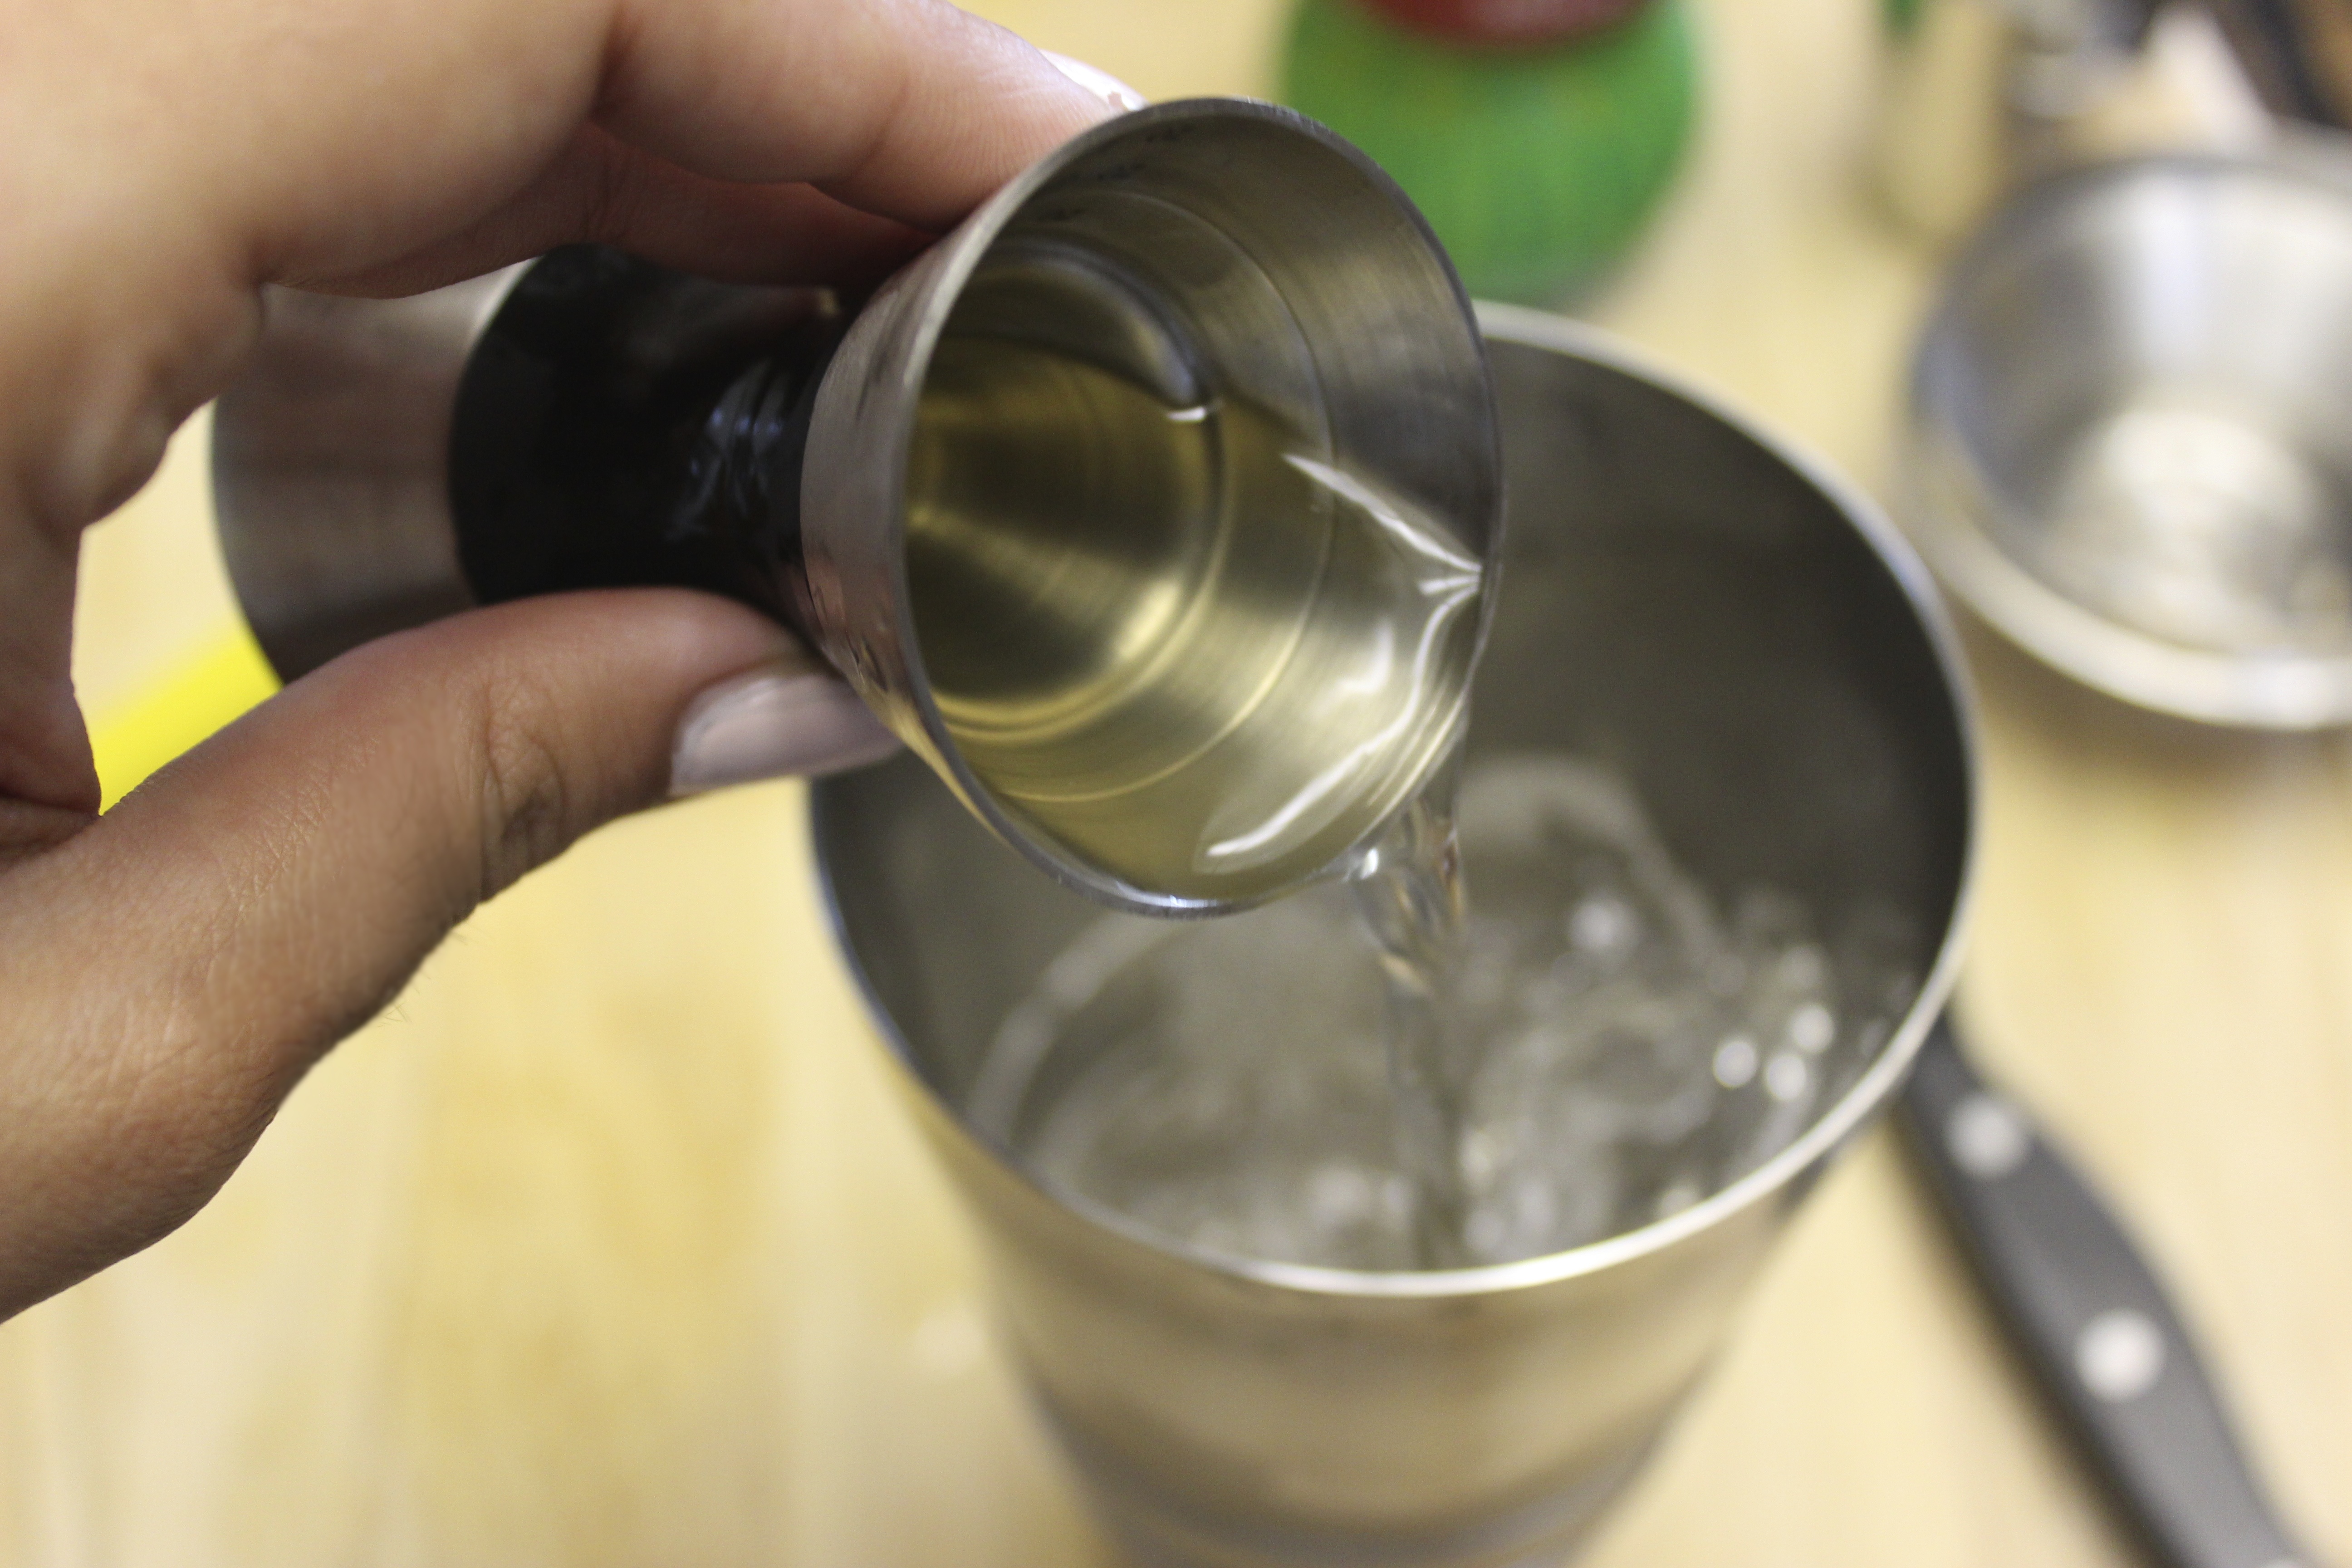
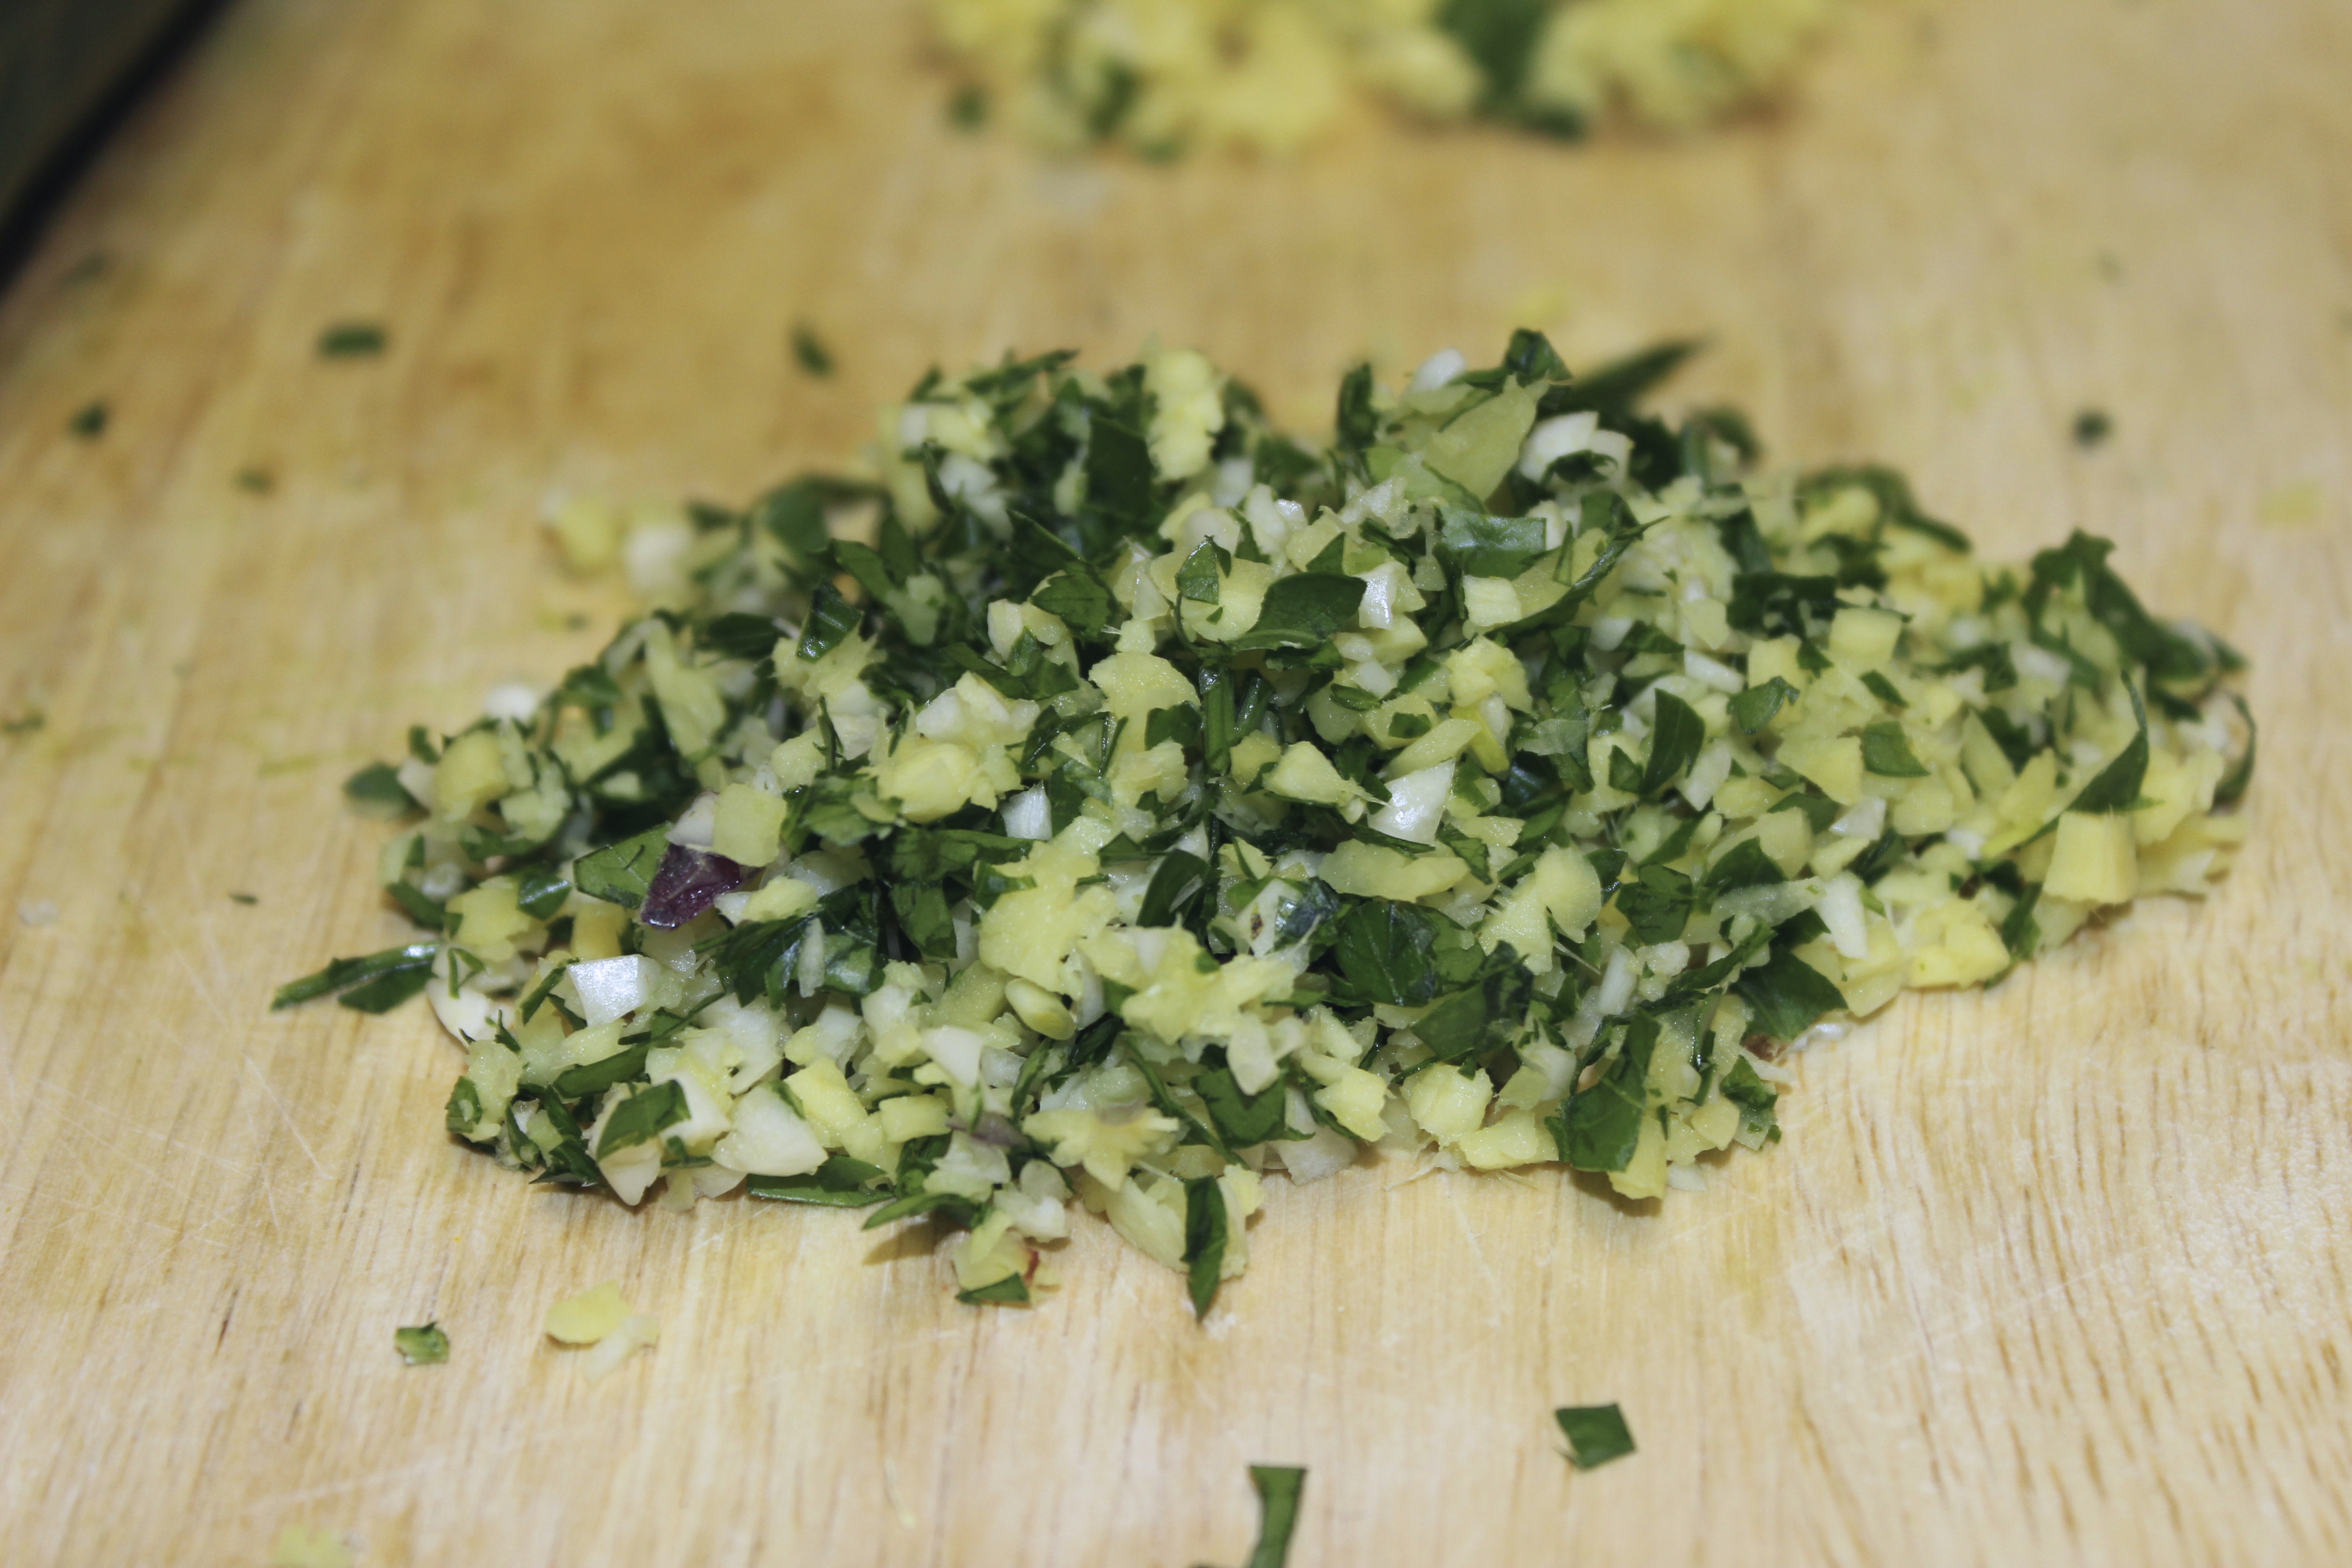
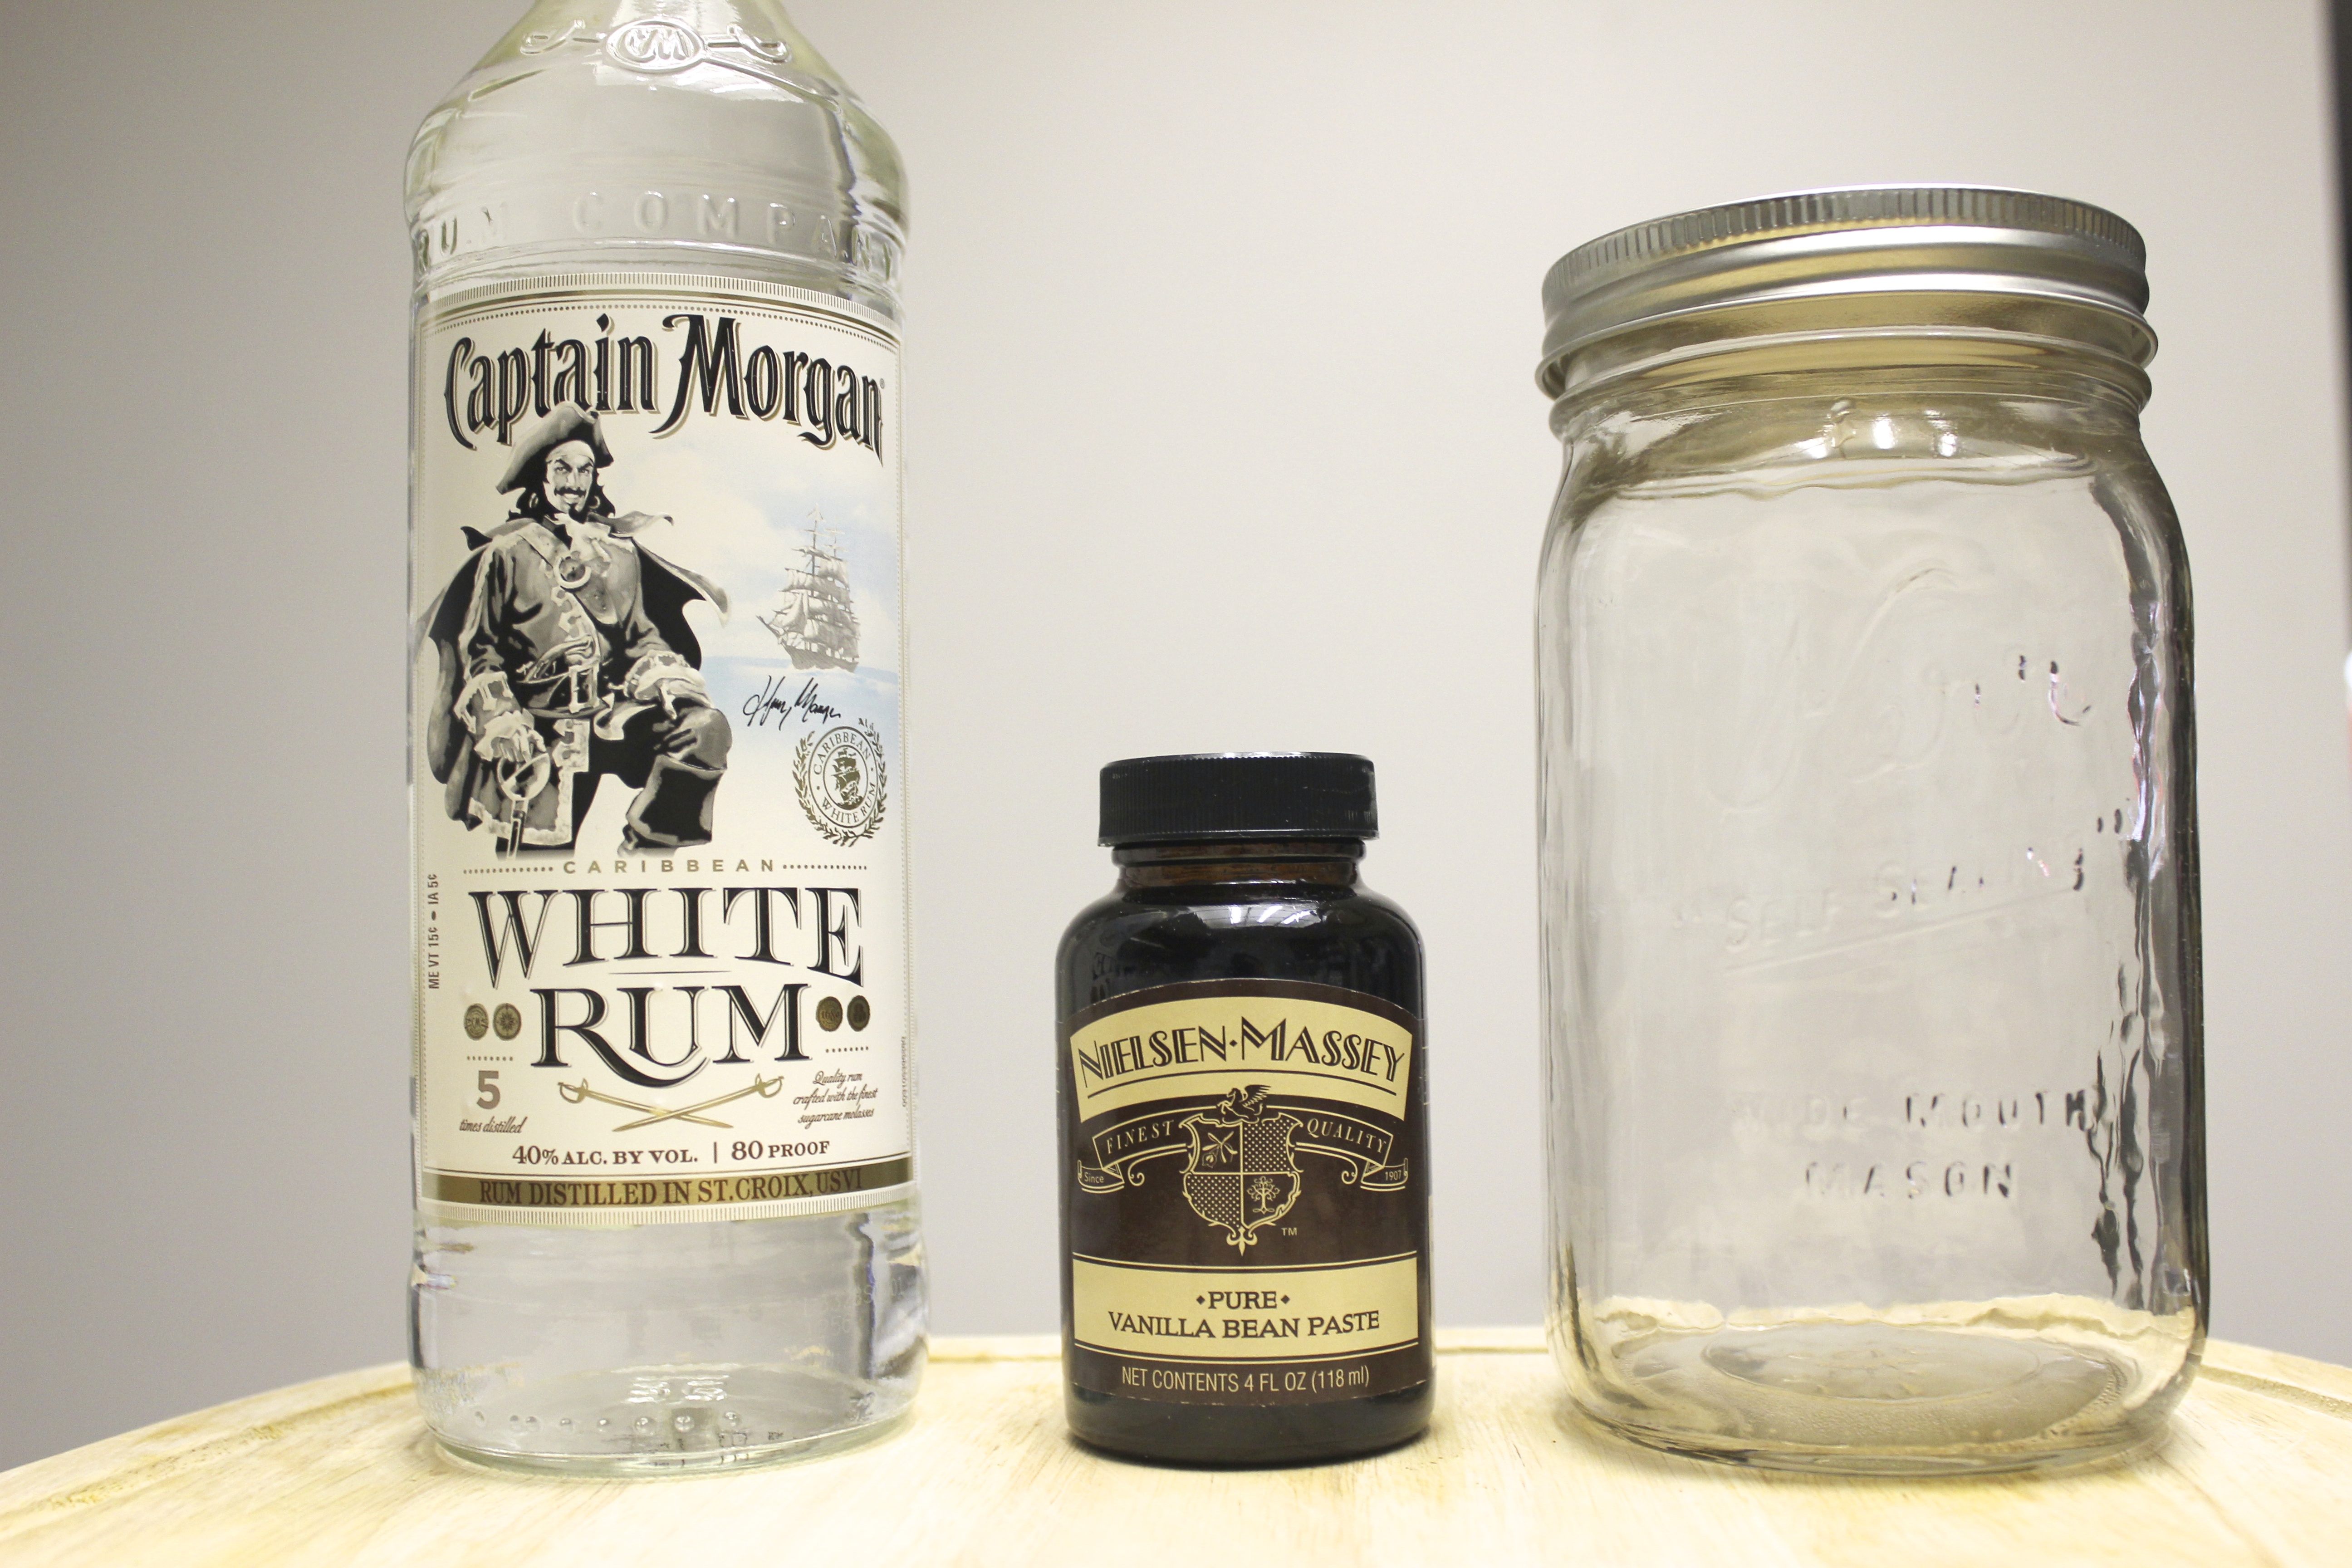
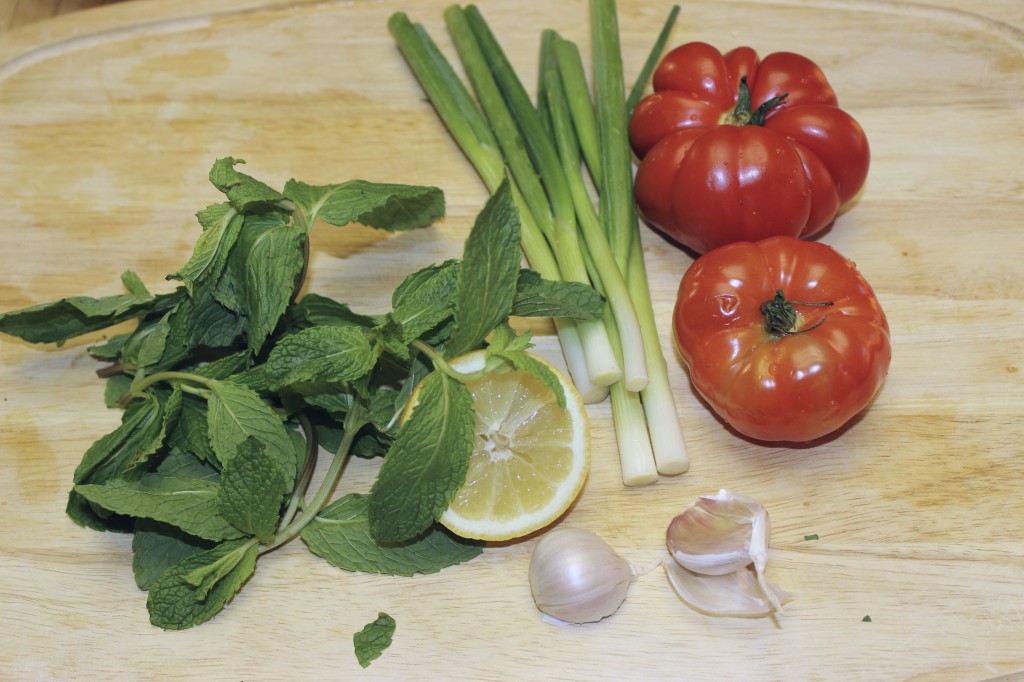
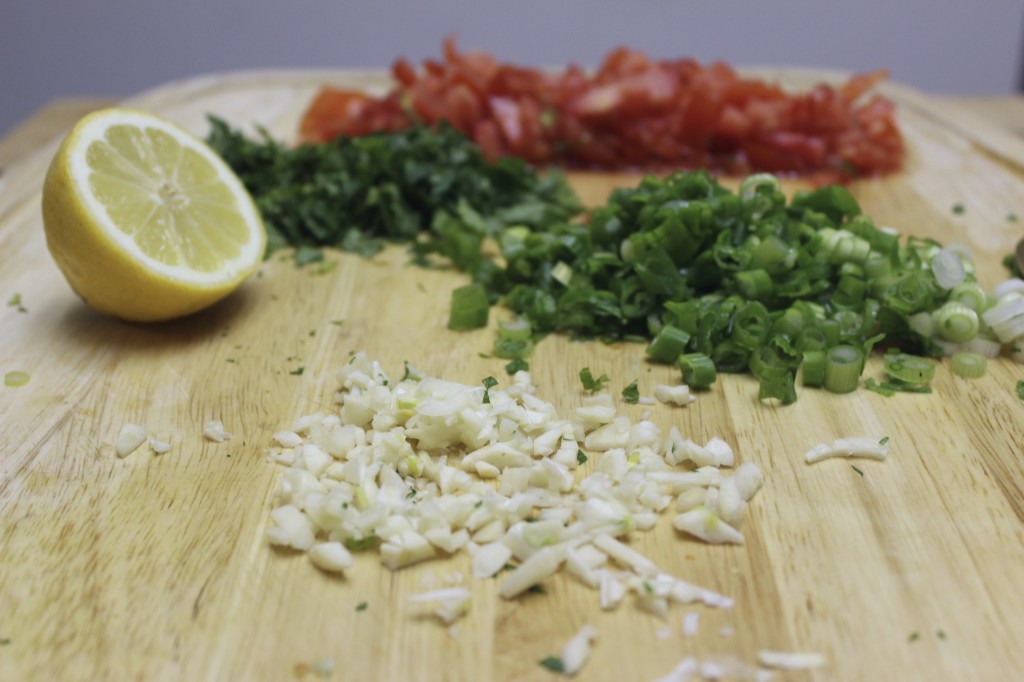
This is what you need for the sauce:
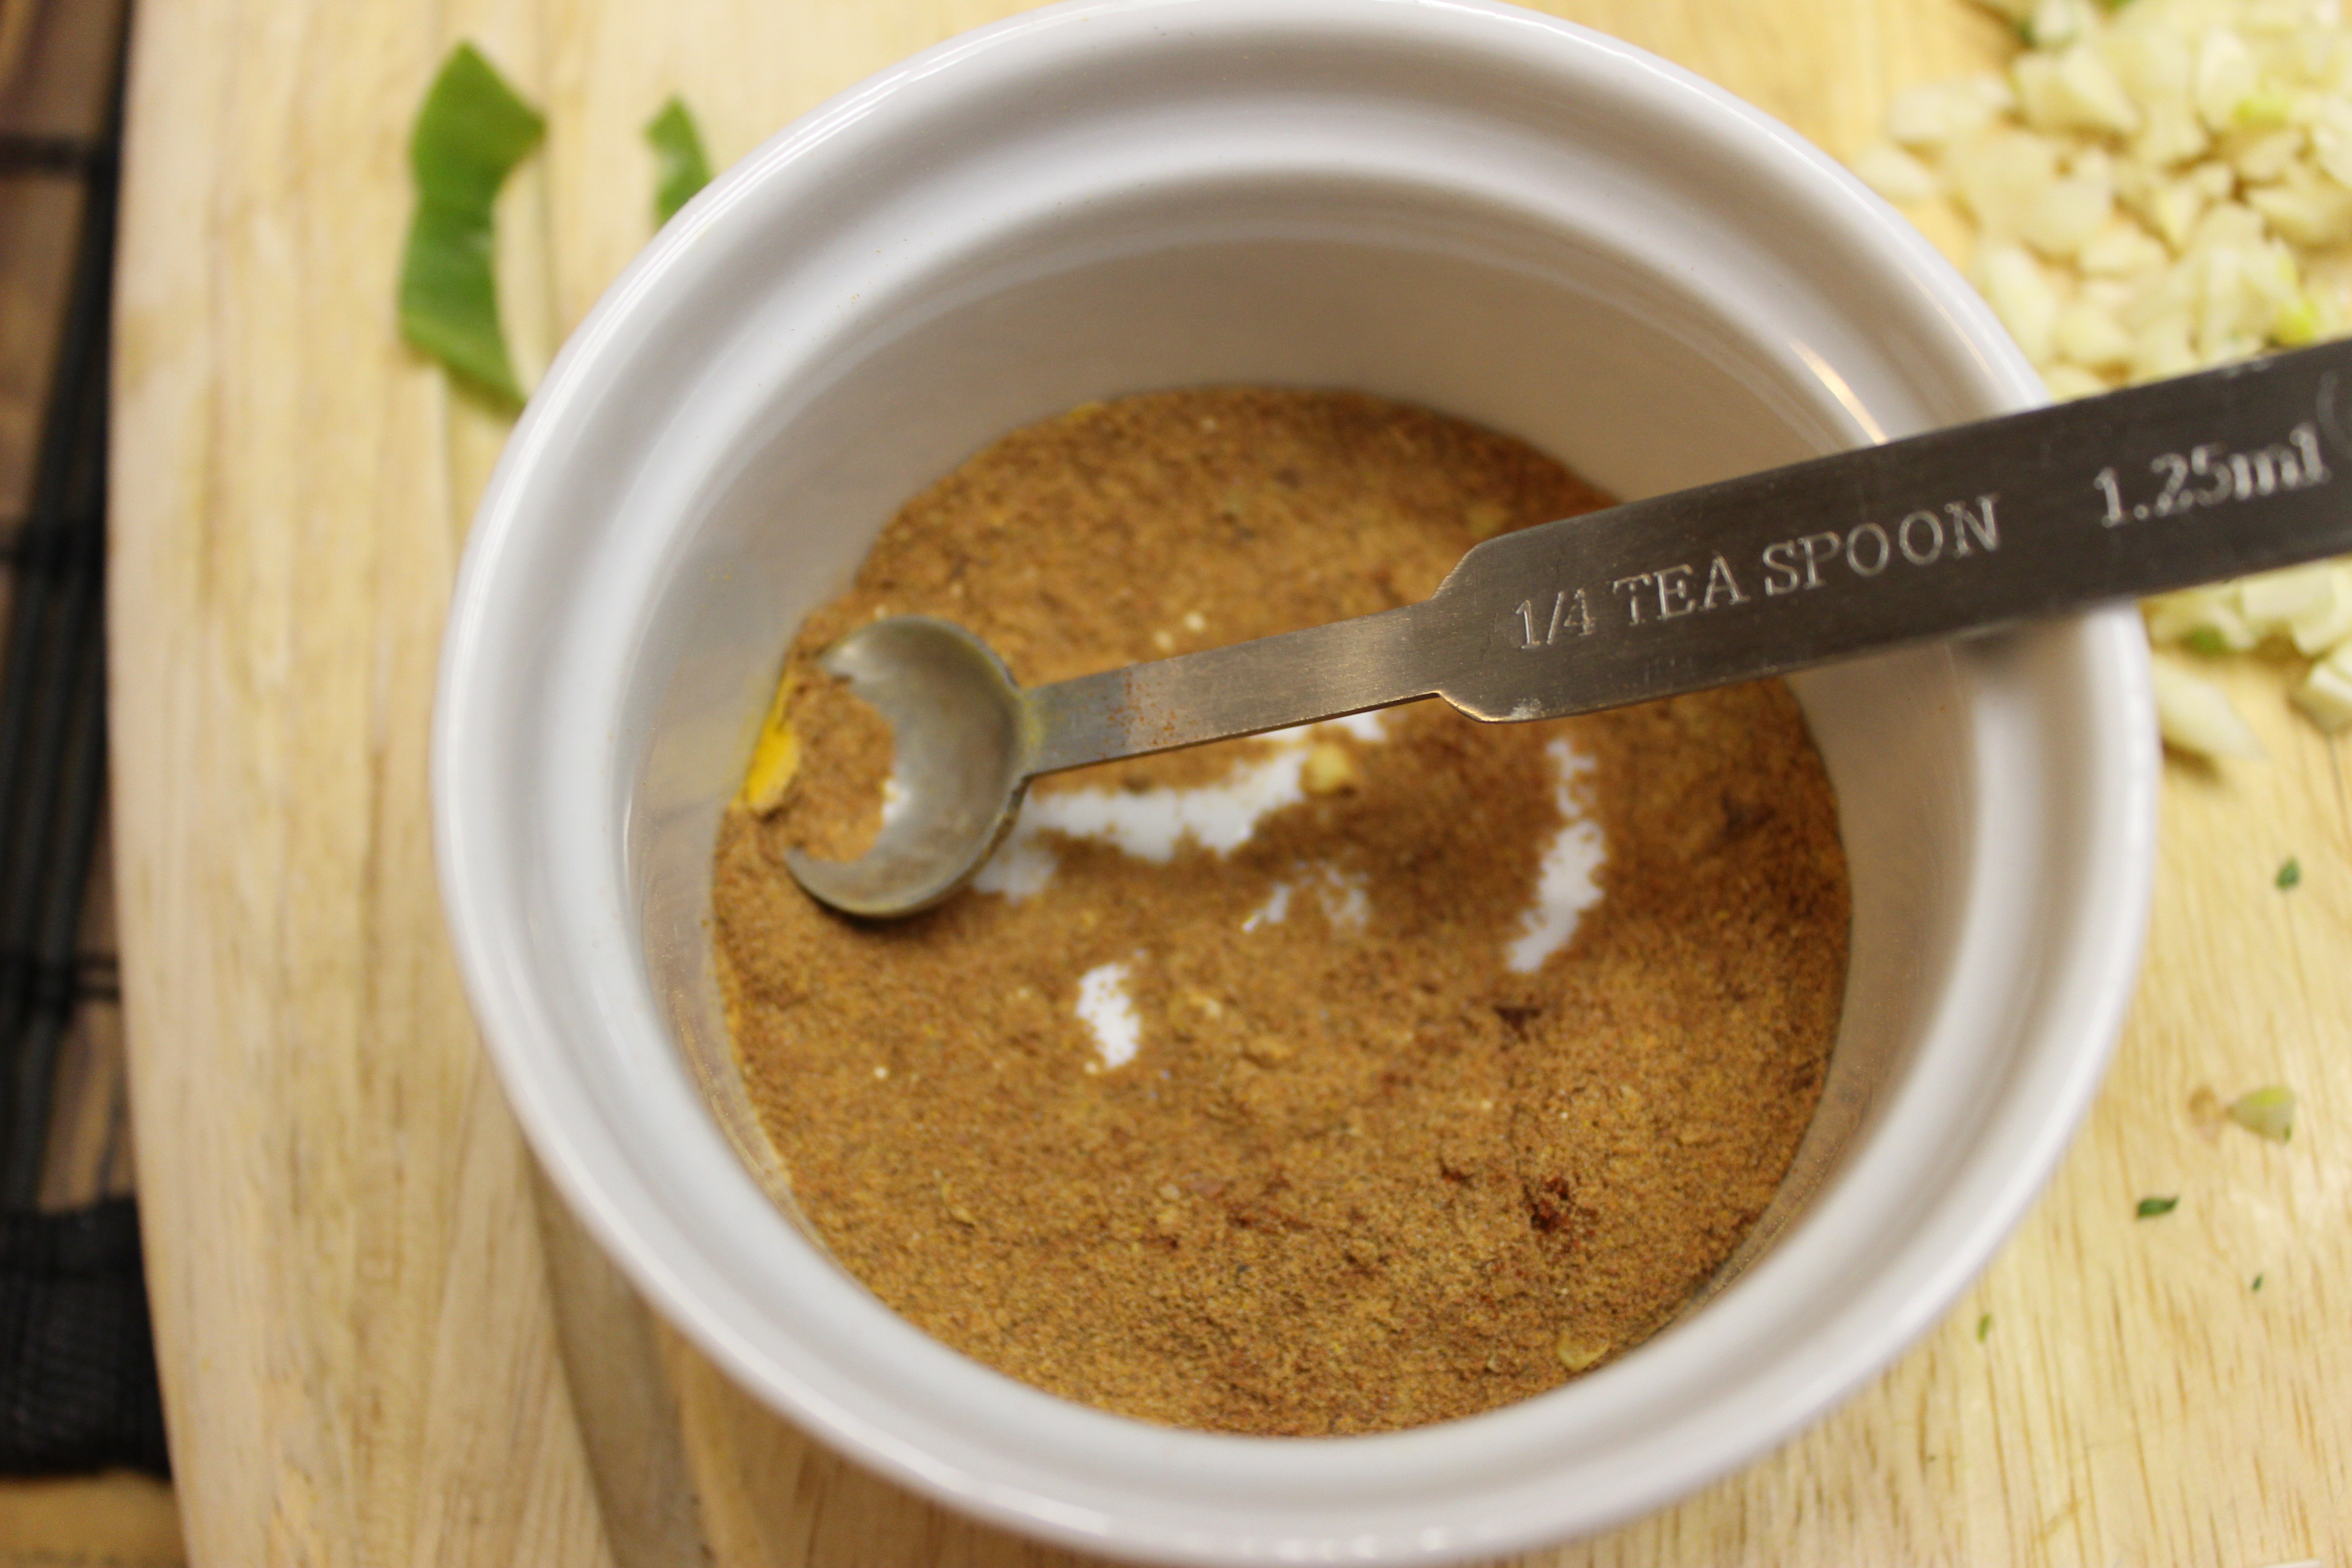
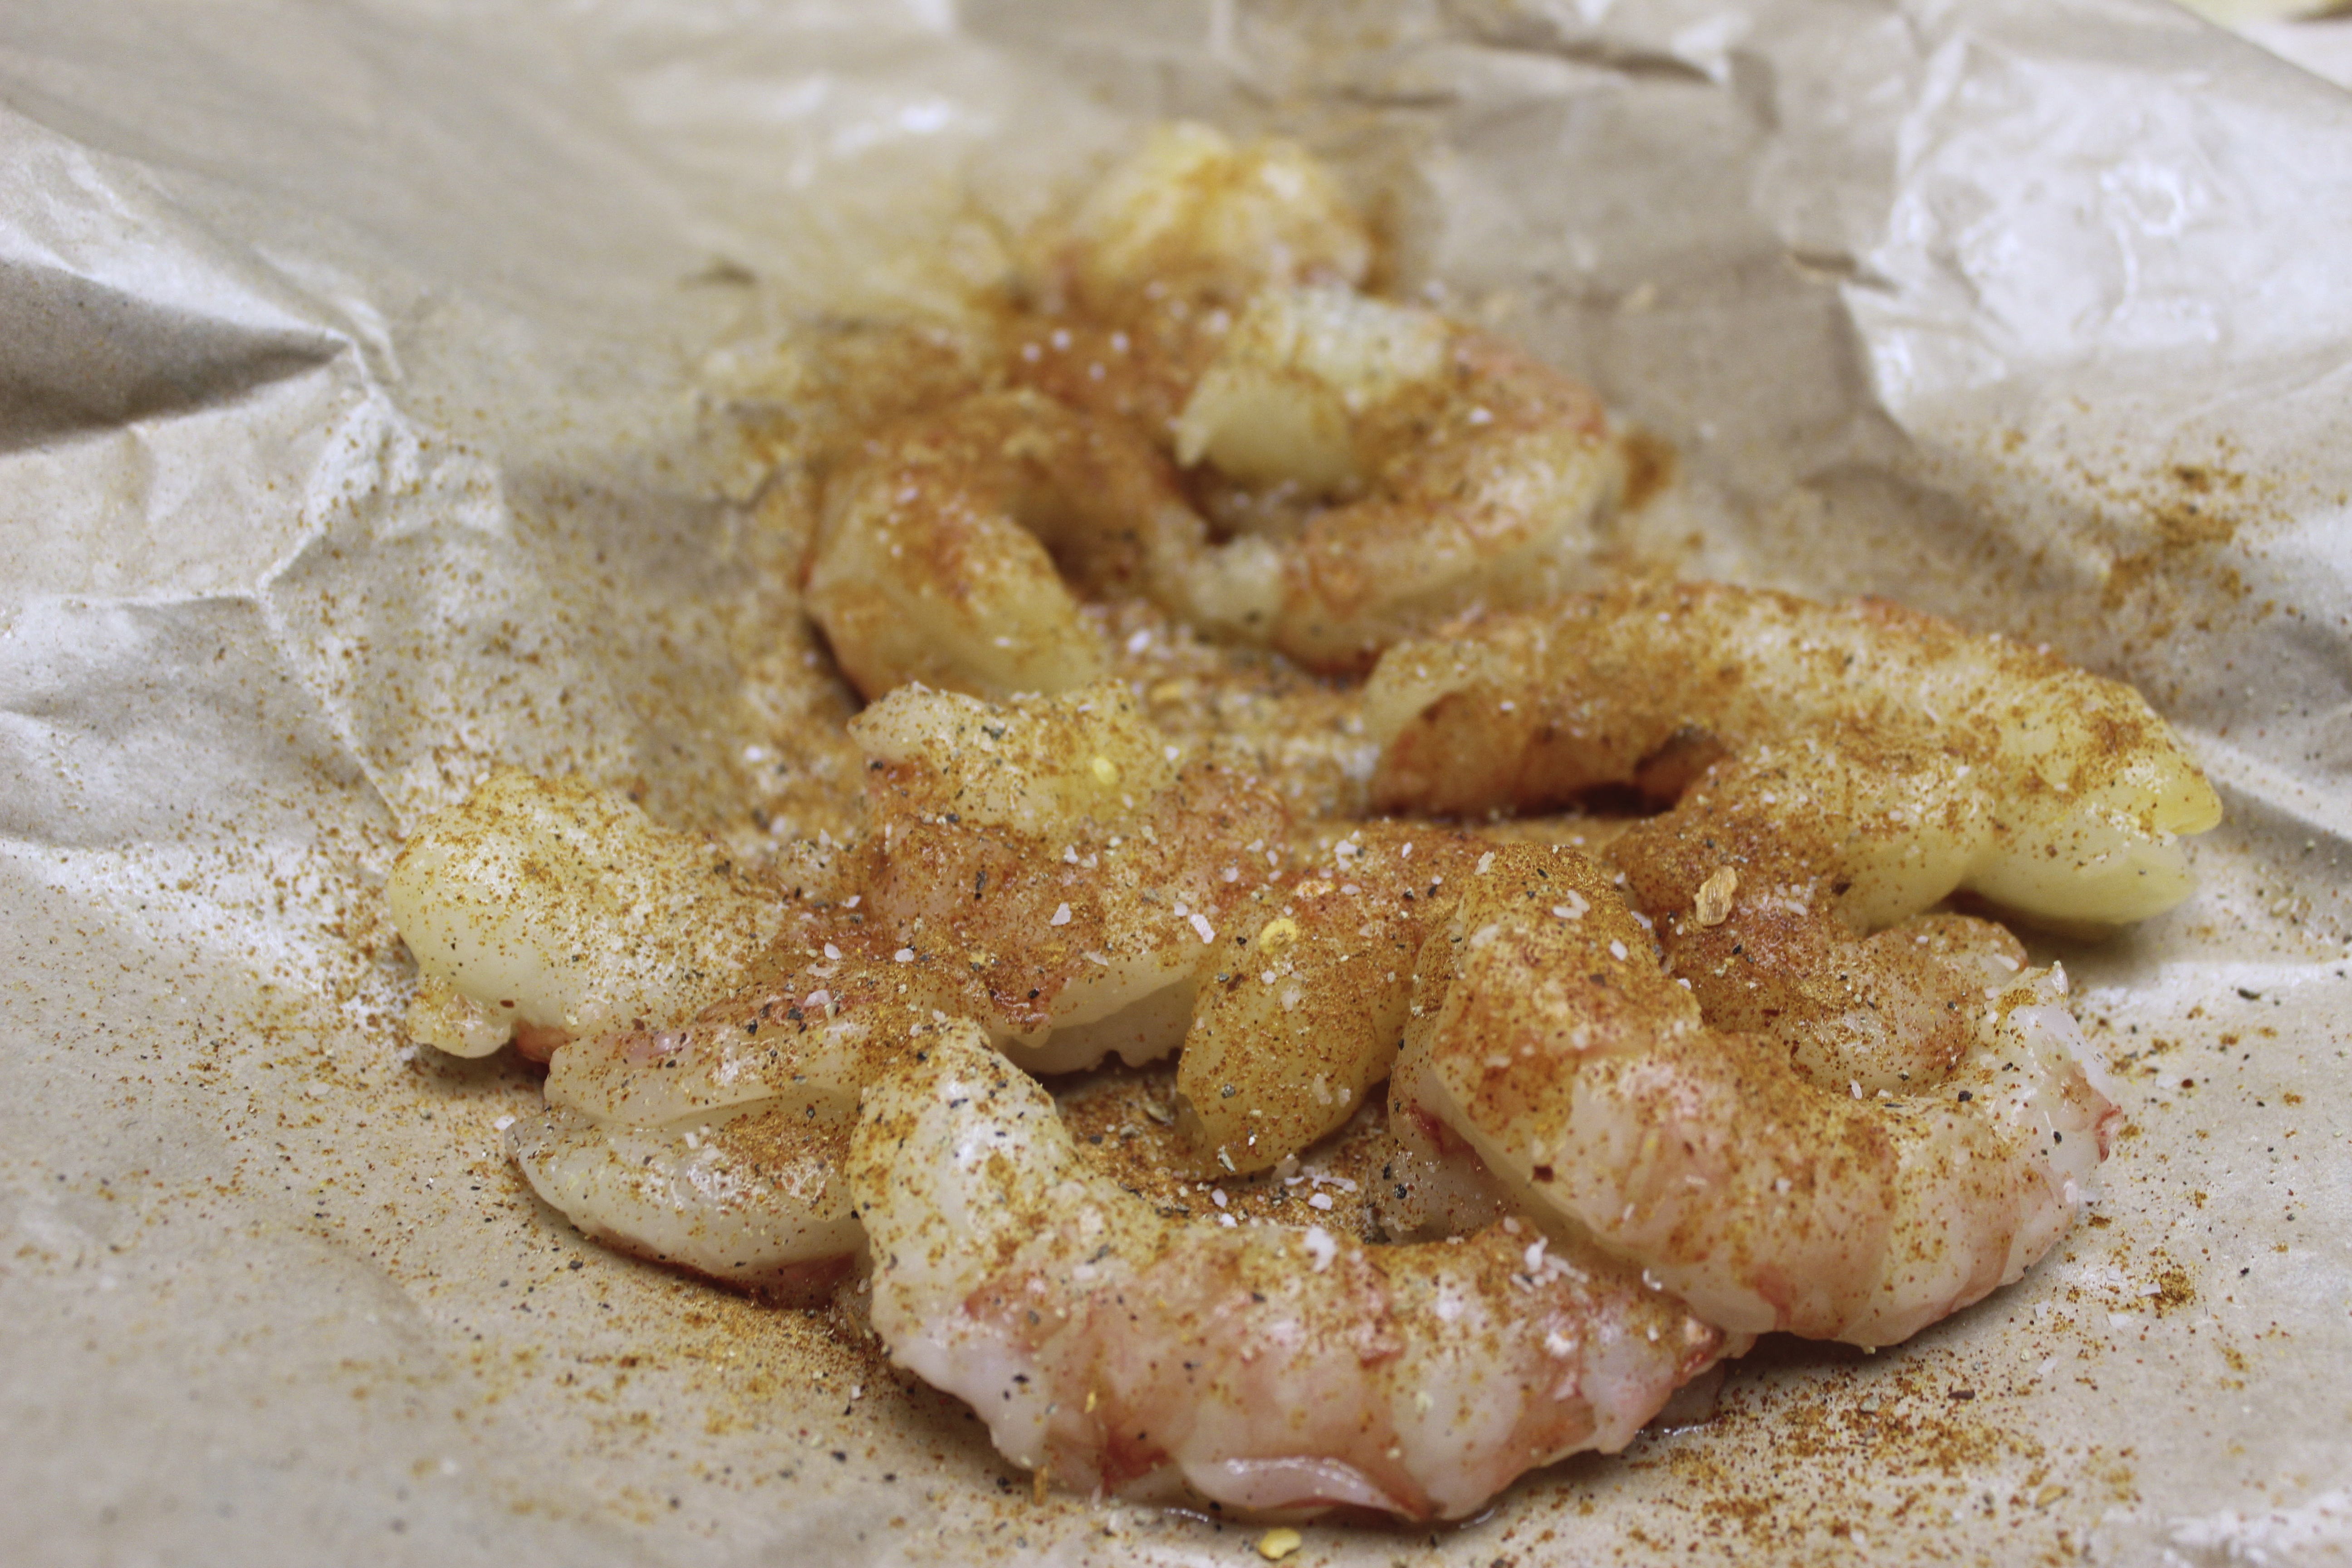
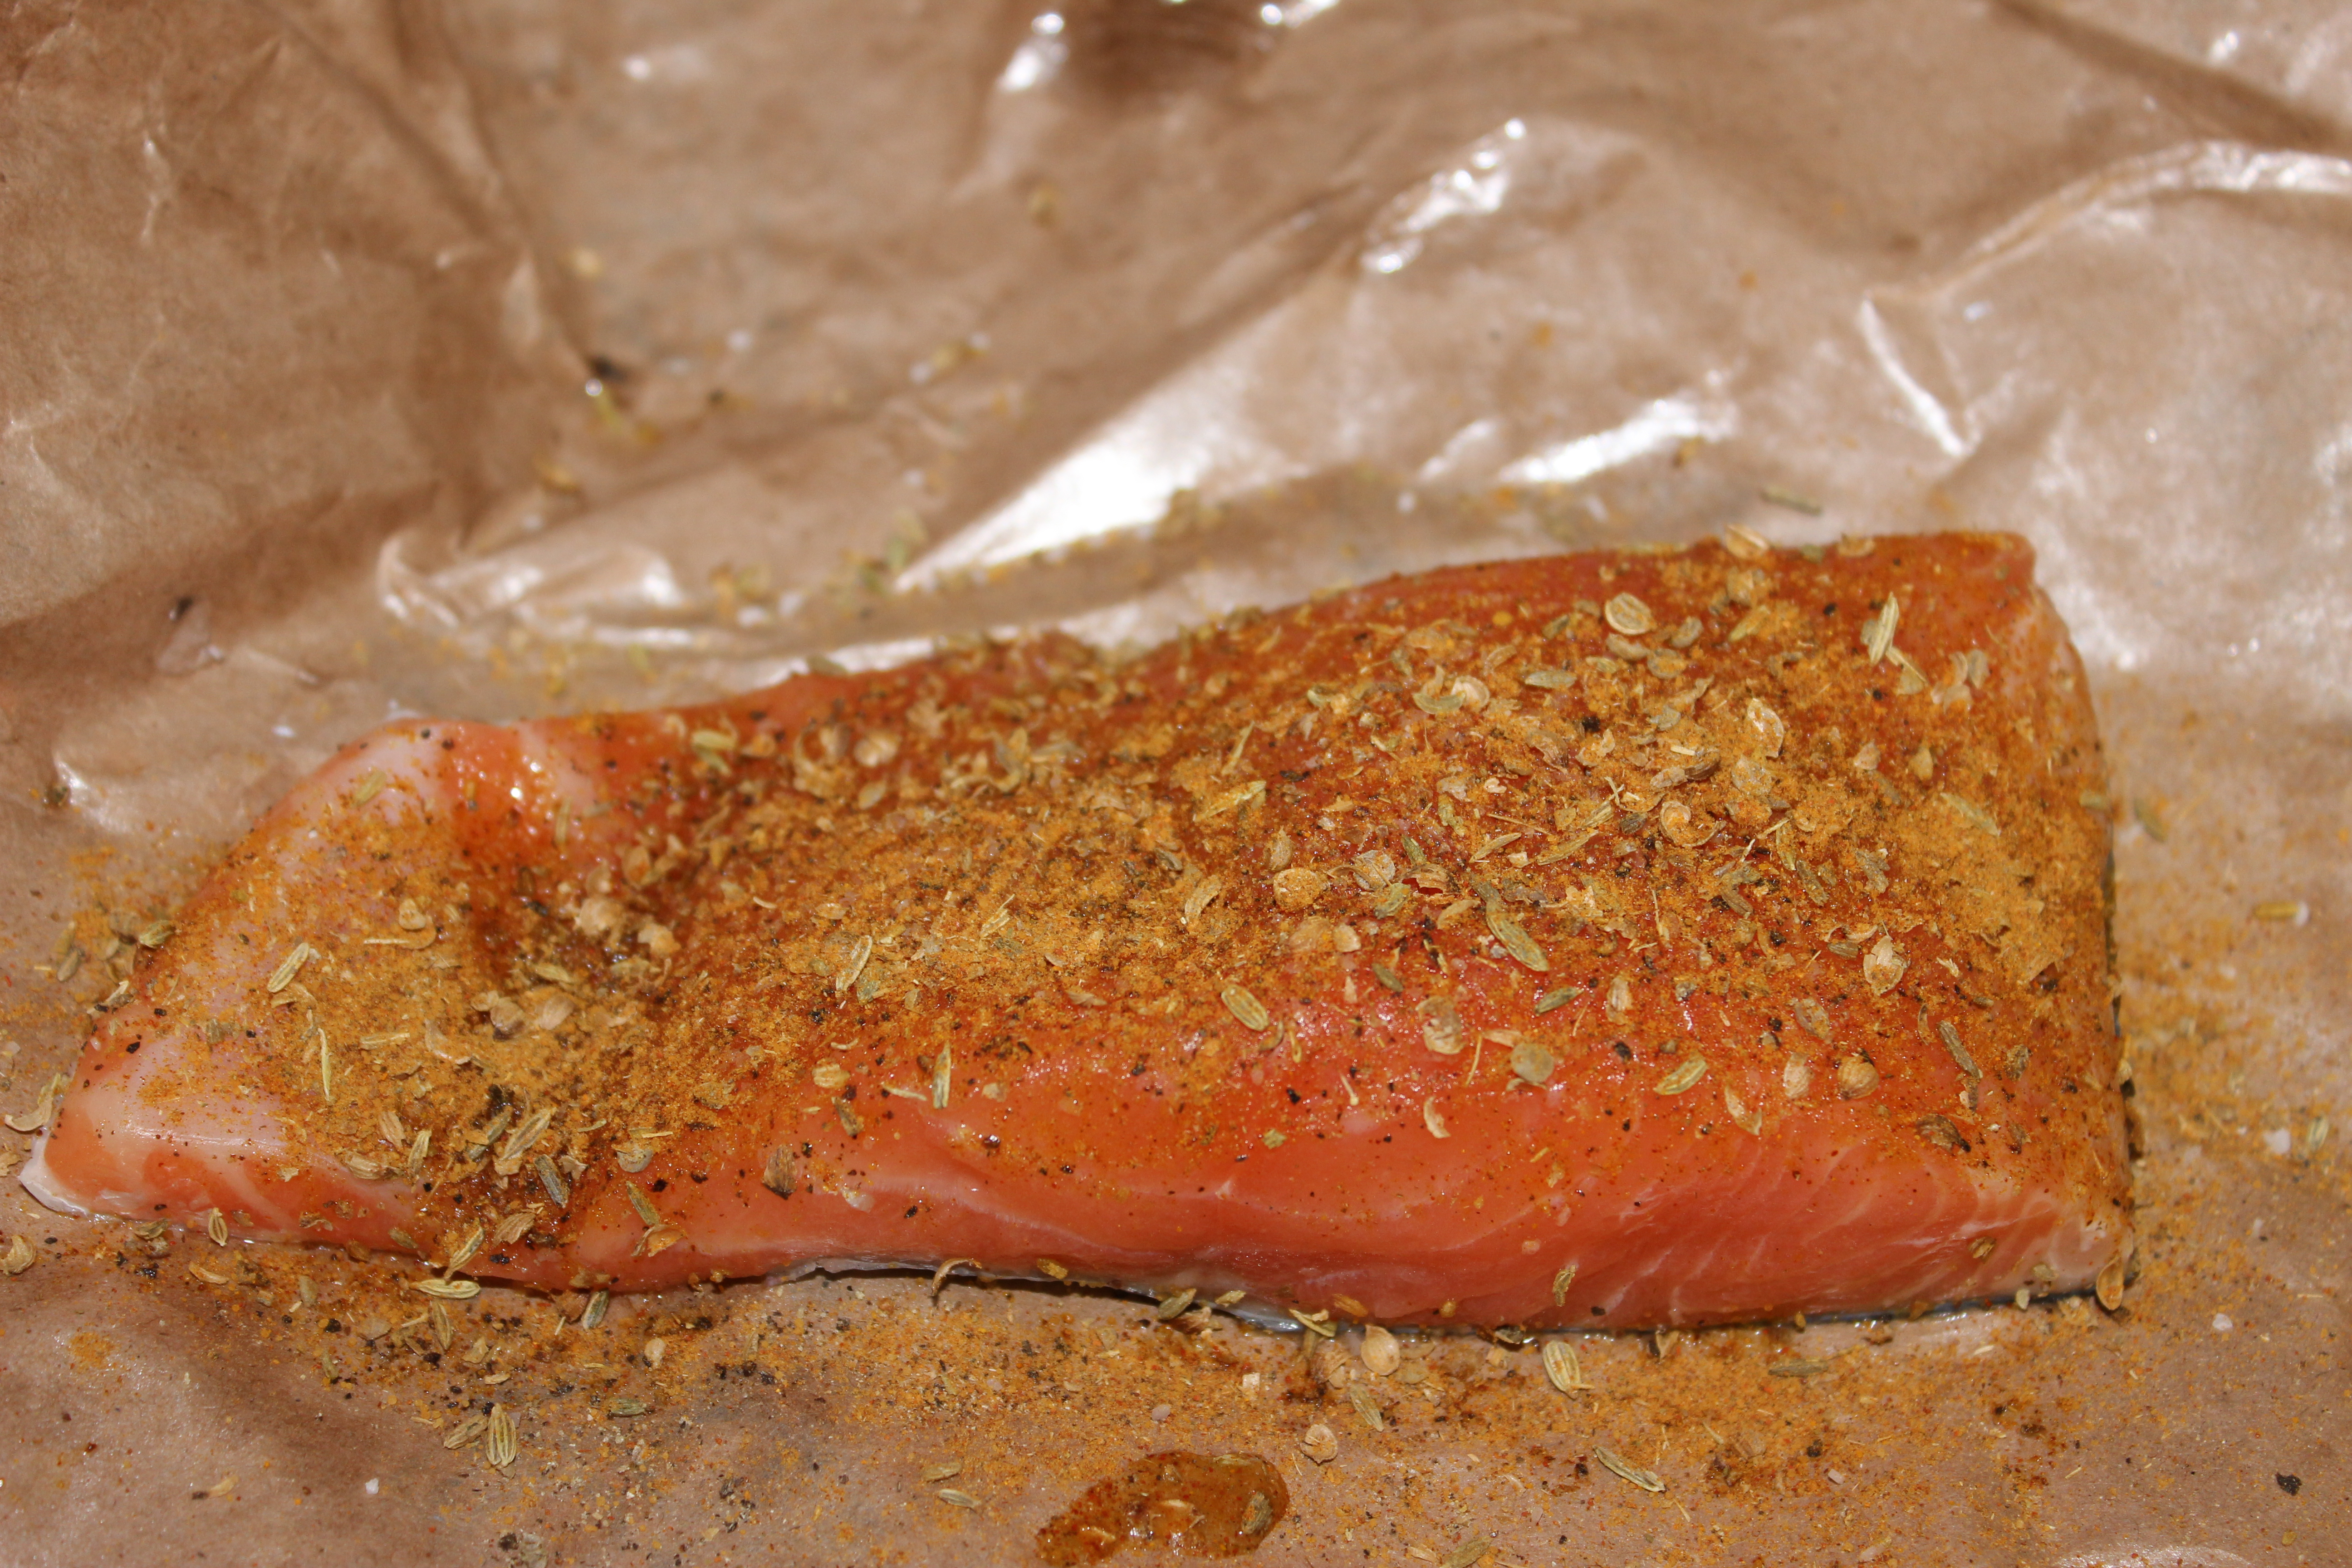
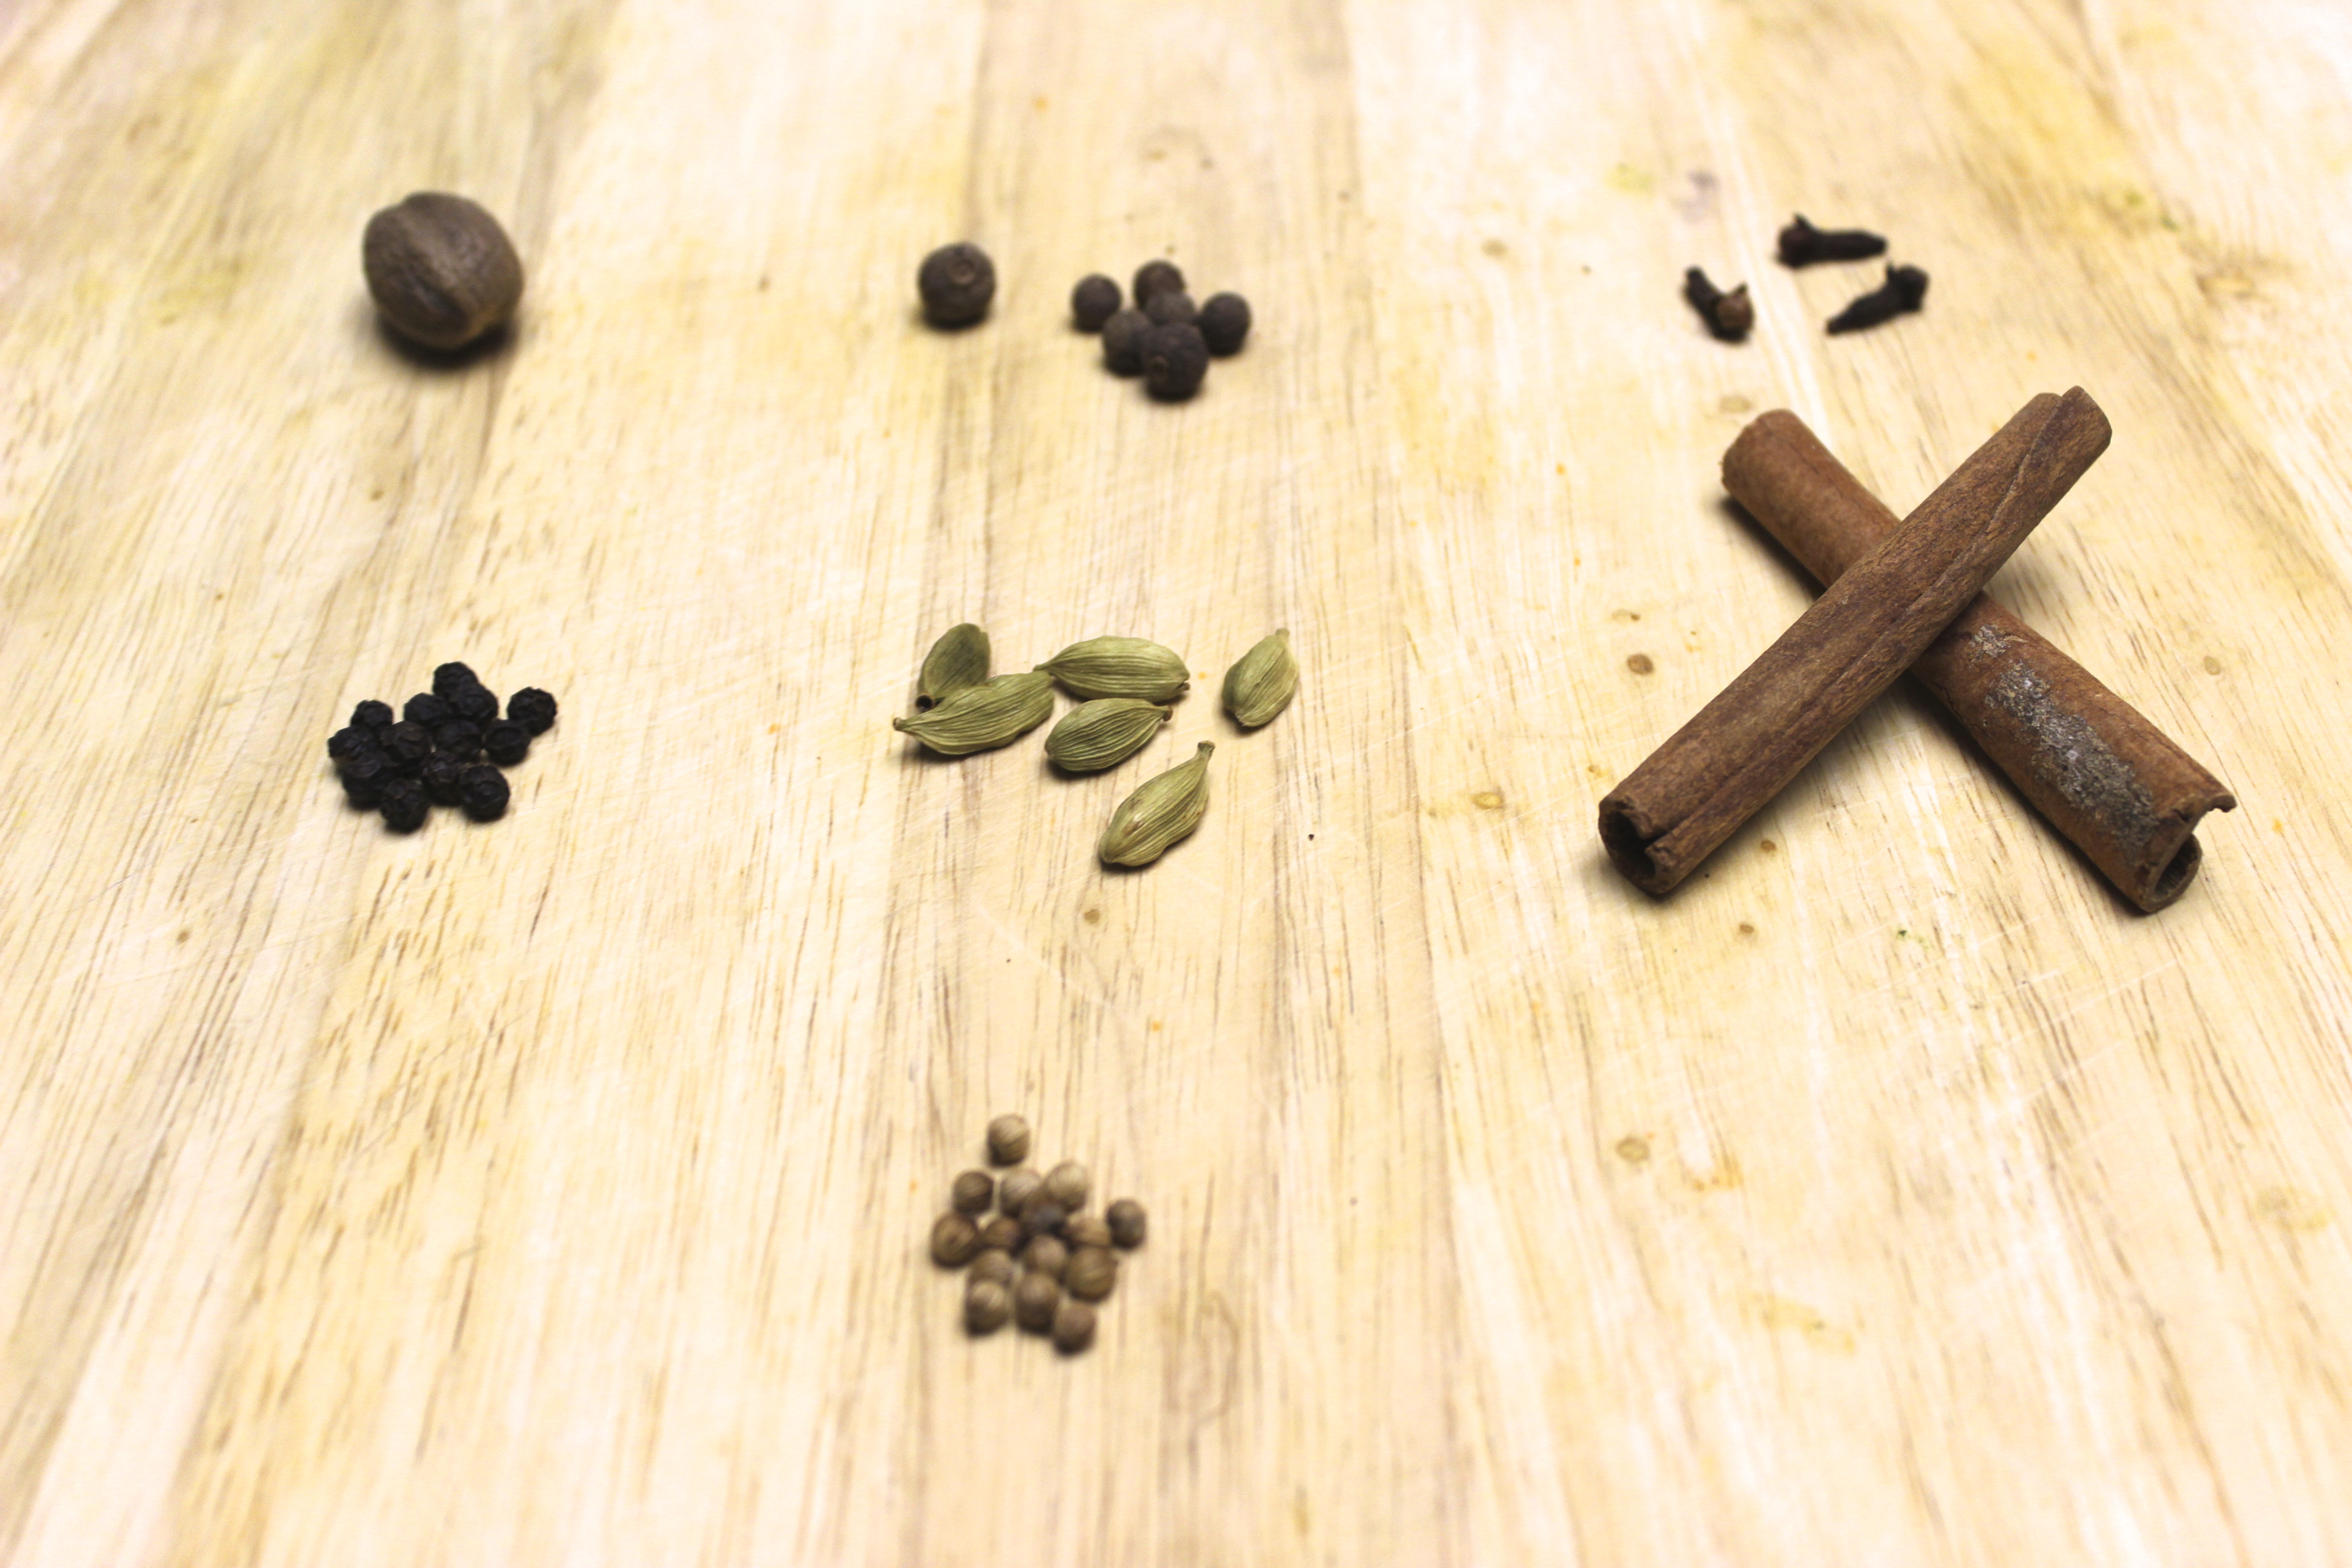
Also, make a spice rub to go on your crustacean.
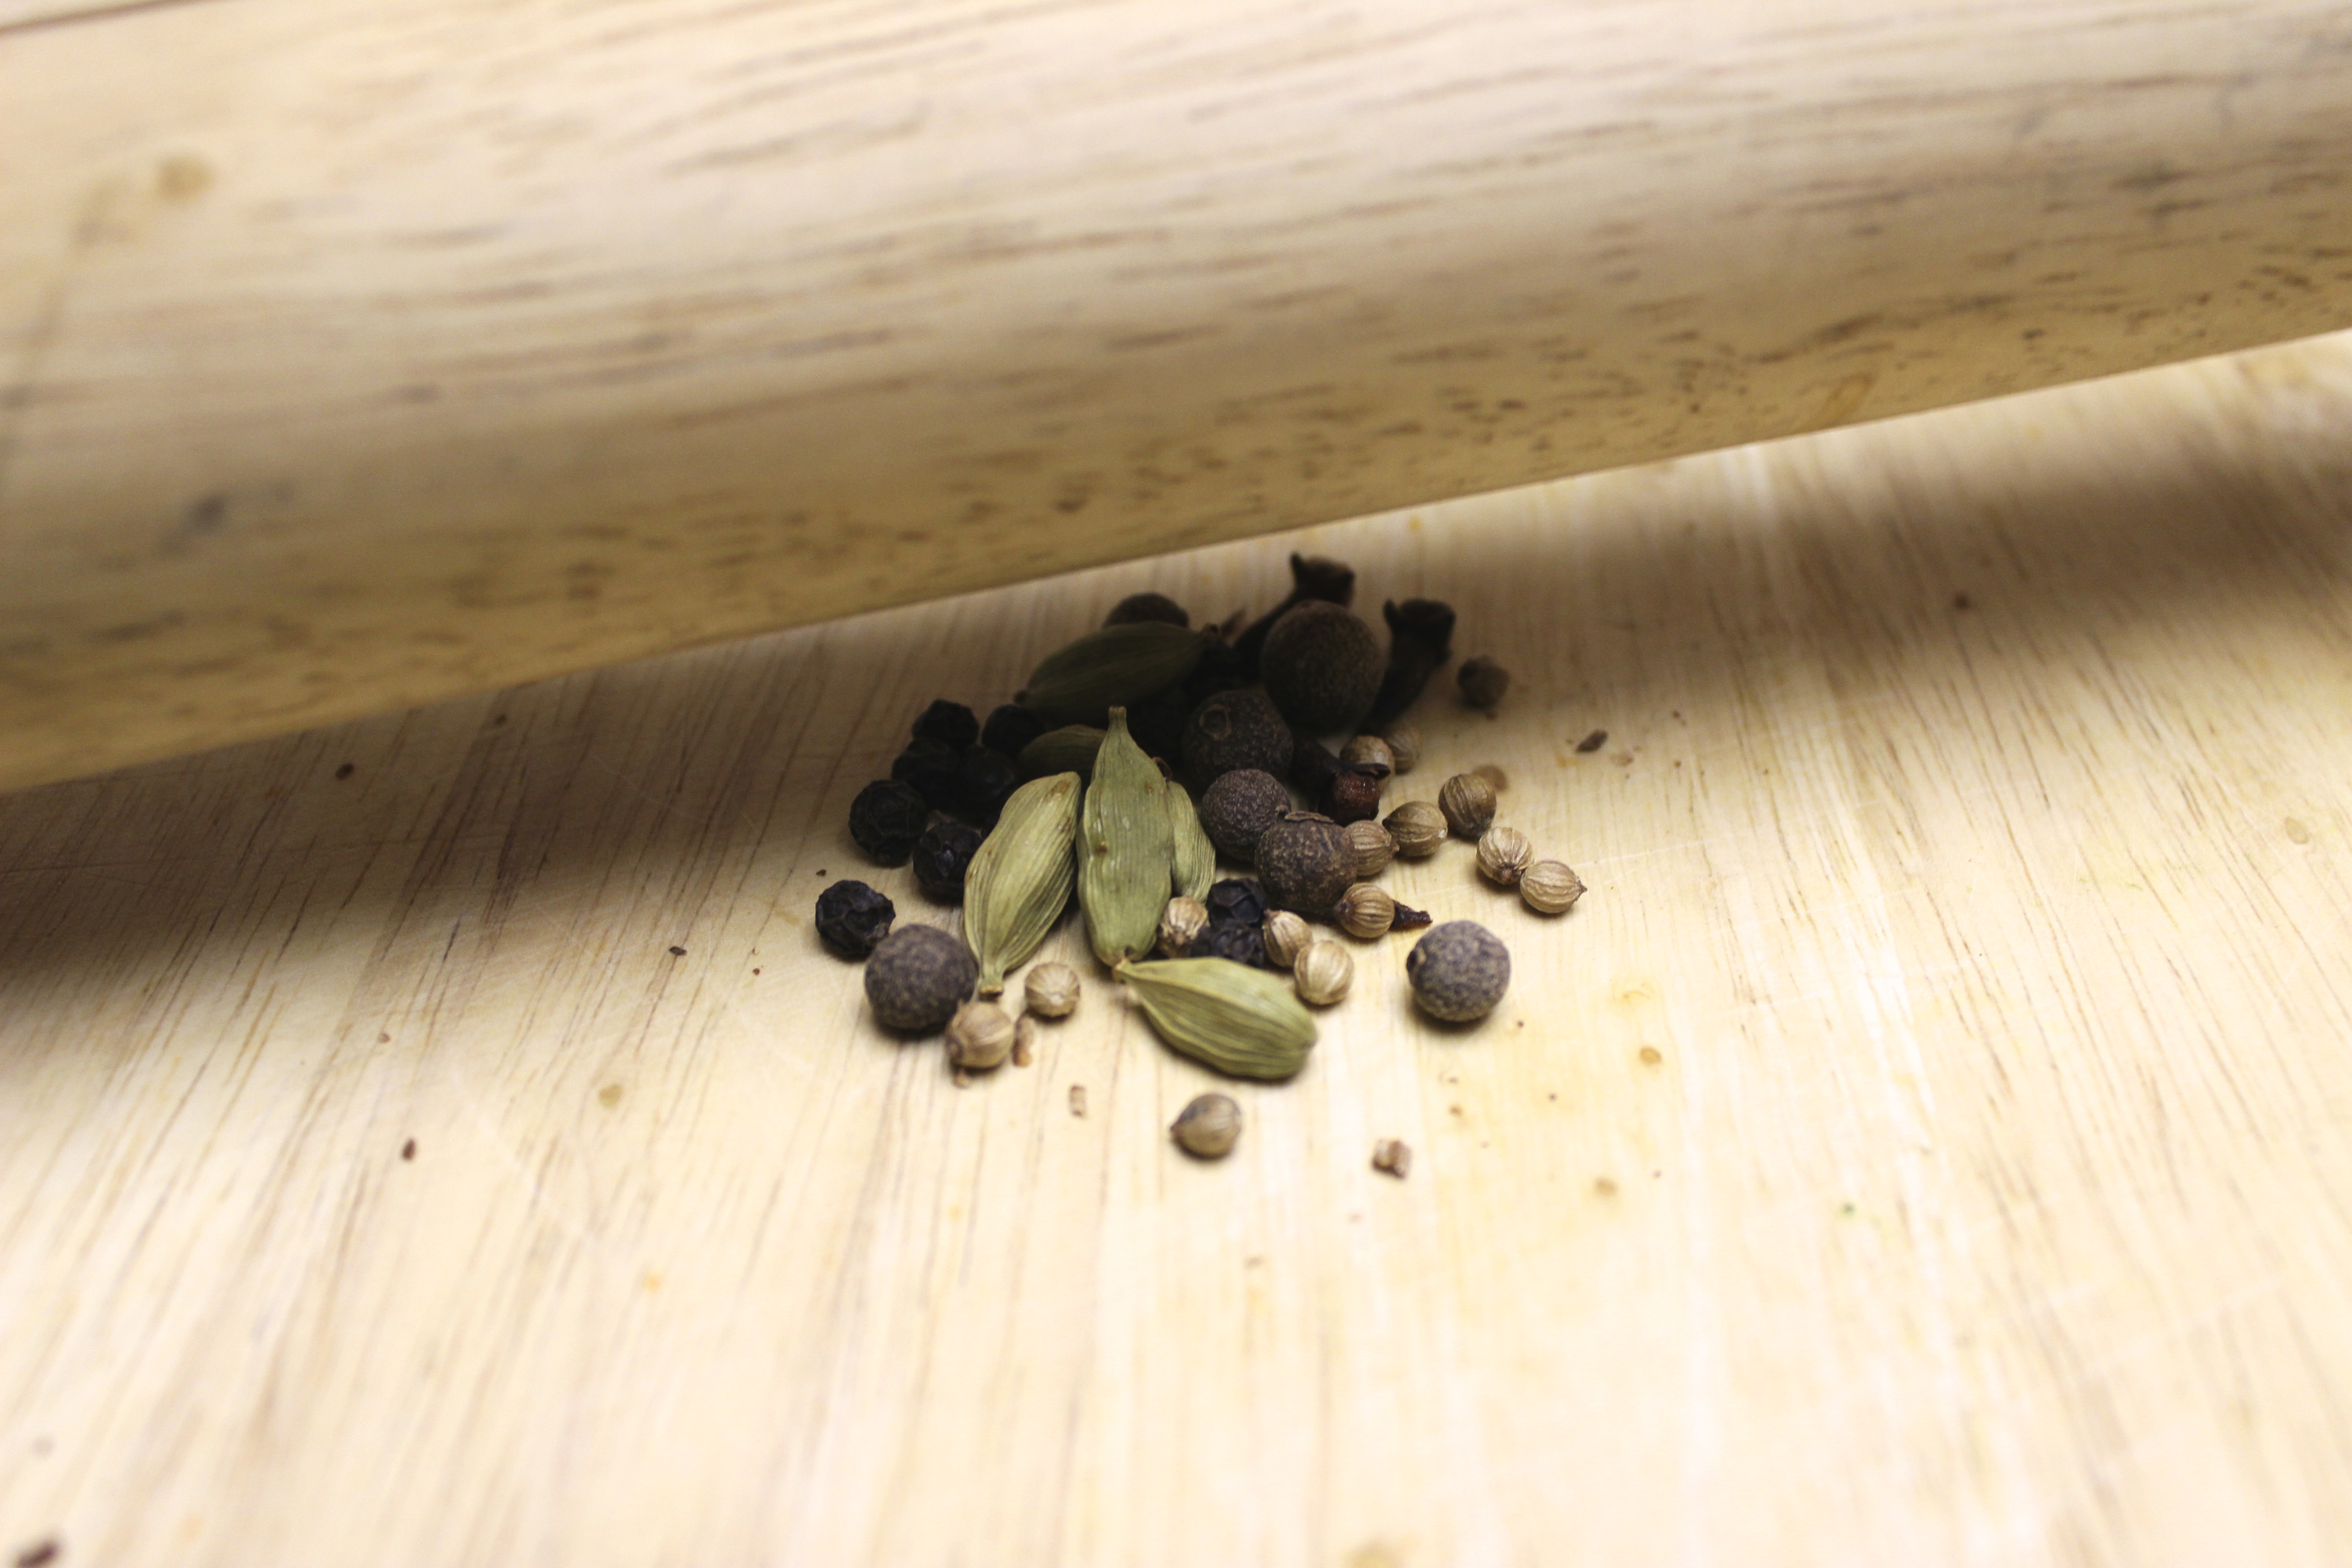
You need these spices:
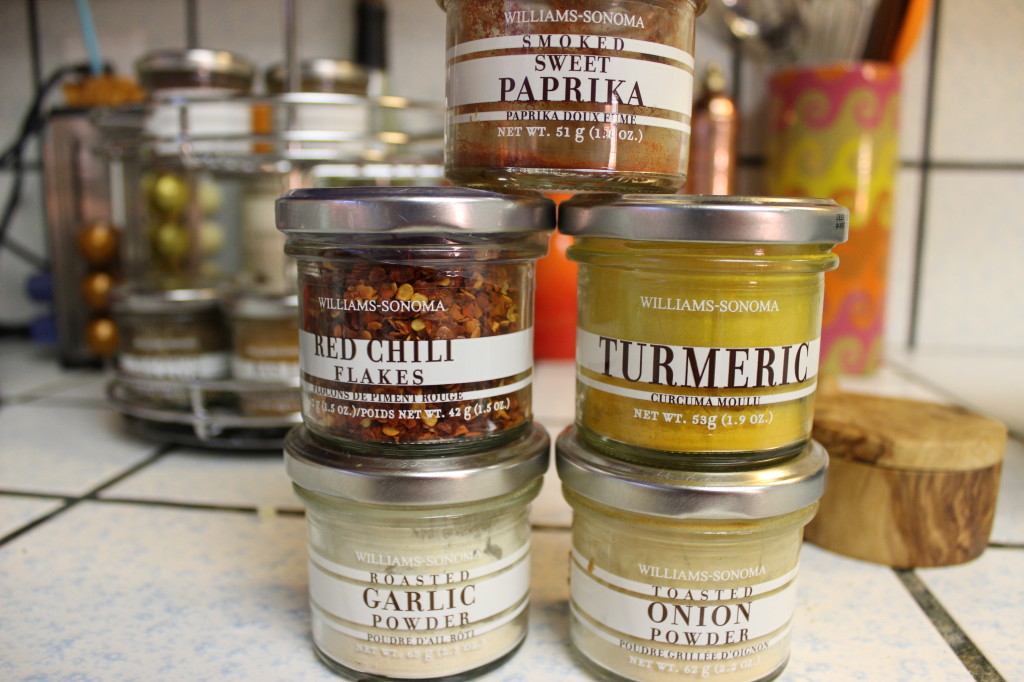
I used 1 tsp of paprika, and 1/4 tsp of all the other spices. The amount of red chili flakes is up to you and how spicy you like it.
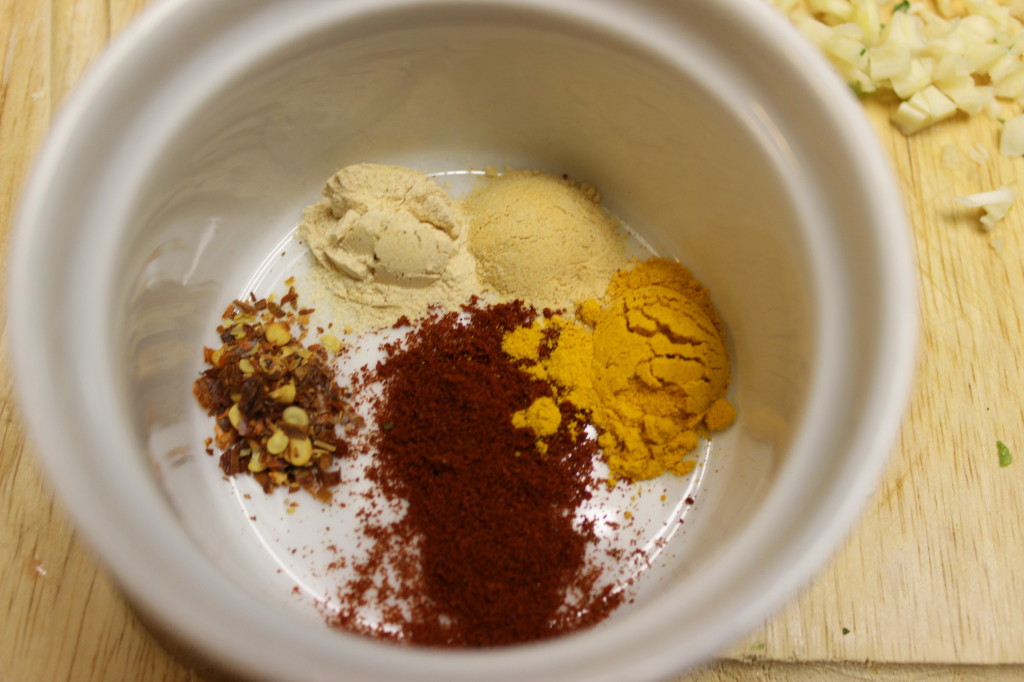
It looks like a paw print. Awww. A spicy paw.
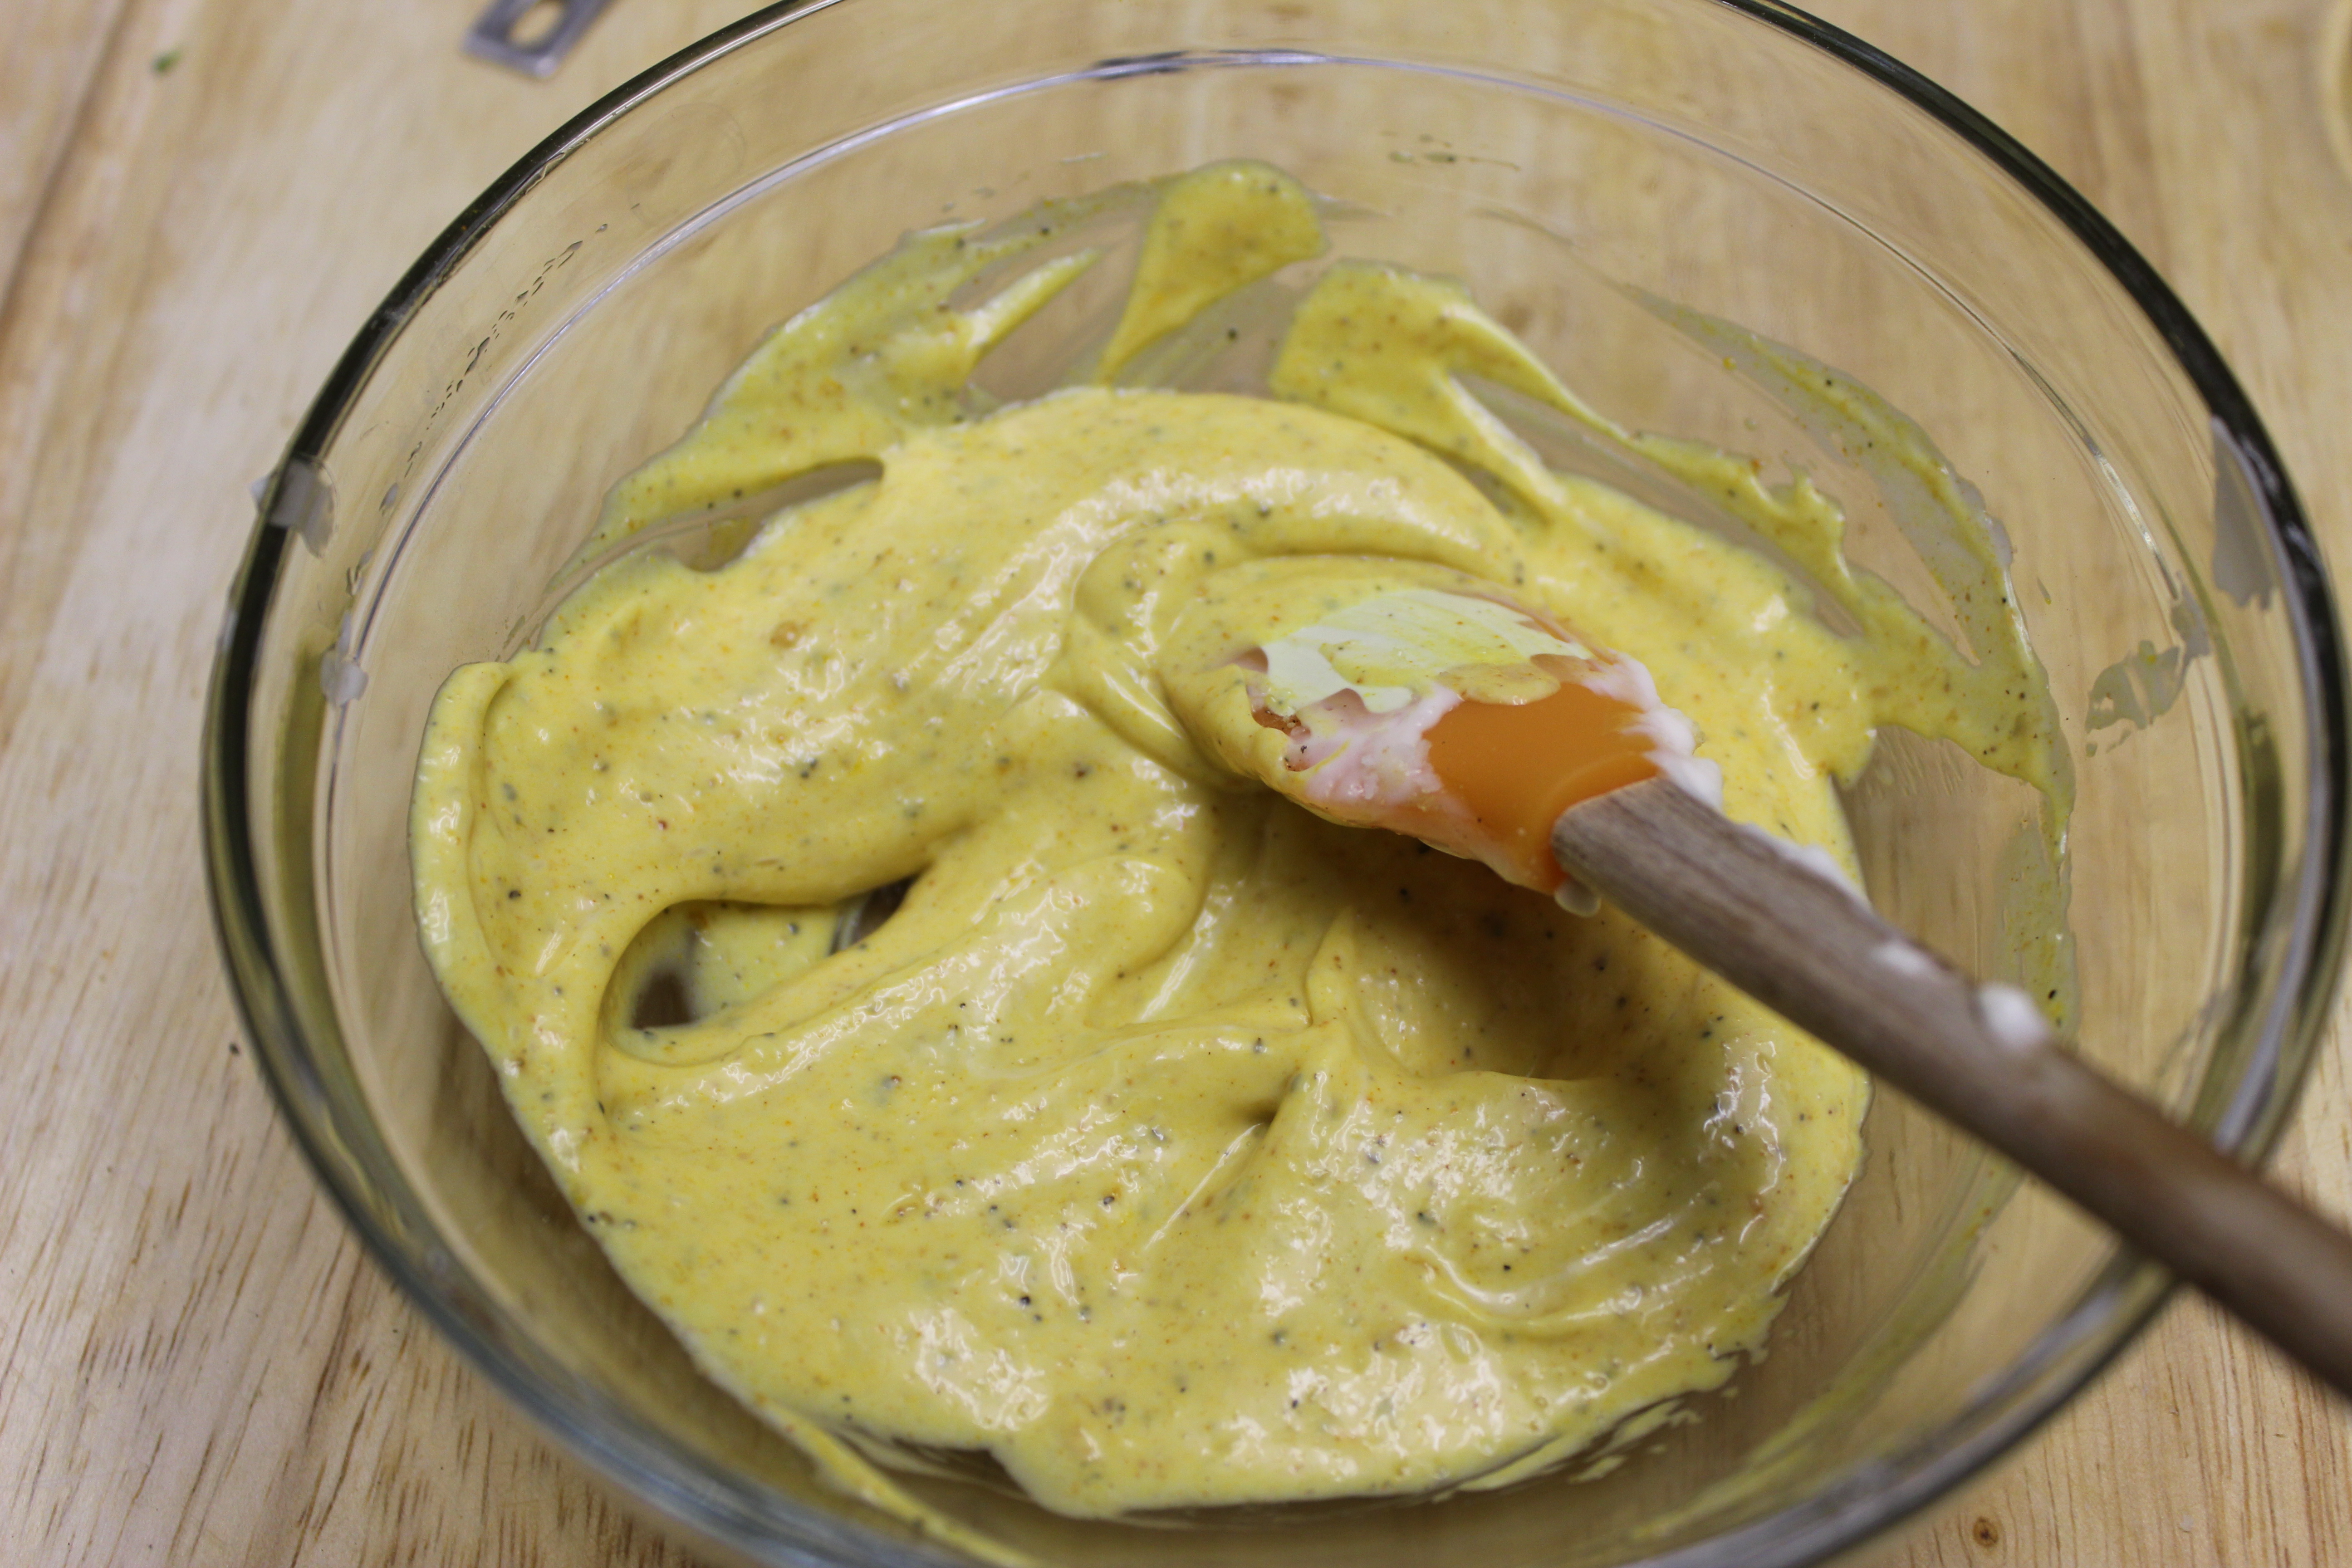
Mix.

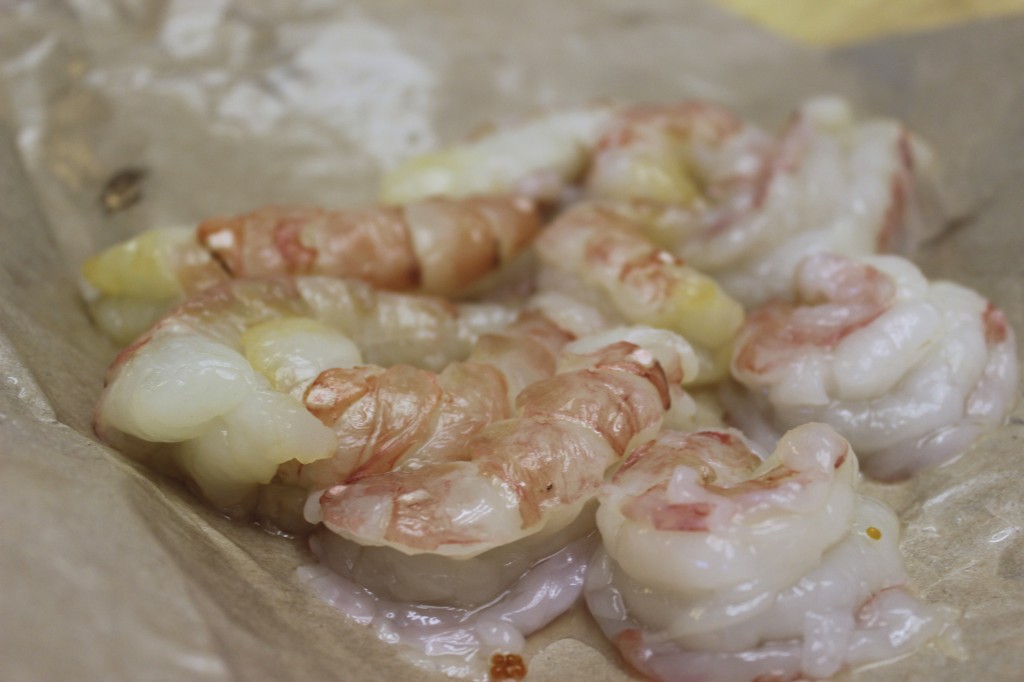
Ok now it’s time to prep your shrimp if you bought them with the shell on.
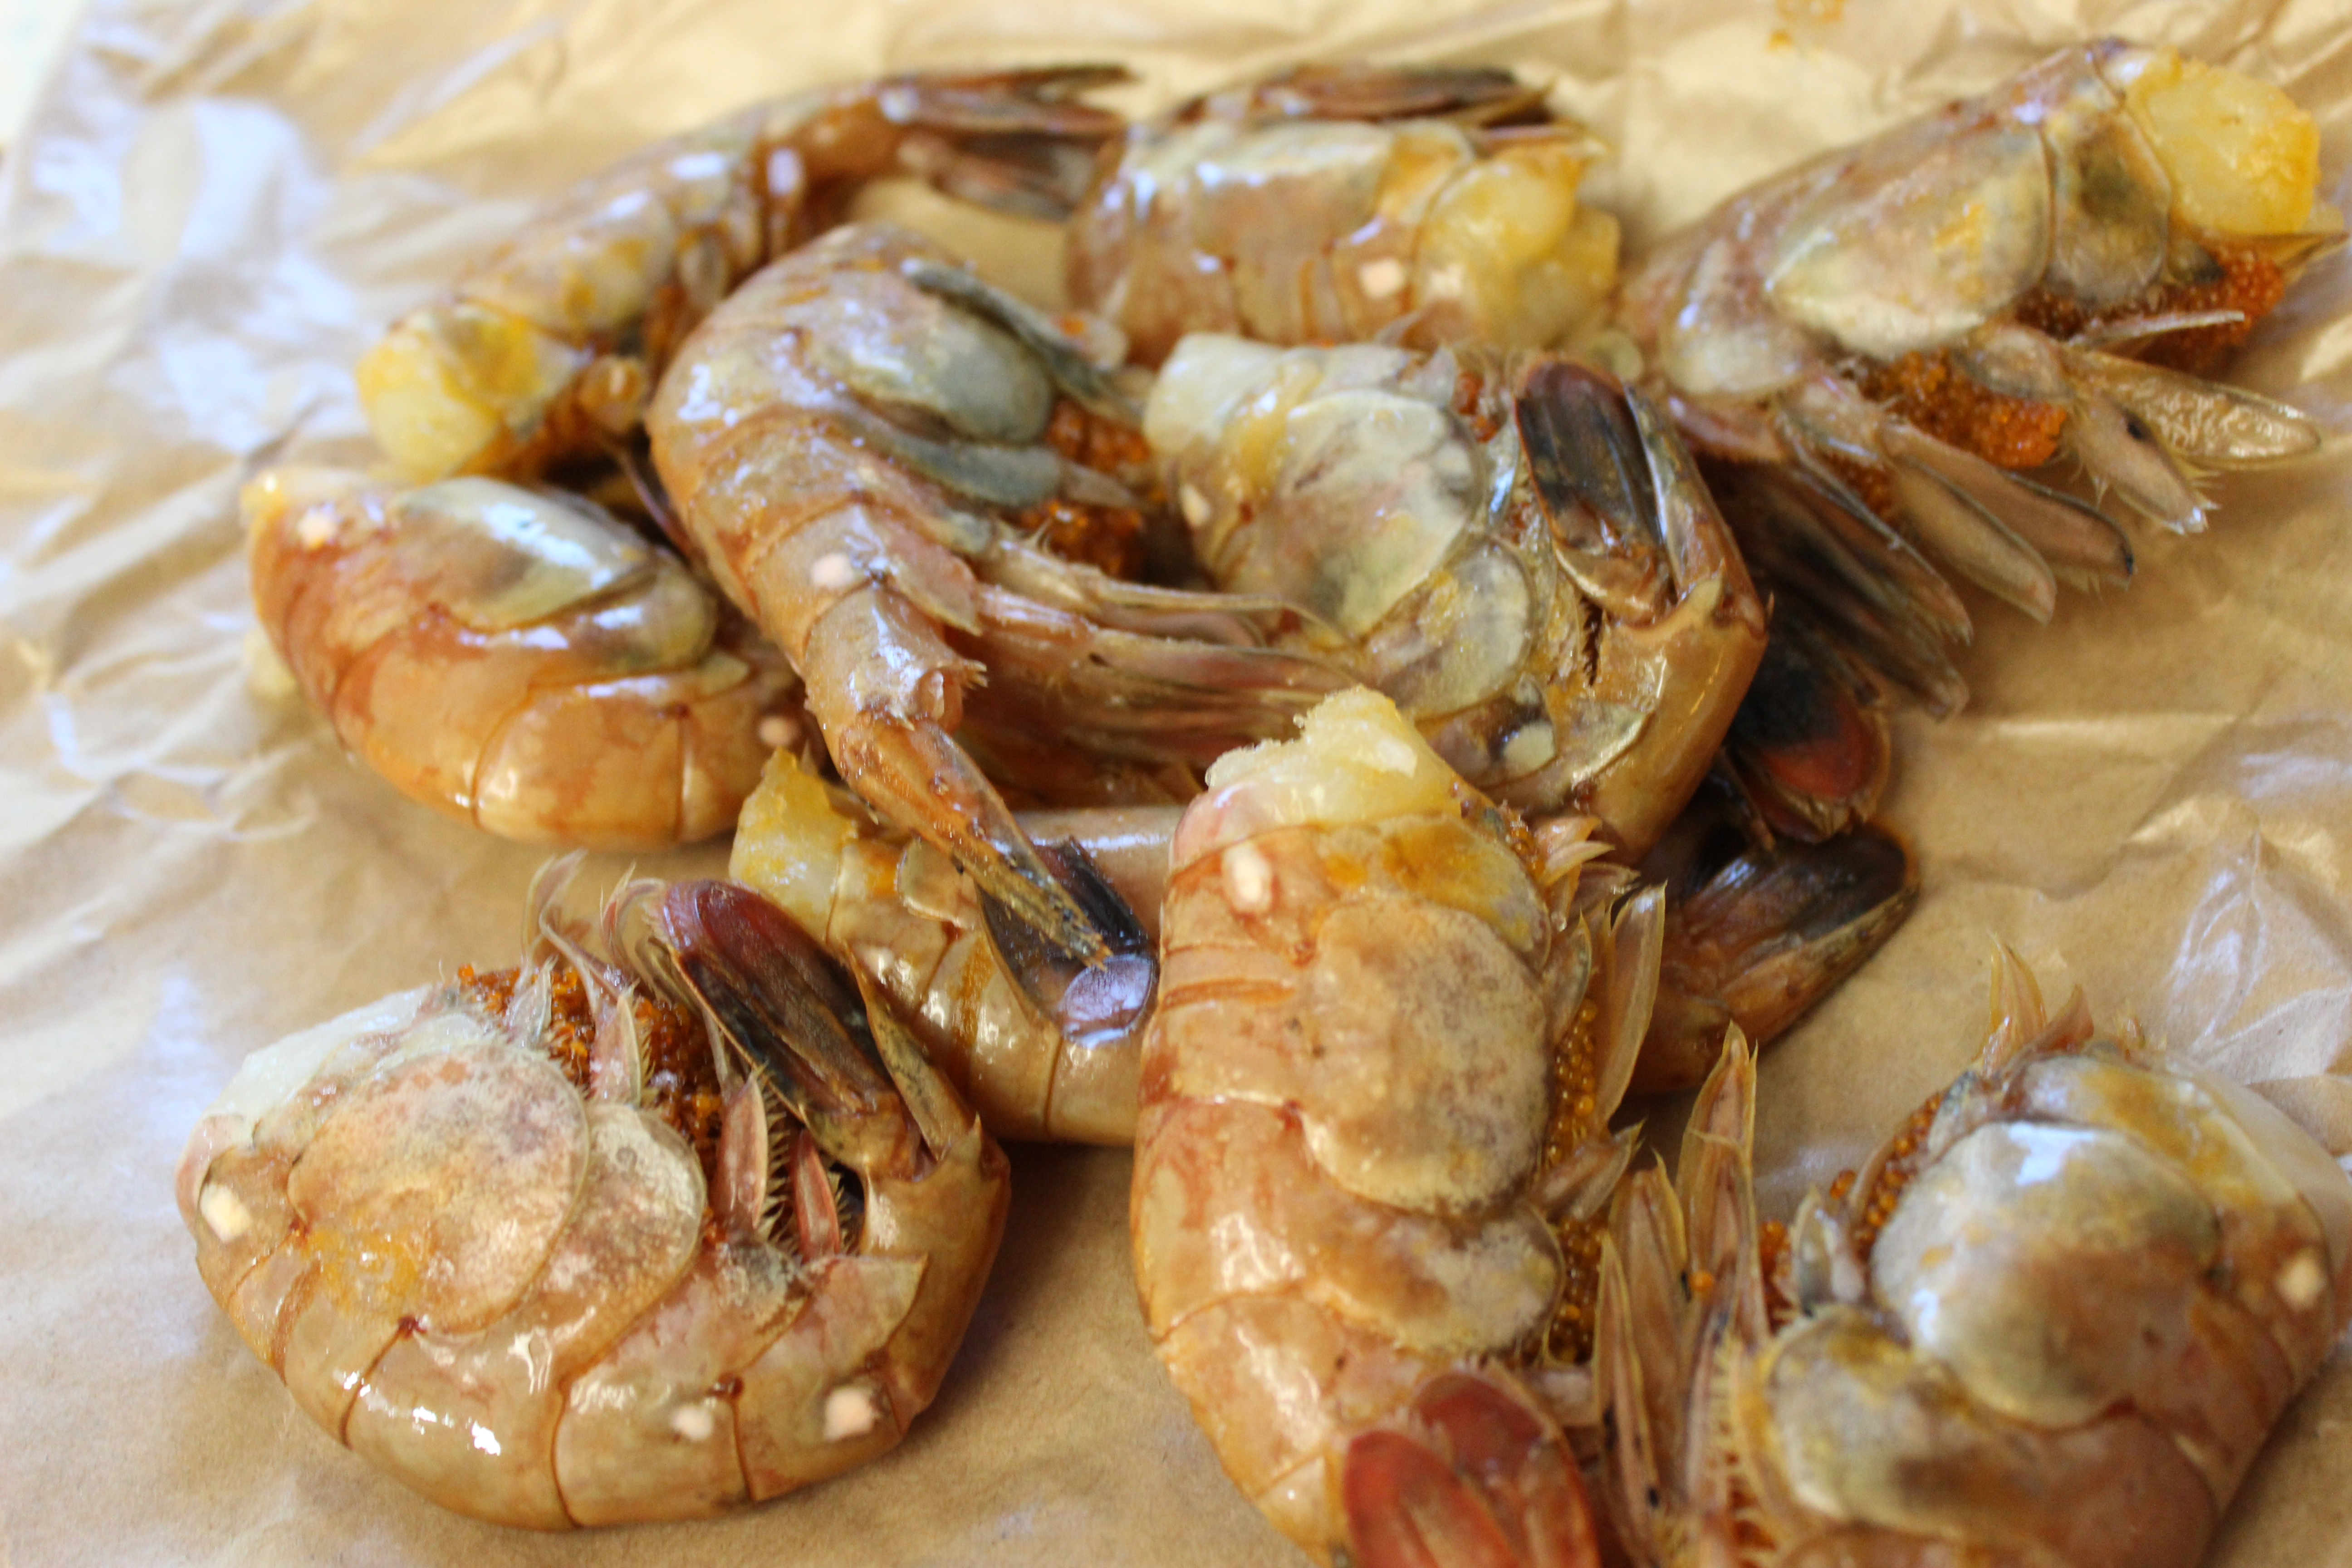
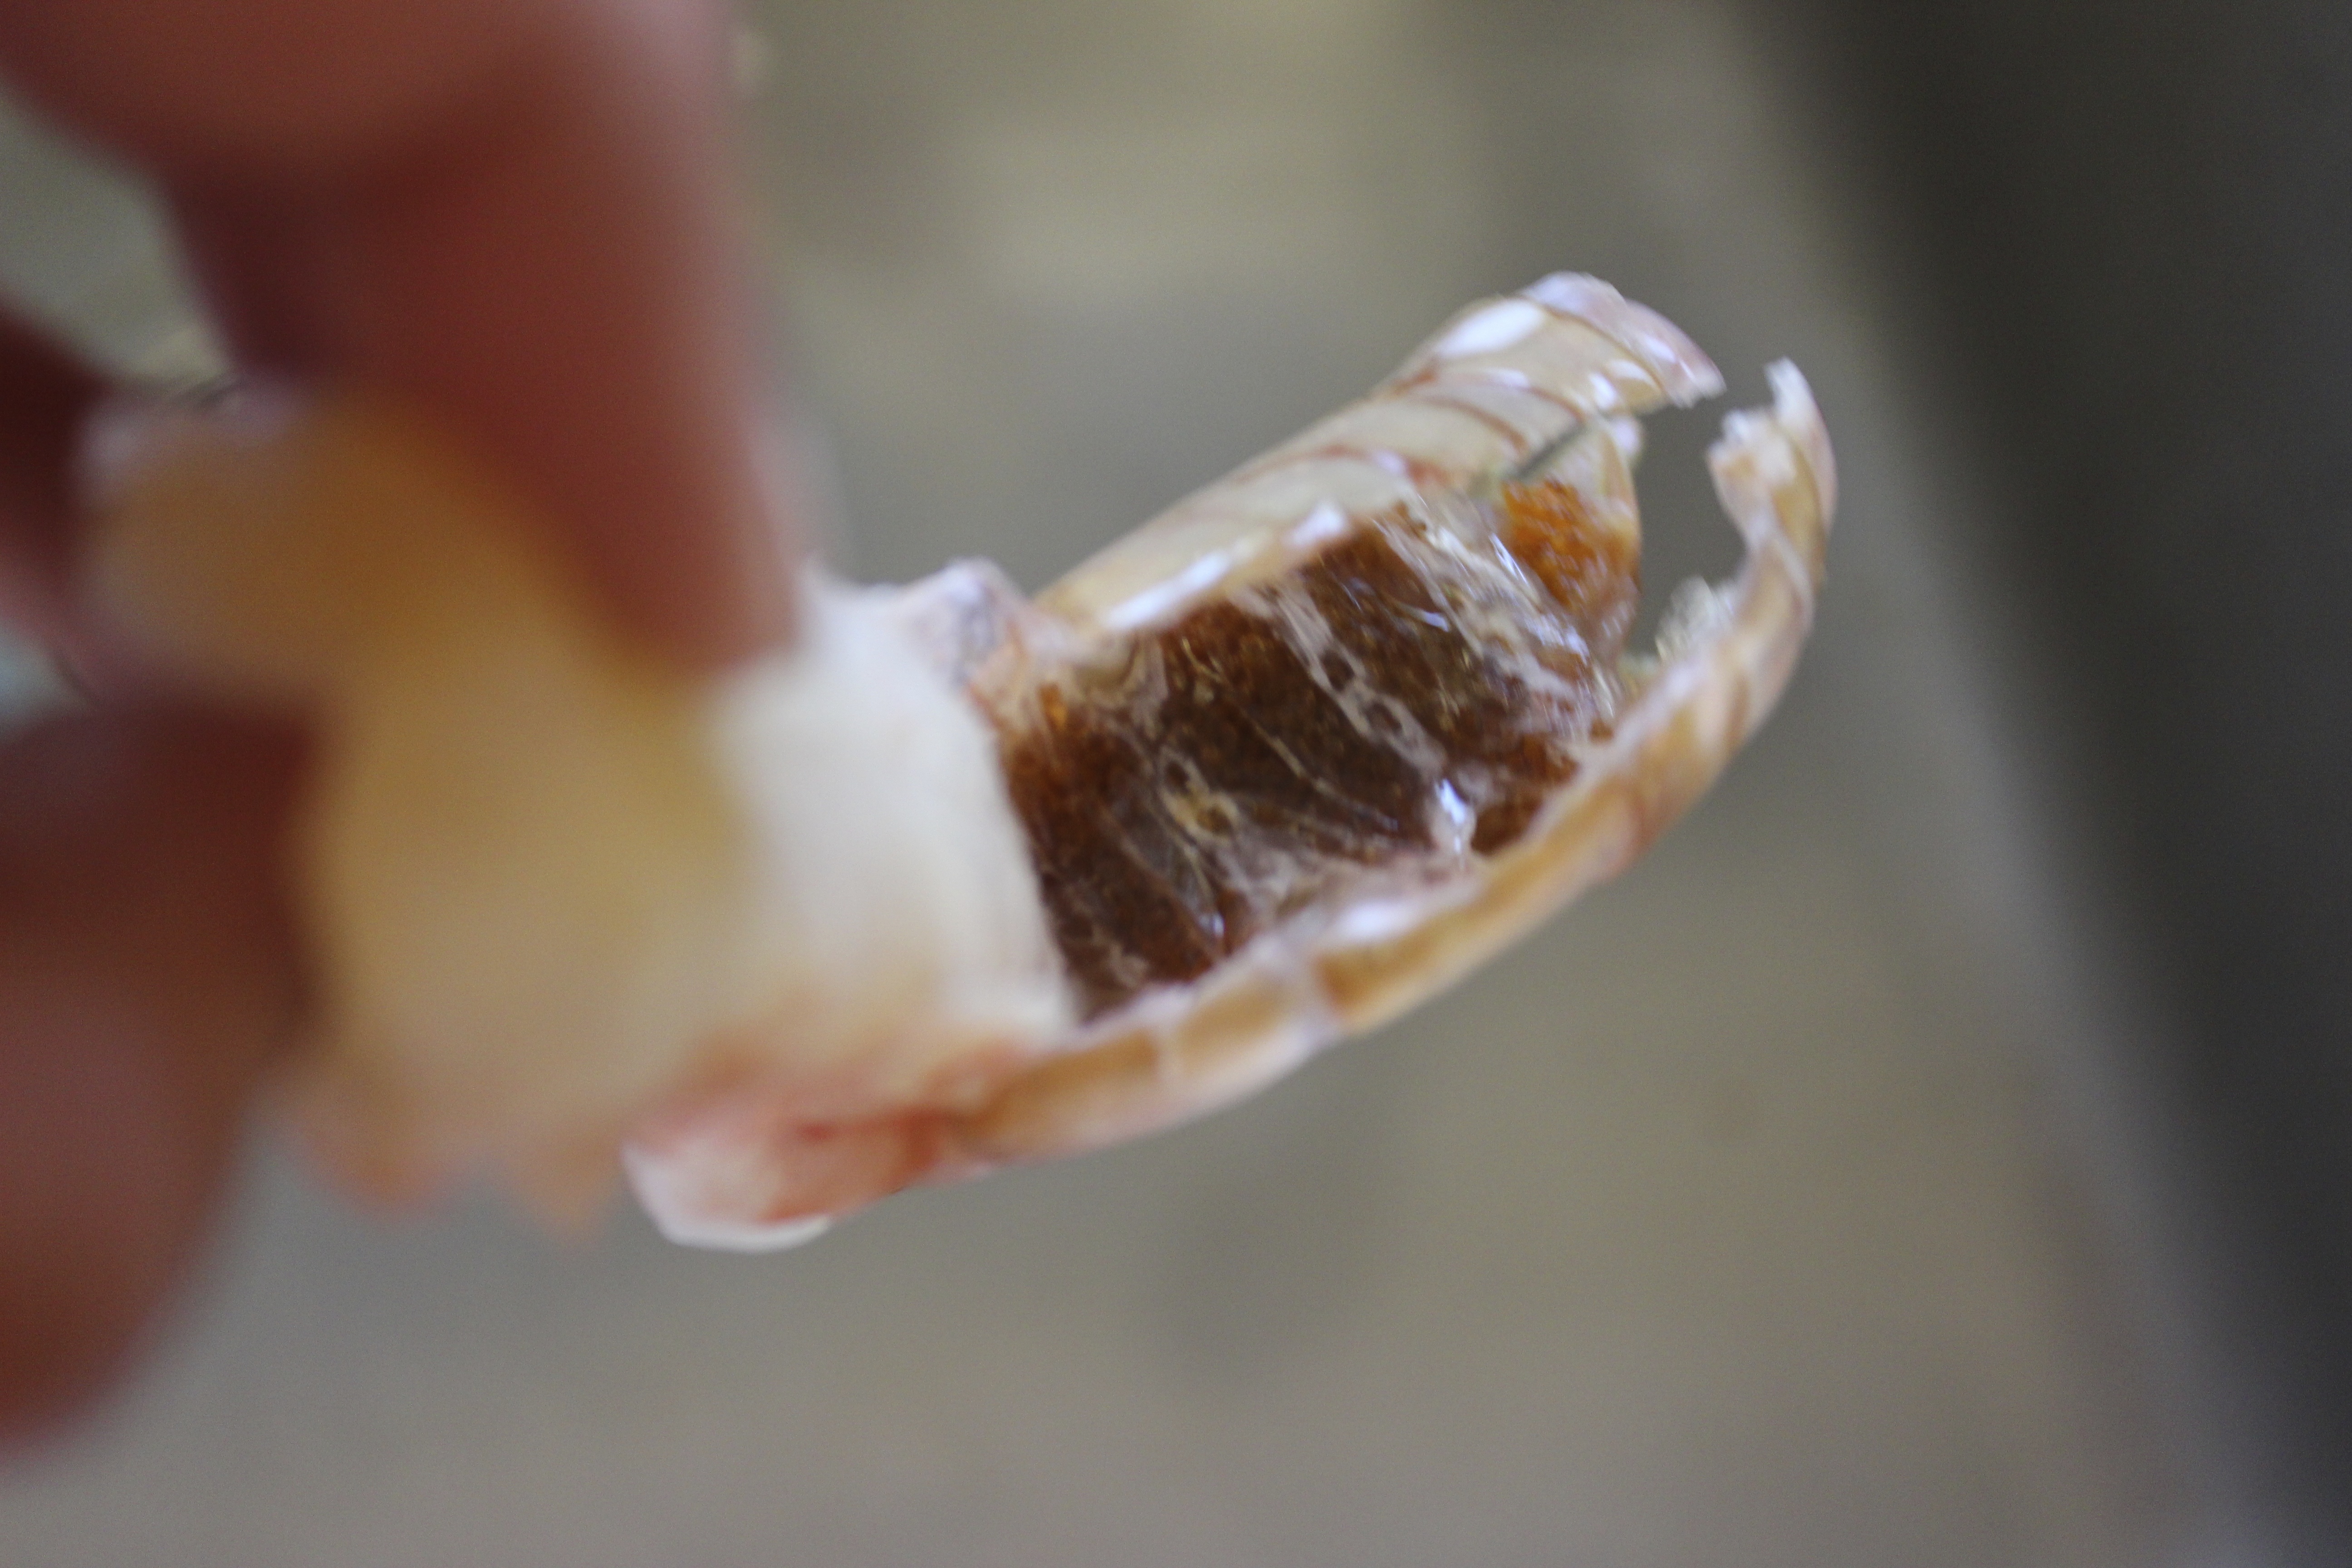
I bought these prawns from Whole Foods and when I got home I noticed something … well something that caused me to scream, cry and rock back and forth in the fetal position.

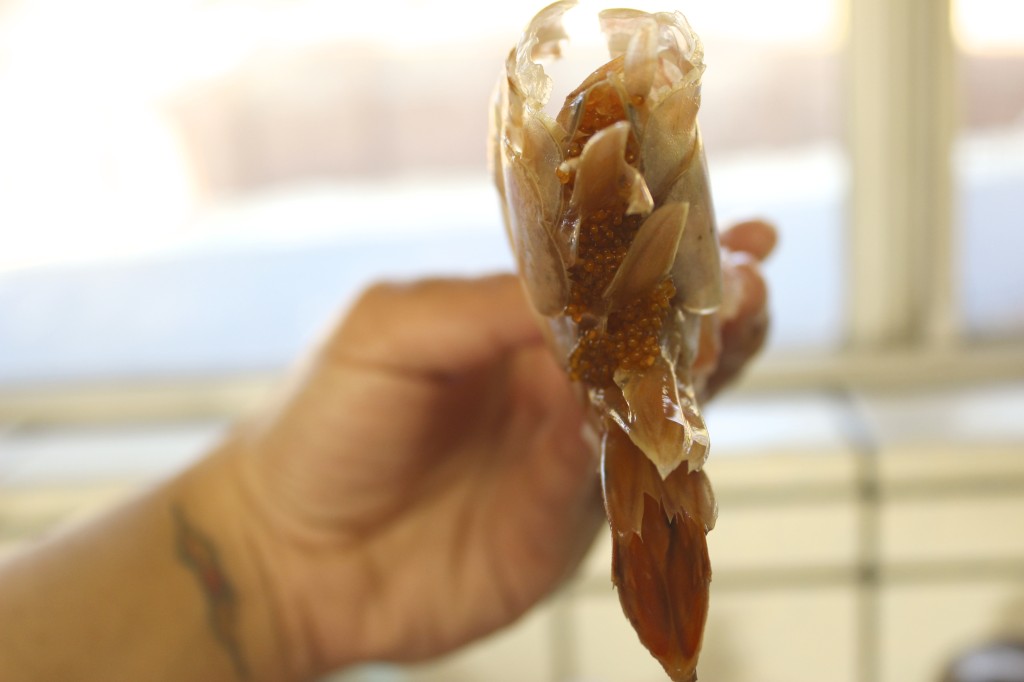
Look closely. Do you see it?
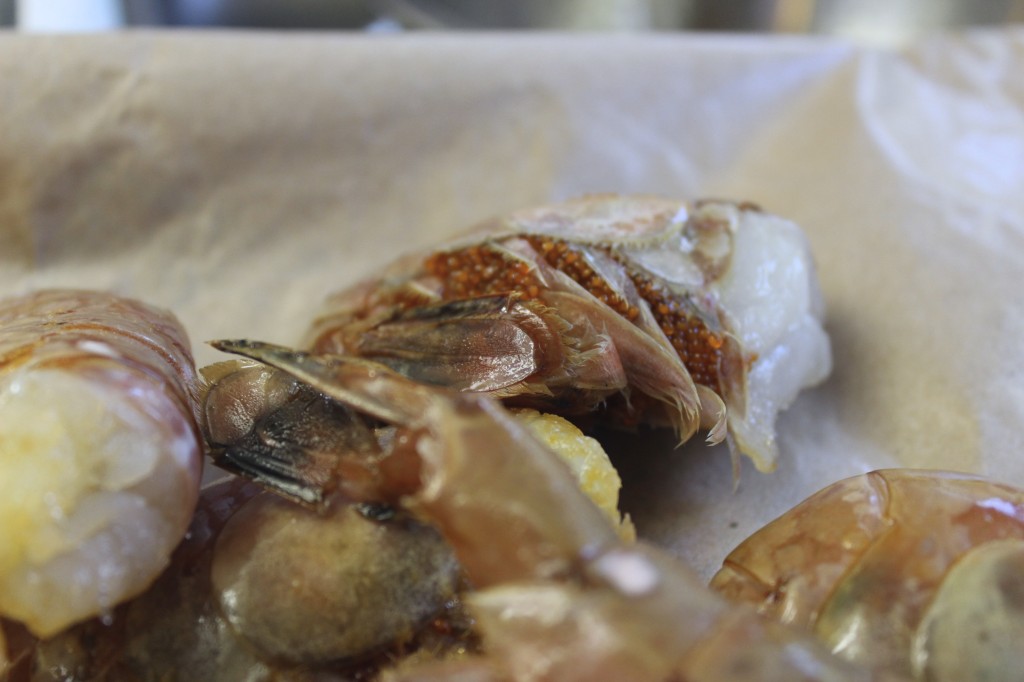
How about now? Do you see those little orange bubble things. That’s roe (a.k.a eggs). Yes, those are hundreds or billions of eggs! I screamed. I cried. I googled.
Apparently these are female prawns who were carrying (read: protecting) their prawn-spawn (so proud of myself for that one) when they got caught. Tear. It’s a little too real for me. I wondered if it was safe to consume and found out that some people believe it’s great fortune to get prawns with roe and consider it a delicacy as well.
Not me. Not now. Not ever. I feel like a hypocrite because I always ask for sushi rolls to be modified with tobiko on the outside (smelt egg/fish roe) and it looks exactly like what my prawns were holding on to. Except the mother fish wasn’t holding on to the tobiko on my sushi. This is a very big difference.
So I totally psyched myself out and was like I have to touch the eggs to get rid of them. I’m gonna die. The eggs are going hatch inside of me.
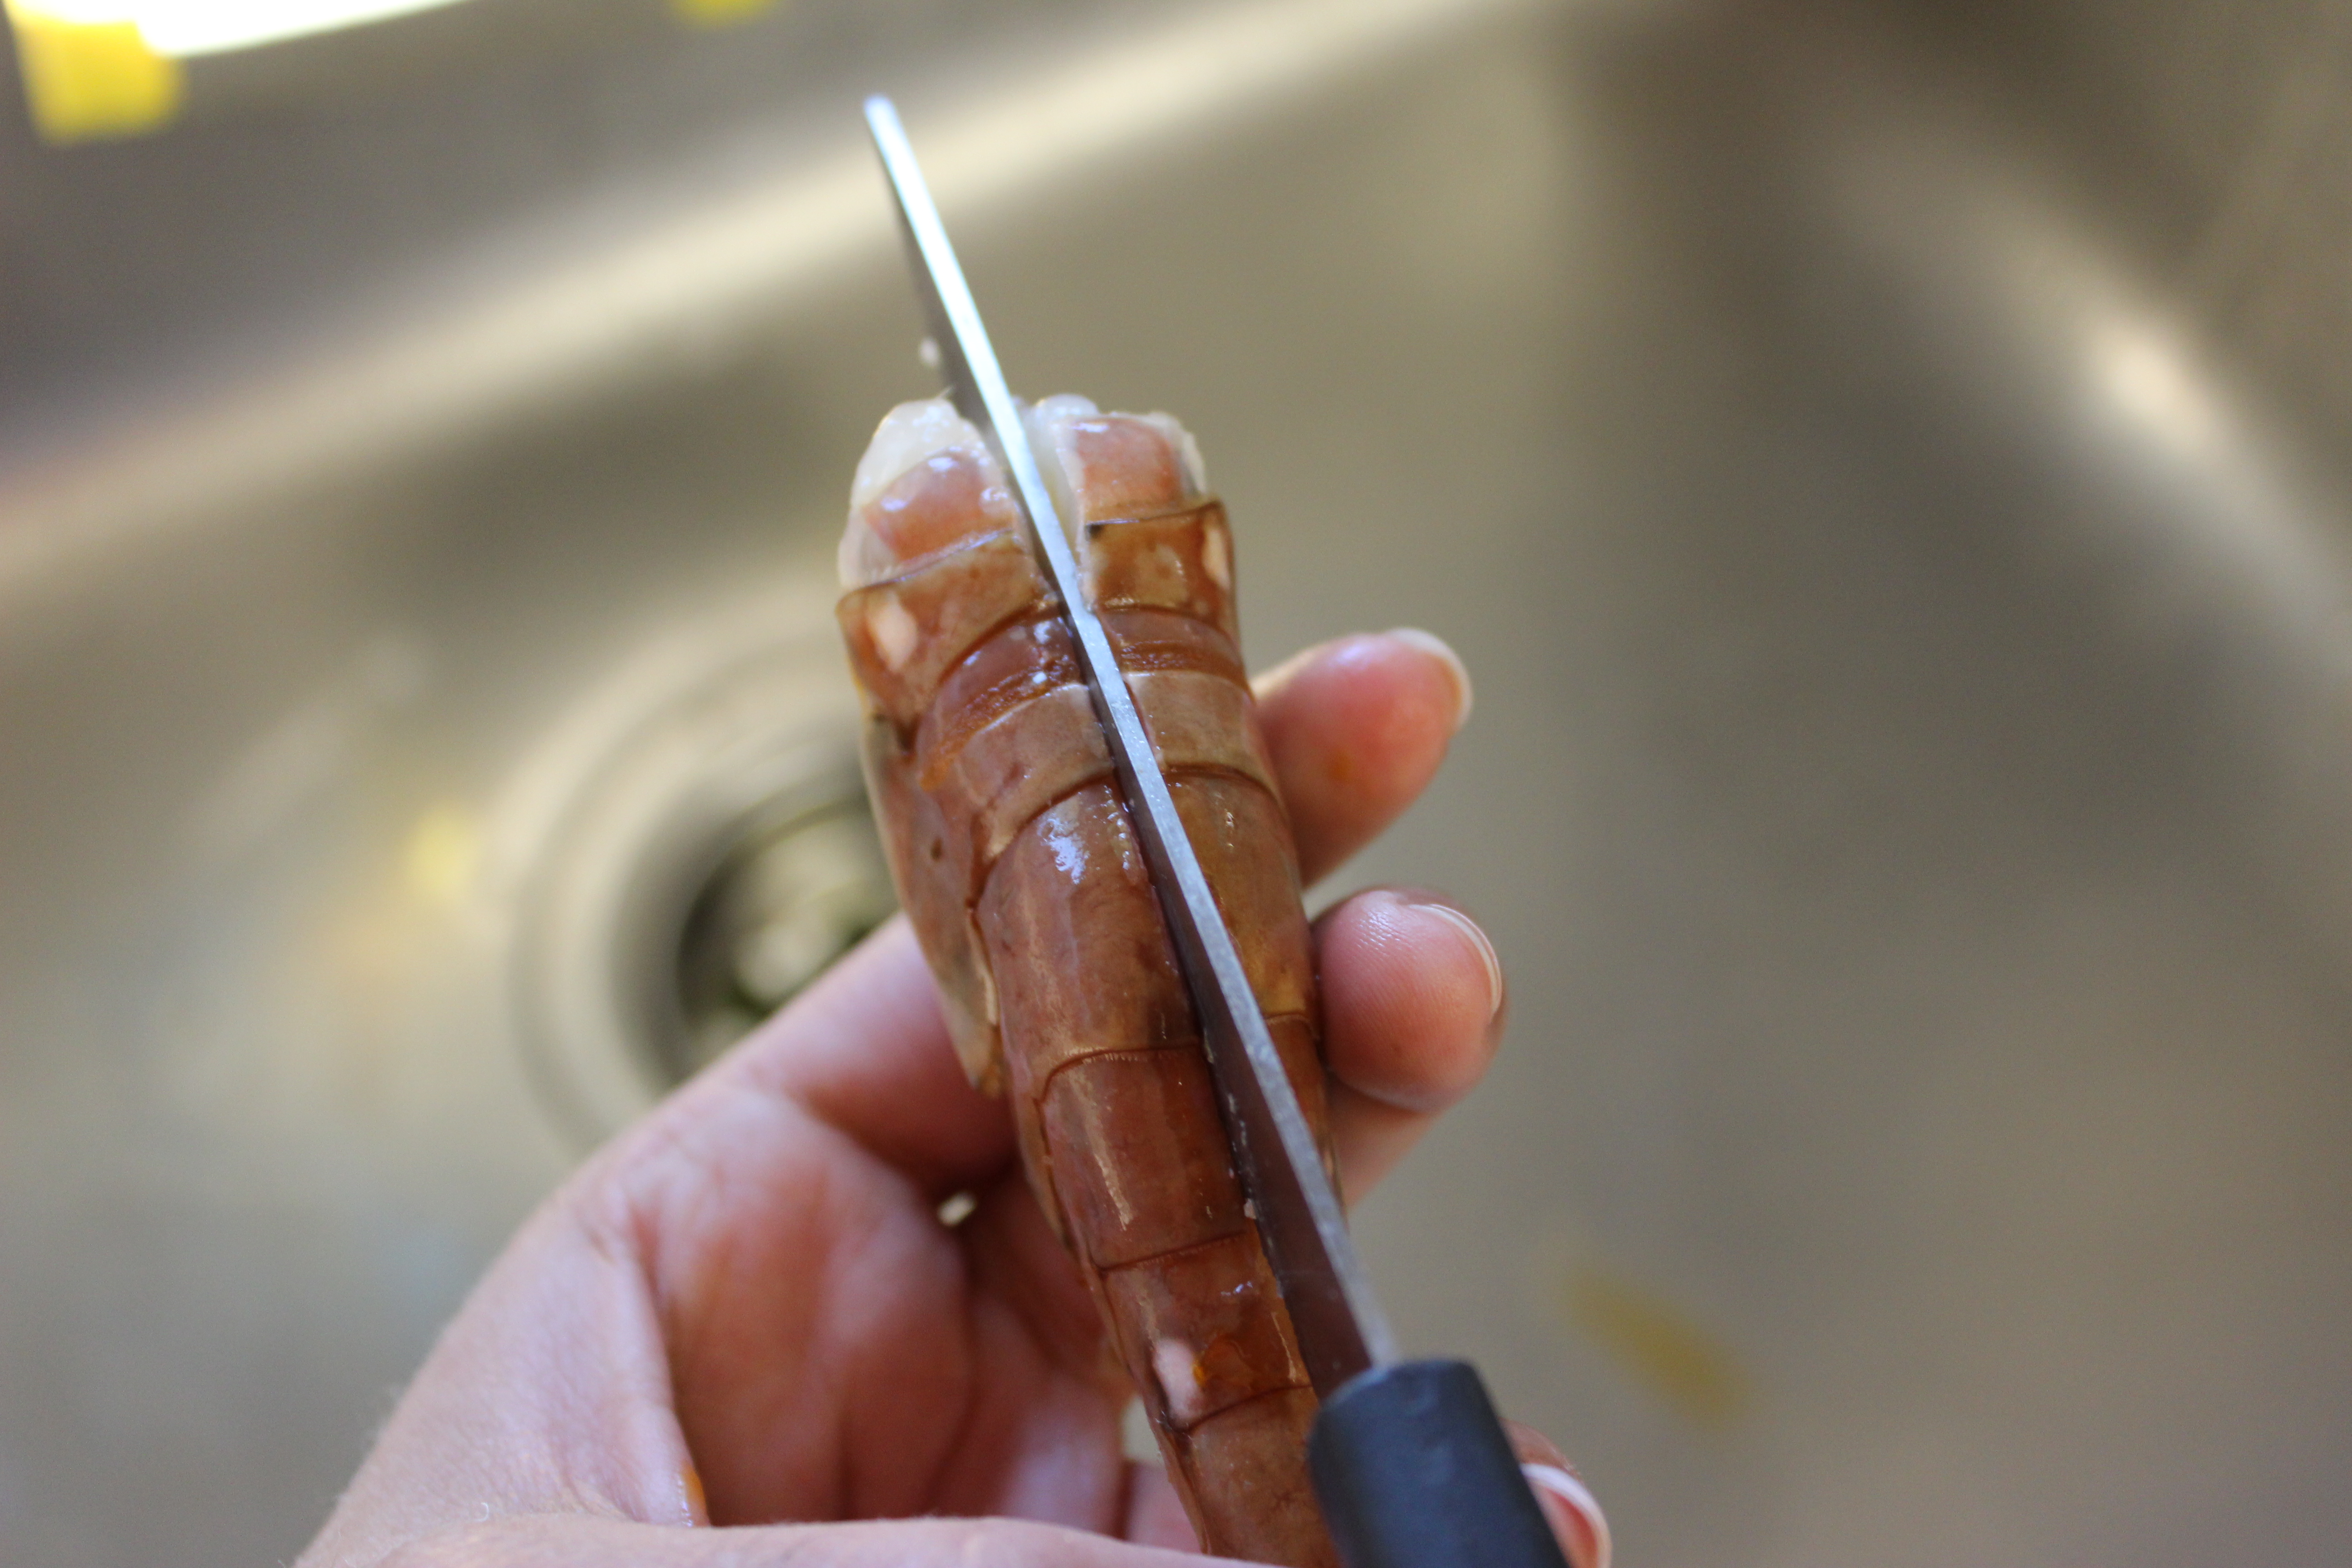
Then I put my big girl panties on and decided to proceed how I would with regular, egg-free shrimp. I started by cutting down the back of the prawn to remove the vein.

Then, instead of grabbing the legs like I usually do, I decided to pull the prawn out of the shell and it came out so easily! I didn’t even have to touch the eggs! The only thing is they leave a bit of orange coloring behind but it doesn’t smell or taste like anything and it’s undetectable in the final product.
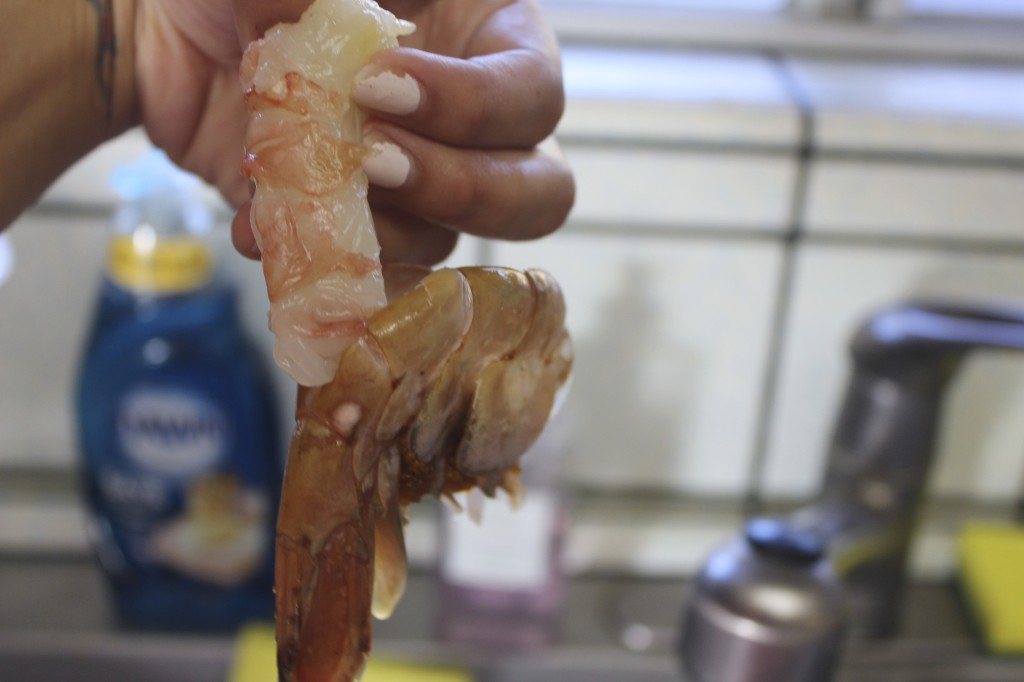
Excuse my mani.

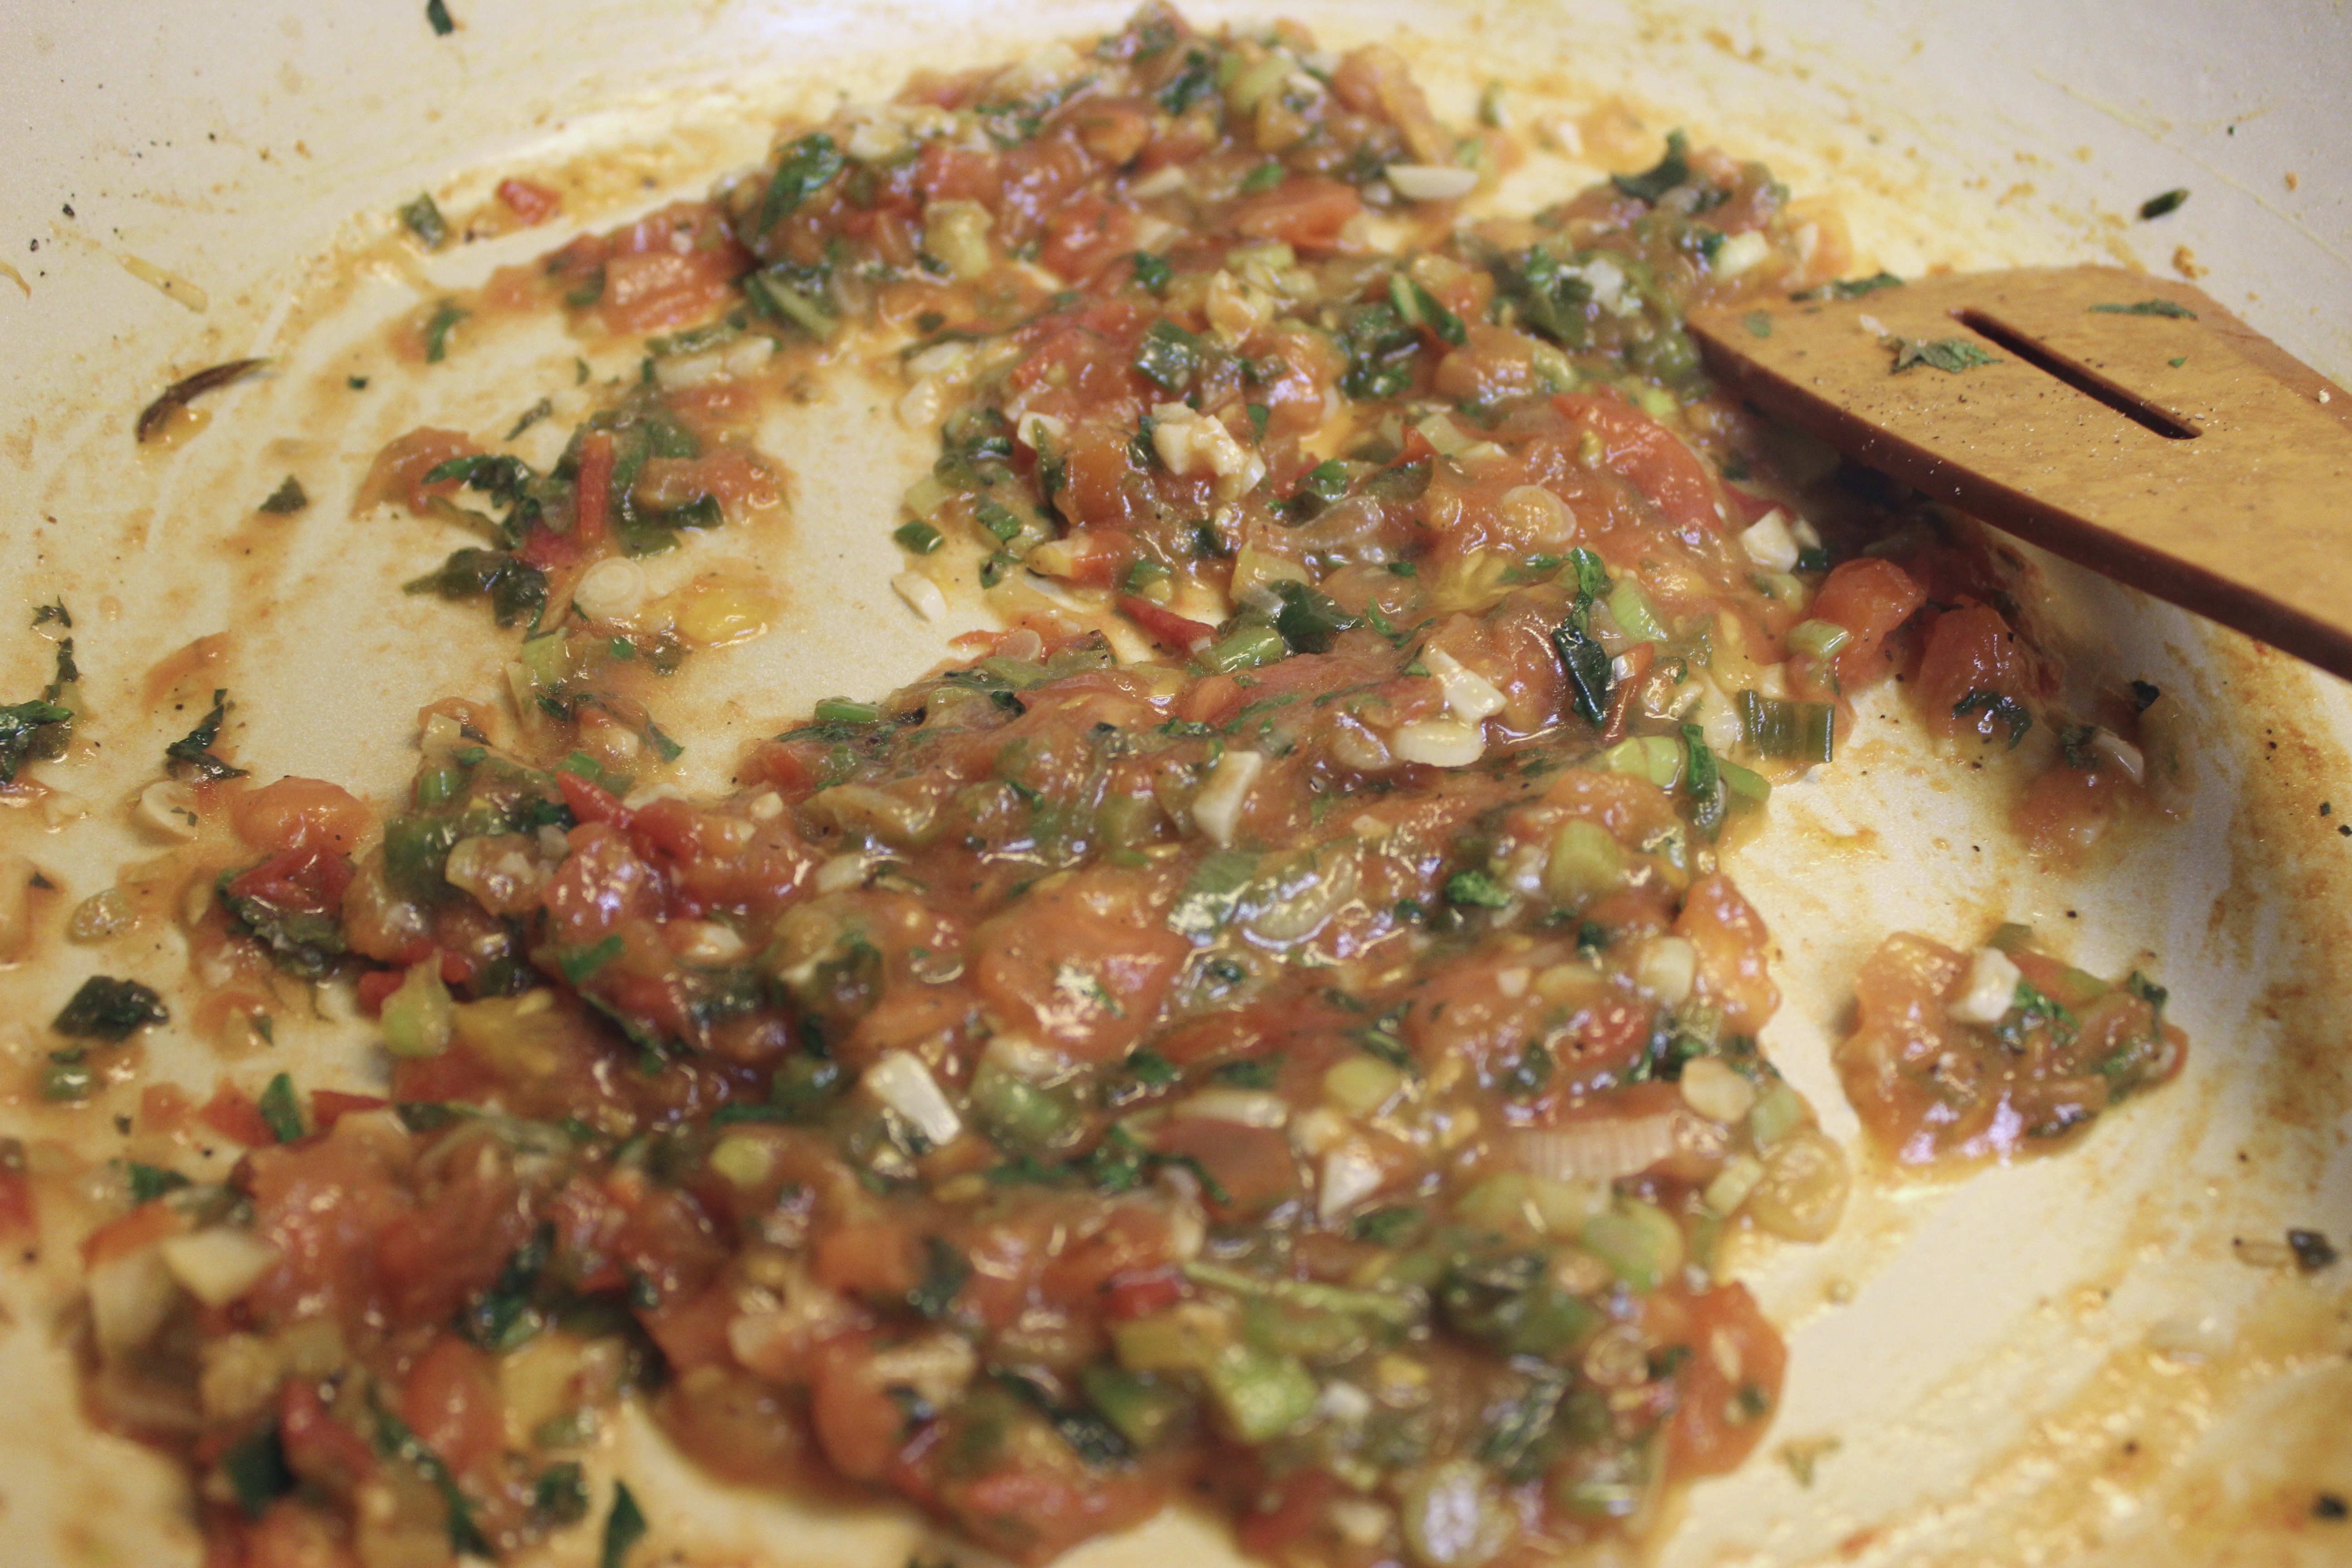
Once I had all my prawns prepped, I moved on to the sauce.
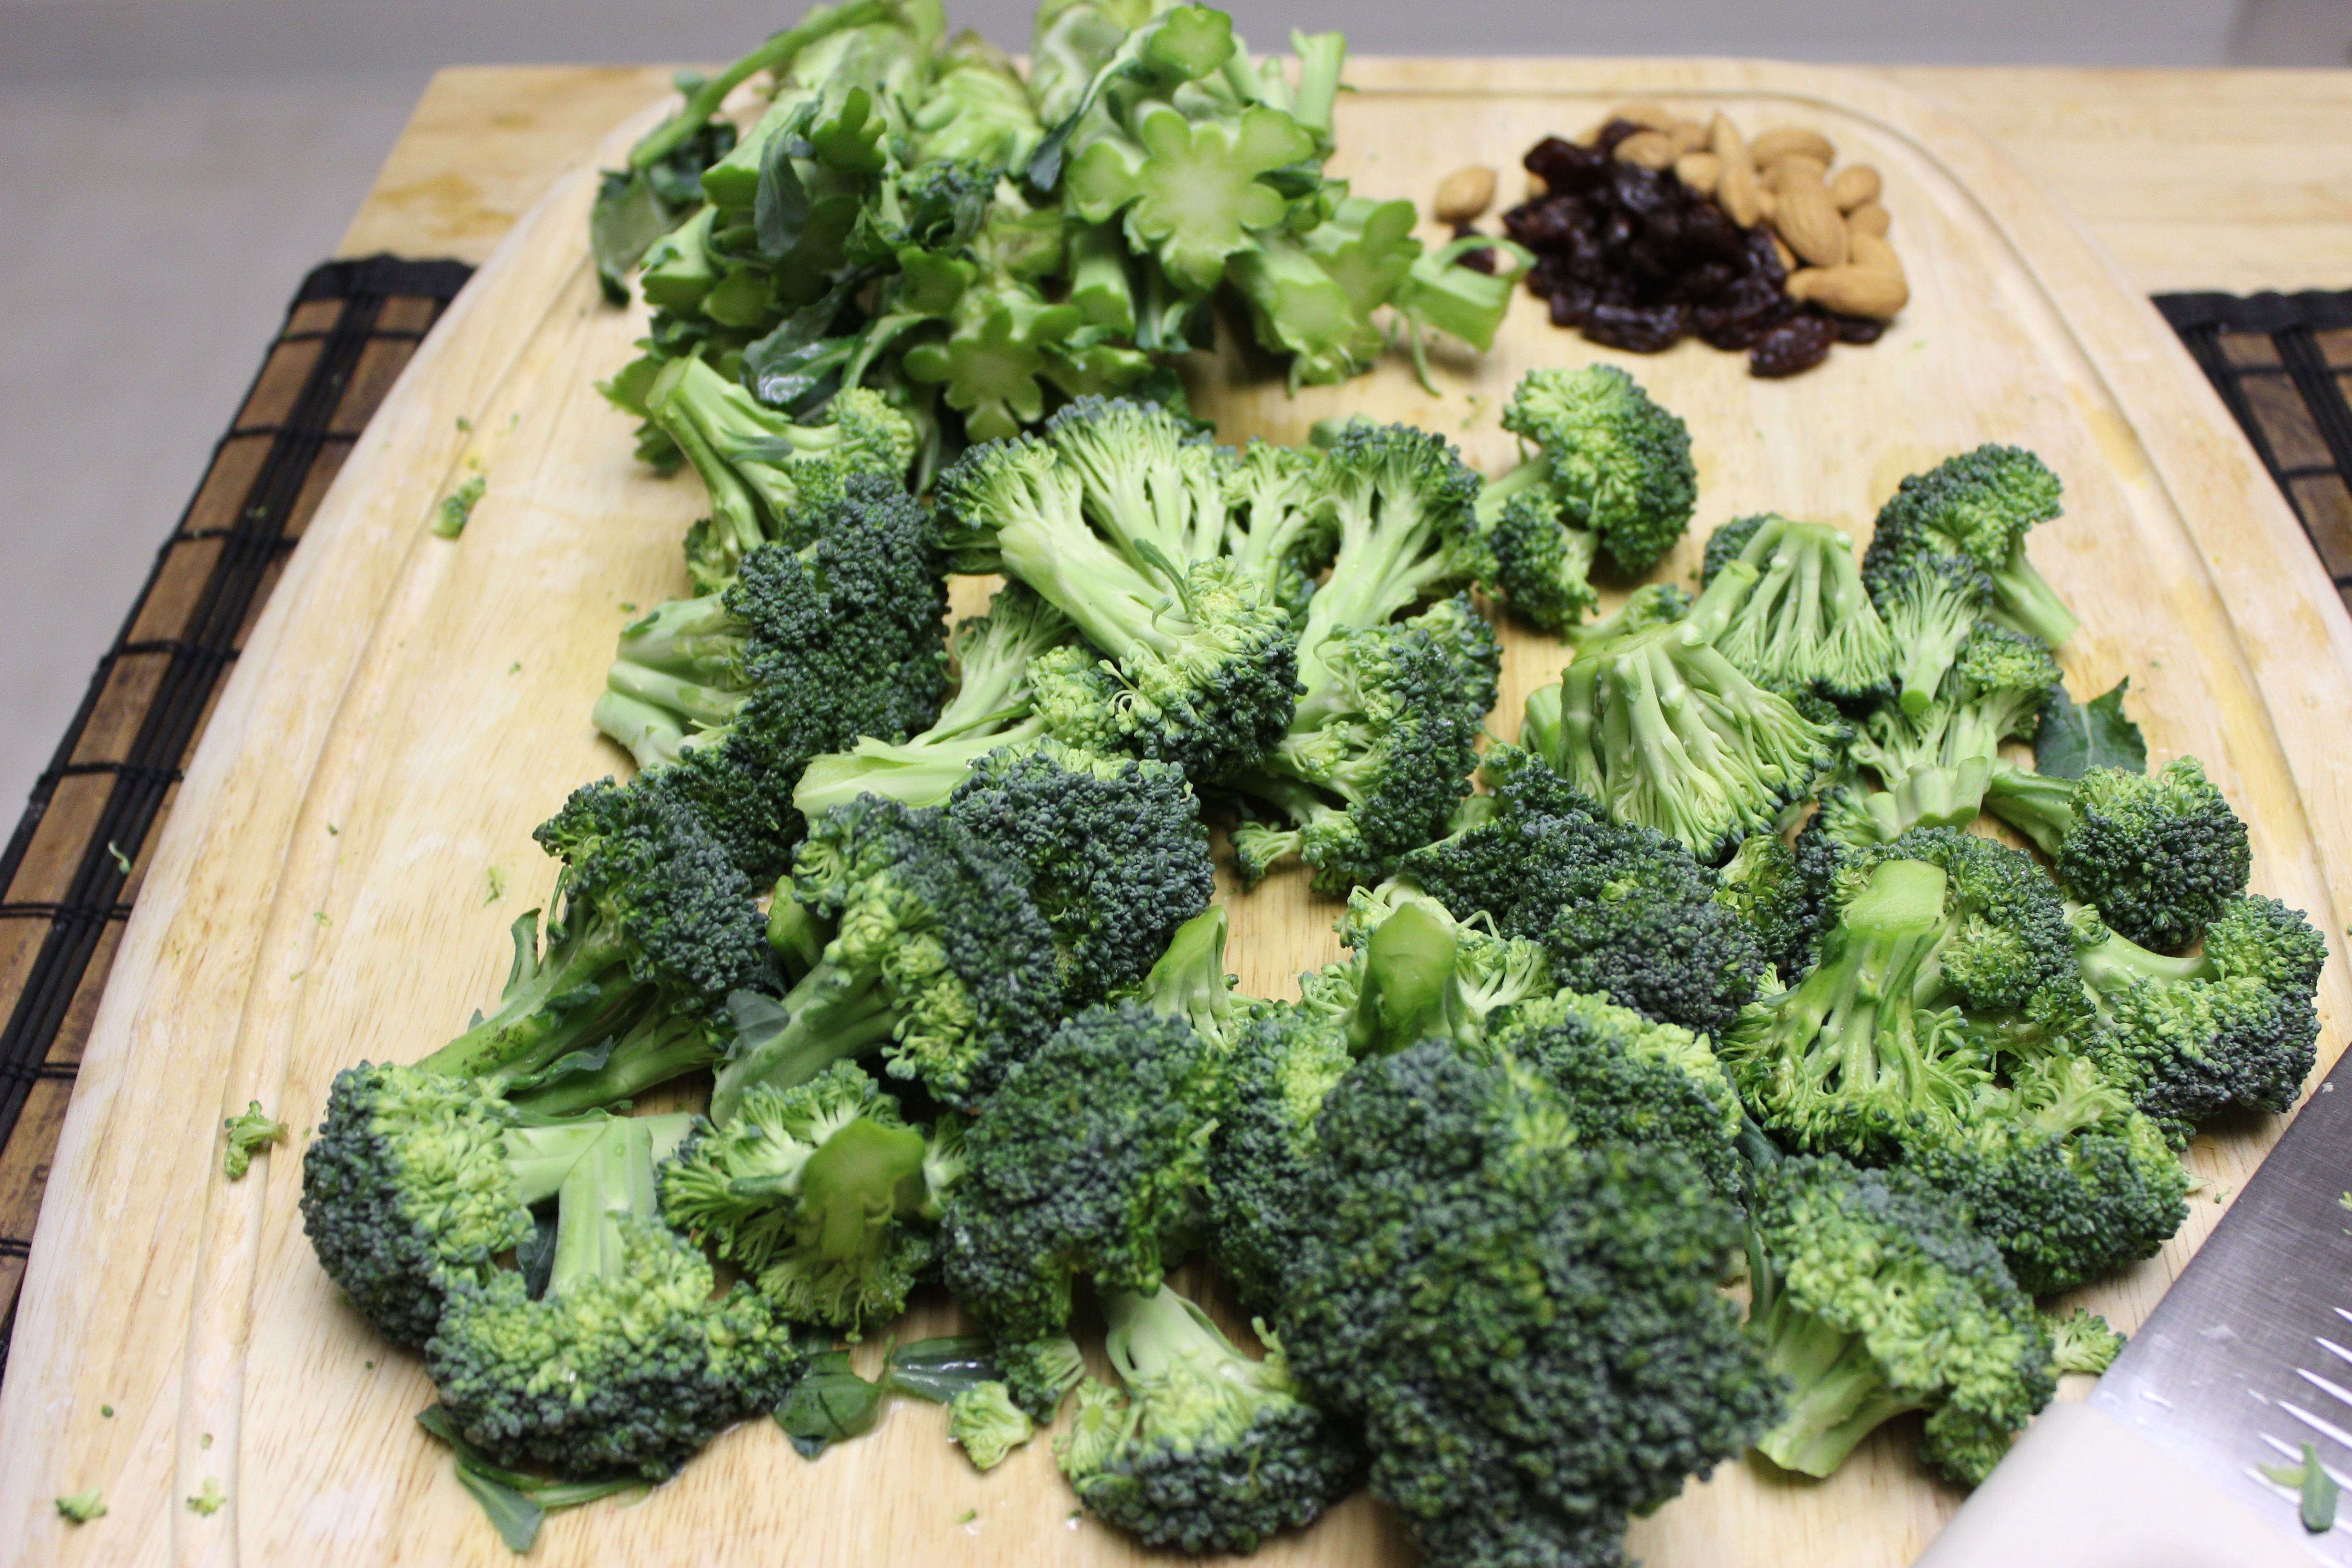
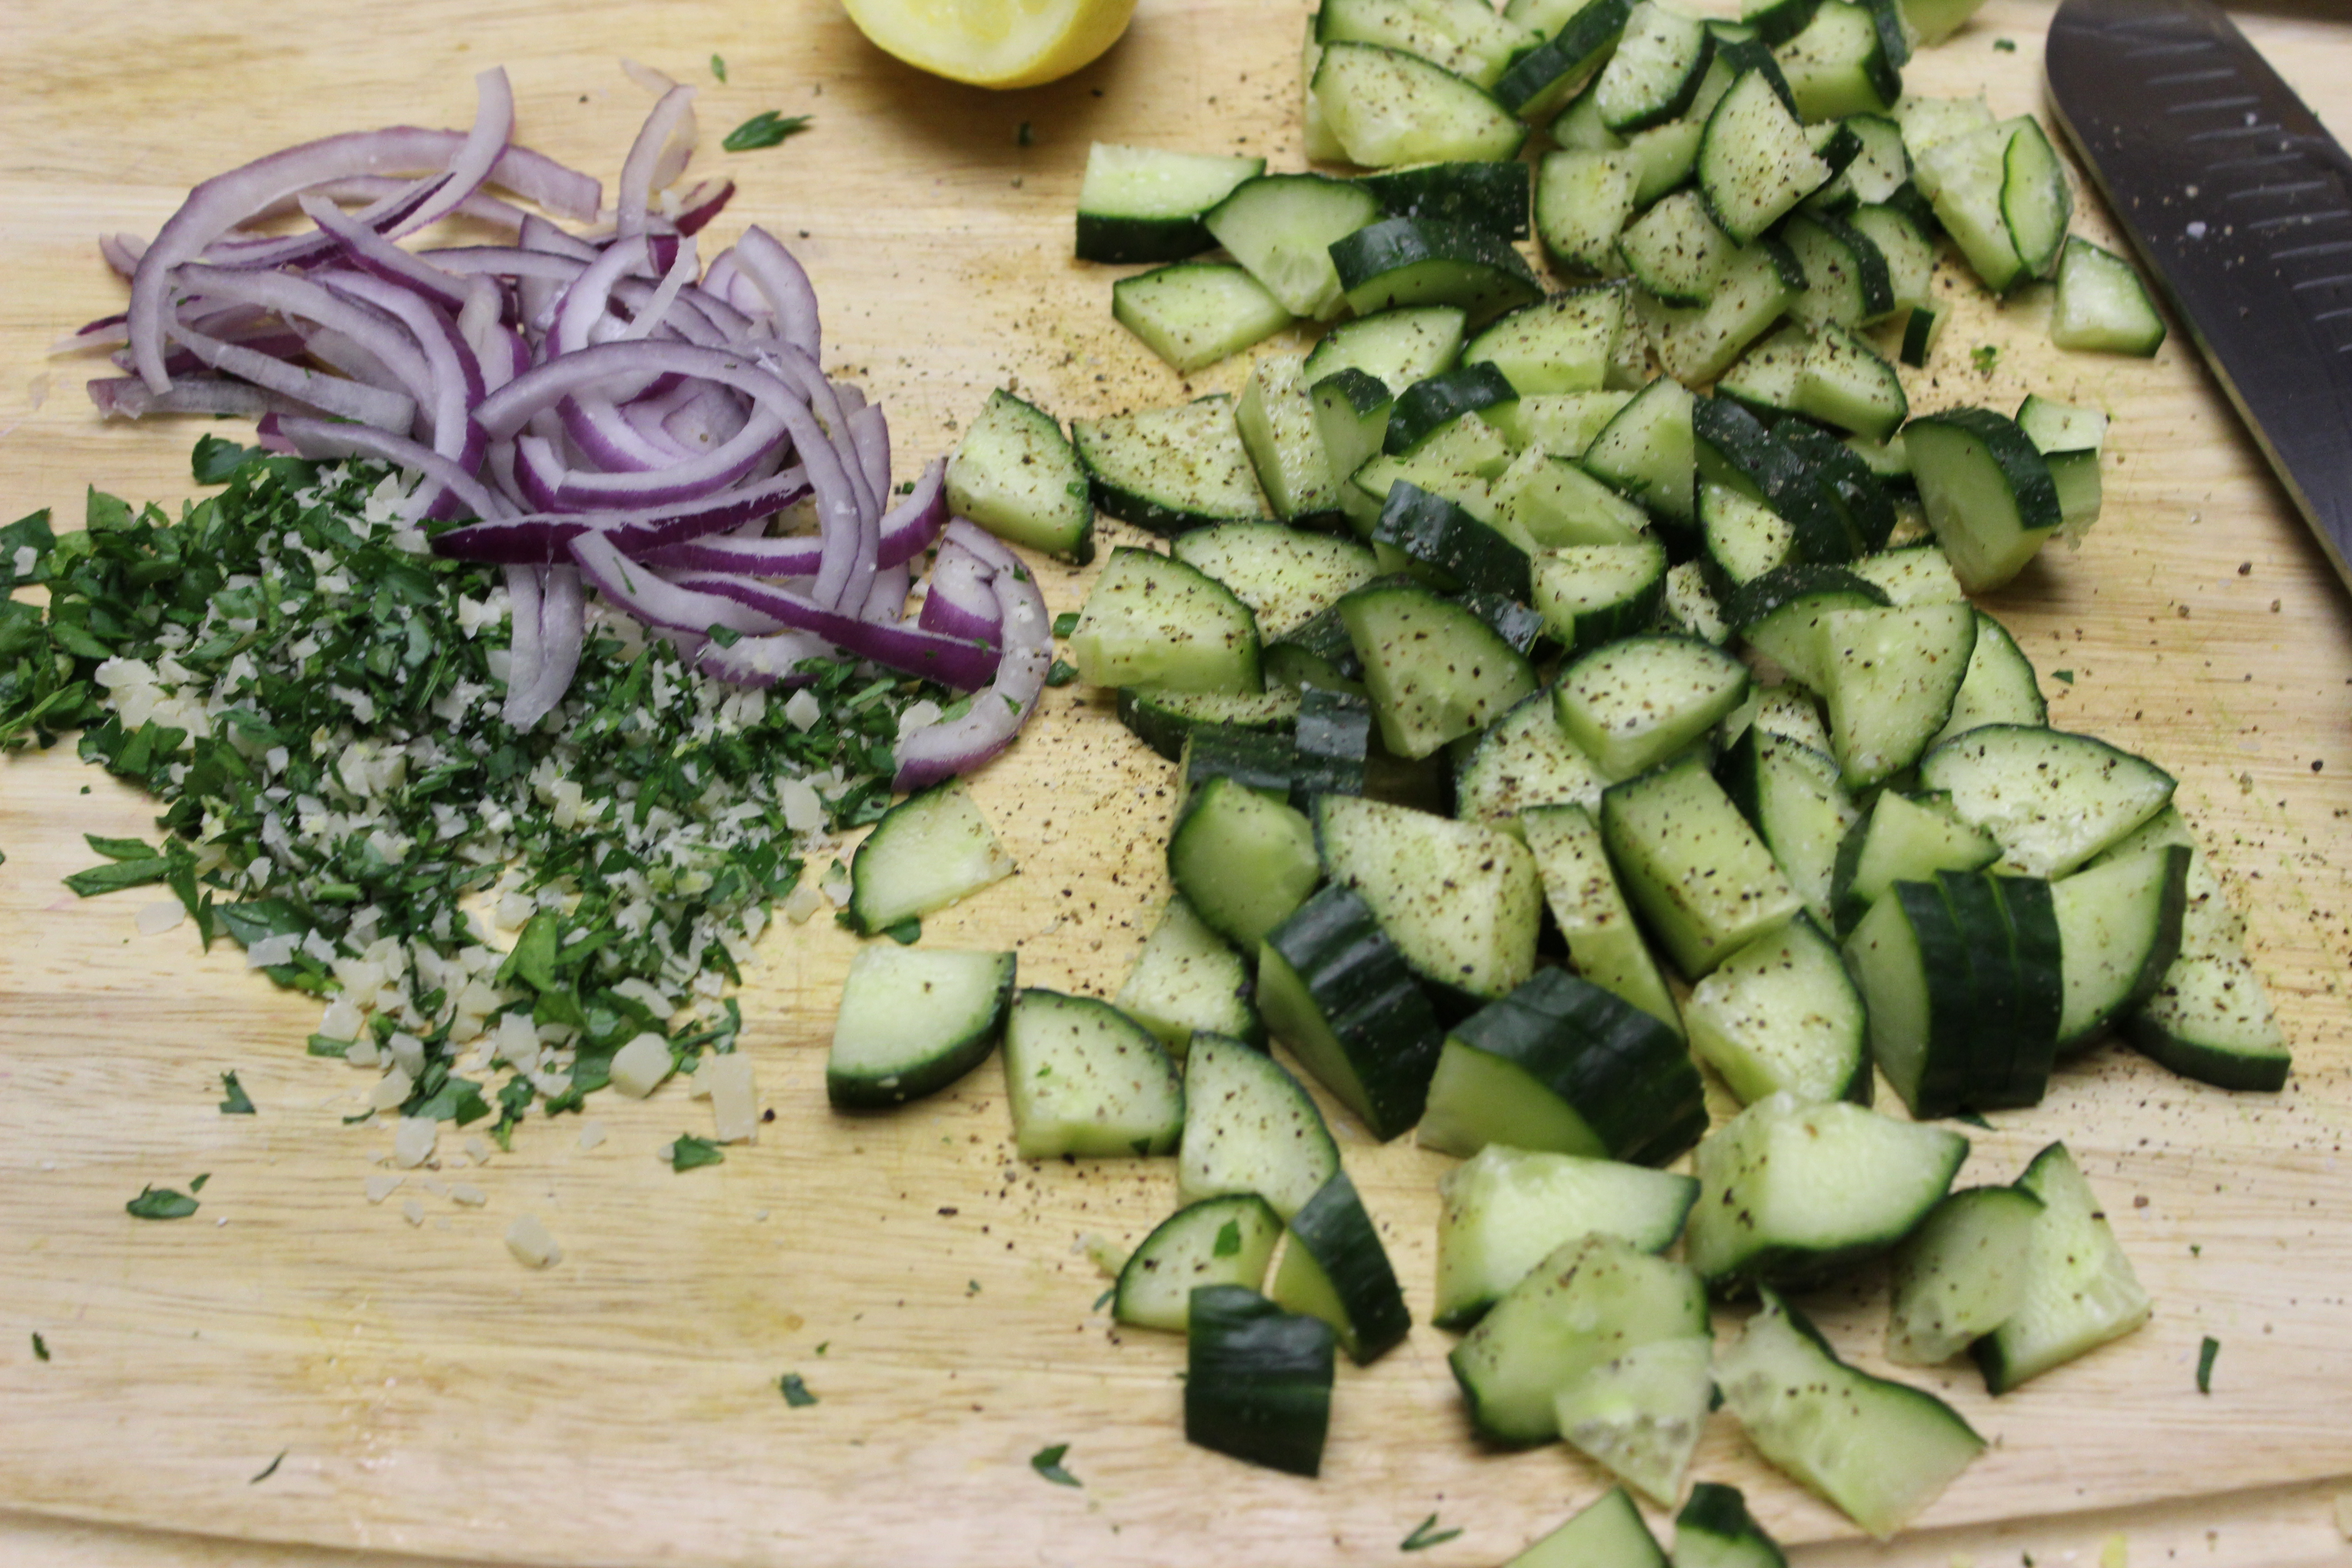
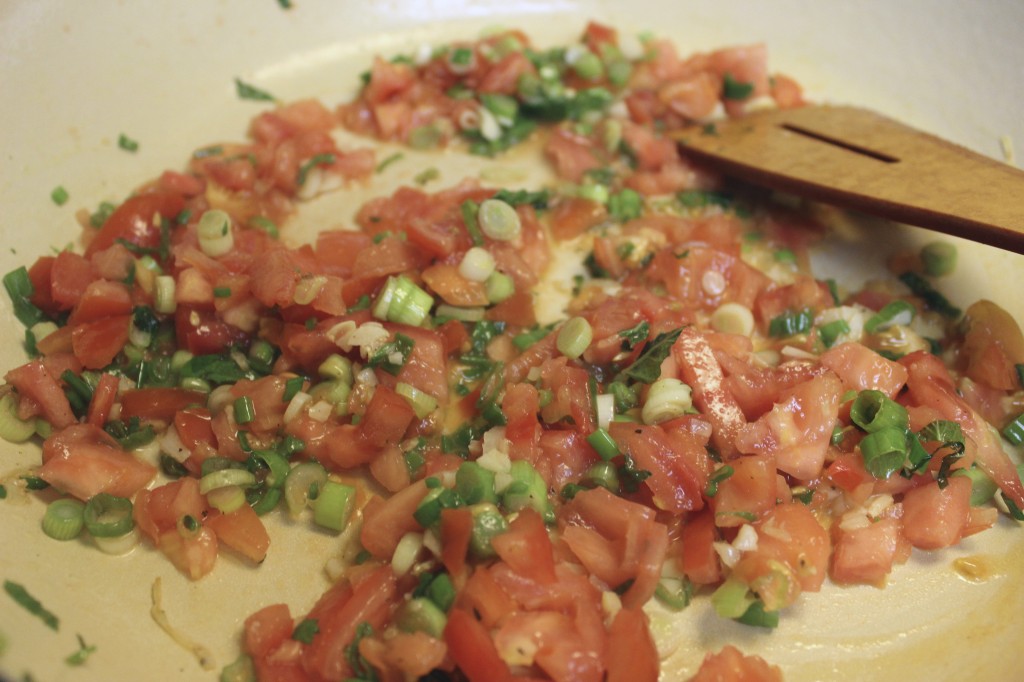
Chop up everything like this:
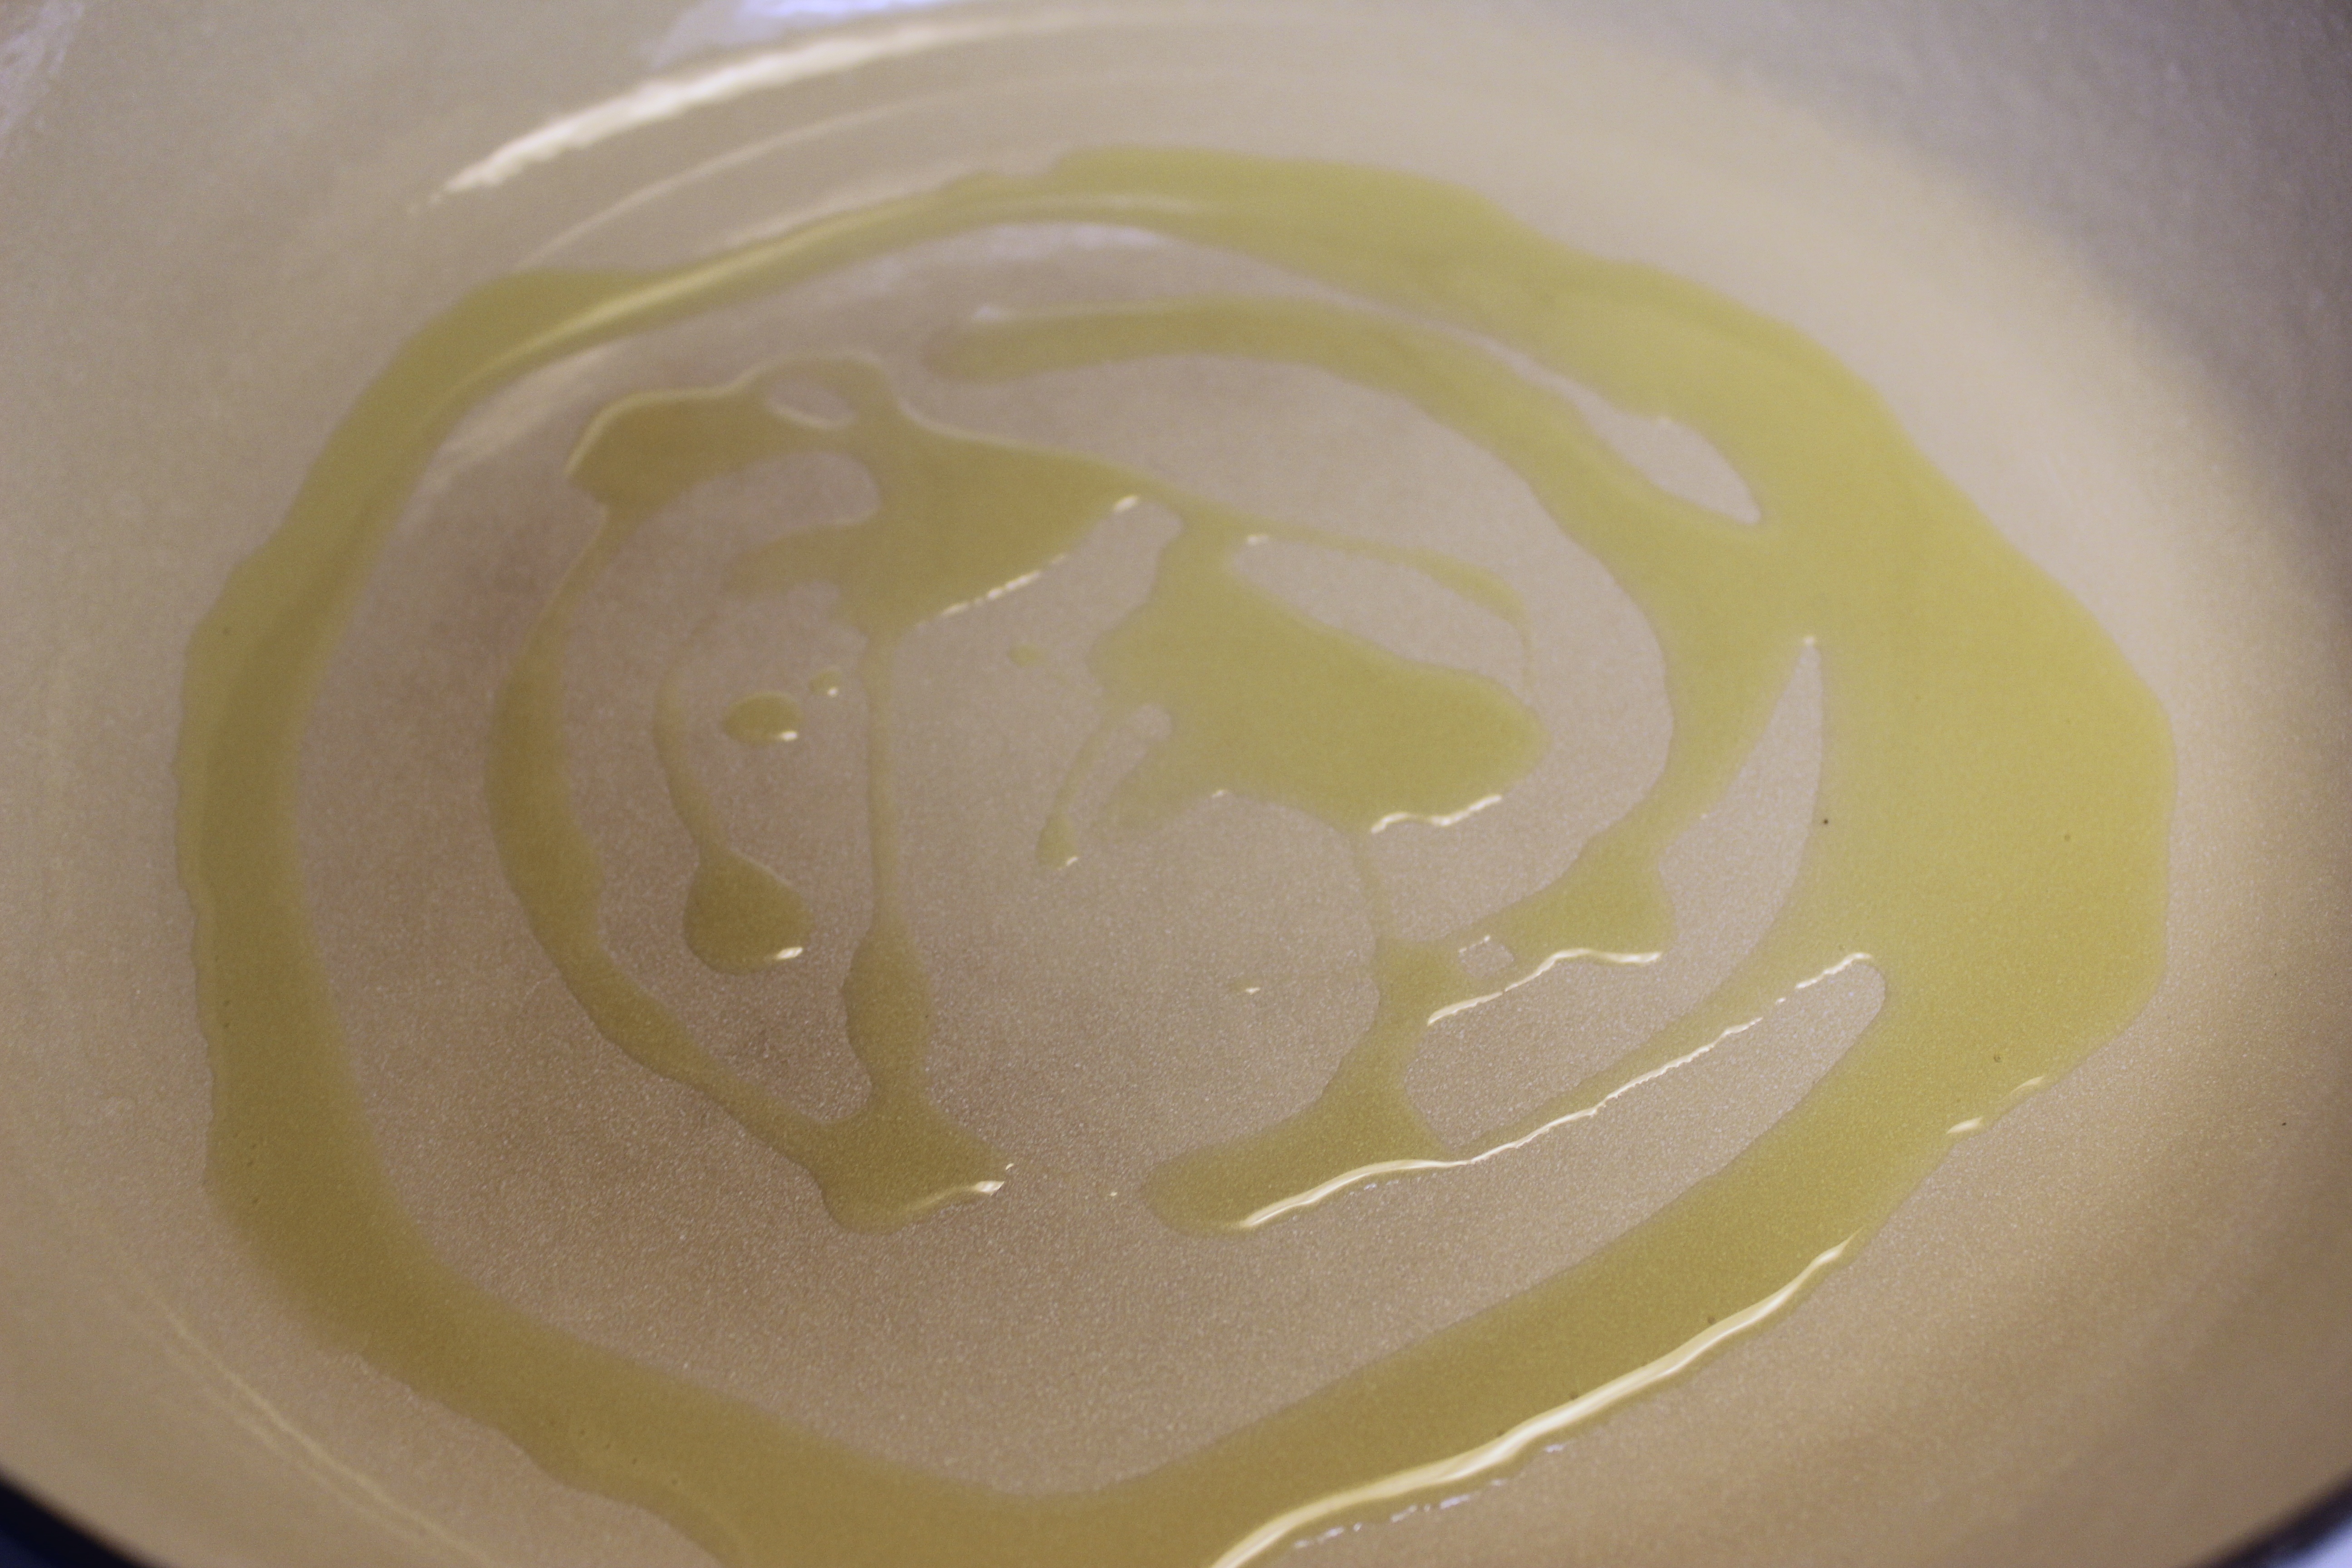
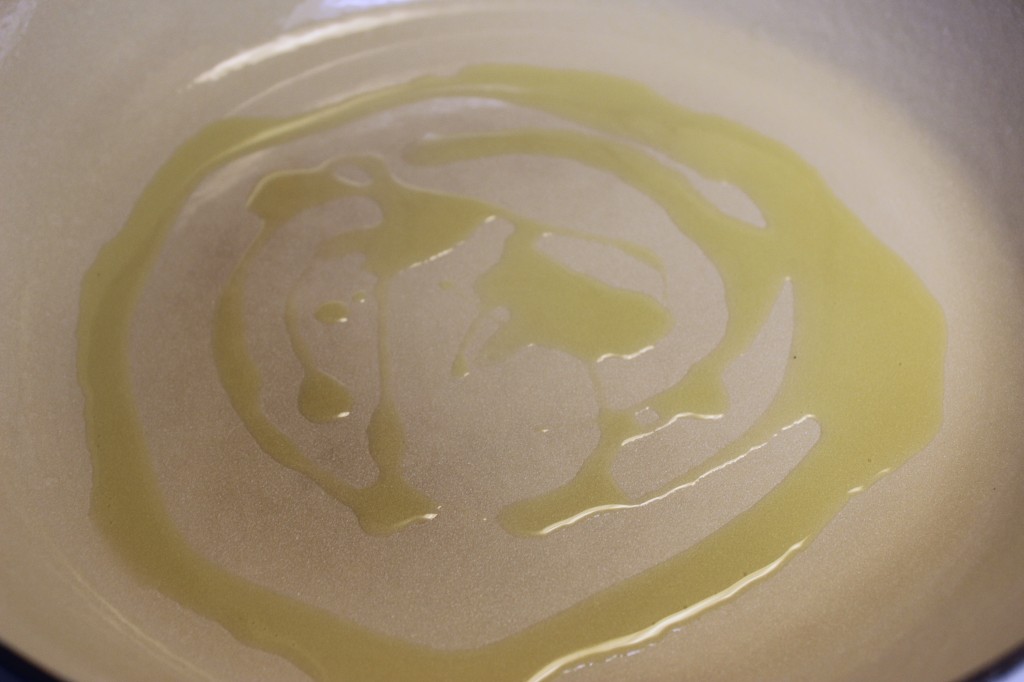
Heat some oil in a pan.
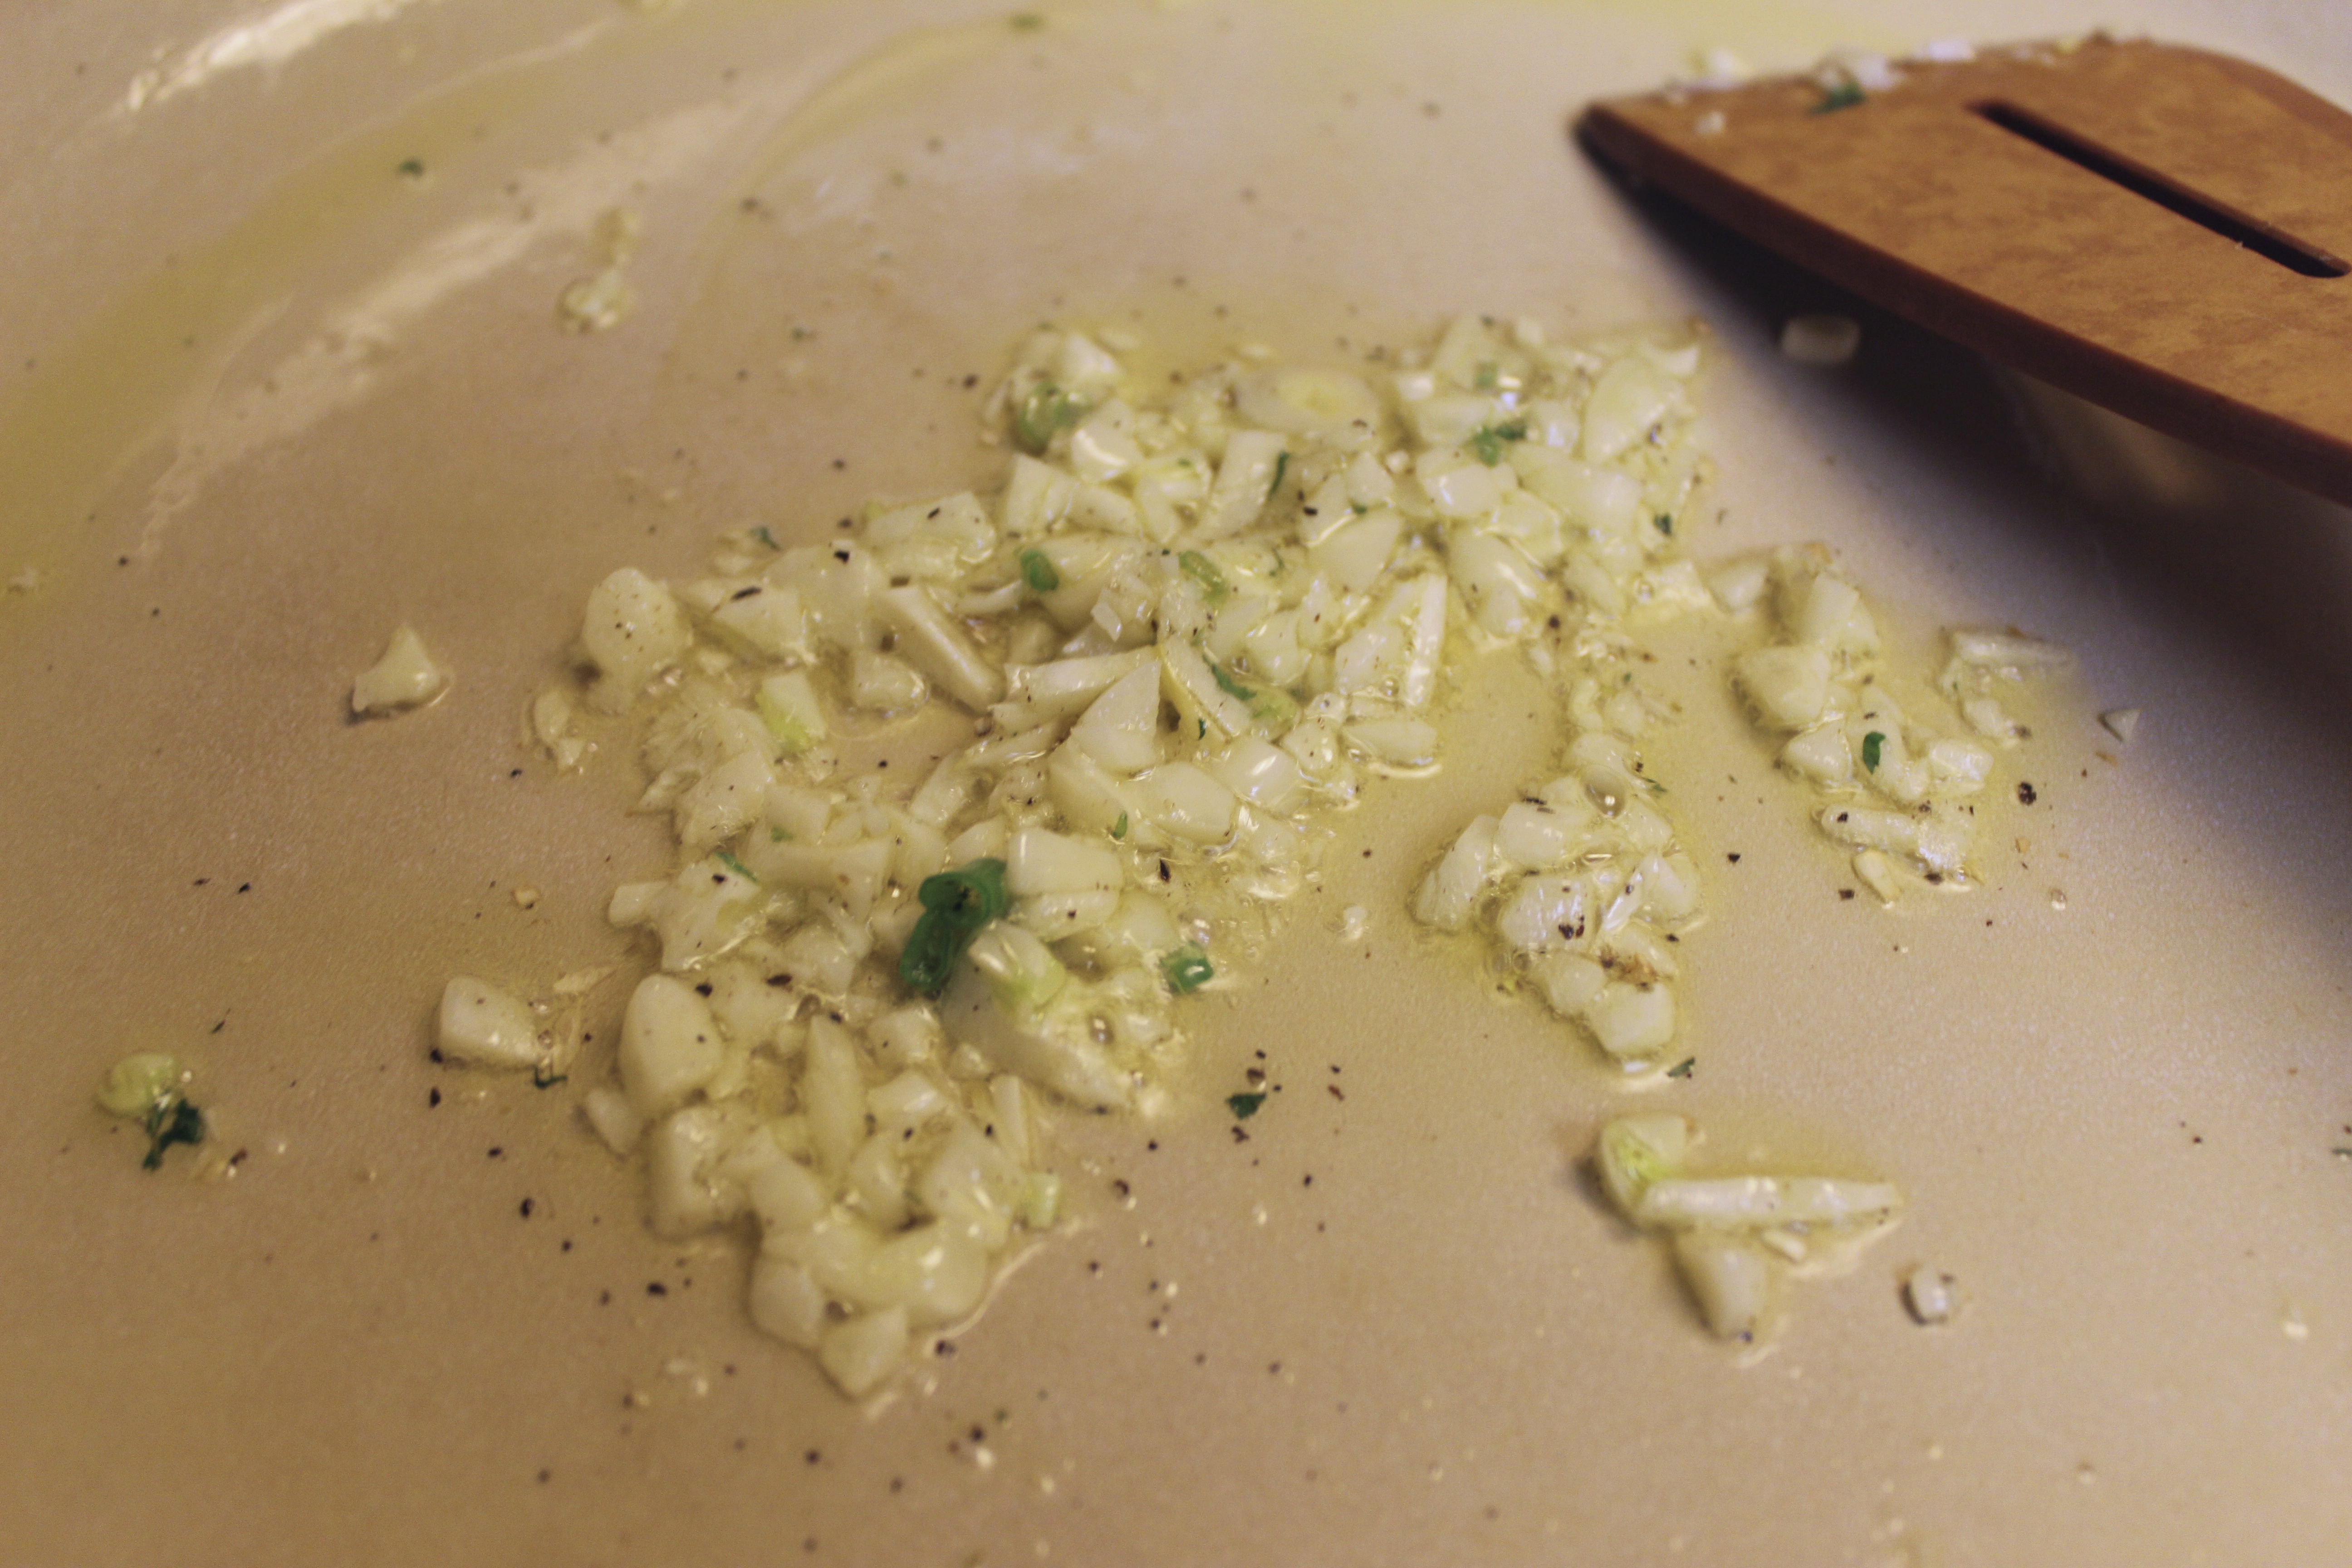
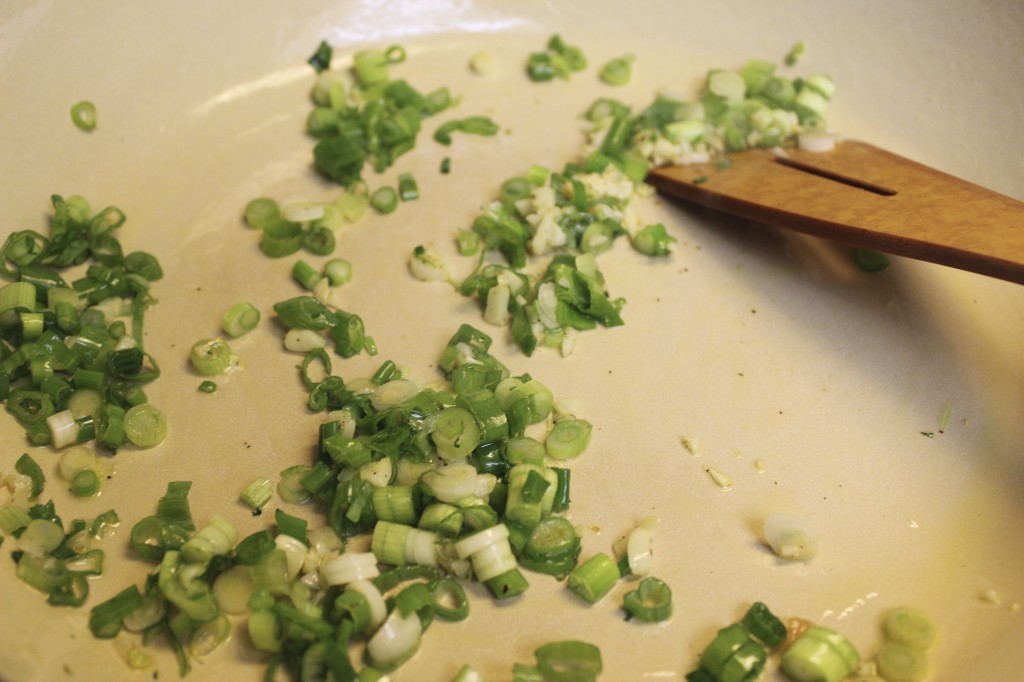
Add the garlic first. Cook for about a minute.

Then add the green onion and sauté until they have softened.
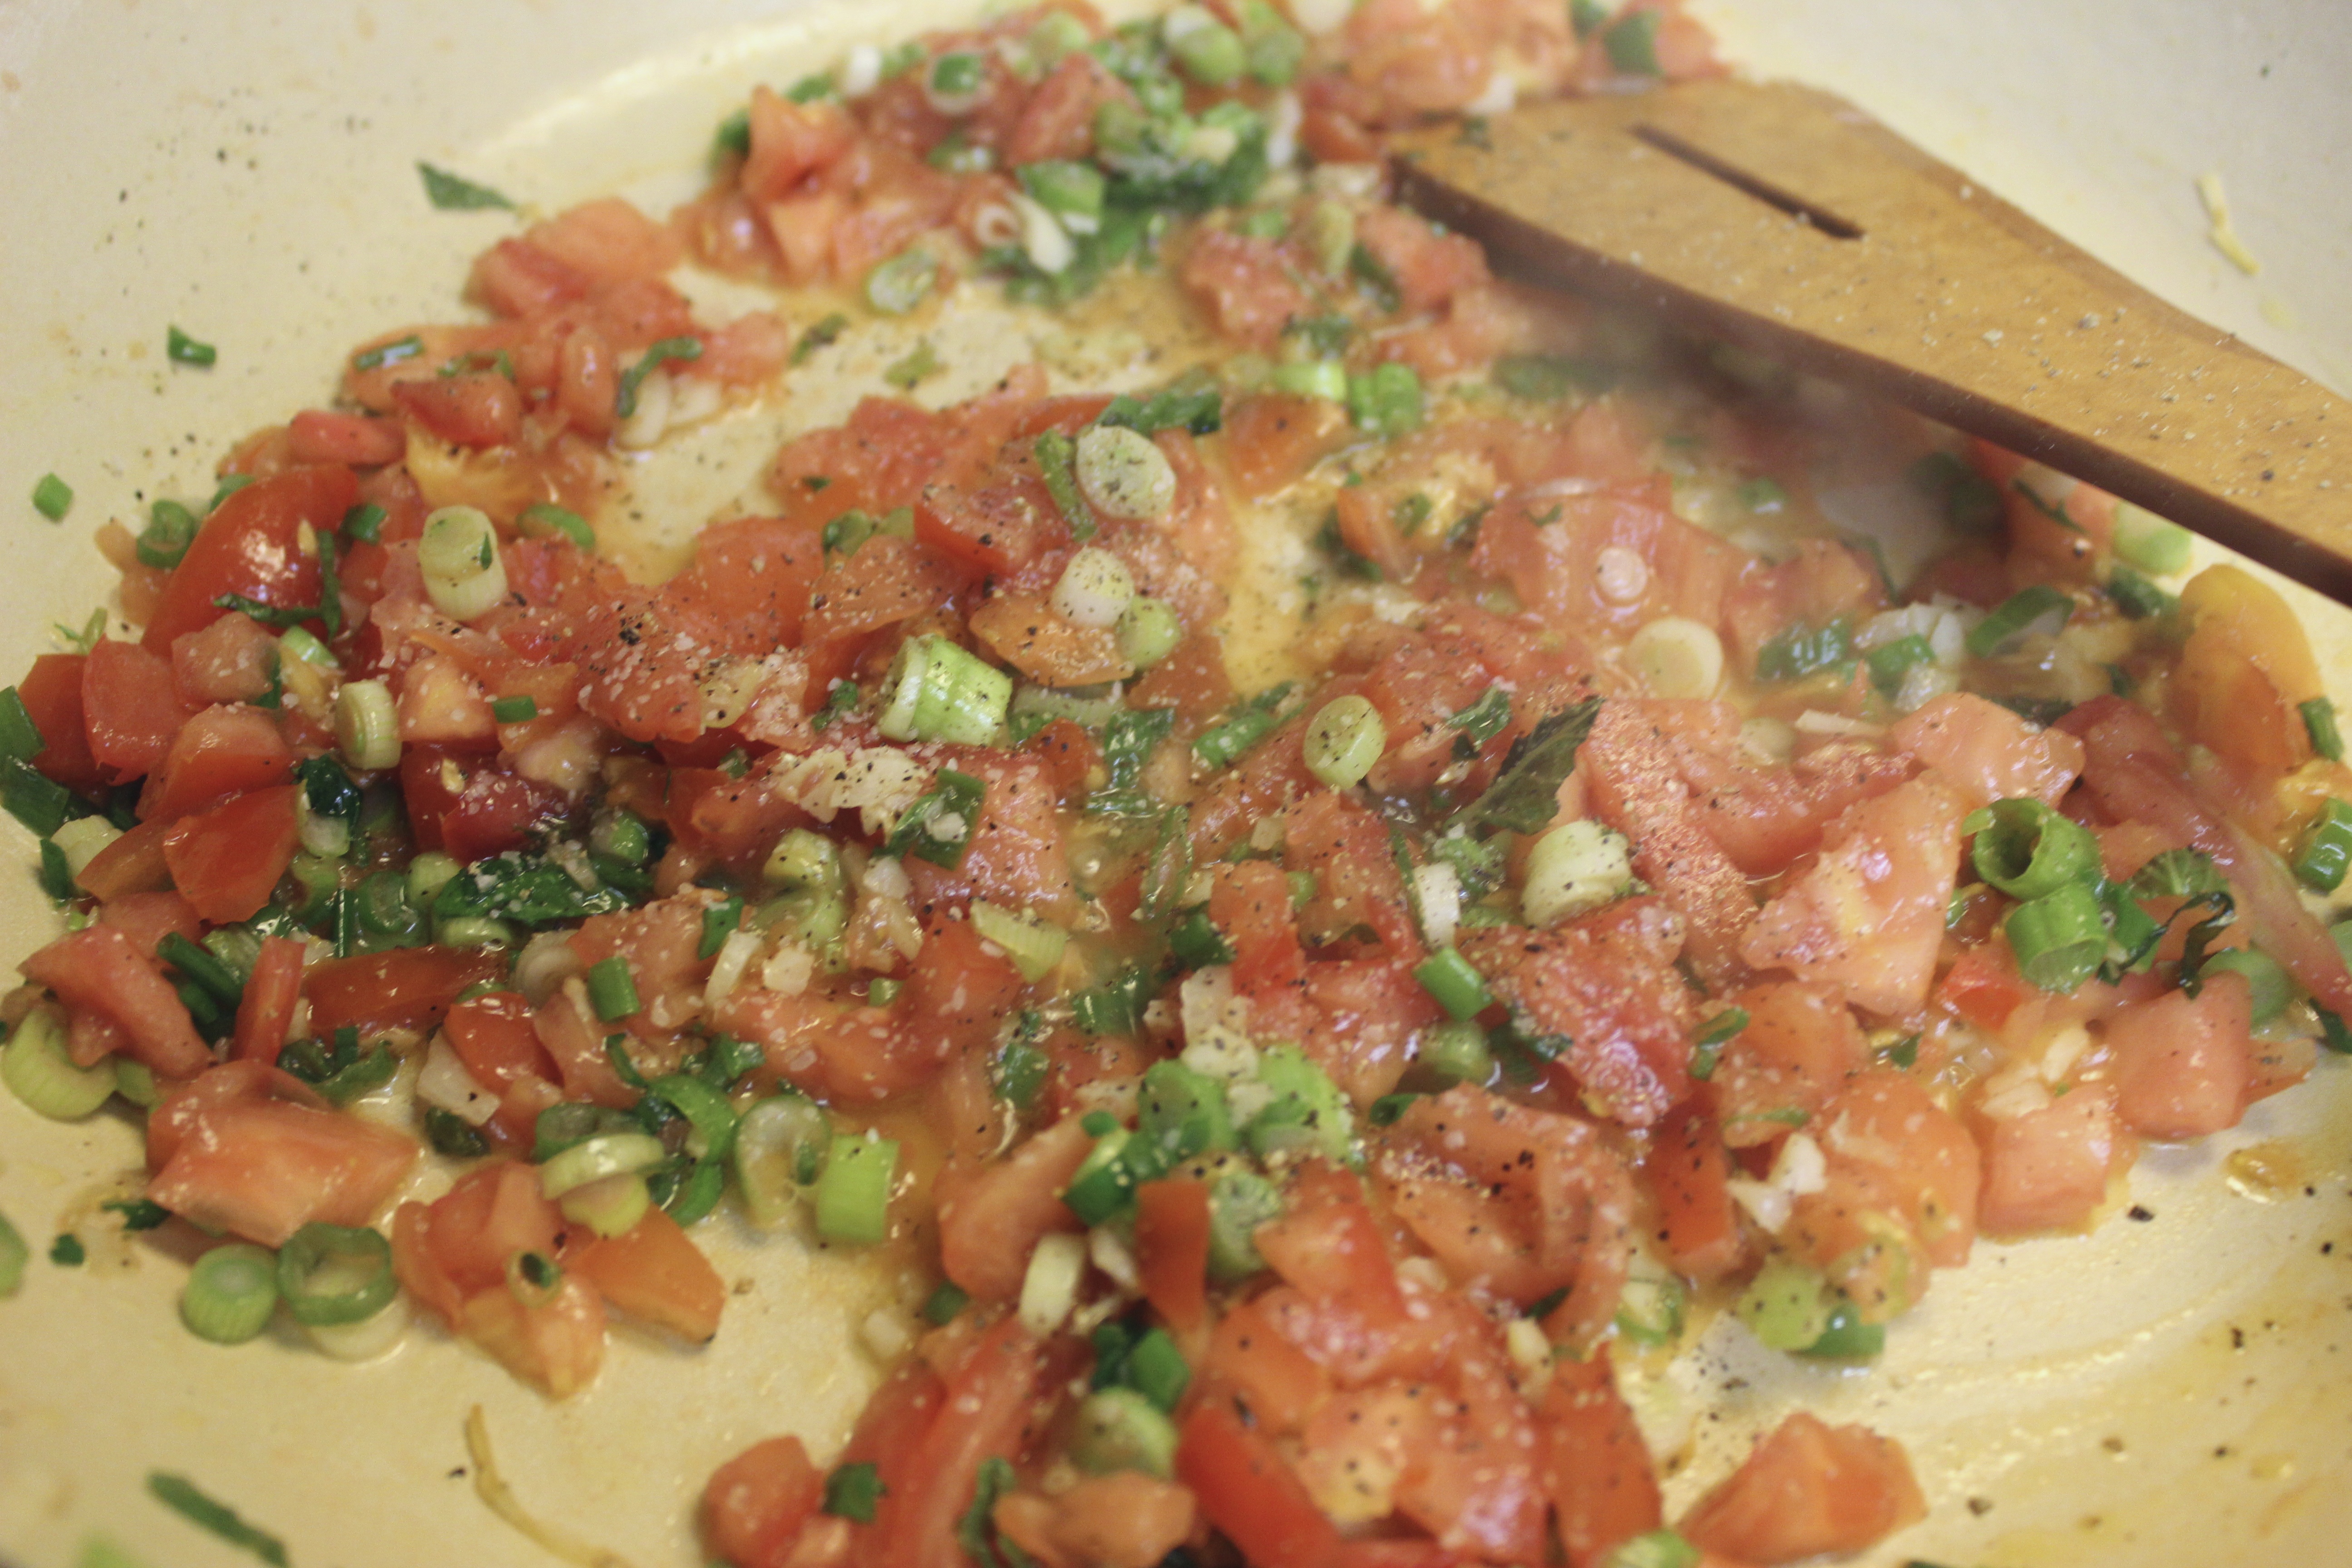
Add the tomatoes.
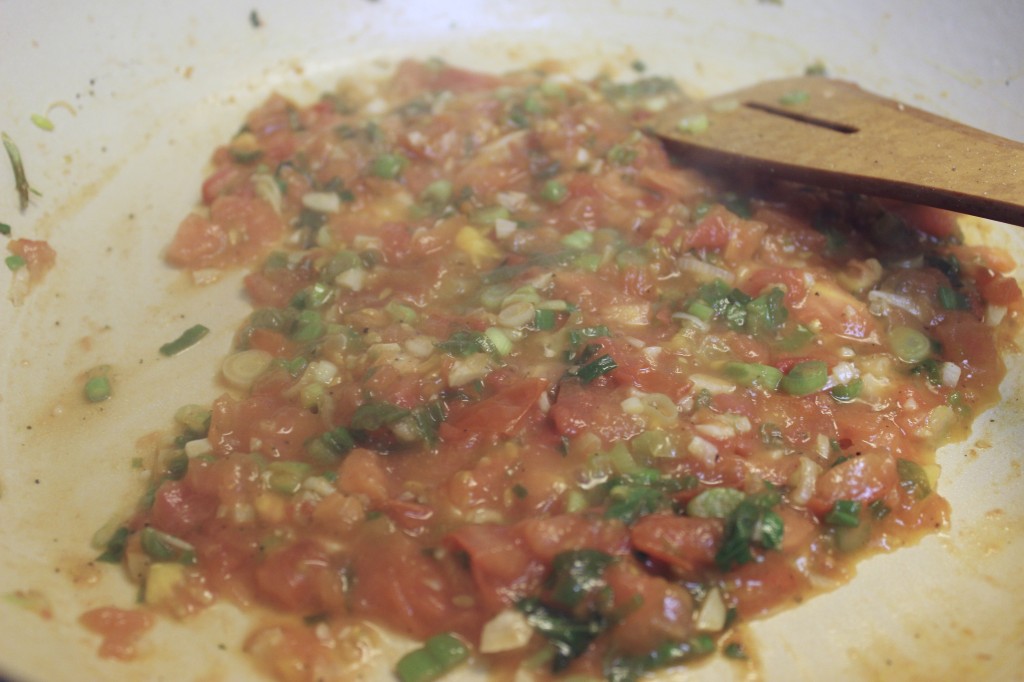
Season with S&P.

Cook until the tomatoes have broken down.
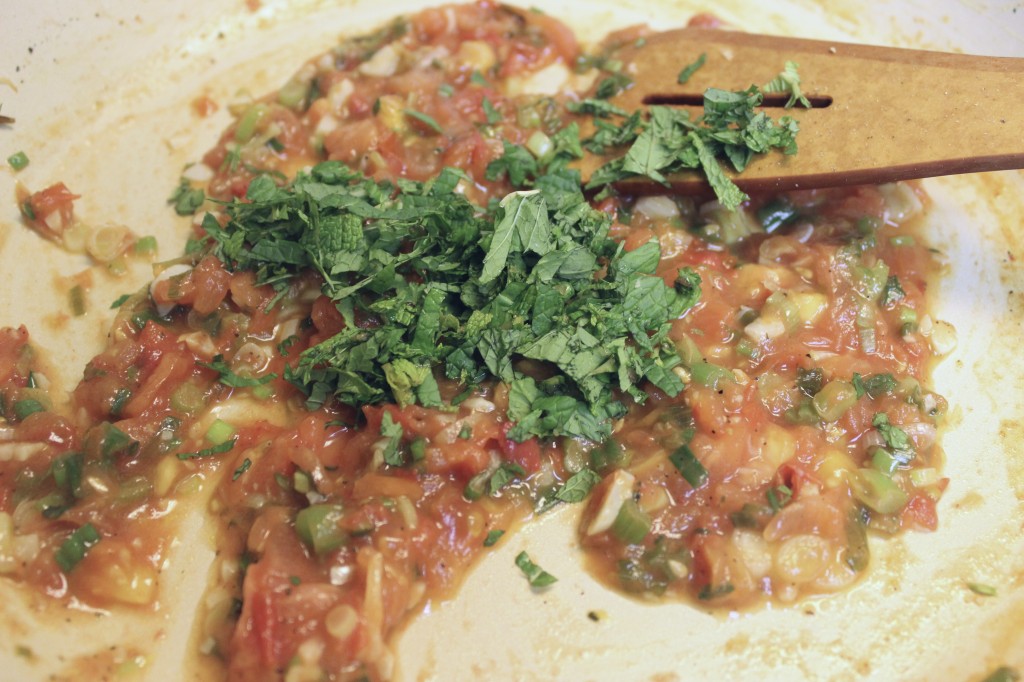
Add most of the chopped mint.
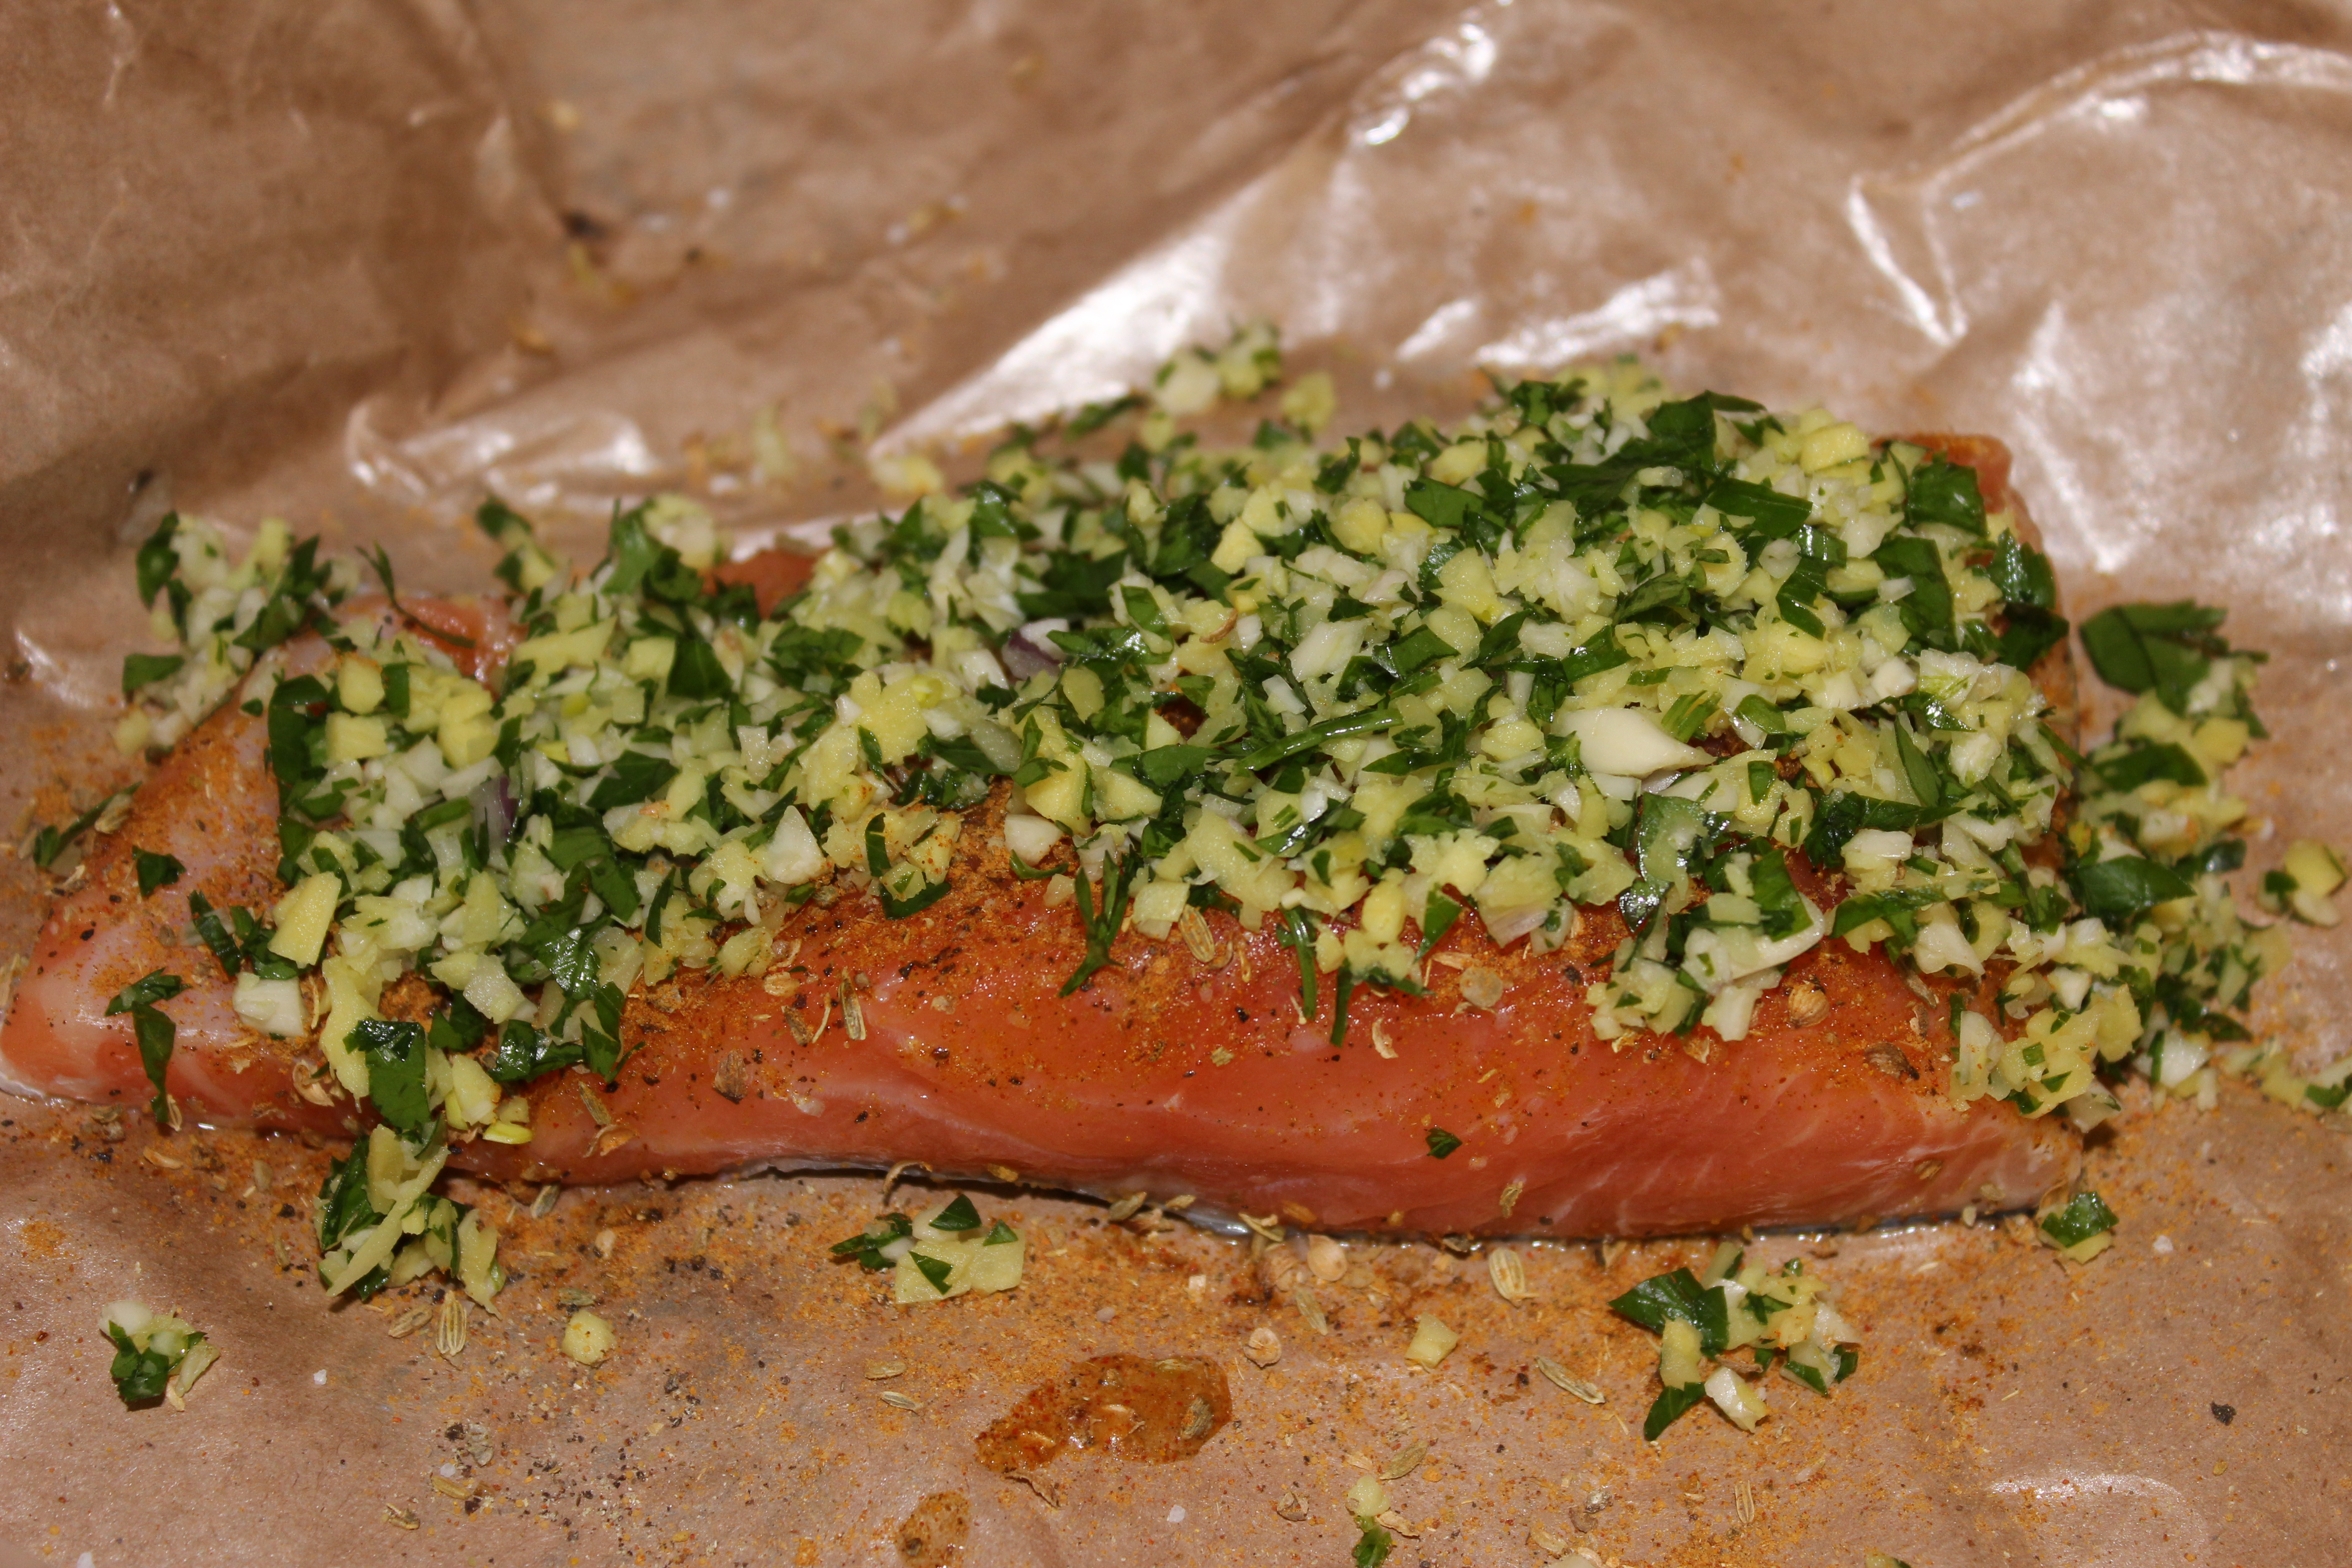
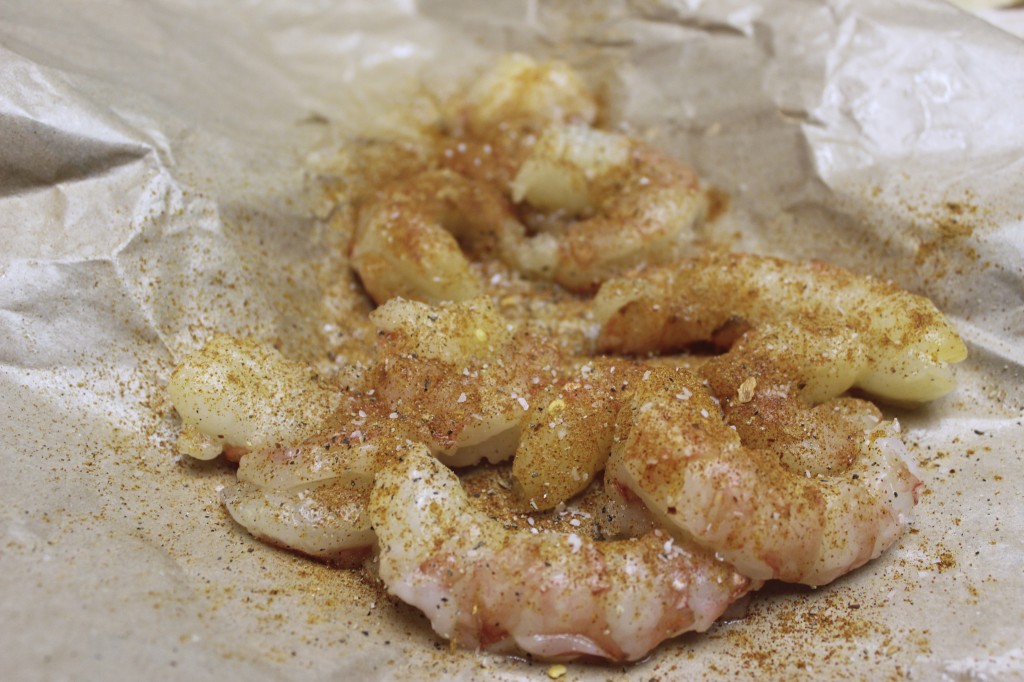
Keep cooking while you season your shrimp with the rub you made. Use enough of the rub to coat the shrimp.
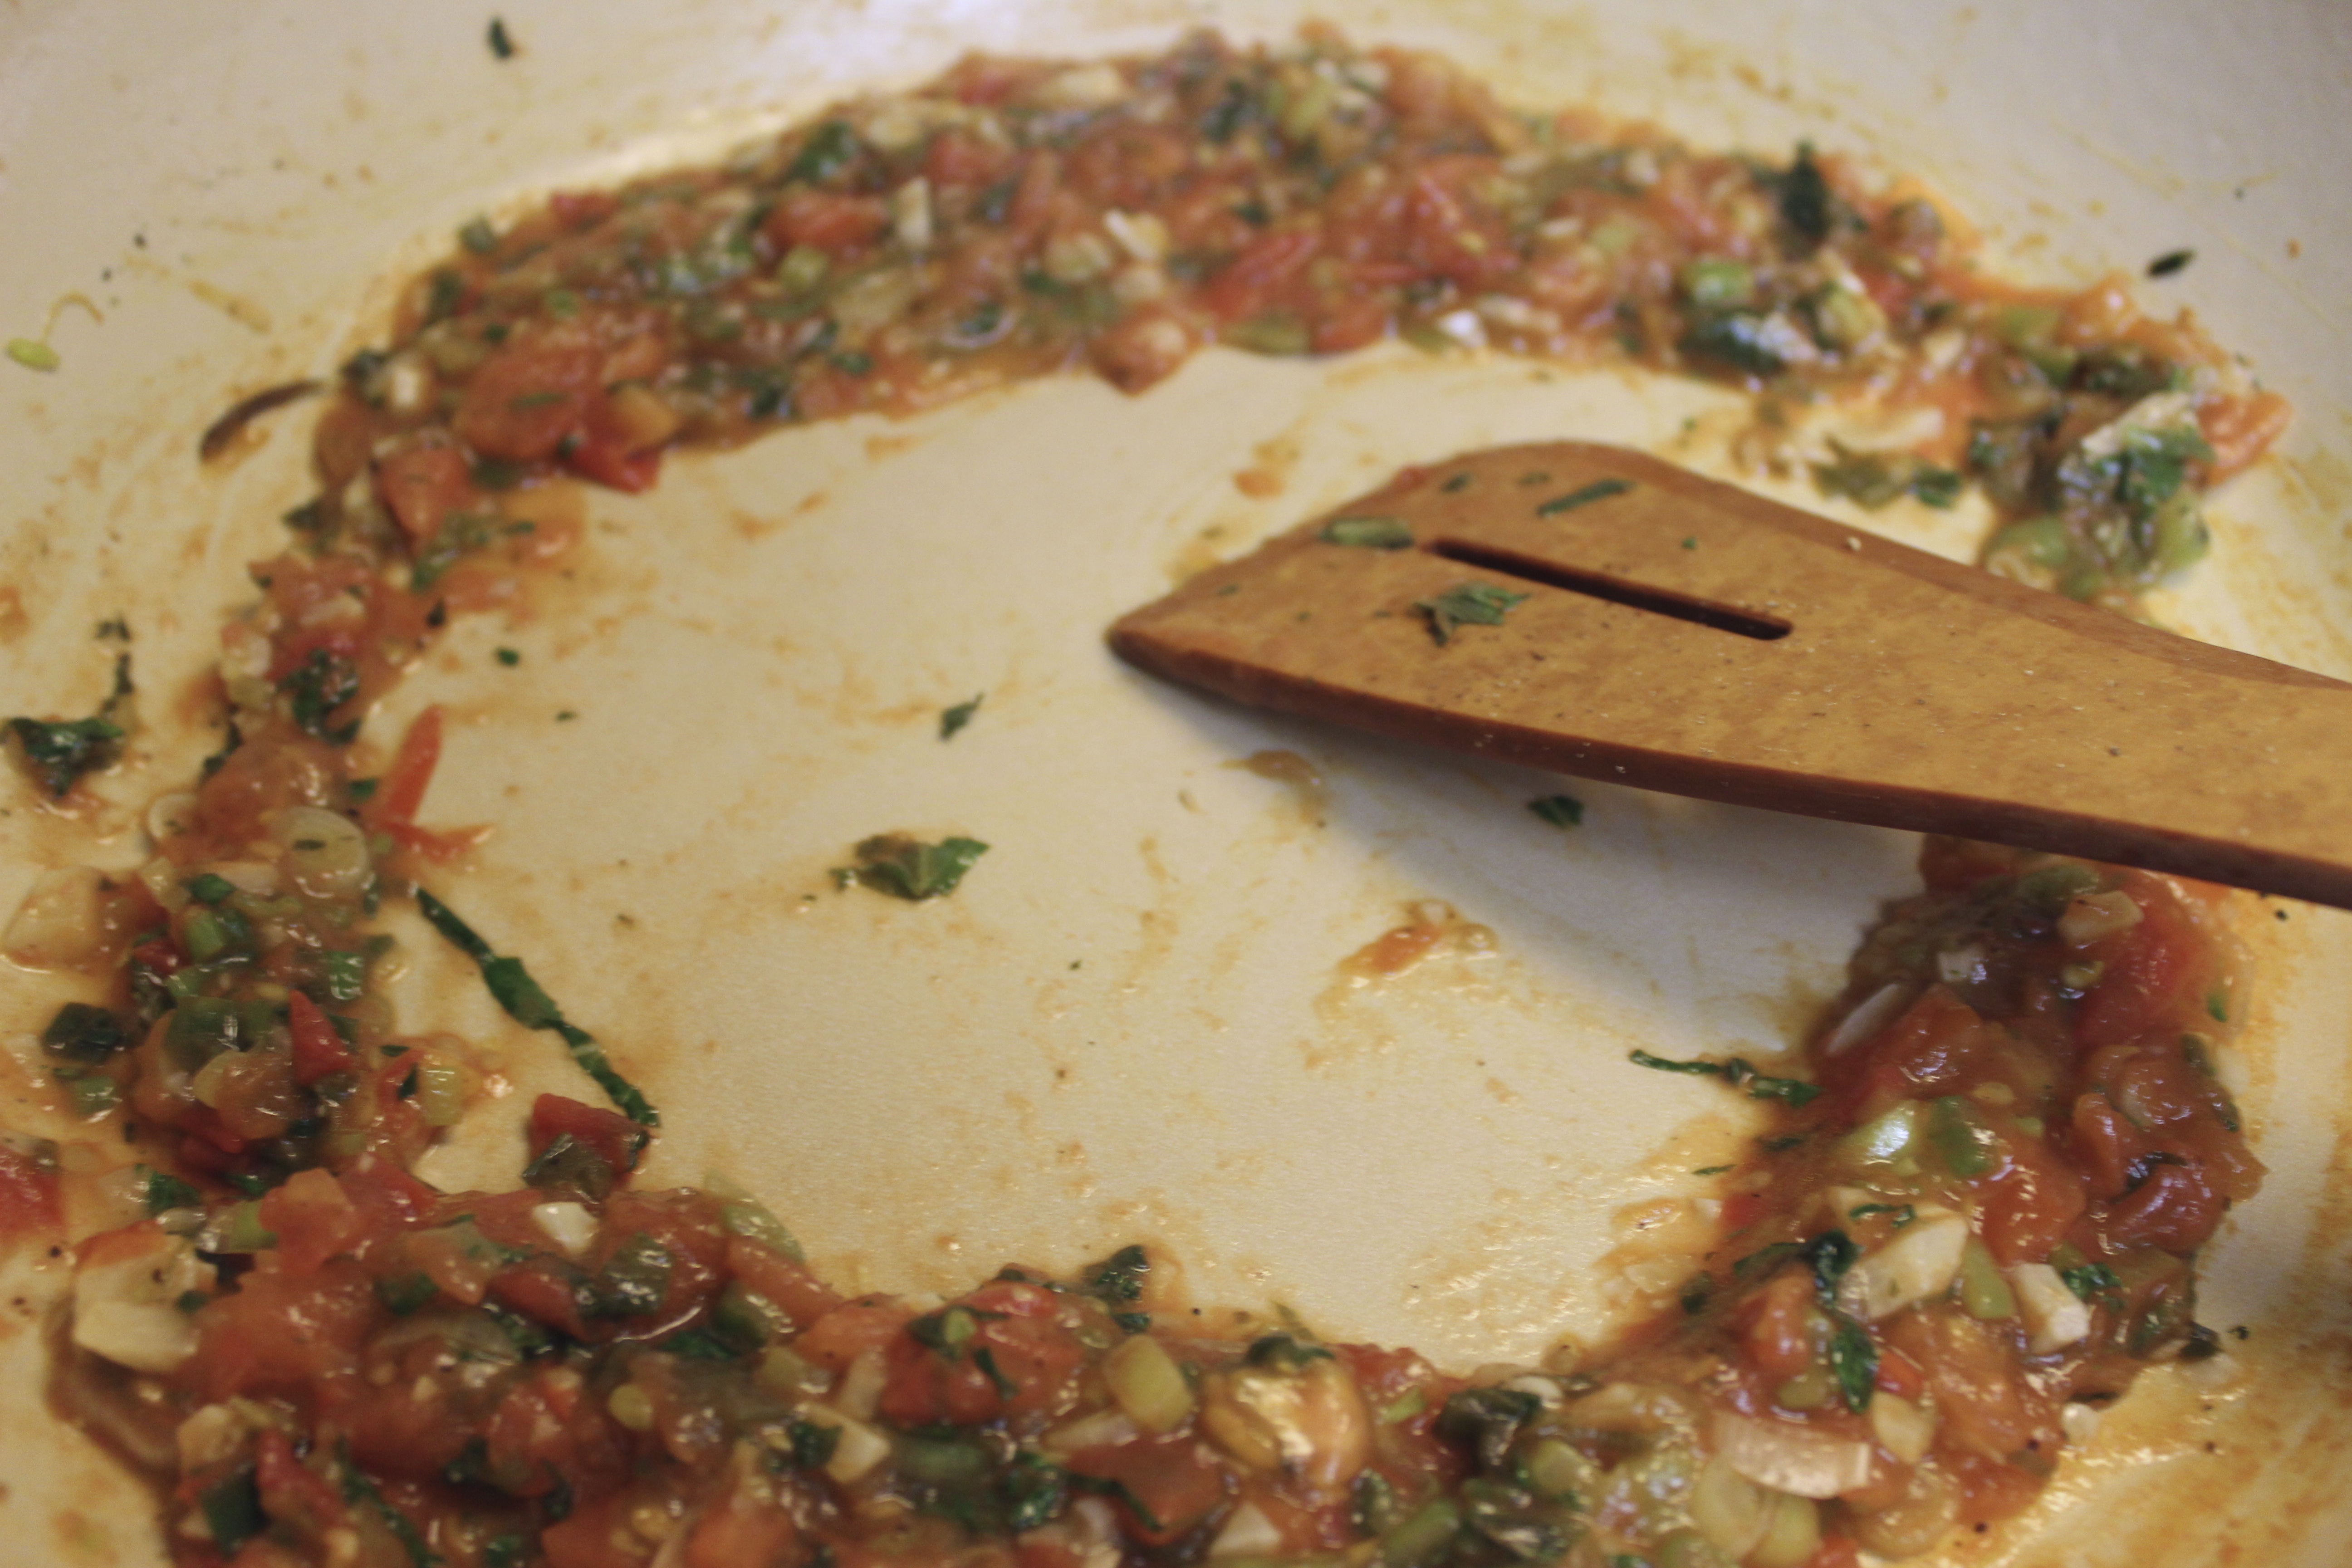
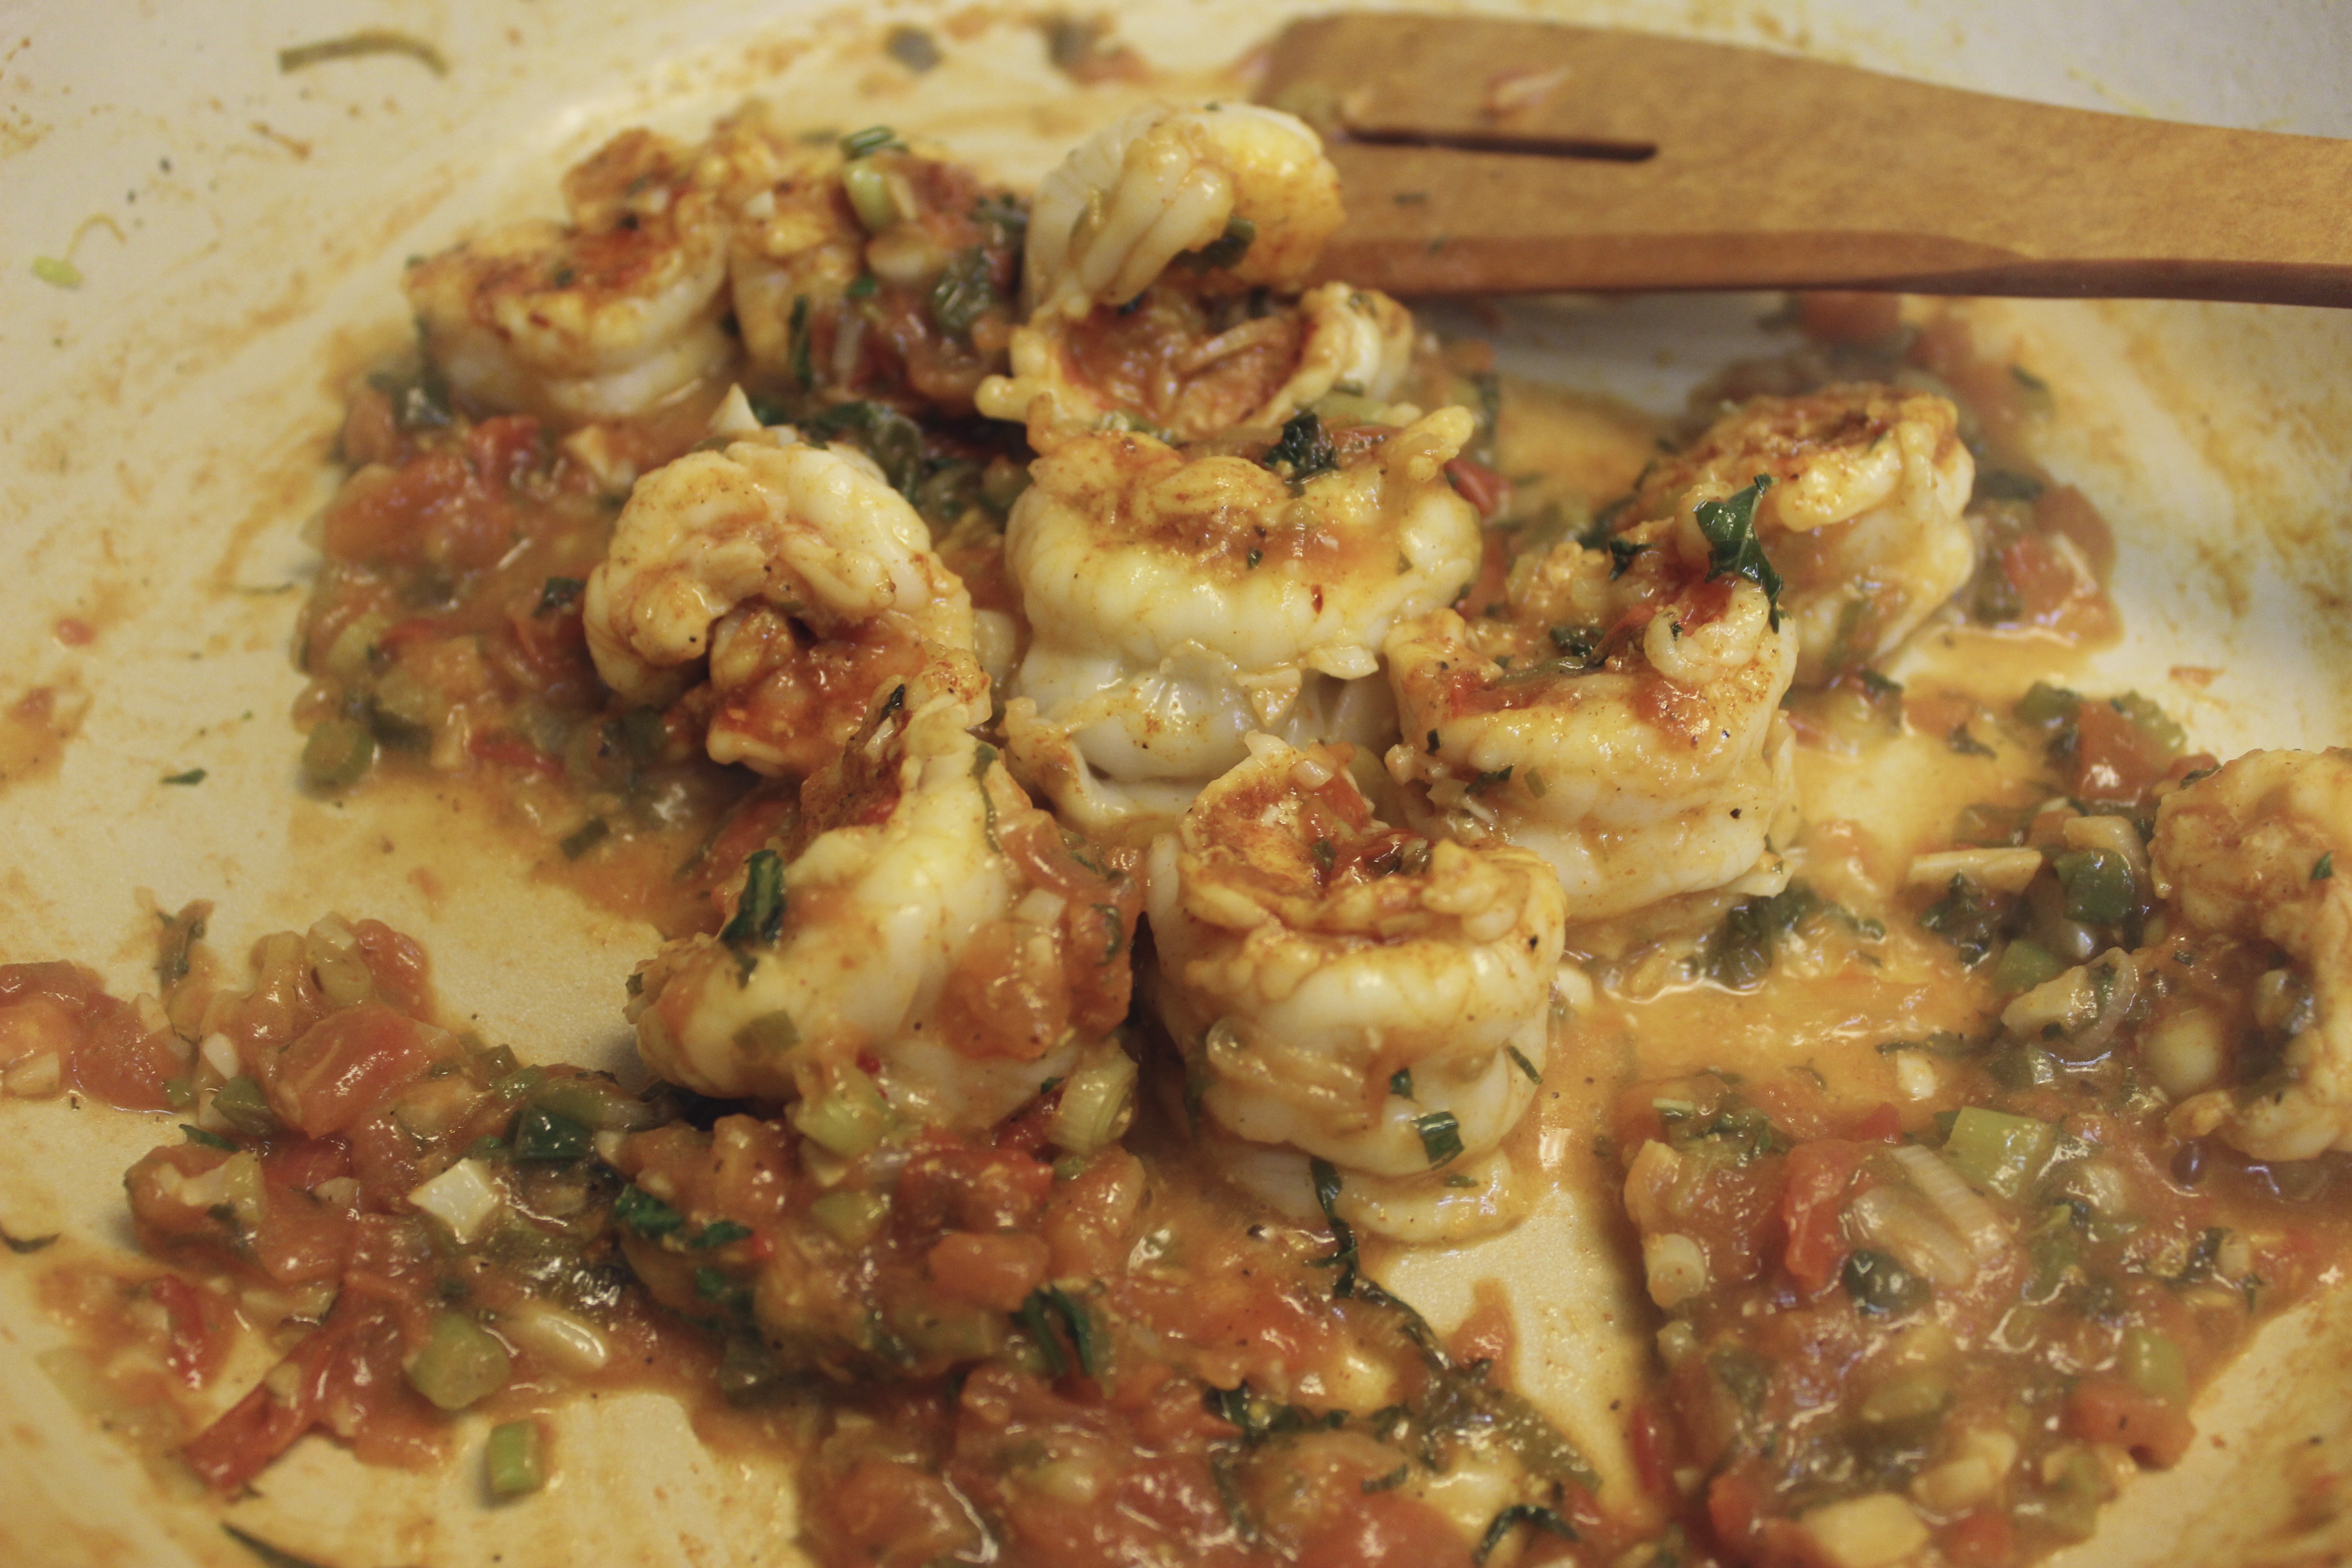
Once the sauce looks like this:

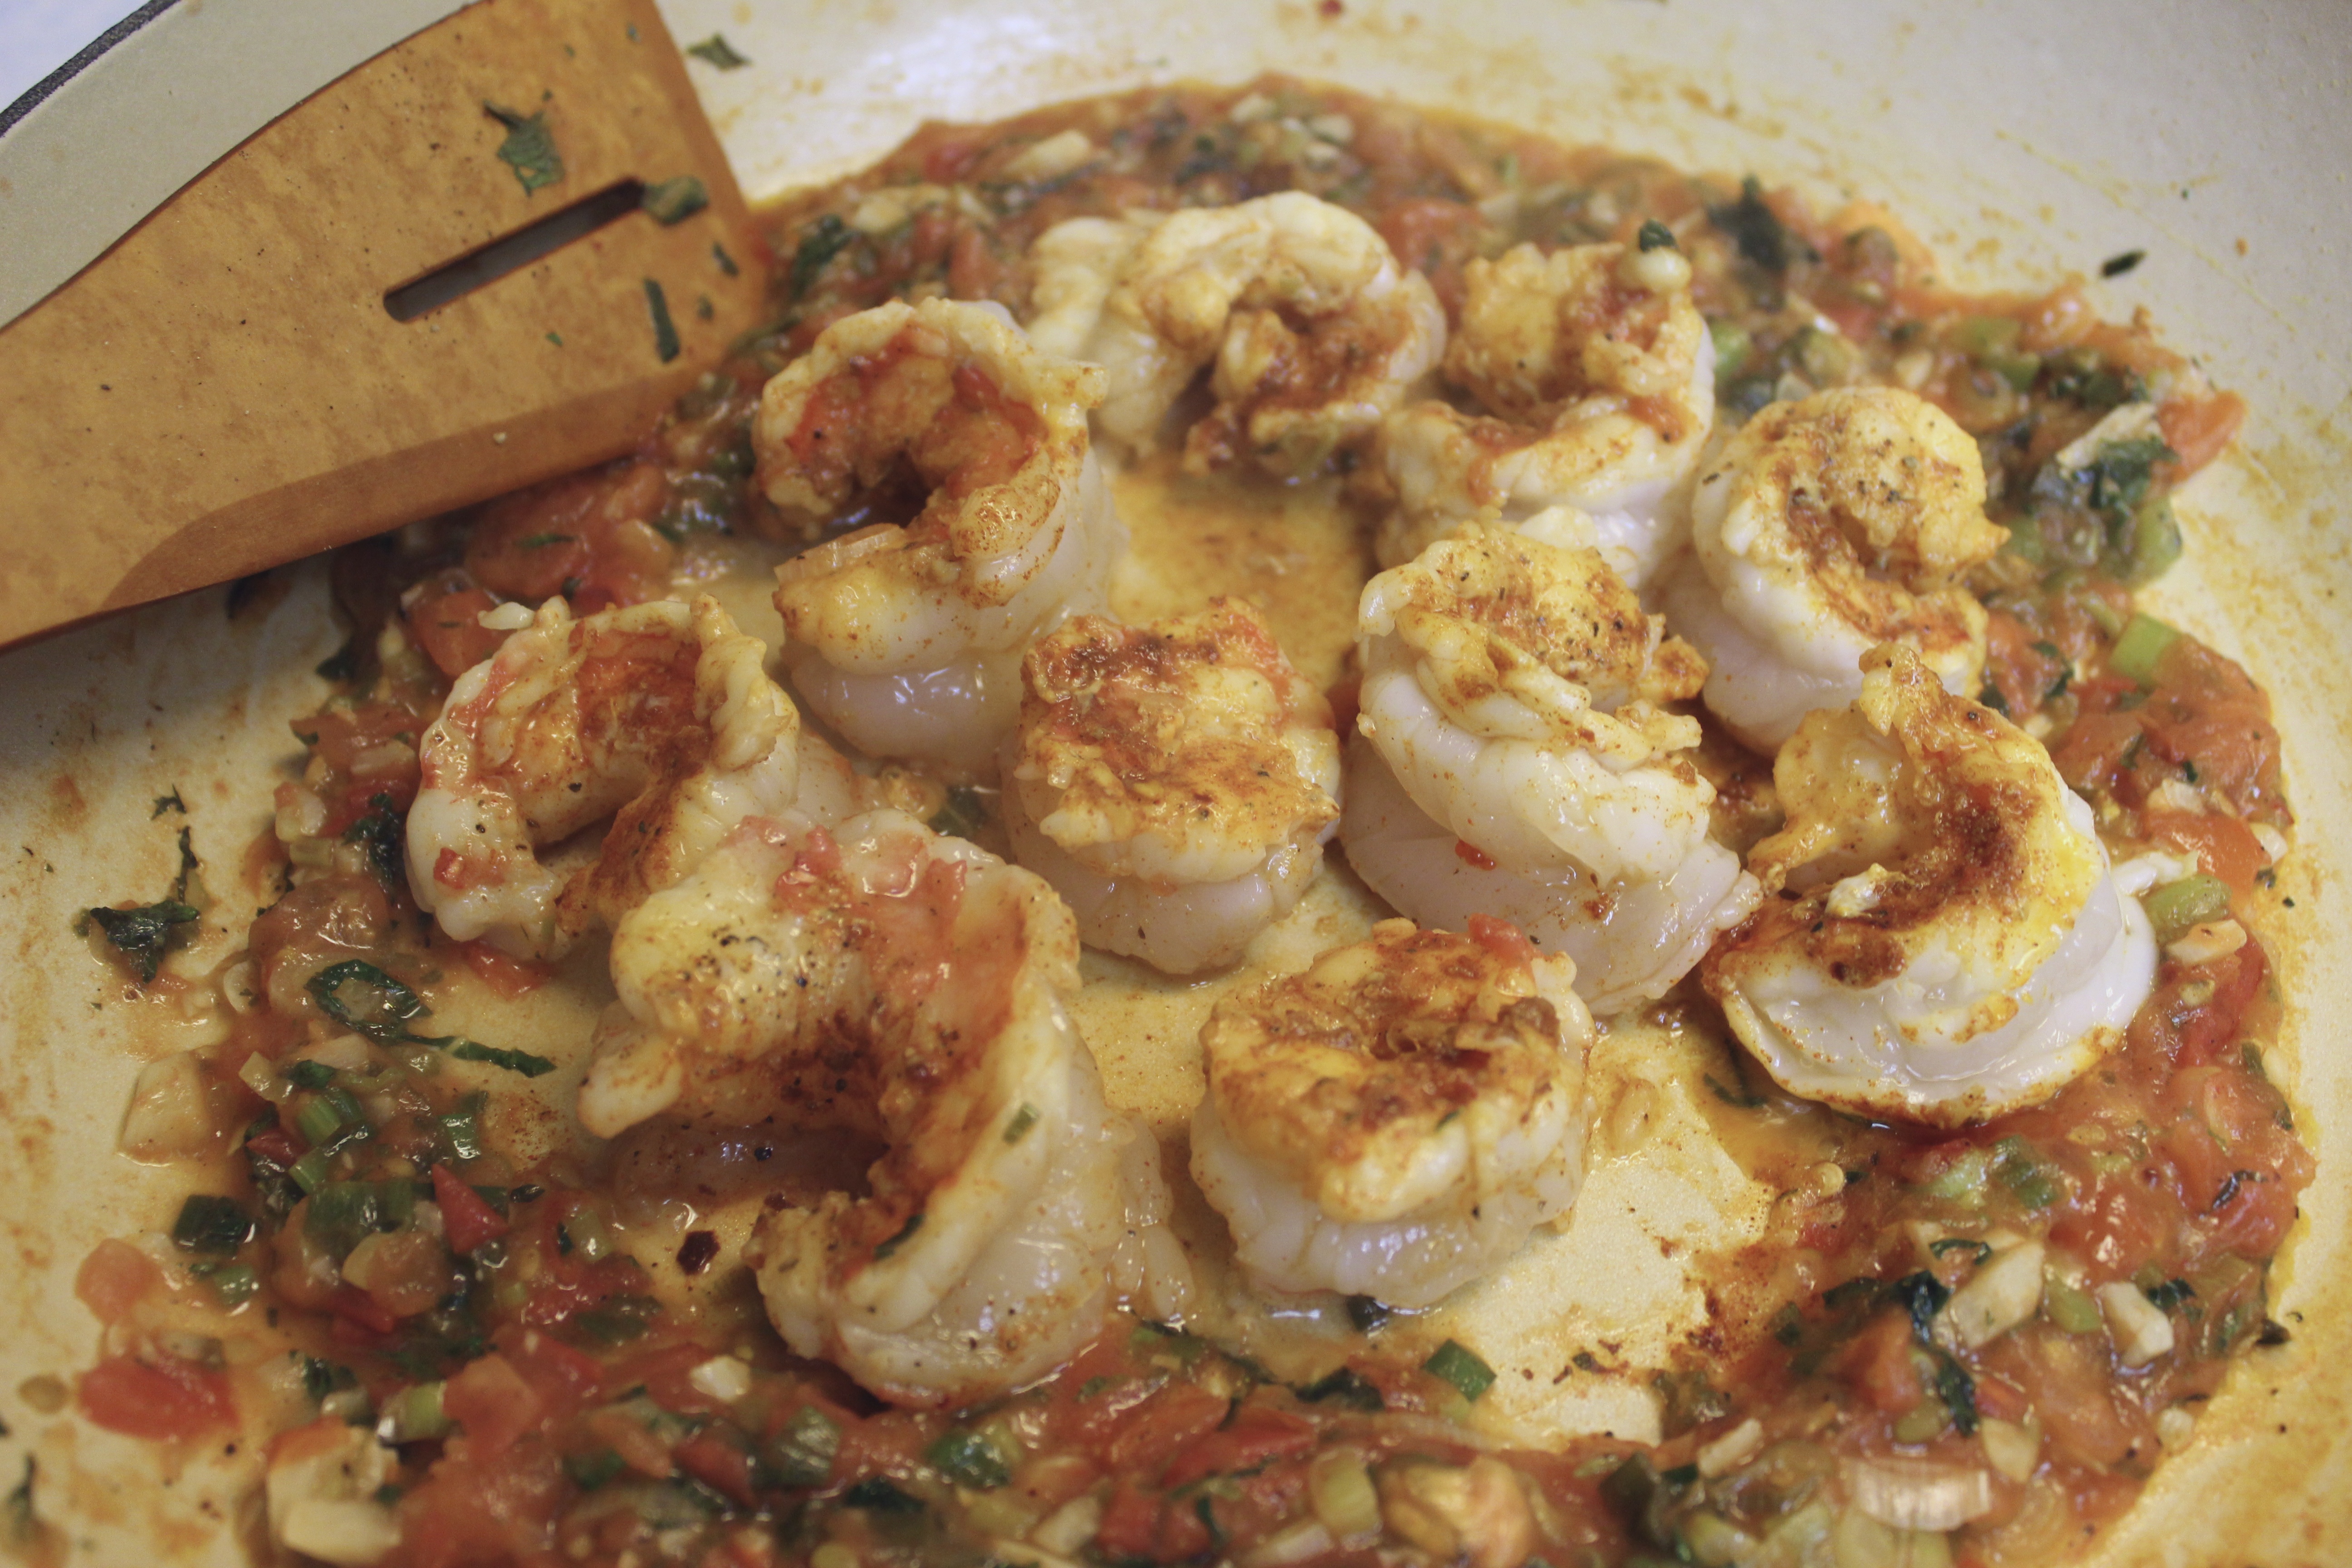
Make a well to make room for the shrimp:

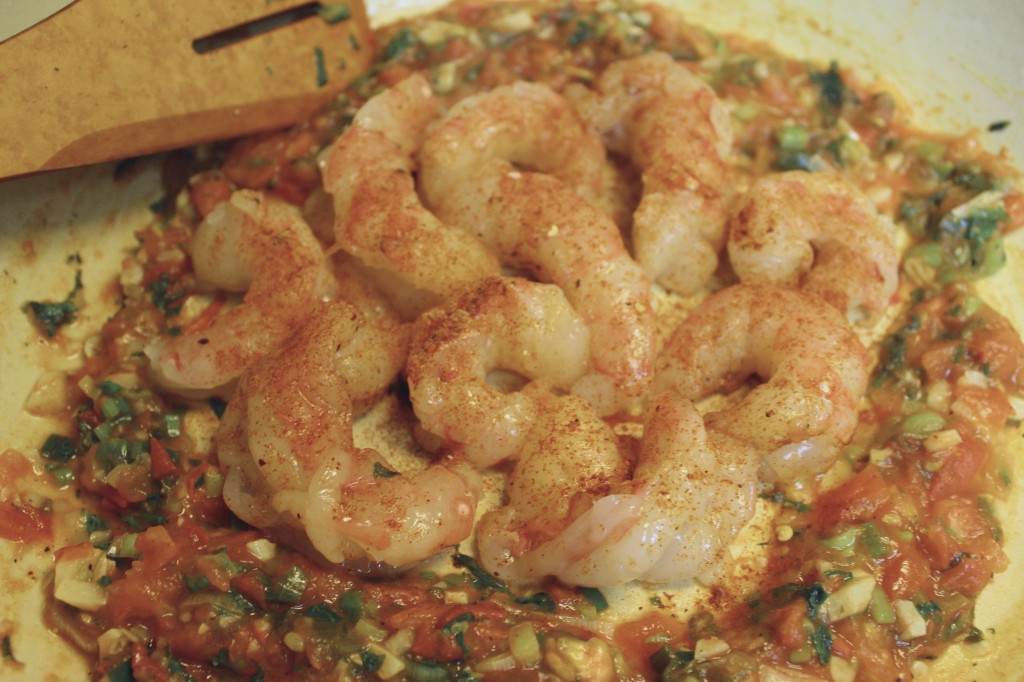
Cook for a few minutes on each side unit the shrimp are white and pink.


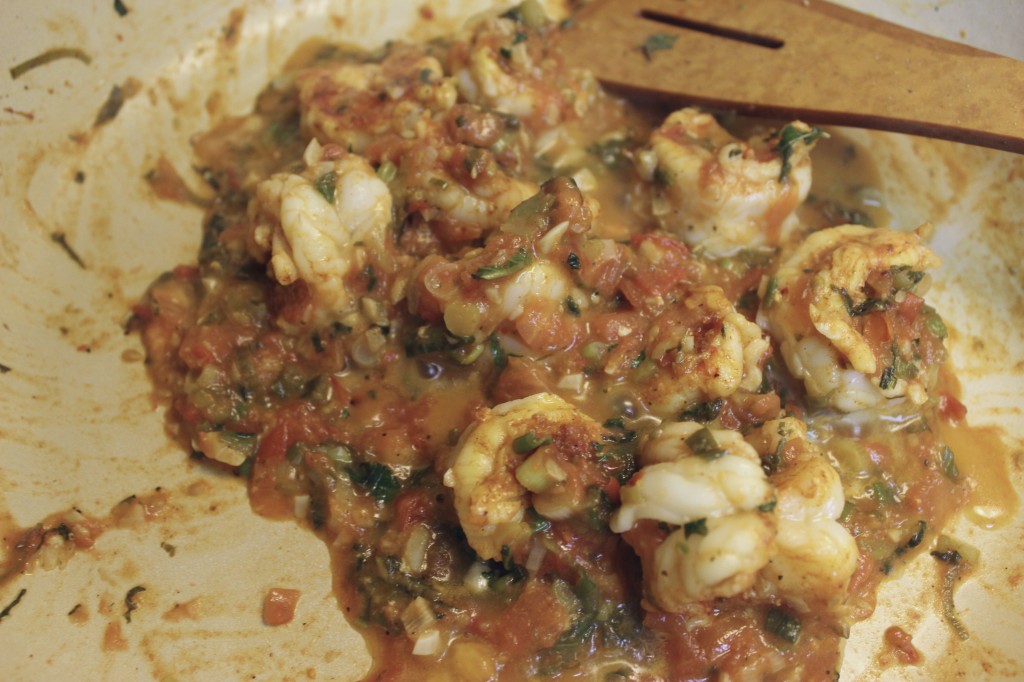
Once the shrimp are cooked through mix everything together and turn off the heat. You don’t want to overcook the shrimp, it becomes really rubbery.
Add a final sprinkling of mint and squeeze of half a lemon and you’re done!
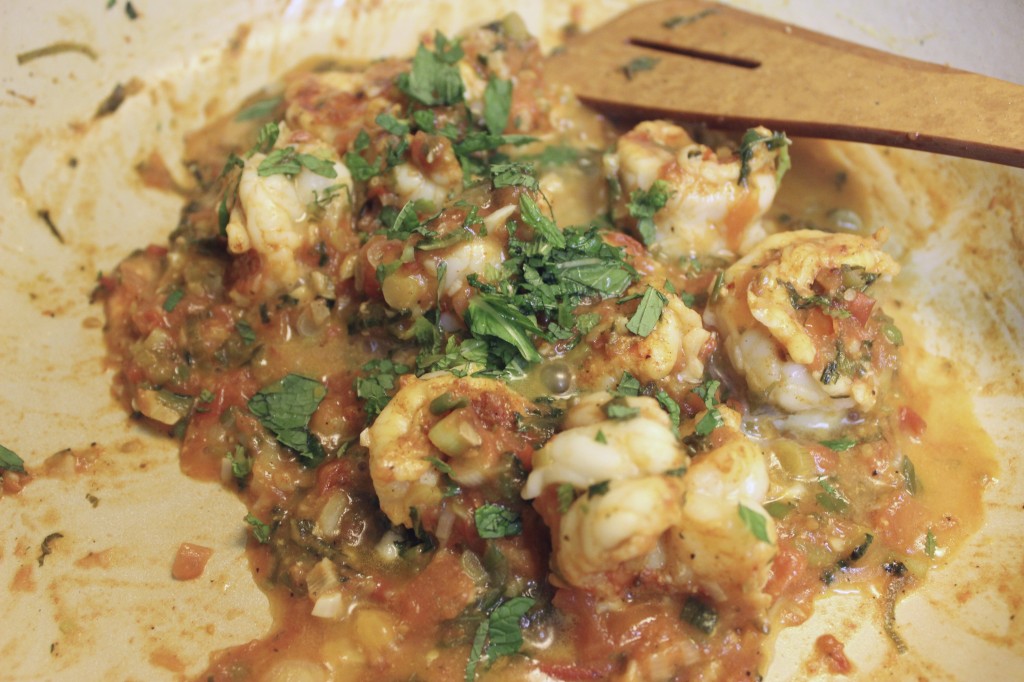
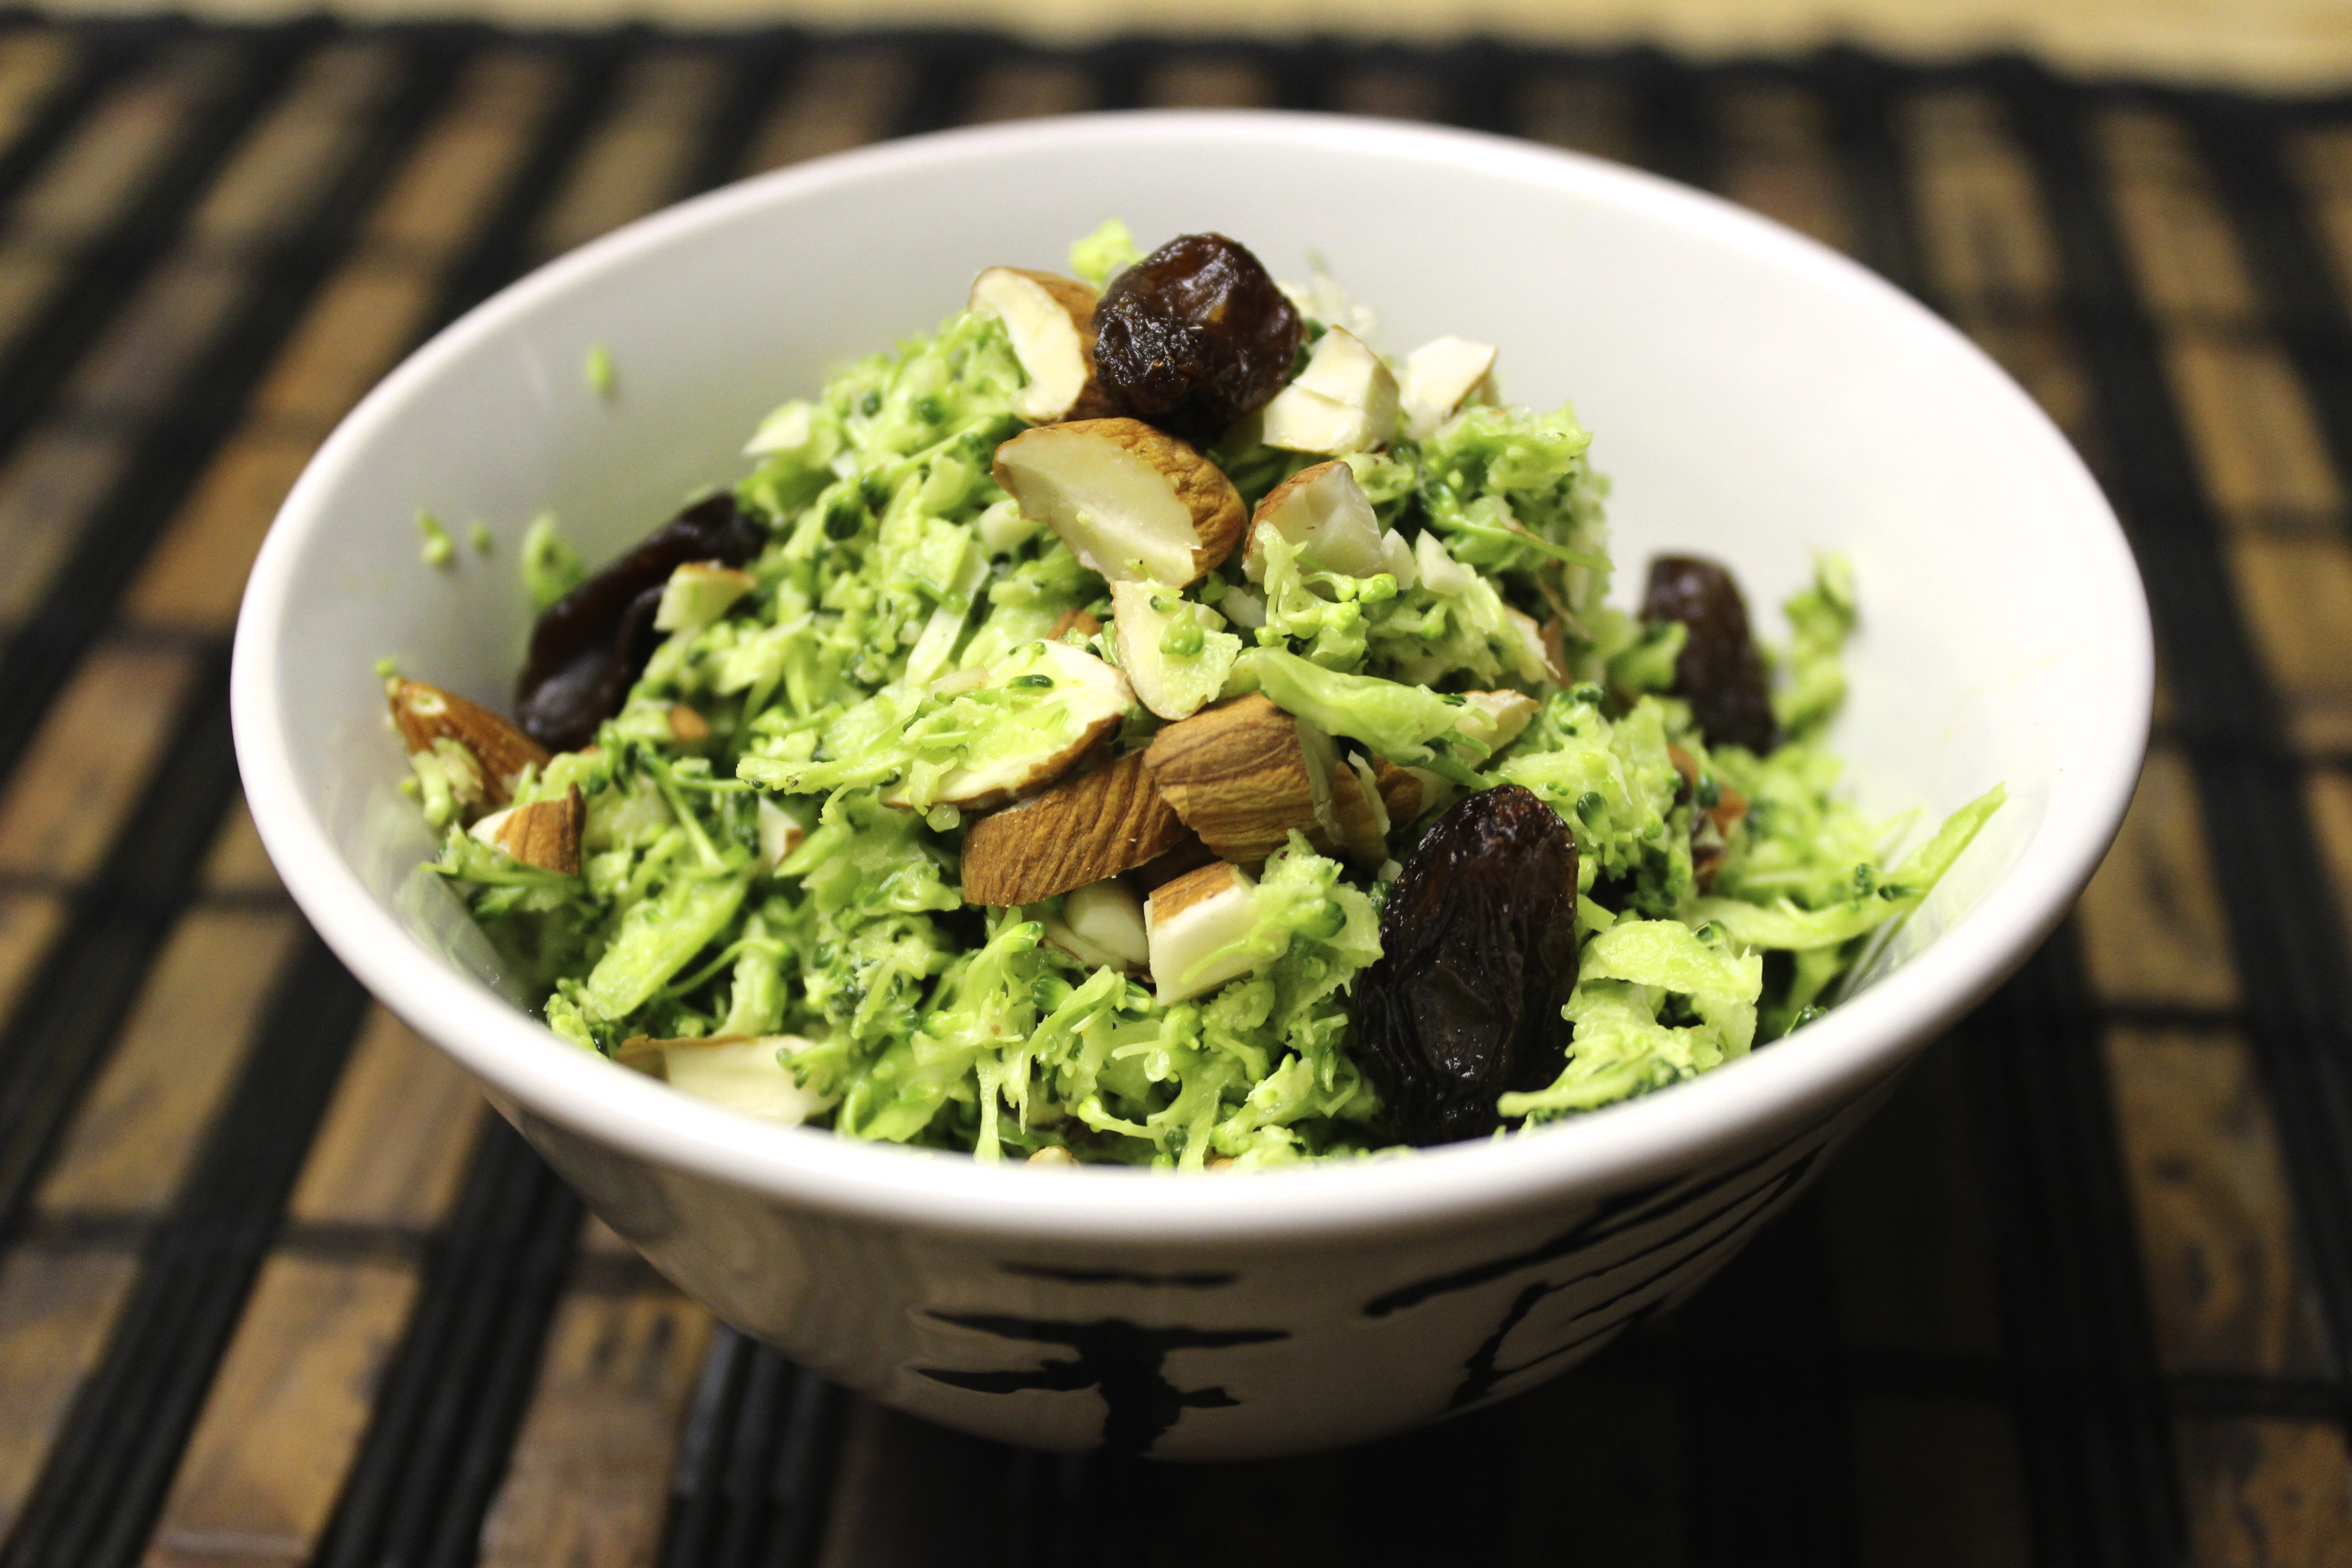
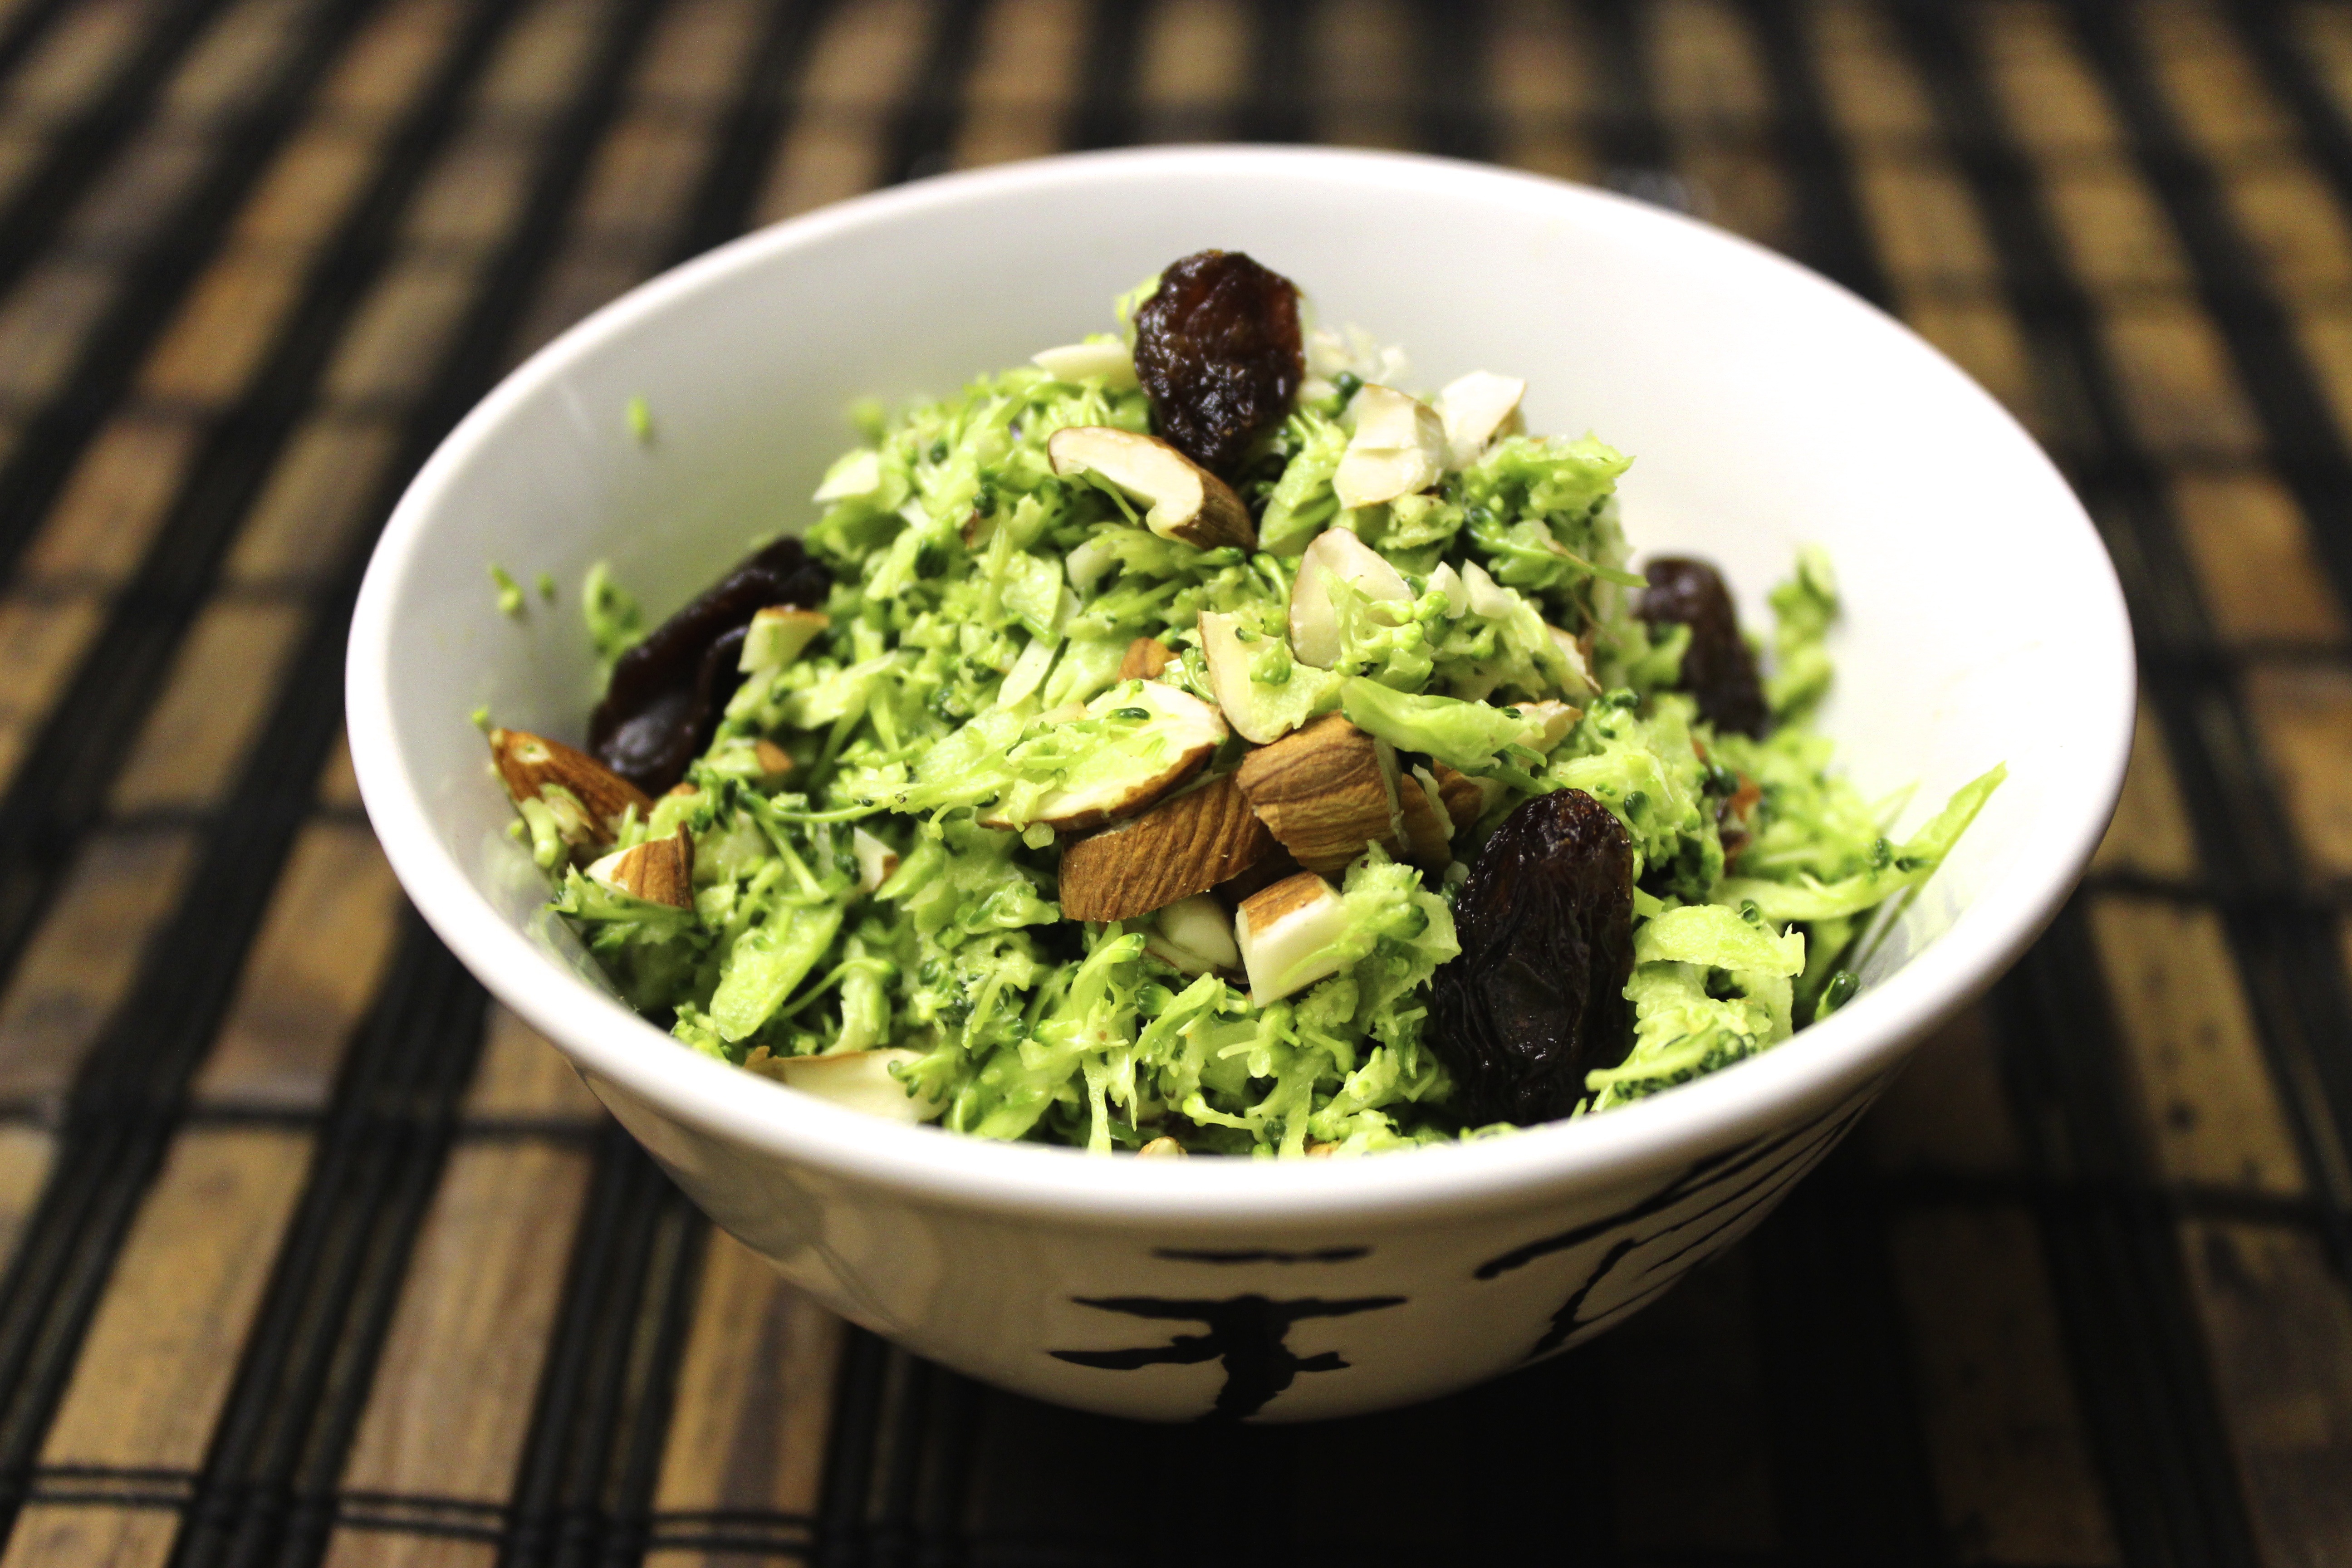
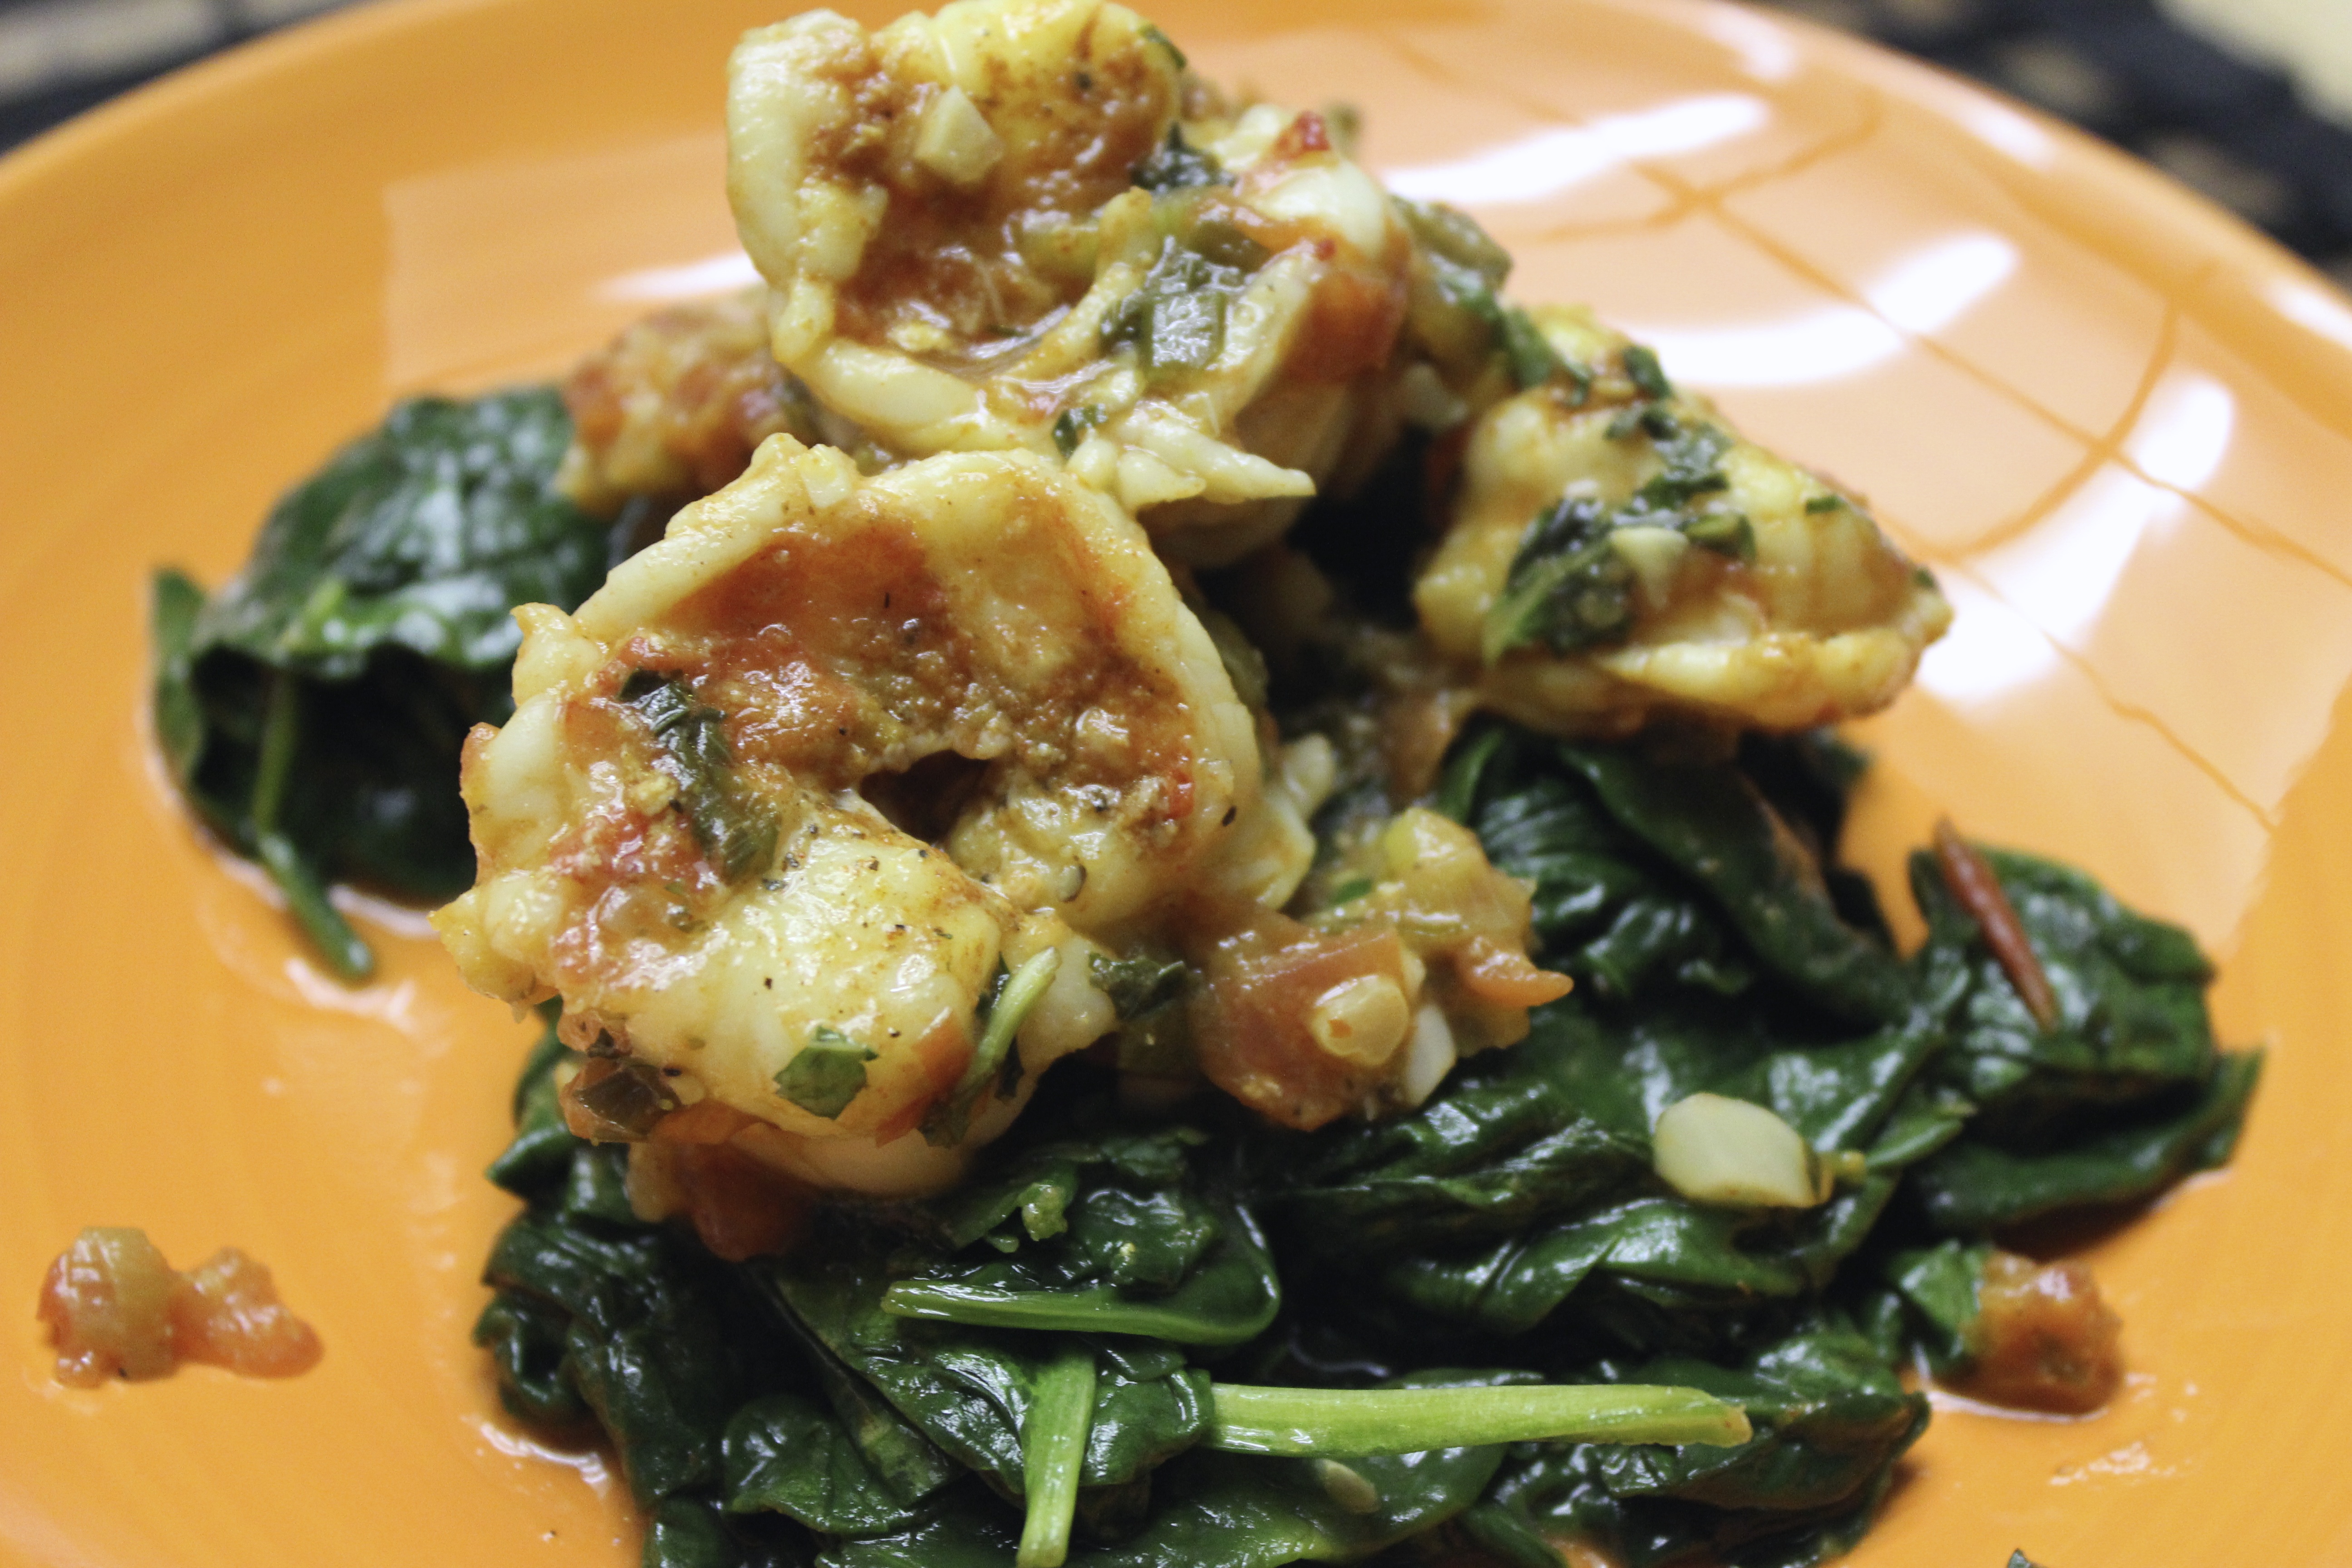
It’s so light and fresh, but the spices give it a warm heartiness that hits the spot.
You can eat it alone:

Or with sautéed spinach:

Or with pasta.
Sorry. I don’t have a picture of that.
Oh and if you type your email in the box below, a magical fairy sends you an email when I upload a new post.
[subscribe2]
[yumprint-recipe id=’49’]