Citrus Roasted Drumsticks

Posted on

citrus roasted drumsticks 11

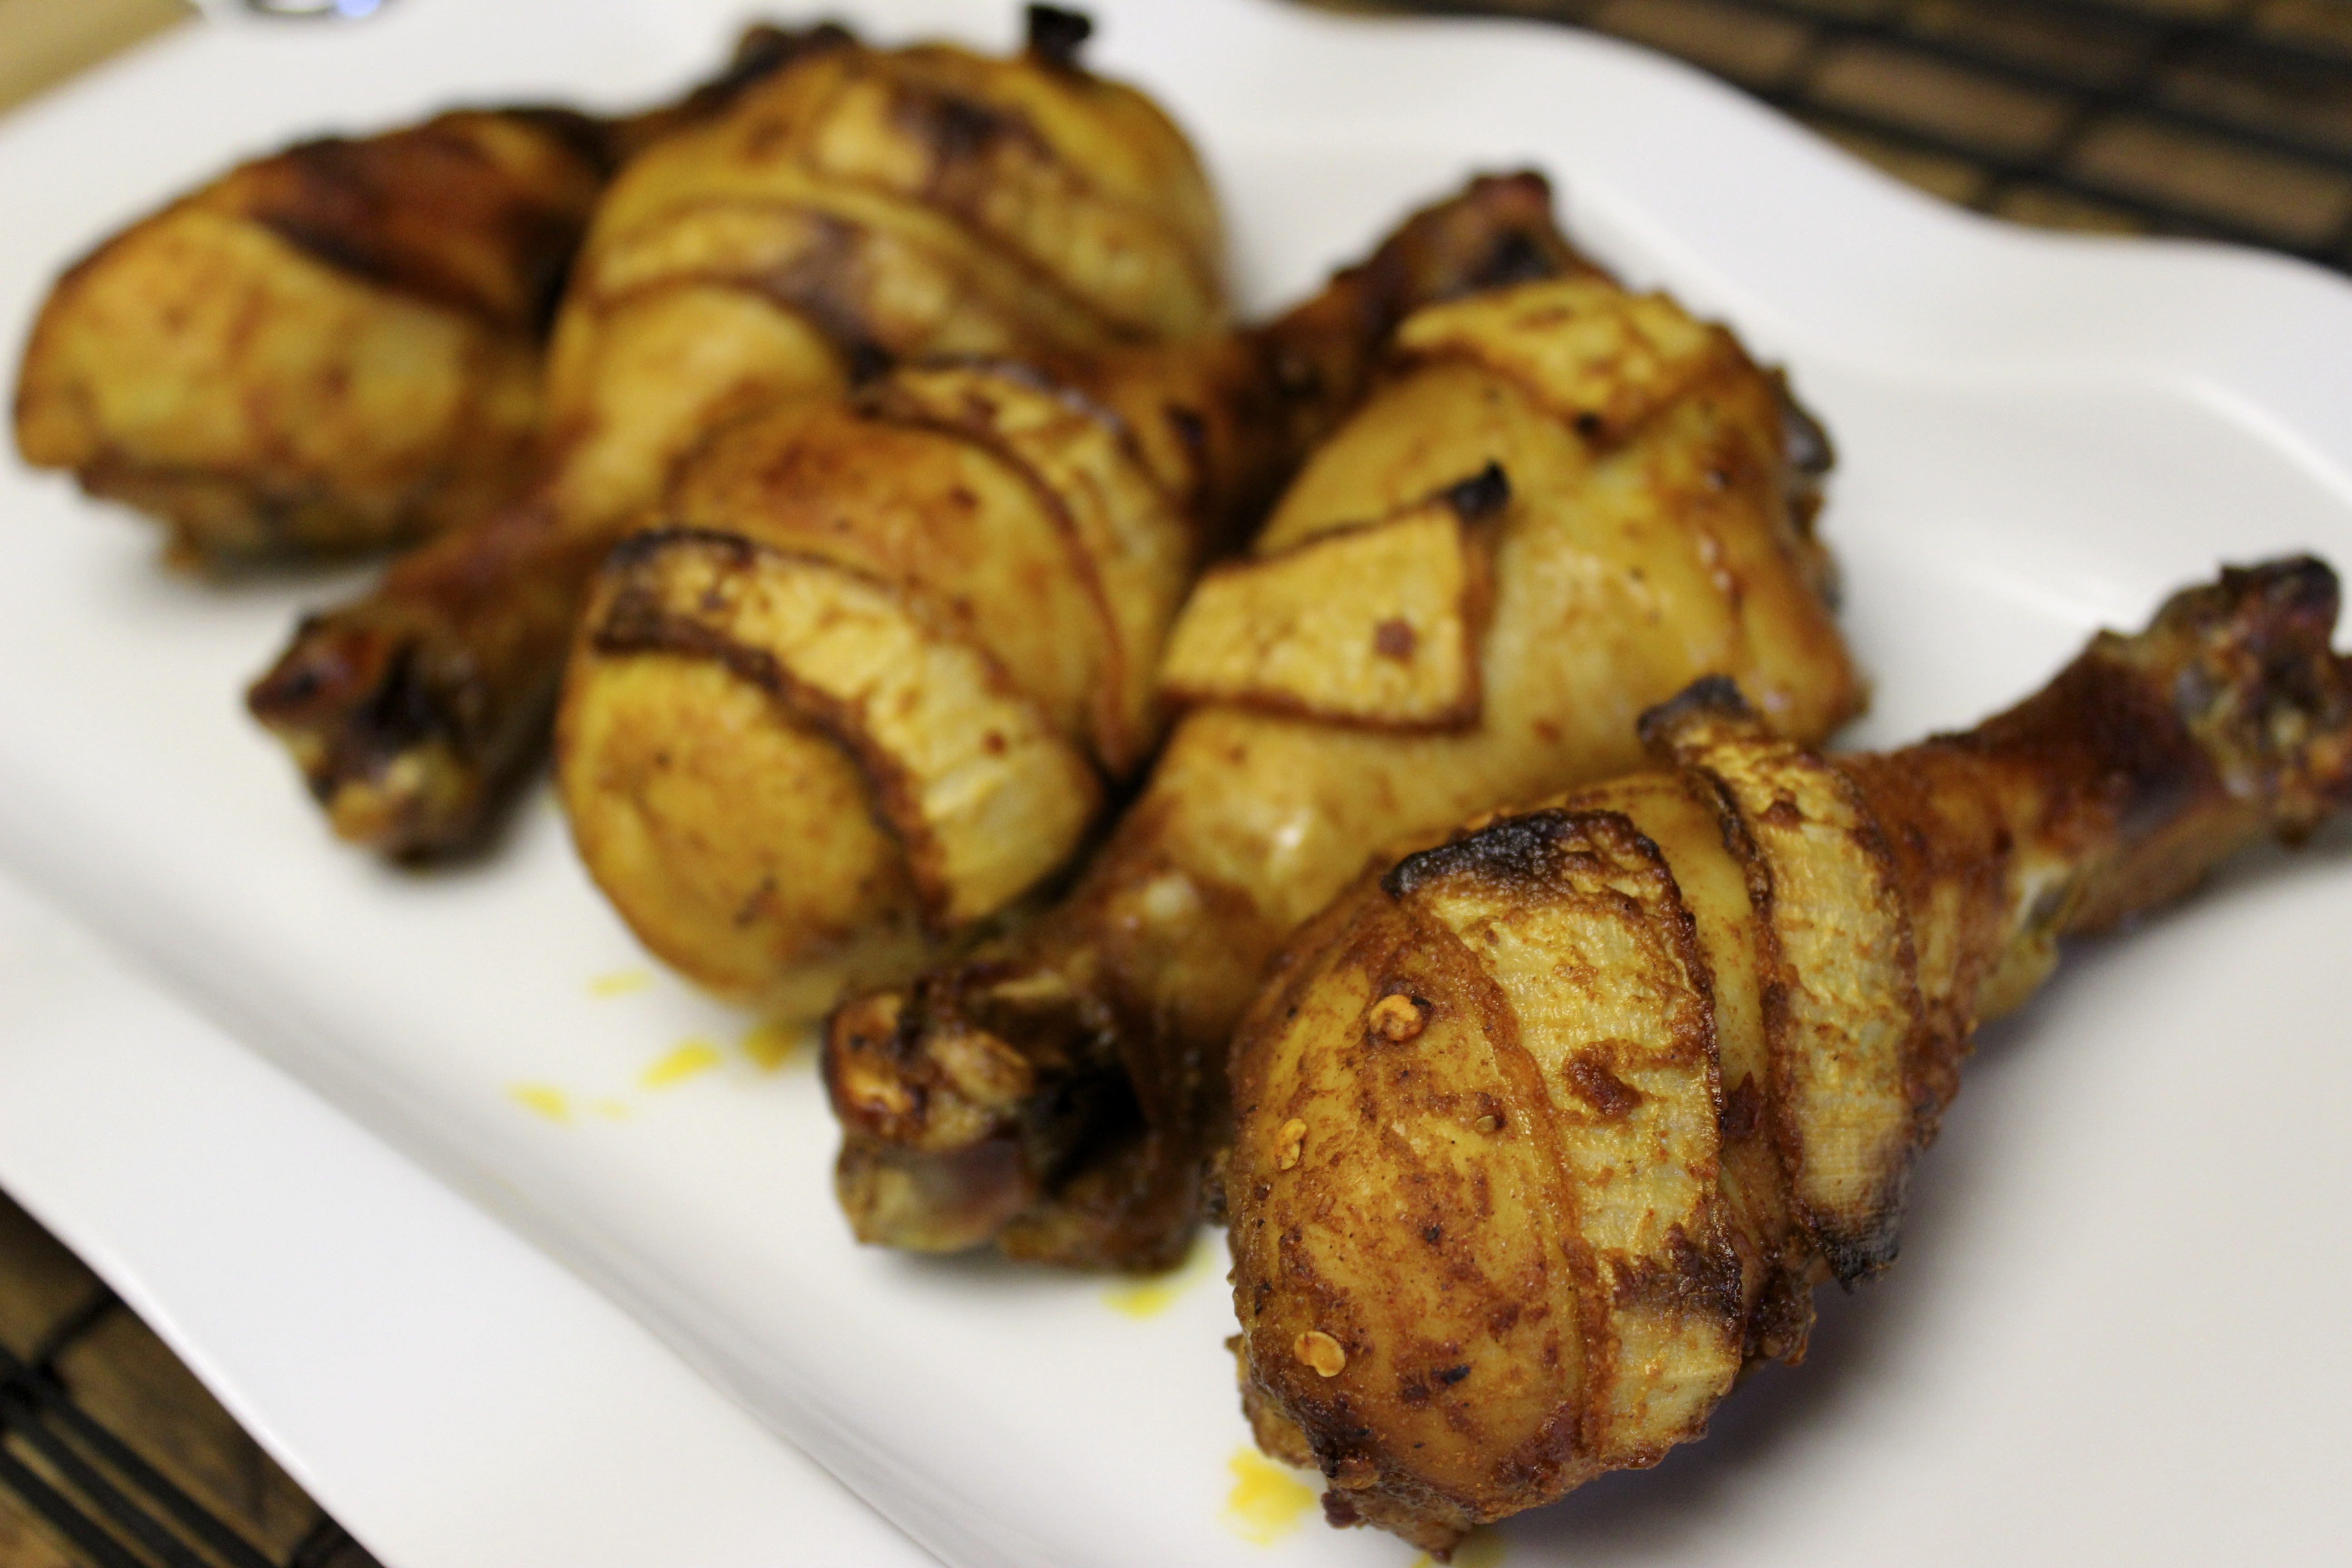
These drumsticks are a go-to recipe for me when I want something quick, easy and light but with some substance. You know what I mean?

I hope so.

Also the onion thing is something new I tried because two onions landed that way on the chicken accidentally, but it looked cool, so I was like OMG this is a sign from the universe so I’m gonna arrange the rest of them like that and it will change the world as we know it! What I’m trying to say is that you don’t have place the onions on the chicken if you’re not a fan of onions. I usually just use them in the marinade for flavor.

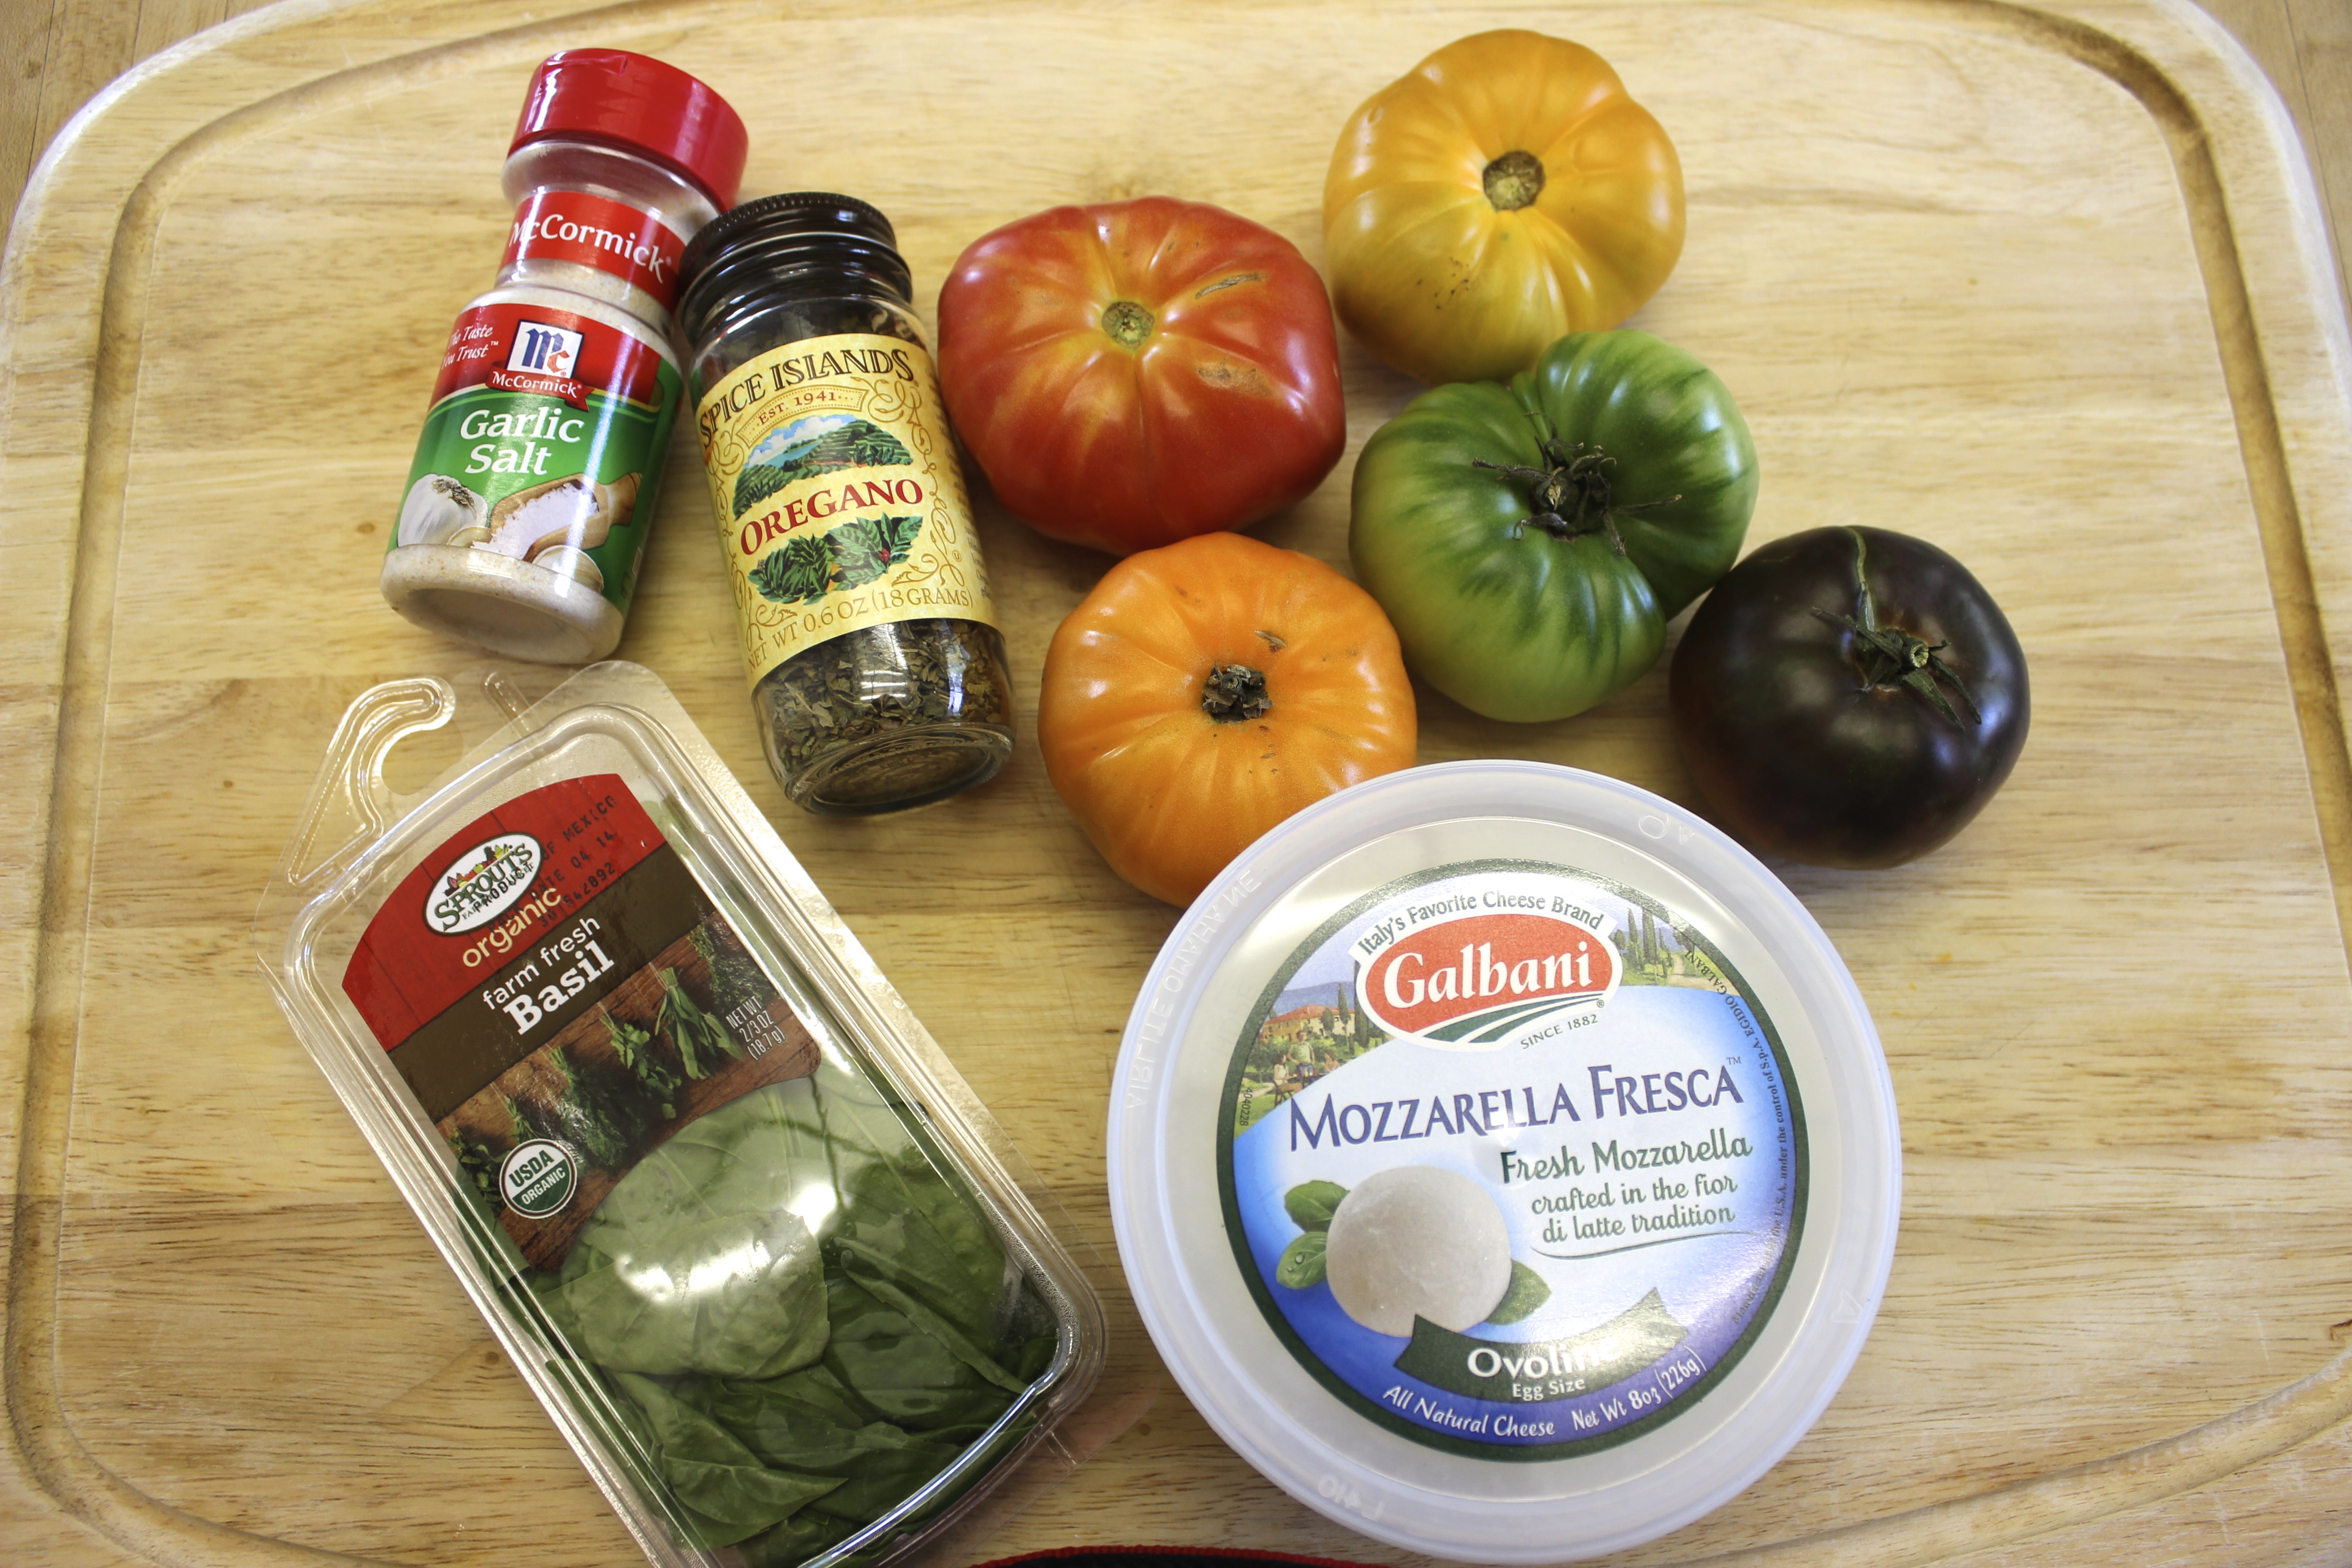
Which brings me to the marinade. You’ll need the following items:

roasted drumsticks 5

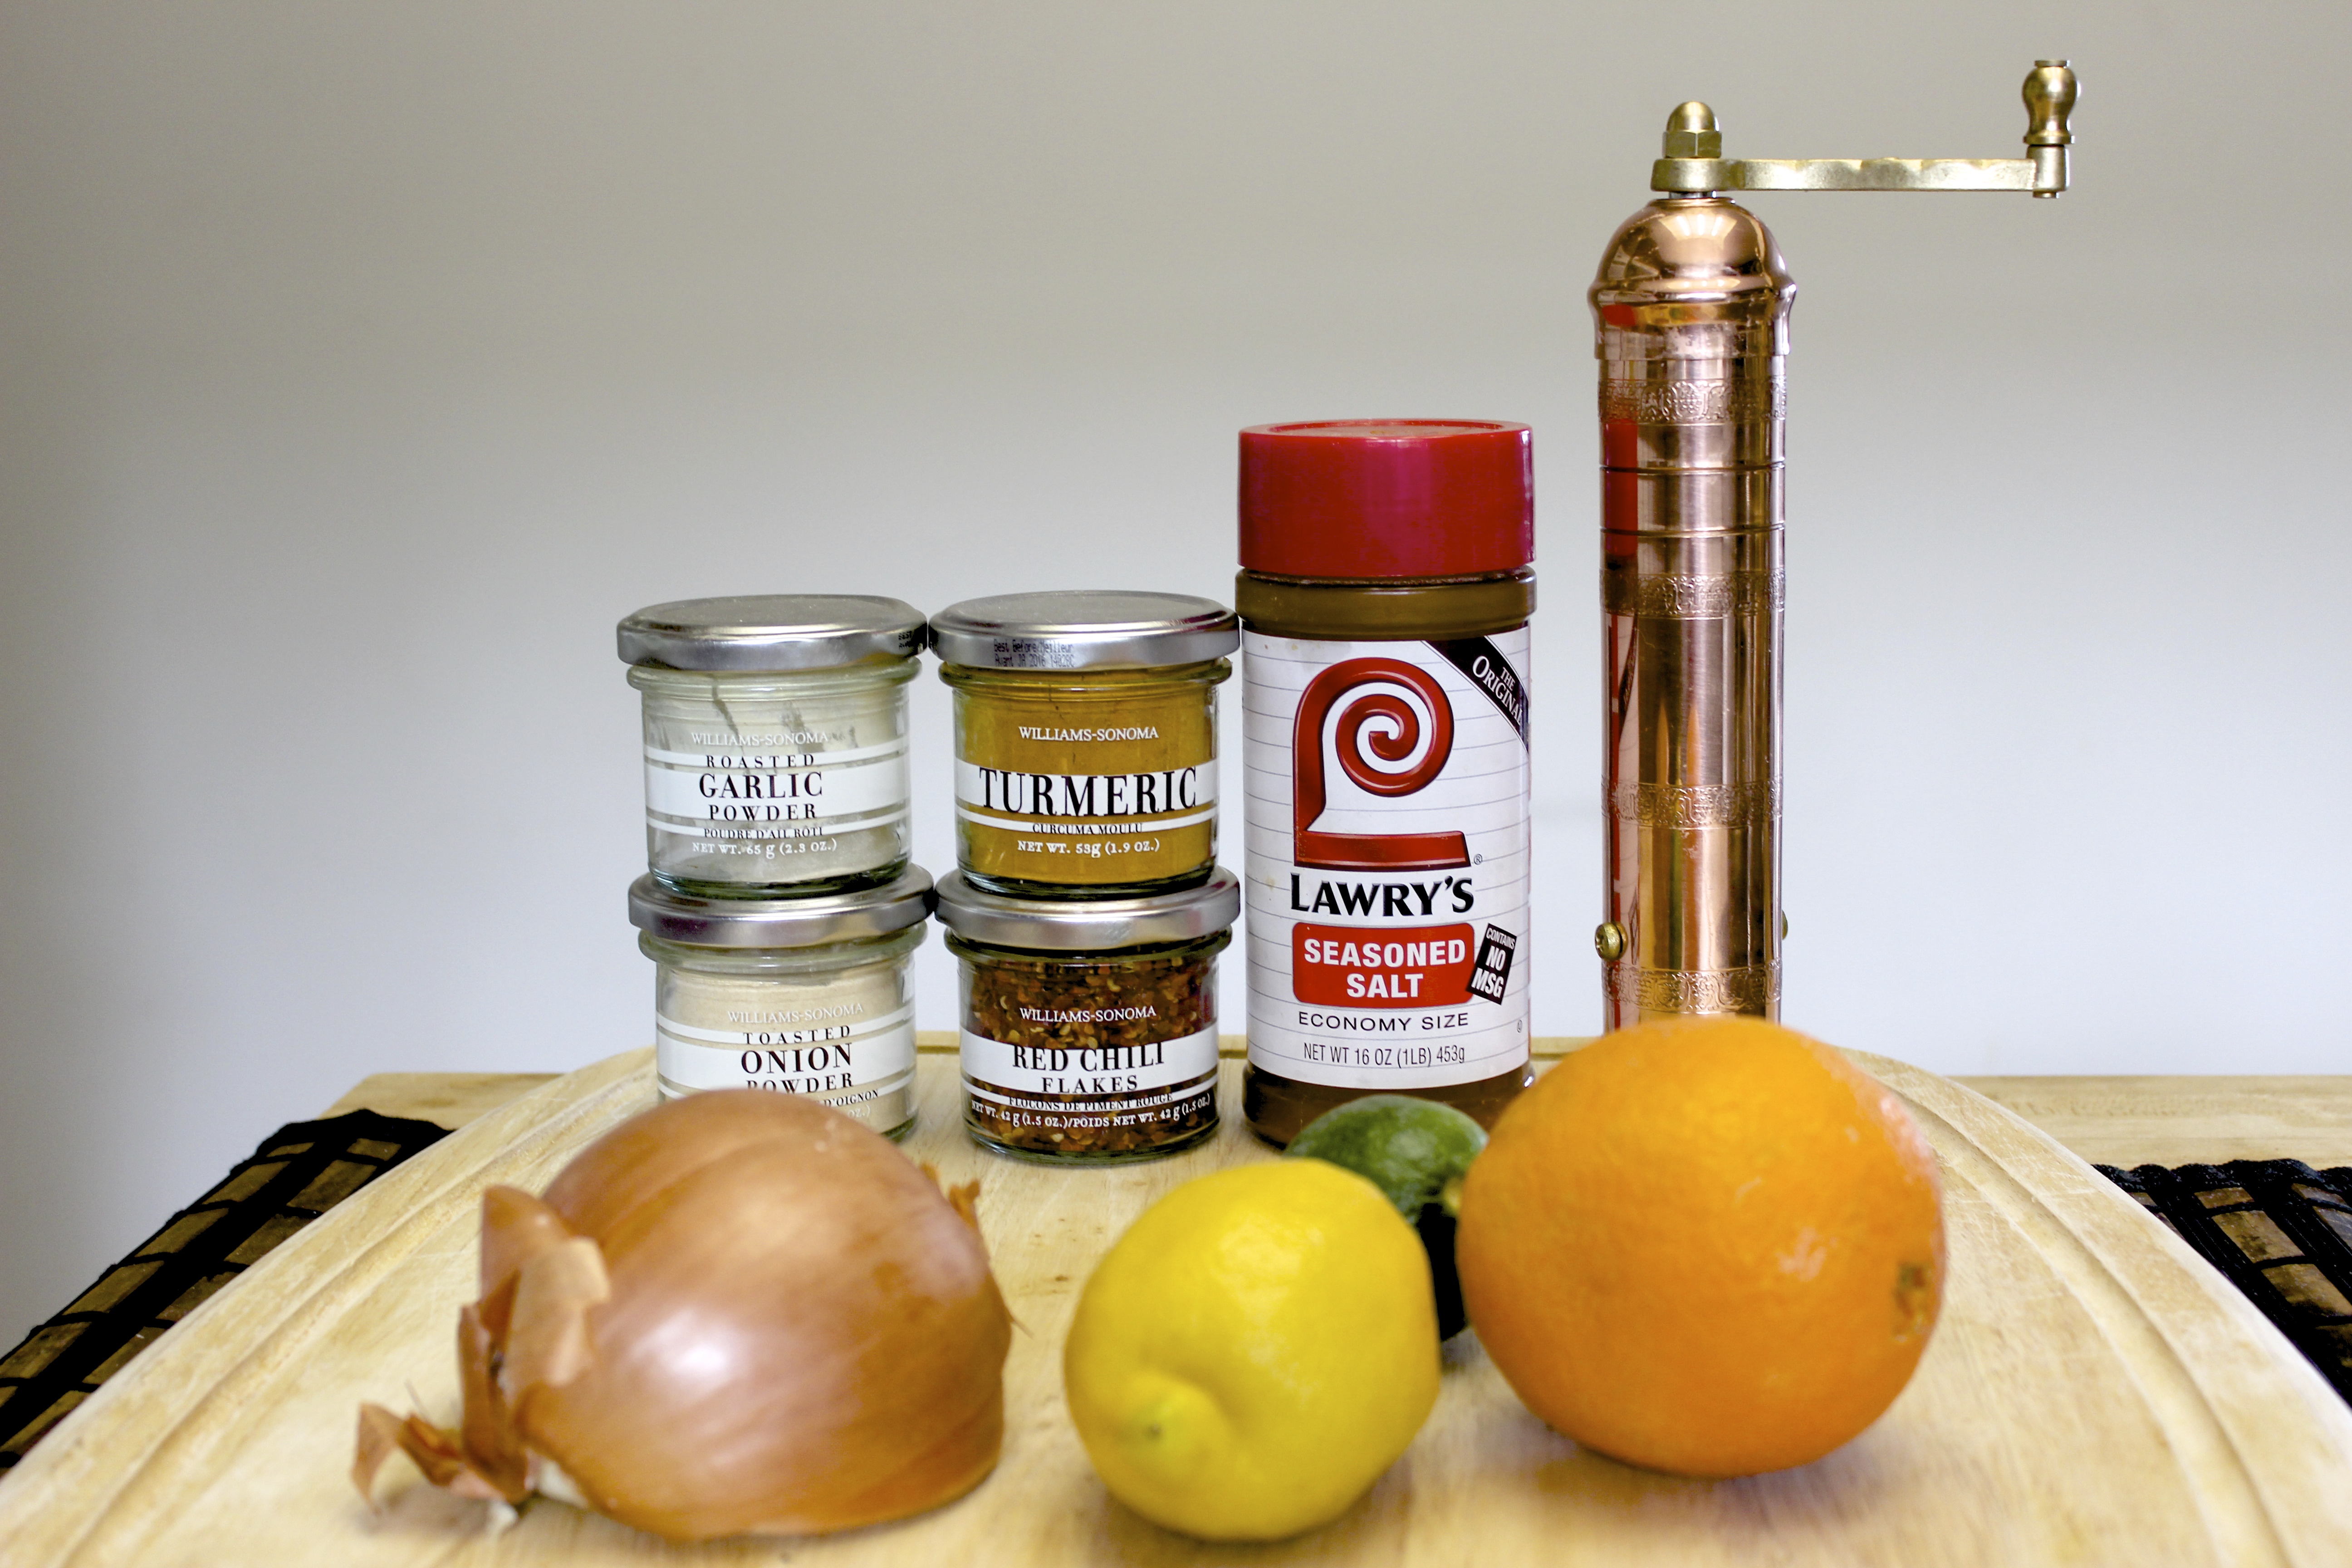
Spices from left to right: garlic powder, onion powder, turmeric, red chili flakes, seasoned salt and black pepper.

You also need half an onion and an orange, lemon and lime. 

And oil.

And drumsticks. You need drumsticks, a.k.a chicken legs.

Ew….but… yum.

roasted drumsticks 6

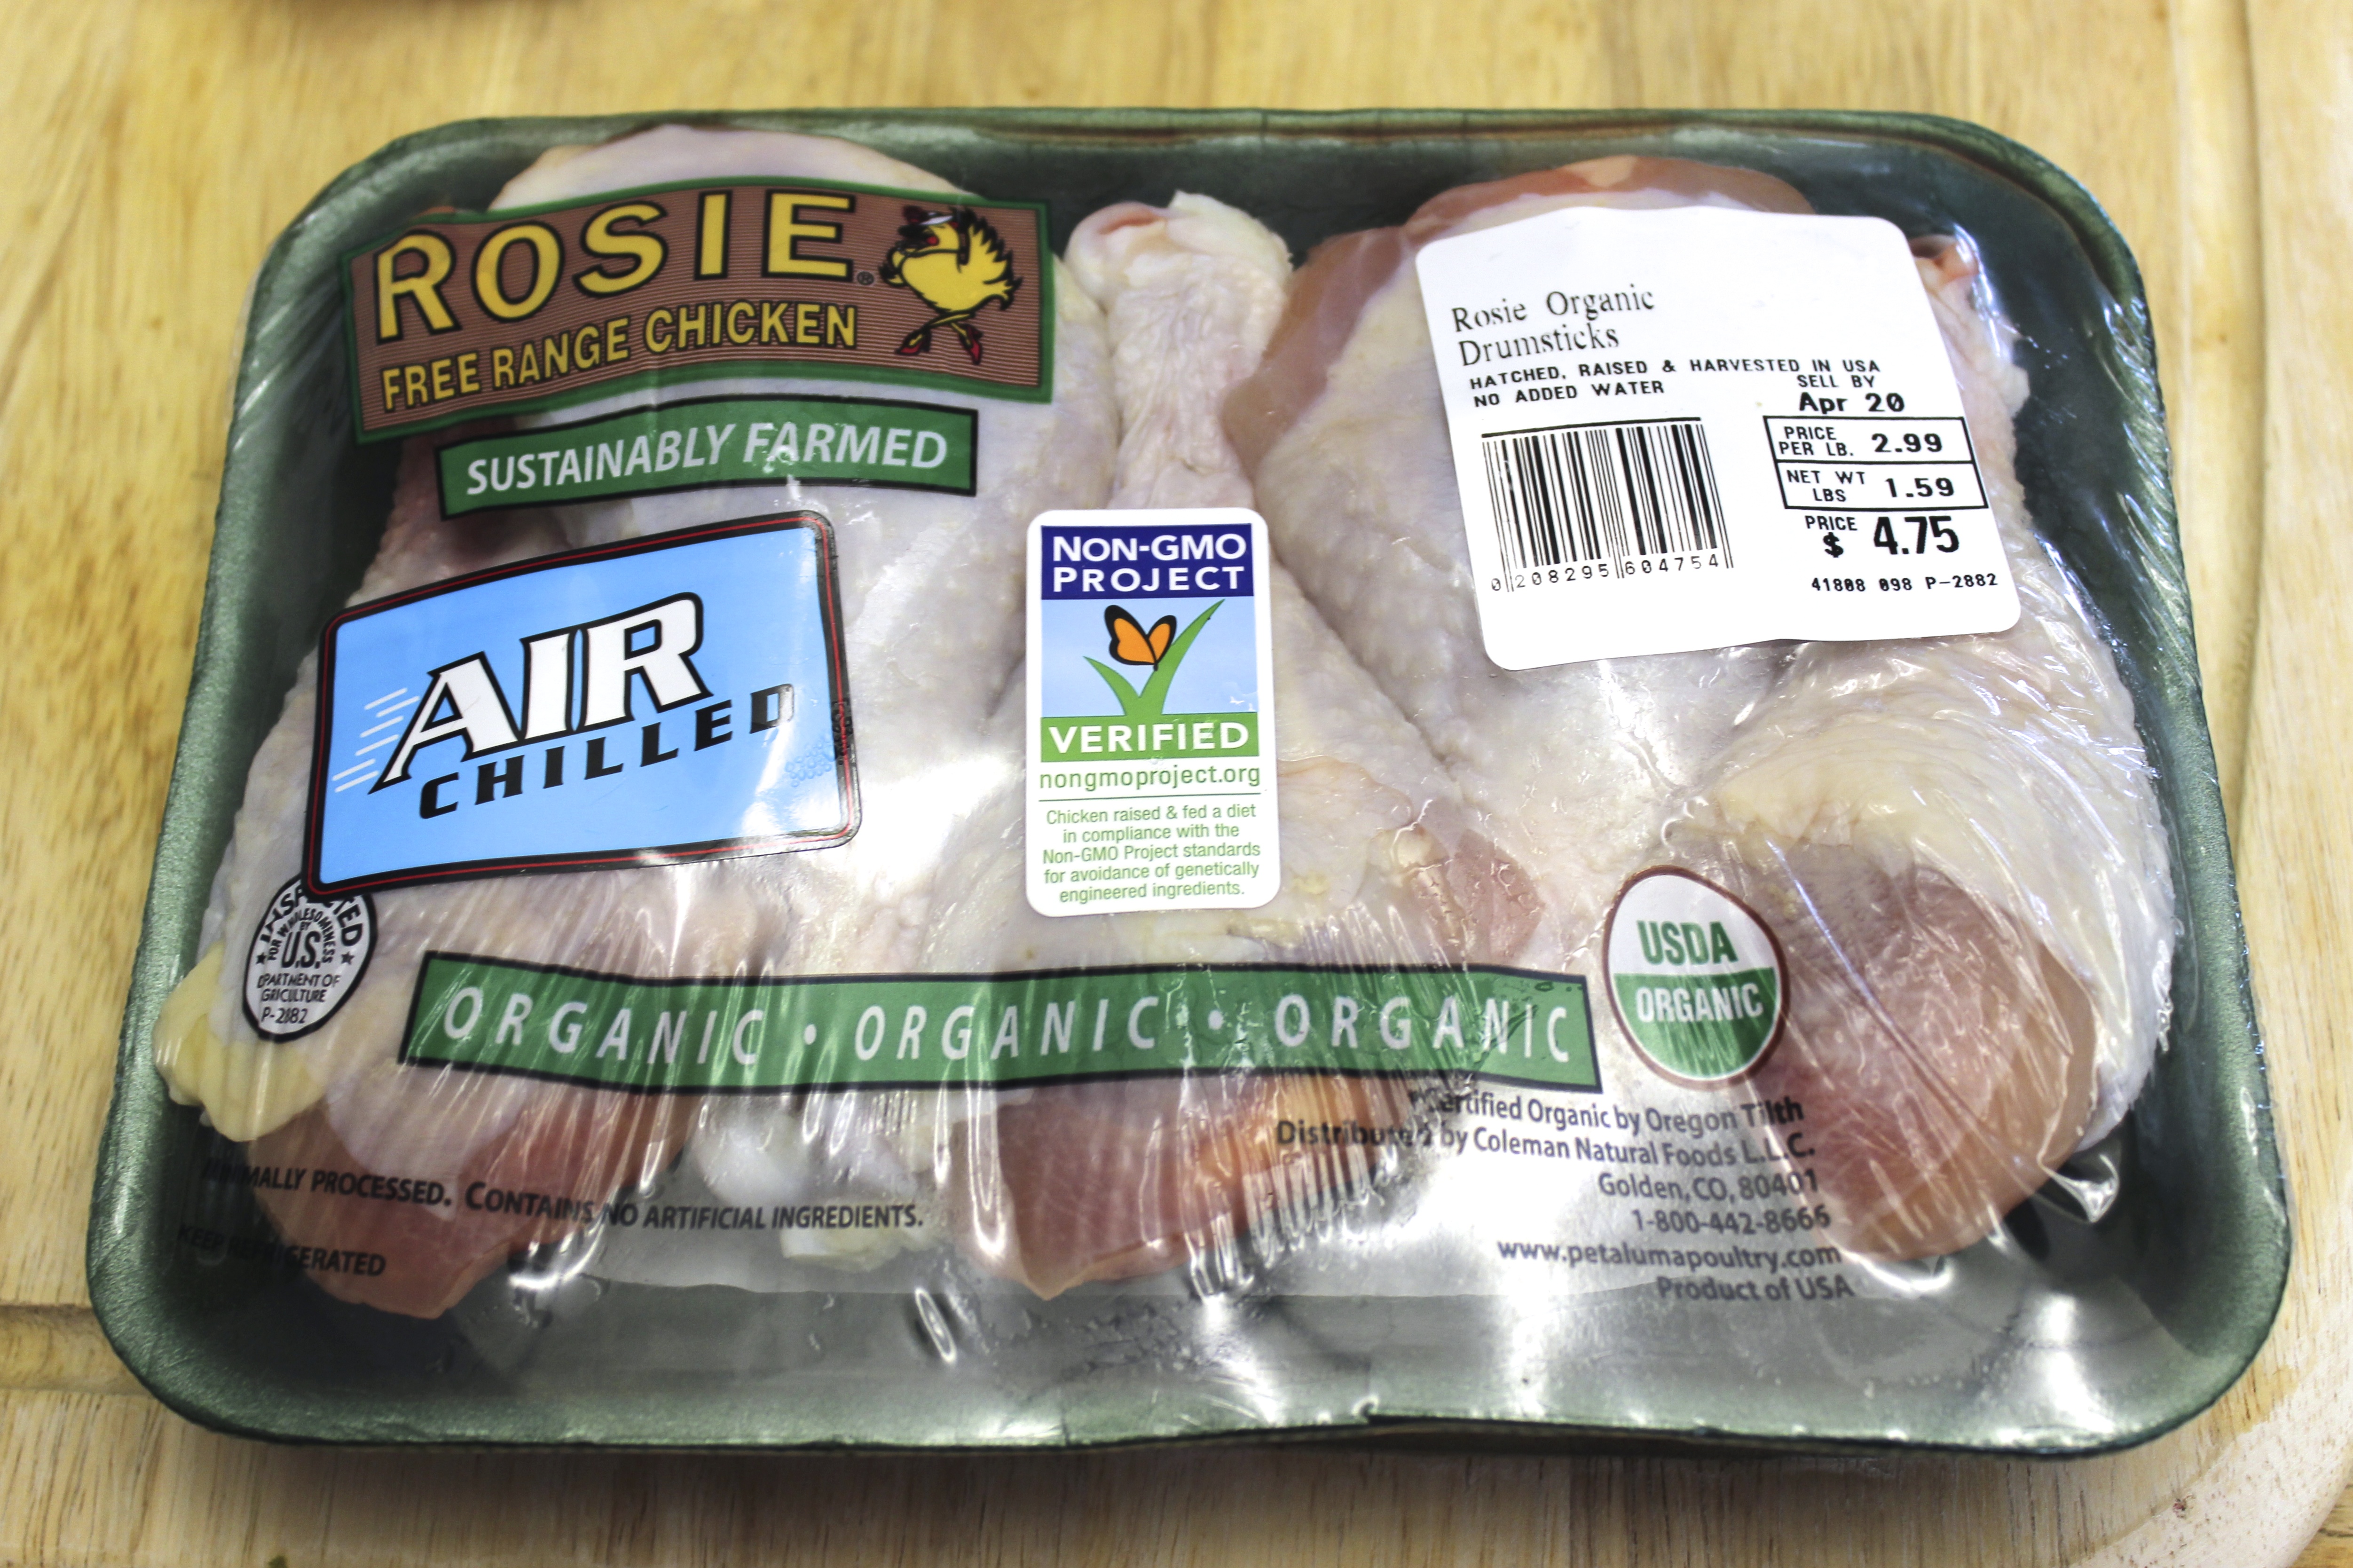
By the way, drumsticks are a great choice for cheap meat, especially if you’re buying organic. They also are less than 200 calories each. I love drumsticks. 

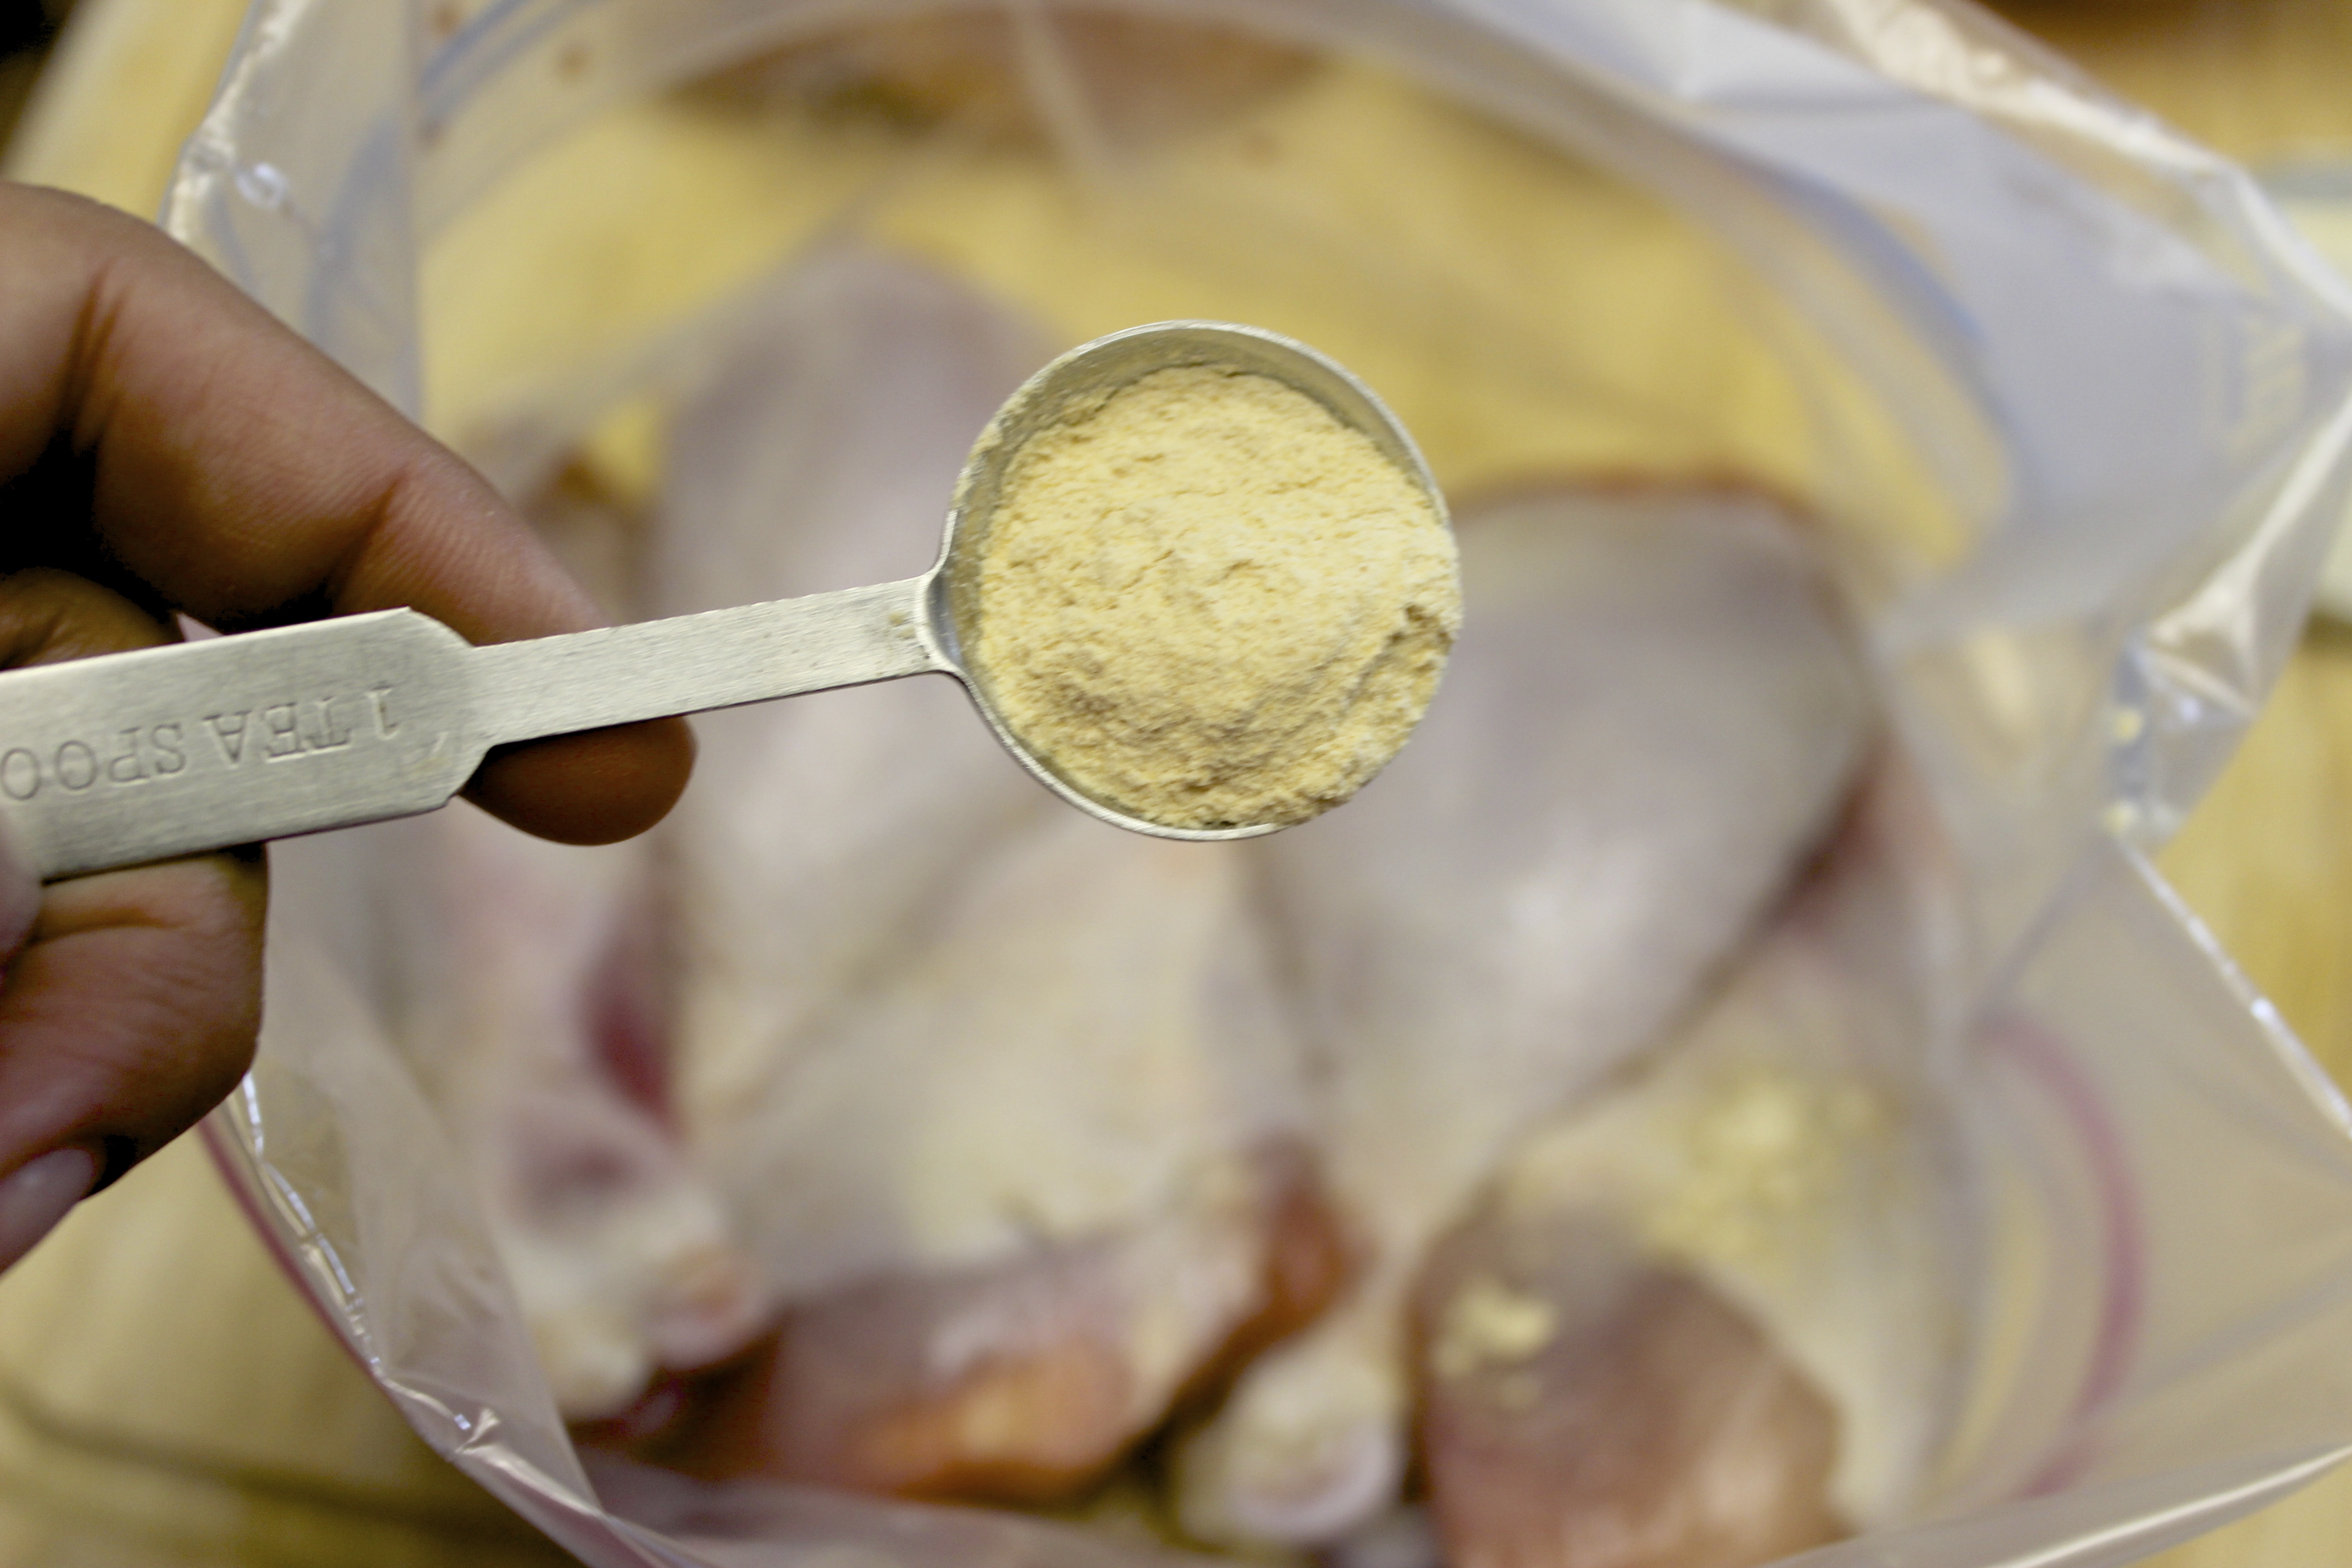
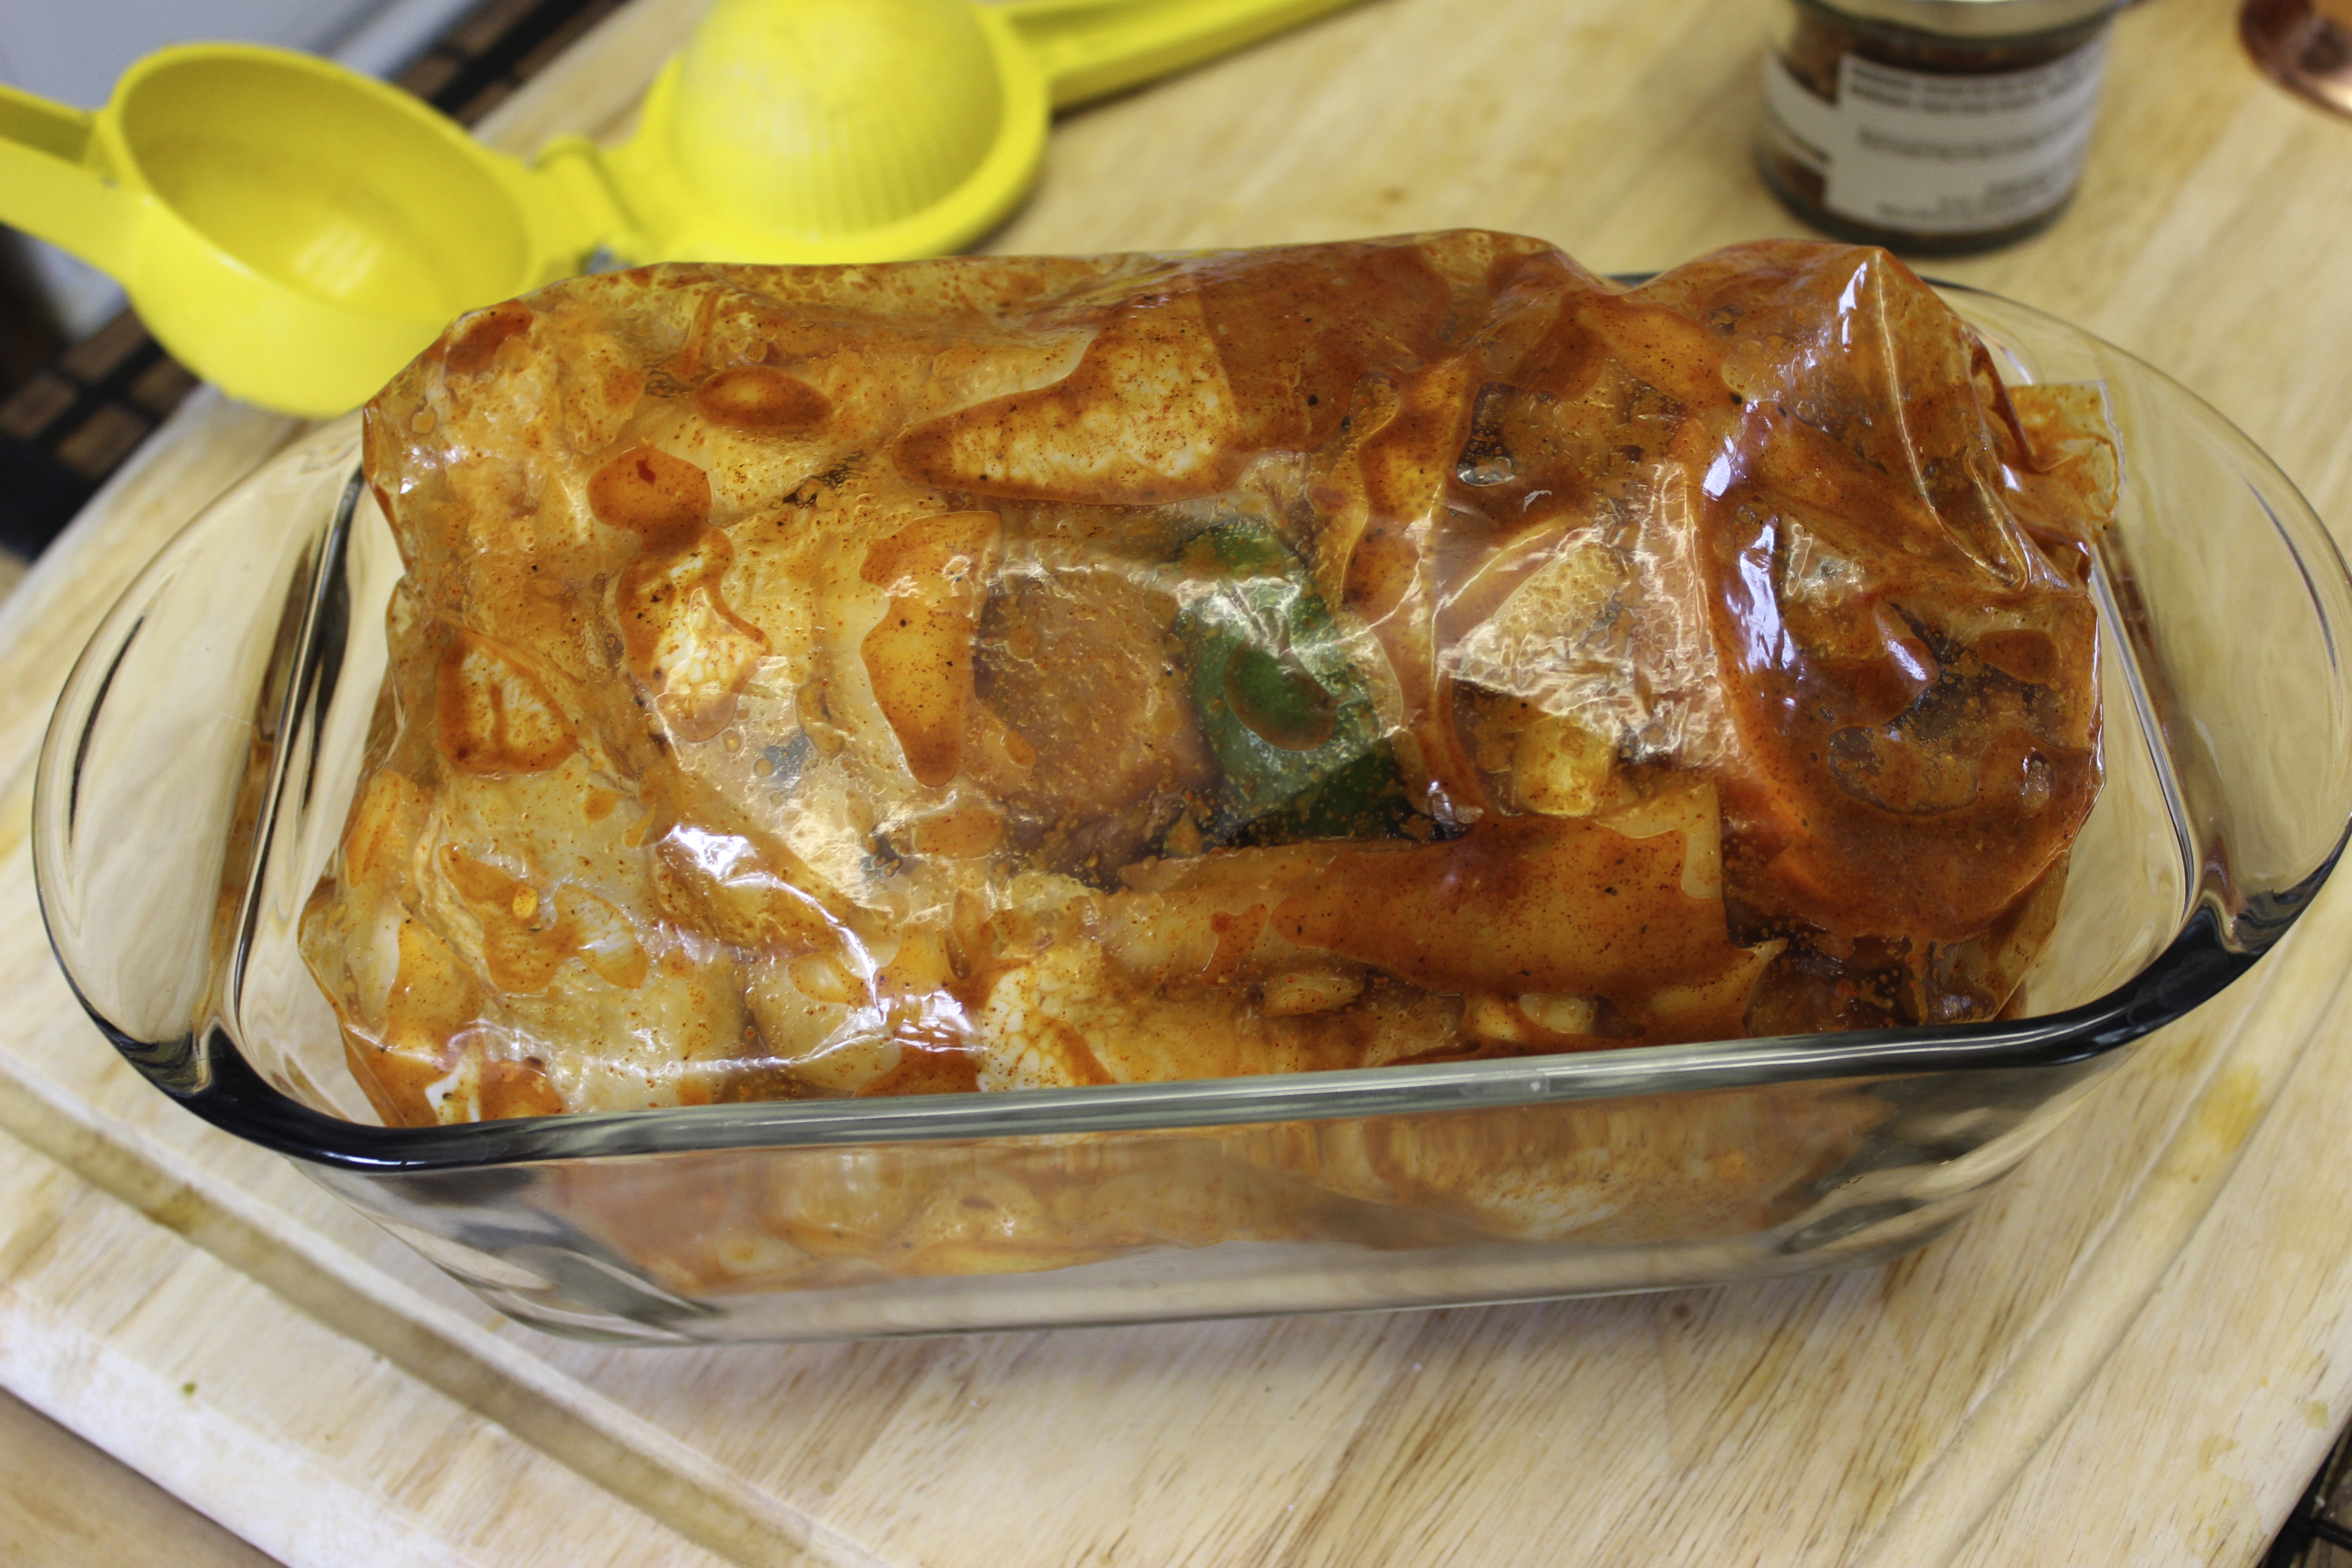
I like marinating things in ziploc bags because it coats the meat more evenly and it’s also much neater and cleaner.

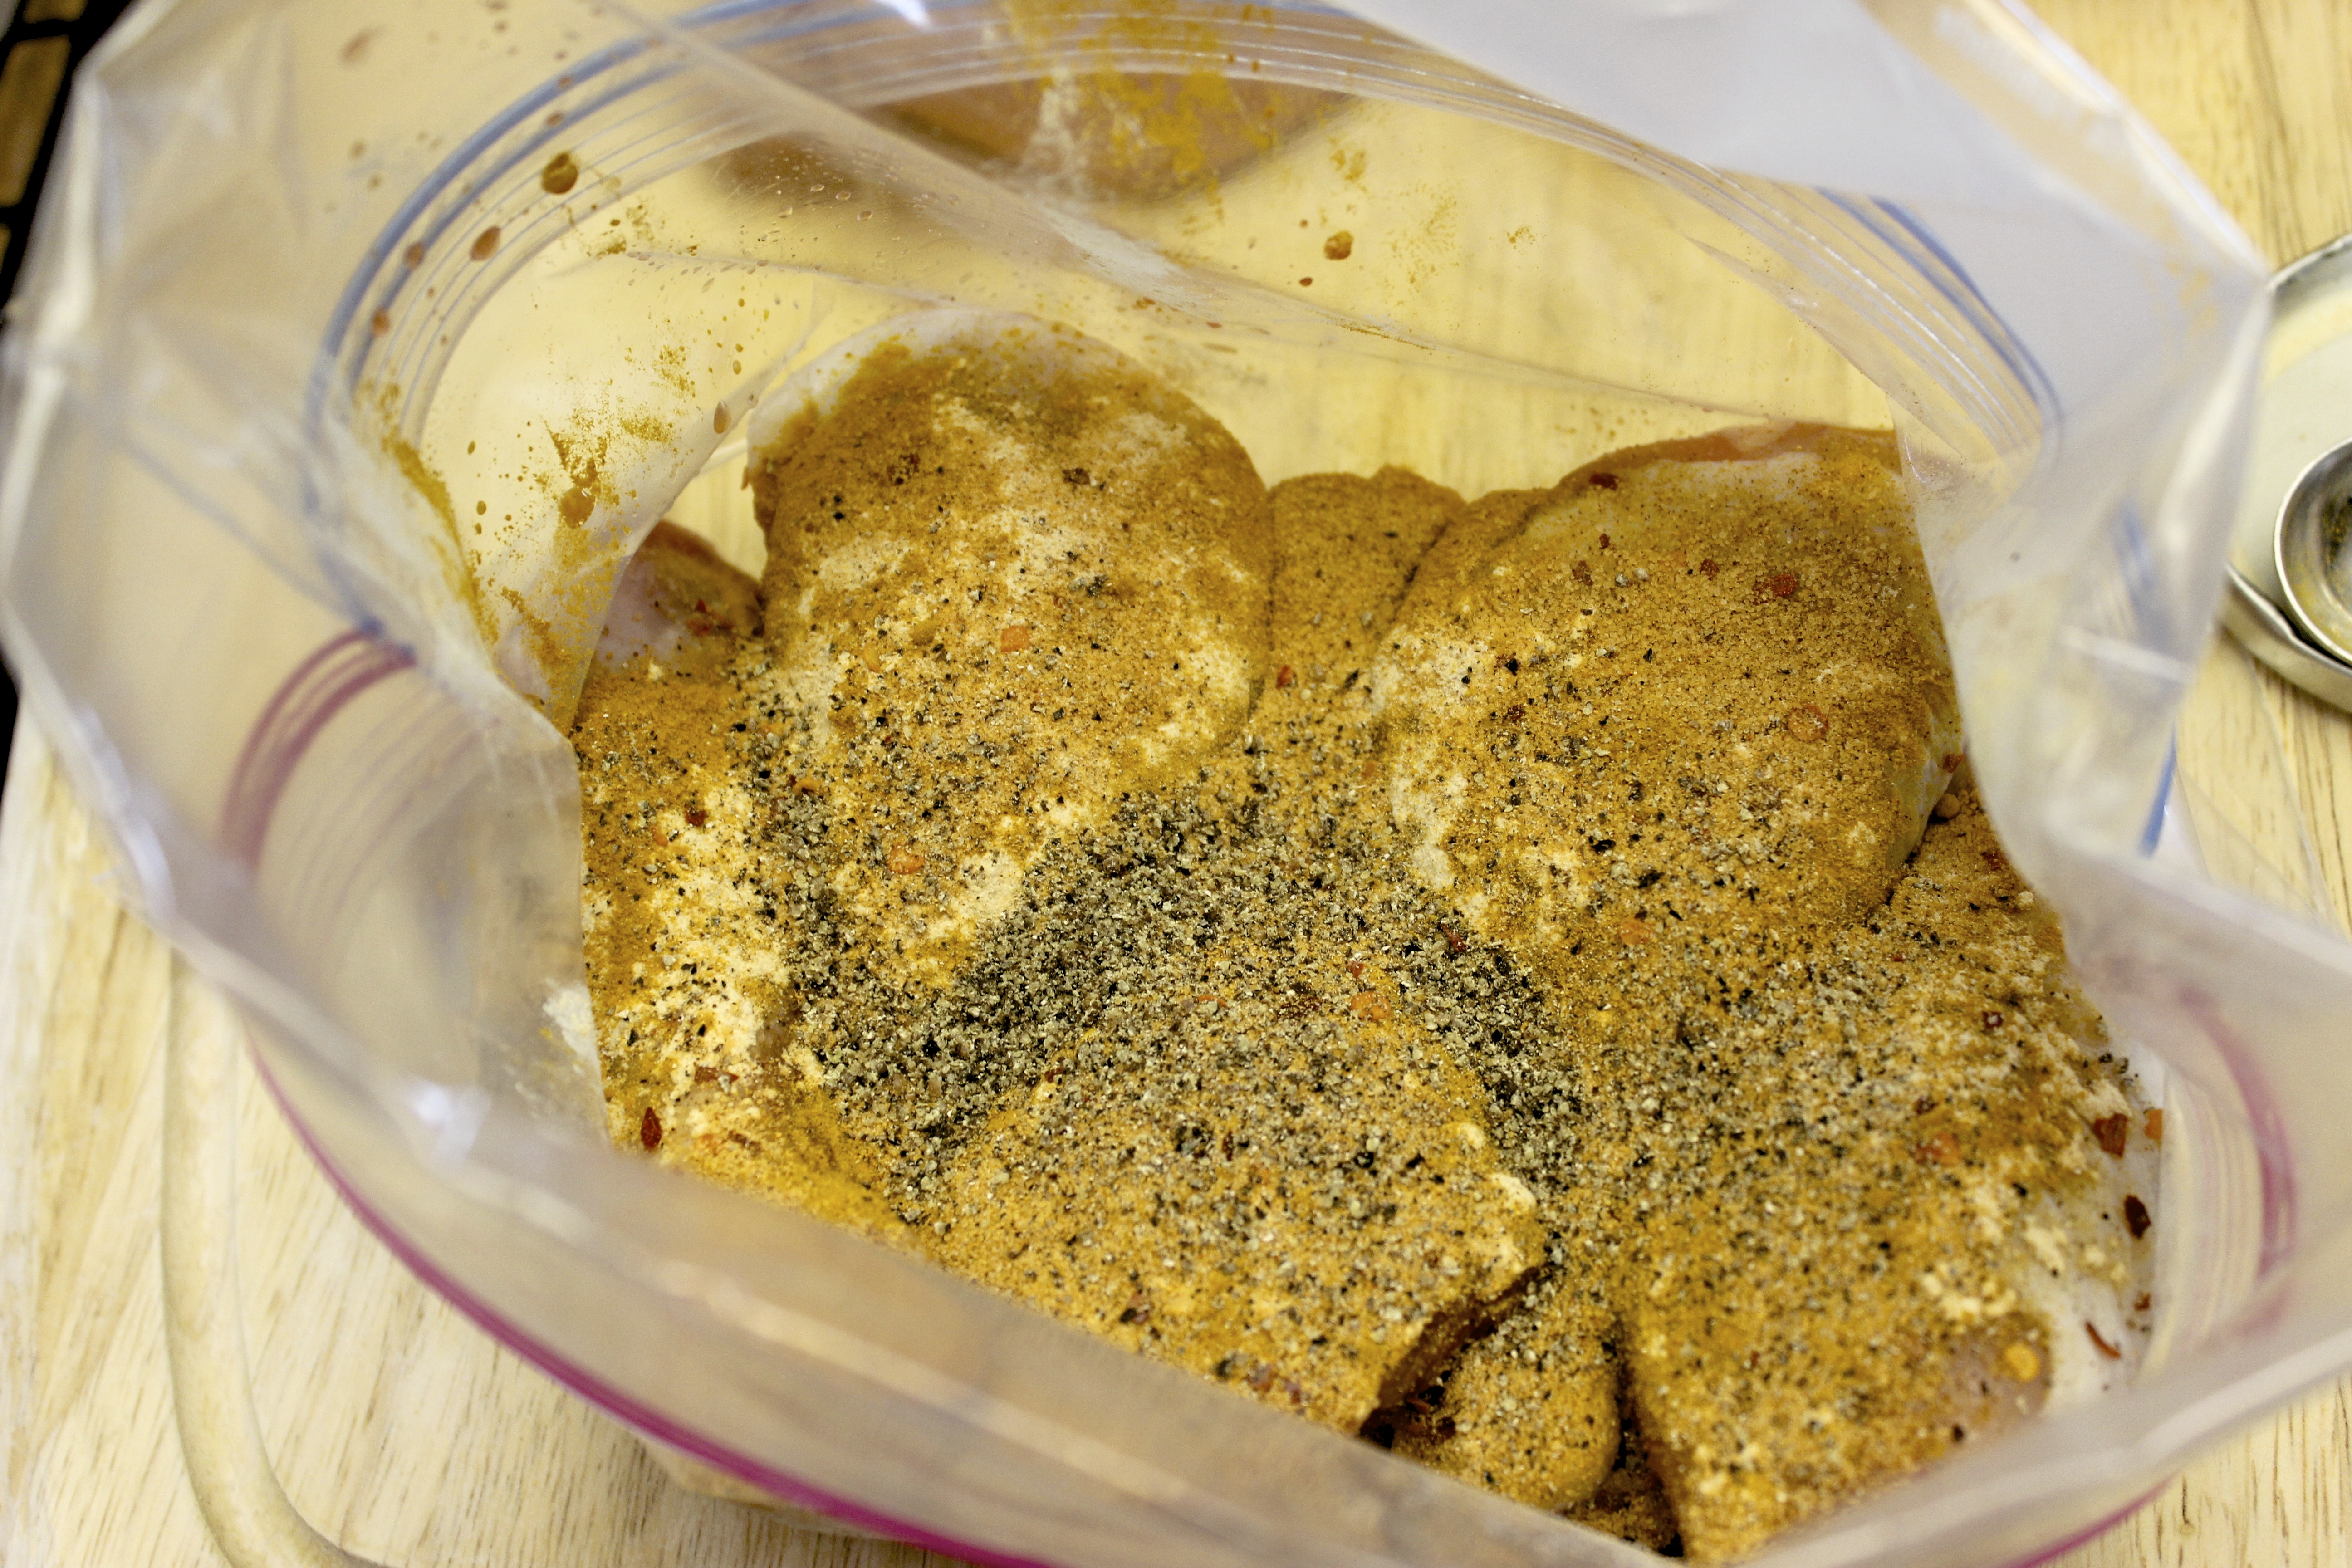
Place the drumsticks in the bag:

roasted drumsticks 9

Add a teaspoon of all the spices, except the red chili flakes and S&P. That’s up to you and how spicy and salty you like things, as we all know how personal these things can be. 

roasted drumsticks 10

roasted drumsticks 11

roasted drumsticks 12

roasted drumsticks 13

roasted drumsticks 14

roasted drumsticks 15

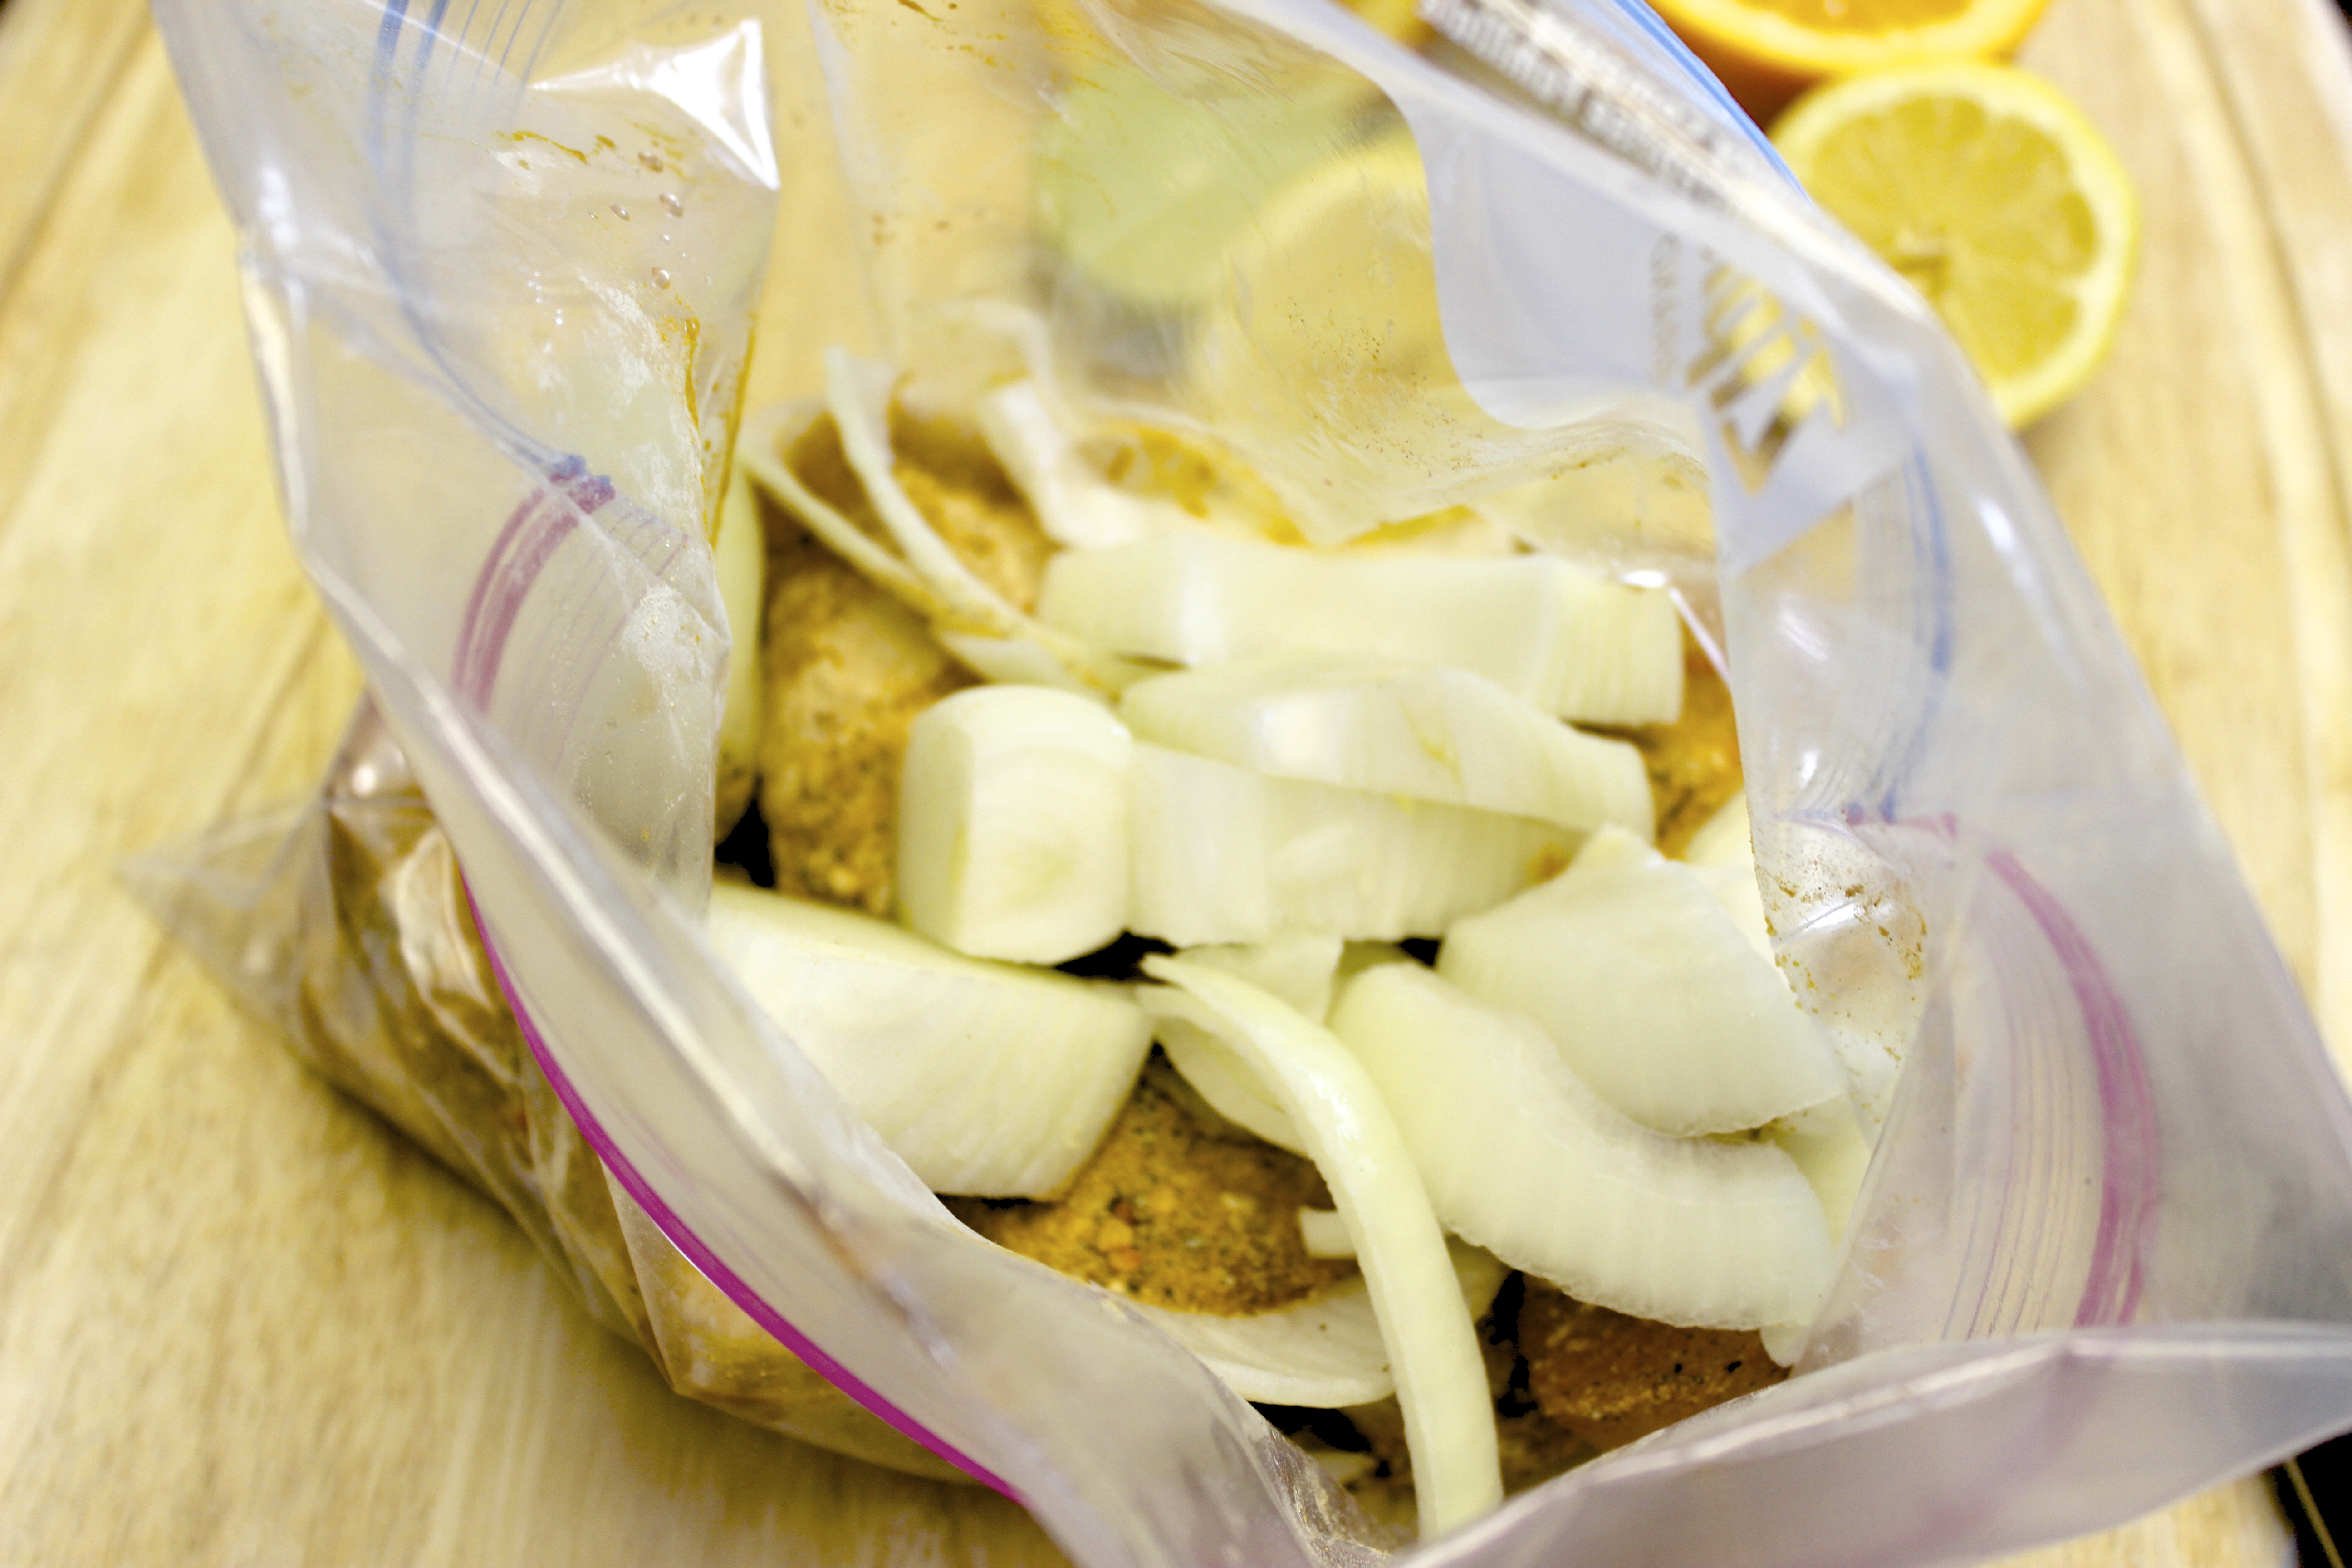
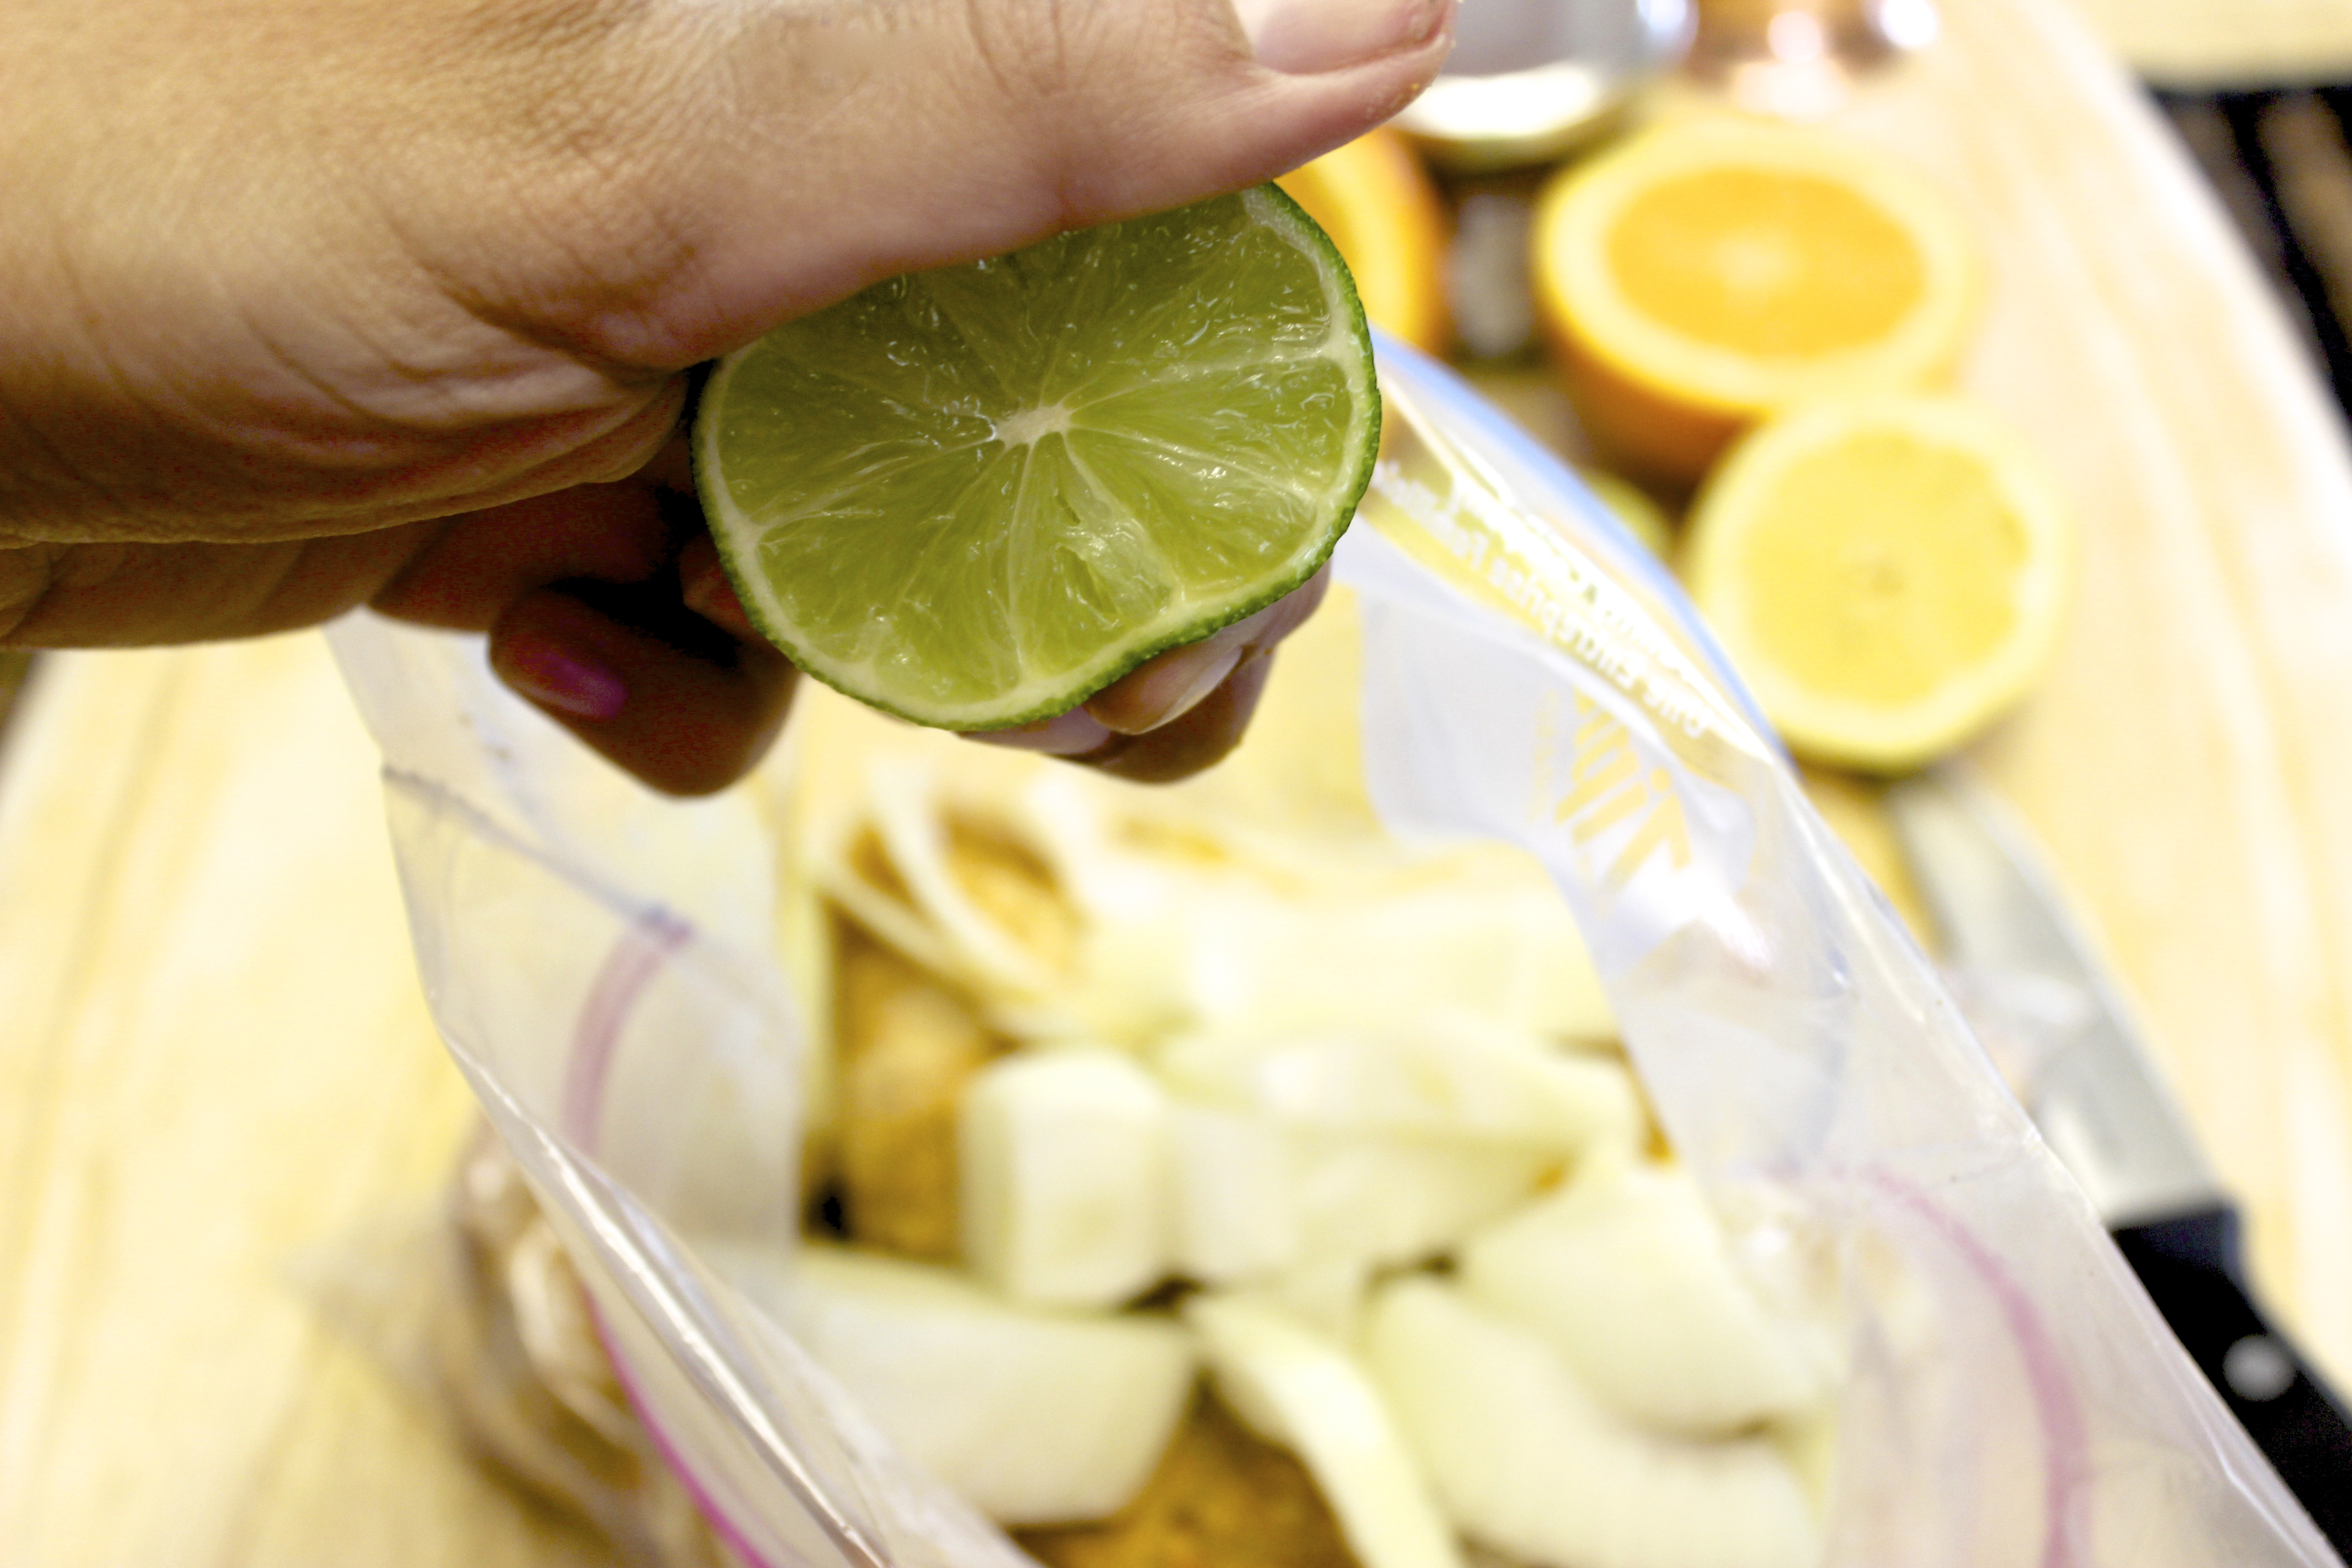
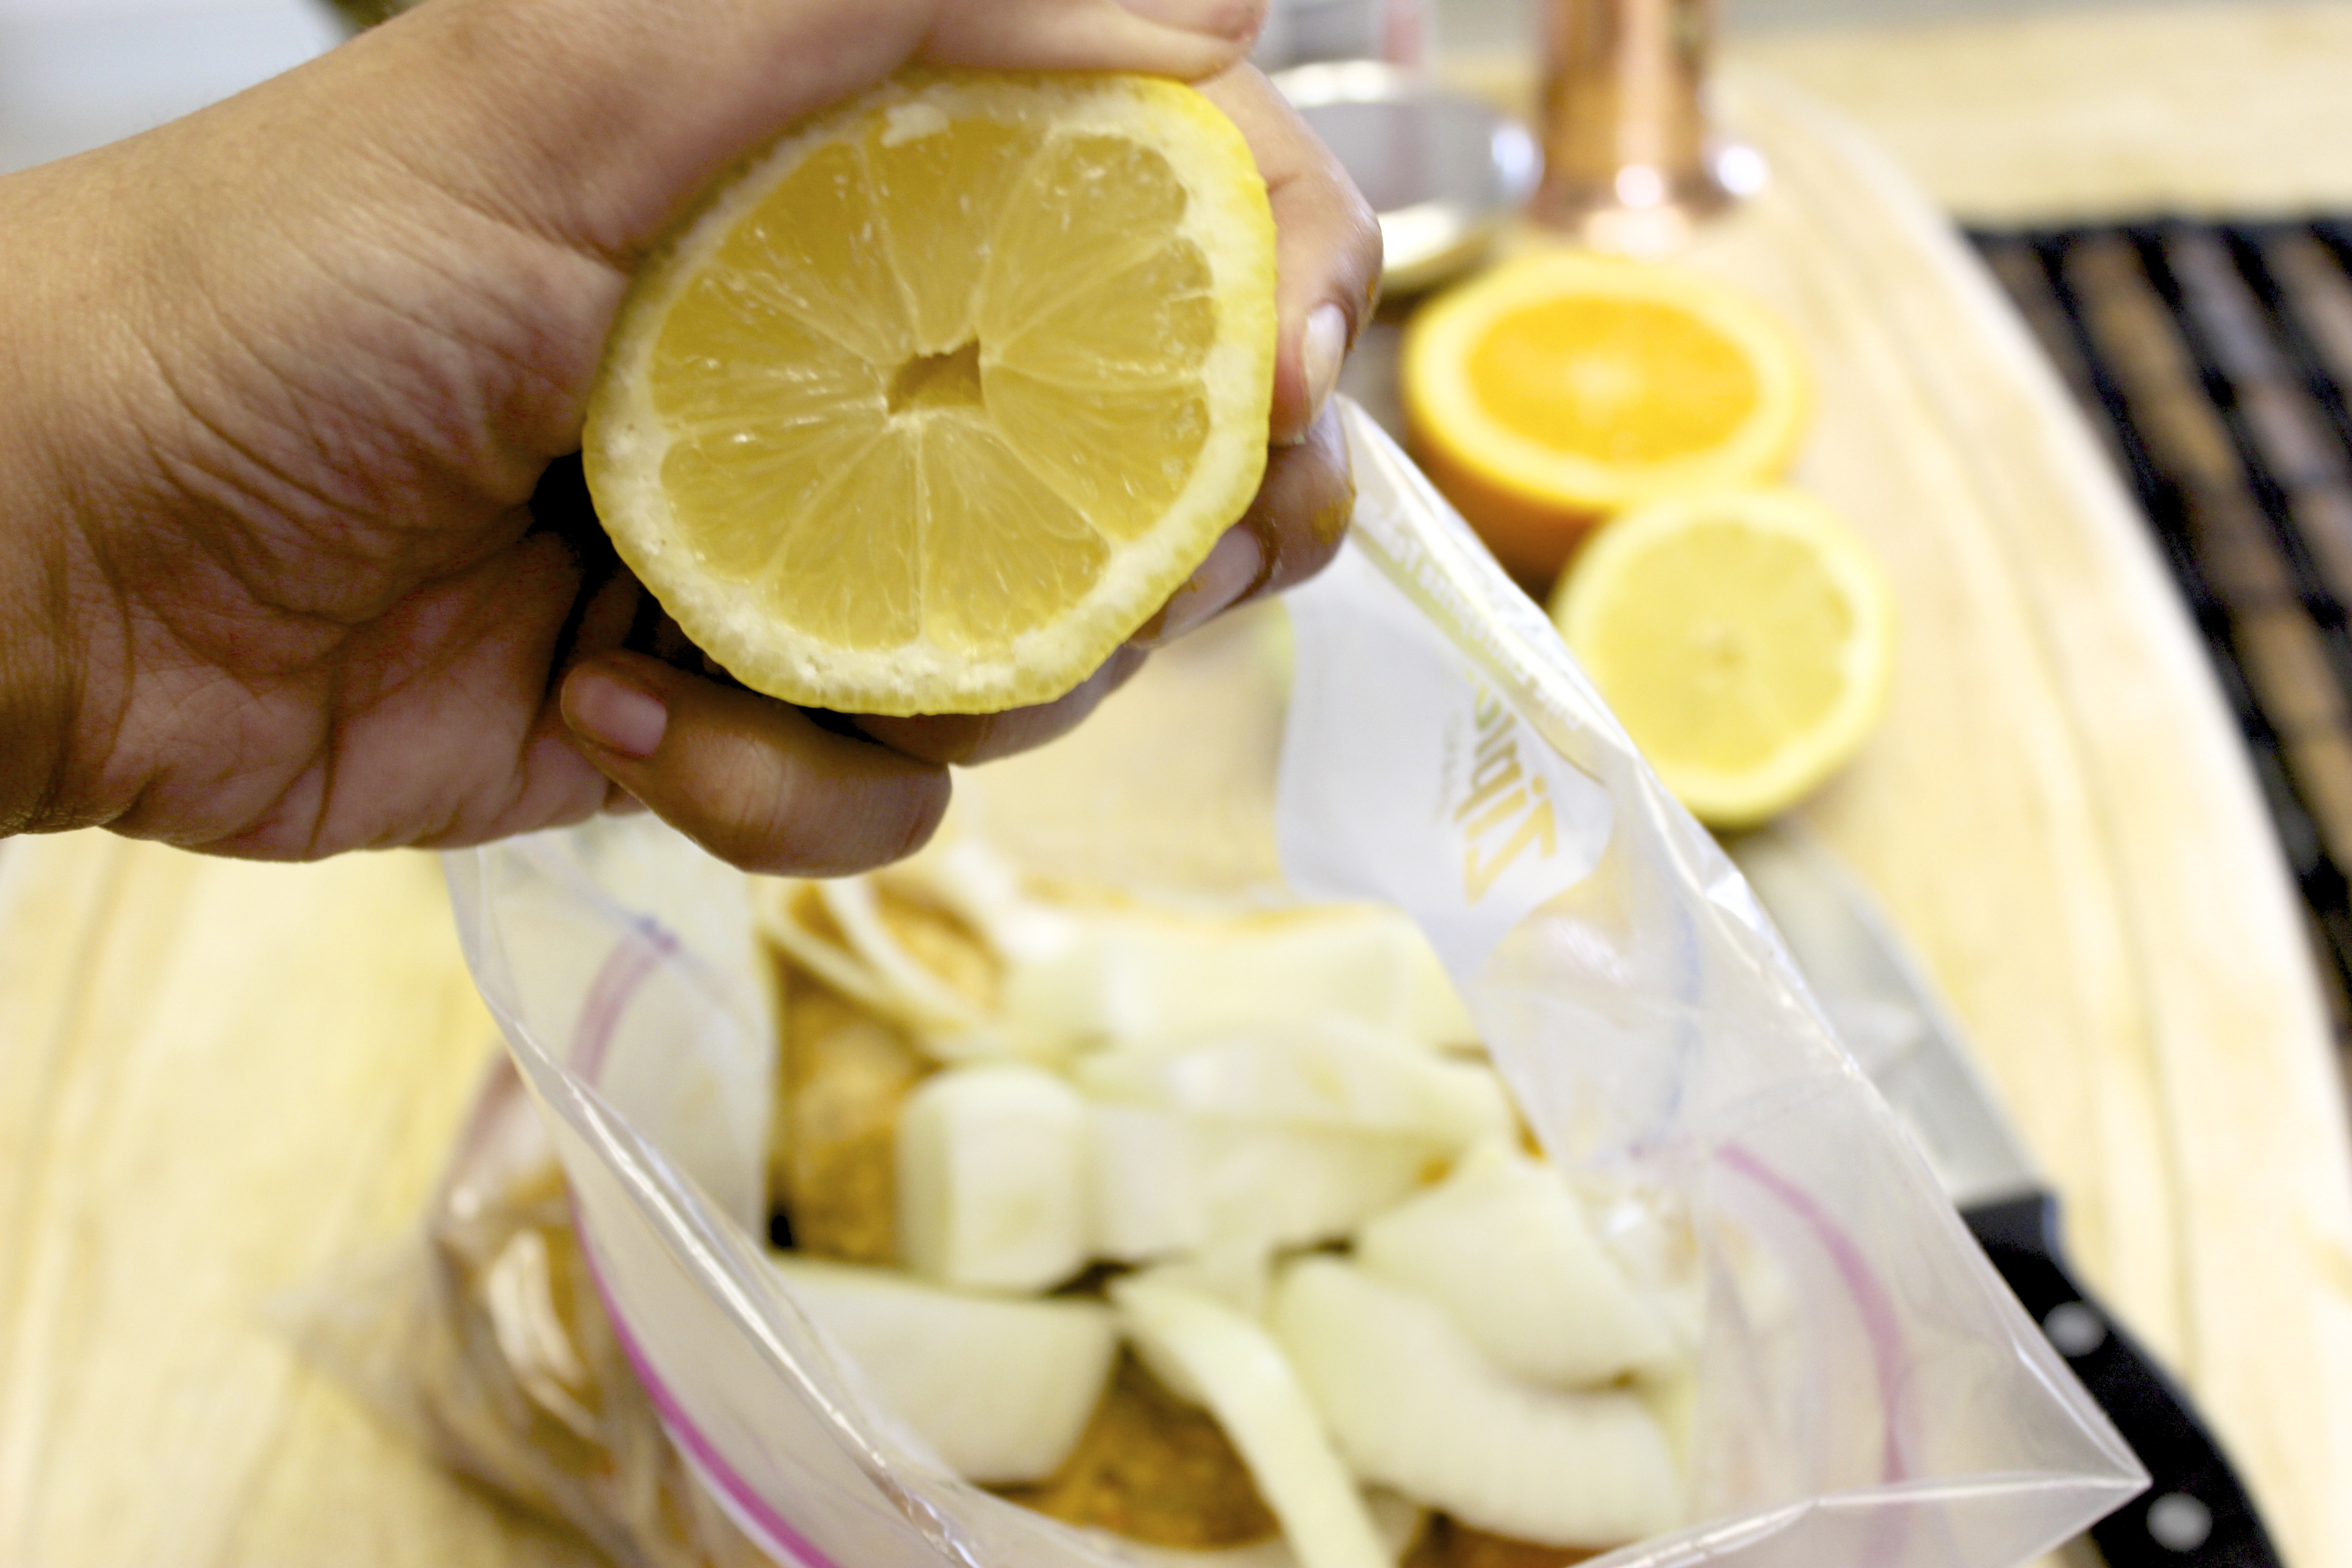
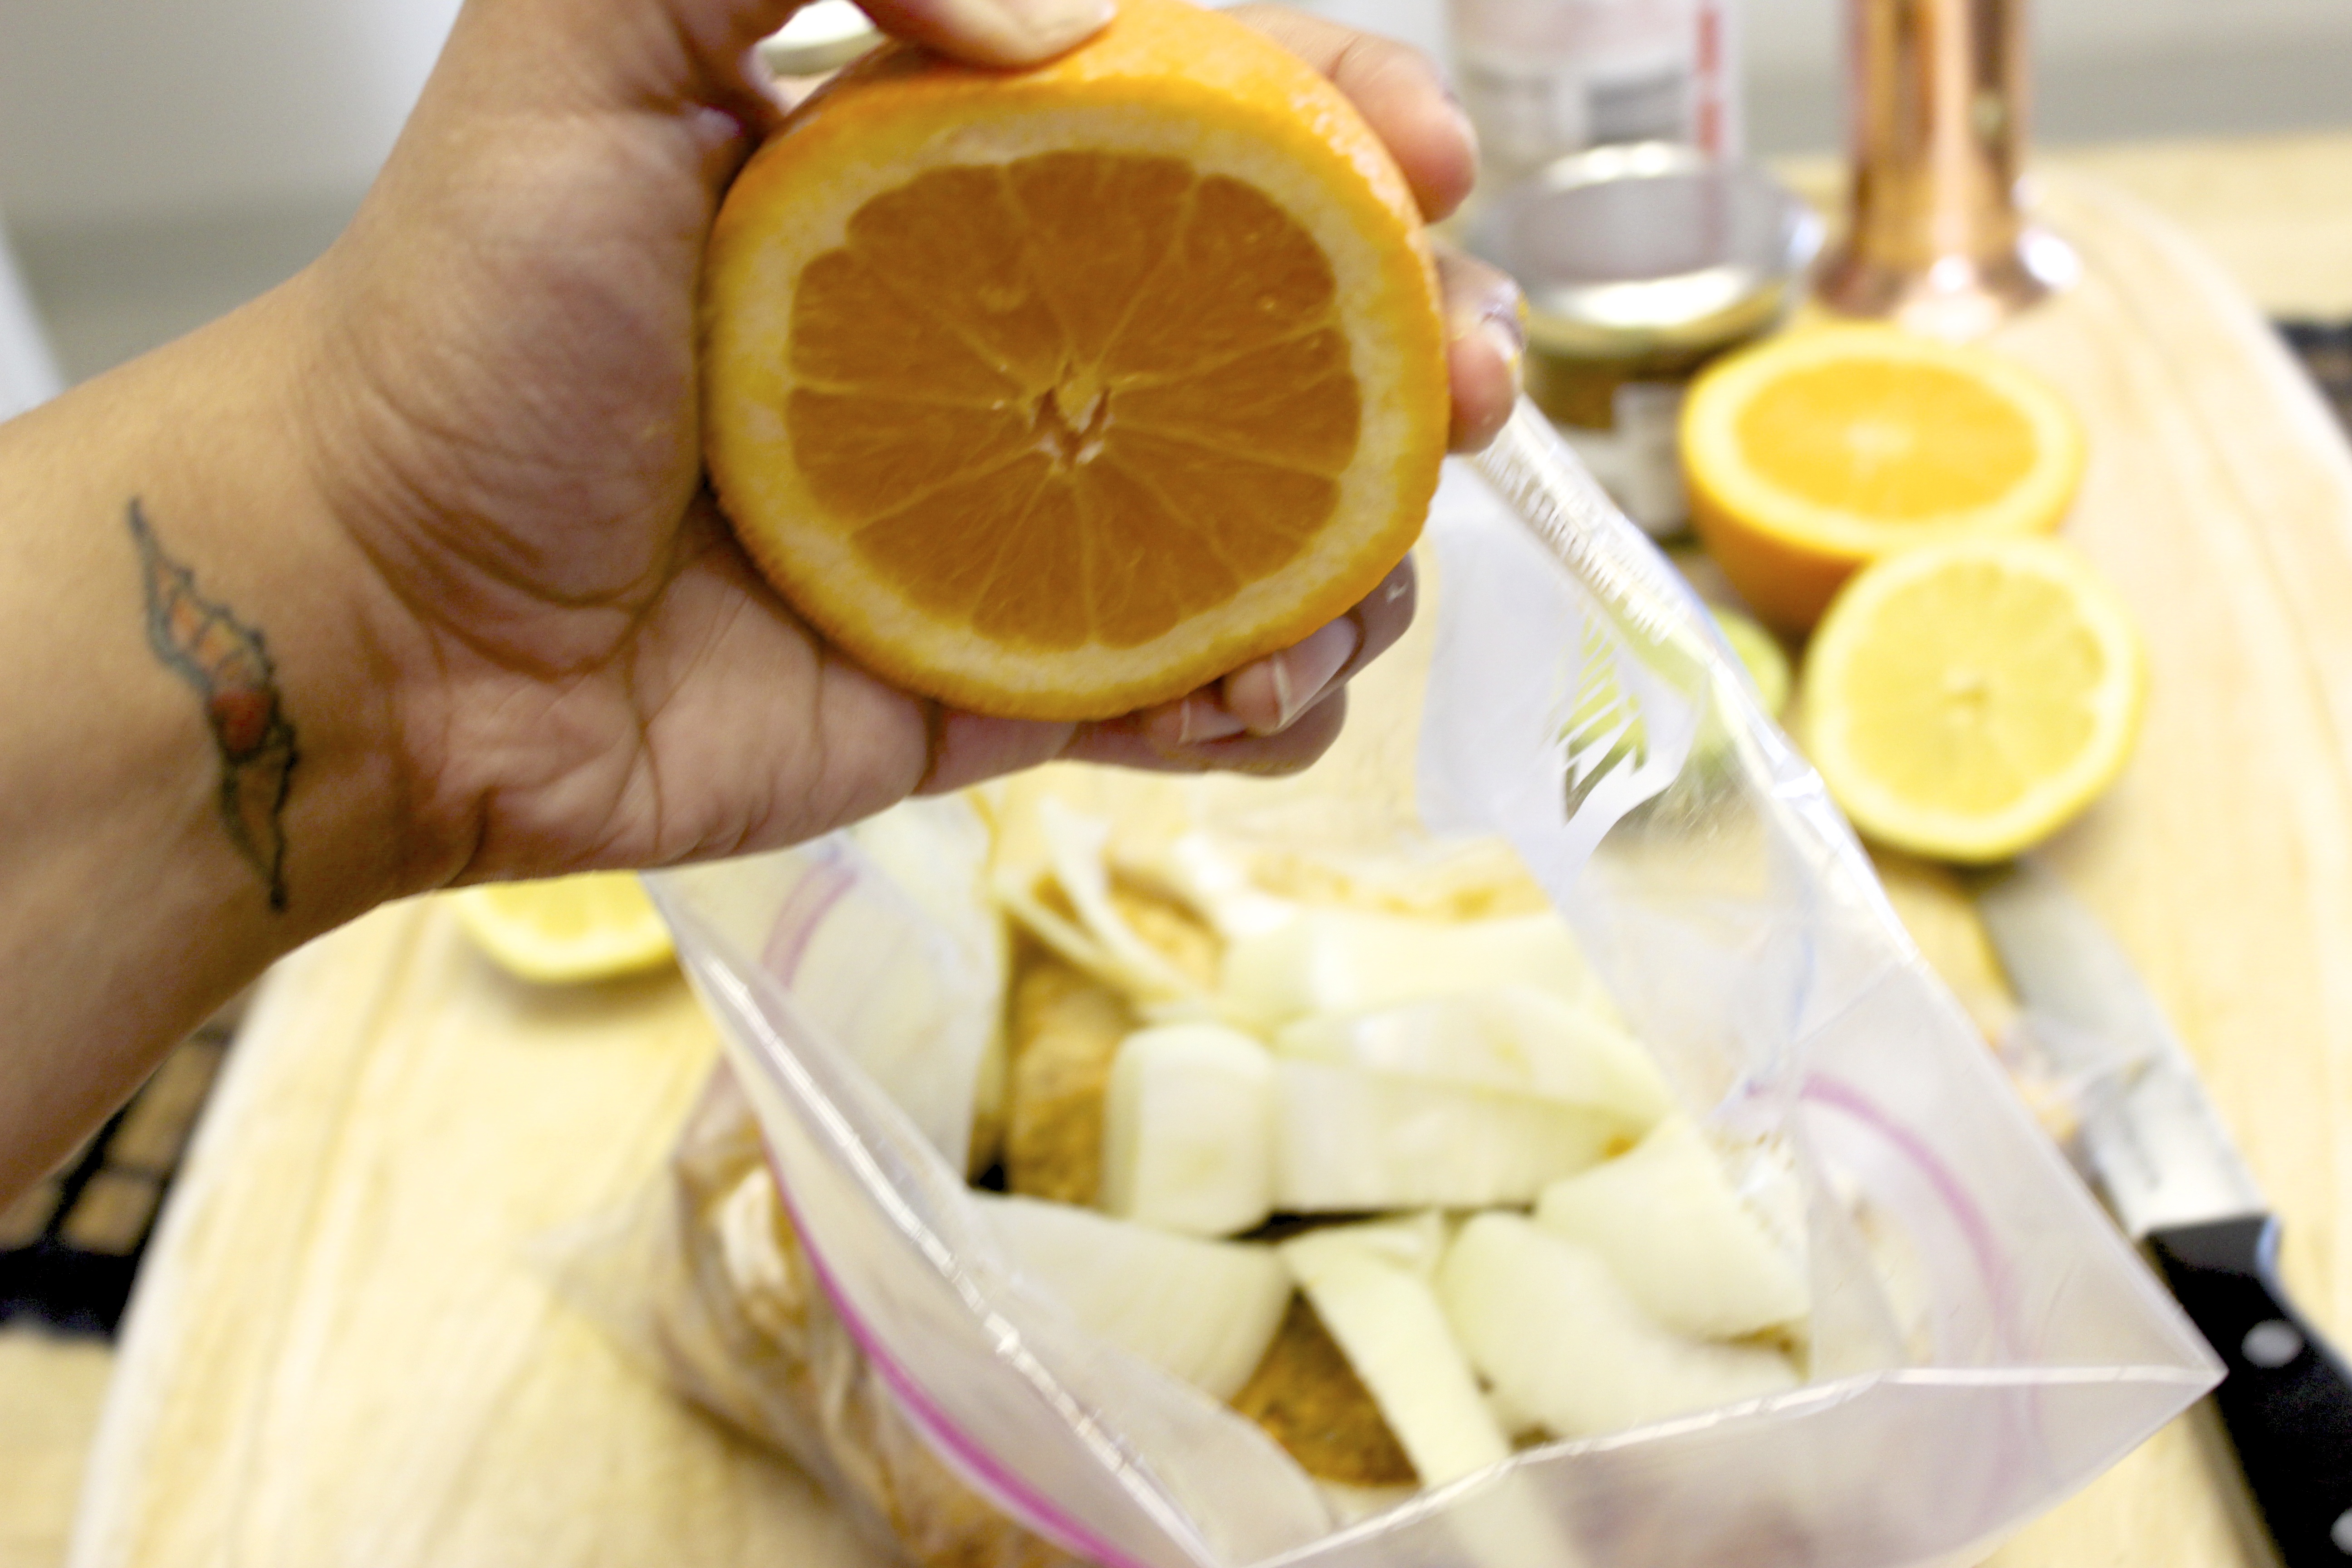
Roughly chop the onion and cut open all the citrus.

roasted drumsticks 17

Then add the onion, citrus juices and the citrus themselves to the bag.

roasted drumsticks 18

roasted drumsticks 19

roasted drumsticks 20

roasted drumsticks 22 And finally the oil, as much as your gut instinct tells you to use. My gut said about a 1/4 cup.

roasted drumsticks 23

Next you should take a picture of the liquid in the bag.

roasted drumsticks 24

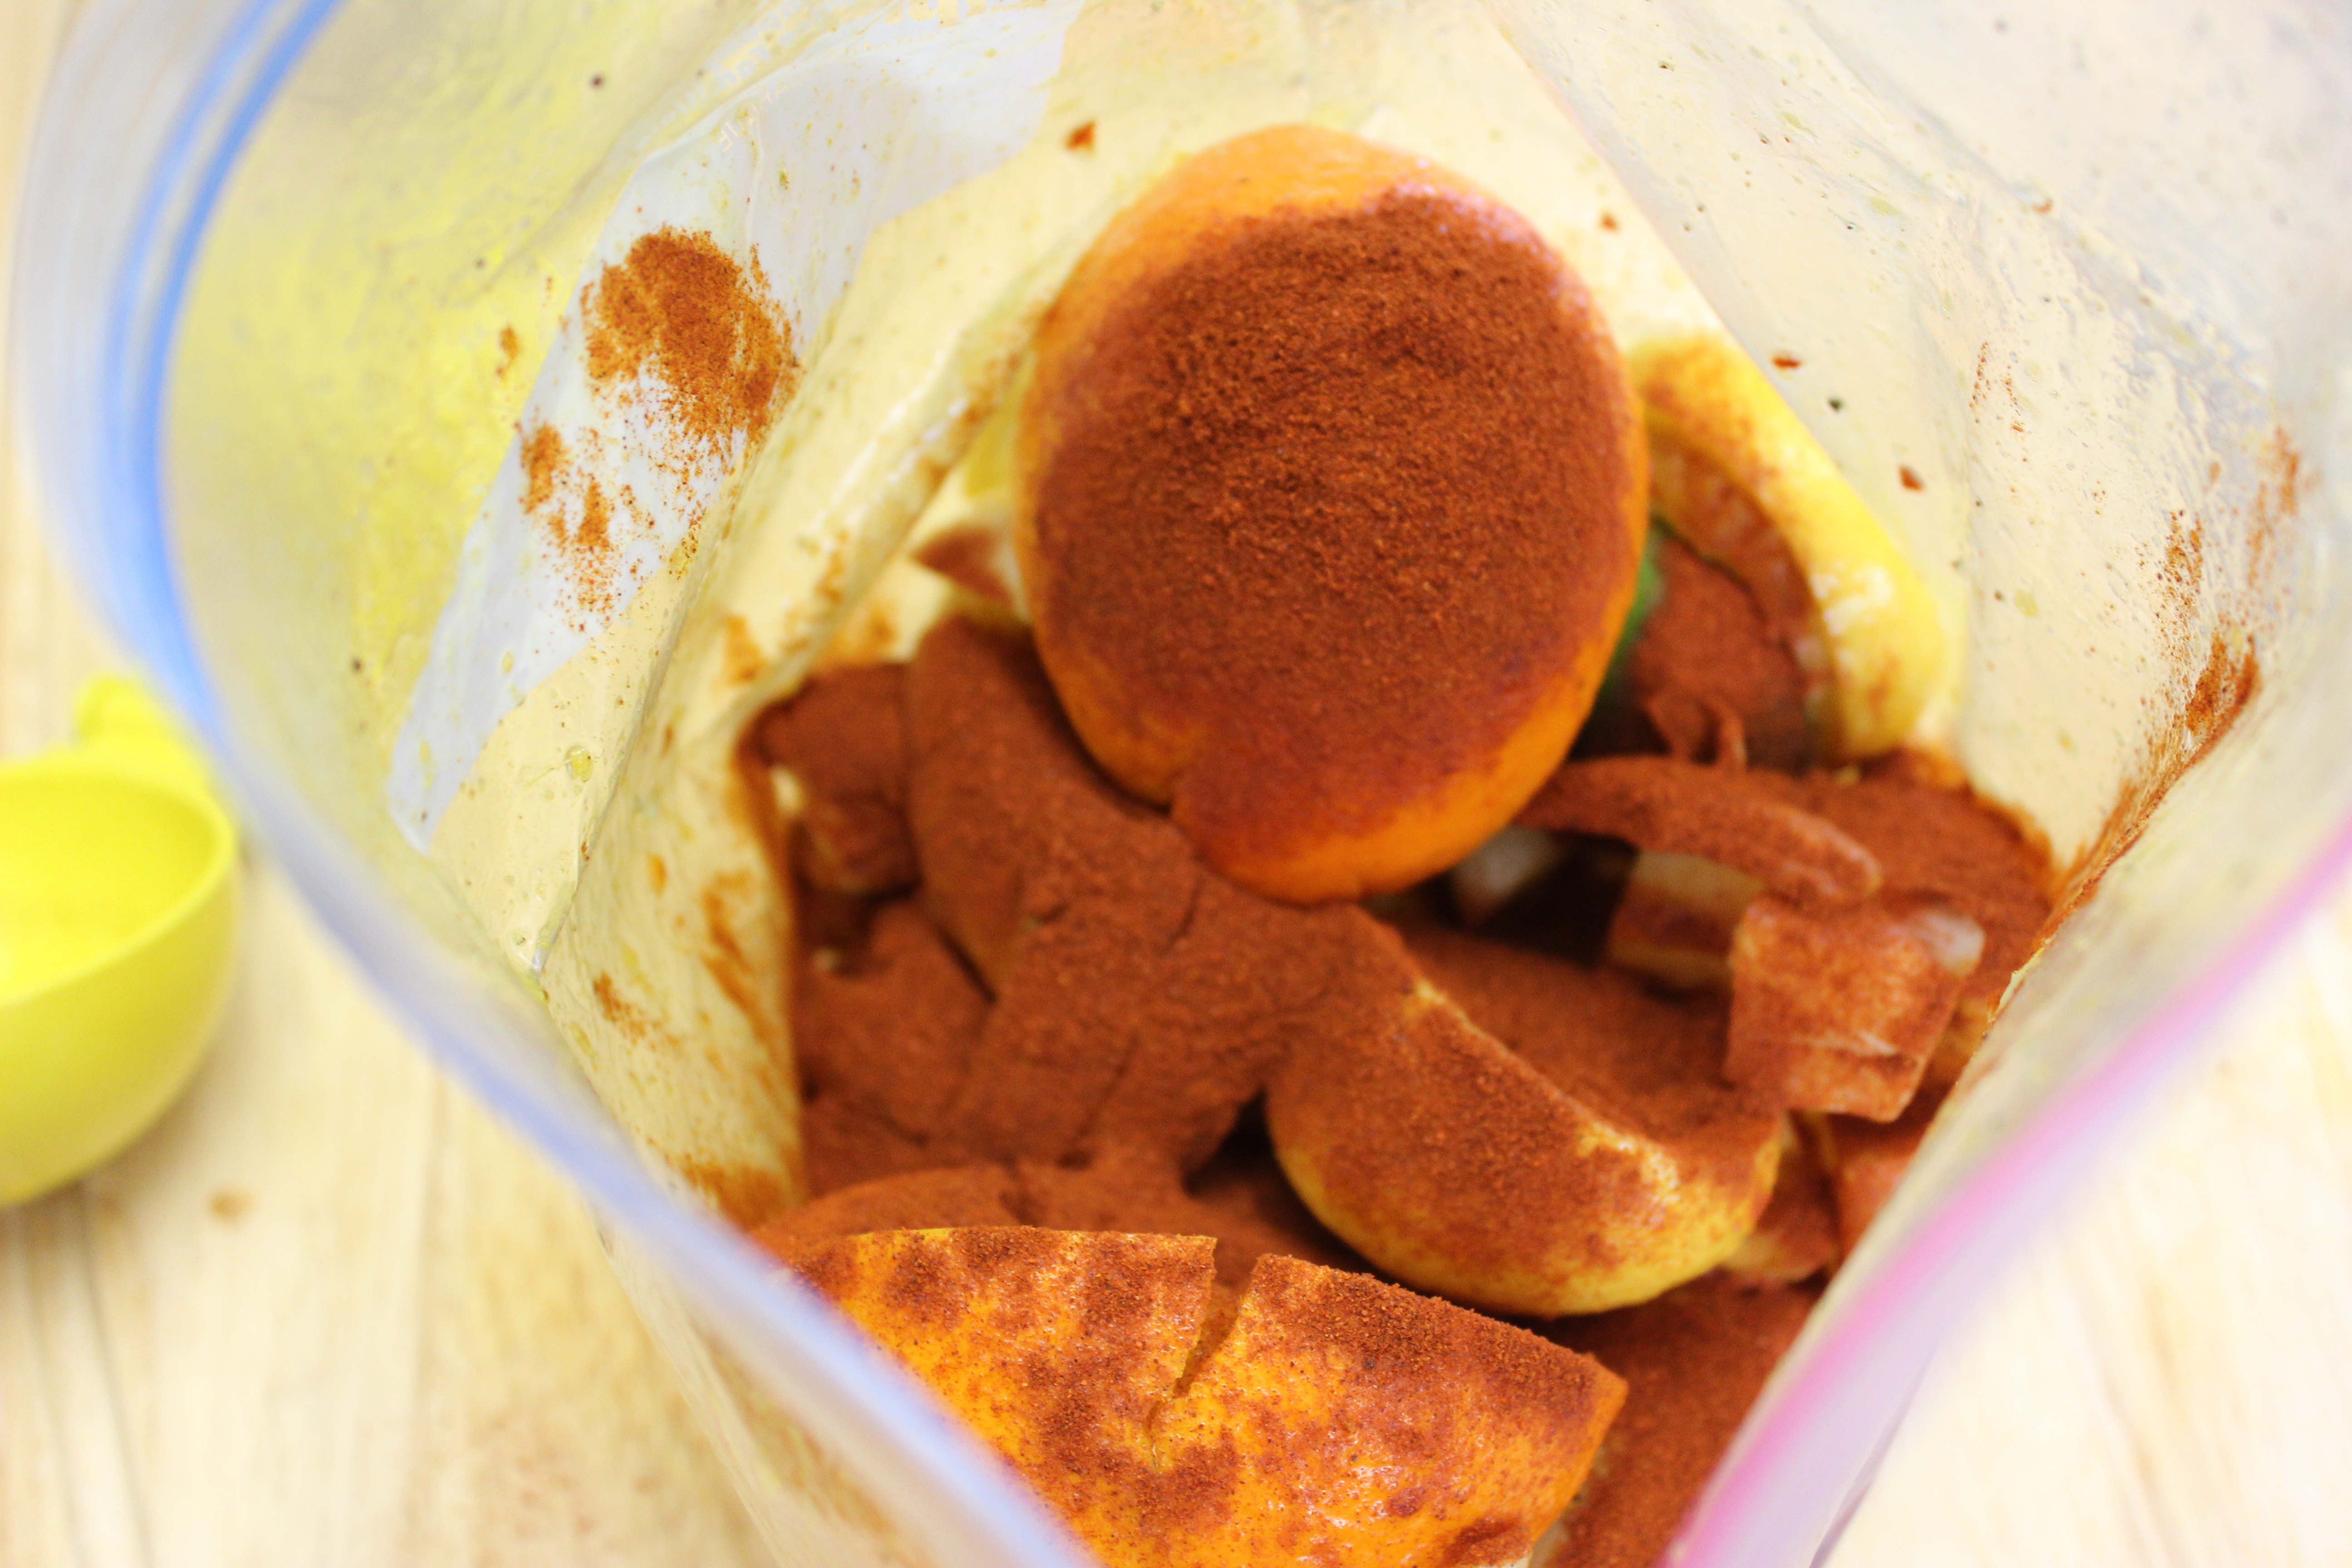
Then you should notice how much lighter than usual it looks and frantically realize you forgot to include the paprika. A tablespoon of paprika which adds an unmistakable flavor and color. Beat yourself up about it and angrily take a picture of the paprika:

roasted drumsticks 25

Add the paprika while cursing under your breath.

roasted drumsticks 26

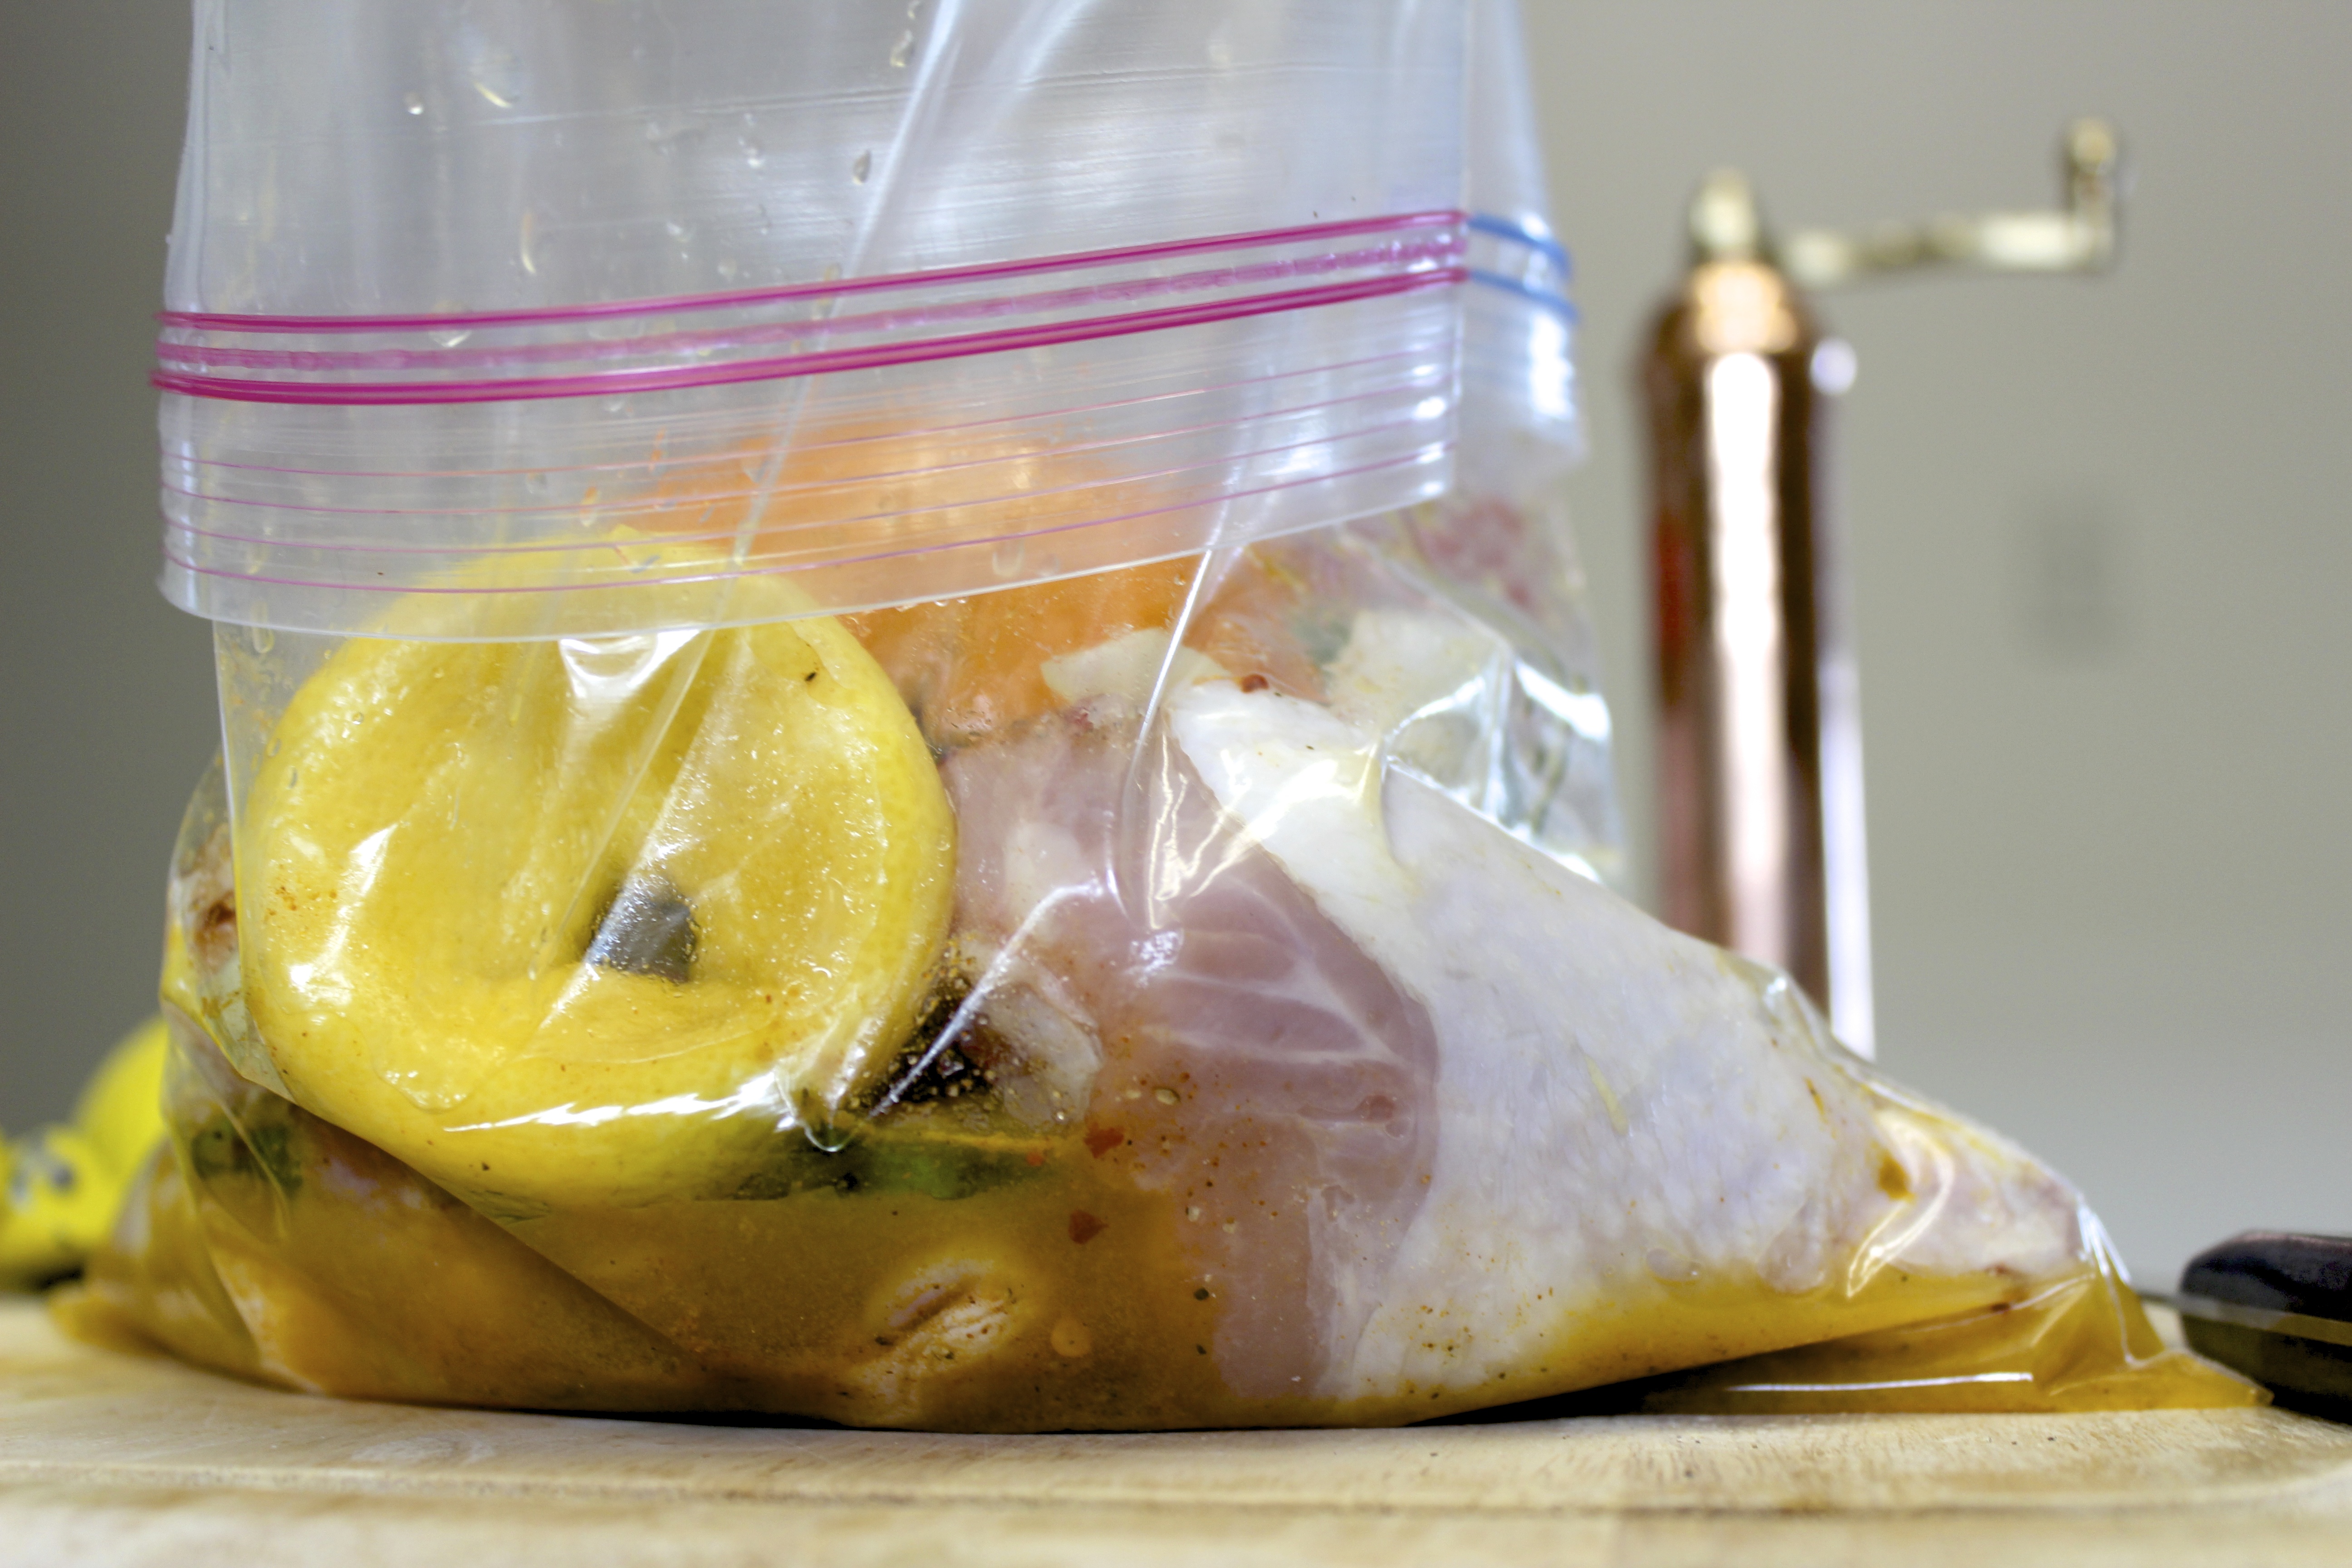
Seal the bag, trying to let out as much air as possible.

Take your frustrations out on the chicken when you mix it all up to ensure even distribution and maximum contact with the chicken.

roasted drumsticks 27

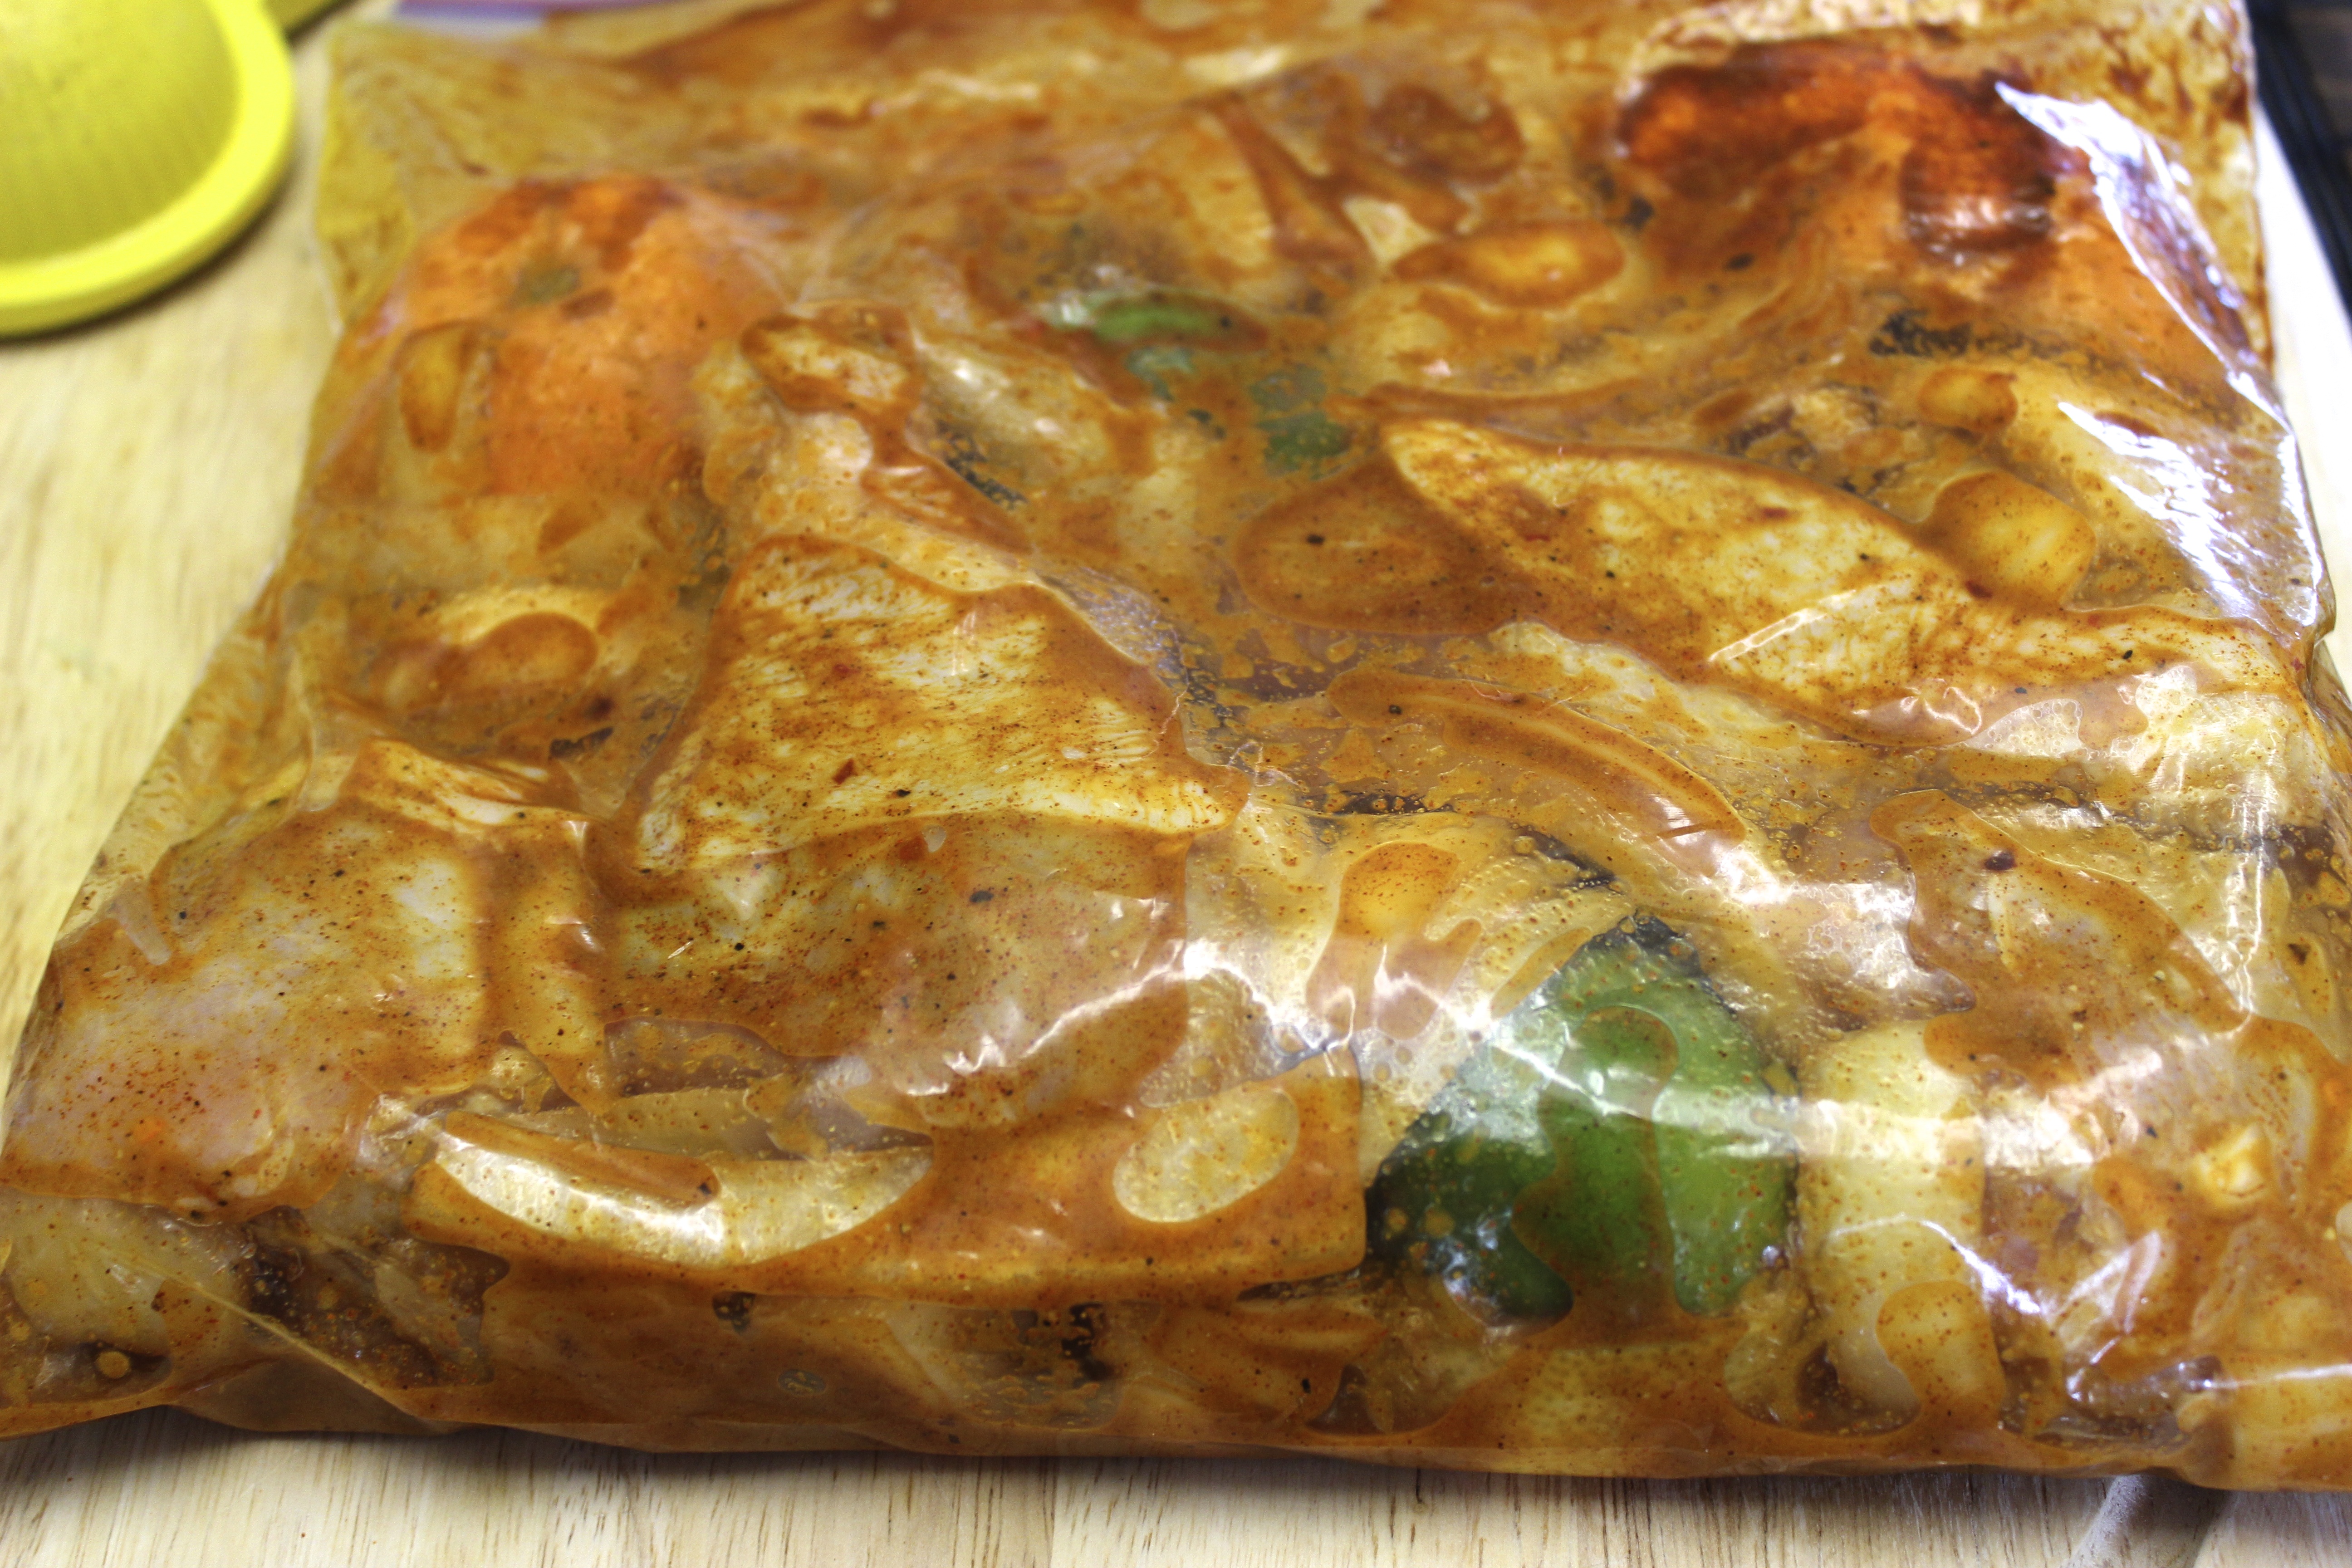
Feel better about the situation and the world at large and place the bag in a leak proof container and into the fridge to marinate for at least 30mins – overnight. The longer it marinates the better it gets.

roasted drumsticks 28

Once they’ve muurinated place them on a wire rack on a lined baking sheet.

citrus roasted drumsticks 1

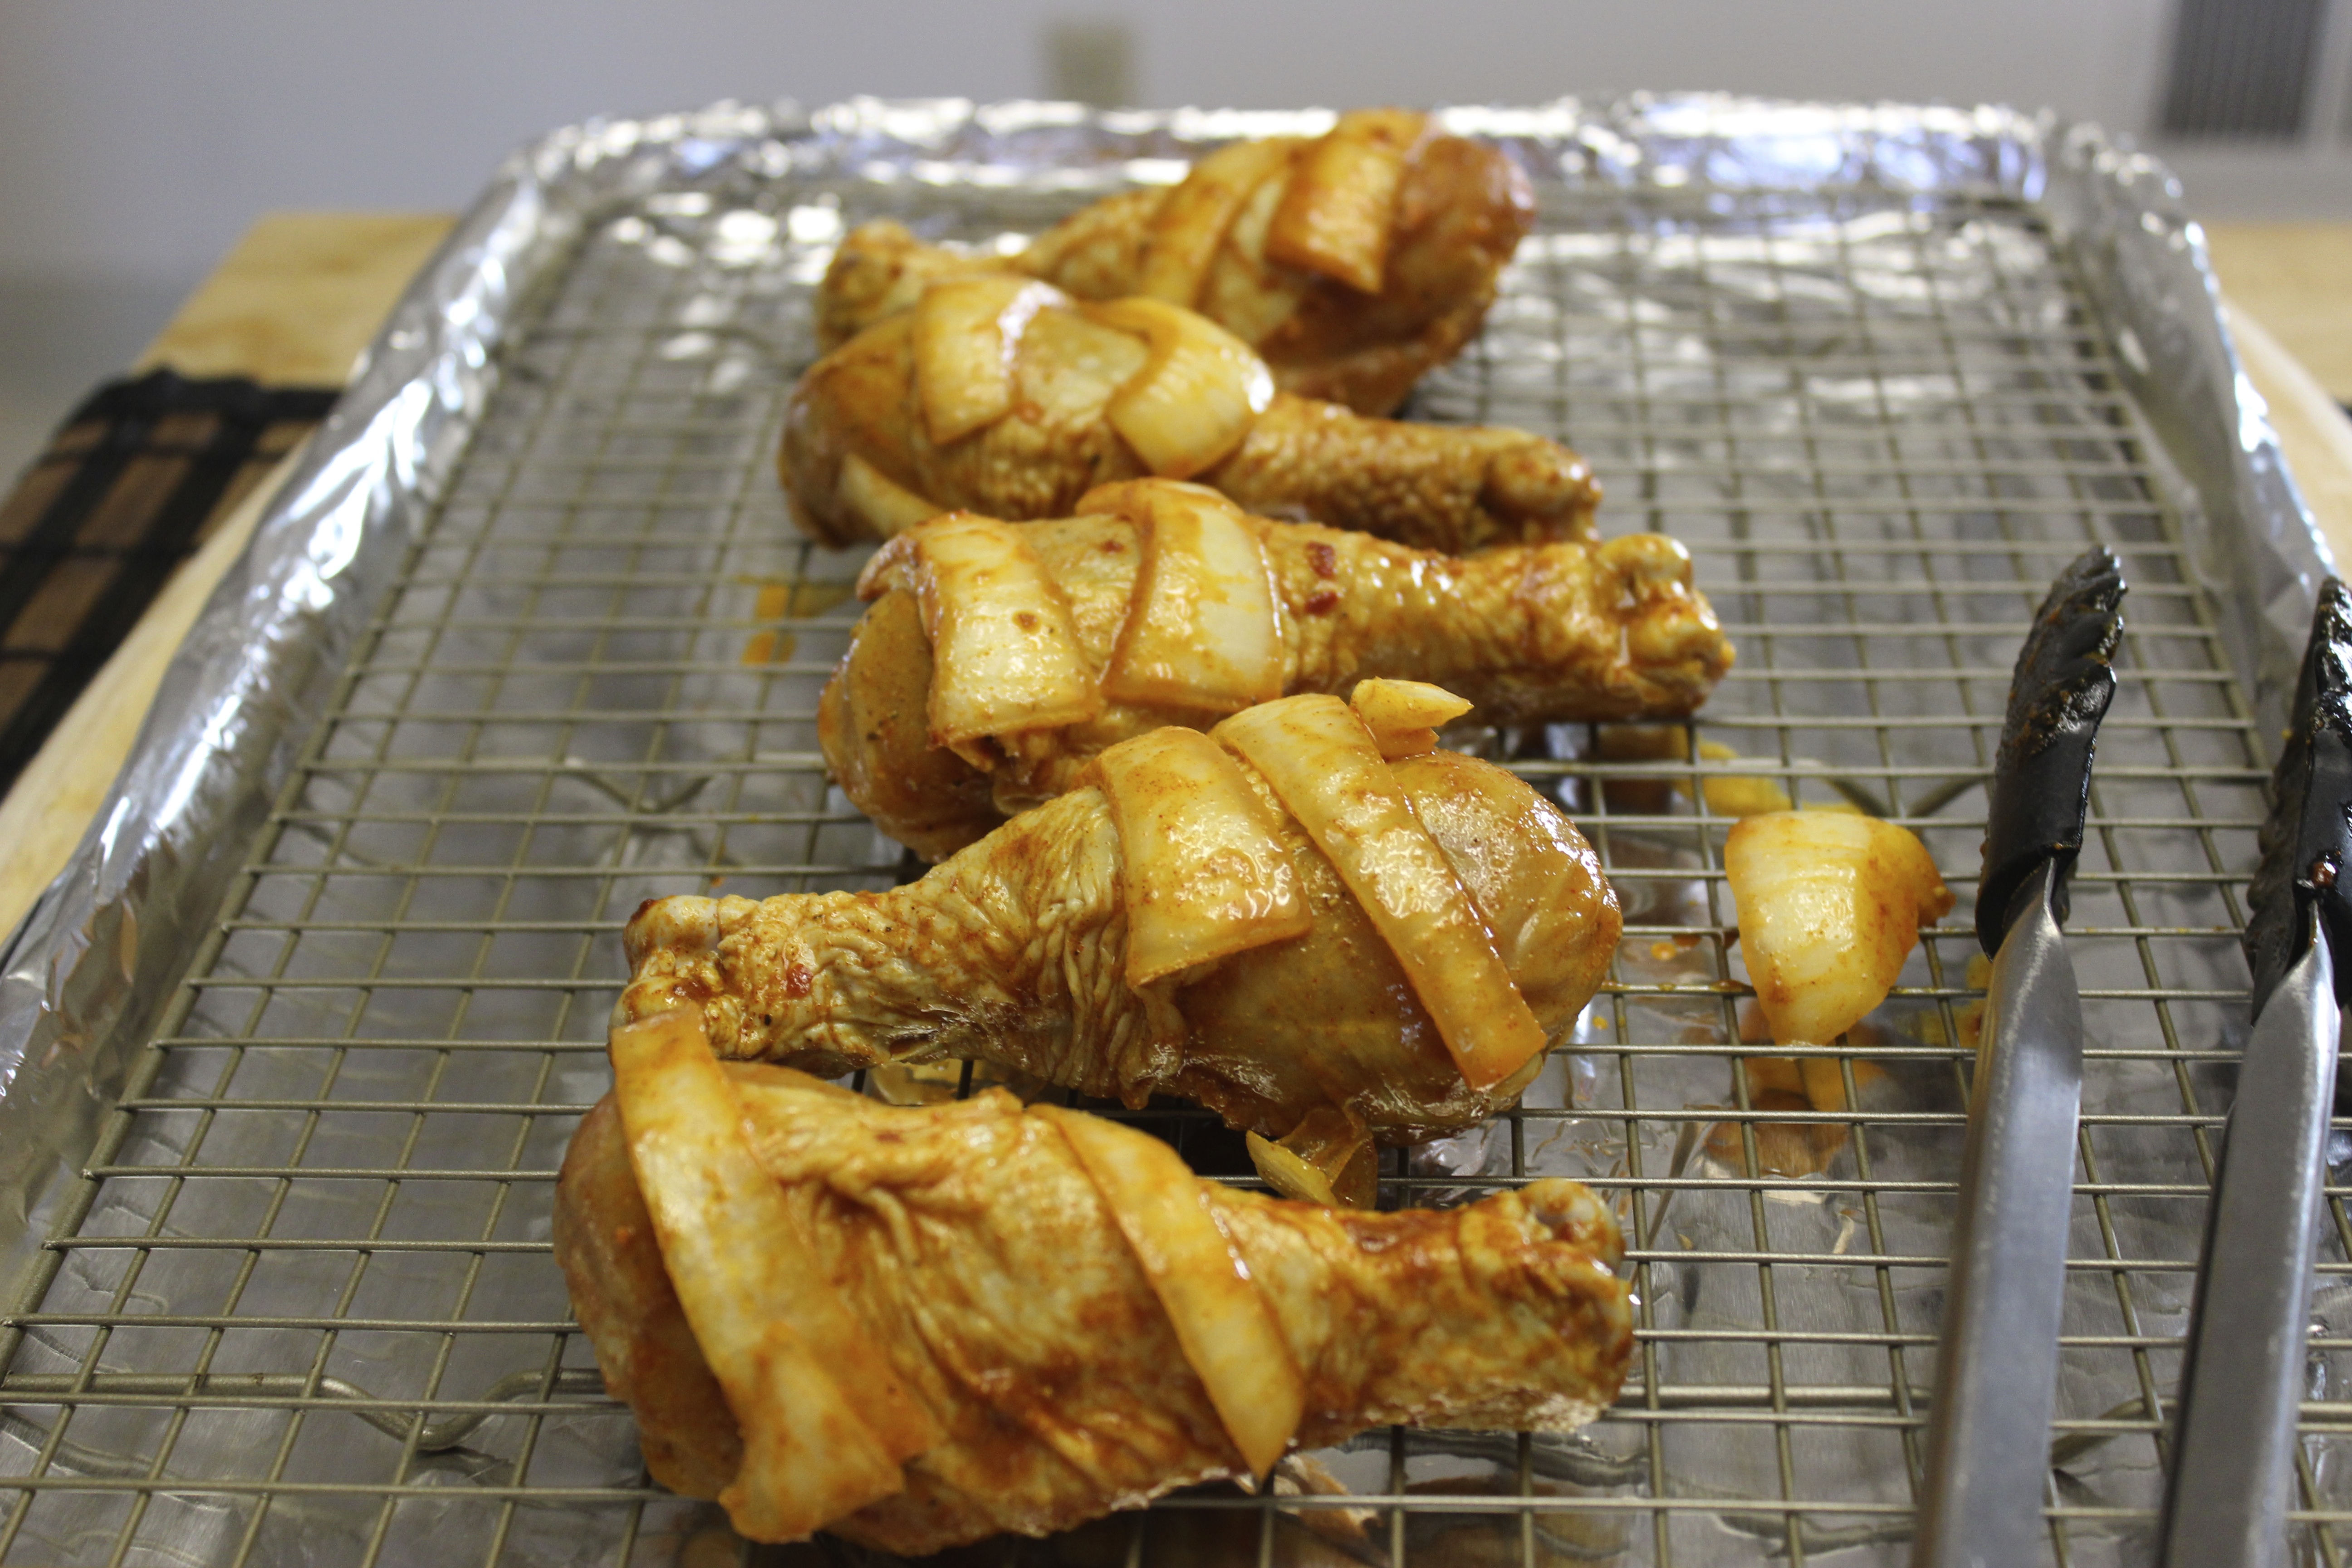
This is right after my onion epiphany, I really thought I was on to something.

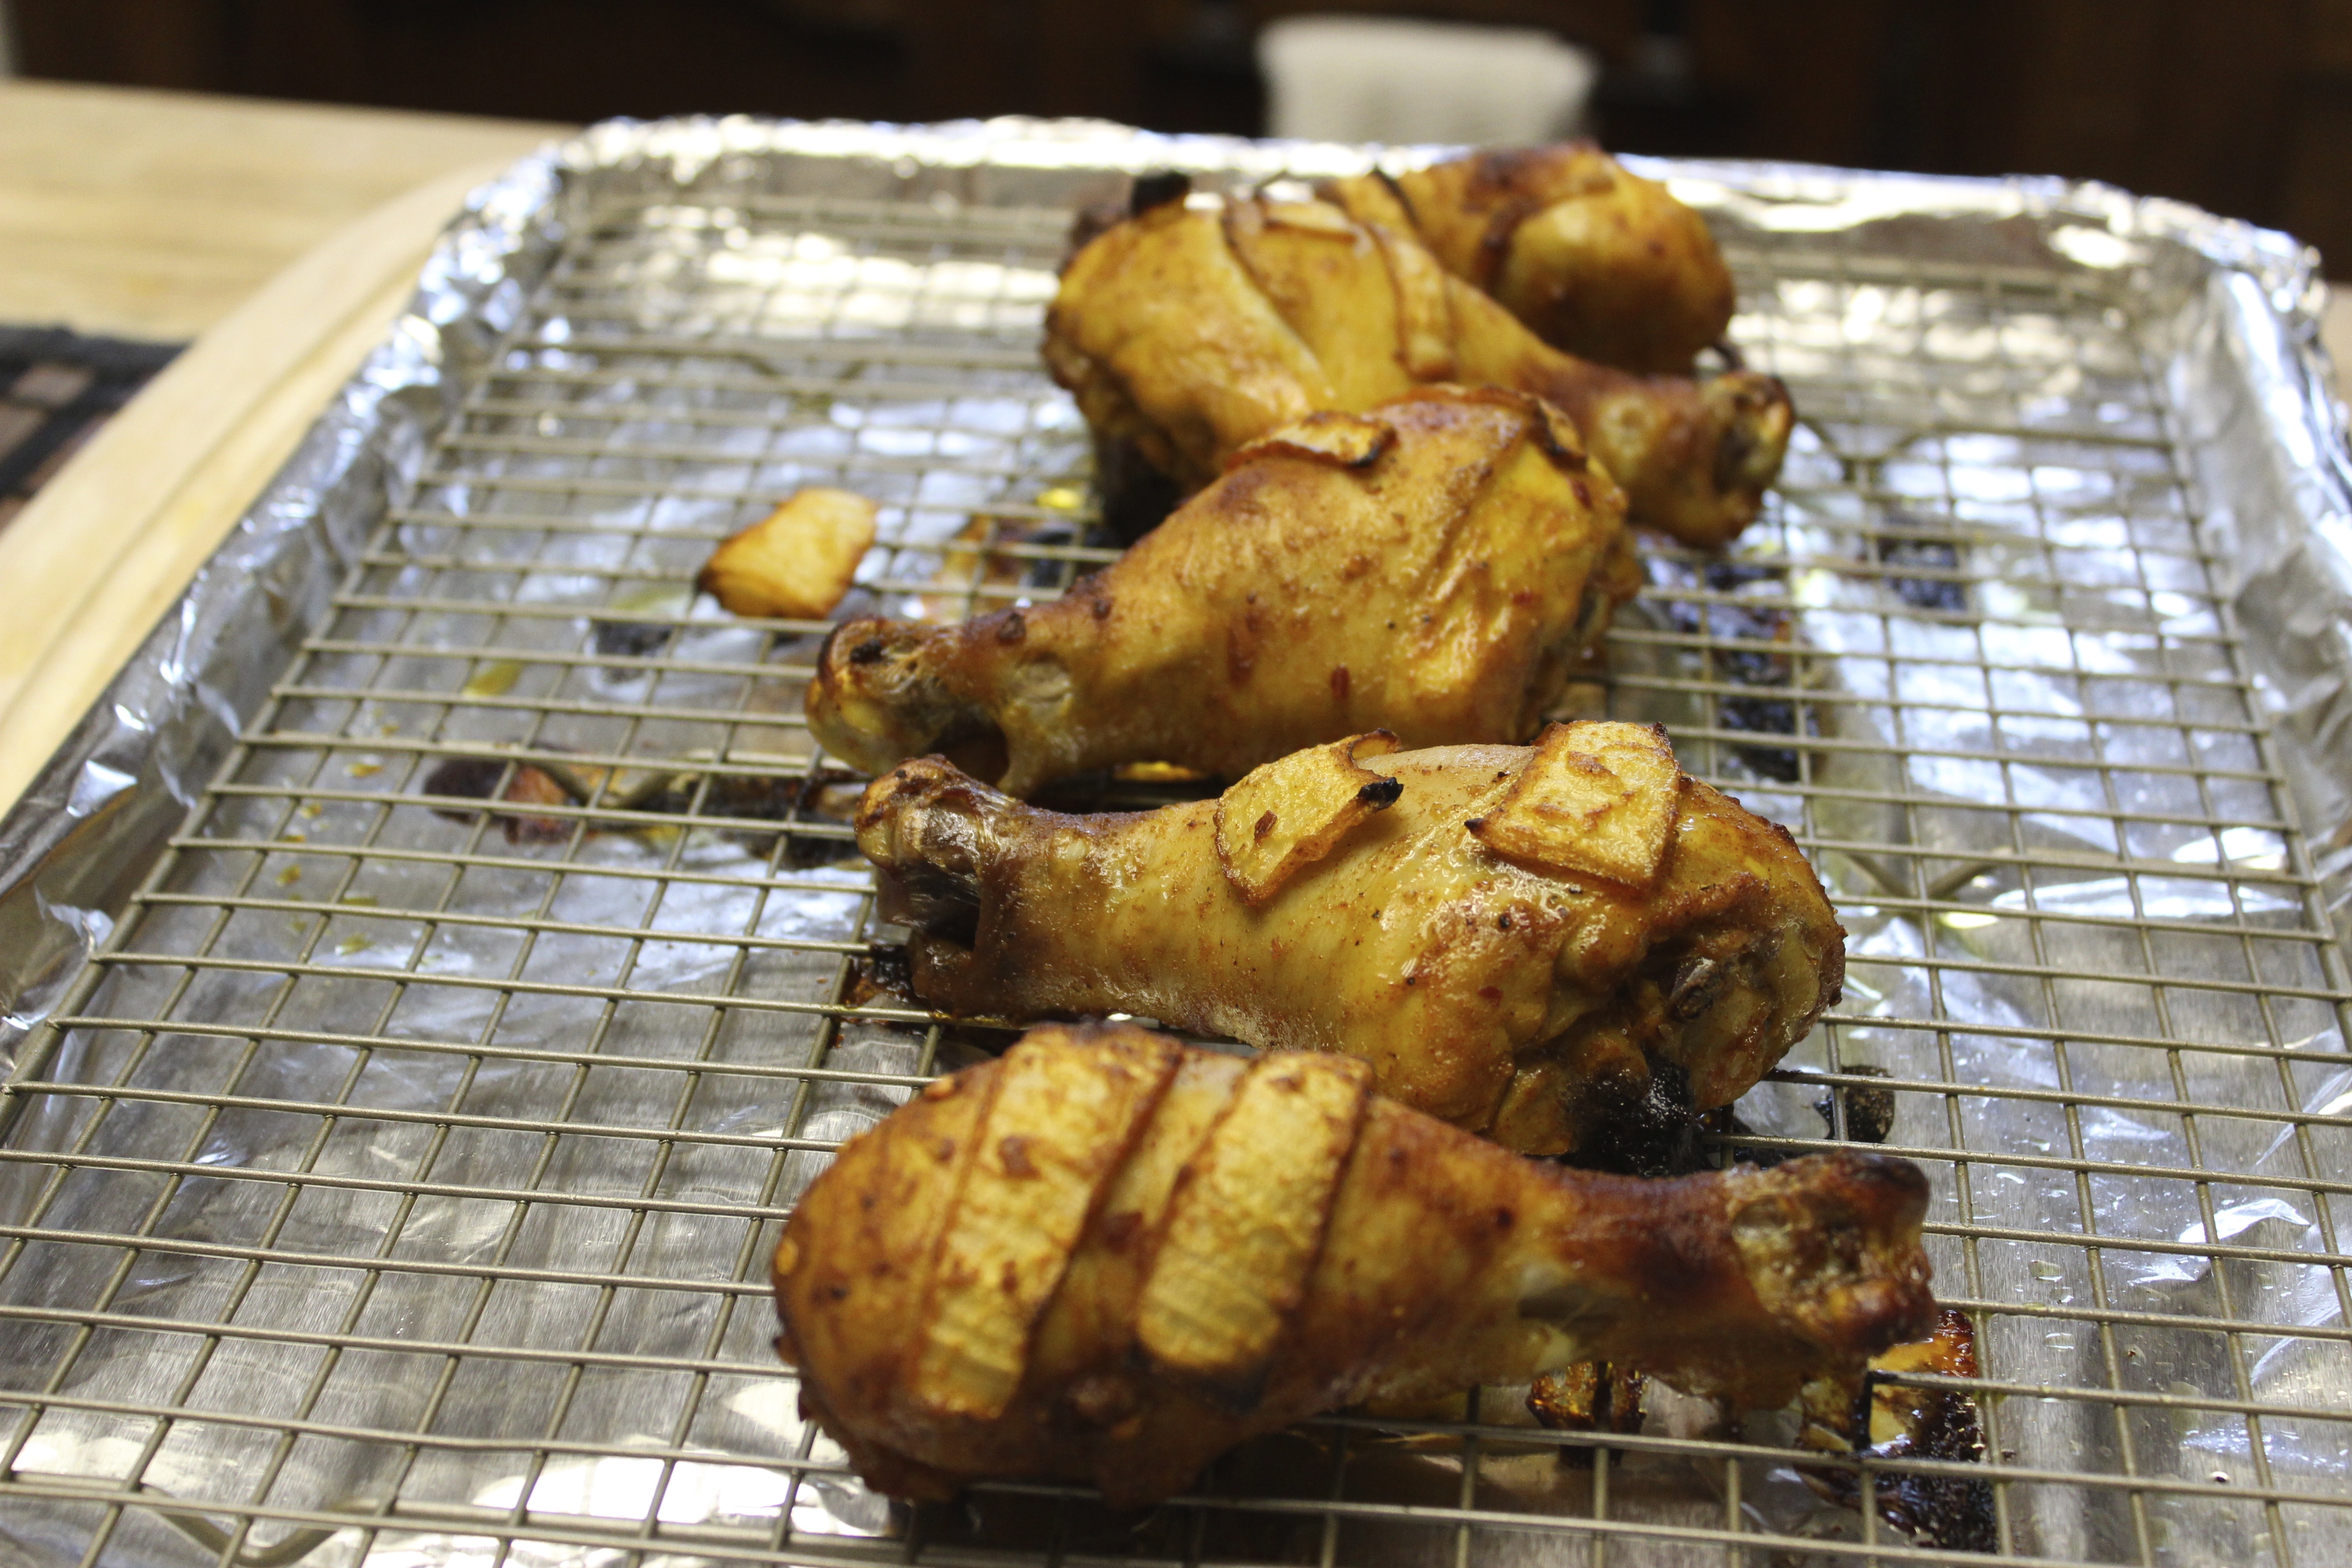
Cook in a 400F degree oven for 45mins-1 hour or until chicken is cooked through.

citrus roasted drumsticks 6

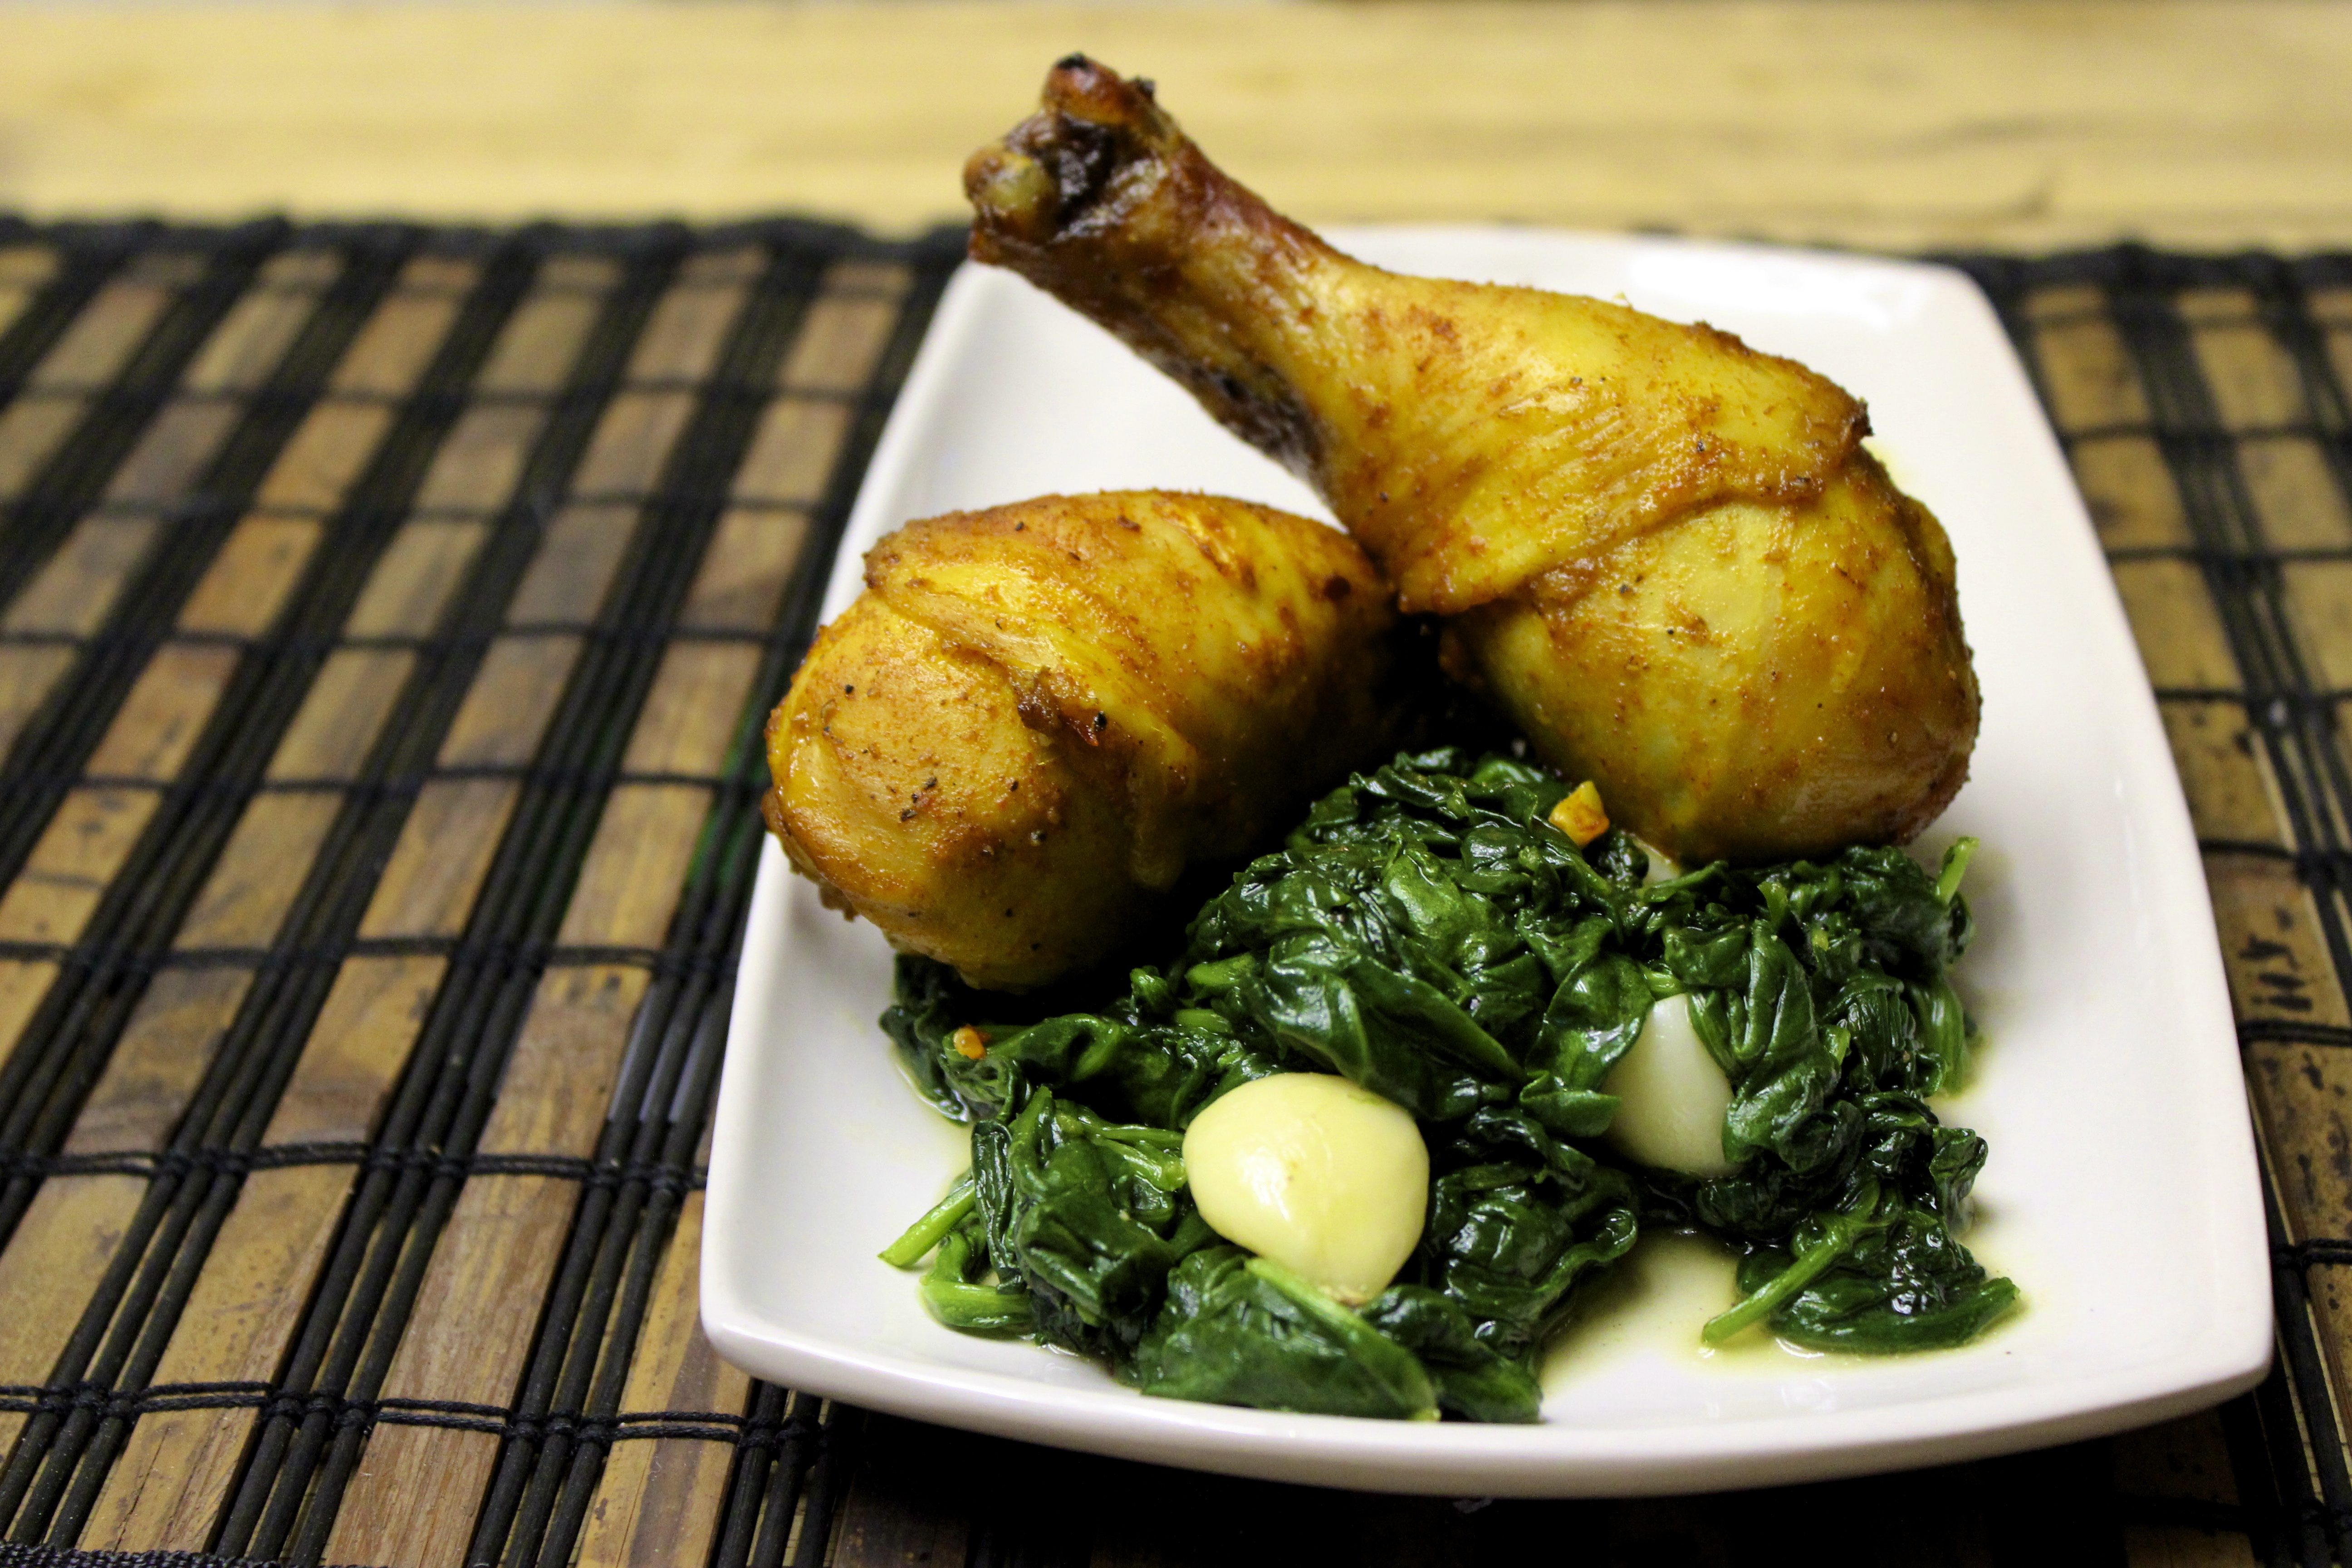
Enjoy with the onion or remove it. I removed the onions and gently placed them in my mouth. Then I had the chicken with some sautéed spinach

citrus roasted drumsticks 19

To subscribe to this blog, type your email in the box below. No spam, cross my heart and hope to die, stick a needle in my eye.

Ouch.

[subscribe2]

[yumprint-recipe id=’61’]


Heirloom Tomato Tart

Posted on

heirloom tomato tart 32

This is my Cheat Day recipe.

I’ve been avoiding carbs, grains and dairy for a few weeks now and I feel like it’s time to indulge in some cheese and carbs. Dear God, it’s a holy combination. The heirloom tomatoes are the perfect contrast and so gorgeous and colorful.

By the way, you need a naughty thing for this recipe:

heirloom tomato tart 1

It’s basically butter and flour. Shhhhhhhhh.

You also need these items:

heirloom tomato tart 3

Galbaaaaaani. 

After preheating your oven to 400F the first thing you need to do is slice the tomatoes.

heirloom tomato tart 7

Heirloom tomatoes are the ultimate food porn (that’s an actual term, if you don’t know, I didn’t make it up. If you already knew that I’m sorry for wasting 2 seconds of your life that you’ll never get back. My bad.).

Then, you want to place the tomatoes on a few paper towel sheets and sprinkle them with salt. Allow them to drain for 30 minutes.

heirloom tomato tart 9

This removes any excess moisture so that the tart doesn’t become soggy.

heirloom tomato tart 19

Tomato residue.

Shred some mozzarella.

heirloom tomato tart 11

Once the oven has preheated long enough and the tomatoes are ready, pull out your puff pastry and place in on a lined baking sheet.

heirloom tomato tart 12

Using a fork, prick the puff pastry.

heirloom tomato tart 13

Leave the edge unpricked. Unpricked is not a word. The red squiggly line just made an appearance. Twice.

heirloom tomato tart 14

Top with the mozzarella, leaving an edge again.

heirloom tomato tart 15

Top with the tomato slices.

heirloom tomato tart 16

Drizzle with oil, and then brush the oil on the edges to coat it to help it brown evenly.

heirloom tomato tart 17

Sprinkle on some oregano and black pepper.

heirloom tomato tart 18

Bake it in the oven for 30 minutes or until golden brown.

heirloom tomato tart 20

Finish the tart off with some fresh basil leaves.

heirloom tomato tart 36 Dig in with a glass of wine. Enjoy this Easter weekend!

heirloom tomato tart 37

To subscribe to this blog for more naughty and nice recipes, type your email in the box below. No spam, I promise.

[subscribe2]

[yumprint-recipe id=’59’]


Almond Milk Horchata

Posted on

almond milk horchata paleo 27

Mmmmm…..Horchataaaa. I first had this creamy drink in LA when I was at uni. I’ve had many different variations, but I find that I like my horchata heavy on the cinnamon and with an almond-y taste.

There is no rice in my version because I wanted to make it grain-free, which is the new guilt-free apparently.

You need the following items:

almond milk horchata paleo 5

The cinnamon sticks are optional, I just used them for garnish. The sweetener I used is the Skinnygirl liquid stevia, but you can use whatever sweetener you like, or have on hand. If you’re going to use sugar, I recommend using super-fine sugar because it dissolves easily in cold liquids. But of course, don’t stress out about it if you only have regular sugar, make it work boo boo.

Oh, and I ended up grating a bit of fresh nutmeg on top at the end. It’s totally optional, but if you already have some nutmeg at home, add a tiny bit. You won’t be sorry. But, if you are sorry, I’m sorry.

Pour the almond milk into a container of some sort.

almond milk horchata paleo 7

Add the vanilla extract.

almond milk horchata paleo 9

Then add the cinnamon. Am I the only one who used to say ‘cimmanon’ as a kid? 

almond milk horchata paleo 12

I like a lot of cinnamon, but if this amount scares you, add less cinnamon. 

almond milk horchata paleo 14

Whisk away. At first it may look like you’re whisking and nothing is happening:

almond milk horchata paleo 16

But keep going and eventually the cinnamon will blend into the liquid.

almond milk horchata paleo 17

Sweeten to your liking and taste. Adjust for seasonings until you get it just right.

Chill until you’re ready to enjoy!

almond milk horchata paleo 19

 To subscribe to my blog, enter your email in the box below and begin the first day of the rest of your life.

(I never understood that, isn’t everyday the first day of the rest of your life? Or is the day you were born the first day of the rest of your life?) Important philosophical questions like these occur frequently on this blog. I’m not fucking around over here. It’s also very professional around here. Ahem.

[subscribe2]

[yumprint-recipe id=’58’]


Saffron Popcorn

Posted on

saffron popcorn 21

So exotic. So pretty. So yummy. A great way to introduce yourself to saffron if you’ve never tried it. It’s also a great way to have saffron a different way if you’ve already had saffron.

Saffron is picked from flowers and is the most expensive spice because it’s so labor intensive to pick them from the flowers. They have a slight sweet and floral smell and taste and they give off the most beautiful golden color when added to rice, desserts or even tea. You gotta try it! For me? Pleaaaasseeeeeeee…..

This recipe is very easy and quick to make. It’s low in calories and the perfect snack to make movie night just a bit more special. I had this popcorn last night while hubby and I watched The Purge for the first time. By the way, that movie is fucking creepy. The chicks in the flowing white dresses and scary smiling masks swinging machetes and singing gave me the most fucked up nightmare. All I’m gonna say is I’ll never wear a flowing dress again.

Anyway, so you need these items:

saffron popcorn 3

You can find saffron liquid at most Middle Eastern markets and if that doesn’t work you can get it online by clicking here. You can also soak saffron threads in water to make saffron liquid. The threads are optional if you’re using saffron liquid. I only used a few strands for garnish in this recipe.

You can also use regular salt instead of popcorn salt. I’m just a sucker for food items and tools that are made for one very specific purpose.

Let’s begin. You need a pot, preferably with a clear lid so that you can kind of see what’s happing inside the magical land where popcorn is made.

In the pot add two tbsp of oil and two tbsp of the saffron liquid. Throw in about 3-5 corn kernels, put the lid on and turn the heat on to medium/high.

saffron popcorn 5

saffron popcorn 6

saffron popcorn 8

Shake the pot every now and then to ensure the kernels are coated and that they don’t stay in one spot and burn.

Once all the kernels have popped, you know the oil it hot enough. CAREFULLY, lift up the lid enough to toss in the rest of the kernels. (I used 1/2 cup of unpopped kernels which makes about 5 cups of popcorn).

Once all the kernels are in, keep shaking the pot often and listen to how often the corn is popping. Once there is about 1-2 seconds between each pop, turn off the heat. Keep shaking the pot until you don’t hear anything pop.

Toss the freshly popped popcorn into a bowl. It should have the slightest touch of yellow and smell like saffron. Swooon.

saffron popcorn 10

If you like butter on your popcorn, or really love saffron, then drizzle some of the saffron liquid directly onto the popcorn while tossing the popcorn in your other hand.

saffron popcorn 12

saffron popcorn 13

Now it has little spots of bright orange and the flavor and smell of the saffron should be in full effect.

Add some salt and toss again. 

saffron popcorn 15

Yummy in my tummy. Let’s get a close up.

saffron popcorn 32

Oh mama. I love popcorn. 

Please make this the next time you crave popcorn. Oh and making it yourself is so much better than using the microwave kind. First, it’s cheaper. Second, it takes about the same time and you can create any flavor you want. Third, you feel like a bad ass. And finally, you don’t want to eat nuked food, if you can avoid using the microwave as much as possible your body and brain will thank you.

That’s it. I’m done with my little speech.

Type your email in the box below to subscribe to my blog and maybe I’ll send you a batch of this popcorn, if I don’t eat it all first.

[subscribe2]

[yumprint-recipe id=’57’]


Lucky #7

Posted on

Hey guys. So, today is hubby and I’s 7-year anniversary! Whaaaat? 7 years. It’s crazy to think I’ve known that stinker that long hehehe.

Hubby said he has something planned and to dress comfortably. So I’m fresh out of the shower now, dressed and waiting for hubby to get back from getting his hair cut. I don’t have time to post a full on recipe today so I just wanted to let you guys know that I will be back posting recipes soon.

I’ll let you know what we ended up doing and how it went, whether you care to know or not haha.

Happy Sunday Funday!!


Pomegranate & Balsamic Glazed Brussels Sprouts

Posted on

IMG_1094

Glazed brussels sprouts are the shit. They are like mini-cabbages that have caramelized and developed this amazing sweet-savoury flavor that is sooooo delicious.

This recipe uses a tiny bit of pomegranate molasses to add a little kick. The recipe is amazing with just balsamic but if you can get your hands on some pomegranate molasses you won’t be sorry. Unless you really don’t like tart flavors then you will be very sorry. Anyway, you can find it any Middle Eastern market.

So you need the following items:

IMG_1060

You want your balsamic vinegar to be syrupy. You can achieve this by either buying an aged vinegar or you can just reduce regular balsamic vinegar by pouring it in a saucepan and simmering it until it reduces by half and has a syrupy texture.

IMG_1062

Oh, and you need brussels sprouts to make glazed brussels sprouts. Not sure if that was clear.

You need to rinse and trim them as well.

IMG_1065

IMG_1067

Once you trim them you can peel off the outer layers that may have some grit or bruising on them. 

Then slice them in half.

IMG_1068

Place them on a lined baking sheet. As you do, rub them to release some of the leaves (they will become crispy and yummy). 

IMG_1072

Can you spot the loose leaves? I used to love those I-Spy books as a kid. Did you? No? You have no idea what I’m taking about? Ok. I’m glad we had this conversation.

Drizzle a little olive oil and as much S&P as you like. I like a lot of freshly cracked black pepper. Or “black crack” as it’s known on the streets (I have no idea what I’m taking about. Shhhh.)

IMG_1073

Toss and bake for 10 minutes.

IMG_1074

After 10 minutes toss again and cook for another 10 minutes.

IMG_1081

When they come out of the oven they should be nicely browned like this:

IMG_1087

These babies are great just like this. Roasted brussels sprouts caramelize on their own a little.

I wanted to make them a bit more special, so I drizzled on some thick and sweet balsamic vinegar and a few drops of the pomegranate molasses (a little goes a very long way).

IMG_1088

Toss for one last time and take in the amazing smell.

IMG_1089

Put these in a bowl and go to town!

IMG_1091

When pomegranates are in season I think I’m going to try making this again and sprinkling fresh pomegranate seeds on top for a little sweet surprise. Drool.

IMG_1097

This is a great side dish that goes with almost anything. Except, maybe not with curry.

Enjoy!

P.S. Type your email in below and make my day. Thanks!

[subscribe2]

[yumprint-recipe id=’48’]


Cows and Dogs and Ducks! Oh My!

Posted on

IMG_1027

Um, ya. That is exactly what it looks like. Uh huh. And yes. Yes, I took a picture of it. 

This post isn’t a recipe because I haven’t gotten around to cooking today. I’m trying a new farmer’s market tomorrow instead of my usual Saturday one so, I should be cooking up a storm soon. Today, instead of going to the farmer’s market, hubby and I grabbed (or gently coaxed) the dogs to come on a scenic drive to the park. 

We had to stop for gas on the way and the dogs (Primo the Chihuahua and Raiden the Siberian Husky) were not at all concerned when hubby got out of the car to pump the gas.

IMG_0837

On the way to the park we drove by a beautiful reservoir with a colorful shore (it’s not a shore but like the edge? I dunno man, I just cook). 

IMG_1013

The scenic drive was definitely scenic. The clouds were breathtaking:

IMG_0889

The landscape was so green and lush.

IMG_0992

Primo was taking it all in.

IMG_0945

Then he got really excited:

IMG_0938

And then we saw cattle grazing on pasture.

IMG_0949

We got closer.

IMG_0965

And closer.

IMG_1025

Holy shit! What the fuck. And I actually took a picture and then zoomed in and took another.

Then I threw up in my mouth a little. And then we drove up some more and saw another cow. Or heifer. Or heifa.

IMG_1047

Mmm. Grass-fed beef. Tasty. (IDGAF)

We finally made it to the park!

IMG_0885

The dogs were giving me major shade. Bitches.

As we were walking around, I noticed a duck strutting her stuff (I’m assuming it’s a her) by the pond.

IMG_0853

I was like “Get it honey! Work it!” And she was like, “Flap, flap, flap!”:

IMG_0864

Which in duck language means “Thanks, bitch!”

Then she found some guys and was all, “Girl, bye!”

IMG_0865

So, we went along our merry way:

IMG_0908

They were merry. I was walking backwards trying to take the picture above without falling all over myself.

Then I saw the duck again and she totally recognized me!

IMG_0869

Then she ditched me again. This time for another duck. 🙁

IMG_0934

All in all it was a fun day filled with animals and their distinct stench 🙂

Primo was so tired by the end of it.

IMG_0971

IMG_0972

IMG_0973

What did you do this weekend?

To subscribe to this-here blog type your email in the box below. Please and thank you.

[subscribe2]


Bee Pollen Tea

Posted on

Some of you may have read my post on bee pollen and allergies. If not, go on and click here, hunni. 

Bee pollen has cured my allergies. I mean two days ago I was dying and yesterday after taking one dose of bee pollen I was able to breathe and didn’t sneeze once or blow my nose for hours! Do you know what a miracle that is when you’ve been having severe allergies? 

Anyway, this is what you need:

IMG_0640

Local bee pollen, a handful of mint leaves and local or wildflower honey to taste.

Place the mint leaves into a teapot.

IMG_0643

Pour freshly boiled water on top.

IMG_0649

Place a 1/4 teaspoon of bee pollen into a cup.

*For dosage information, click on the link in the beginning of the post.* 

IMG_0653

Add local or wildflower honey to taste. Or to smell.

IMG_0663

Pour the mint tea into the cup. 

IMG_0671

Stir. Sip. Breathe. Enjoy.

[subscribe2]

[yumprint-recipe id=’42’]


Bee Pollen & Allergies

Posted on

IMG_0438

So, I have been having horrific, horrible, horrendous, whore-ish. Ok, not whore-ish. Basically, I’ve been having really bad allergies. I could barely breathe and it felt like tiny people were inside my nostrils with feathers, tickling me. My eyes were watery and itchy, my nose was stuffy and runny and my emotions? Hysterical. I thought I was dying at one point. No joke.

It got to the point where I was taking Claritin or Allegra everyday and that can’t be good. I was desperate for a natural remedy. So, of course, I didn’t do anything about it. Then came Saturday, which was yesterday, which is also Farmer’s Market Day for me. 

So, there I am, at the farmer’s market. I’m walking past the stands with my reusable tote feeling like I’m single-handedly saving the environment and channeling my inner-hippie when I walk by a honey stand. I love honey so I stopped by and noticed this jar of yellowish brown granules and asked, “What’s that?”

IMG_0428

My life changed. I discovered bee pollen and how local pollen and honey are thought to immunize you to the pollen that cause allergies for many people, myself included. I bought some. It totally helped with my allergies! They are not nearly as intense. Can’t wait to see how I feel in a week!

The lady told me to start out taking 1/4 teaspoon everyday in the morning for a week. Then increase to 1/2 teaspoon for the next week. And so, on in 1/4 teaspoon increments until by the end of the month, you have taken 1 teaspoon for a week.

IMG_0653

Not sure what to do after that. Am I cured? Or do I keep taking a teaspoon daily? I’ll ask her when I see her. 

Don’t take it straight up like me. It tastes like shit. Not that I know what shit tastes like. Take it with water or in tea.

I will be posting a Bee Pollen Tea recipe soon.


Heirloom Tomato & Haloumi Caprese Salad

Posted on

IMG_2095

Caprese Salad. It’s a classic. You know it. You love it. Hopefully. Whether you like it or not, this version is hard to resist. I used organic heirloom tomatoes (um, yum) and haloumi cheese. Haloumi cheese is very common in the Middle East and I believe it’s the only cheese you can grill or fry bare. I also substituted the basil for mint.

This is what you need:

IMG_2070

First thing you wanna do is slice up the cheese and tomatoes.

IMG_2074 IMG_2076

I tried to cut the cheese (lol) into similar sizes as the tomatoes.

IMG_2080

Now, sauté the cheese for a few minutes on each side until golden brown. On medium heat is fine.

IMG_2077

IMG_2083

All that’s left to do is assembling the salad and stuffing your face.

I did a classic layer situation. You could stack them or layer them in a circle or whatever else you can think of. I wanted to be a bit classic since I switched up the ingredients. I want this to look like a Caprese, my Caprese.

After layering, drizzle with olive oil and balsamic vinegar and then sprinkle some fresh mint and S&P.

IMG_2085 IMG_2093

Eat!

IMG_2097

 For more yumminess, subscribe by e-mail below.

[subscribe2]

[yumprint-recipe id=’31’]