
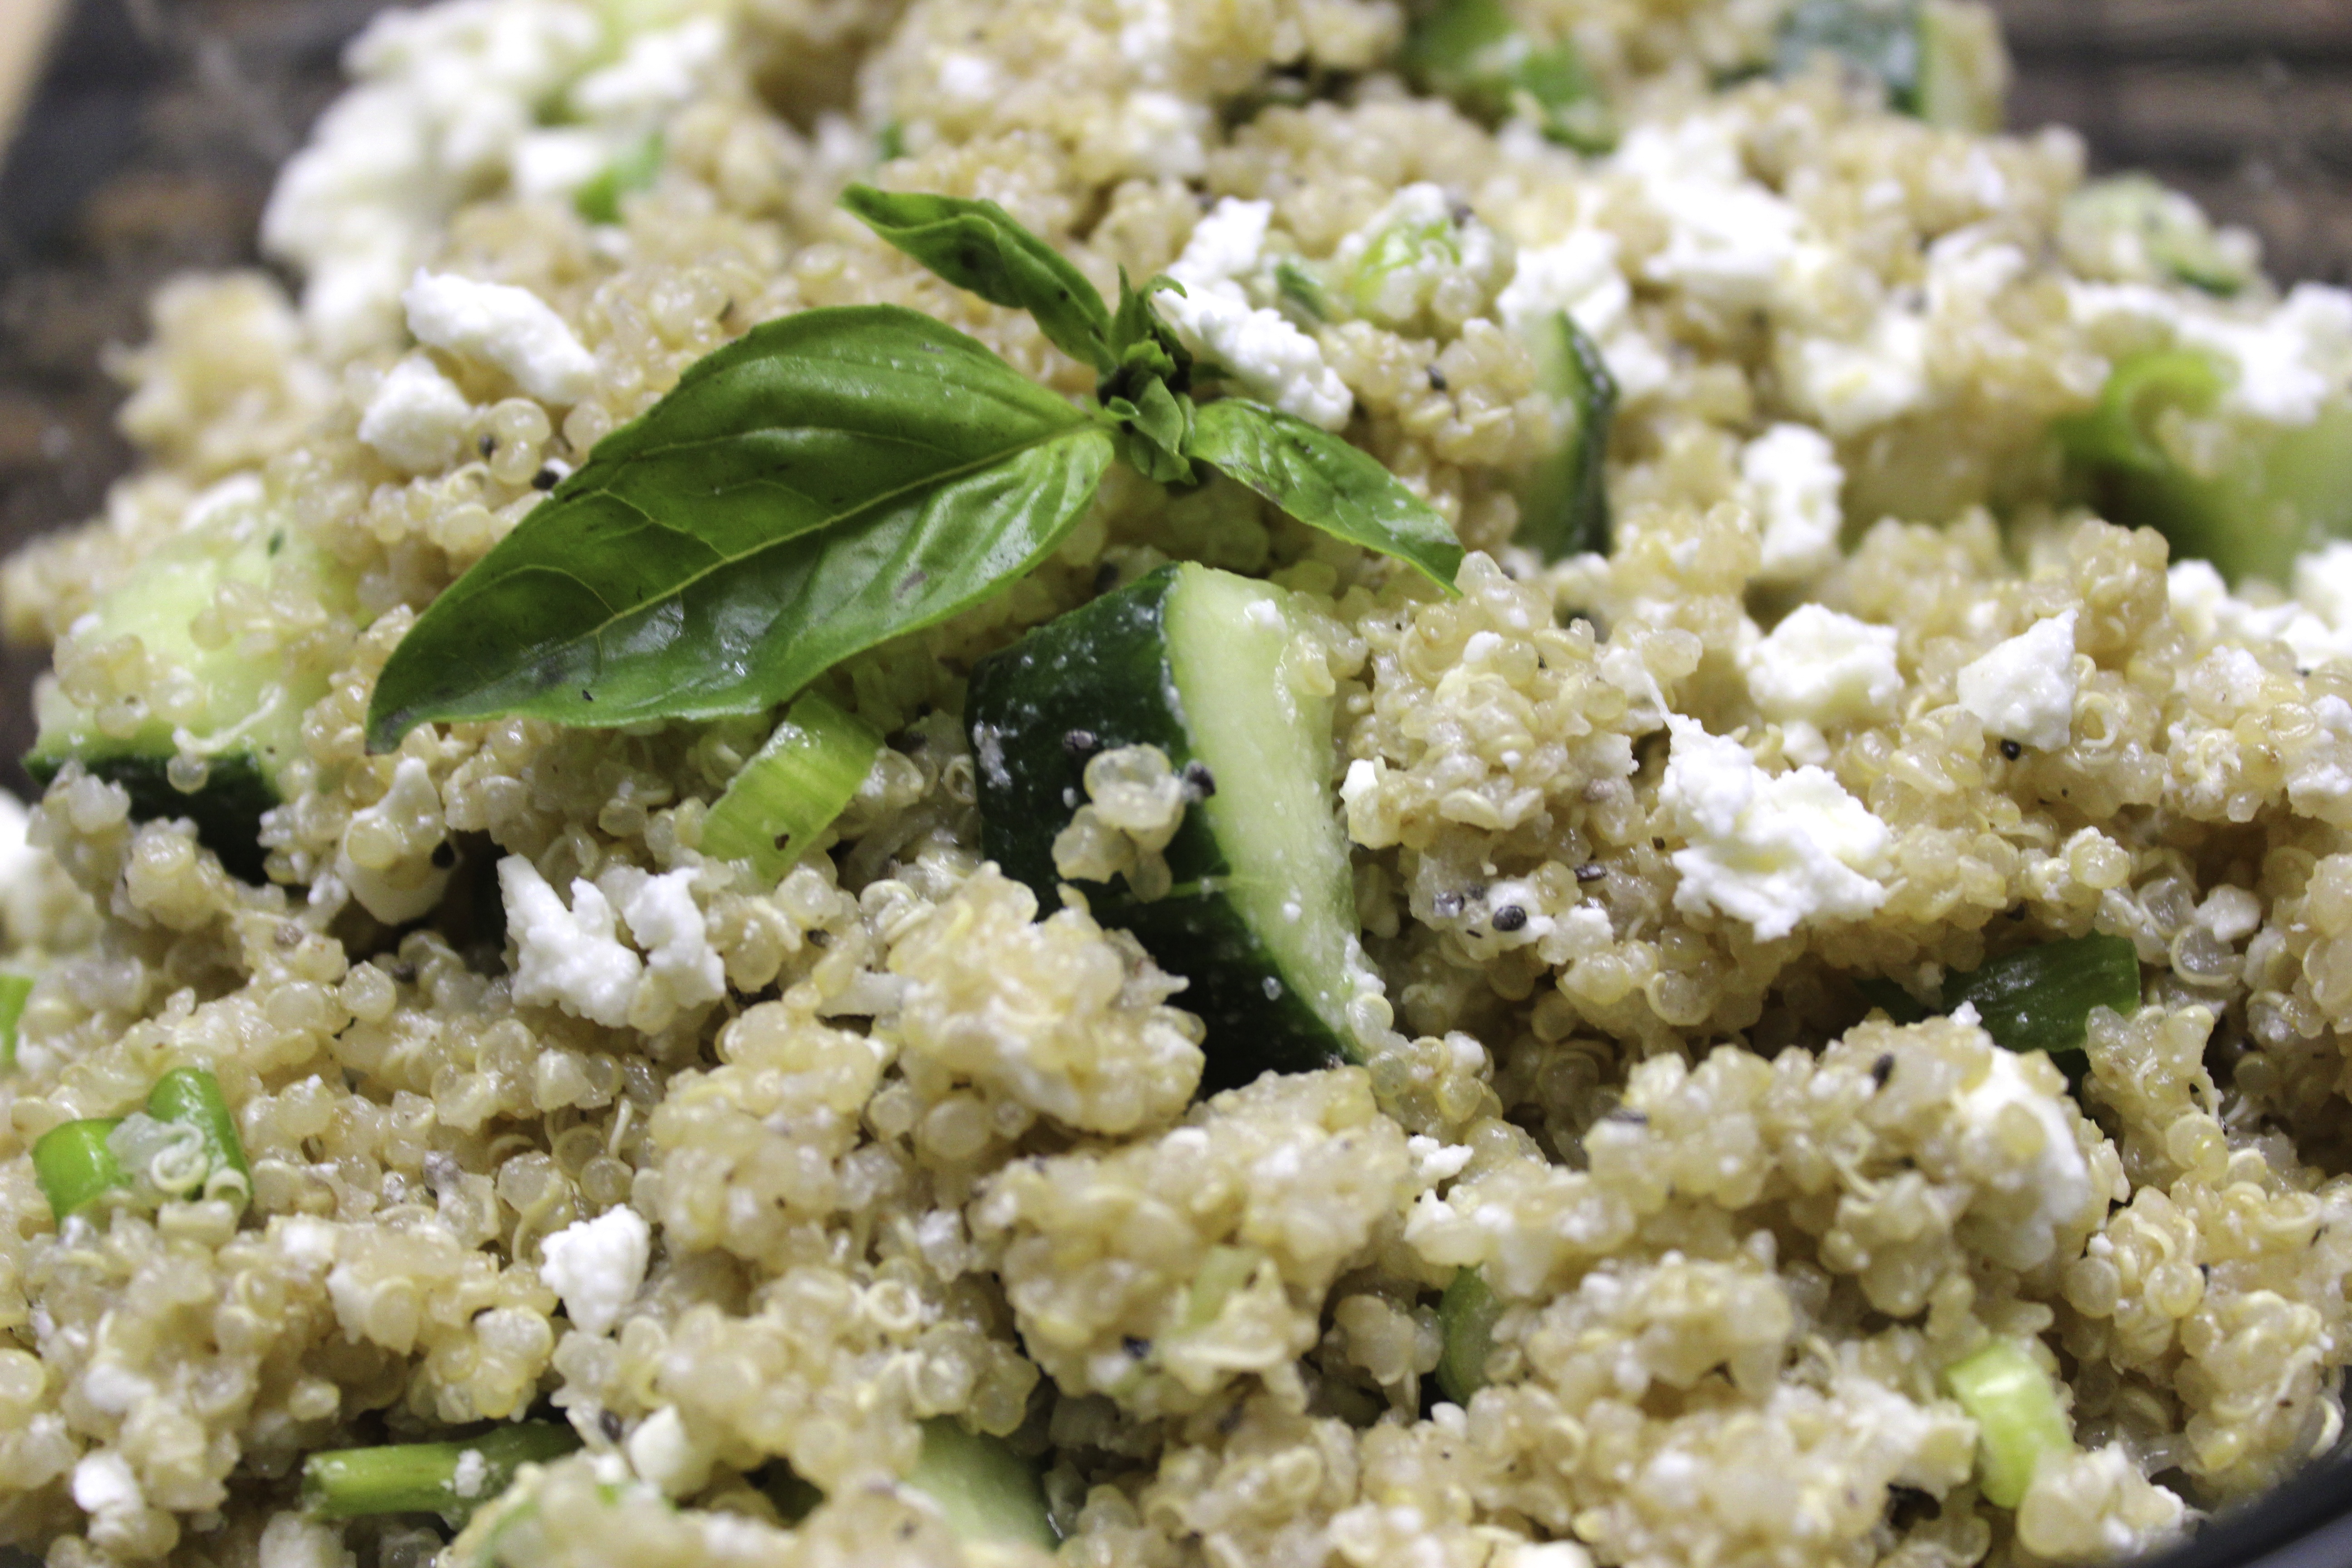
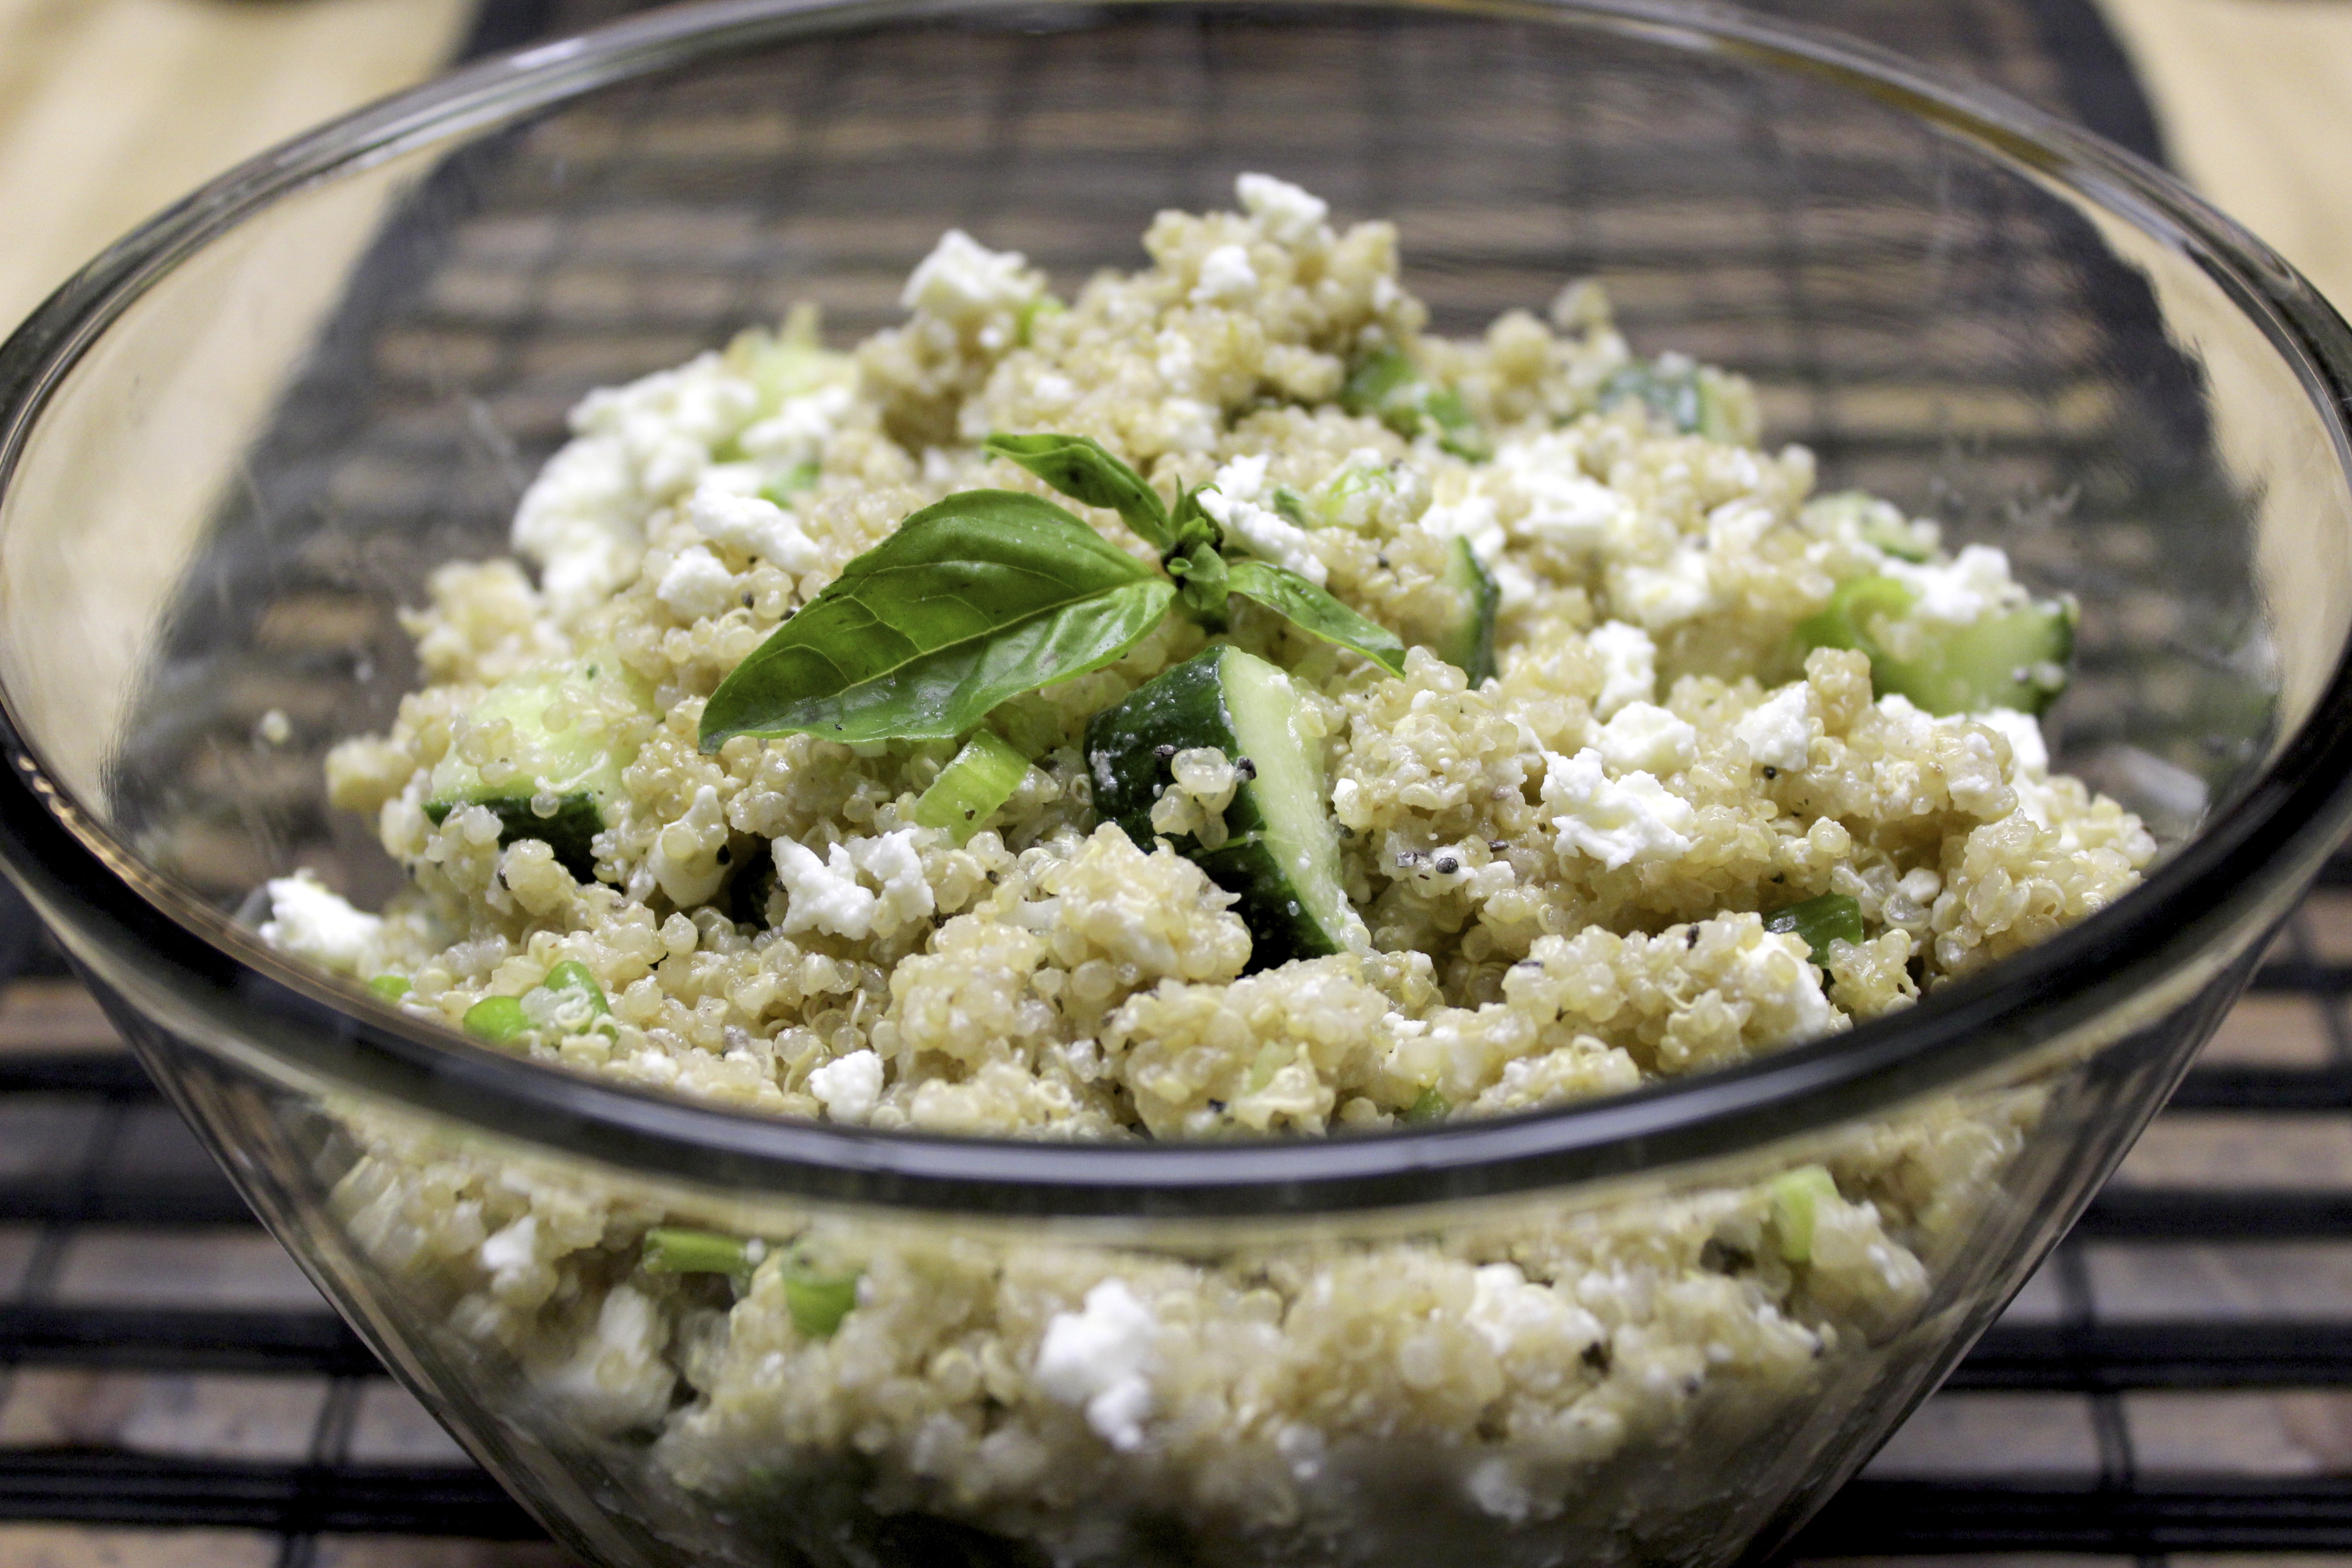
This salad is so easy and simple to make and it has the perfect contrast of flavors. The fresh cucumber offers relief from the saltiness of the feta which cuts through the quinoa. Then a little green onion for that mild onion flavor and some ripped basil to freshen it all up. And lastly, some Chia seeds to give a little crunch and make me feel better about myself.
This salad is a great base for other ingredients. I thought about adding some of the shredded chicken I had left over from my Moroccan Roast Chicken, then I said let me make it vegan and then I added chicken when the cameras weren’t watching. Shhhhhh.
Also, you could make this full on Greek by using red onion instead of green onion and adding some diced tomato and olives. Or I could’ve added loads of spices to the quinoa. Many ways to modify this and make it your own. Quinoa goes with any flavor you mix it up with. She’s a skank like that. Yes, quinoa is a she.
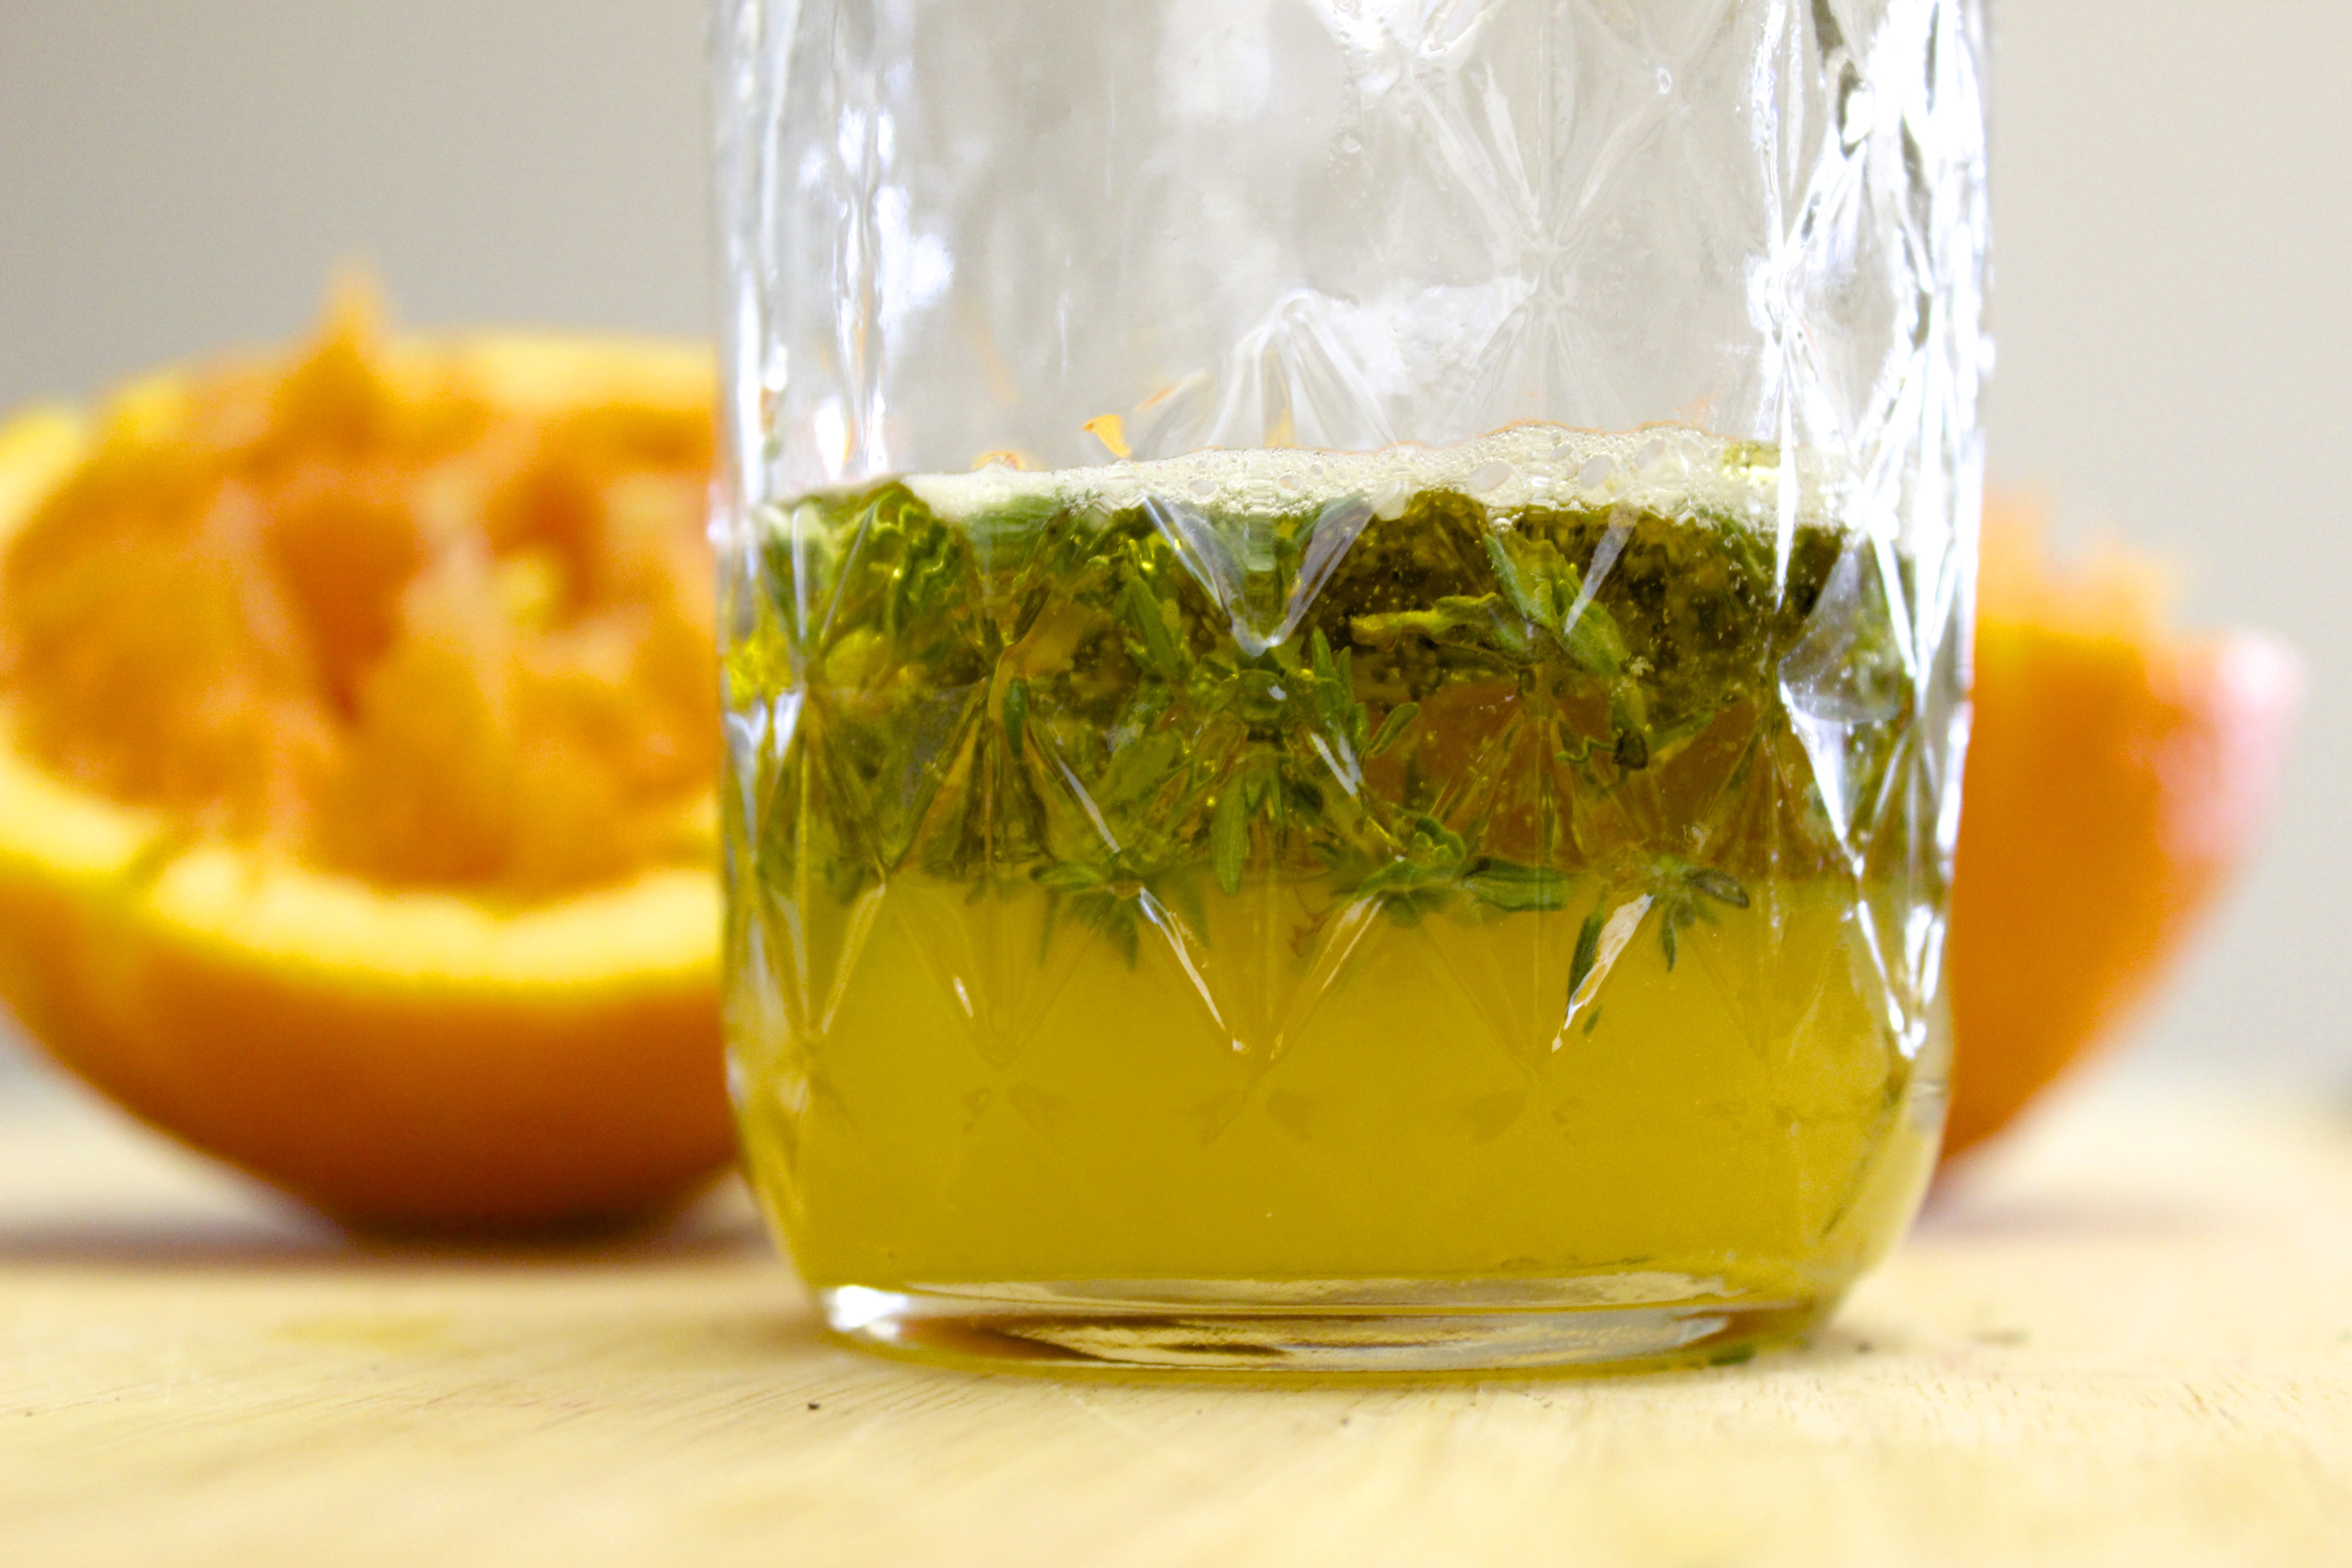
I was inspired to make this salad when I made a ton of East Meets West Chicken Stock from my Moroccan roast.
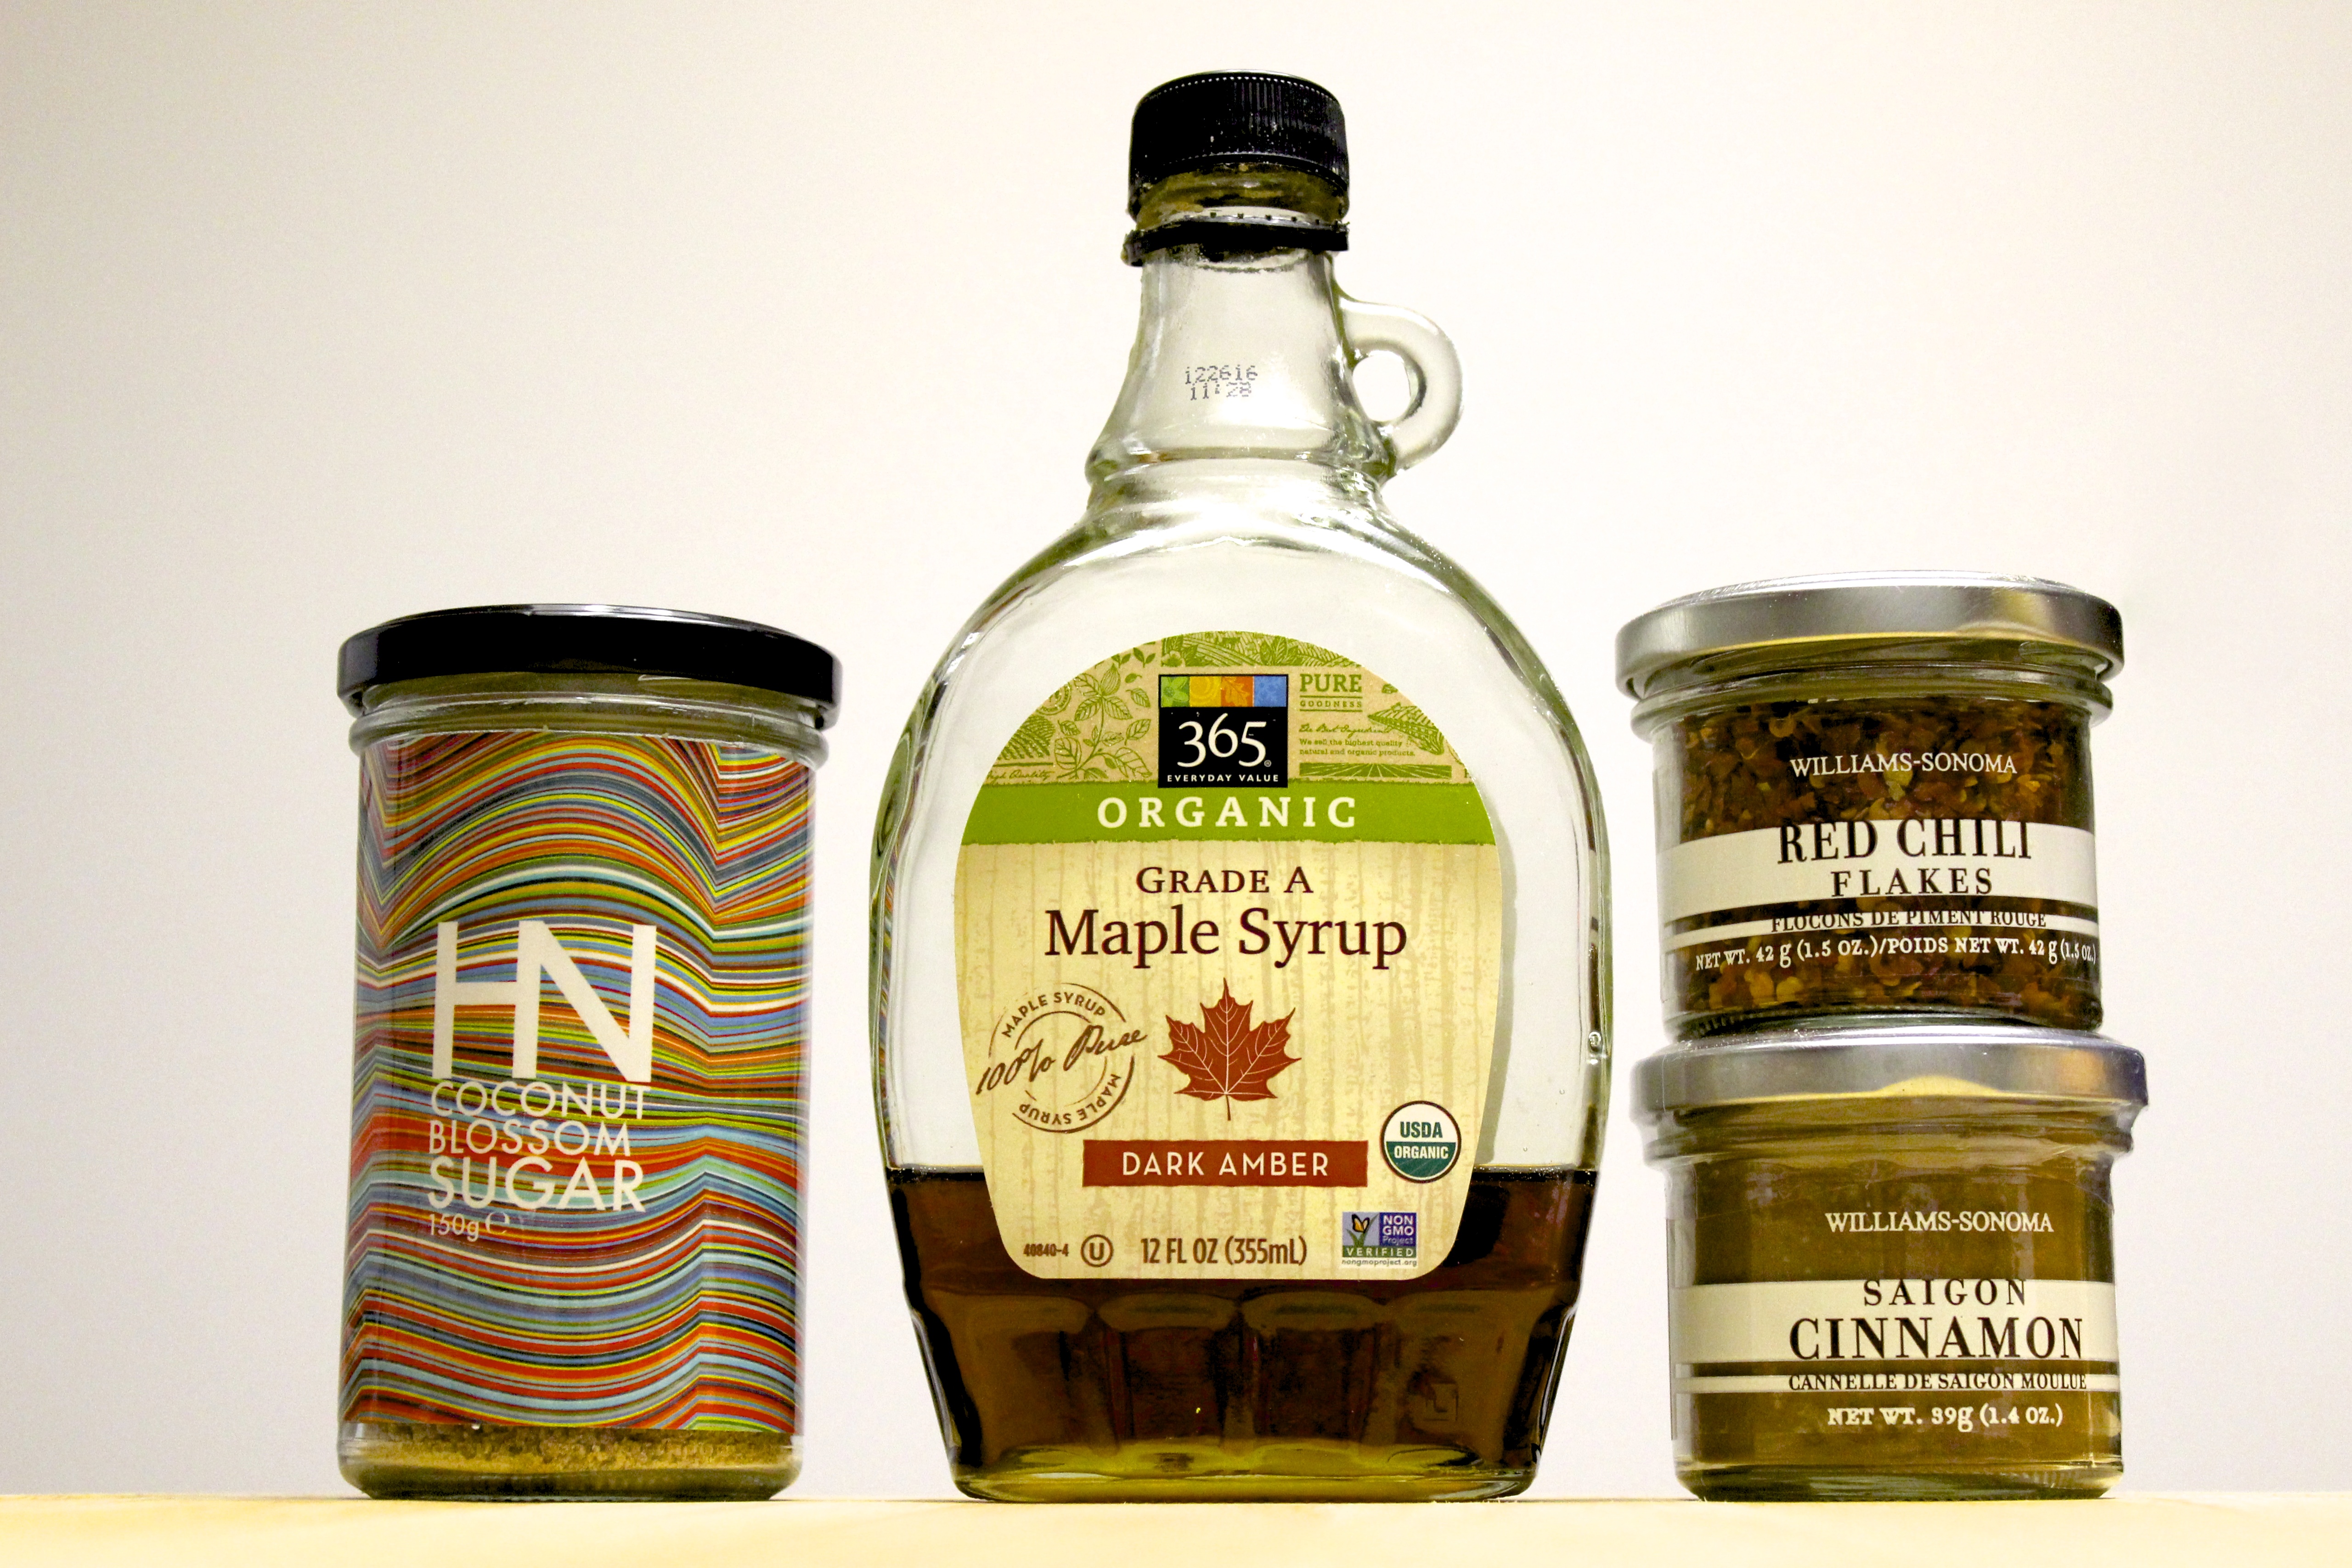
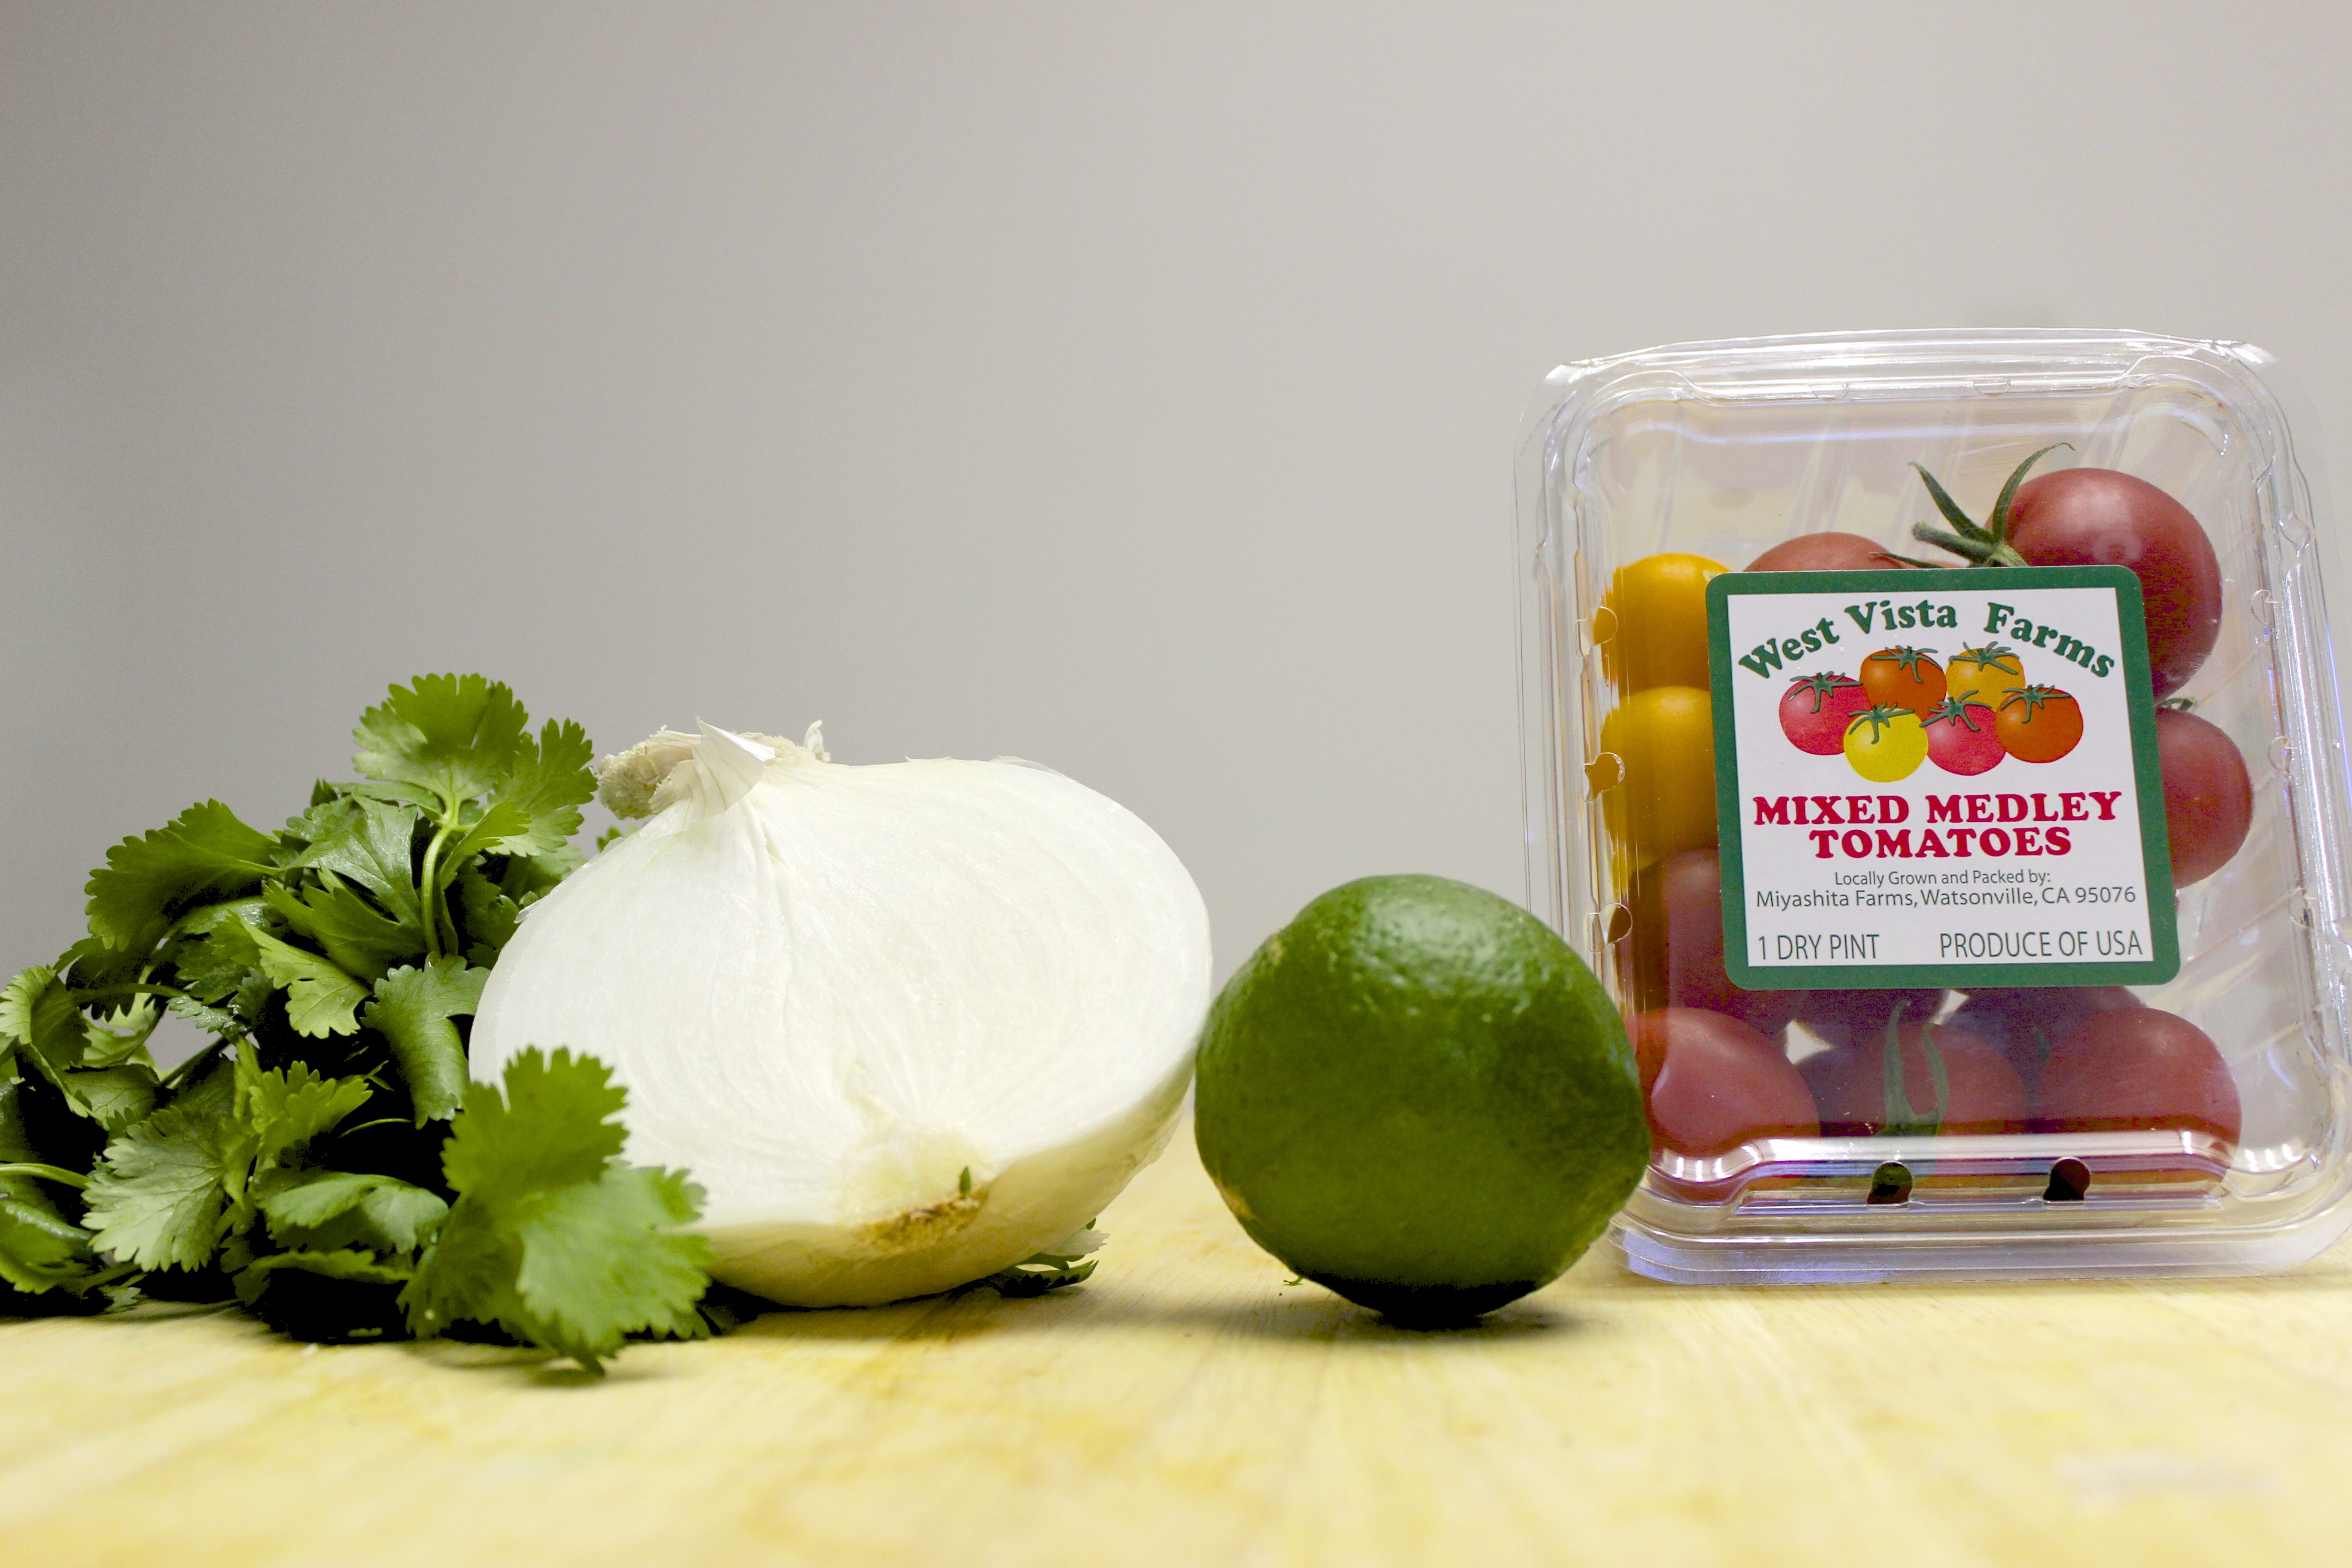
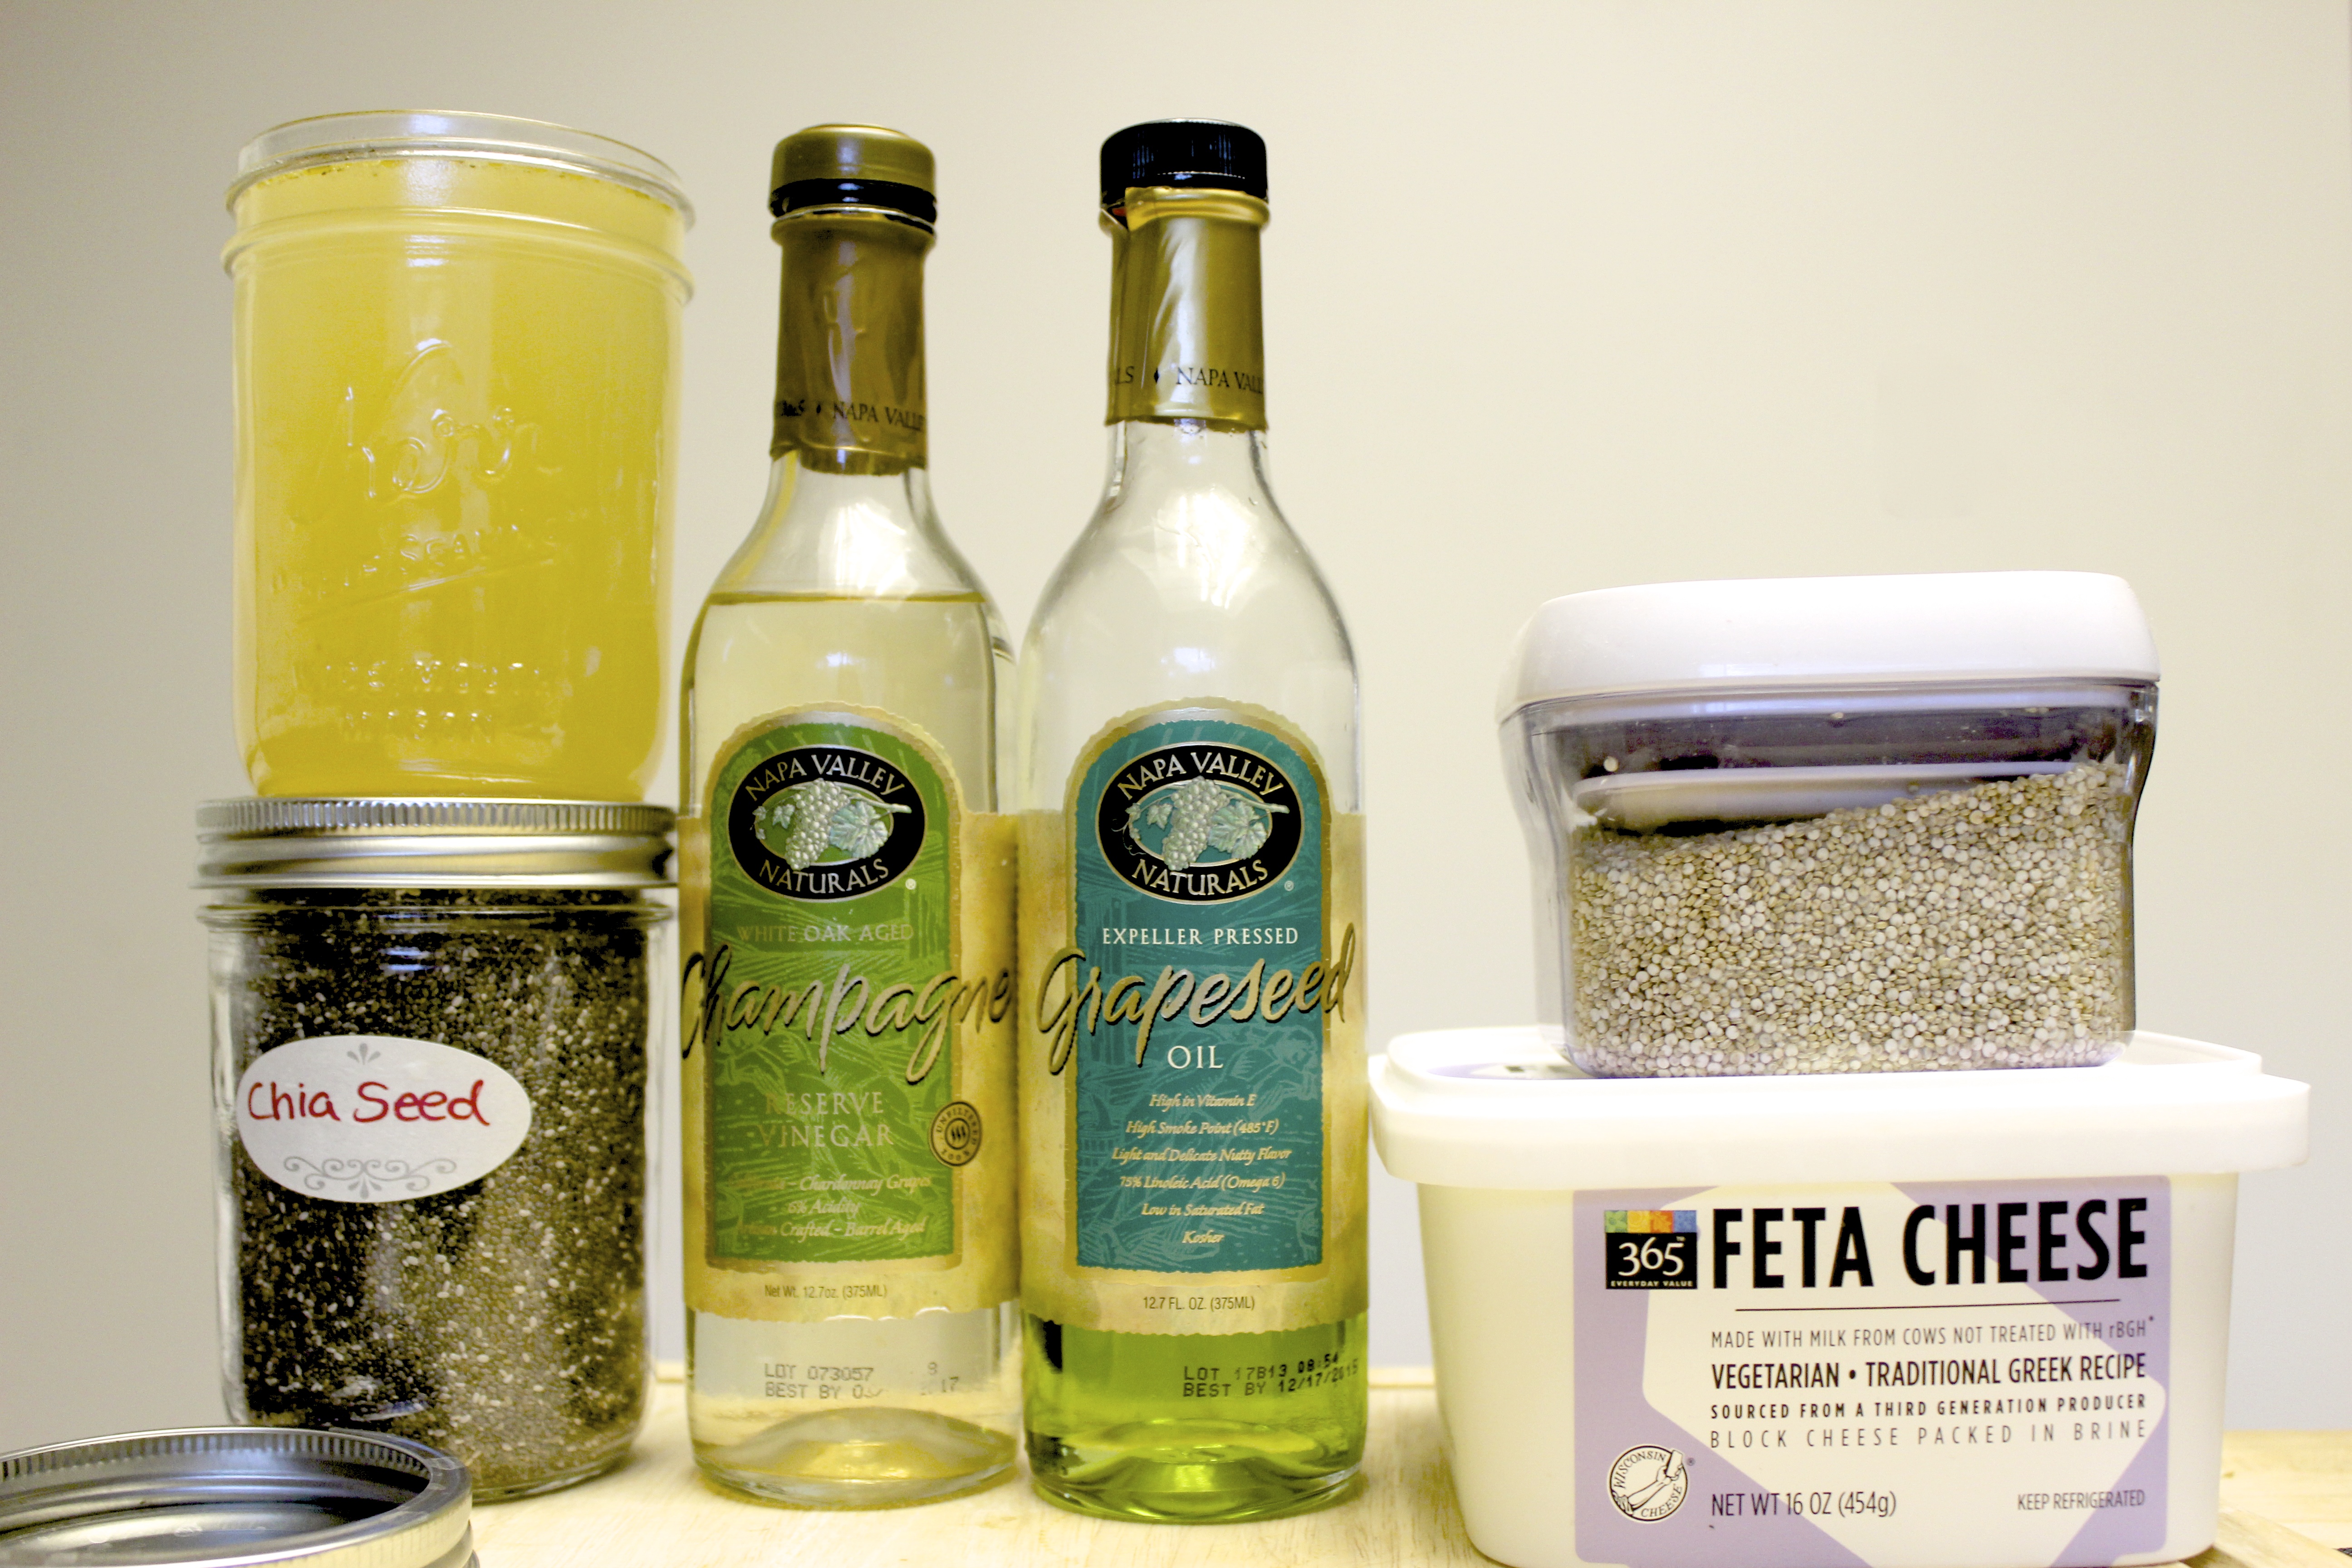
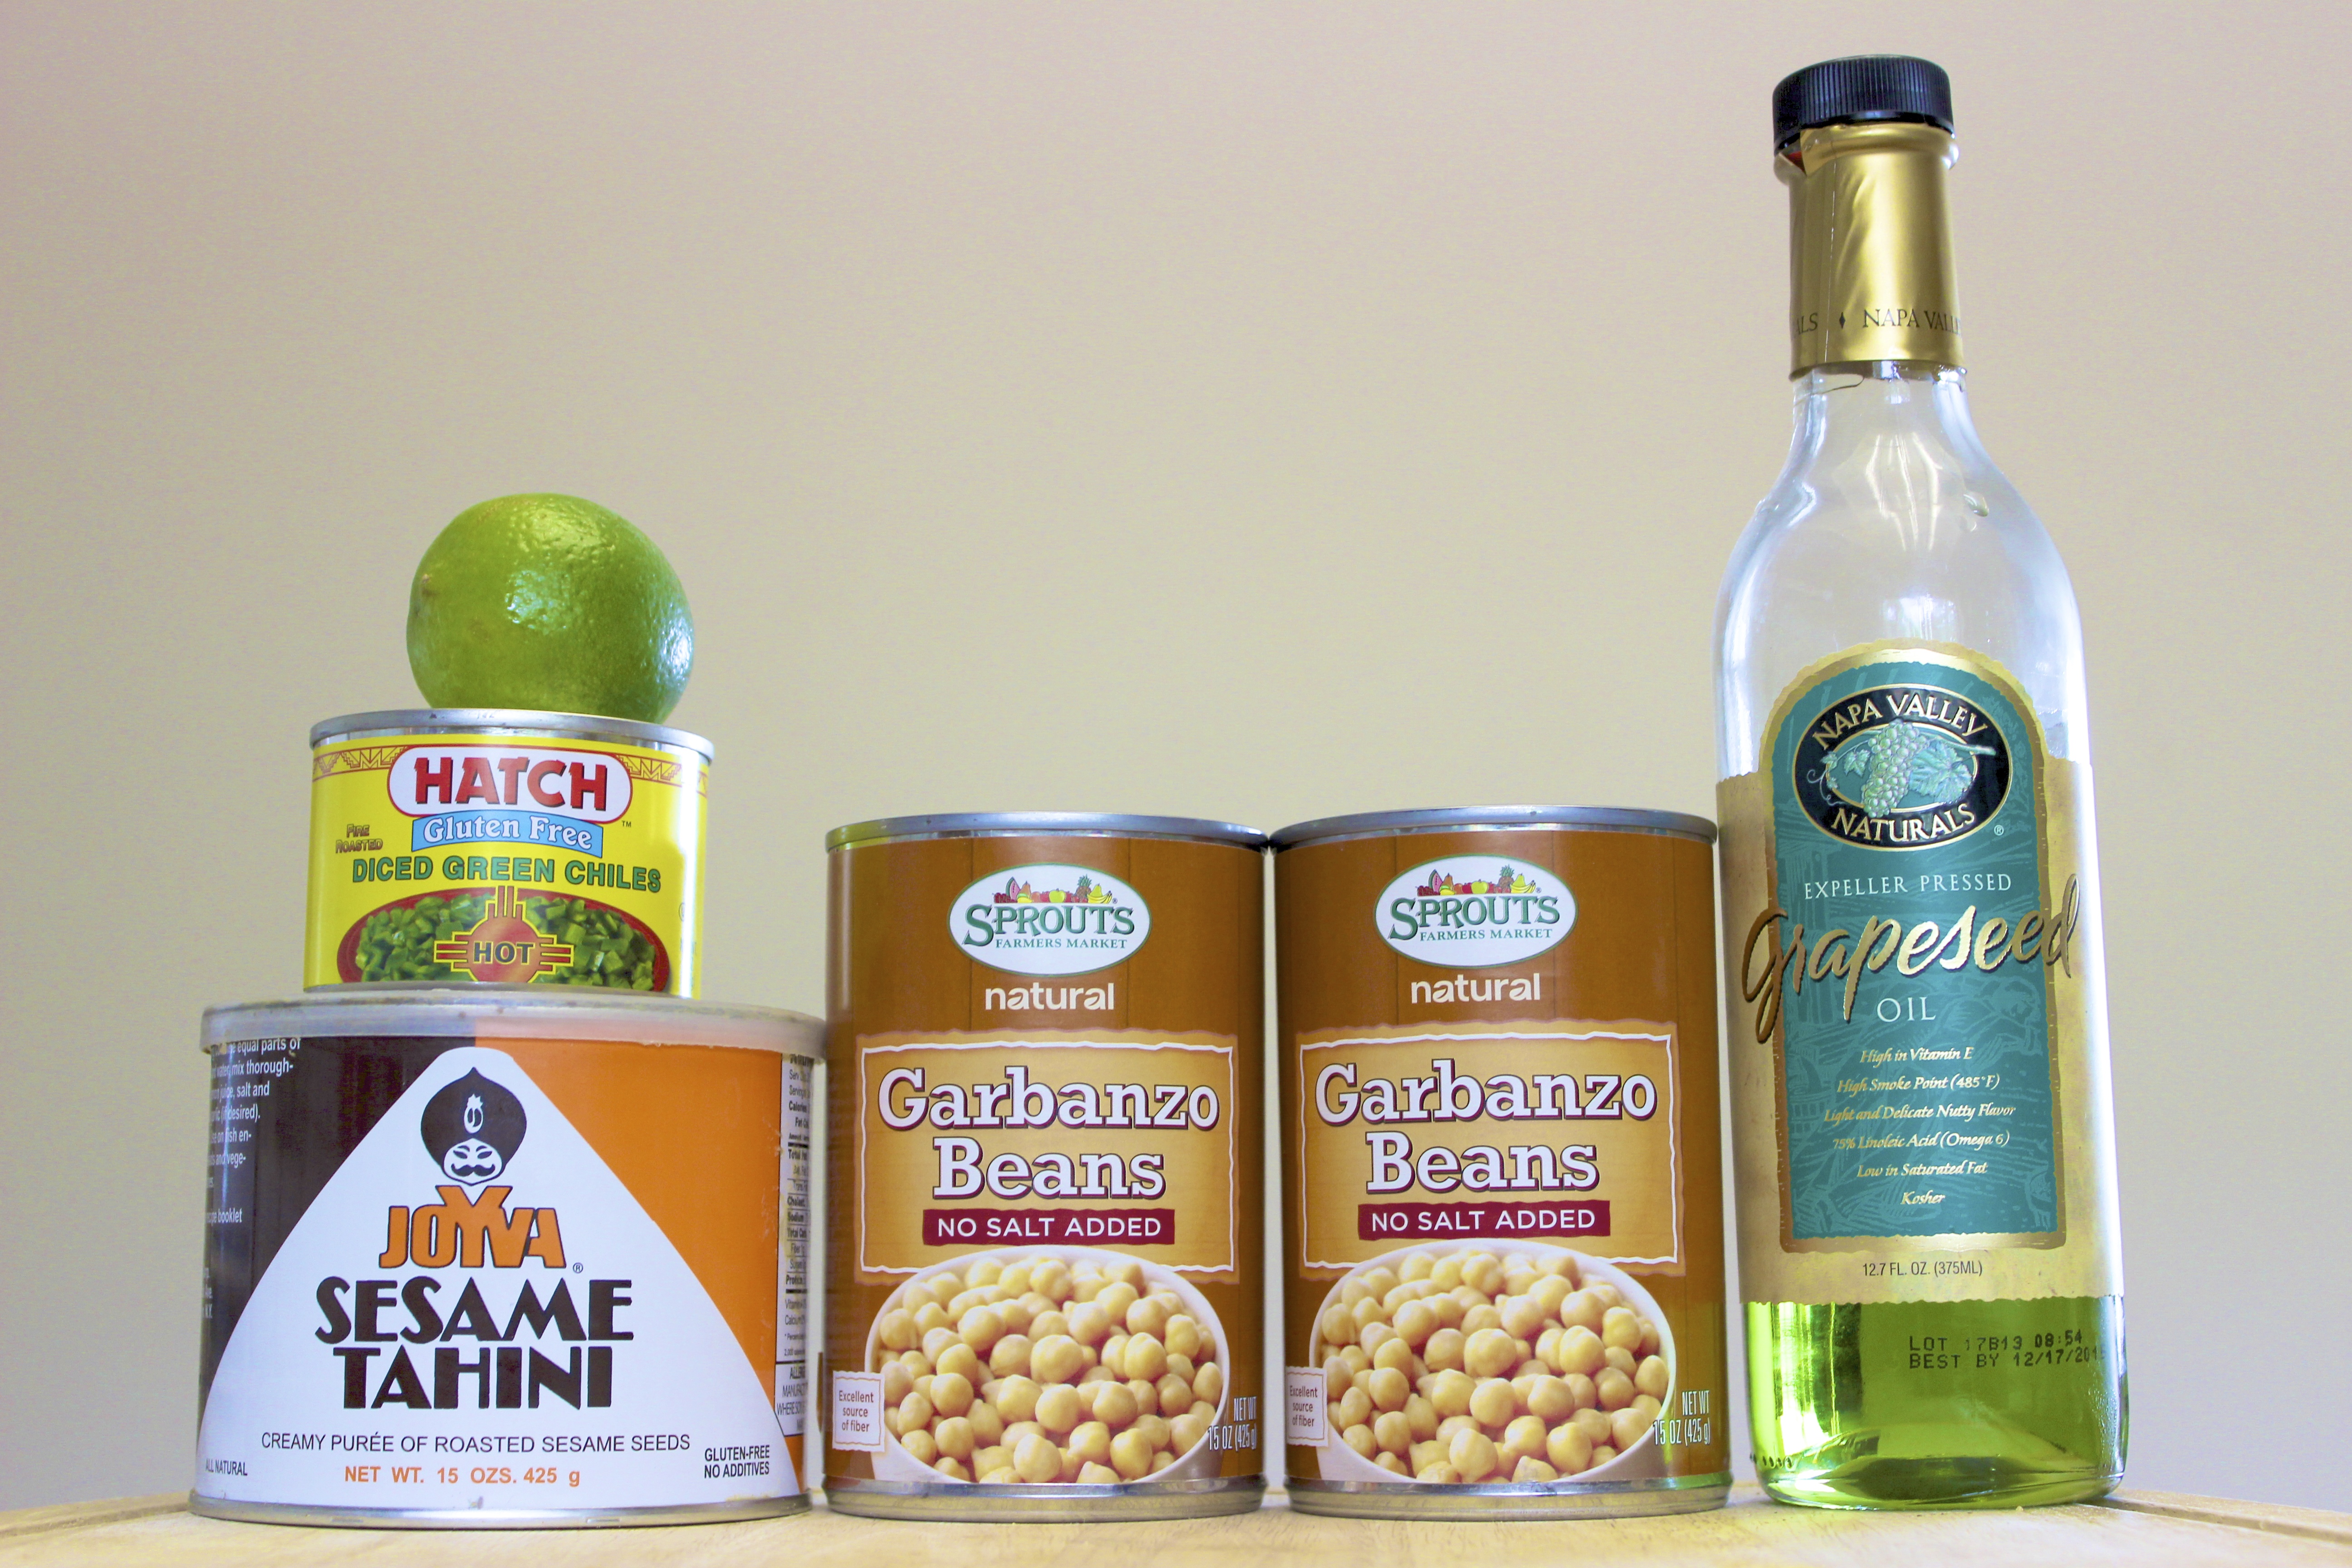
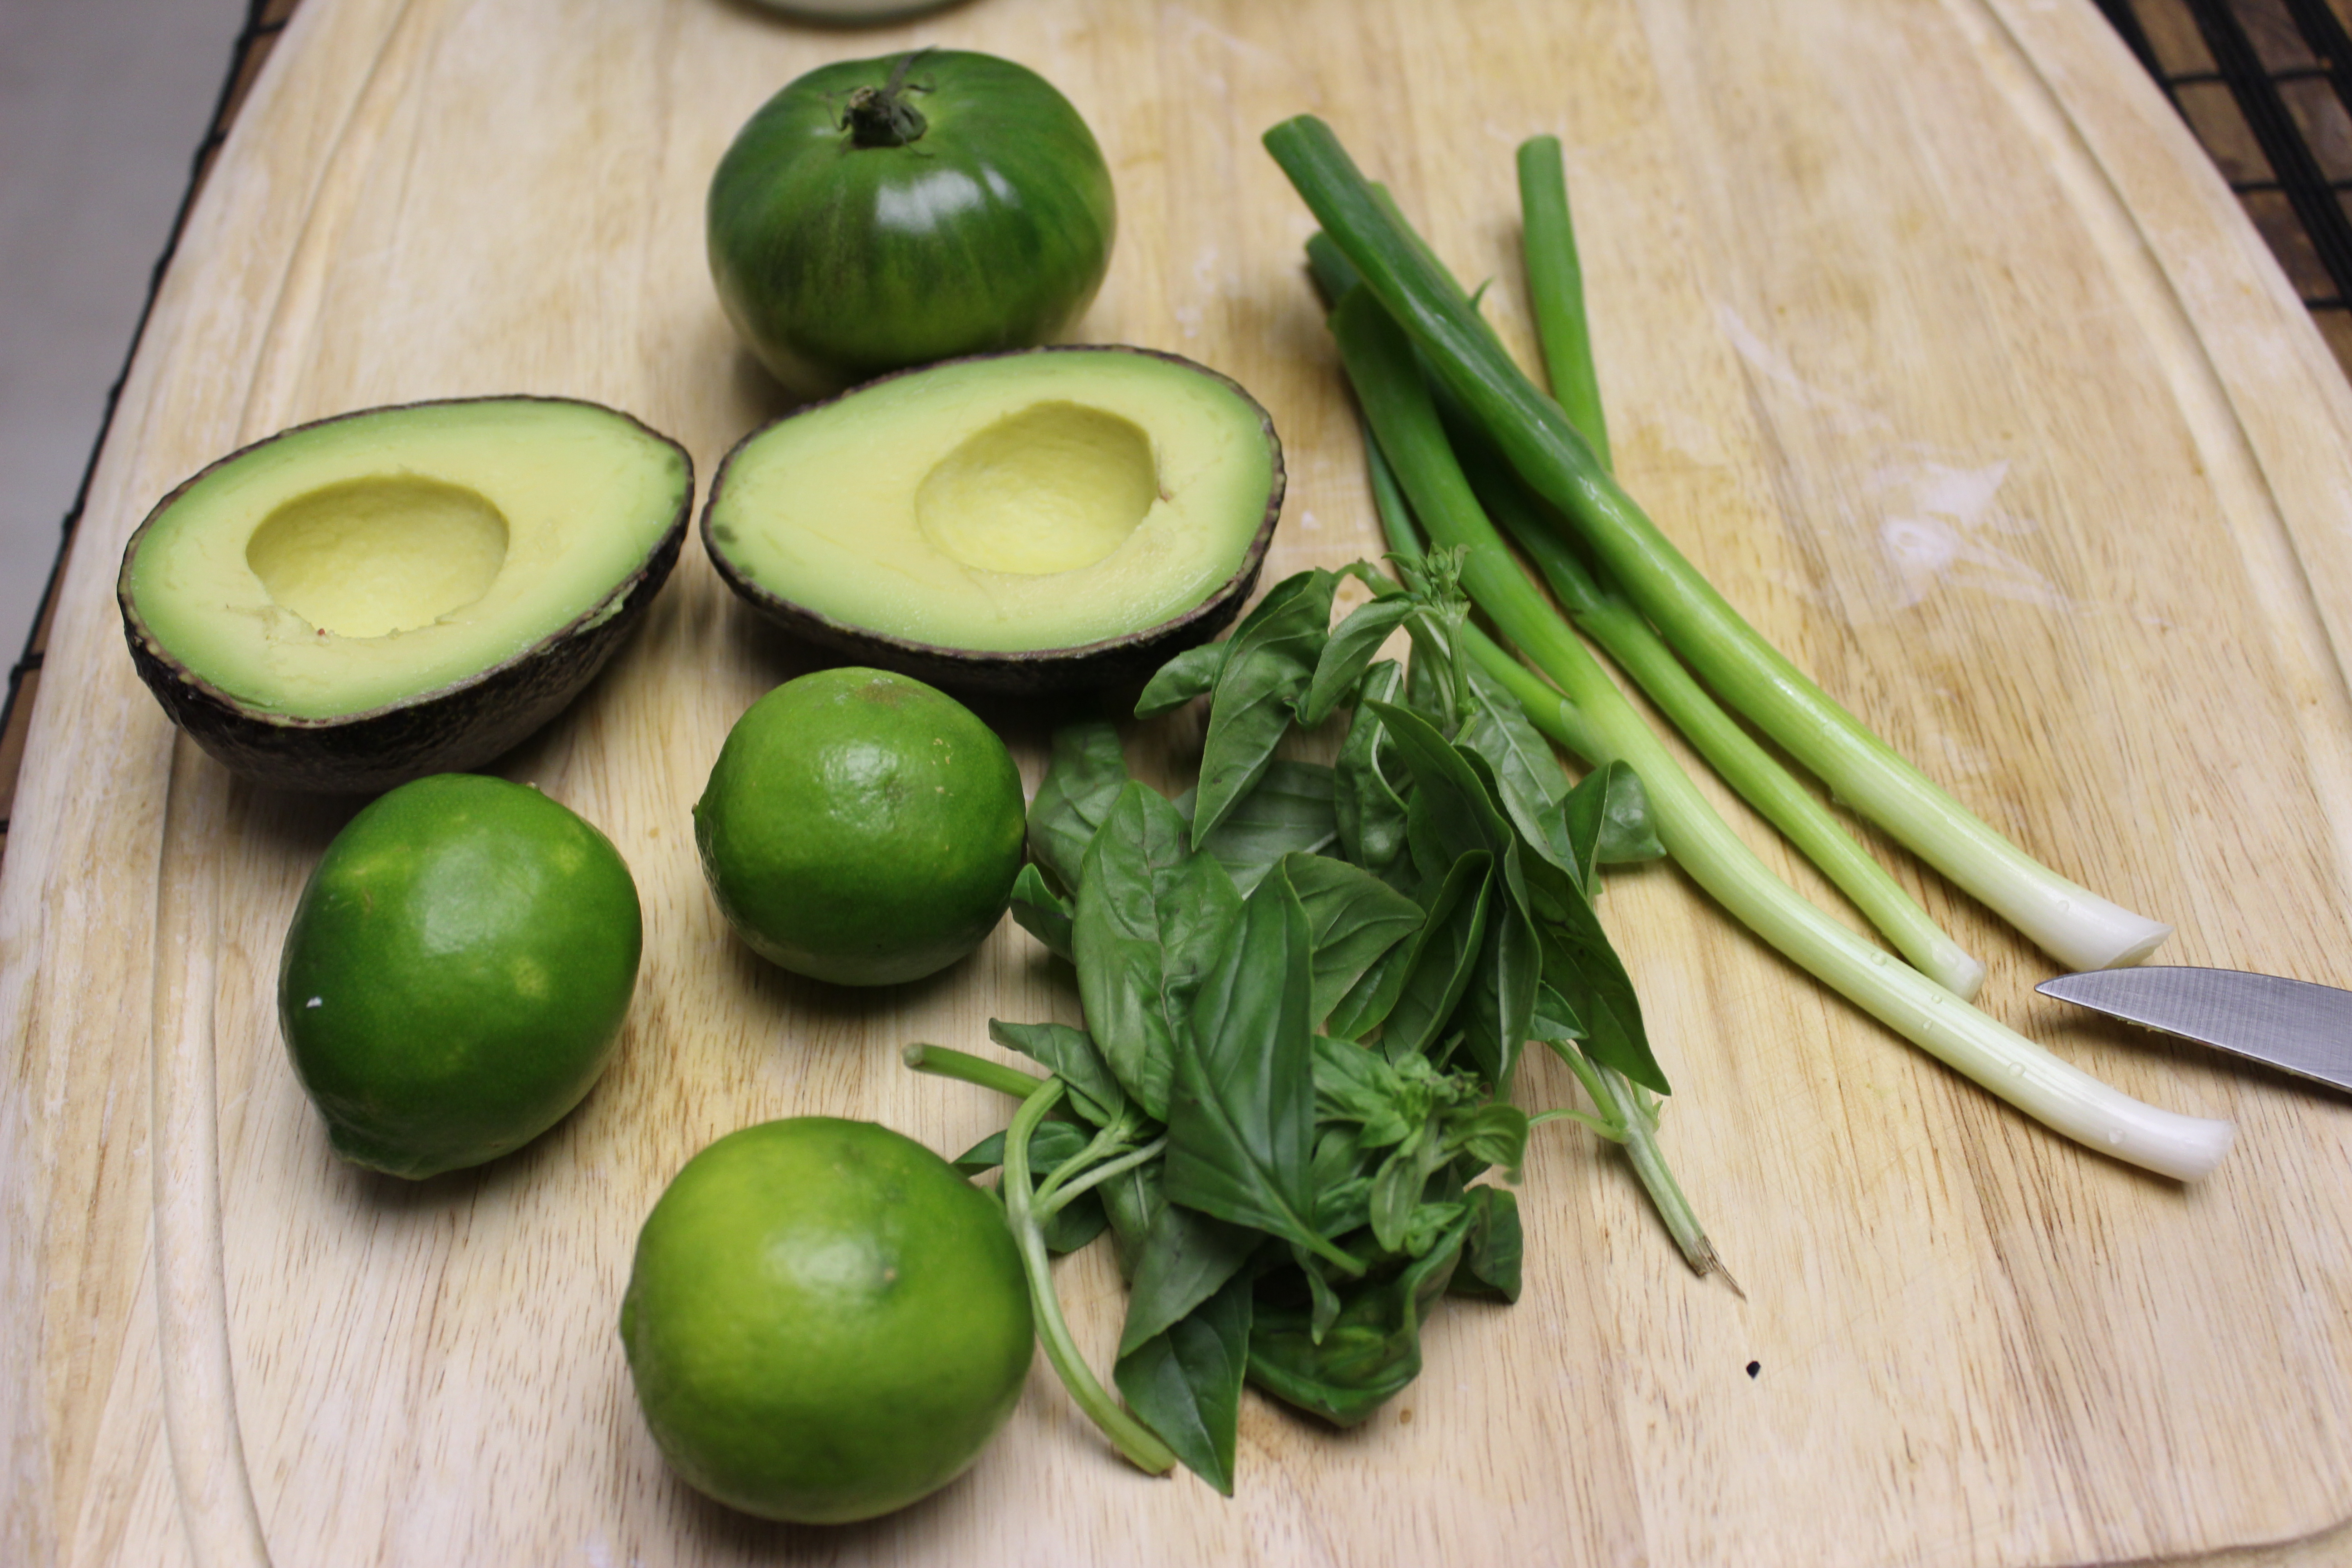
So, this is what I used for my version:

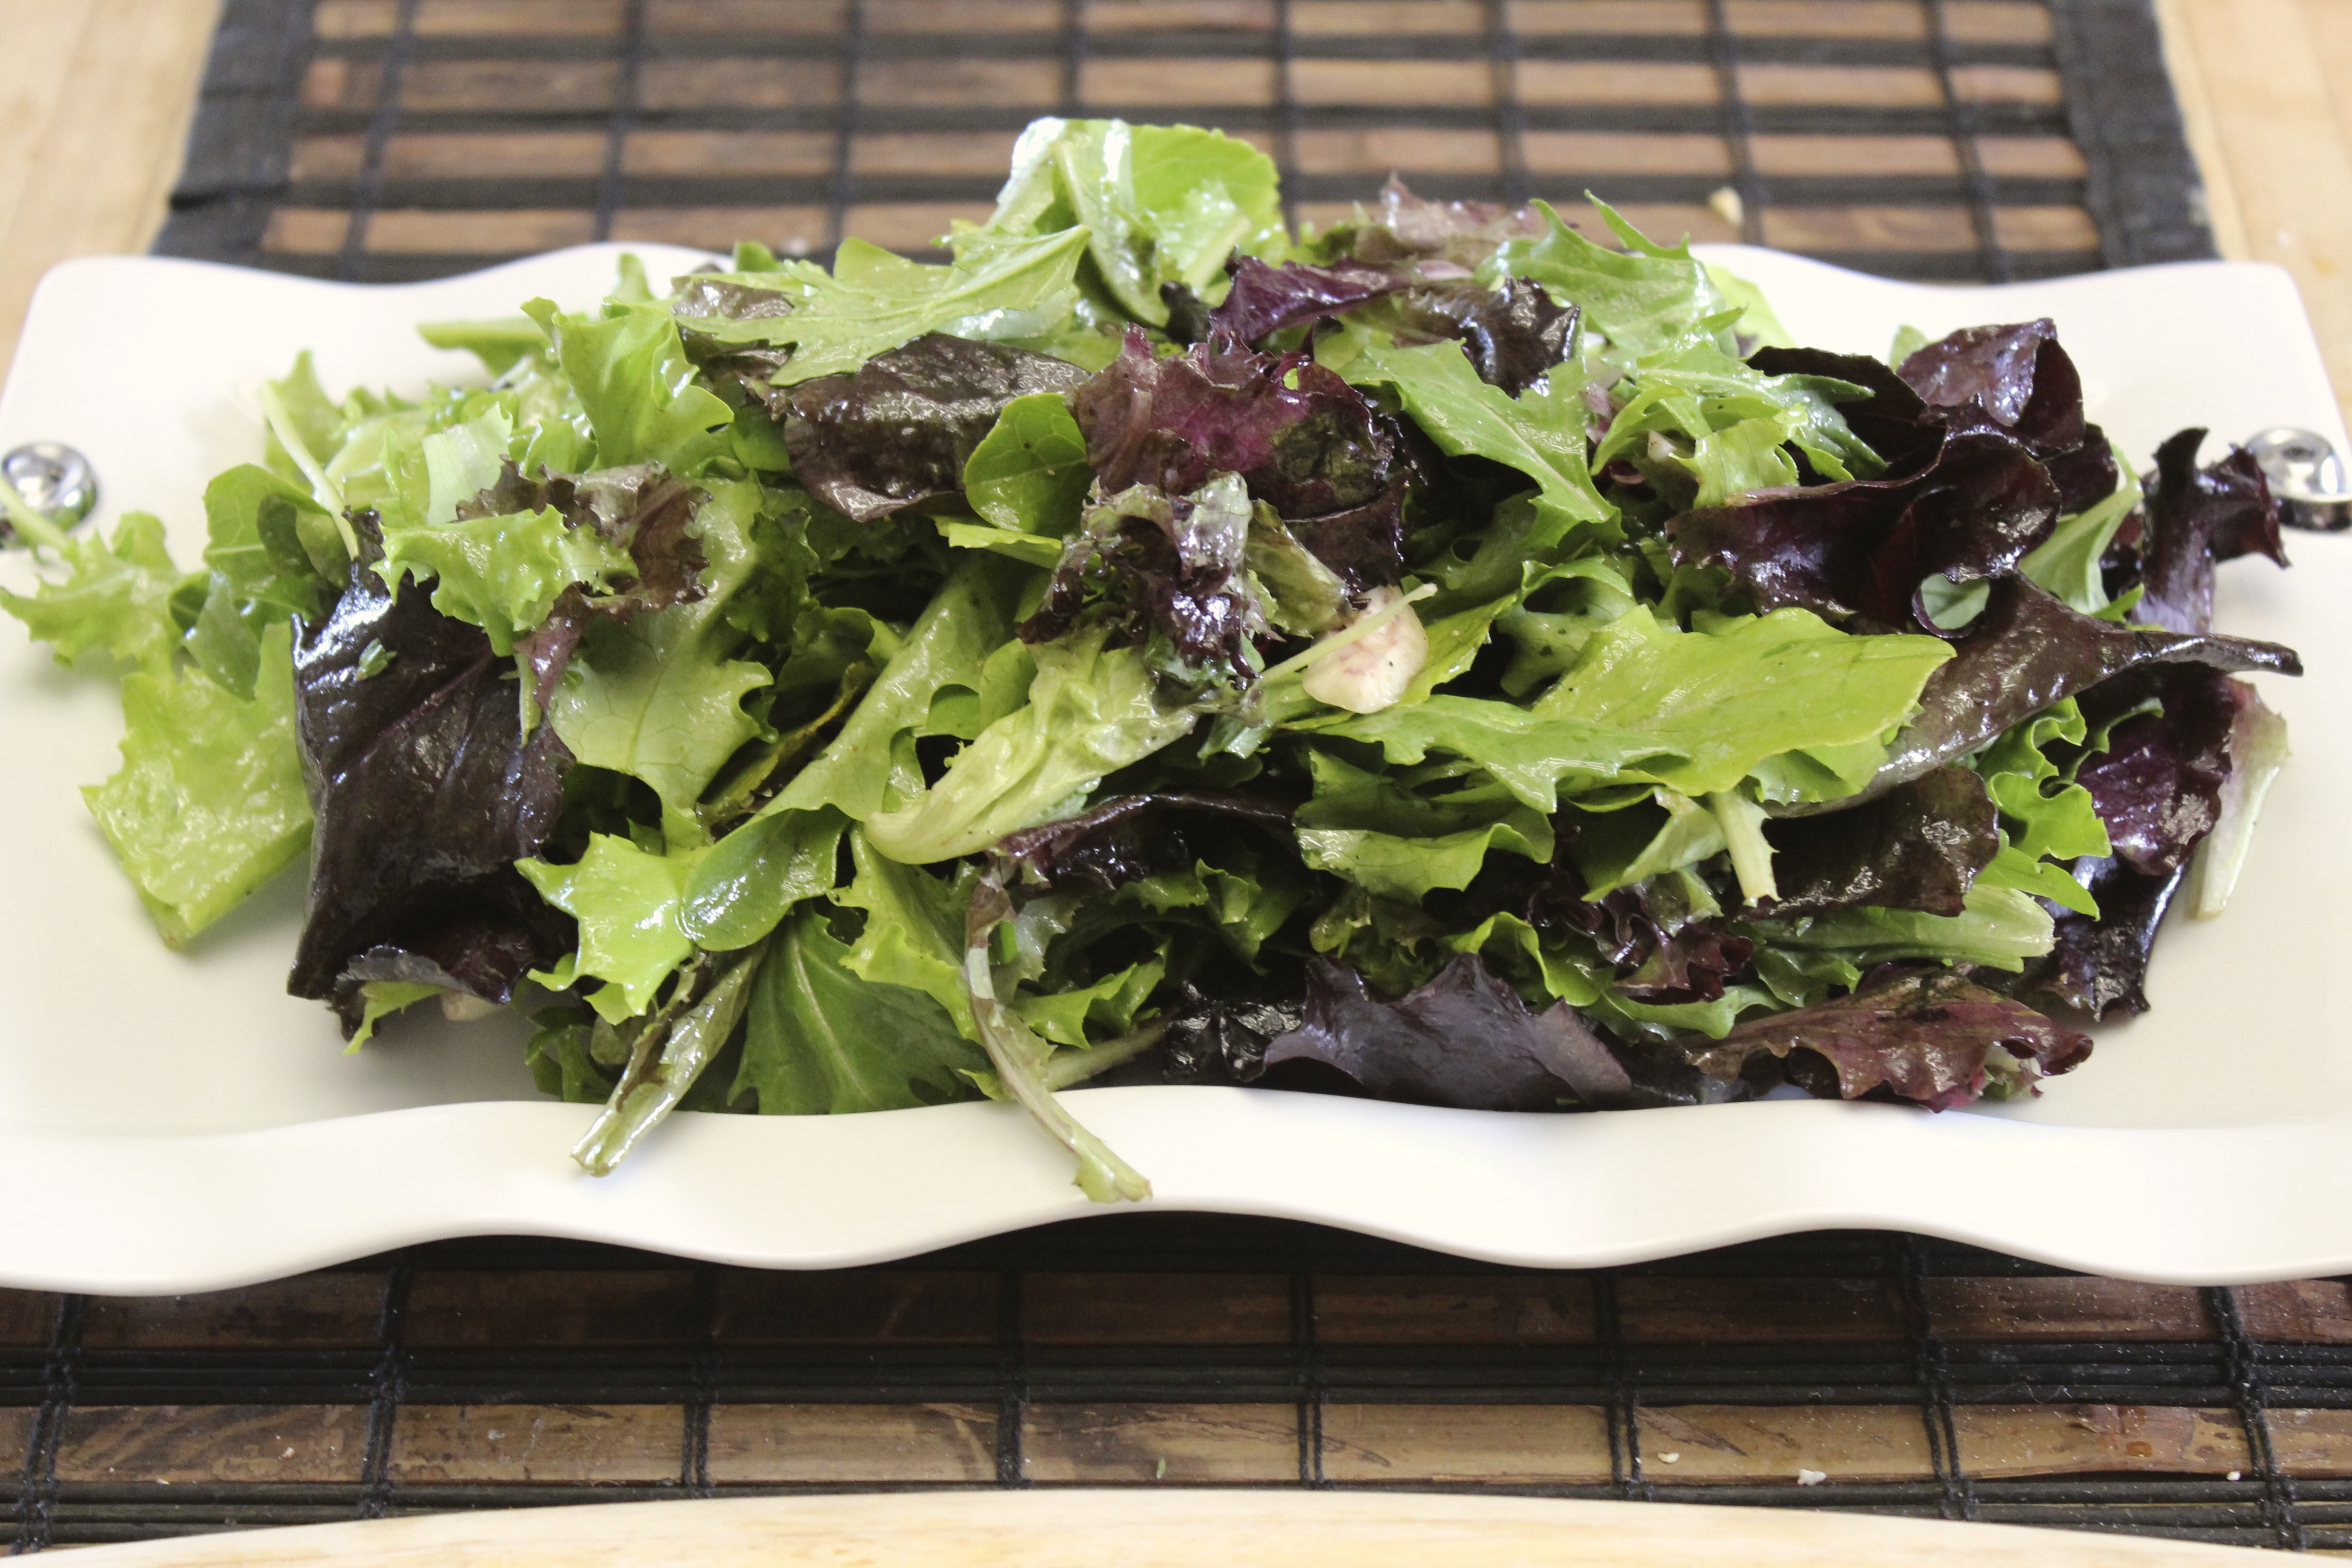
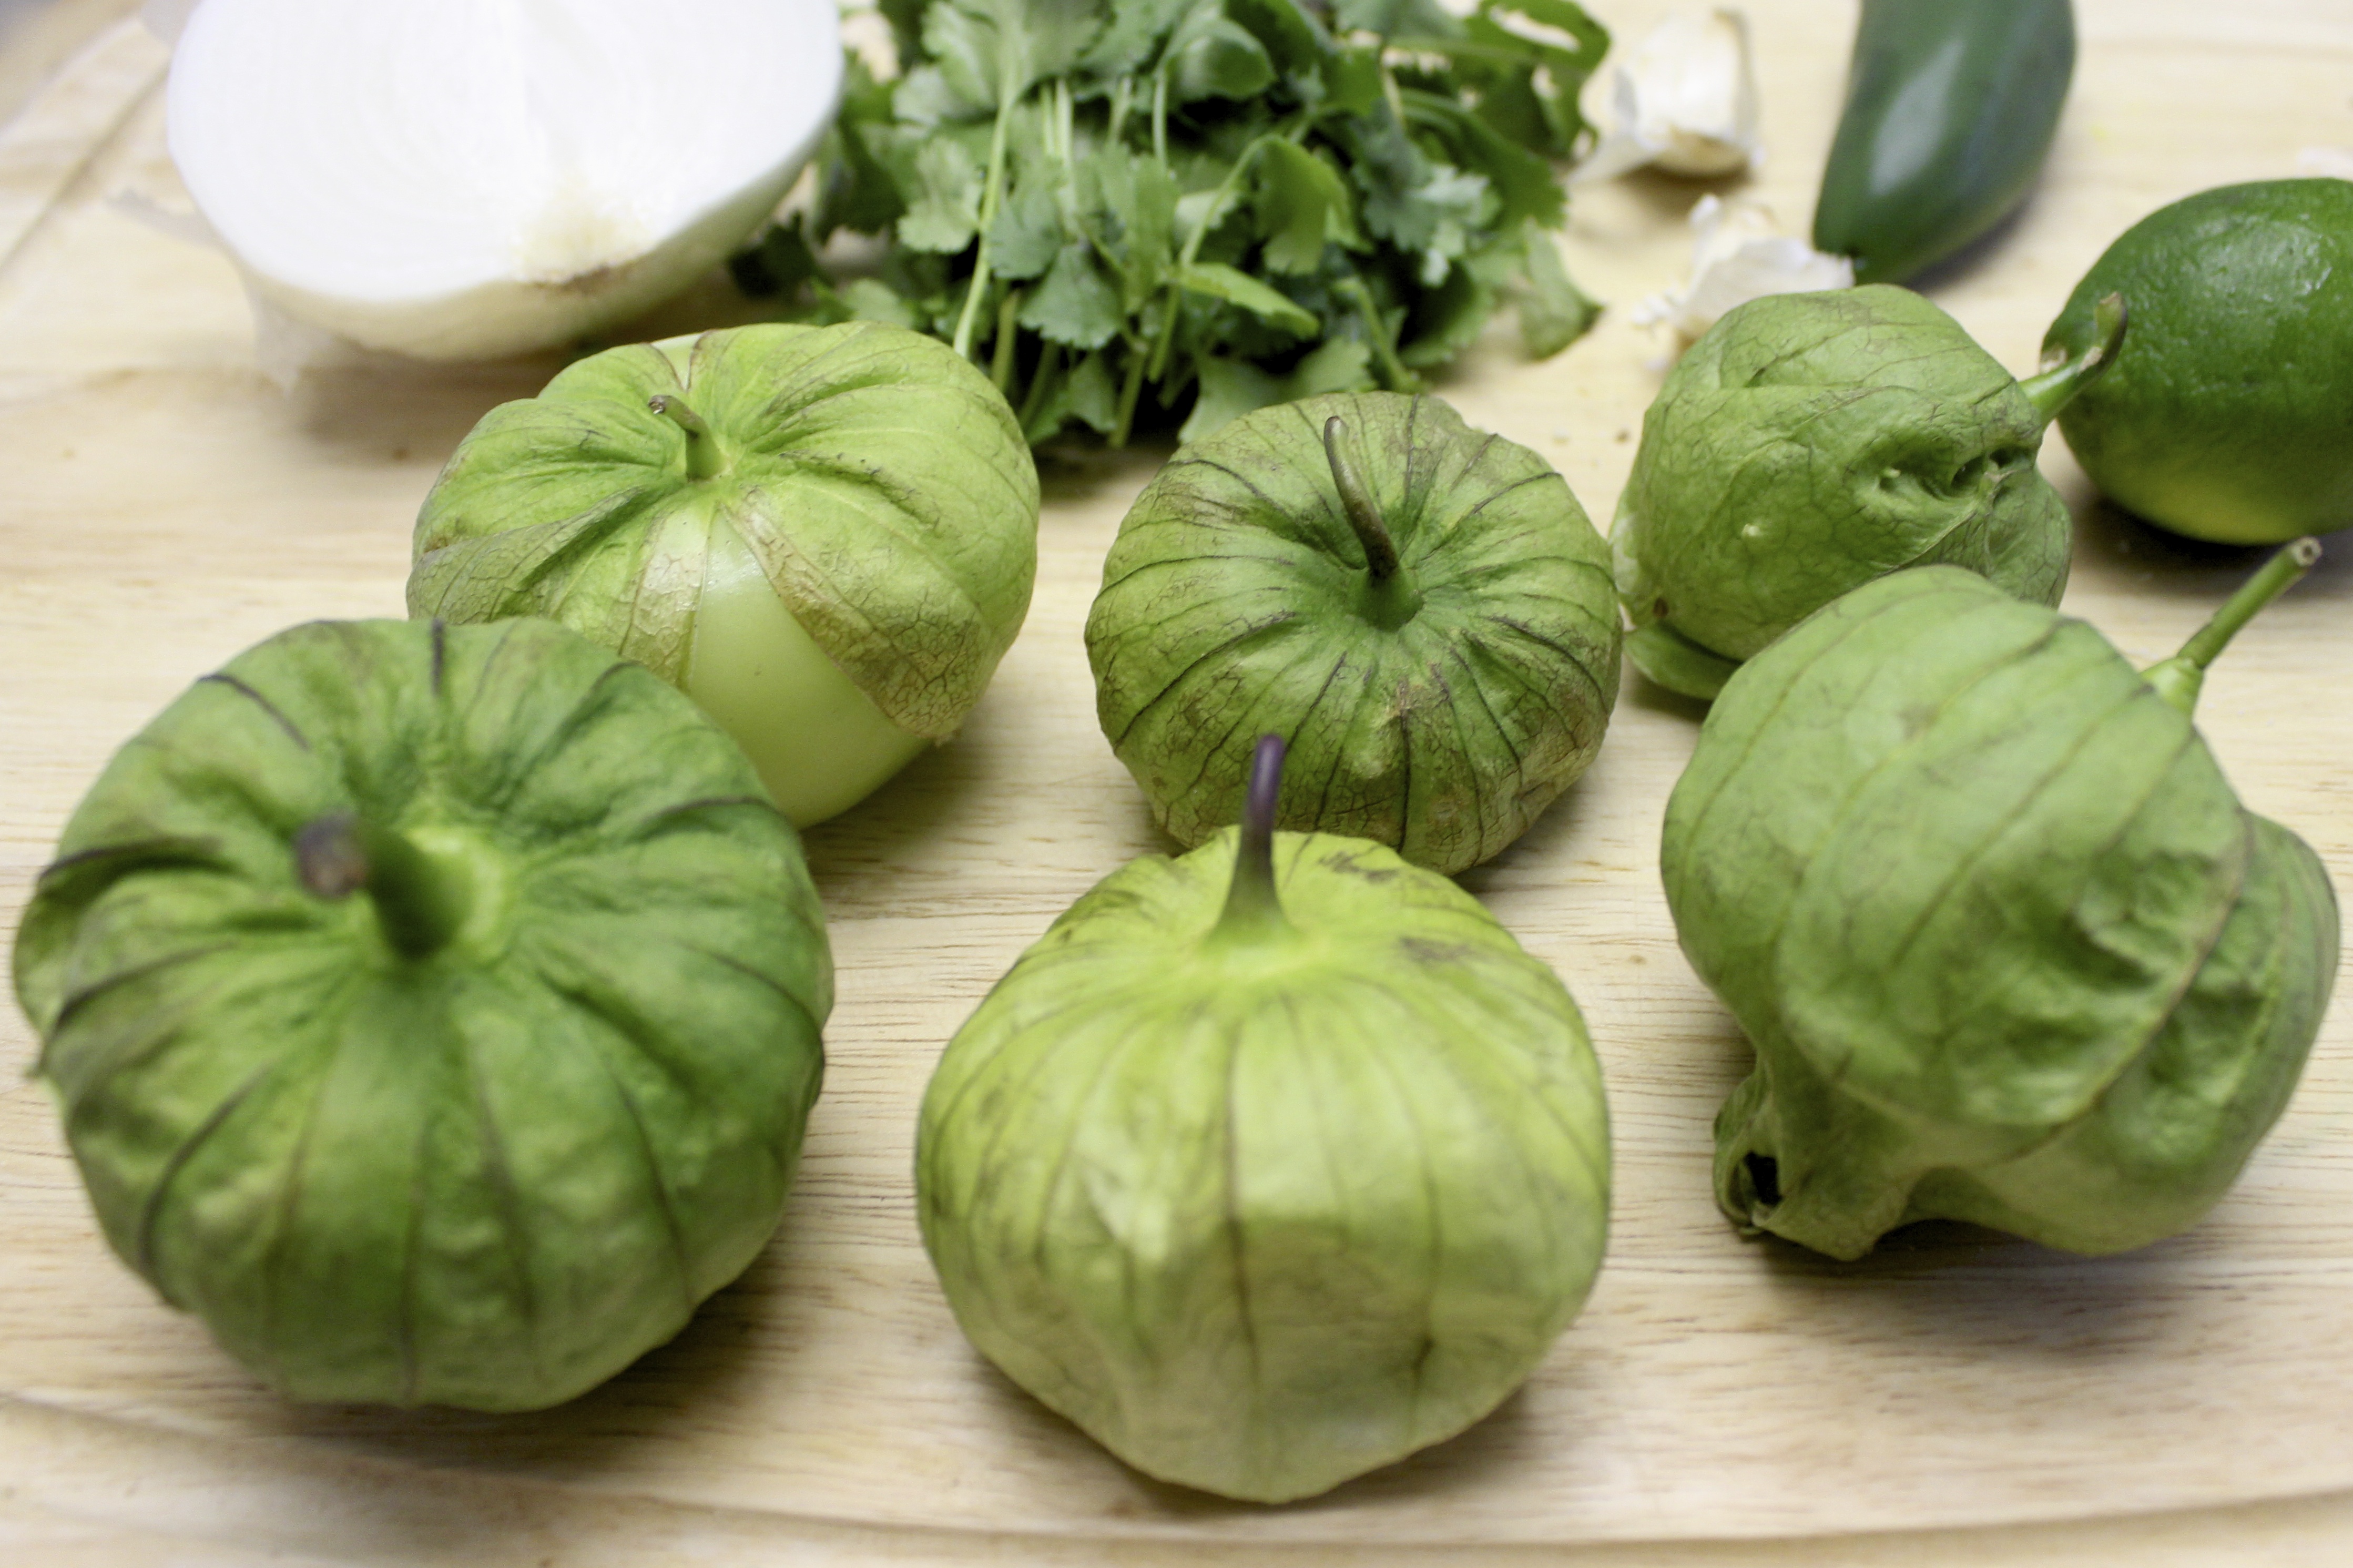
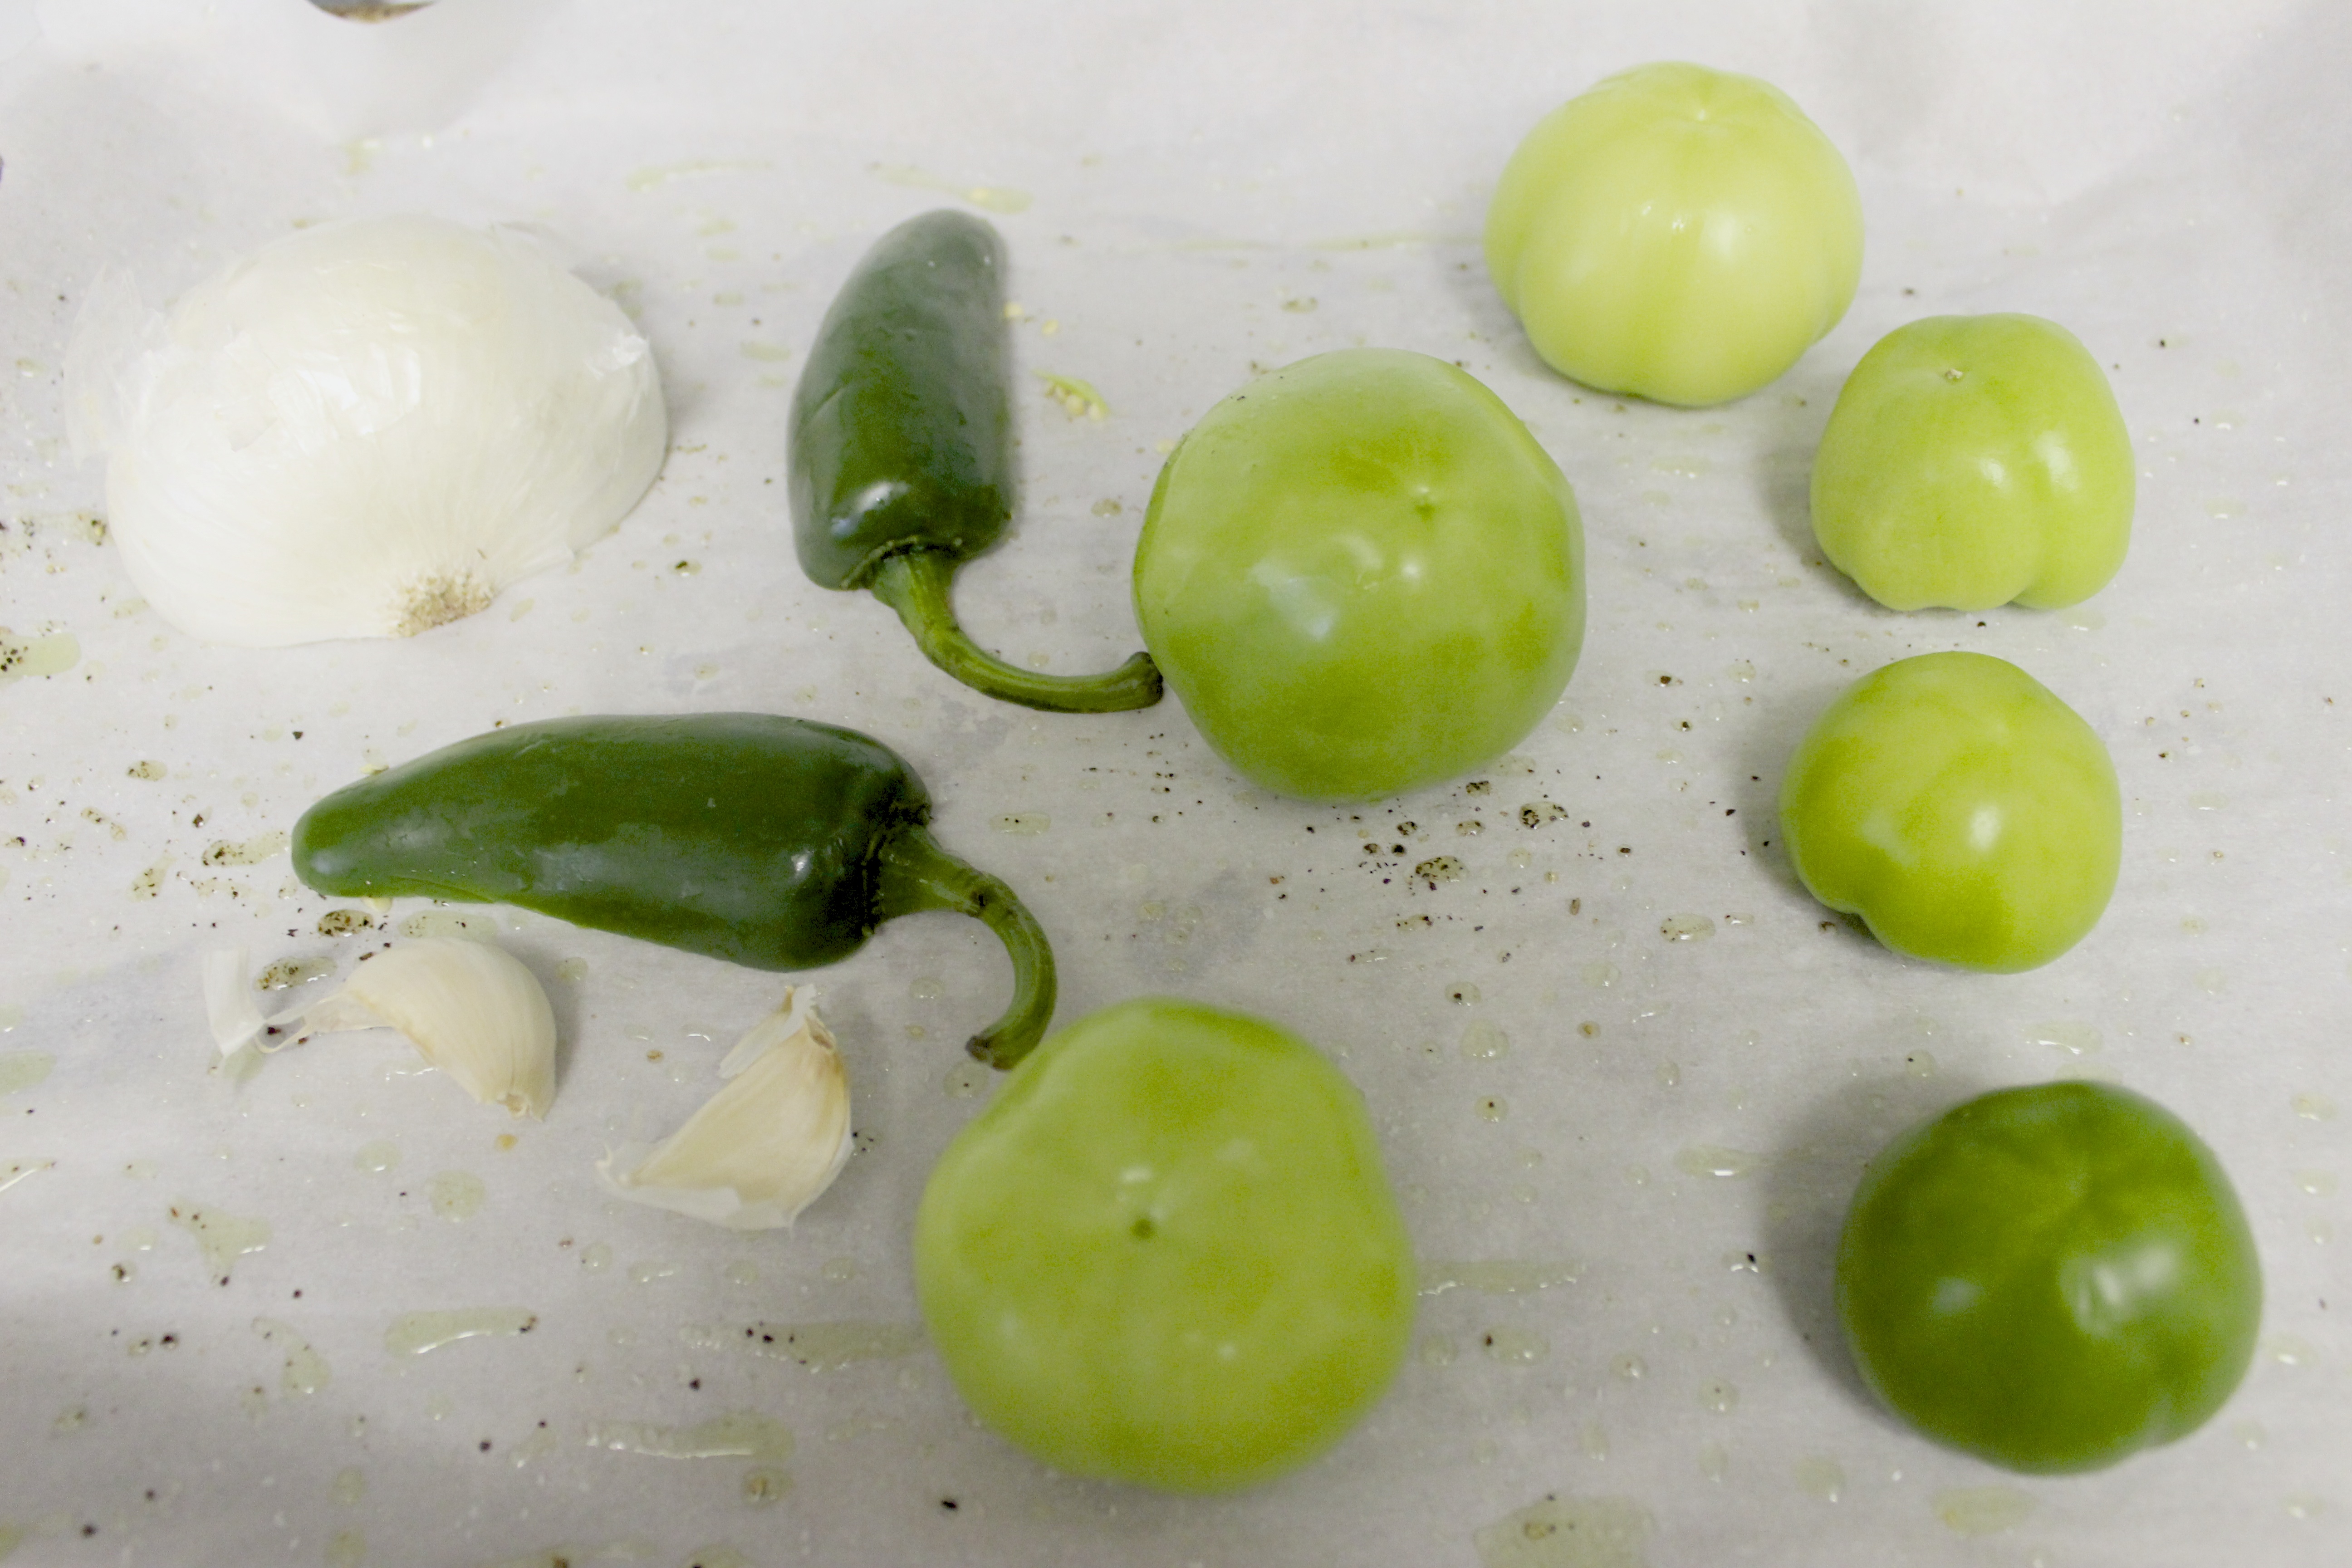
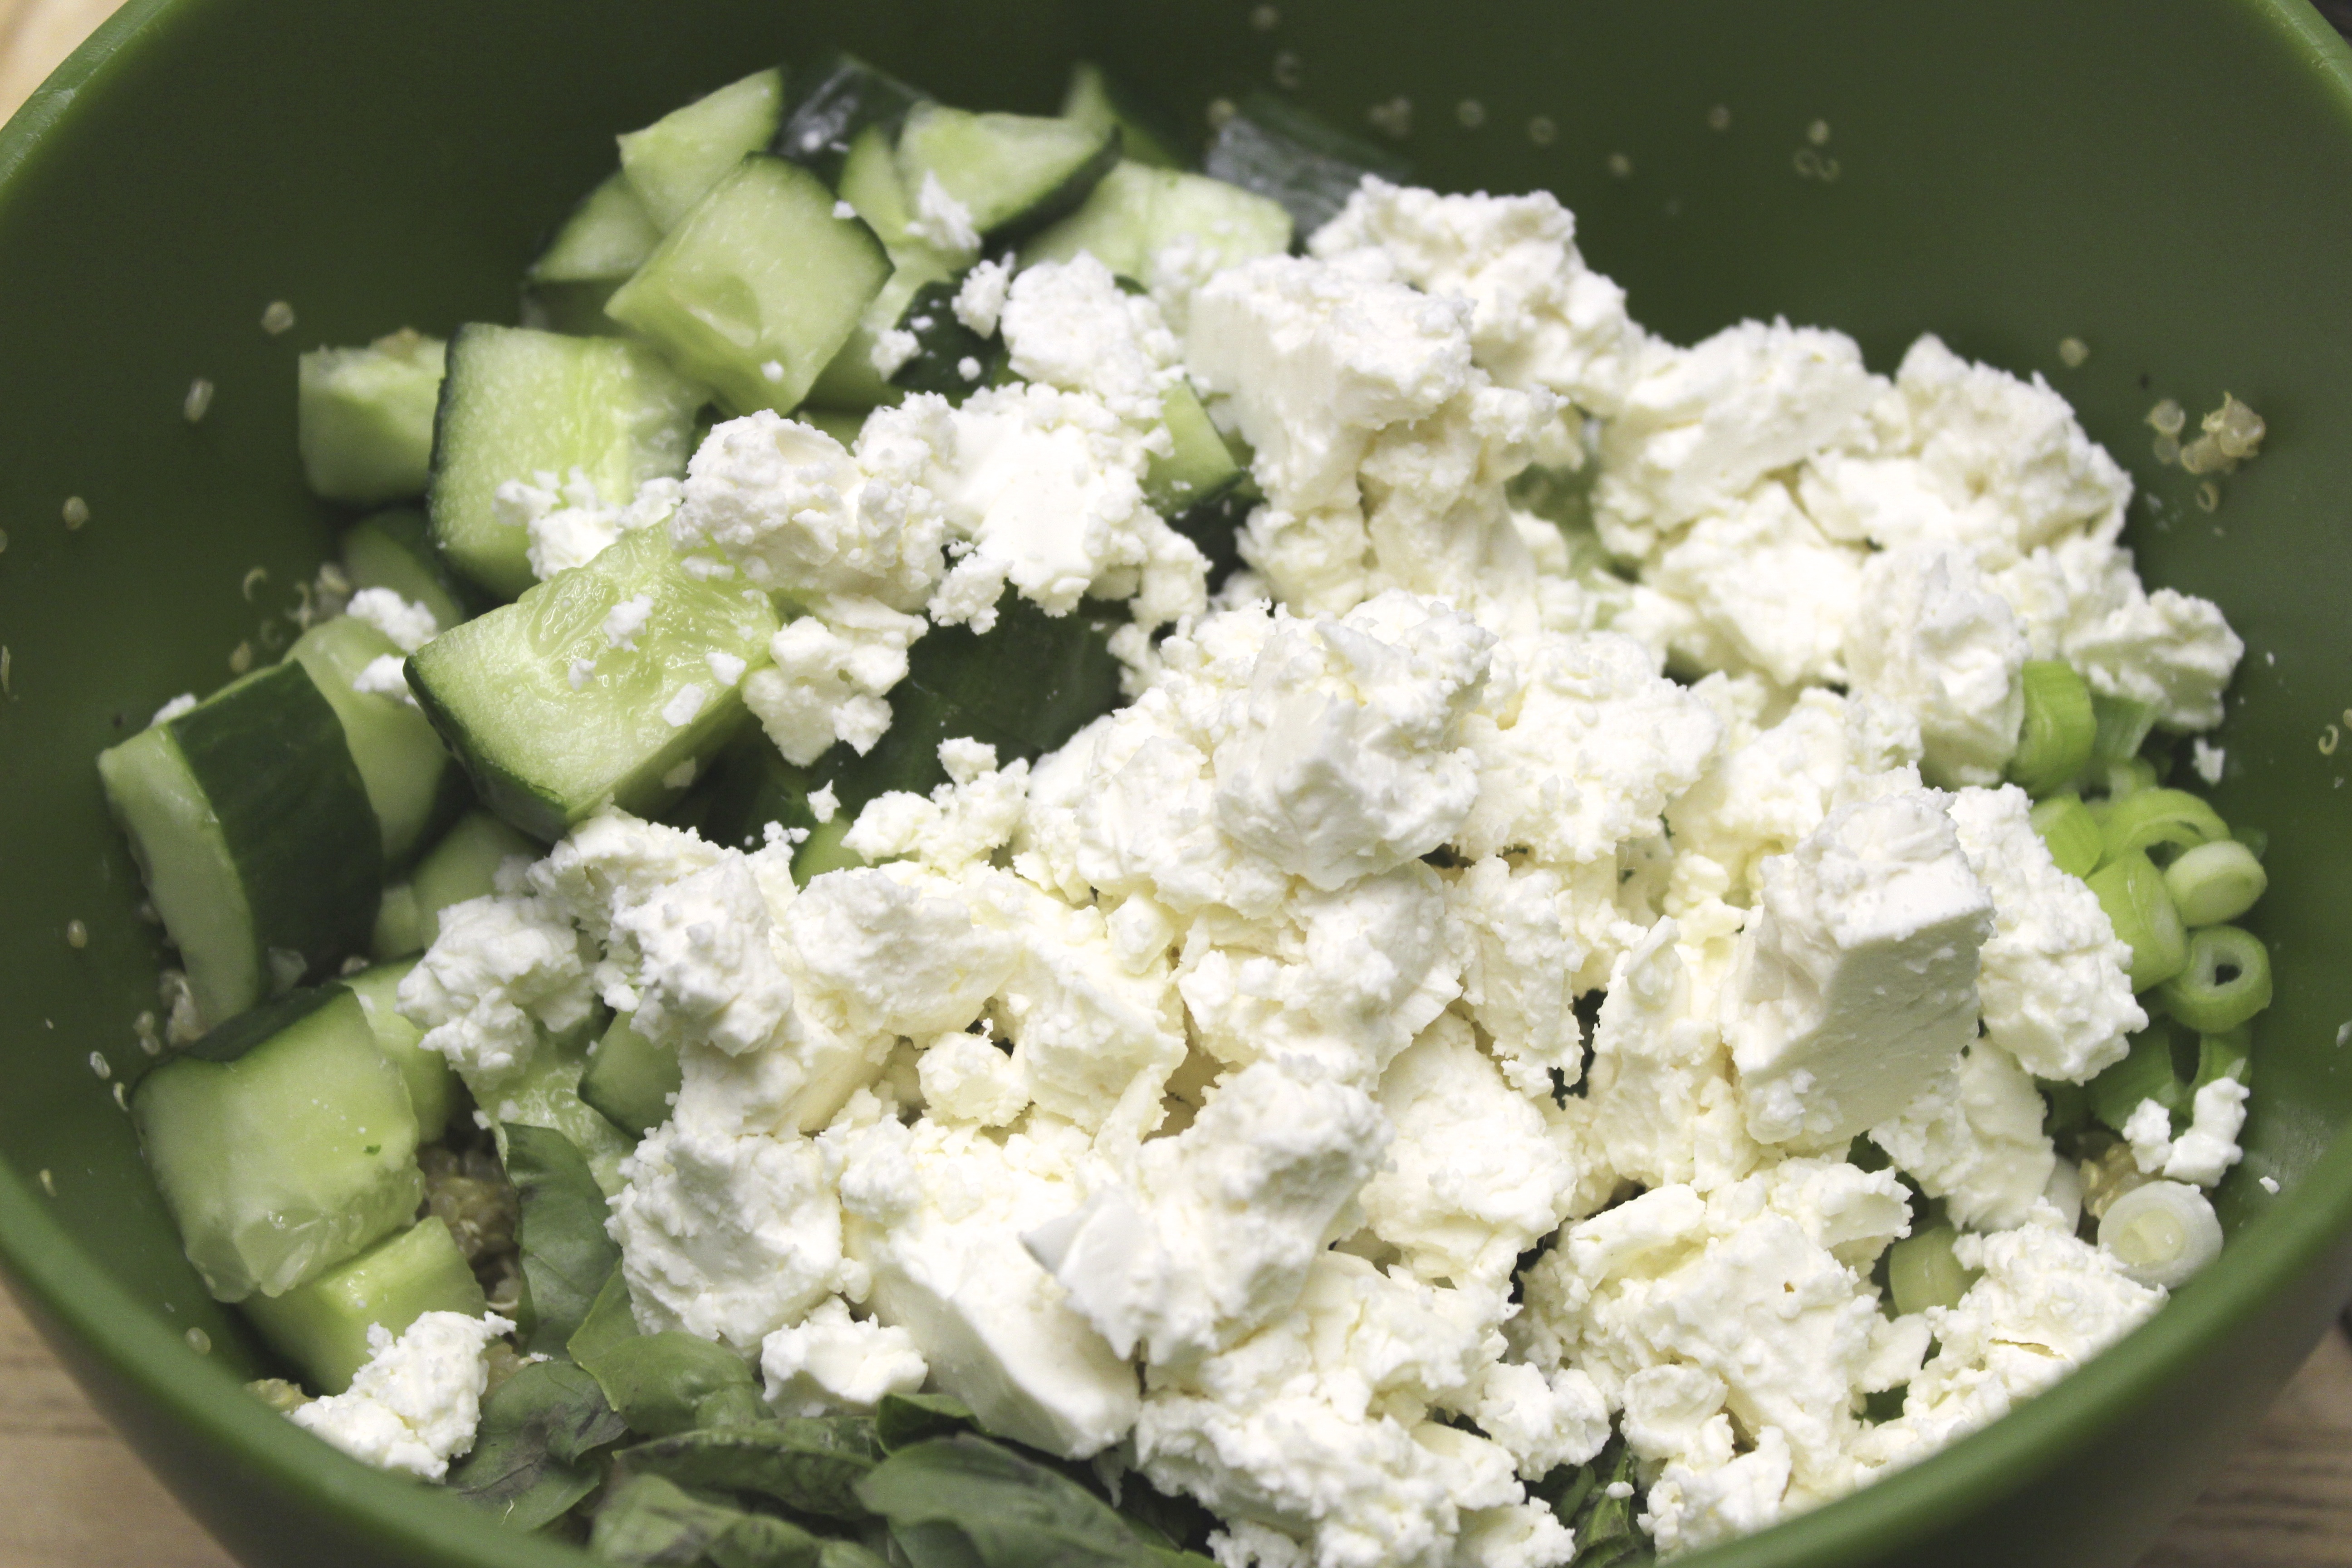
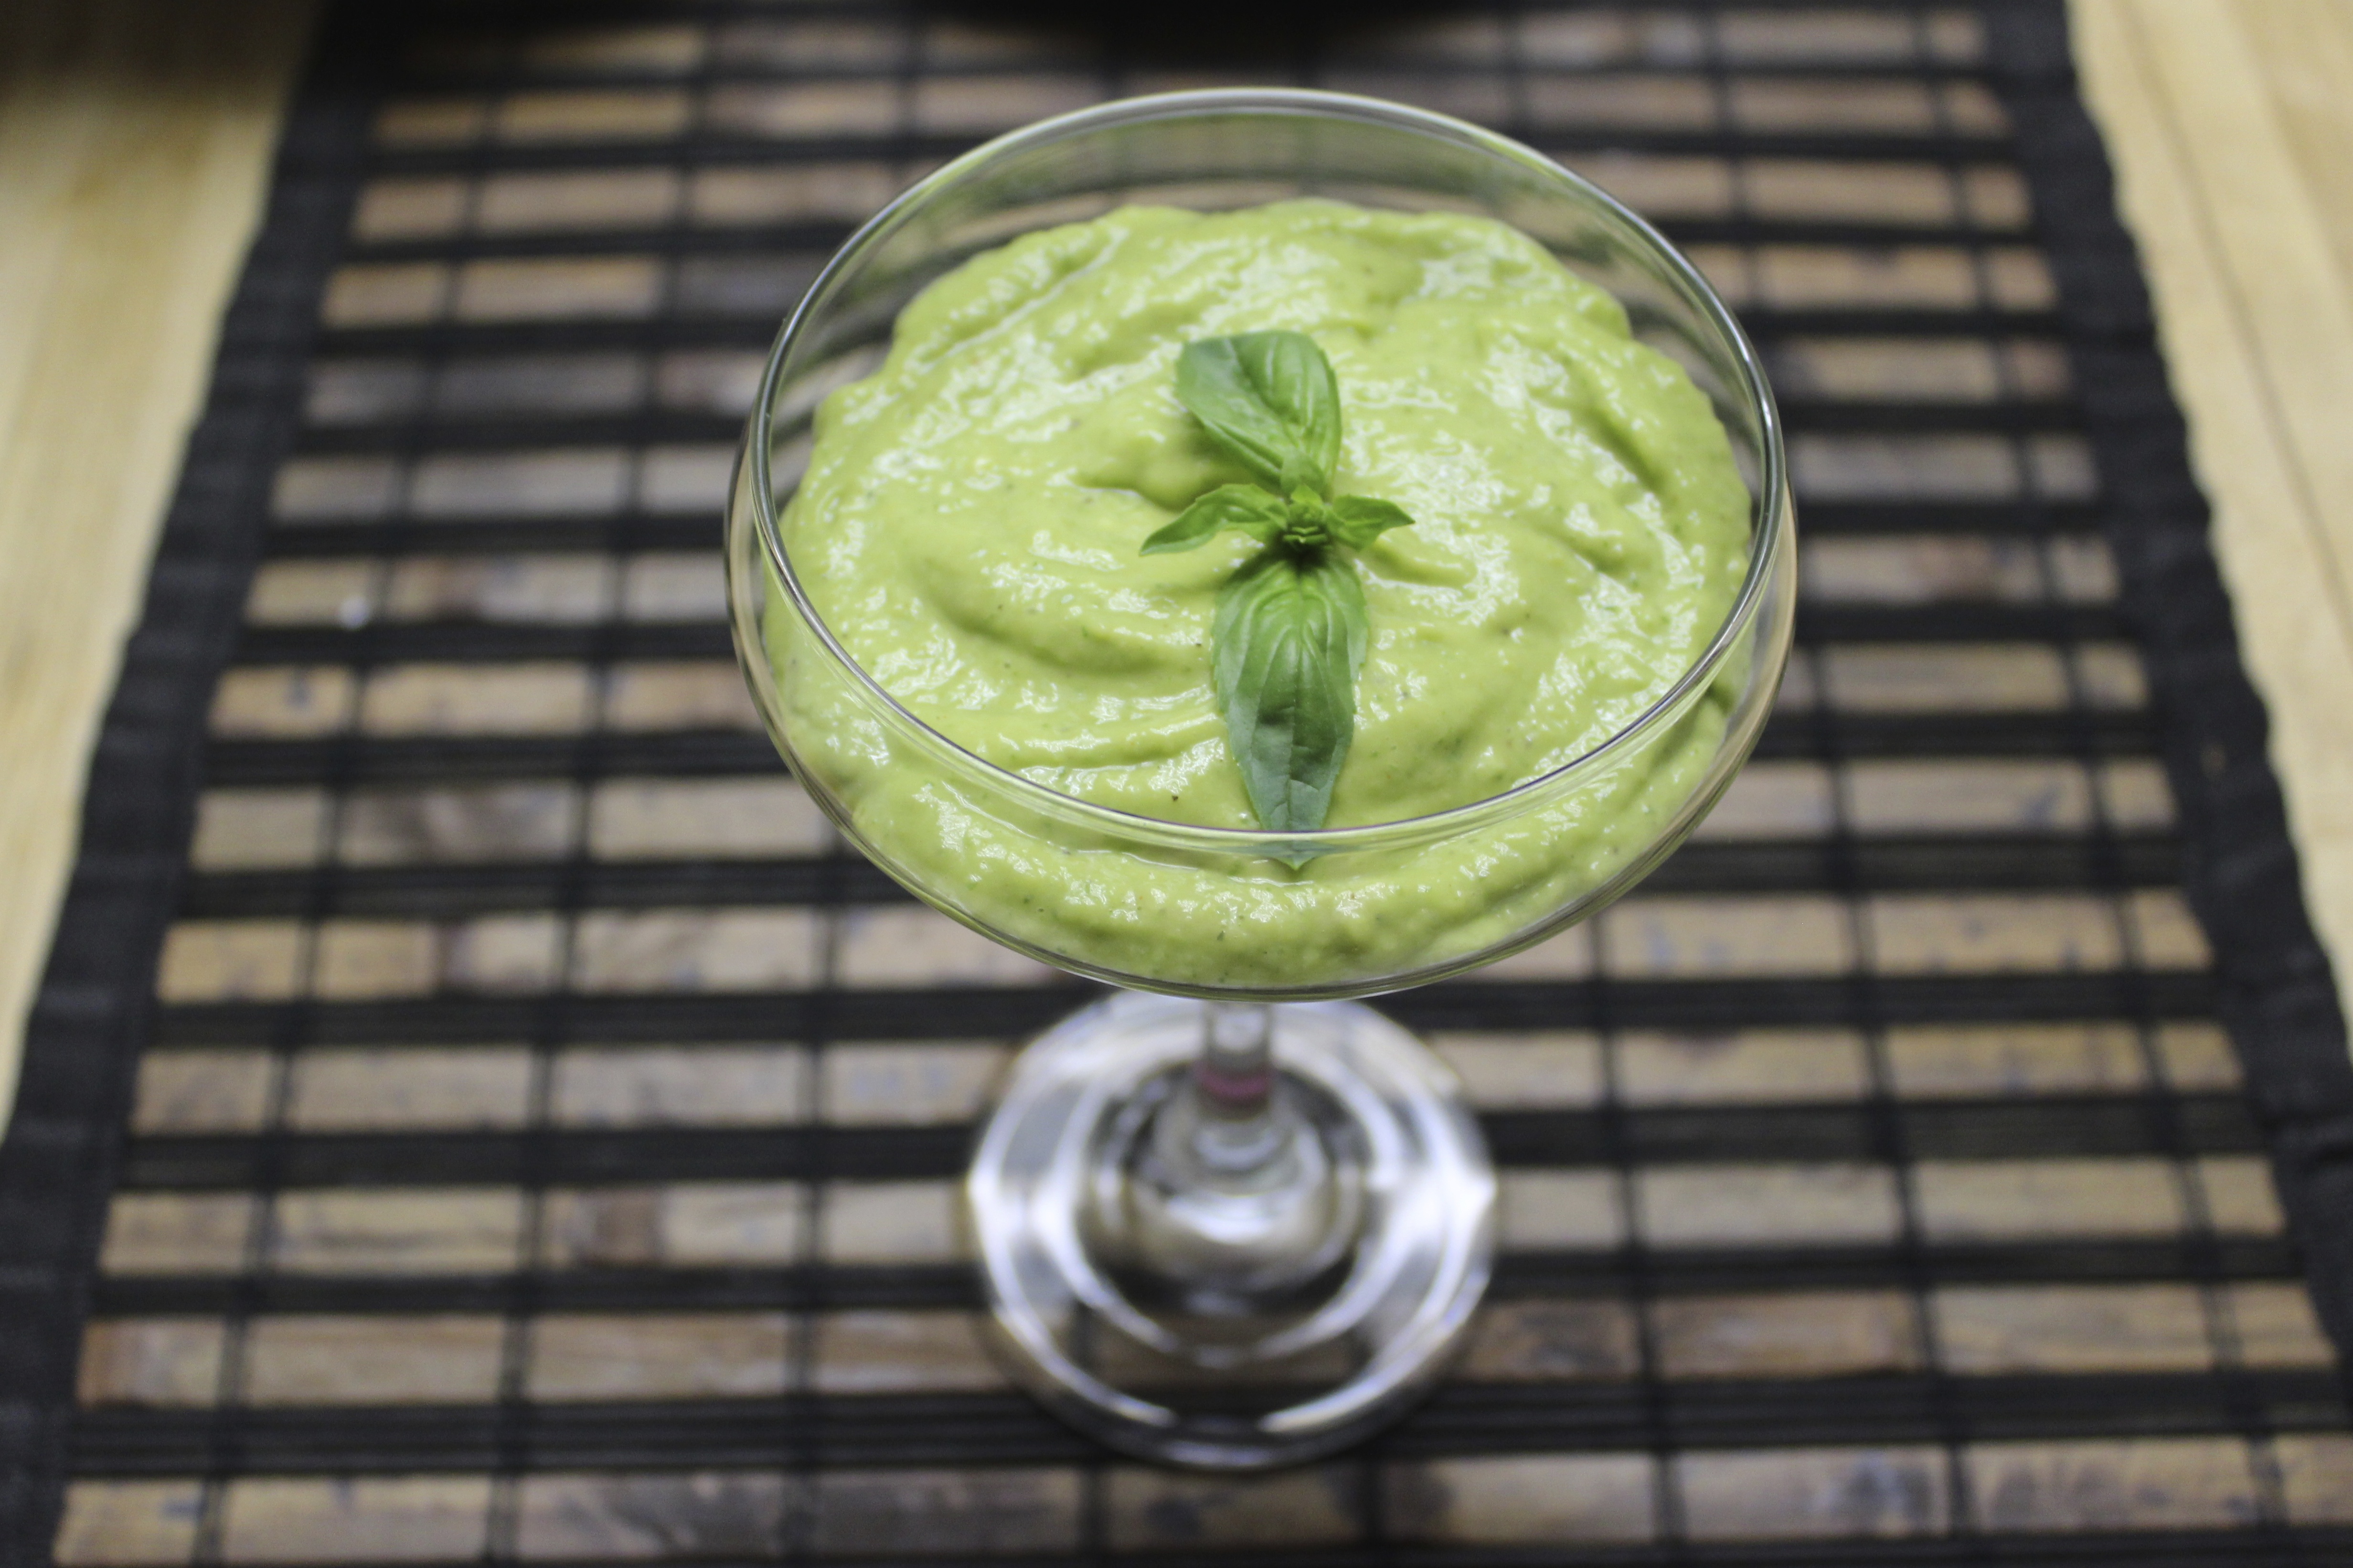
 I liked the simplicity of all green ingredients with a pop of white when I was making the dish. But, truth be told, I LOVE colorful things. Next time I make a quinoa salad it’s going to be so colorful and full of different ingredients. I’ll call it ….. my Rainbow Quinoa Salad!
I just had an “Aha!” moment. I feel like sometimes Oprah goes a little too overboard with the “Aha!” moment shit. Don’t get me wrong, I love me some Oprah, I watched her OWN network from day one and Iyanla: Fix My Life is one of my favorites shows. Especially when Iyanla calls people out. Like when she called out that one chick who was in the middle of her sob story. Iyanla was like, “Hold, on. Let me cut through this. YOU WAS HOEIN’!”
Fucking classic. Check it out here. I lined it up at the exact spot, so that you don’t have to watch but a few seconds of pure television gold.
Oh ya, quinoa salad.
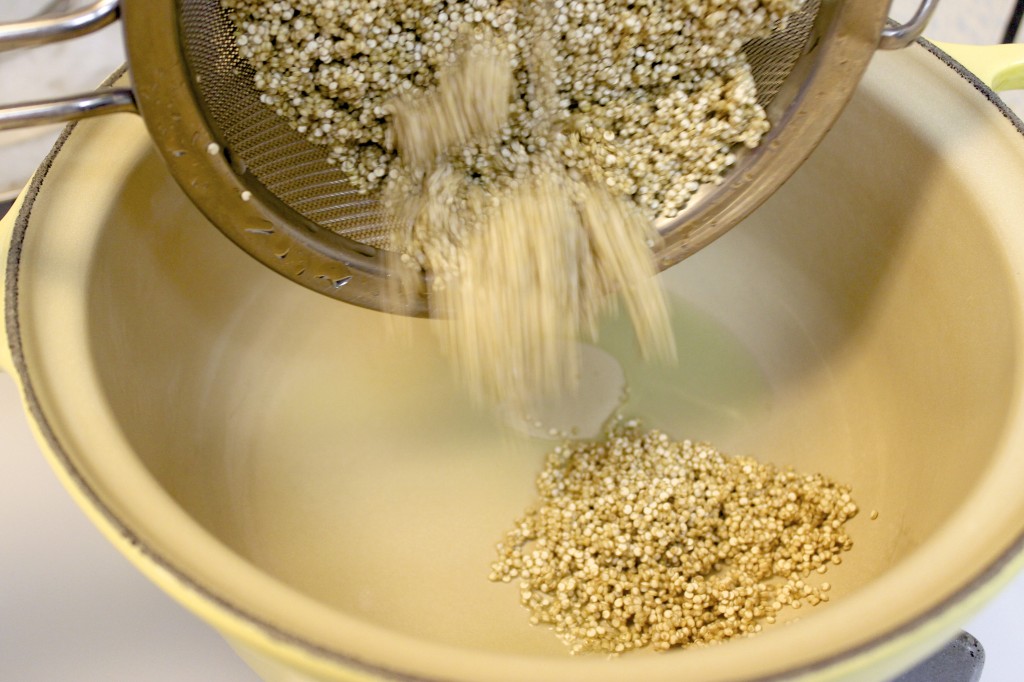
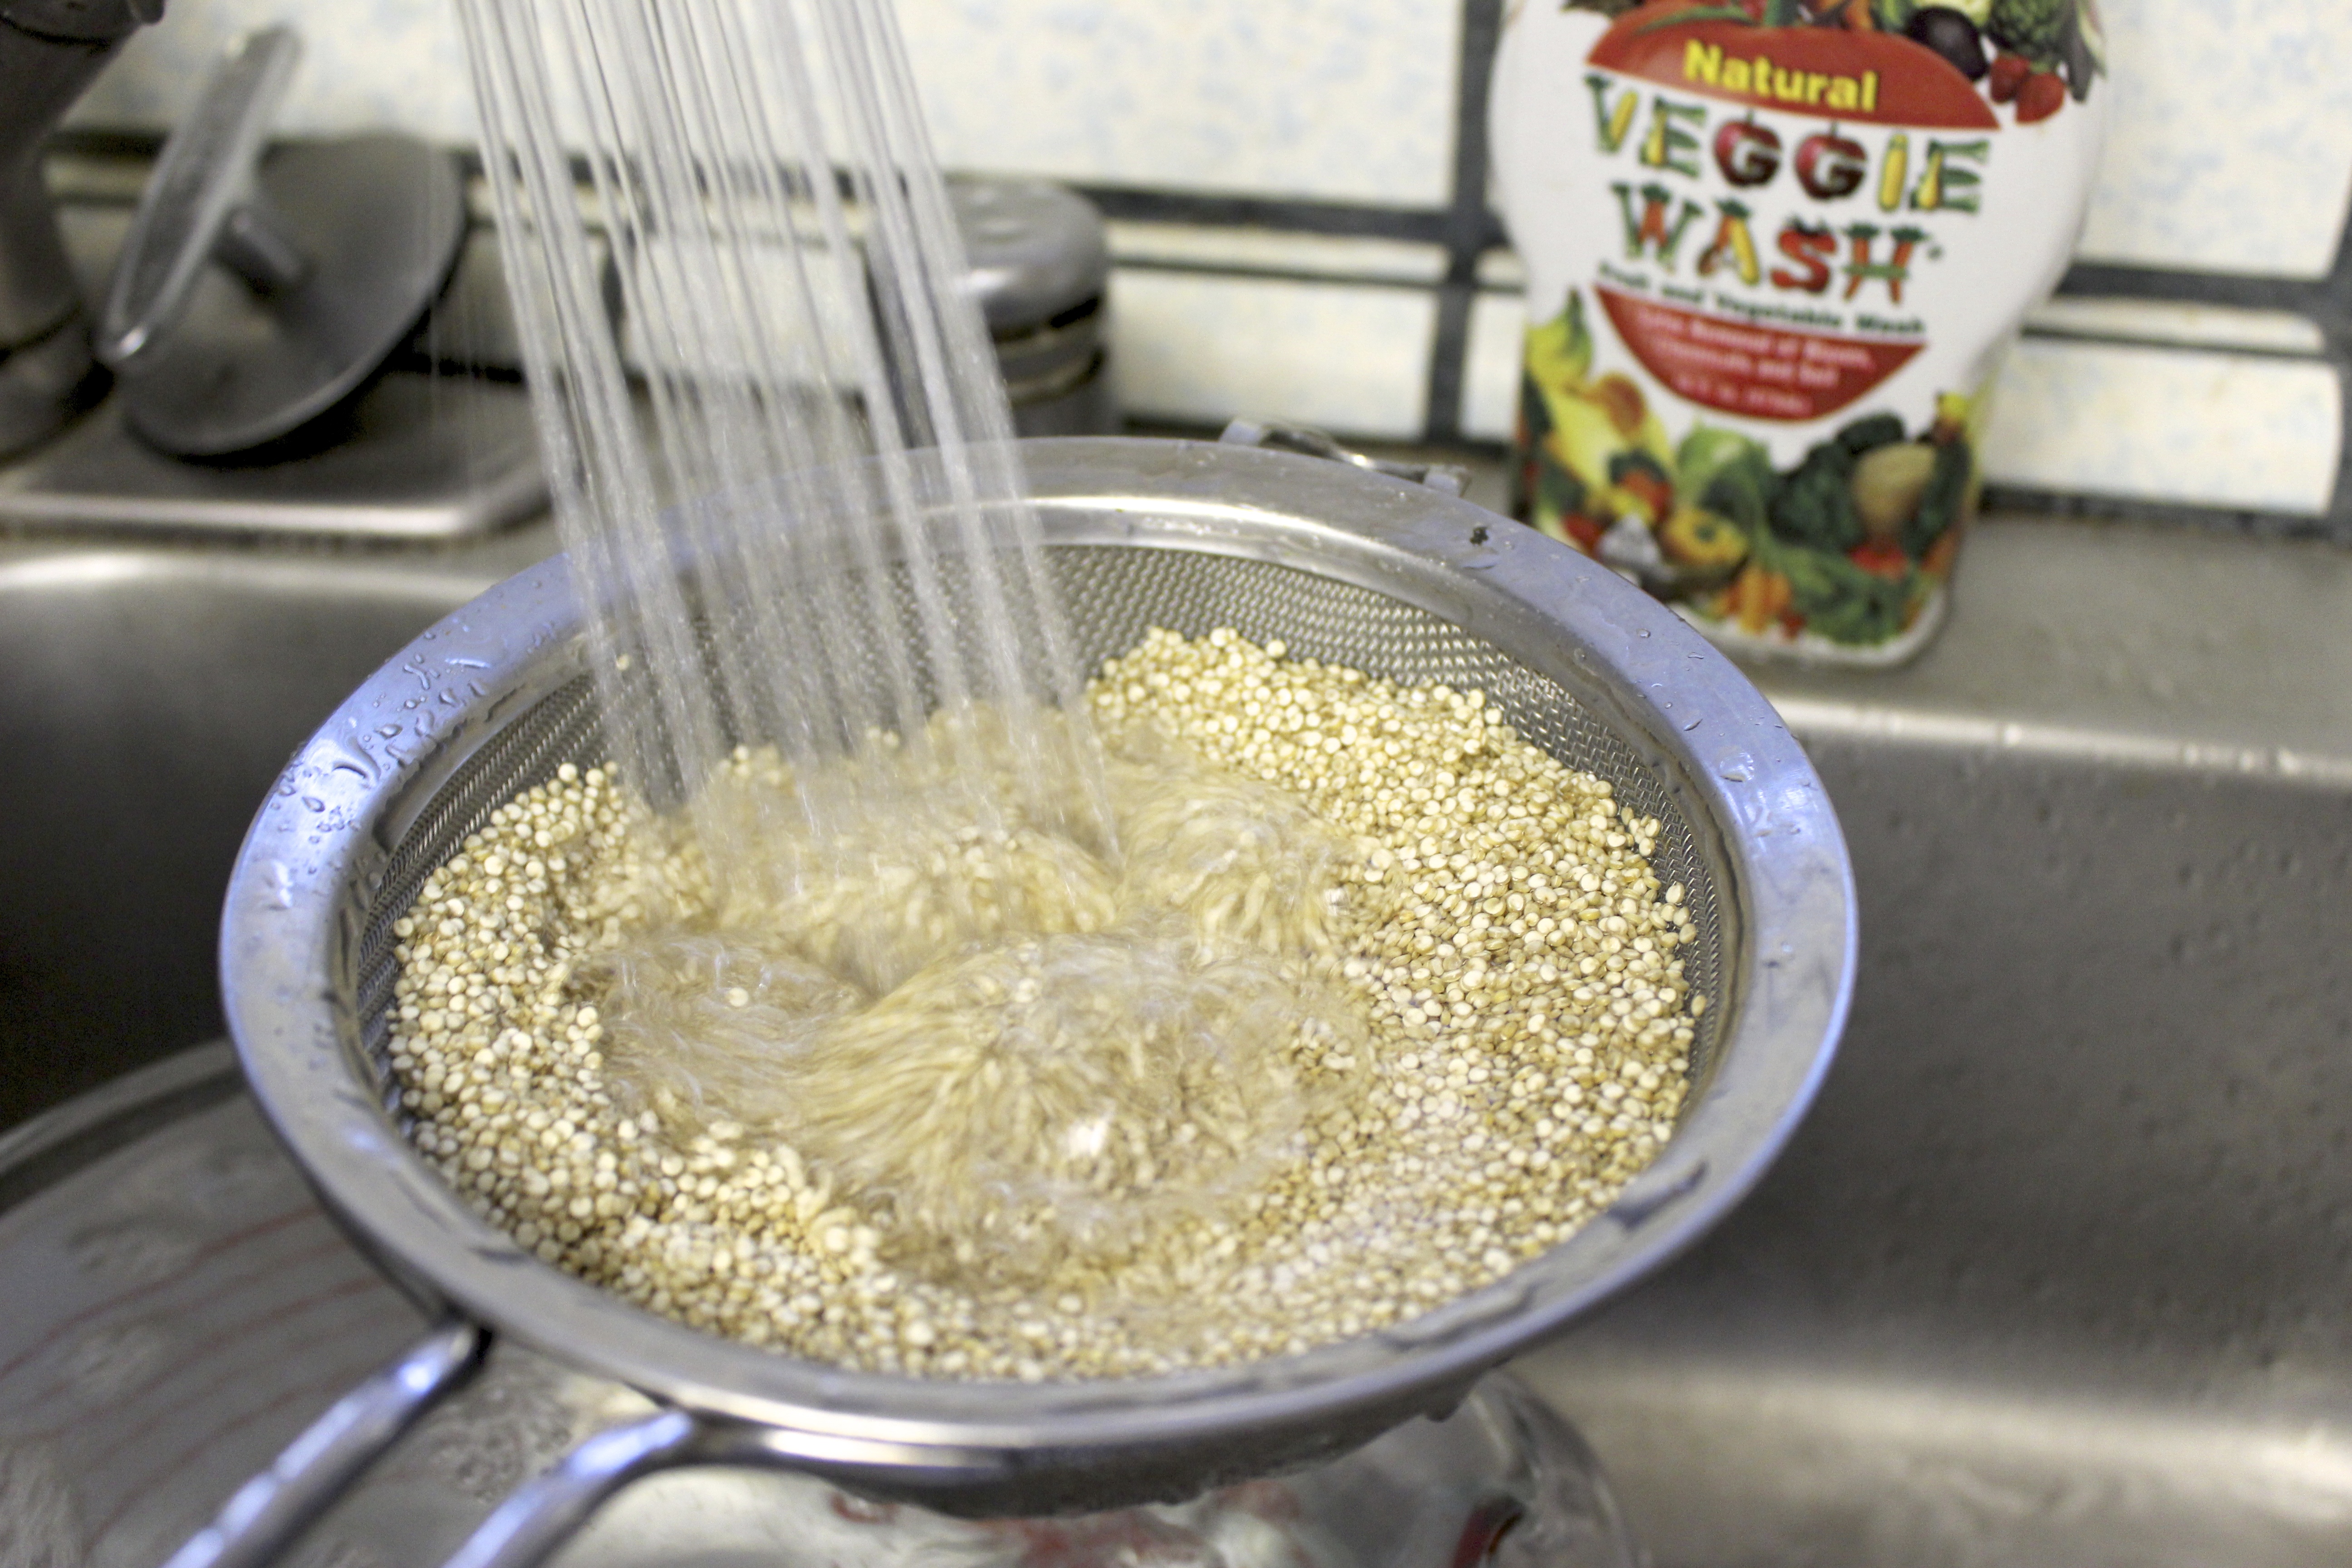
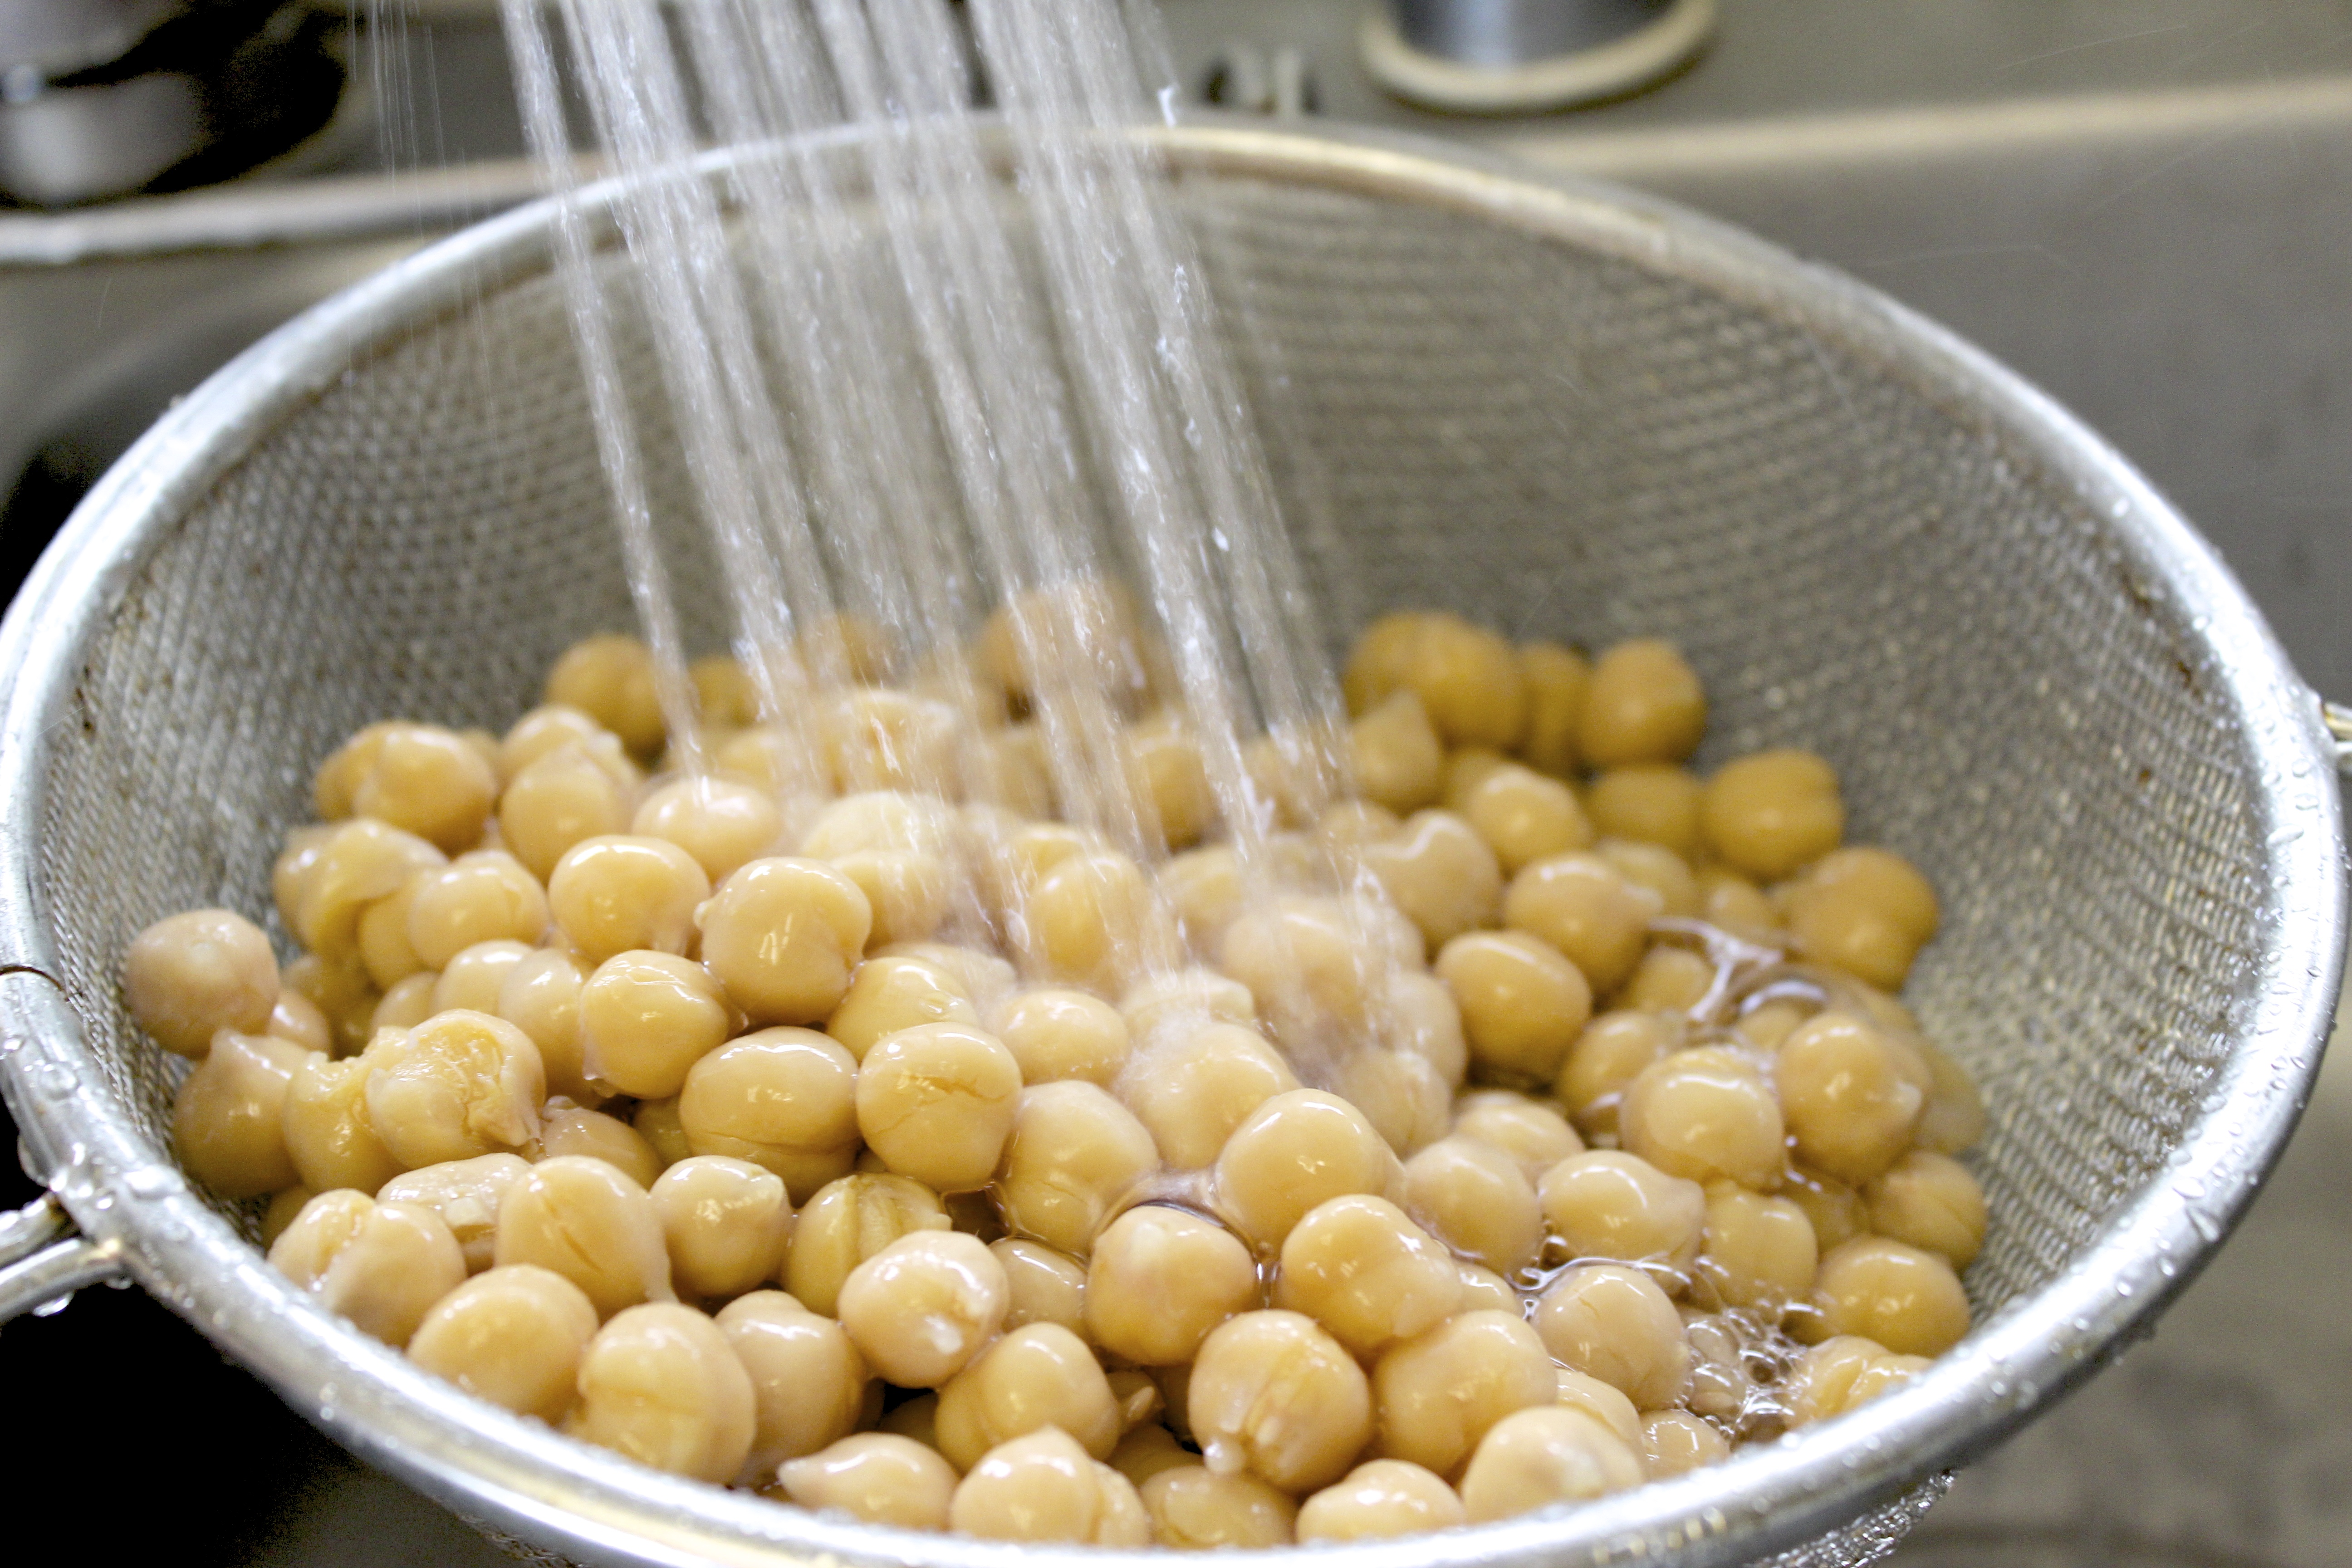
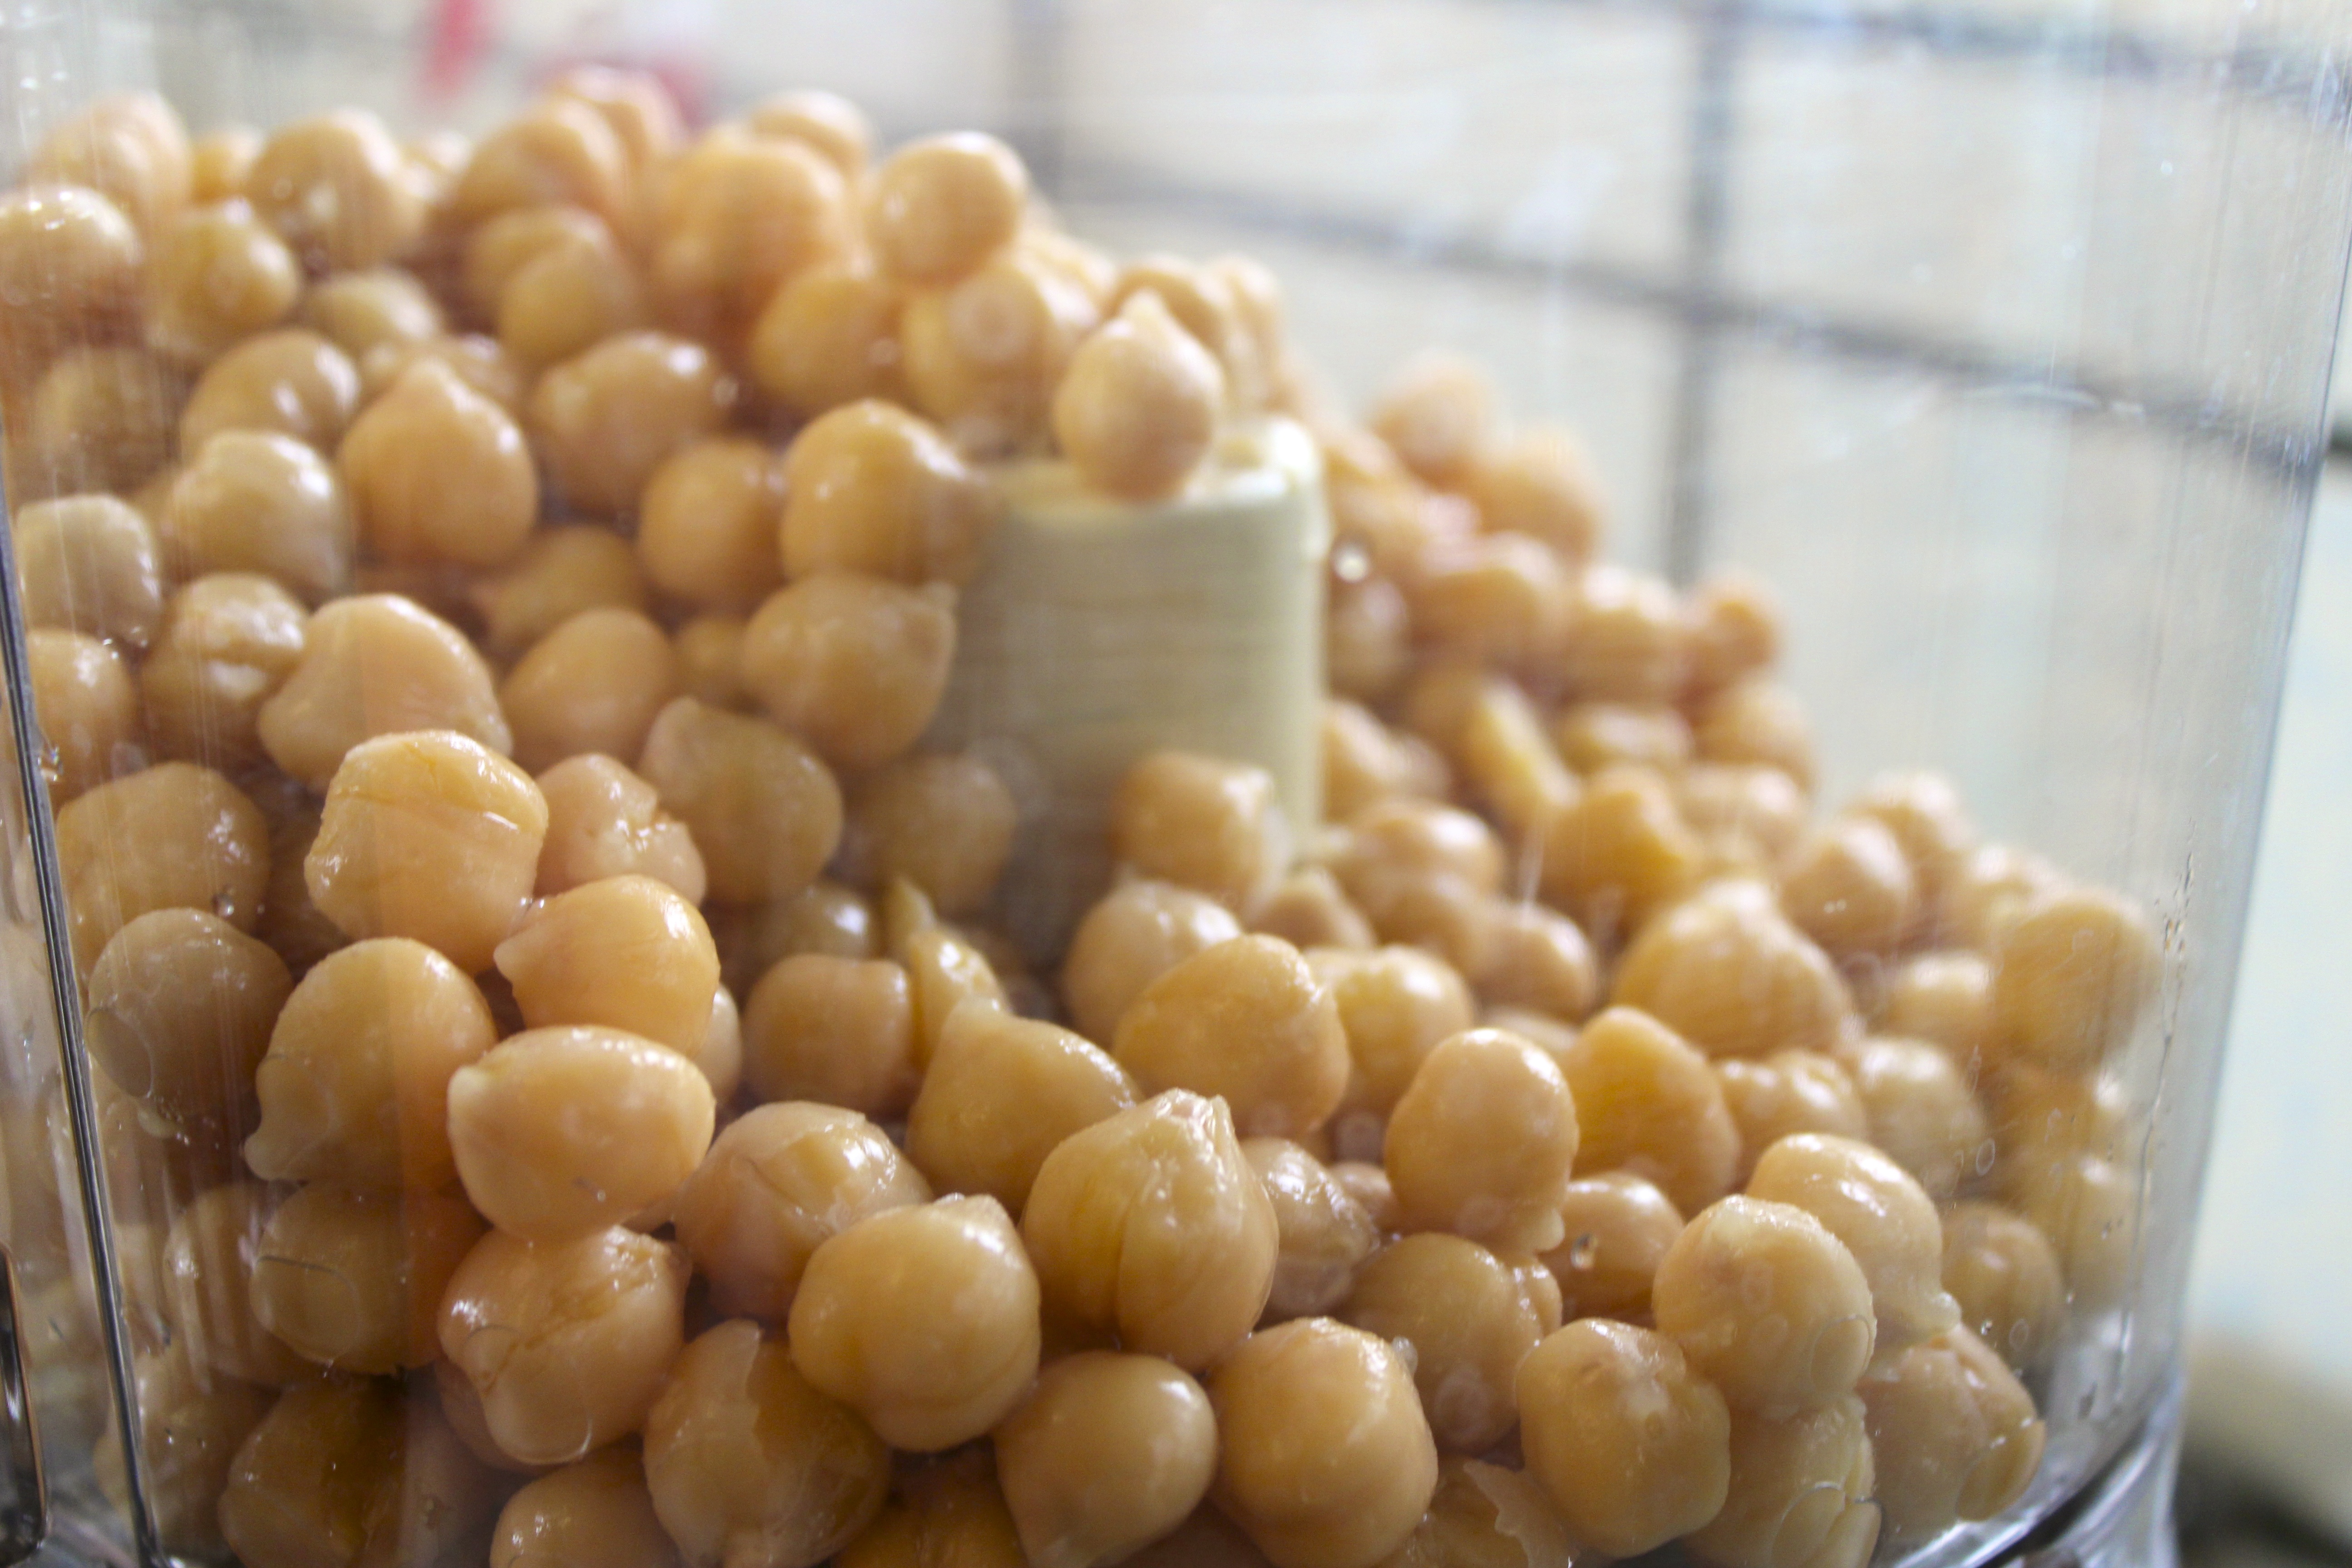
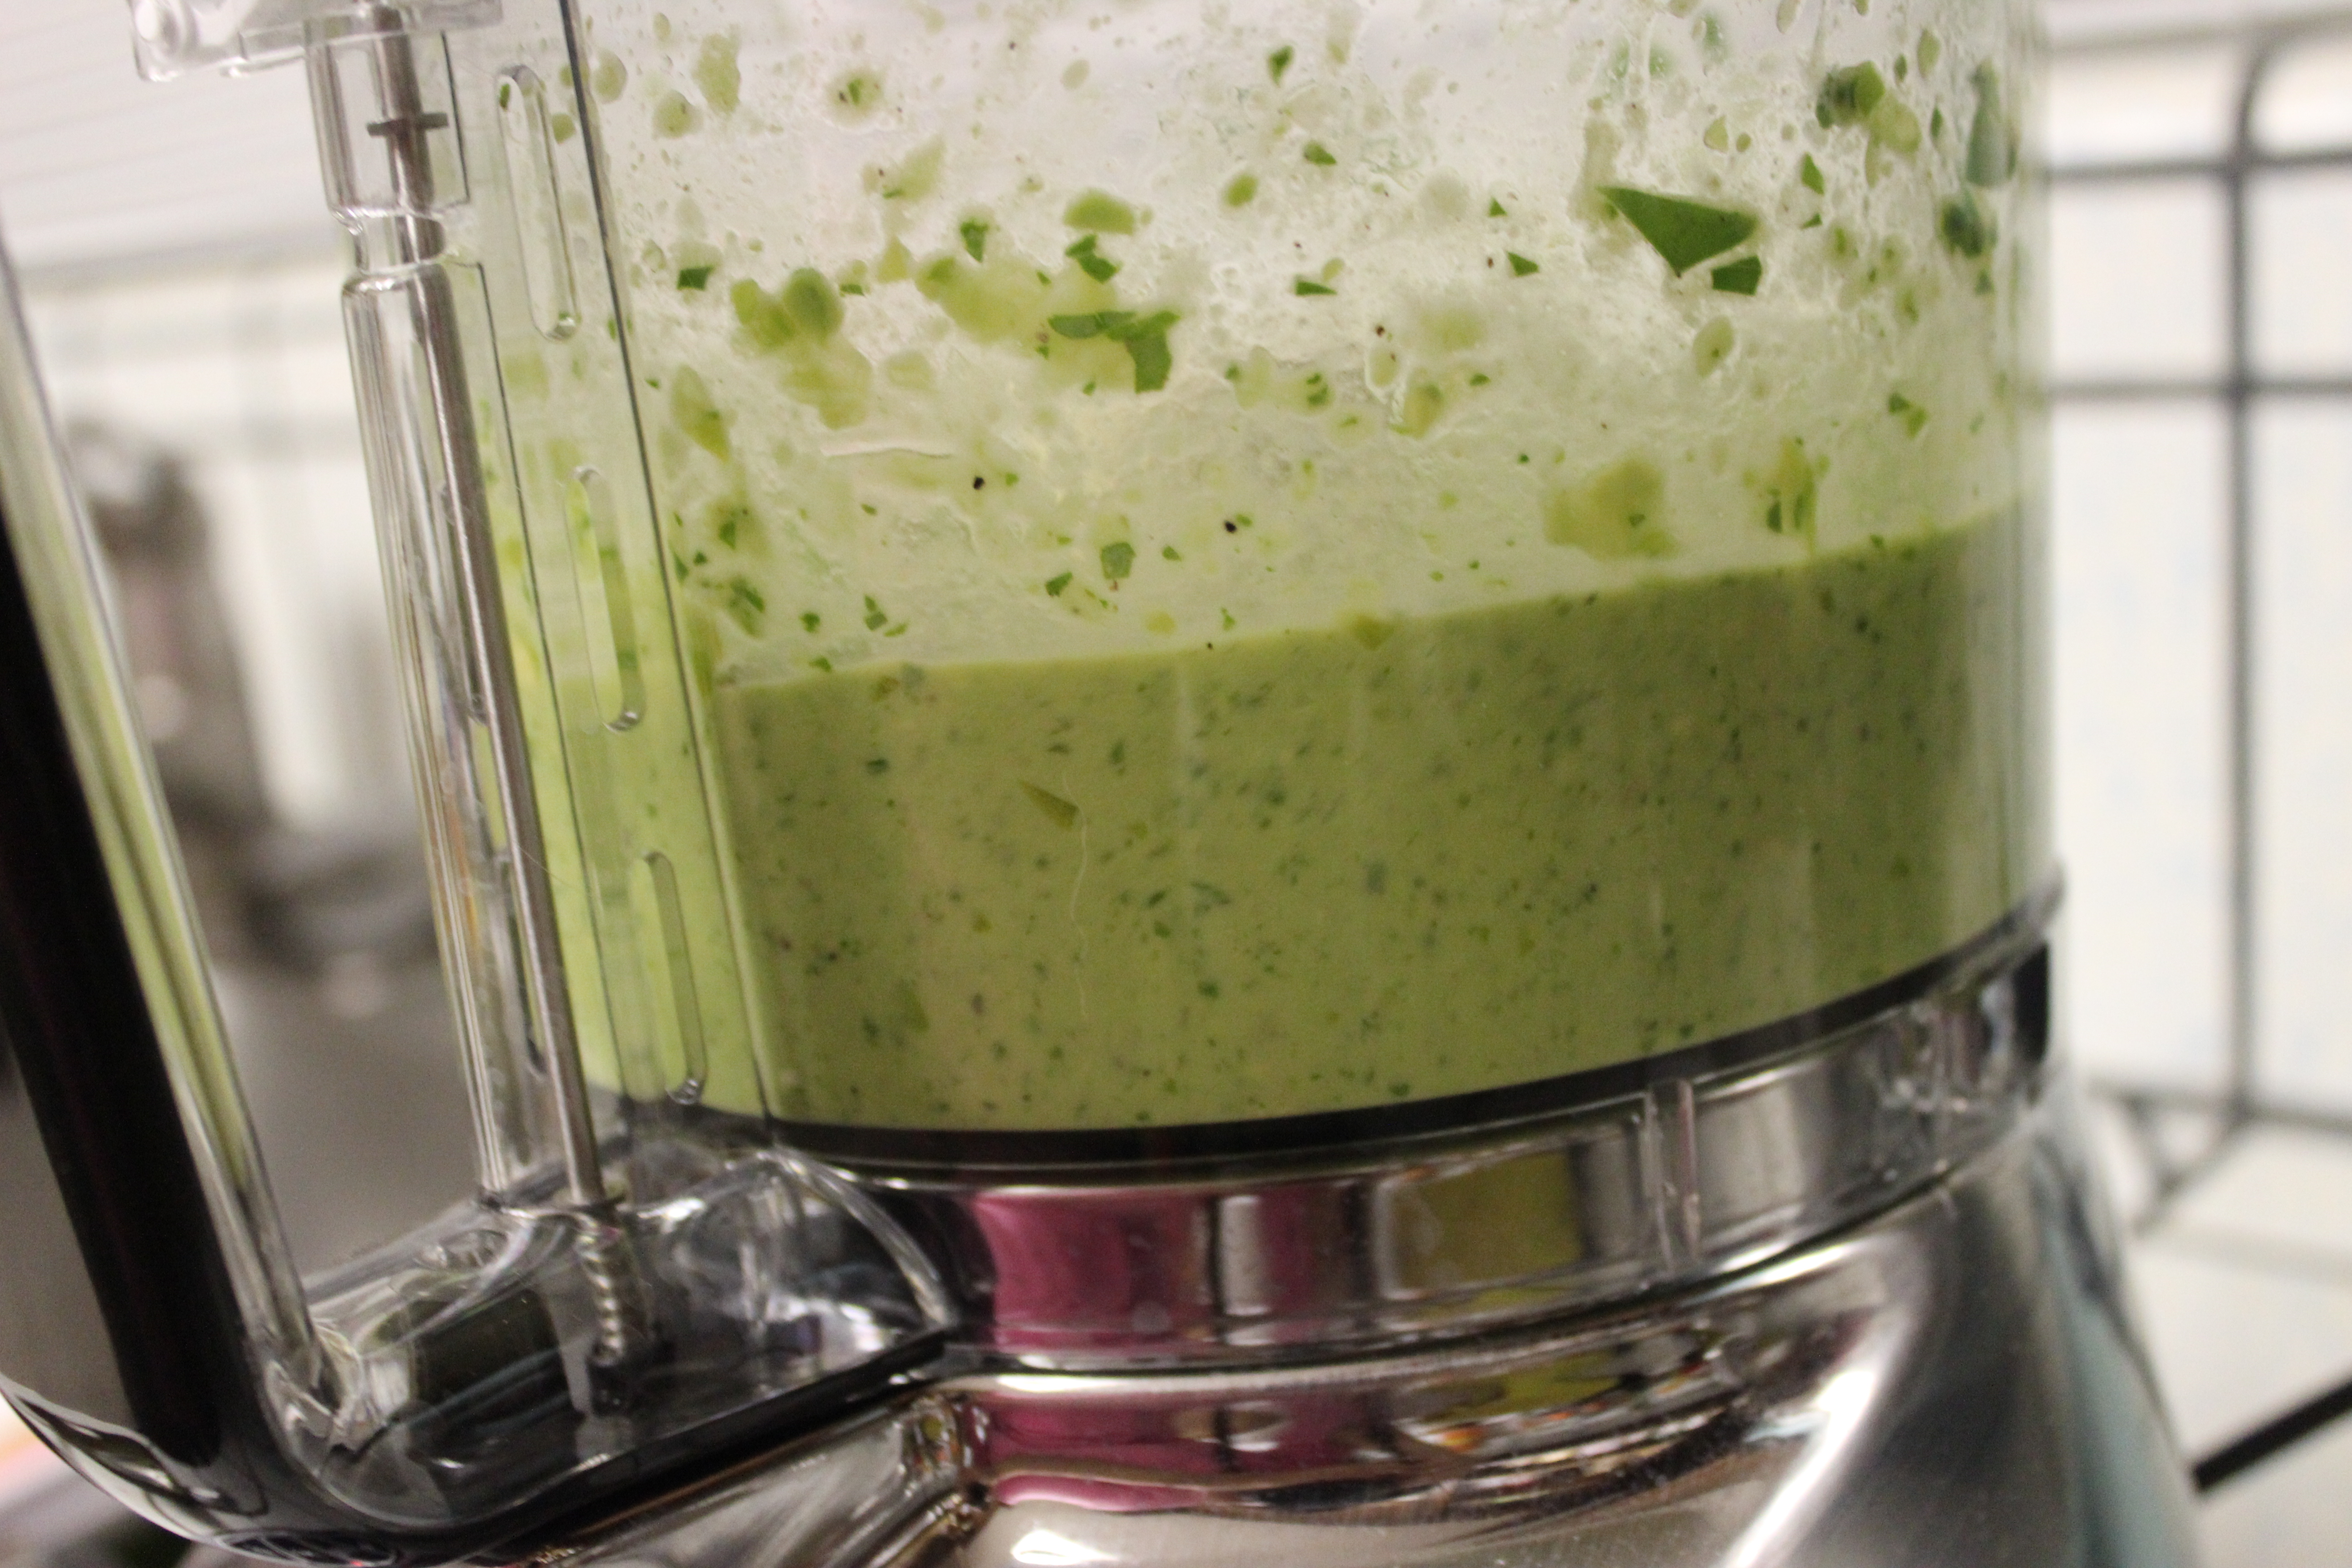
Start out by rinsing a cup of quinoa for a minute or two. This removes any bitterness on the outside of the quinoa called saponin. Google told me.

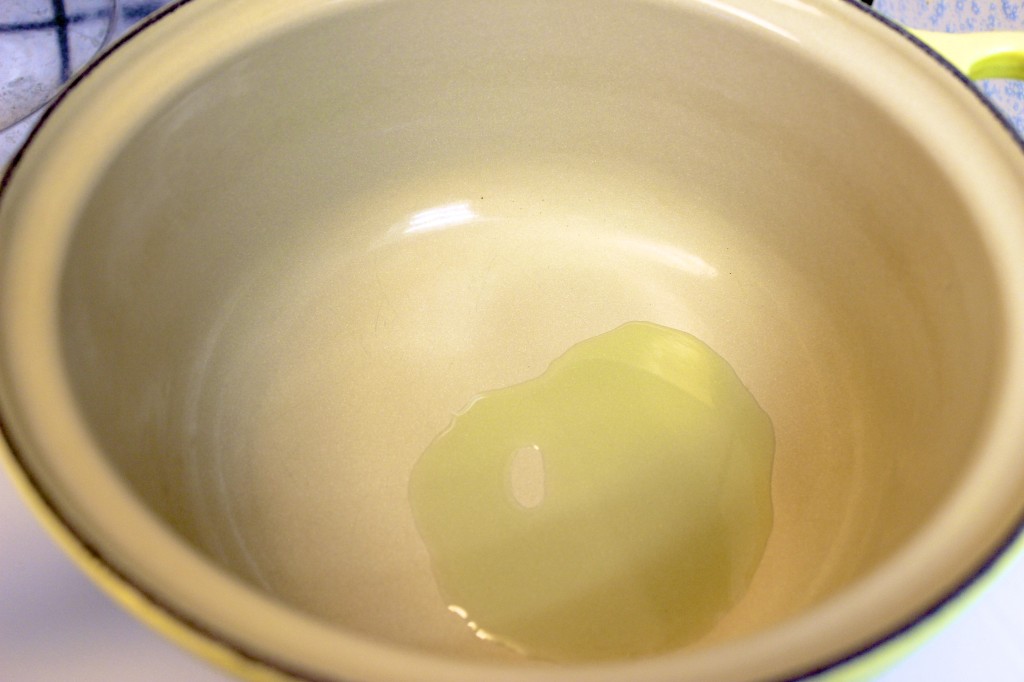
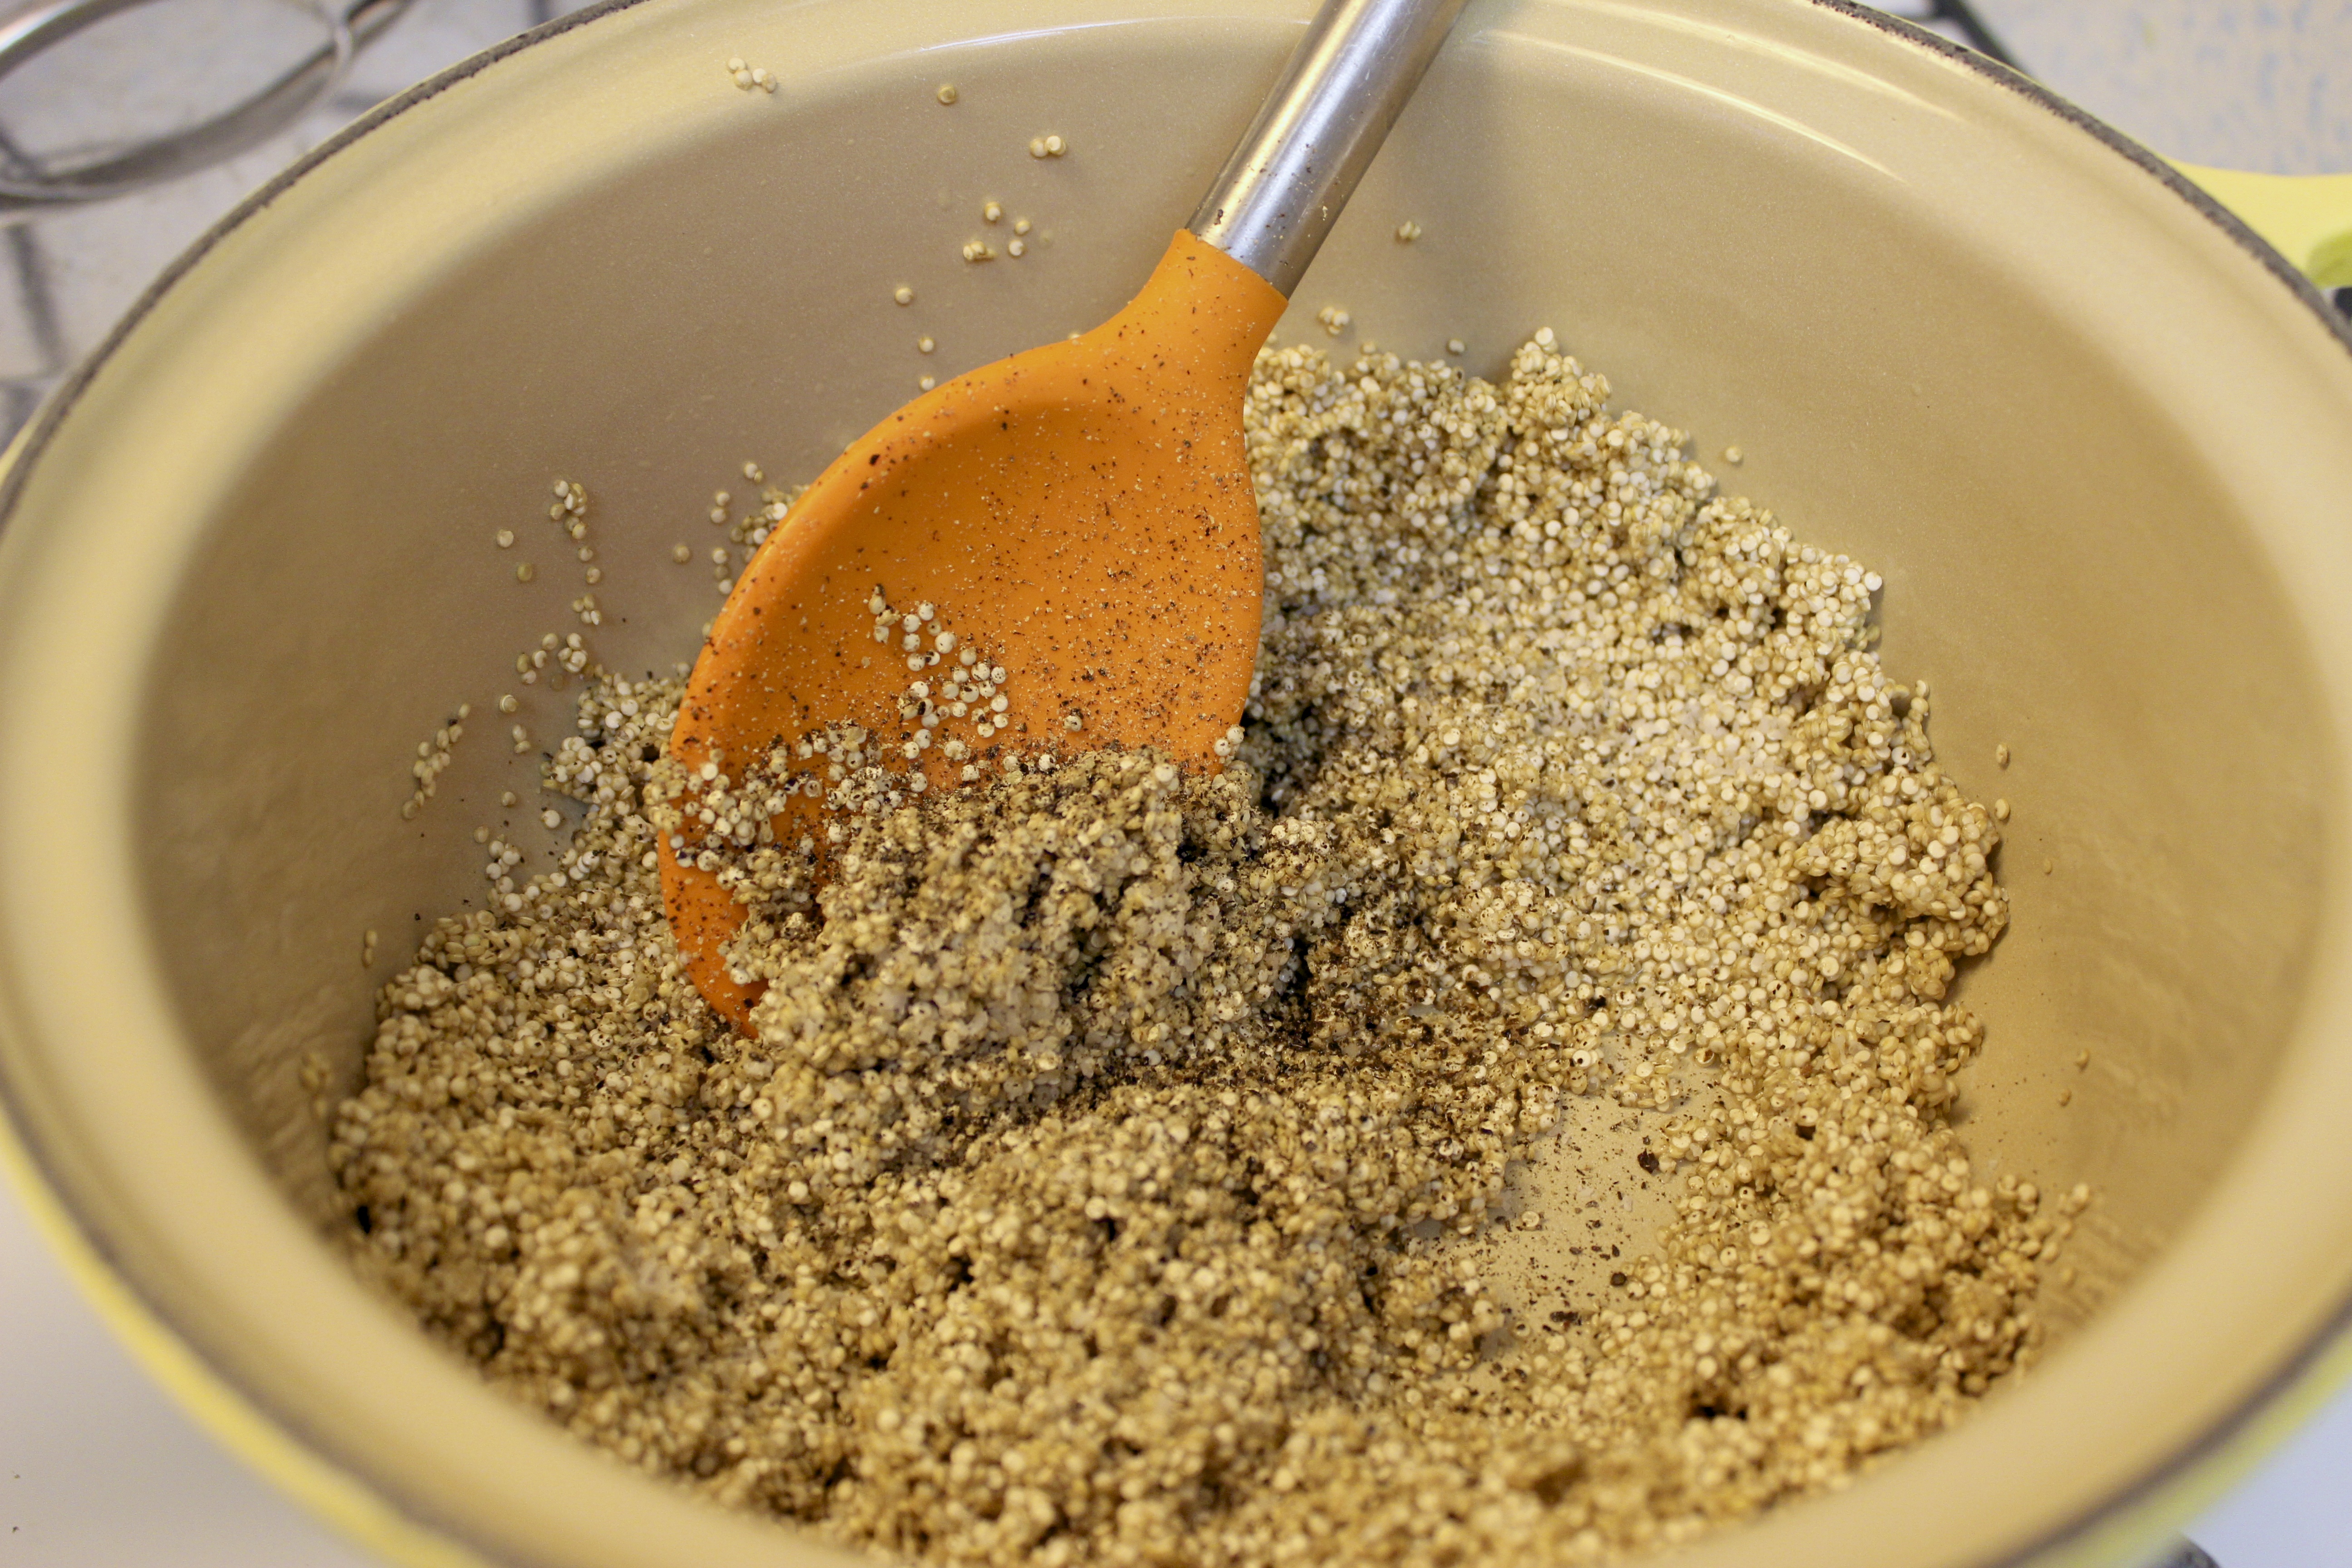
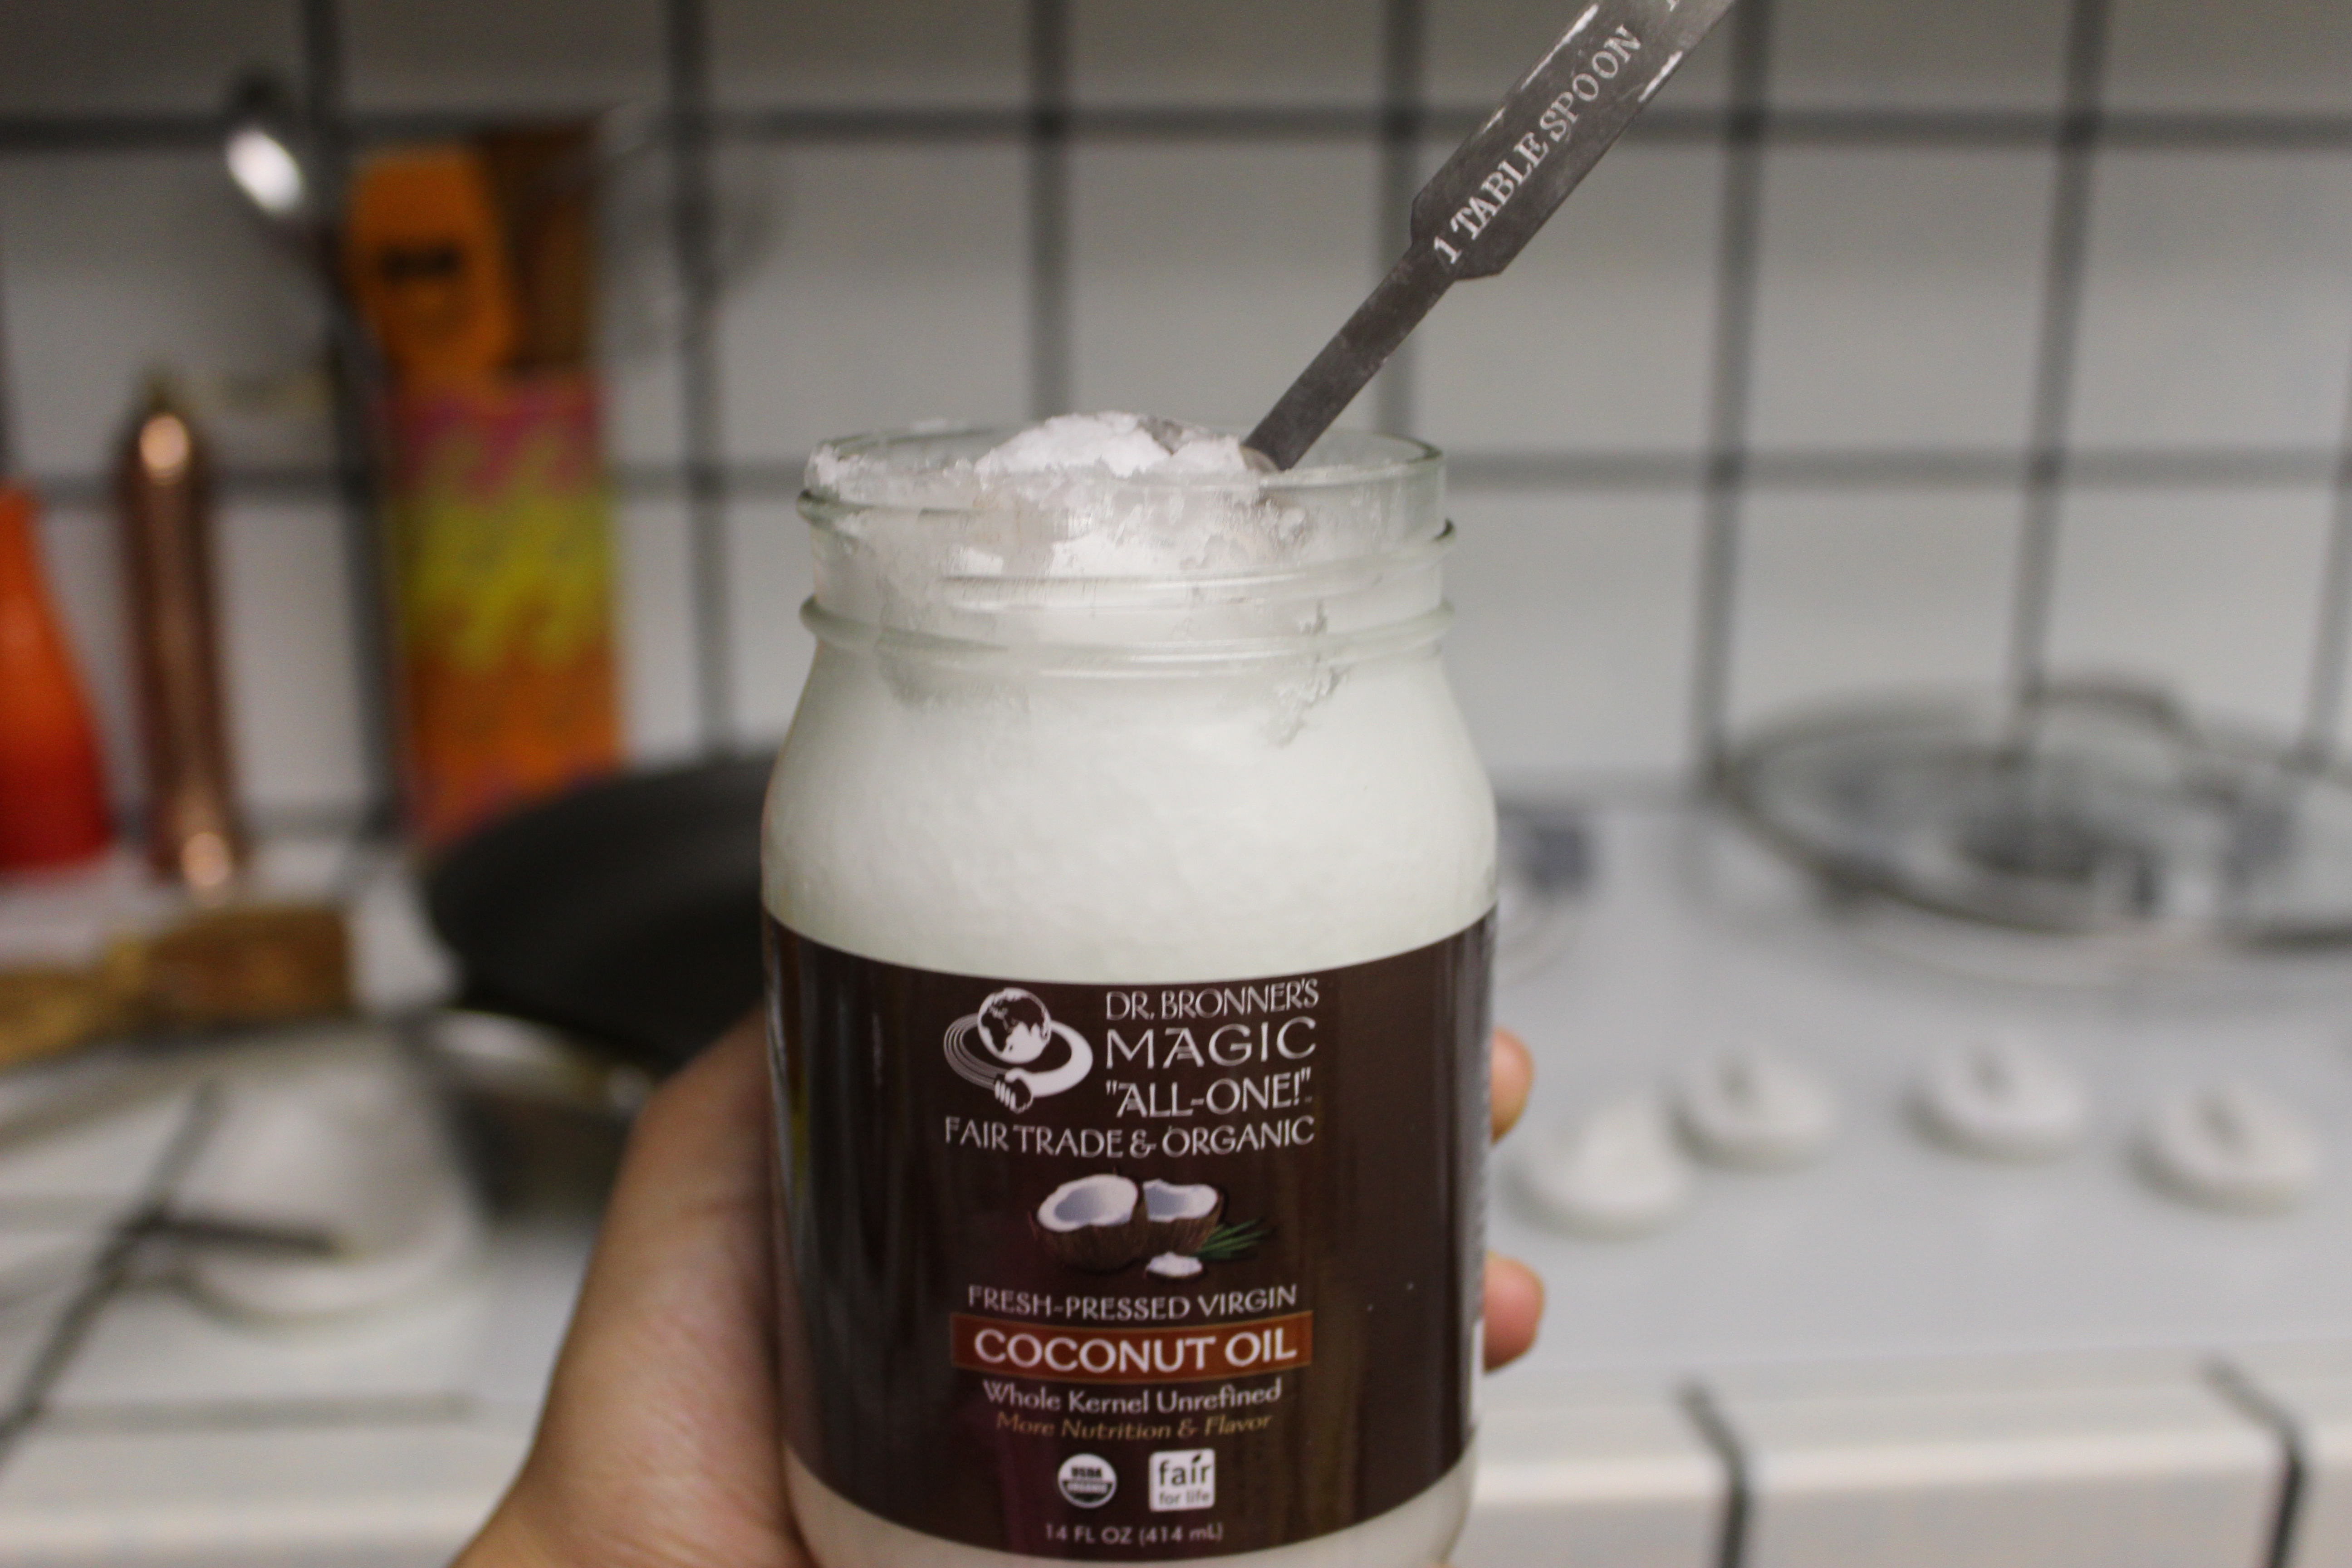
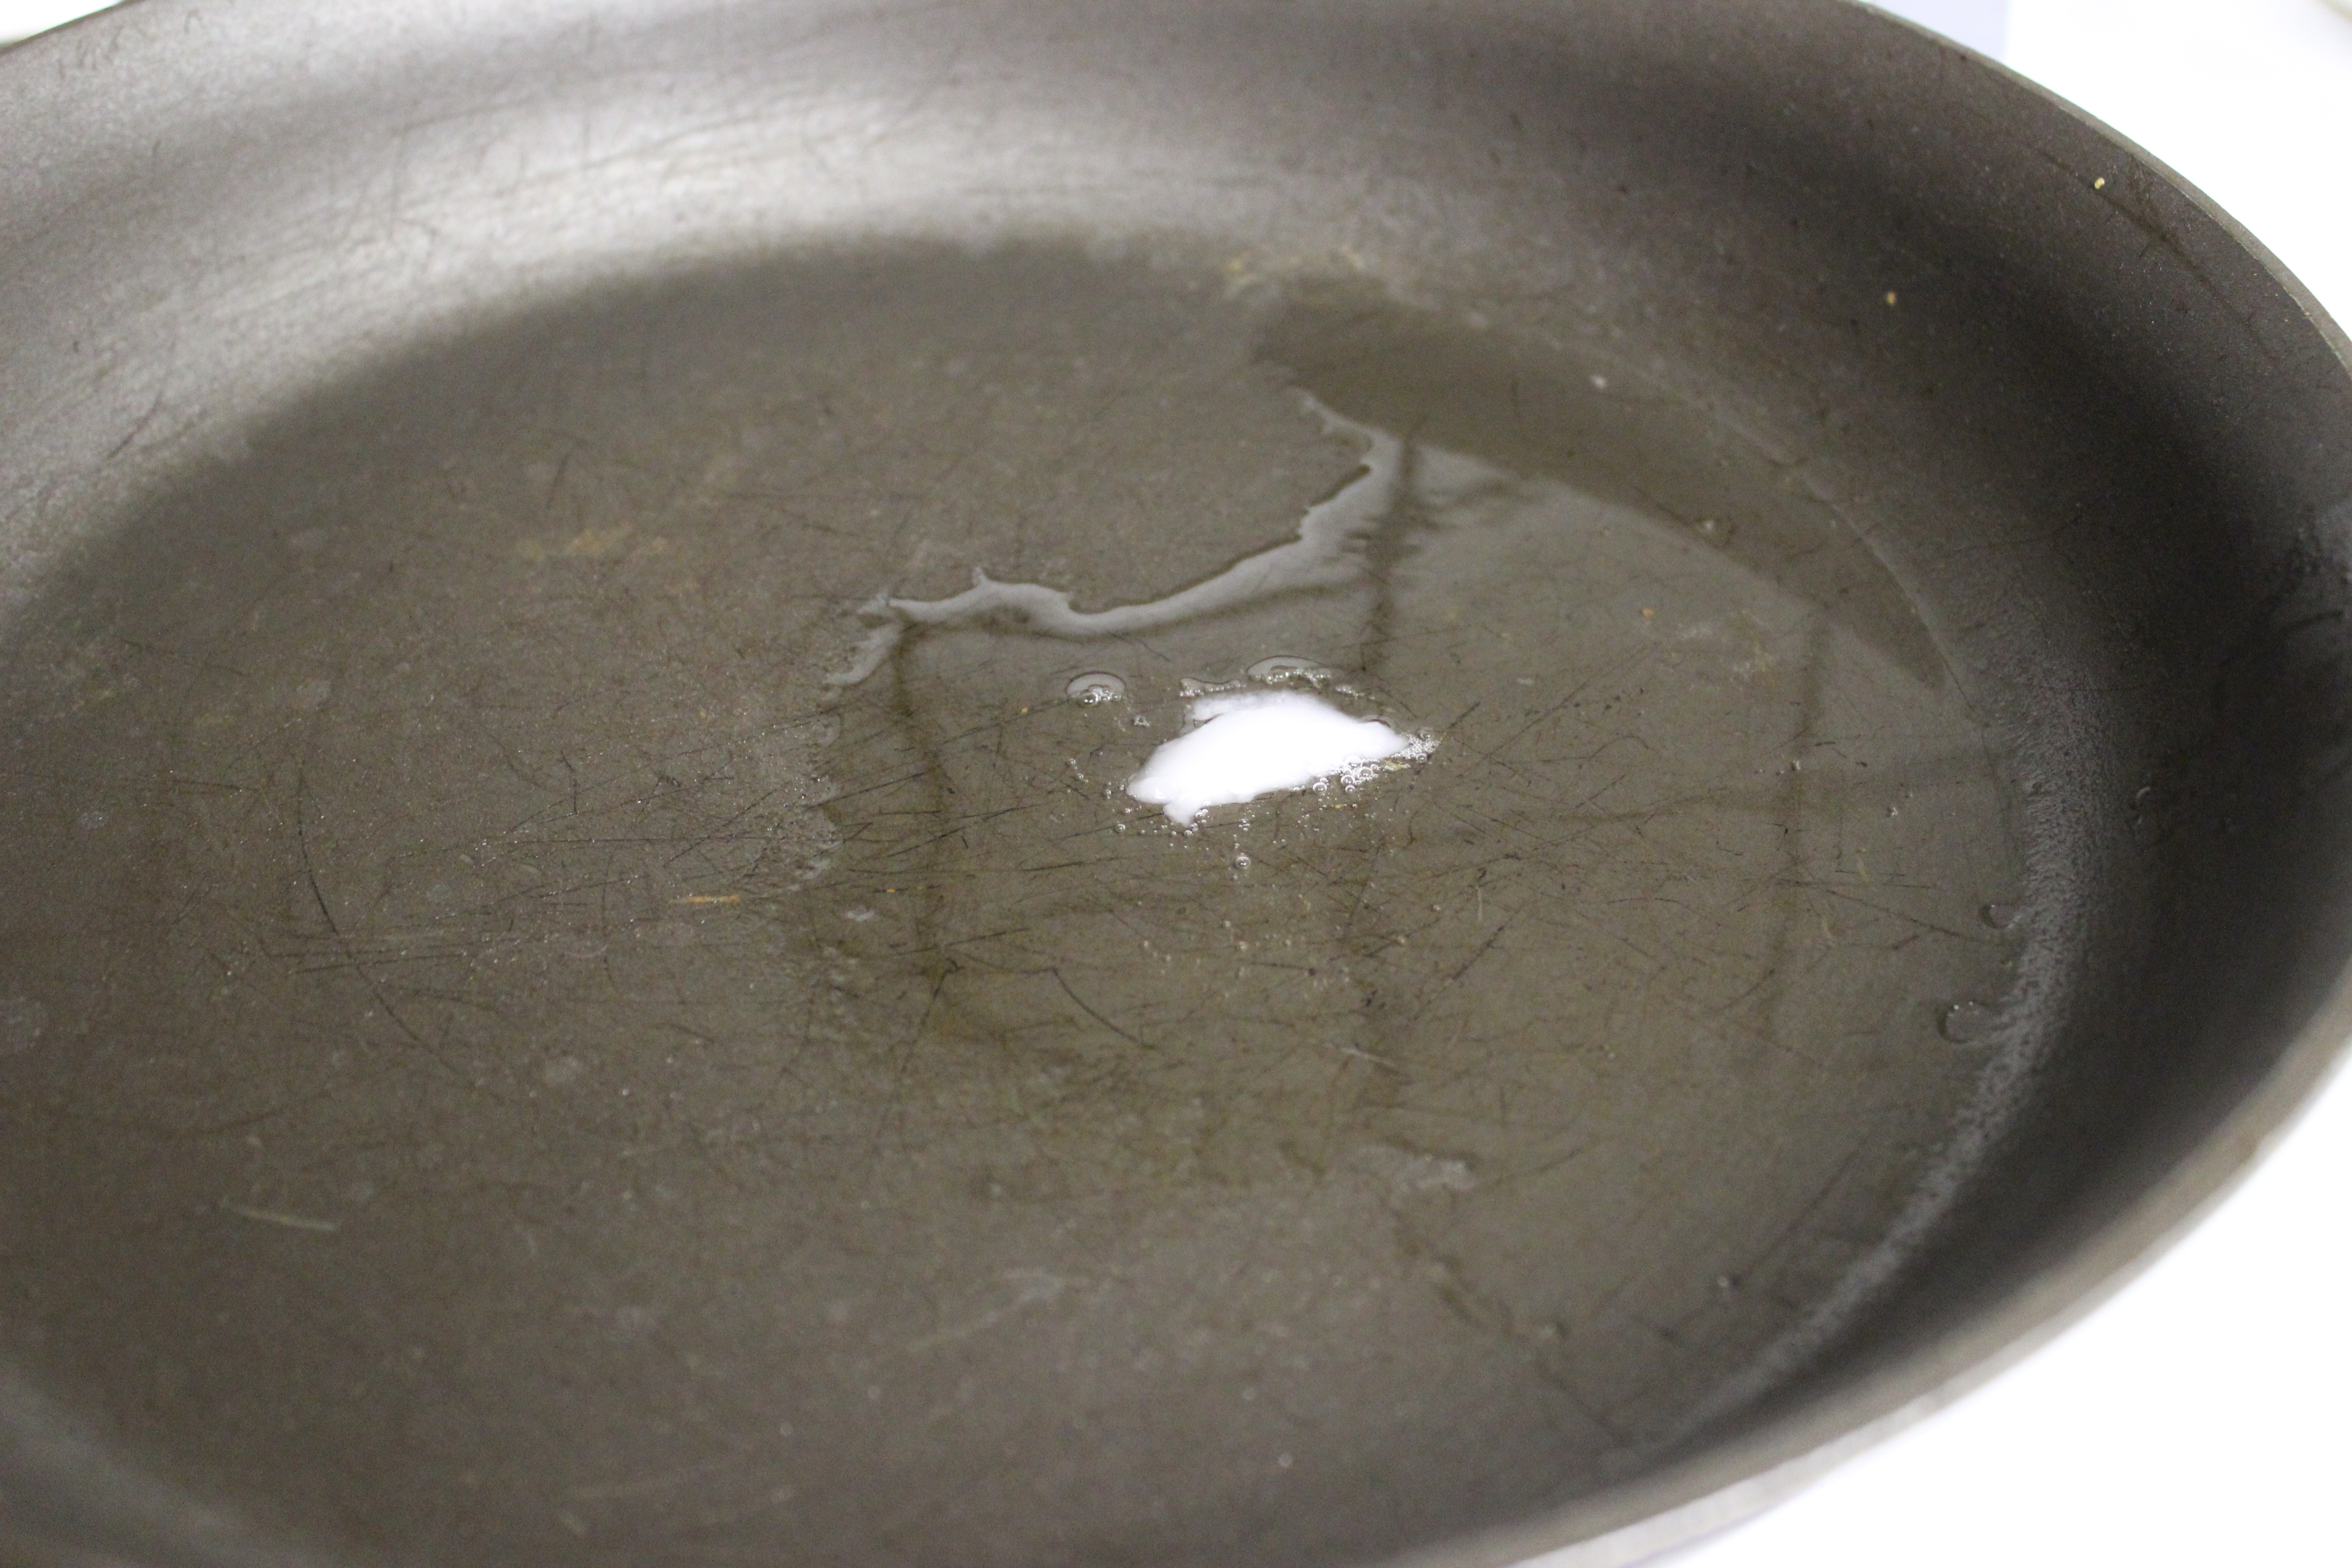
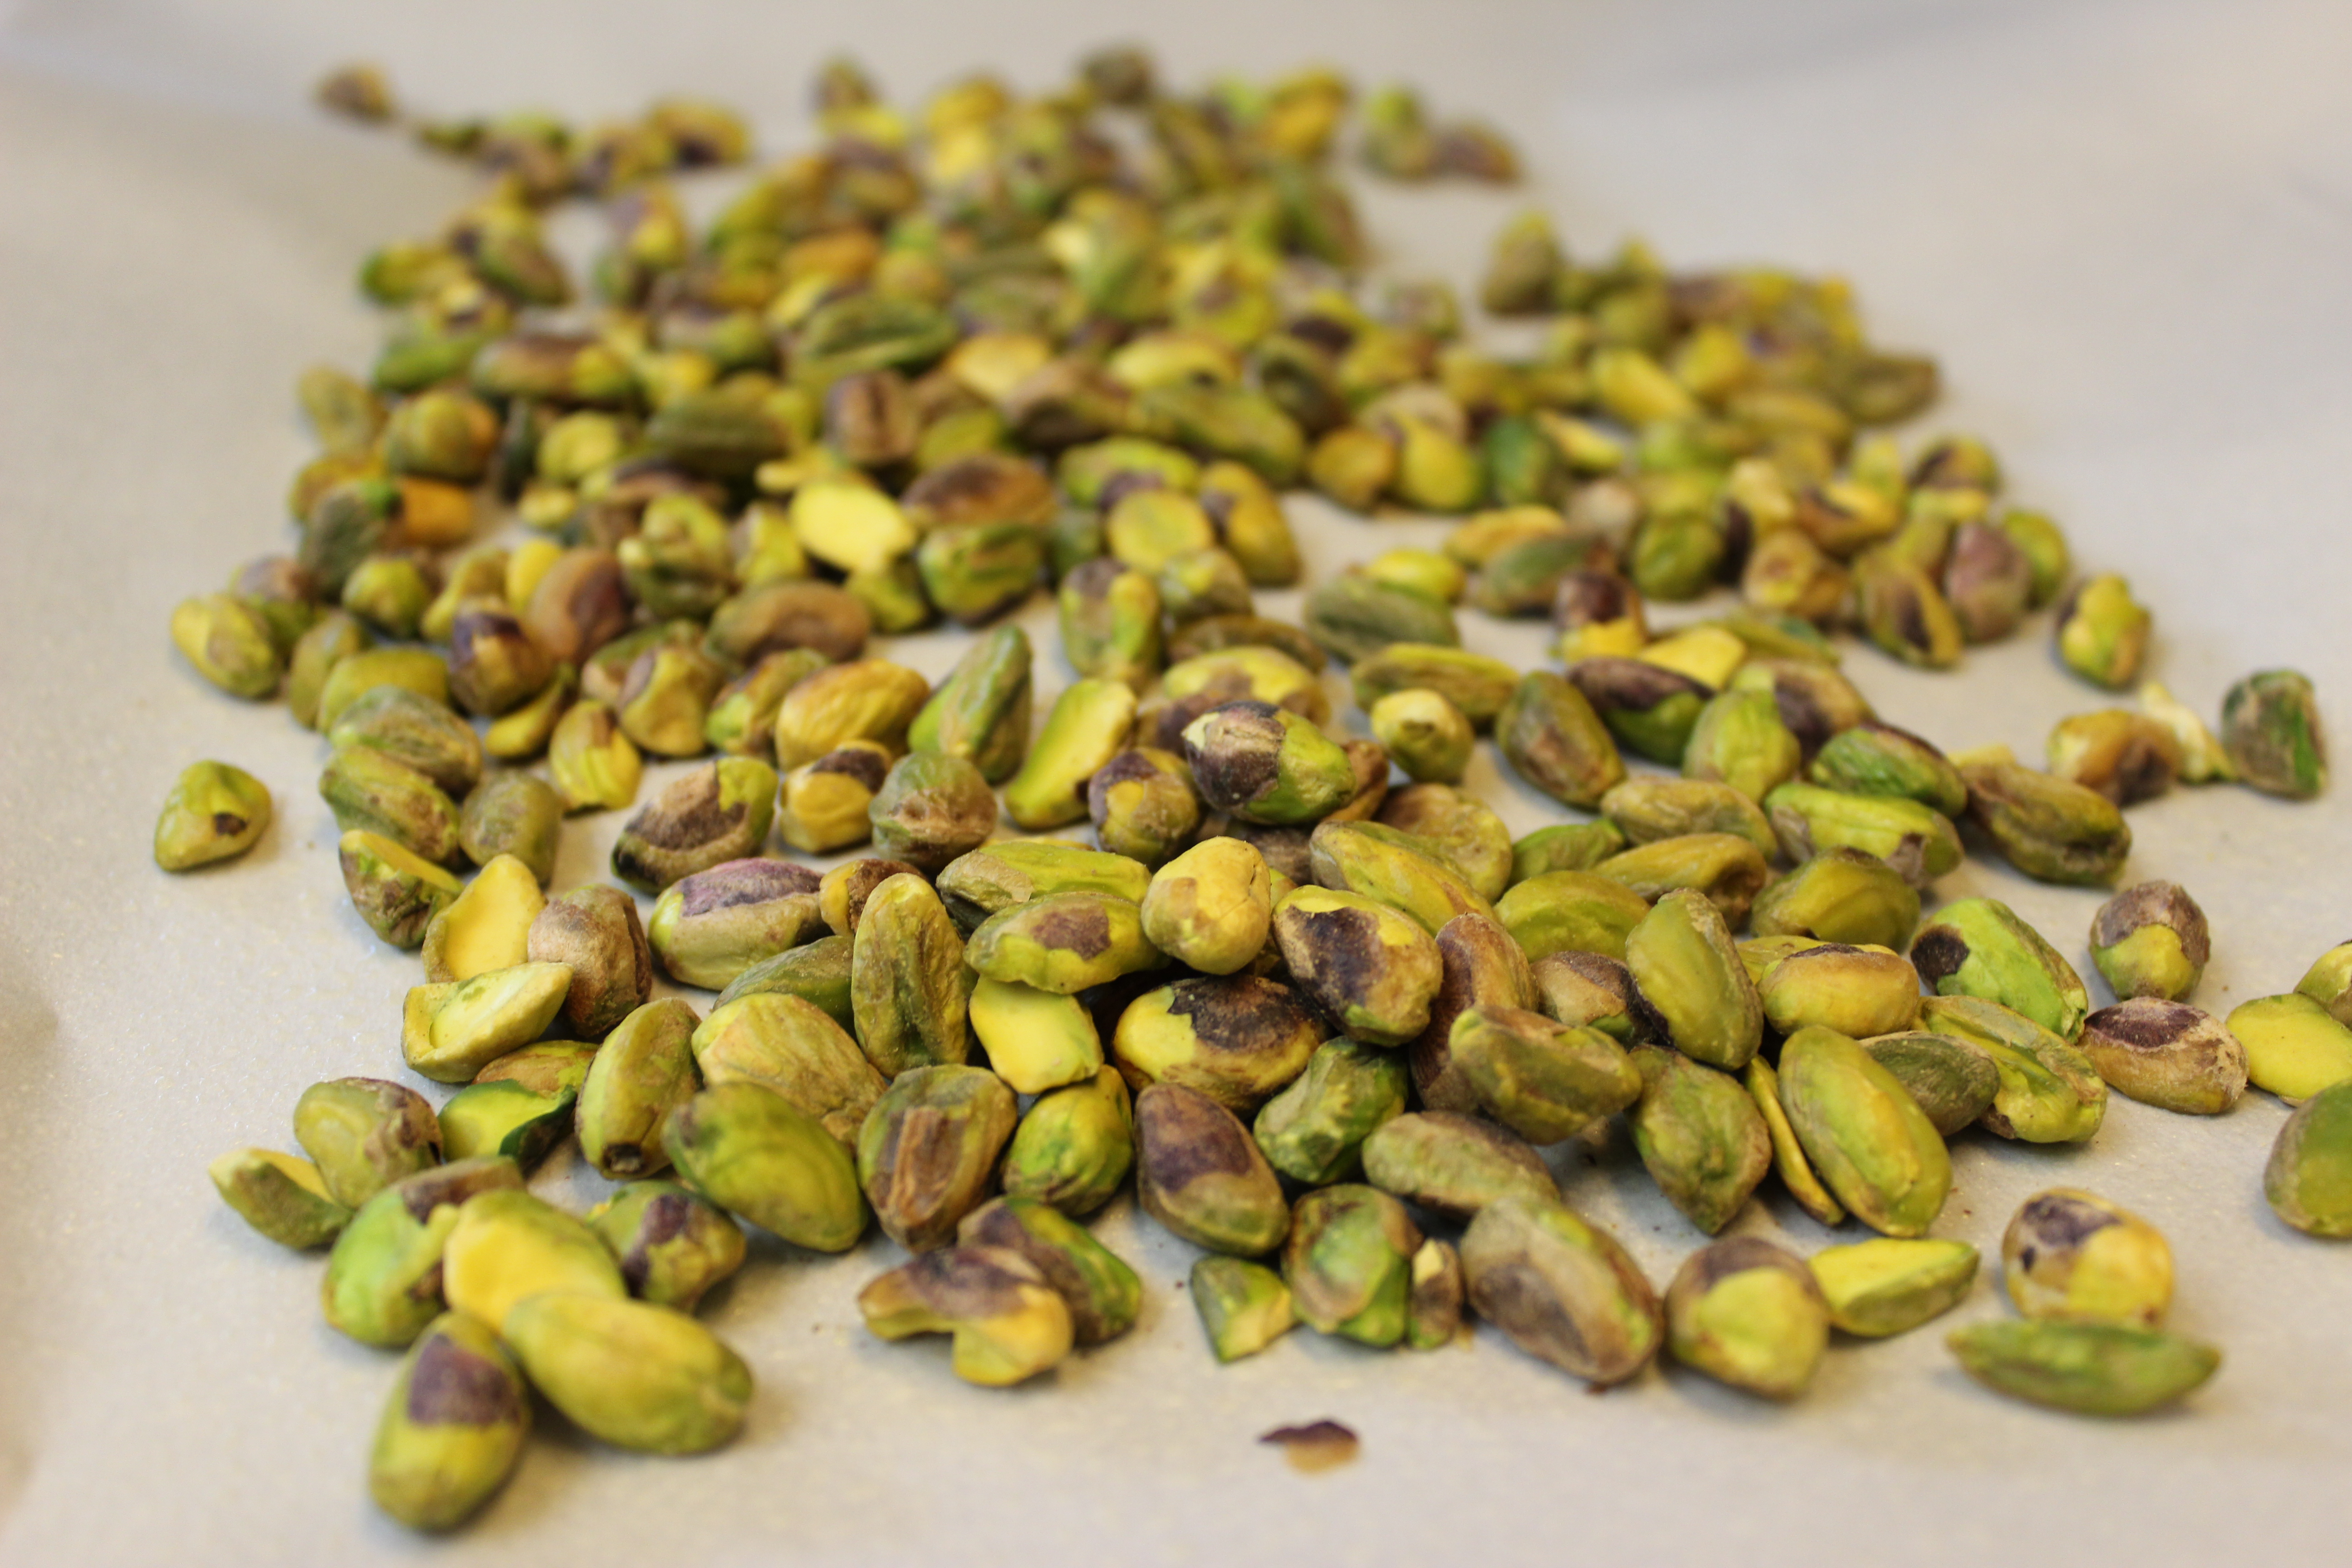
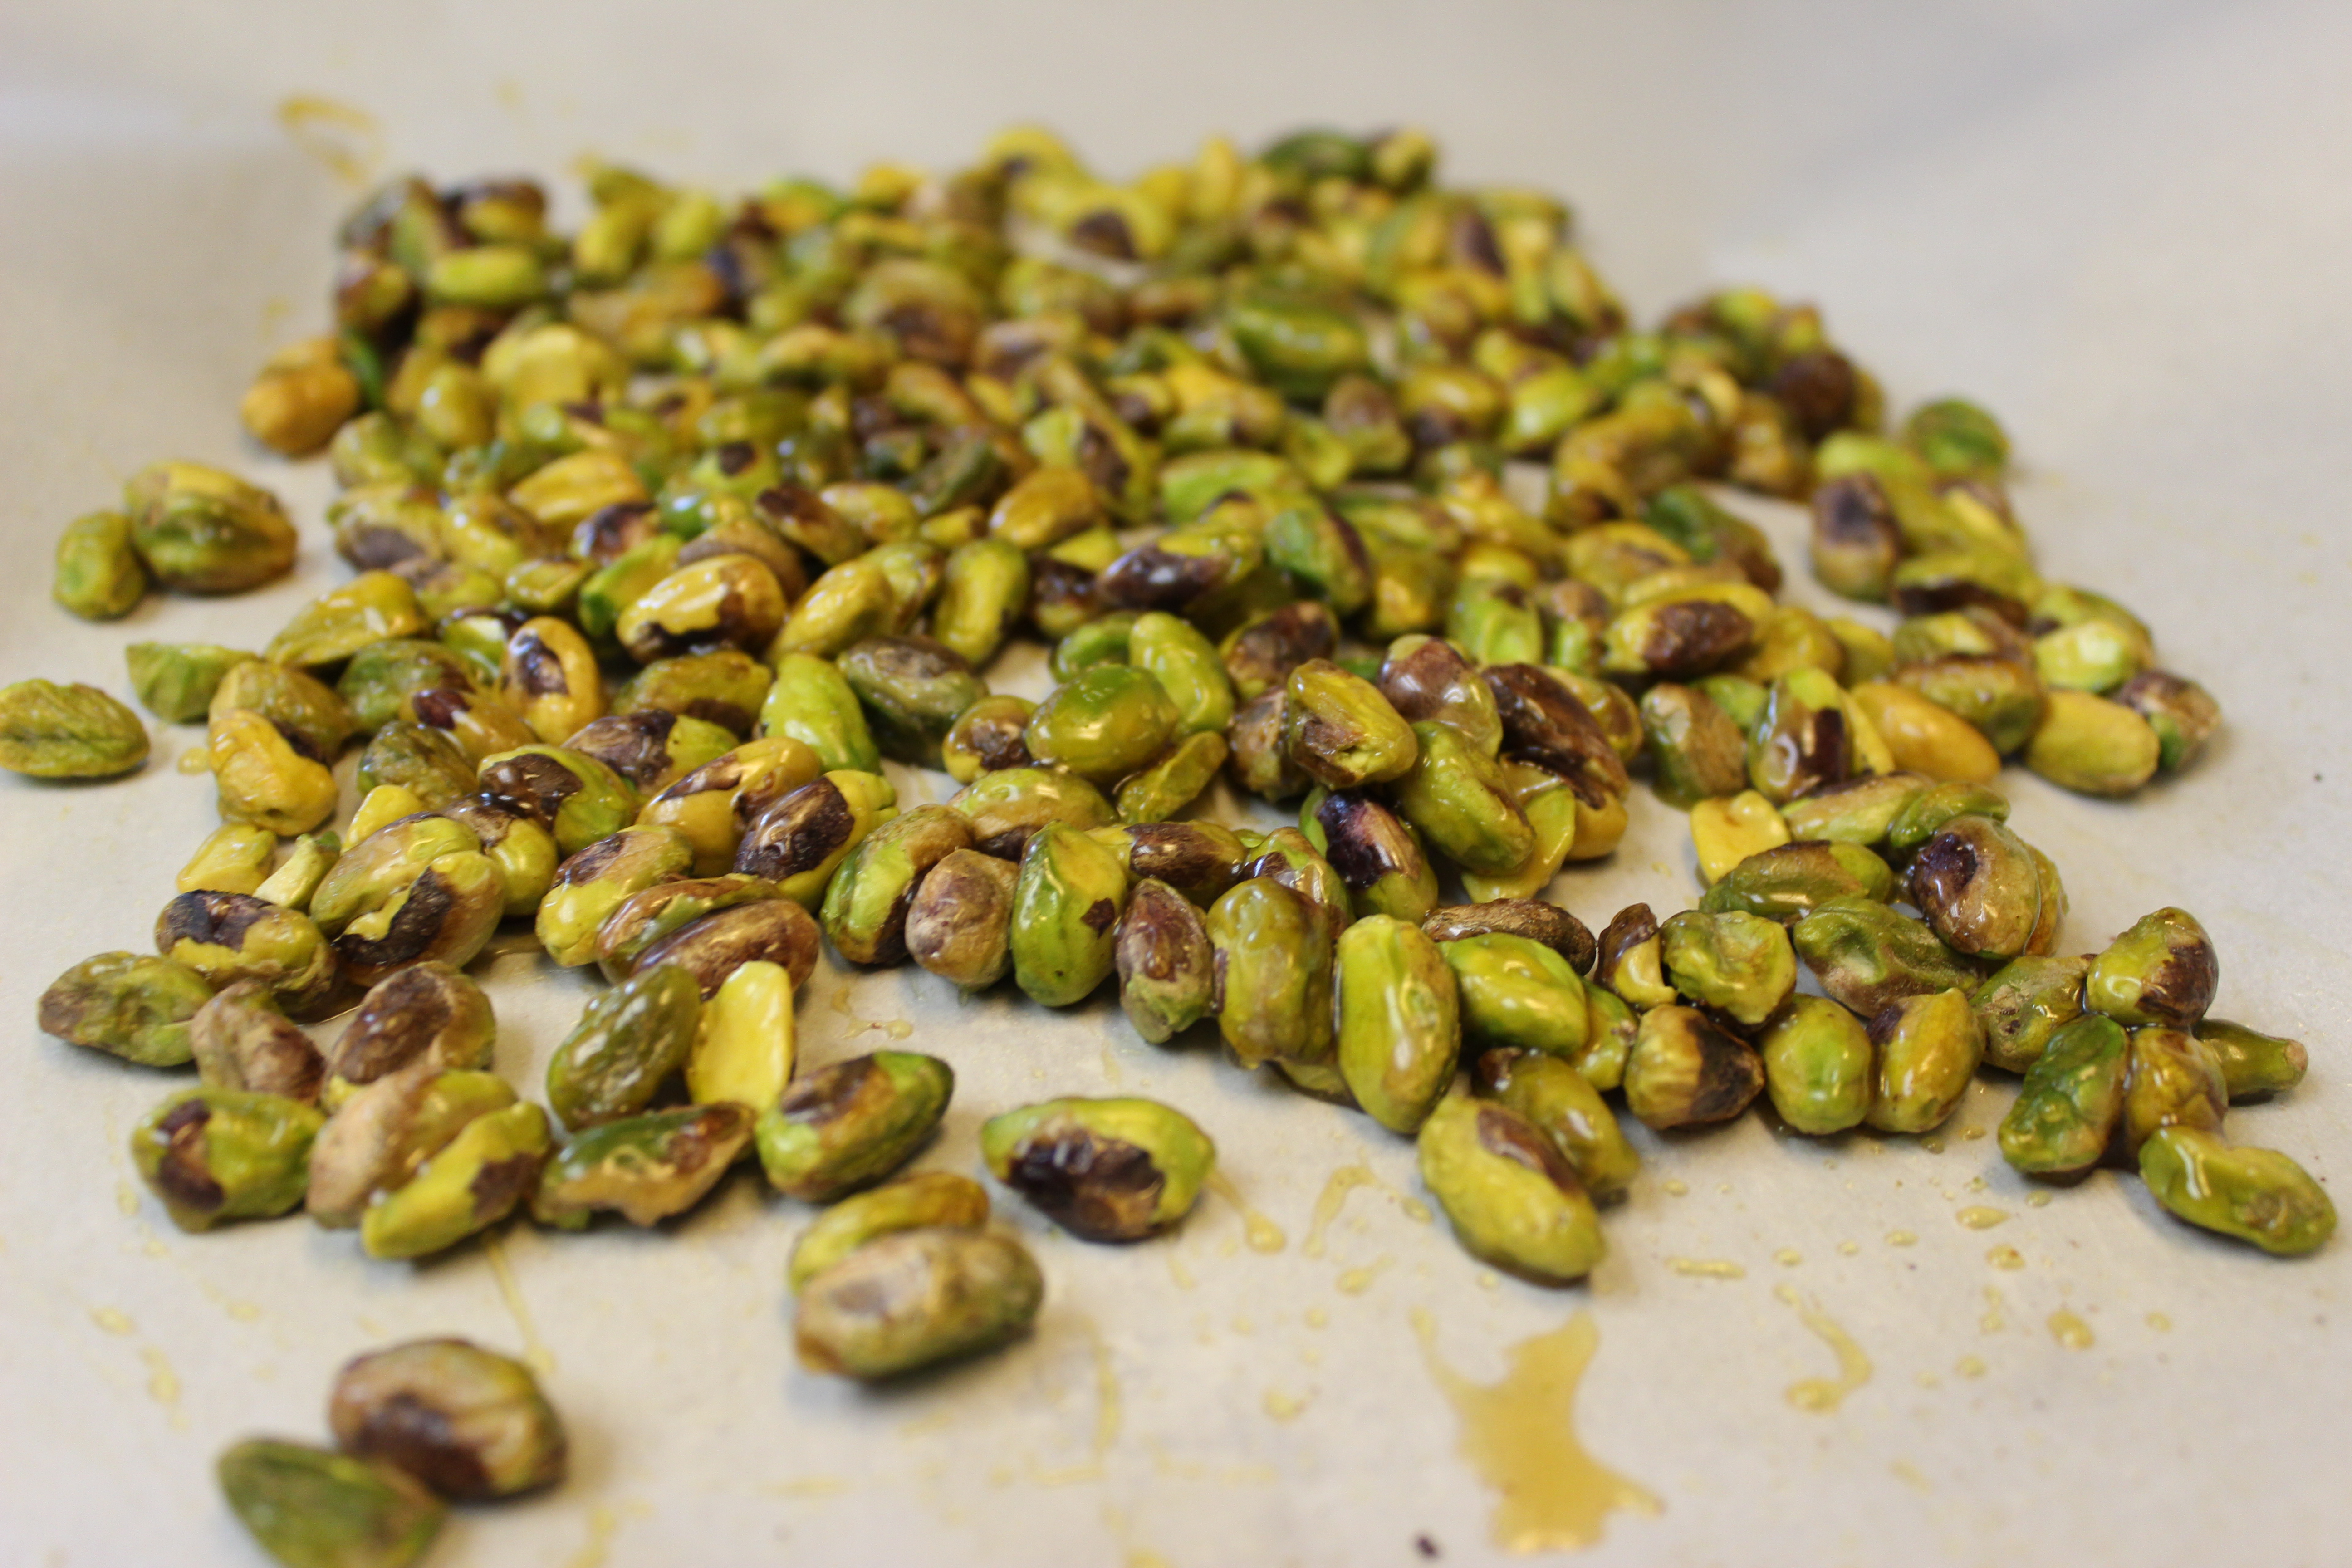
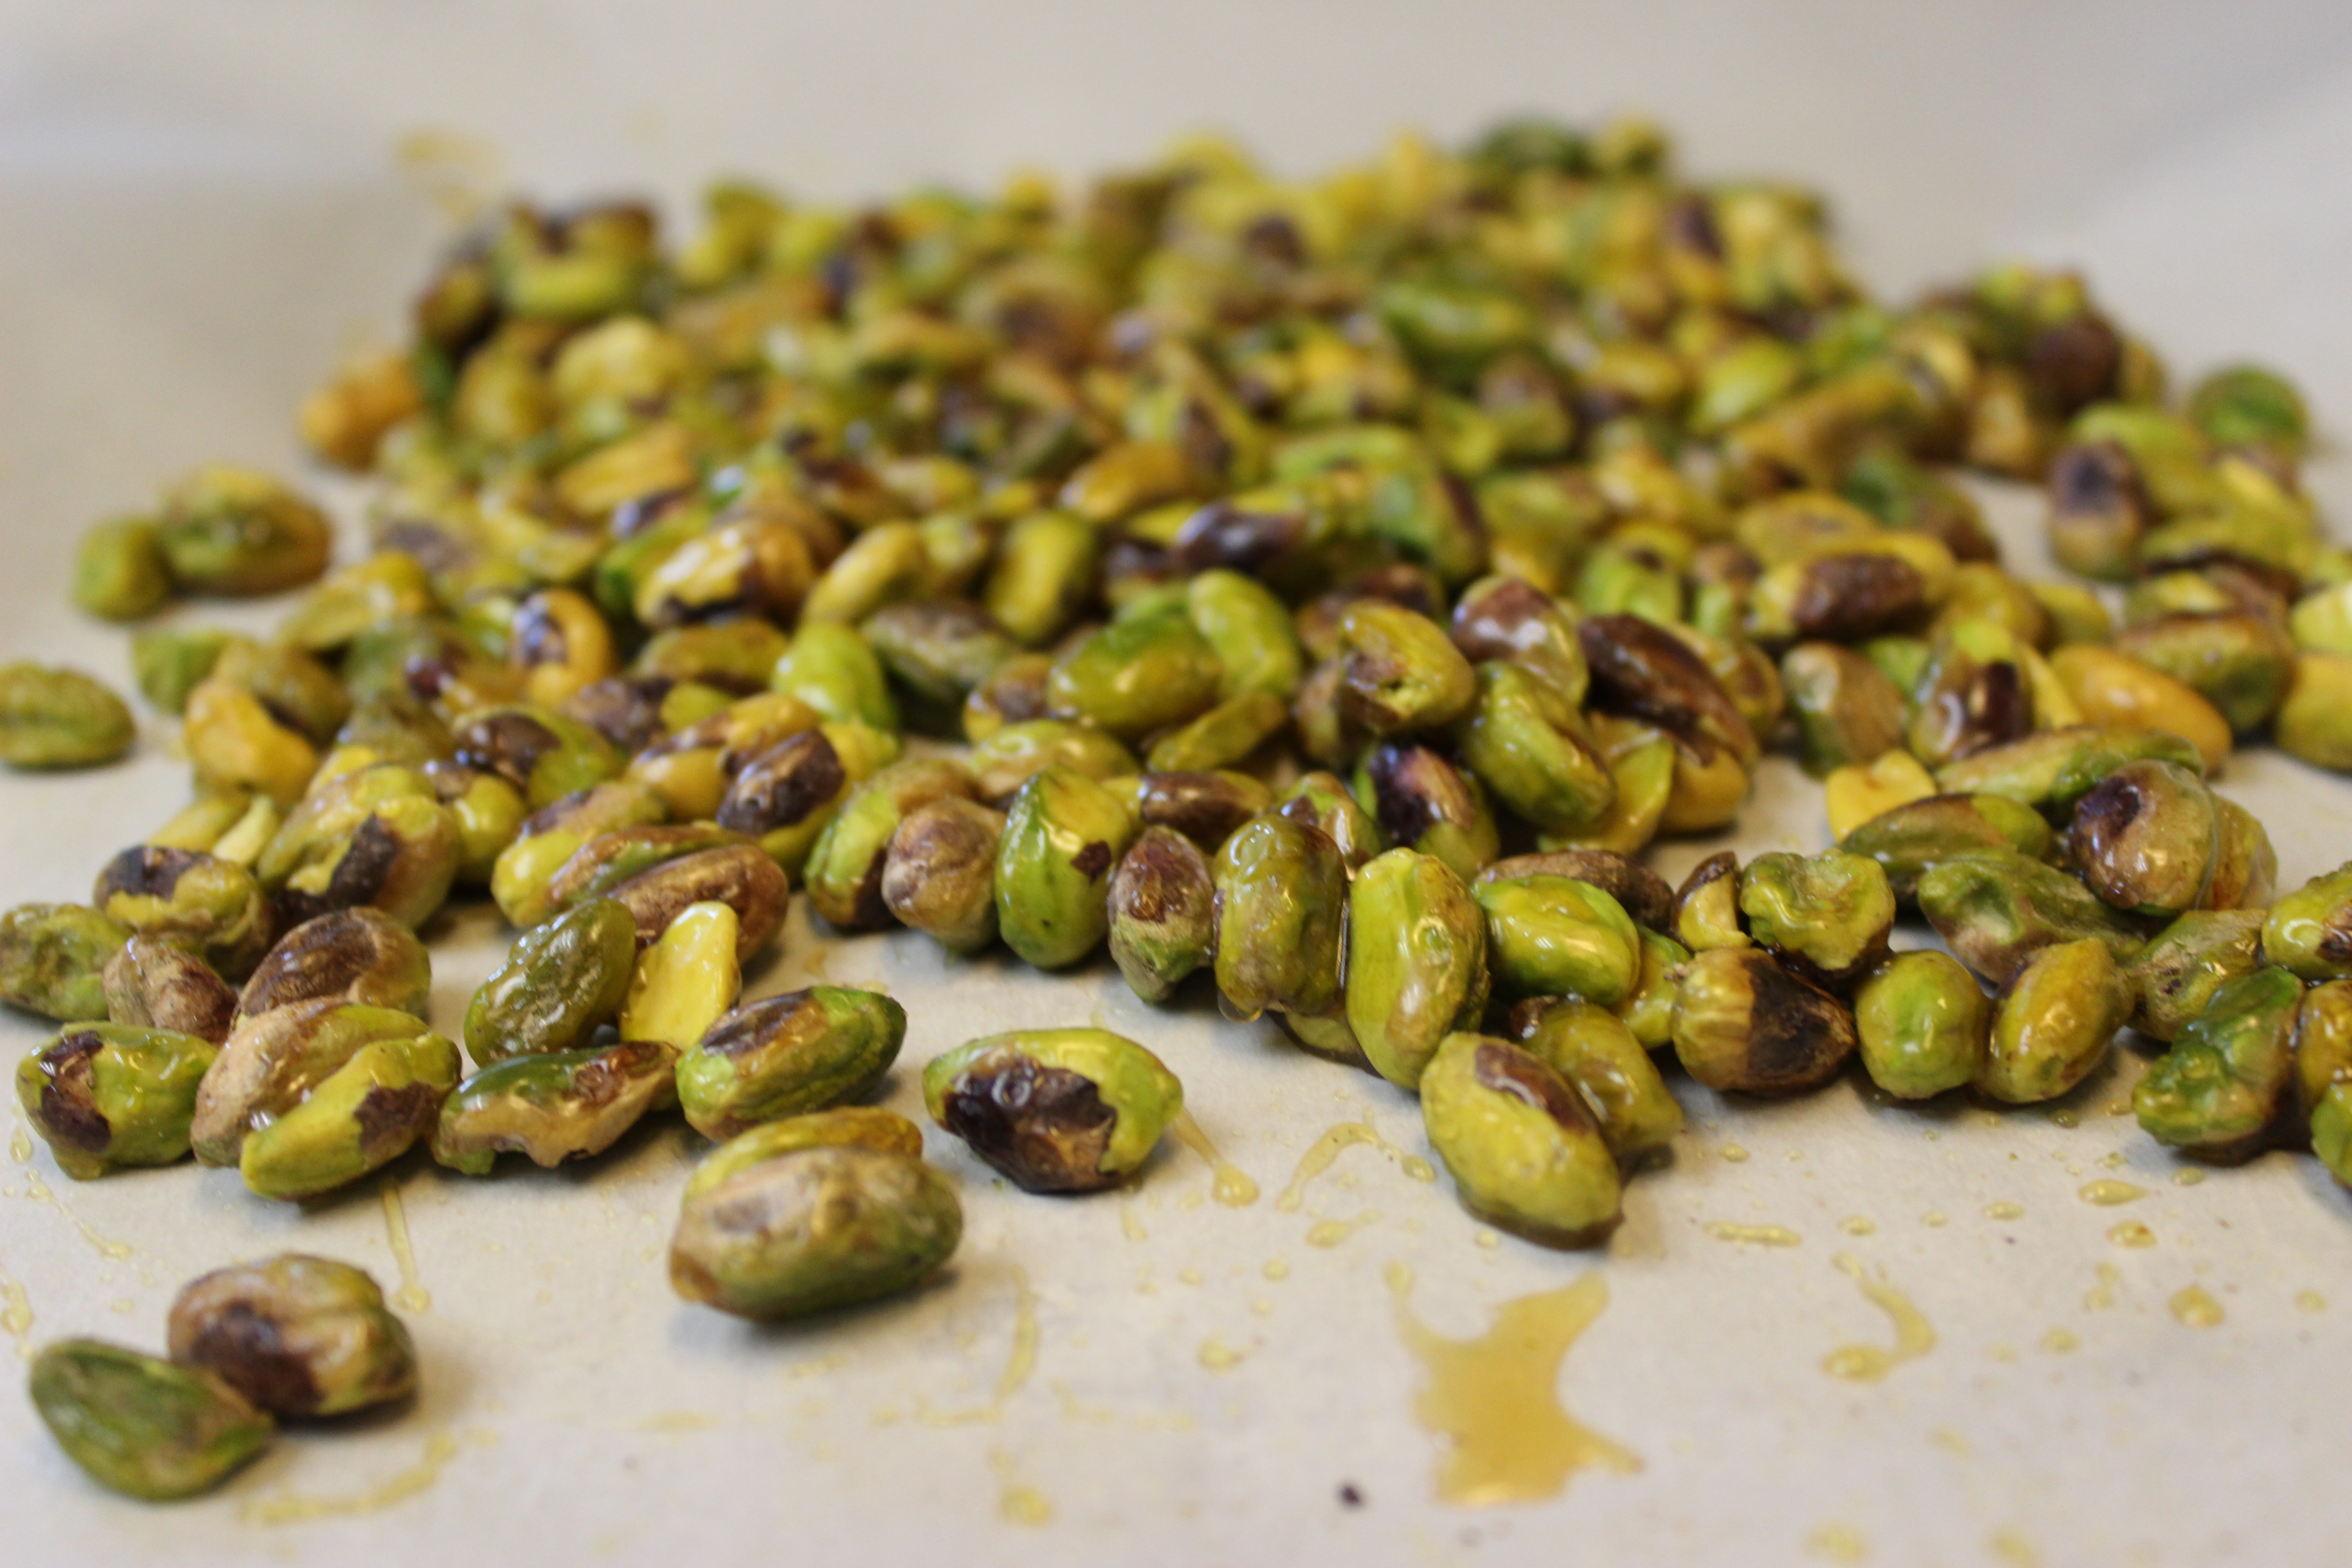
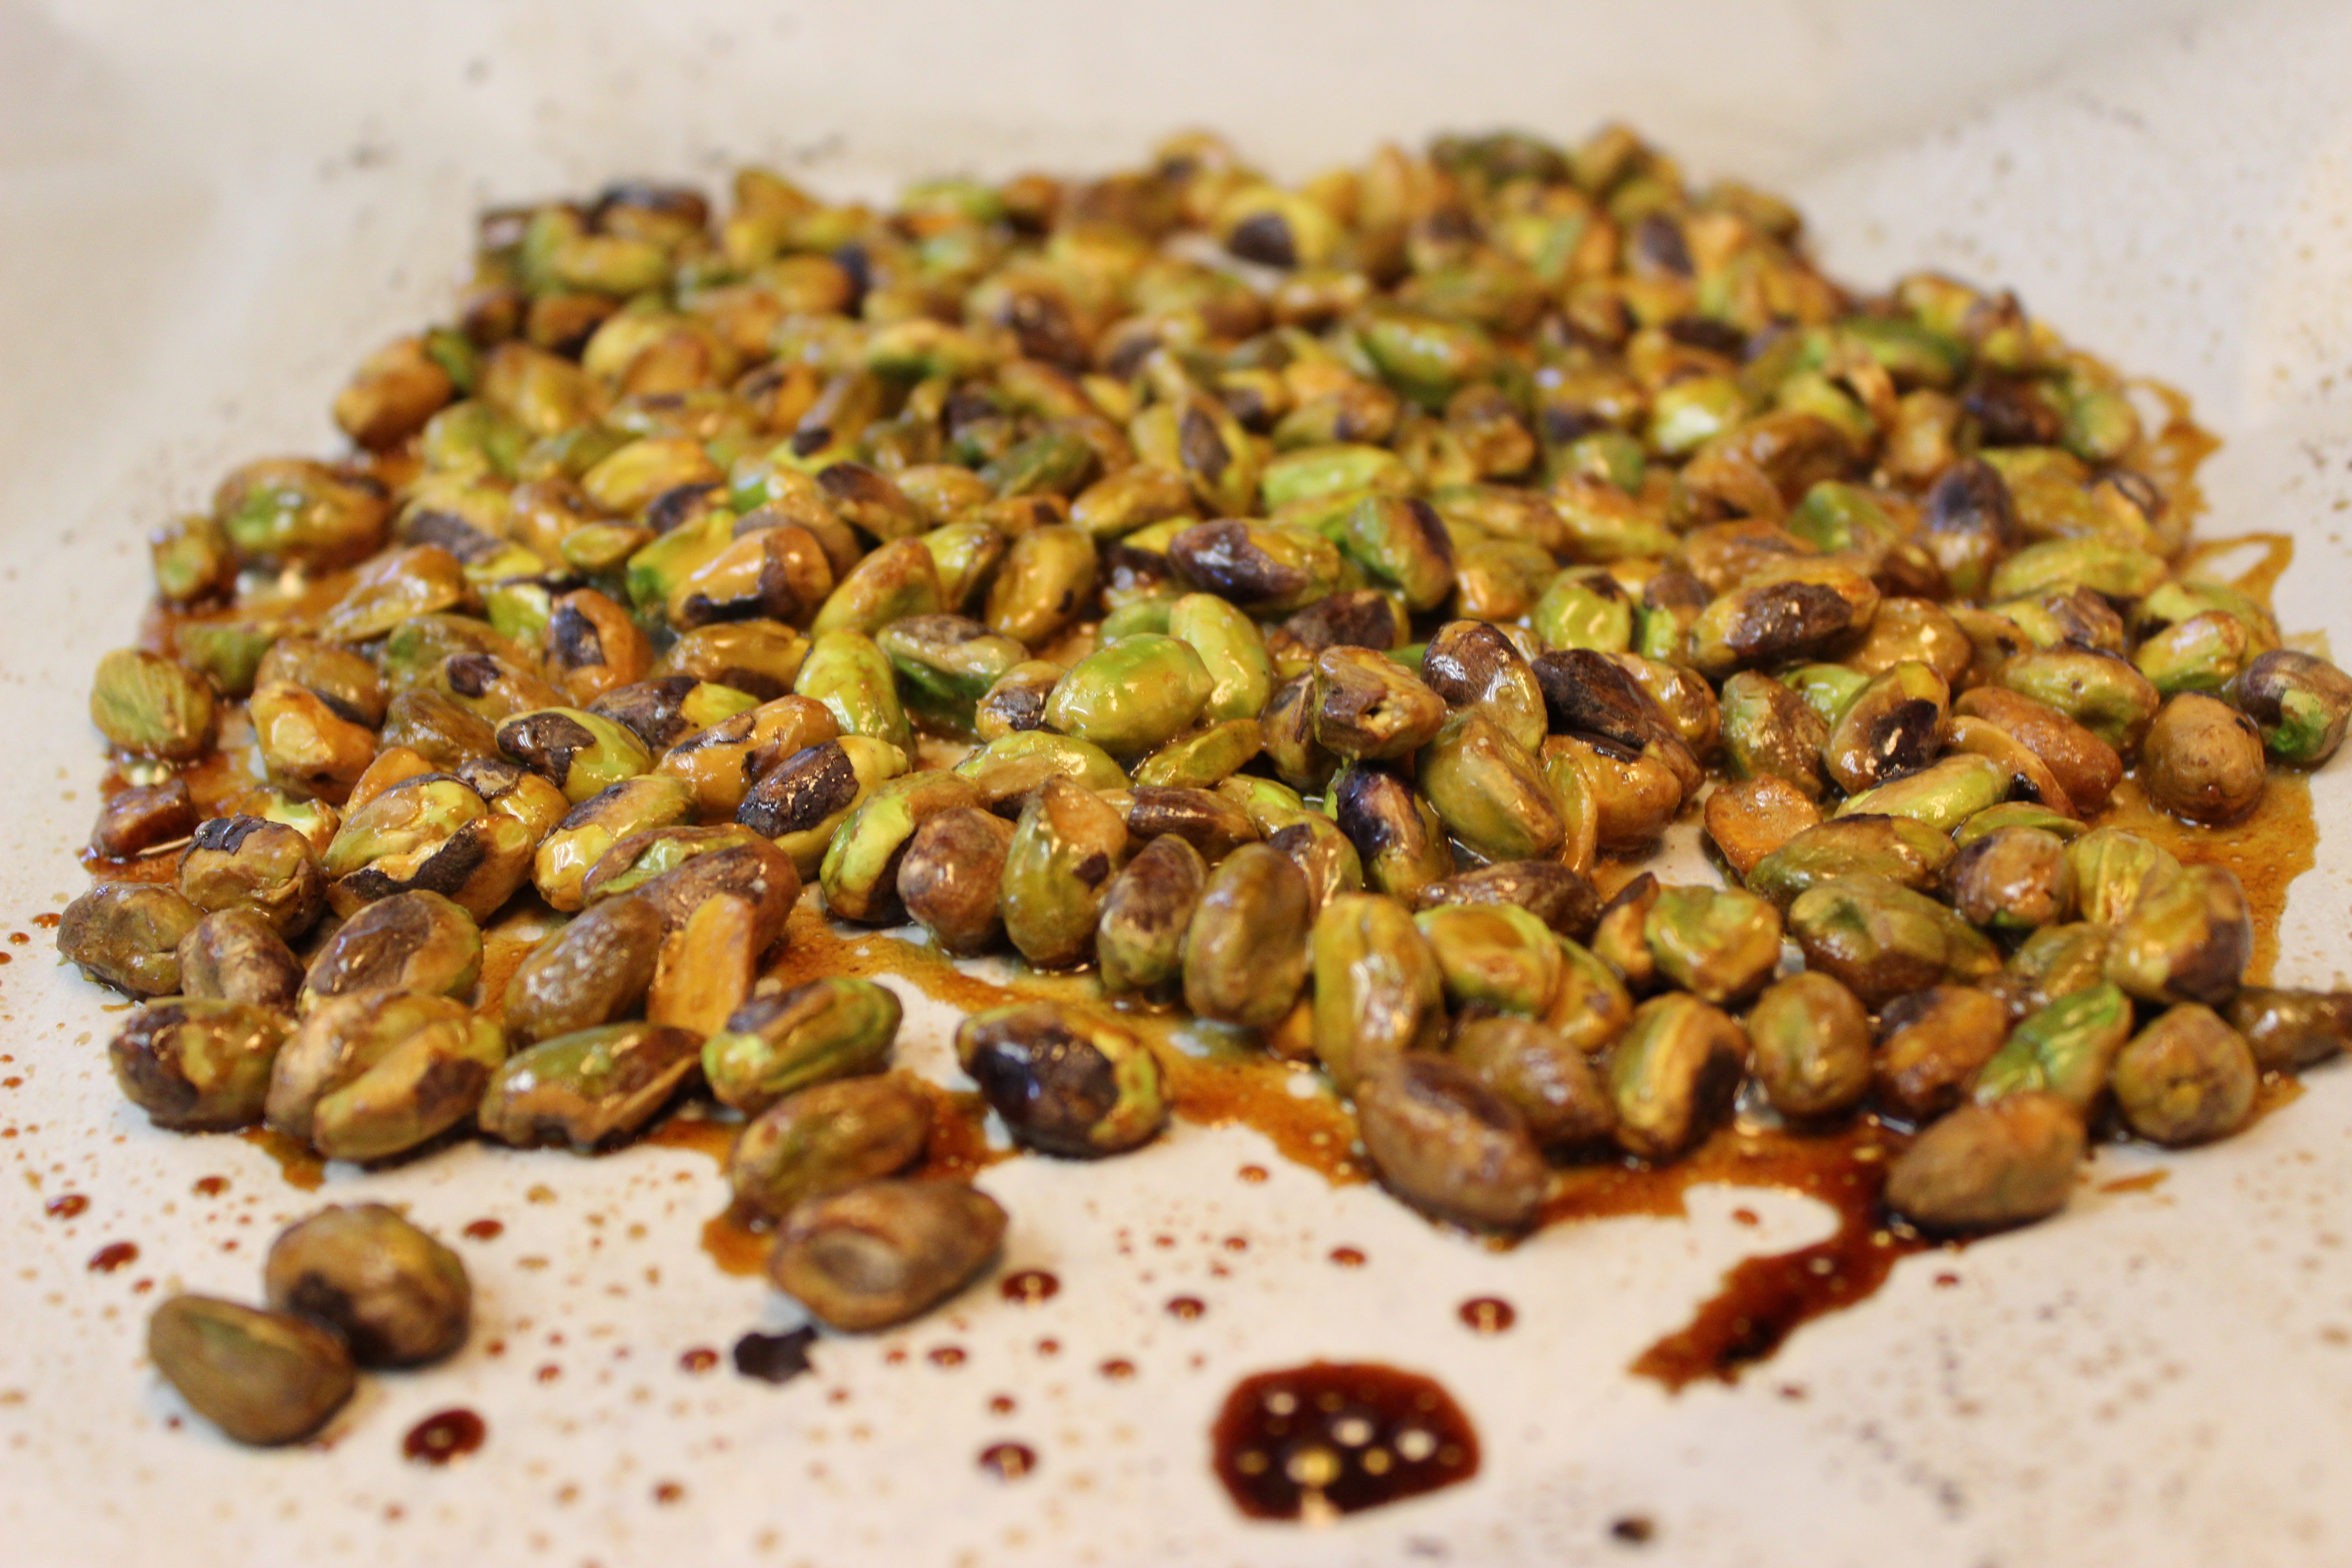
After rinsing, take the extra step of lightly sautéing the quinoa in some oil with little pepper first, to enhance it’s yummy nutty flavor and give it some depth.

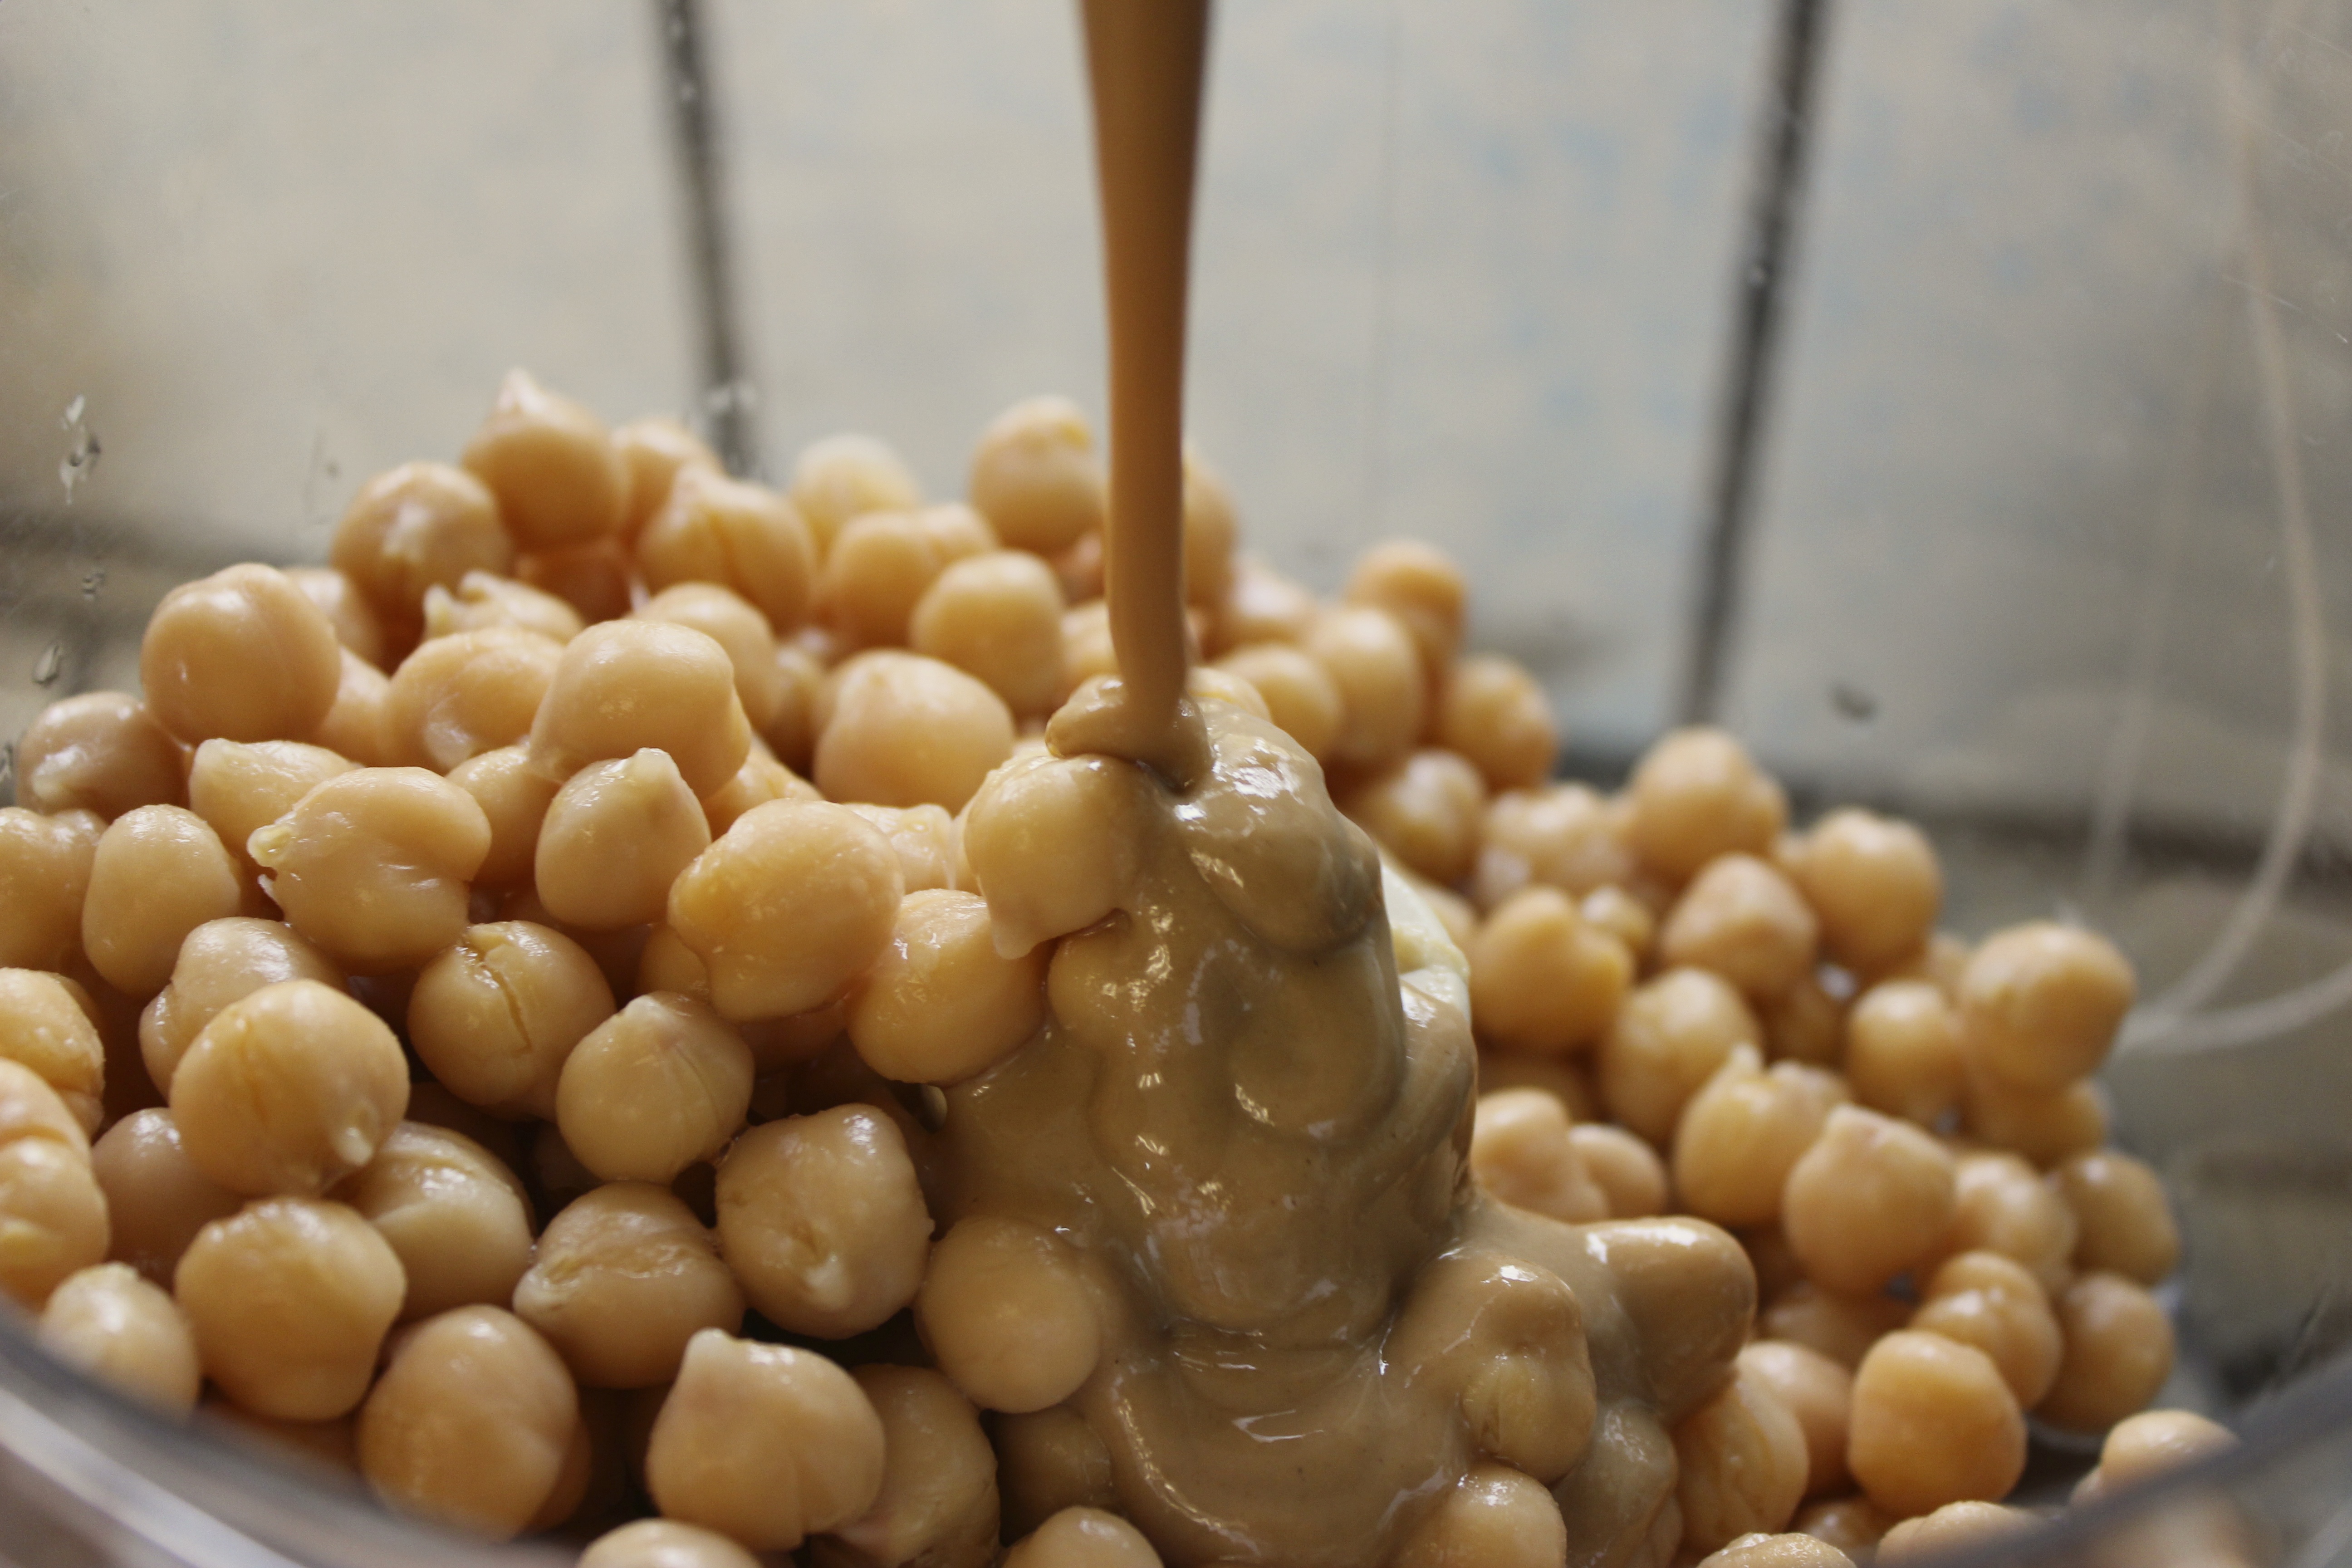
After sautéing for a few minutes, add 2 cups of the chicken stock.

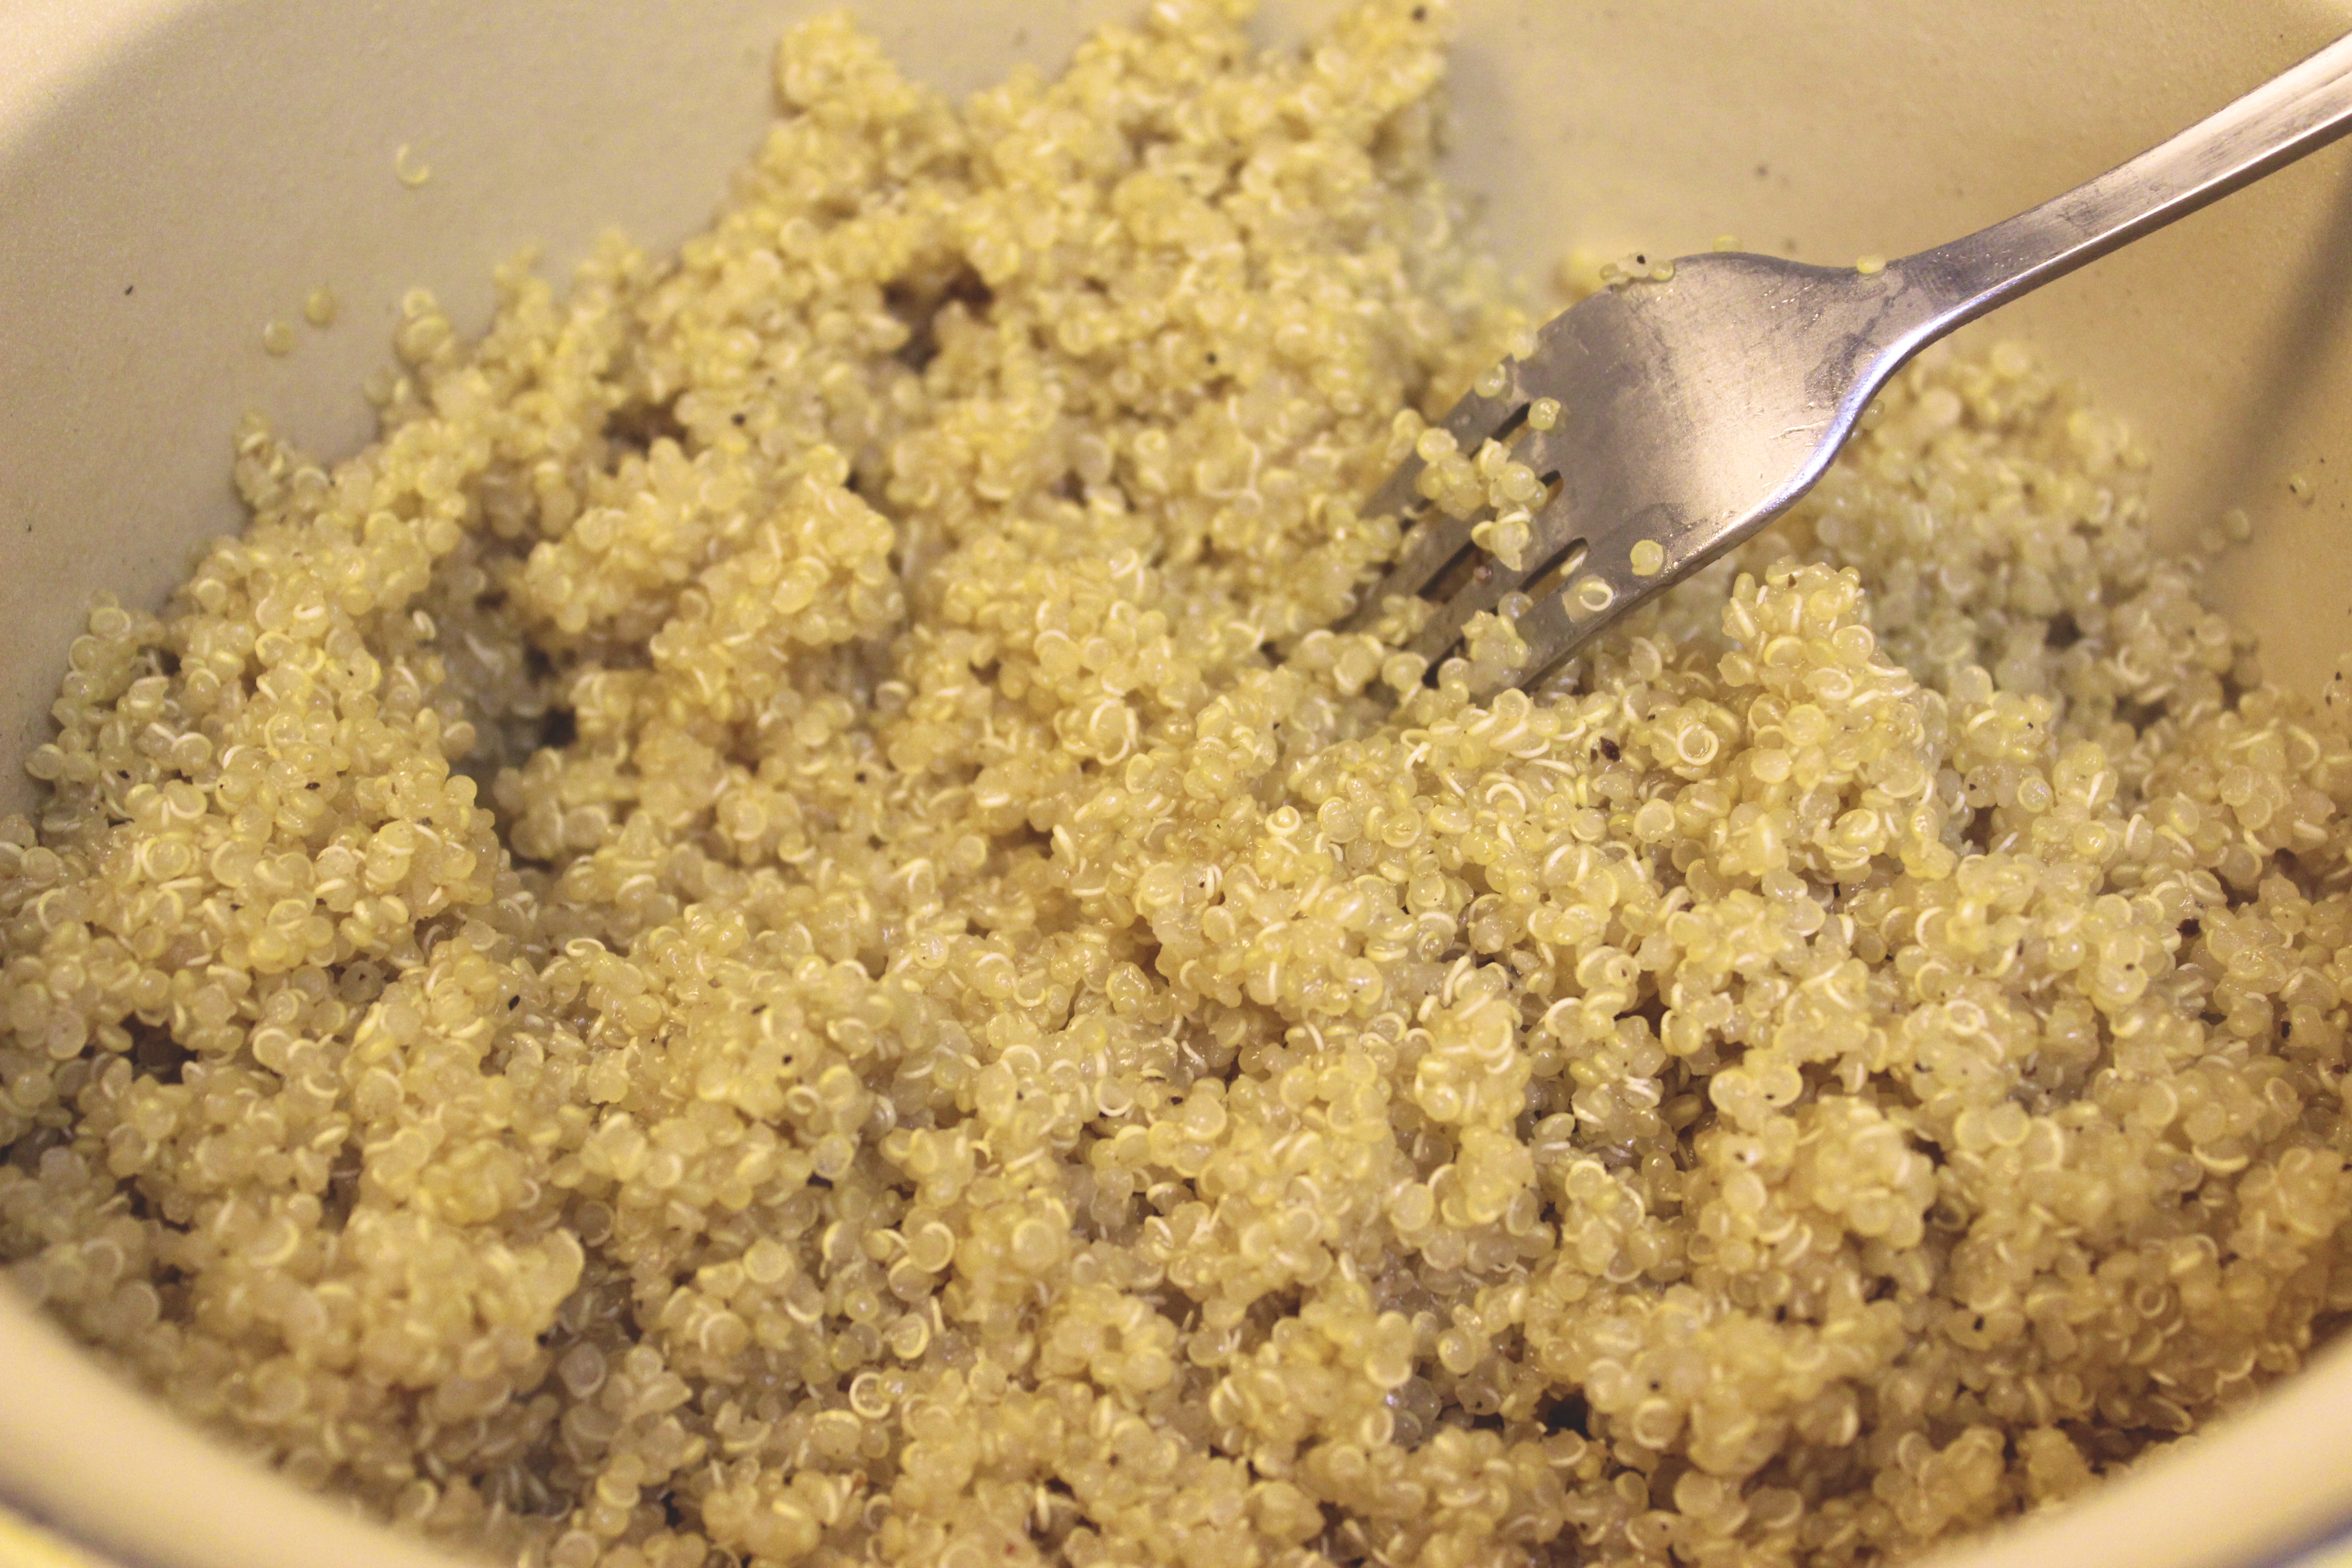
Cook according to your package’s instructions. I brought it to a boil, stirred it, covered it, then reduced it to simmer and cooked it for 15 mins that way. Then I turned off the heat, left the cover on and let it sit like that for 5 more mins. Then I fluffed it with a fork and tried not to dive in head first. The smell from the fragrant stock I made was intoxicating.

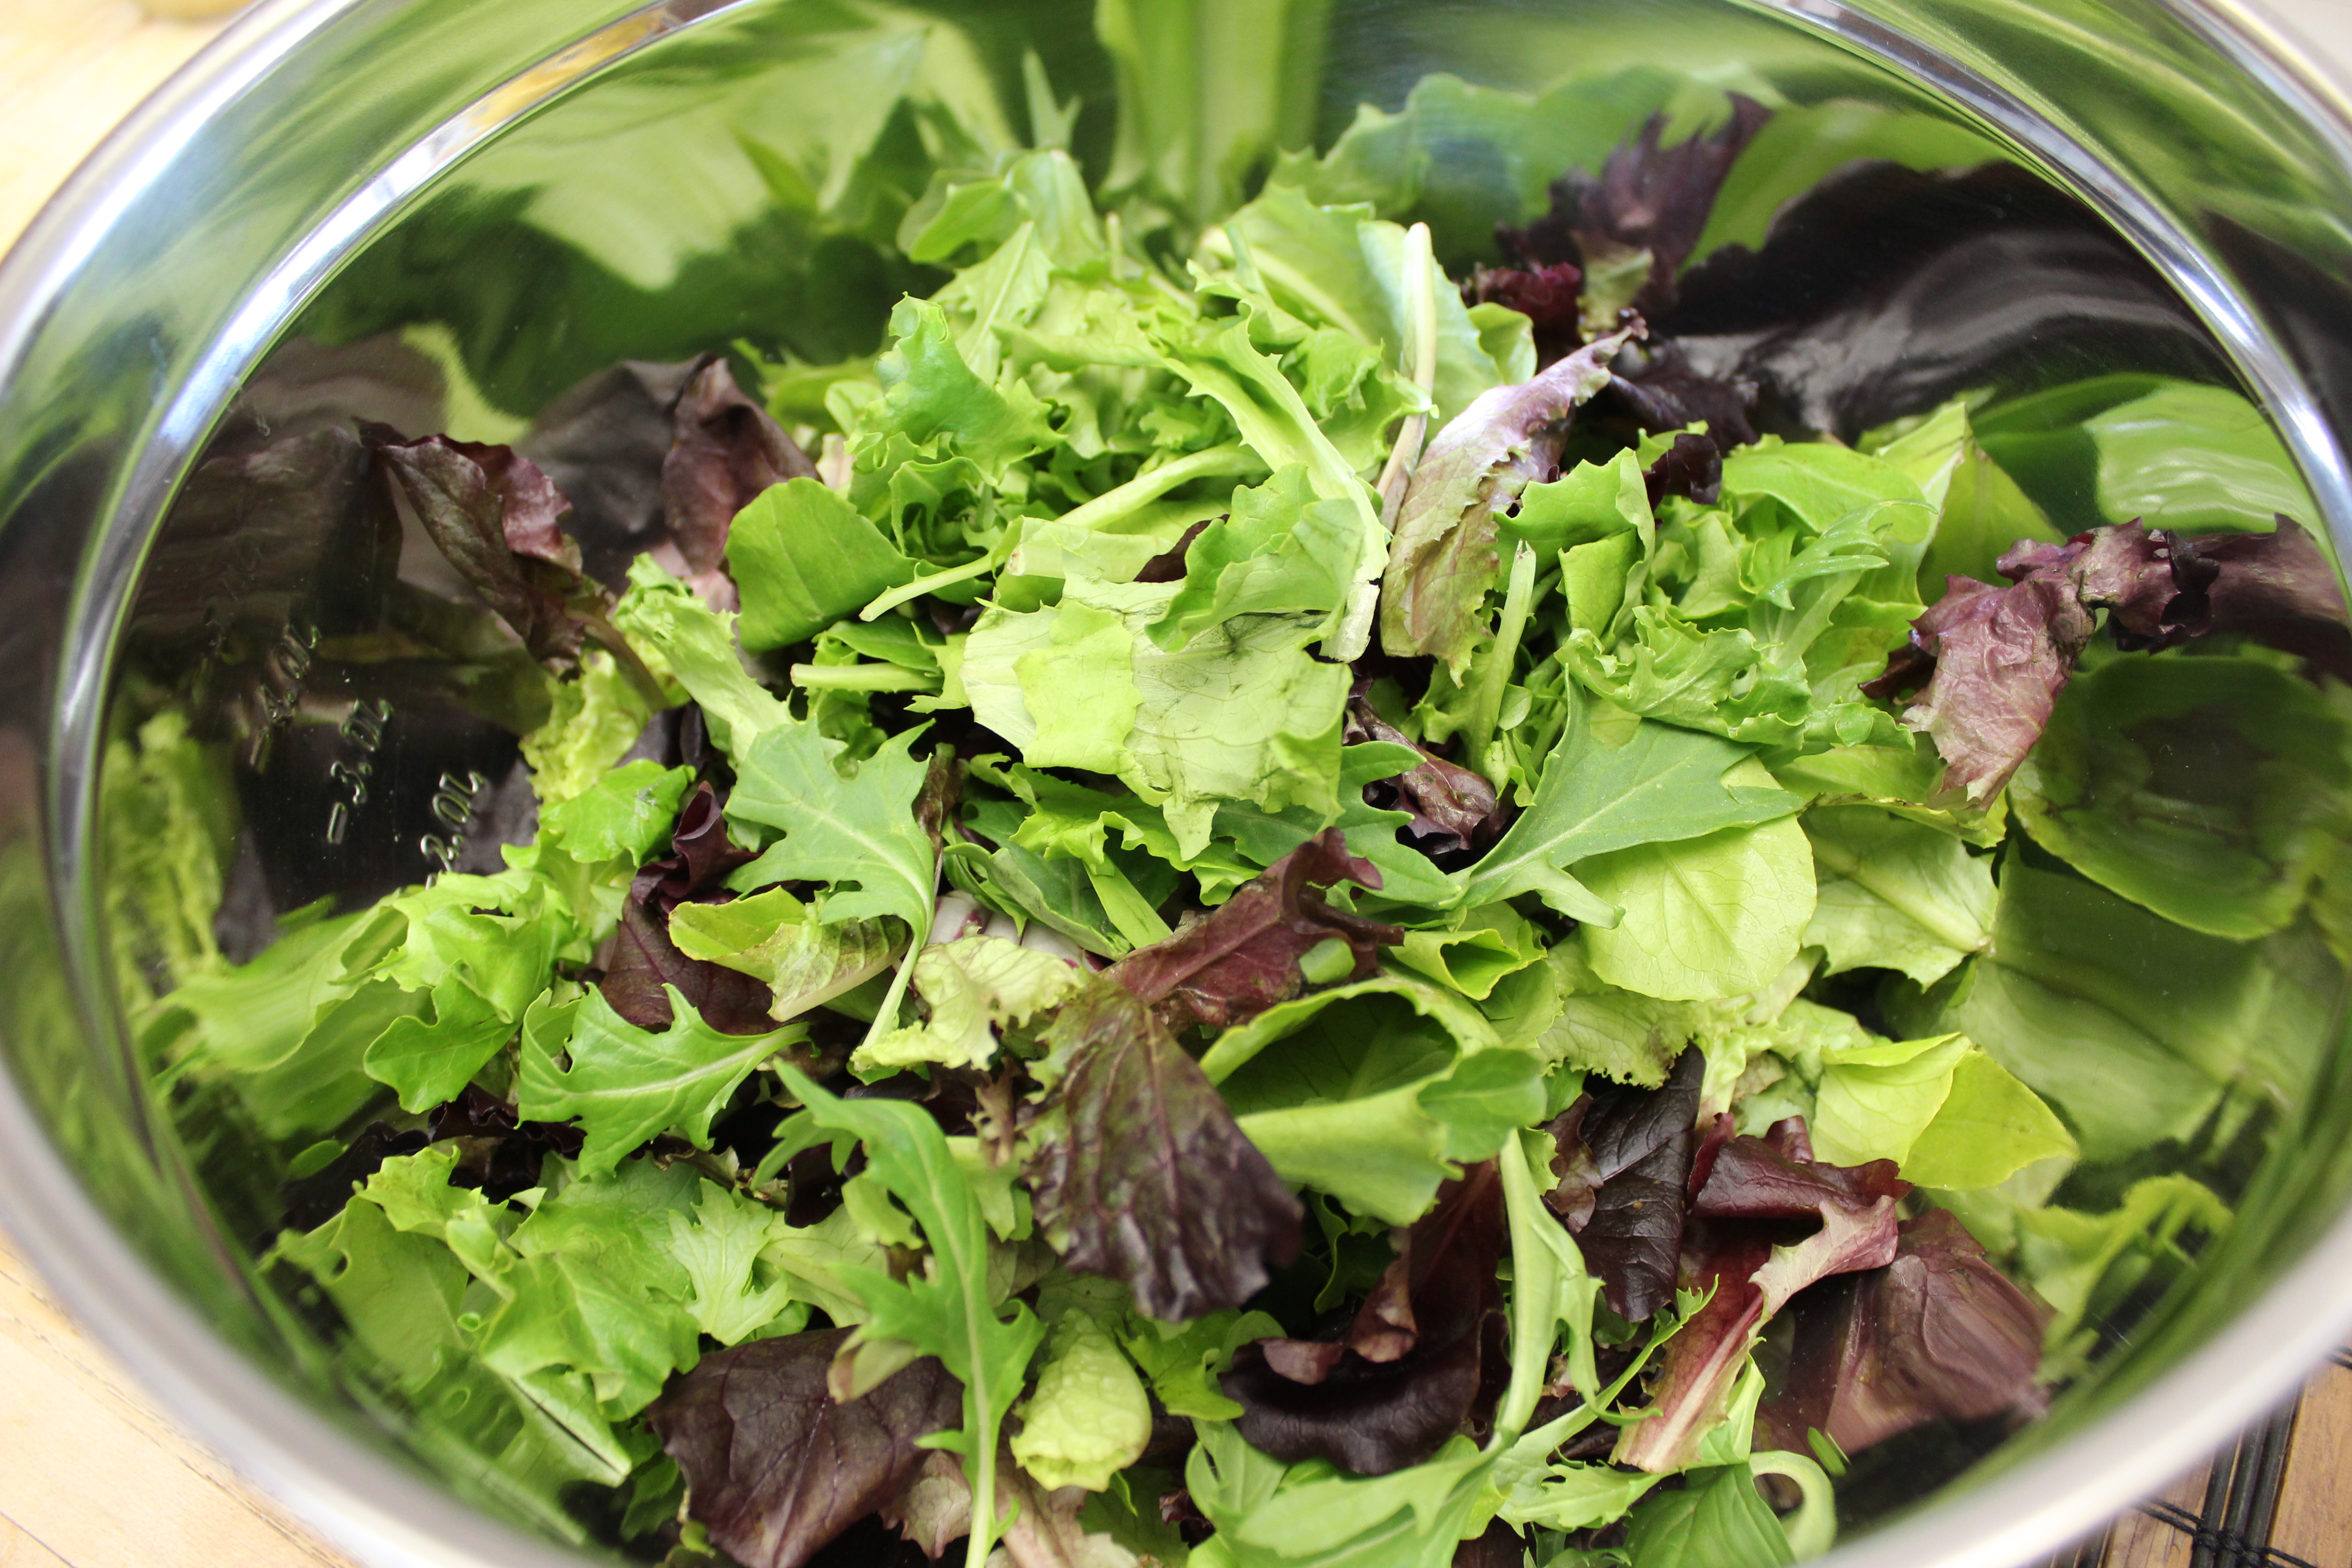
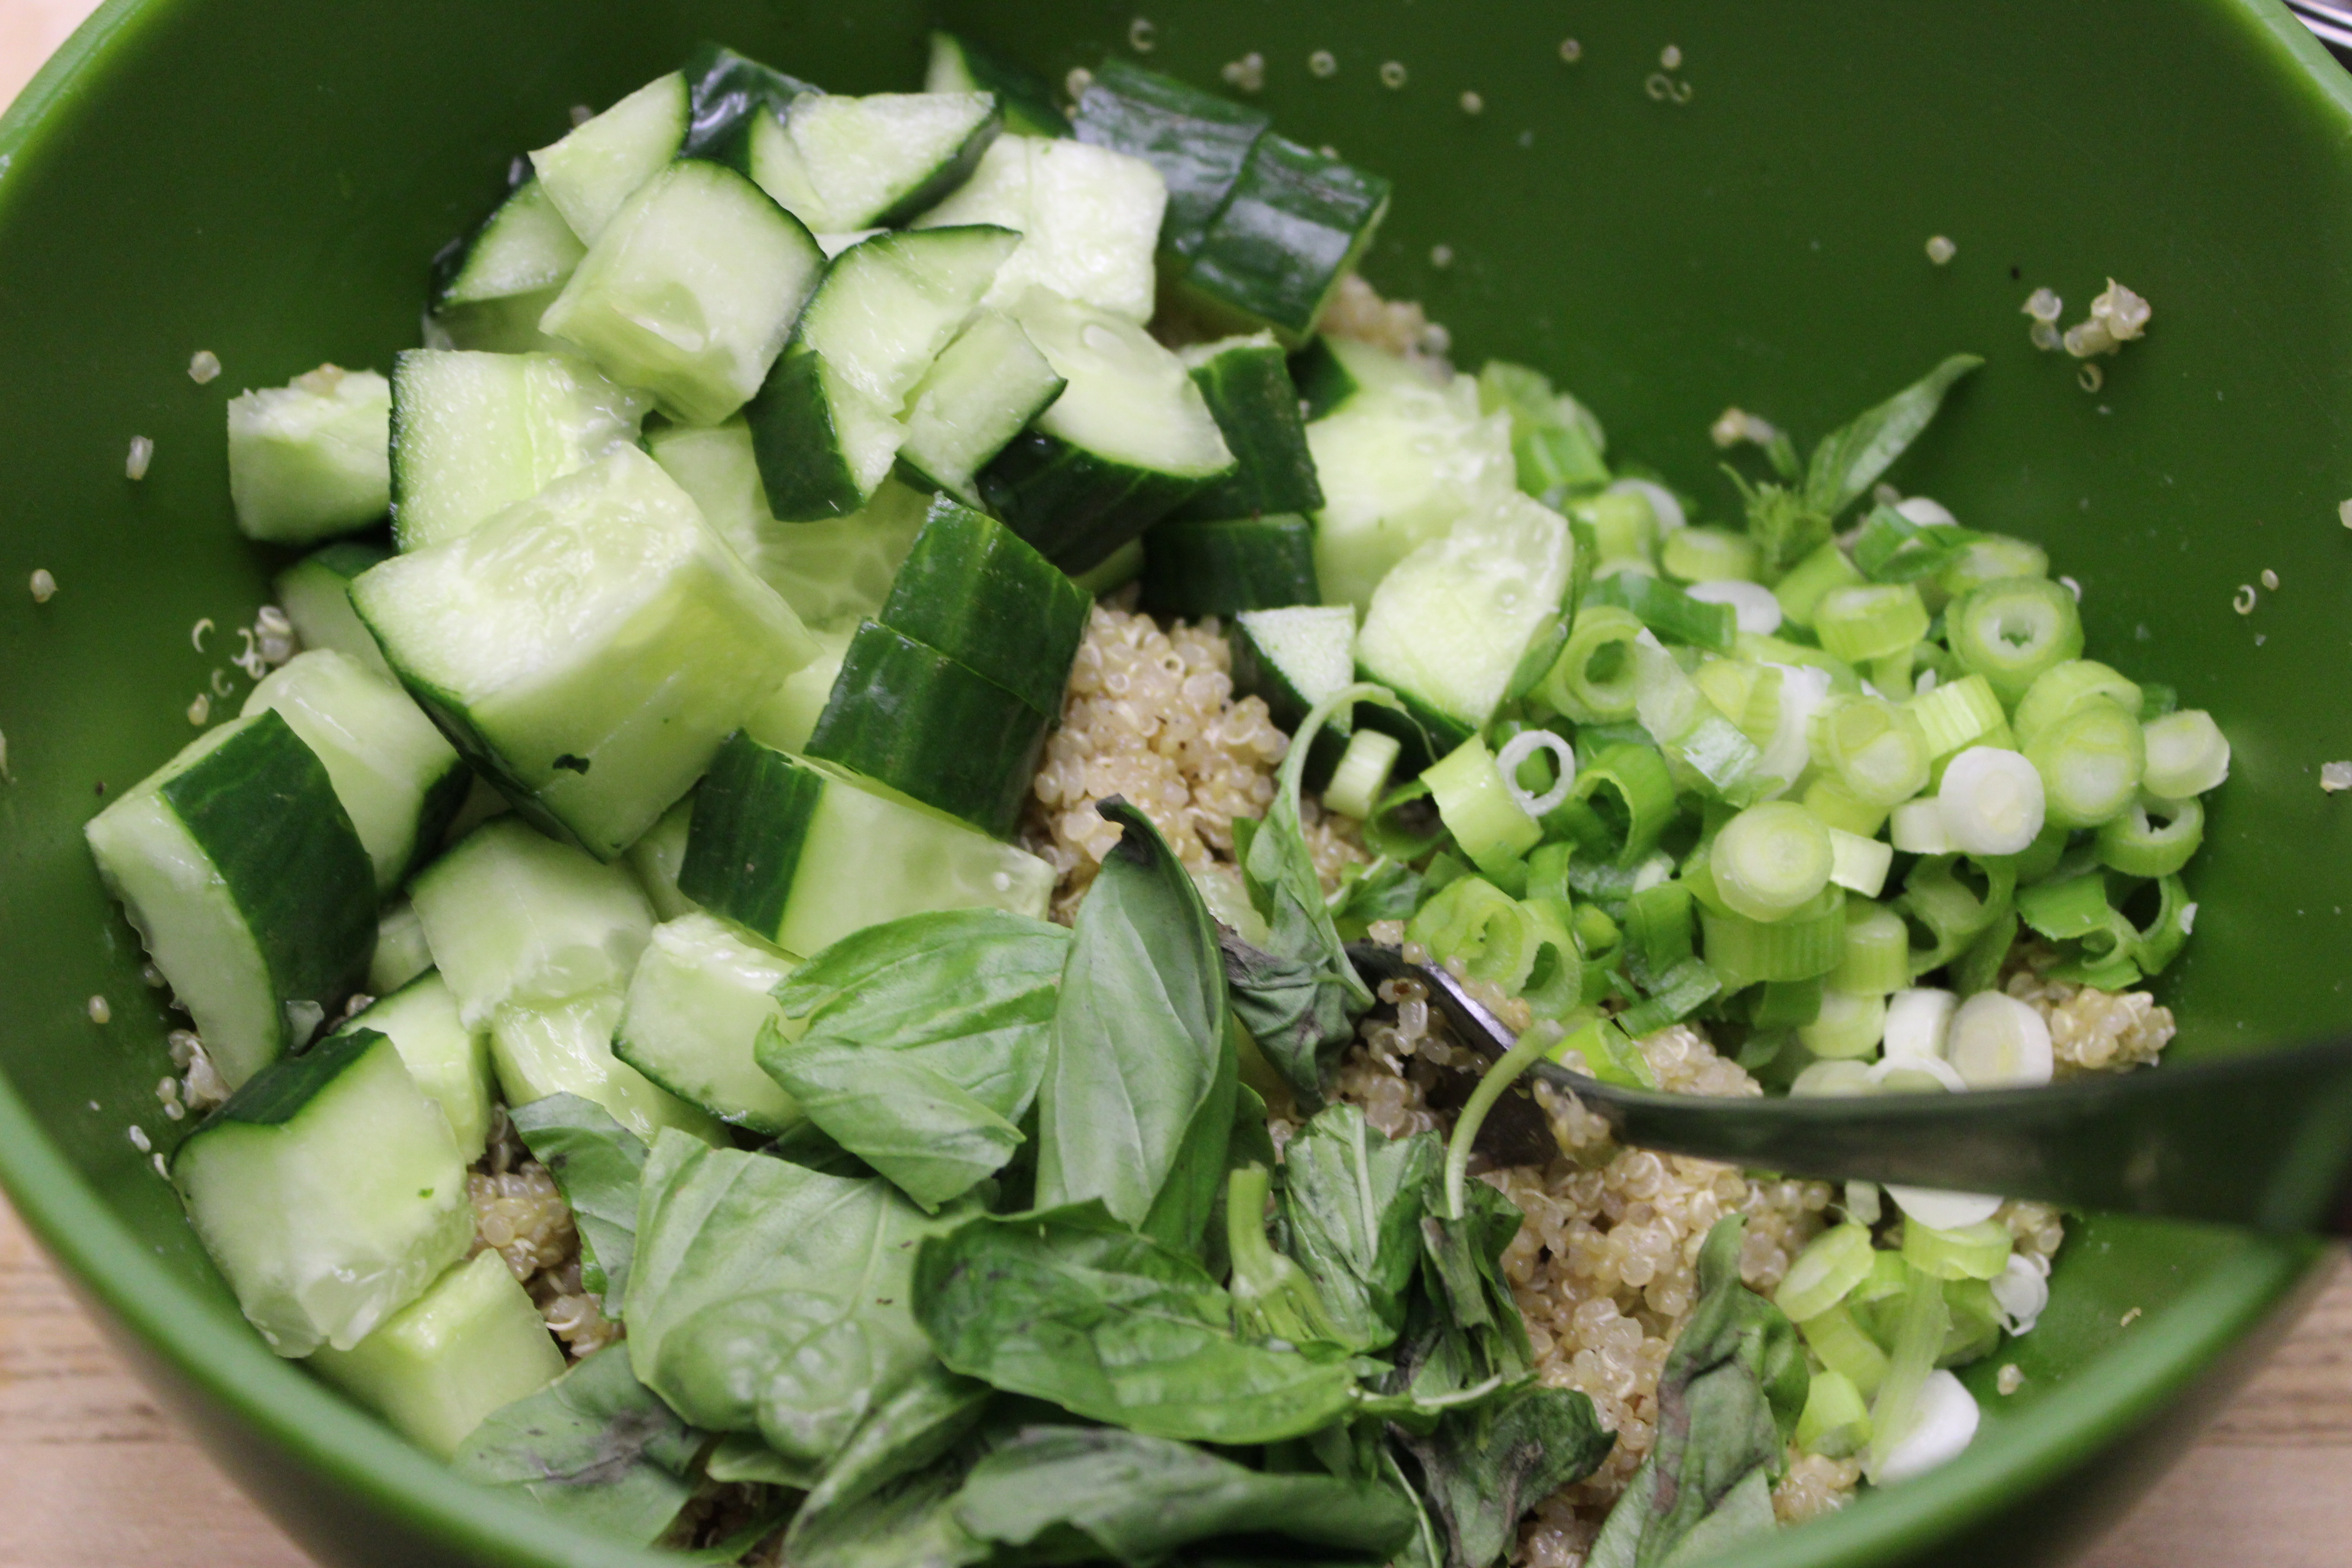
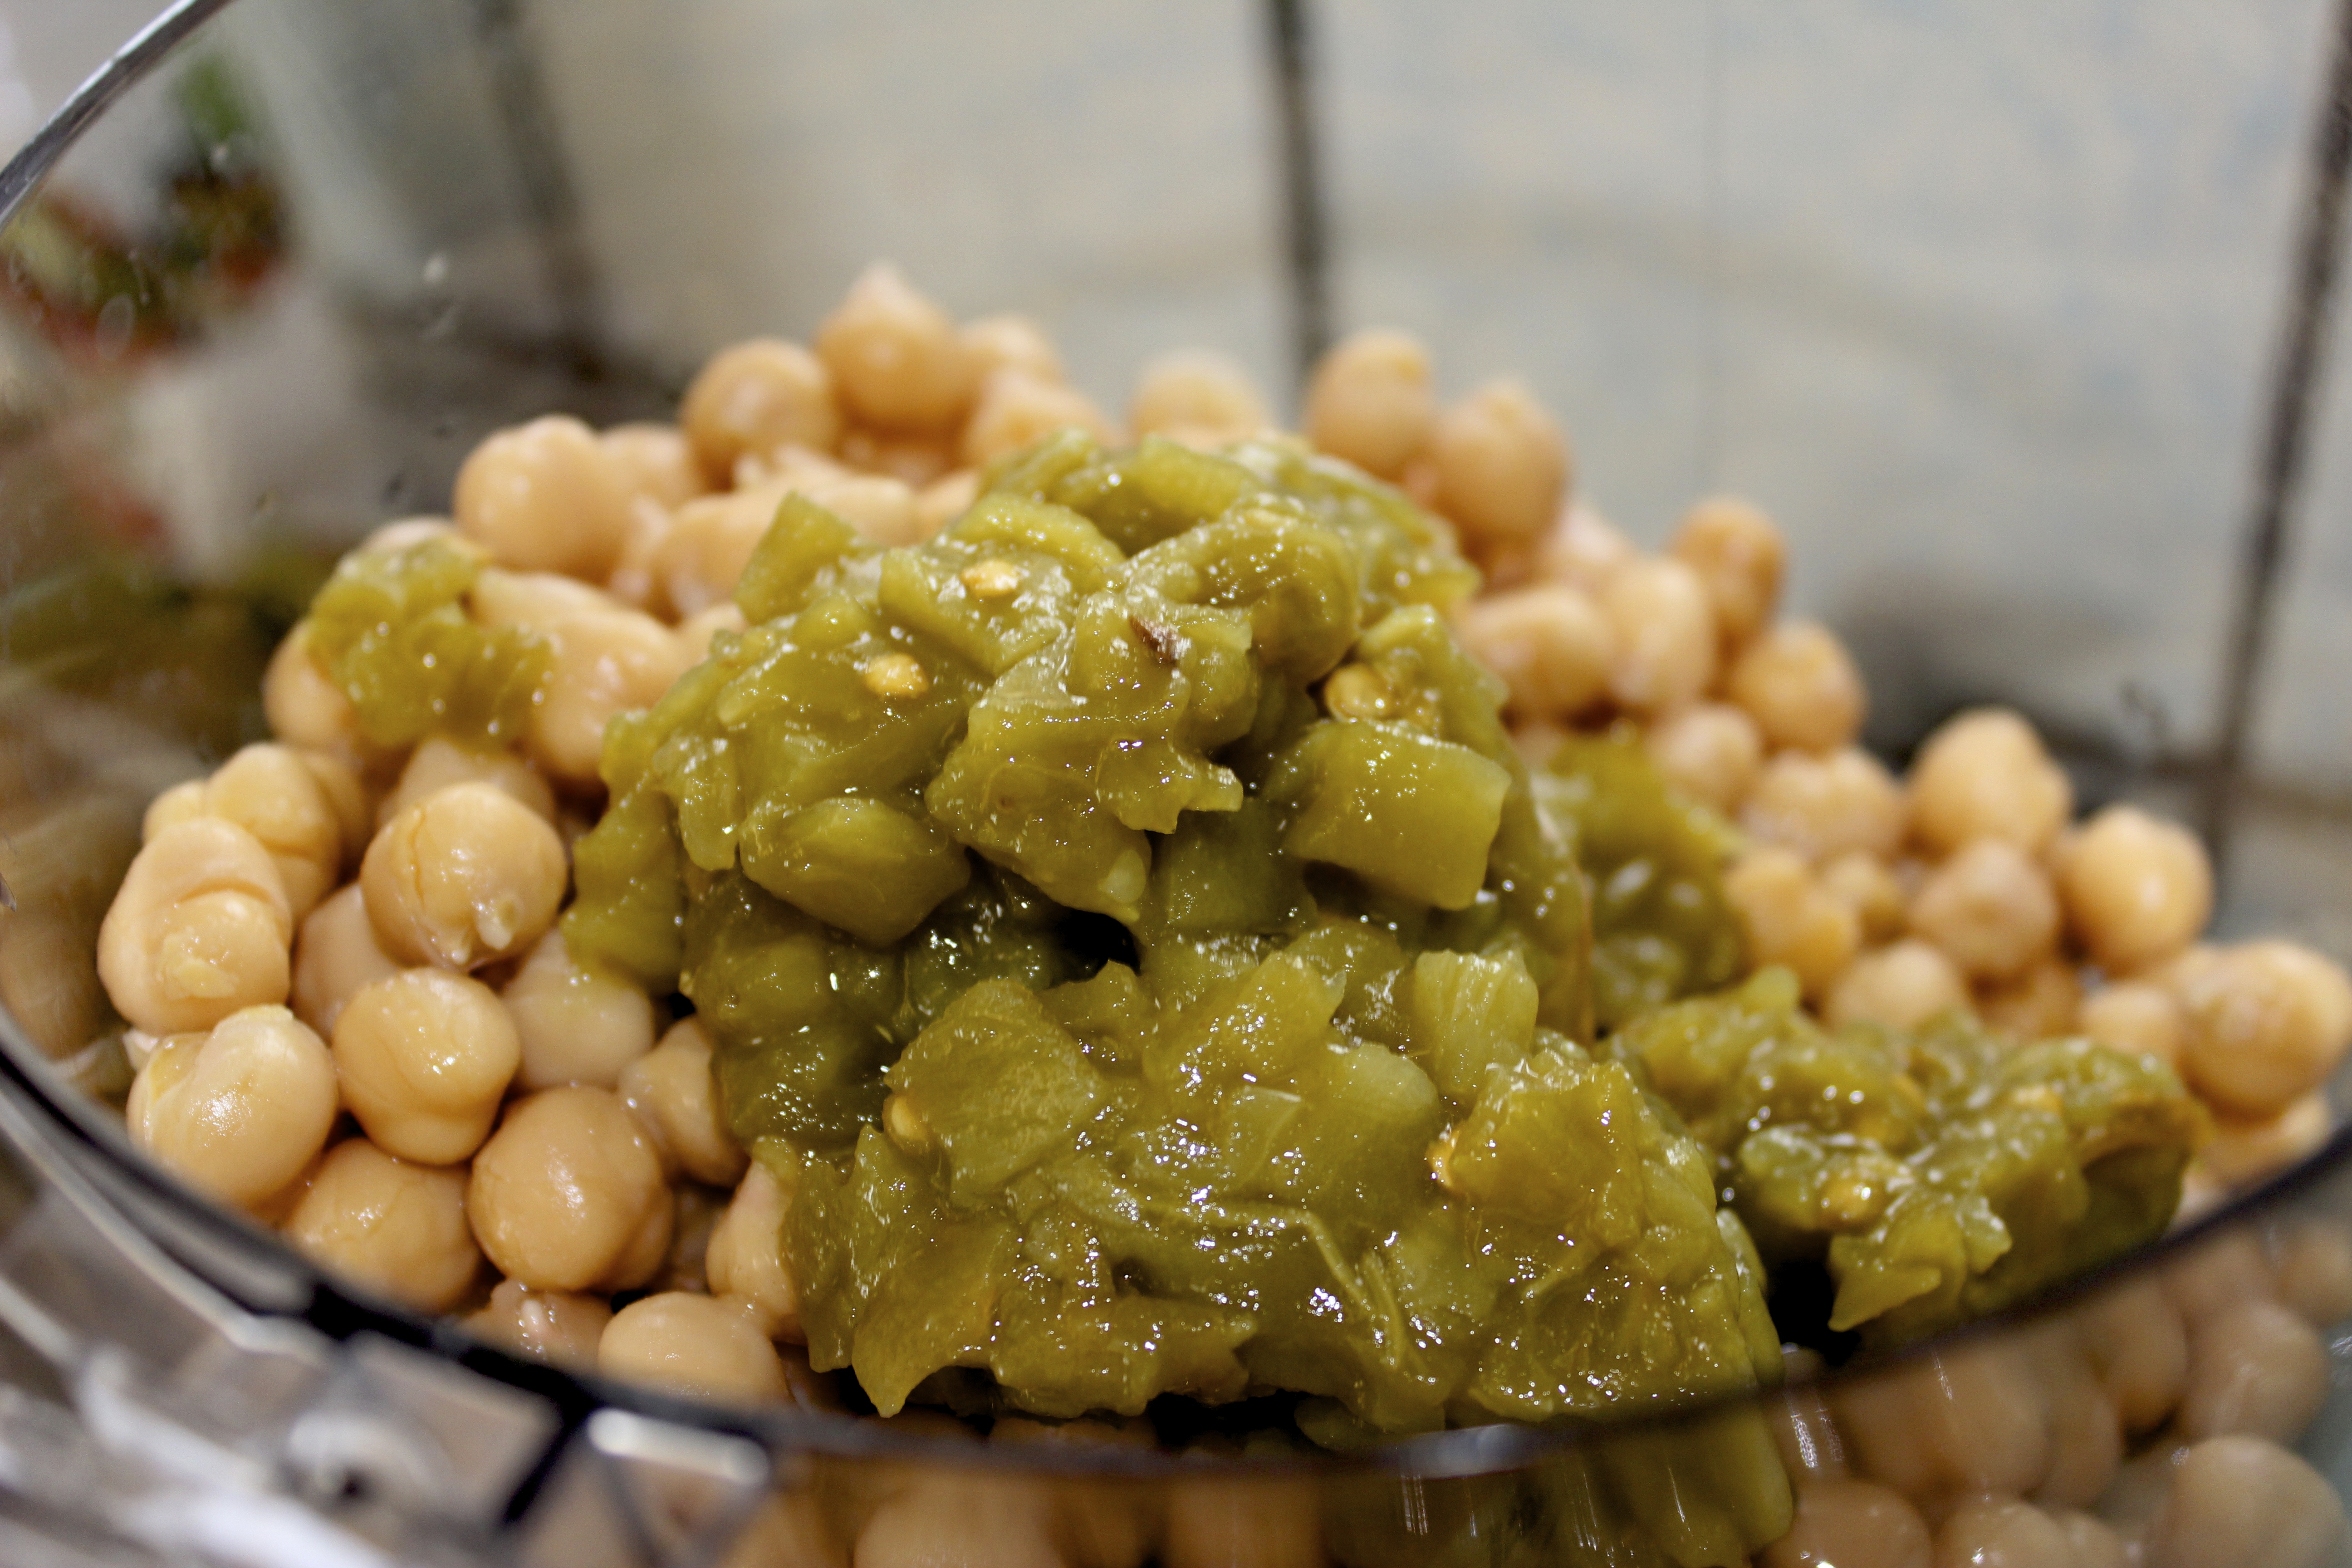
Once the quinoa was cooled, I added all the other ingredients.

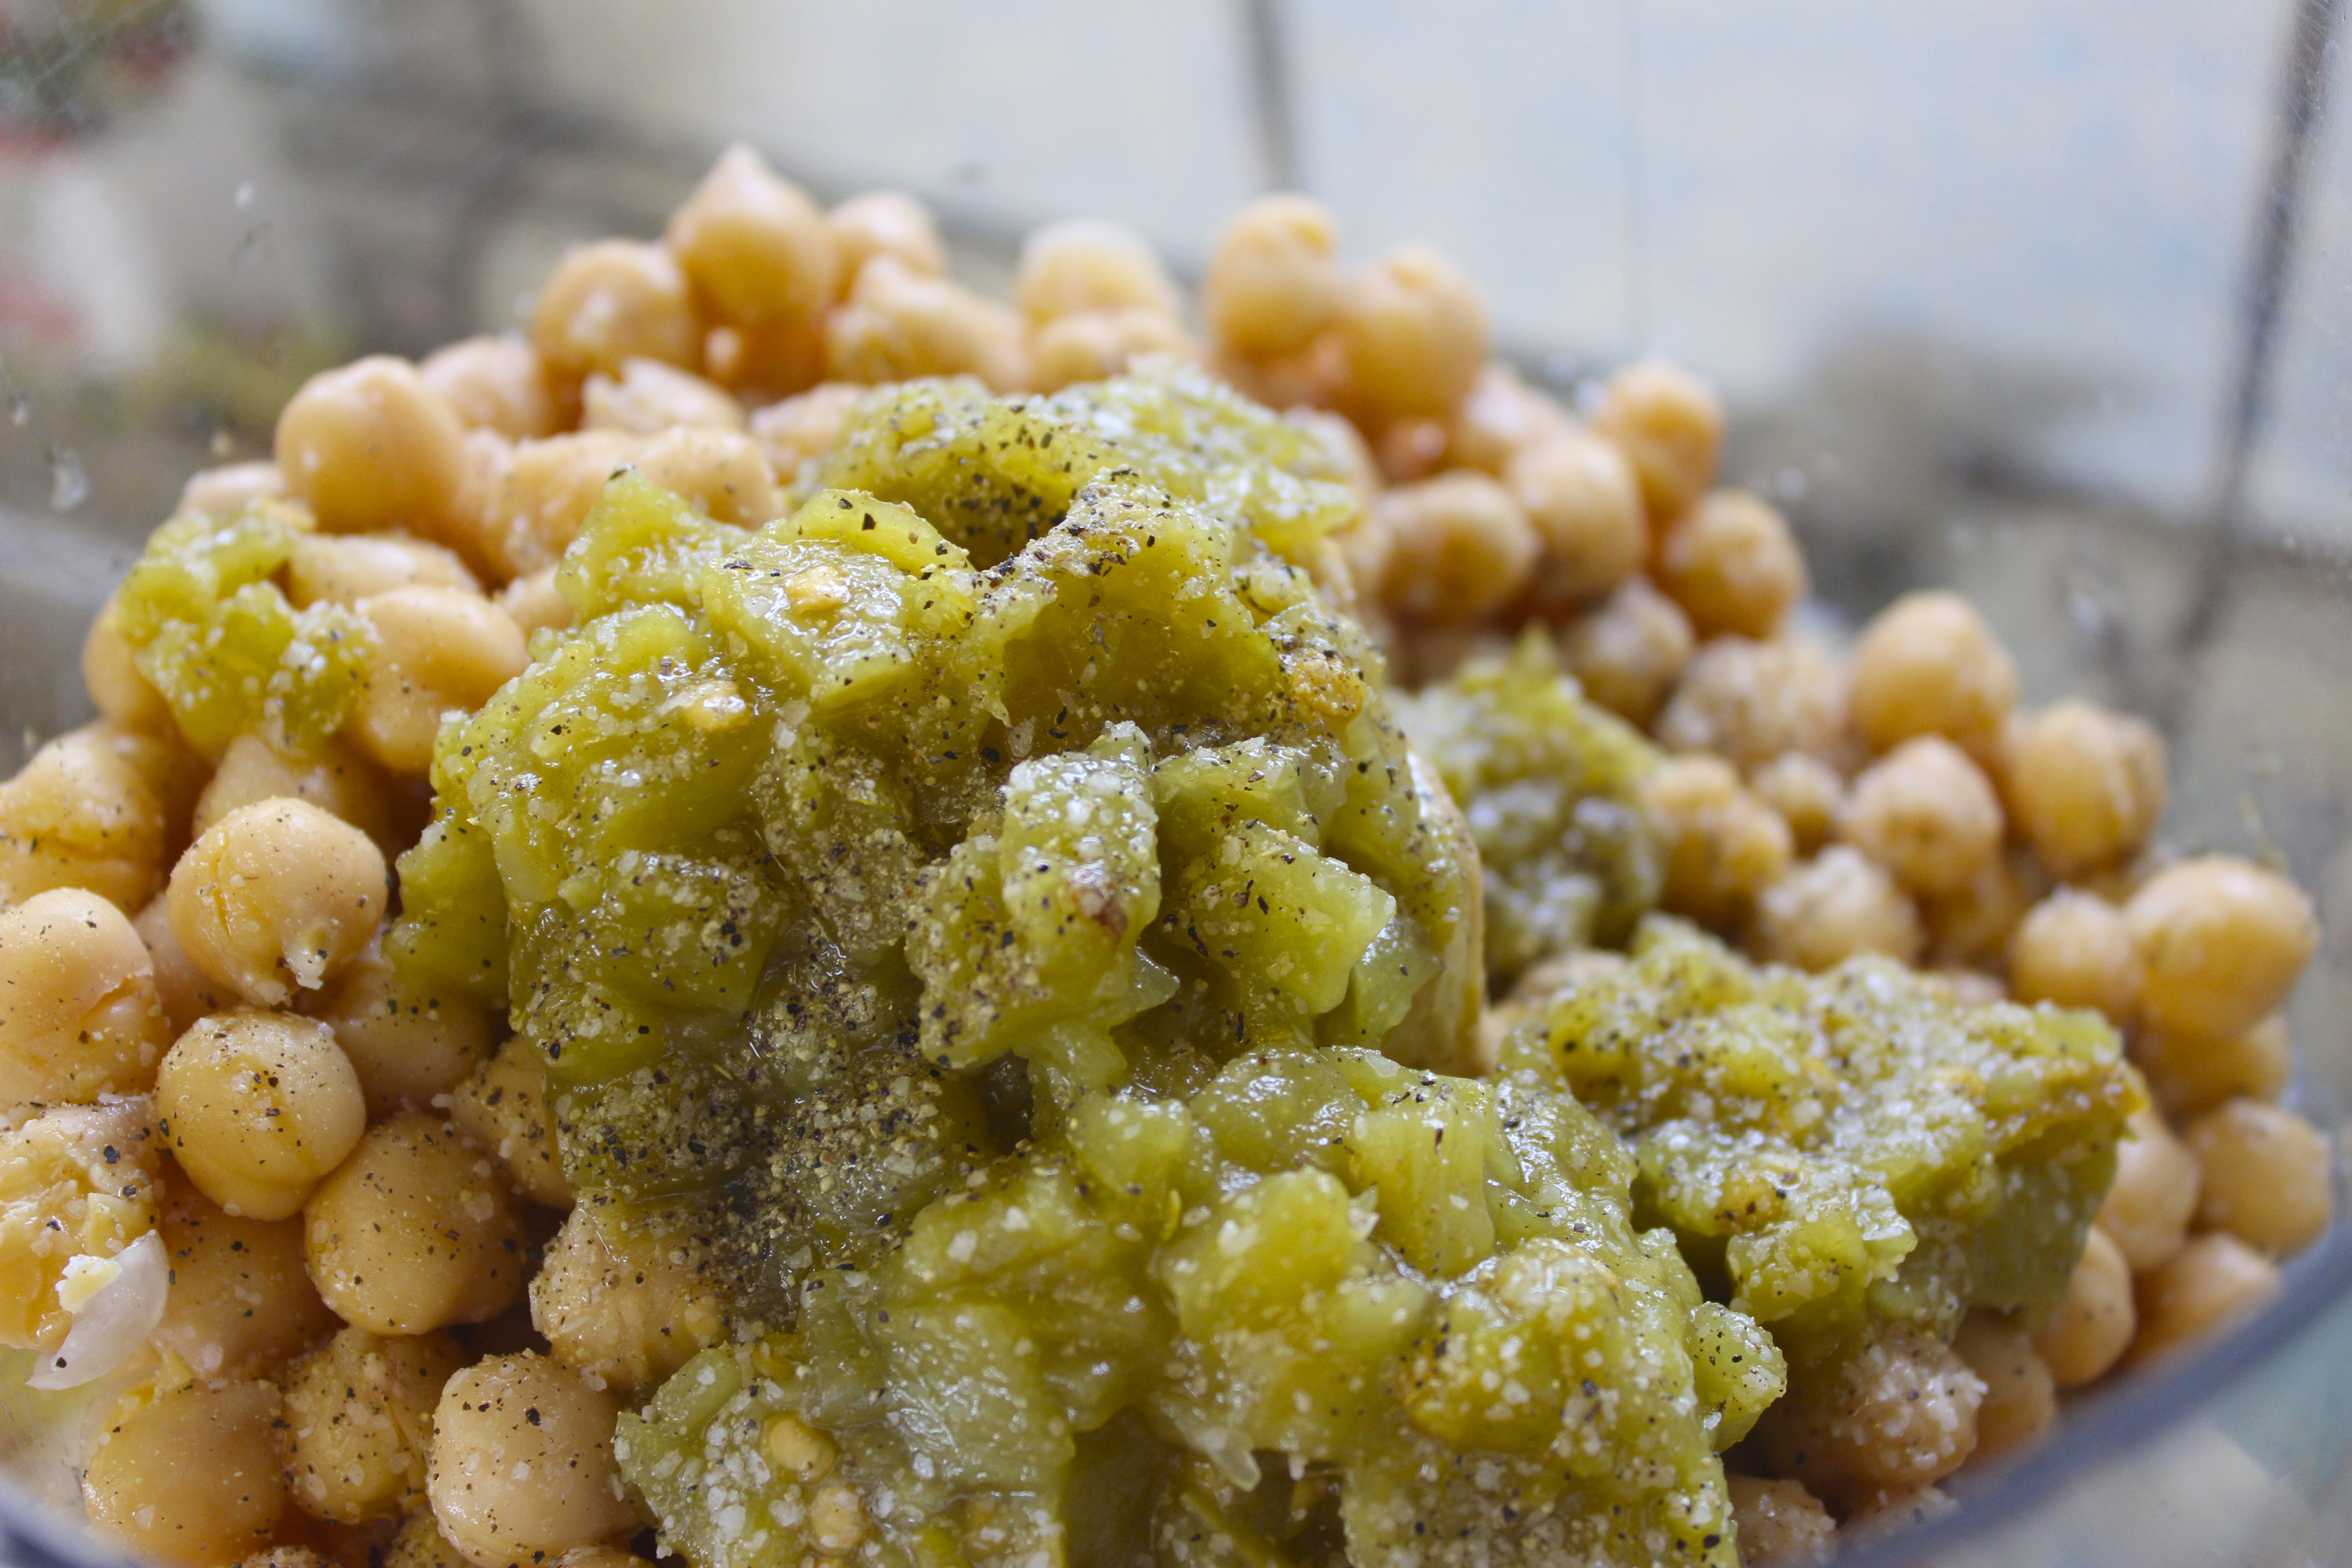
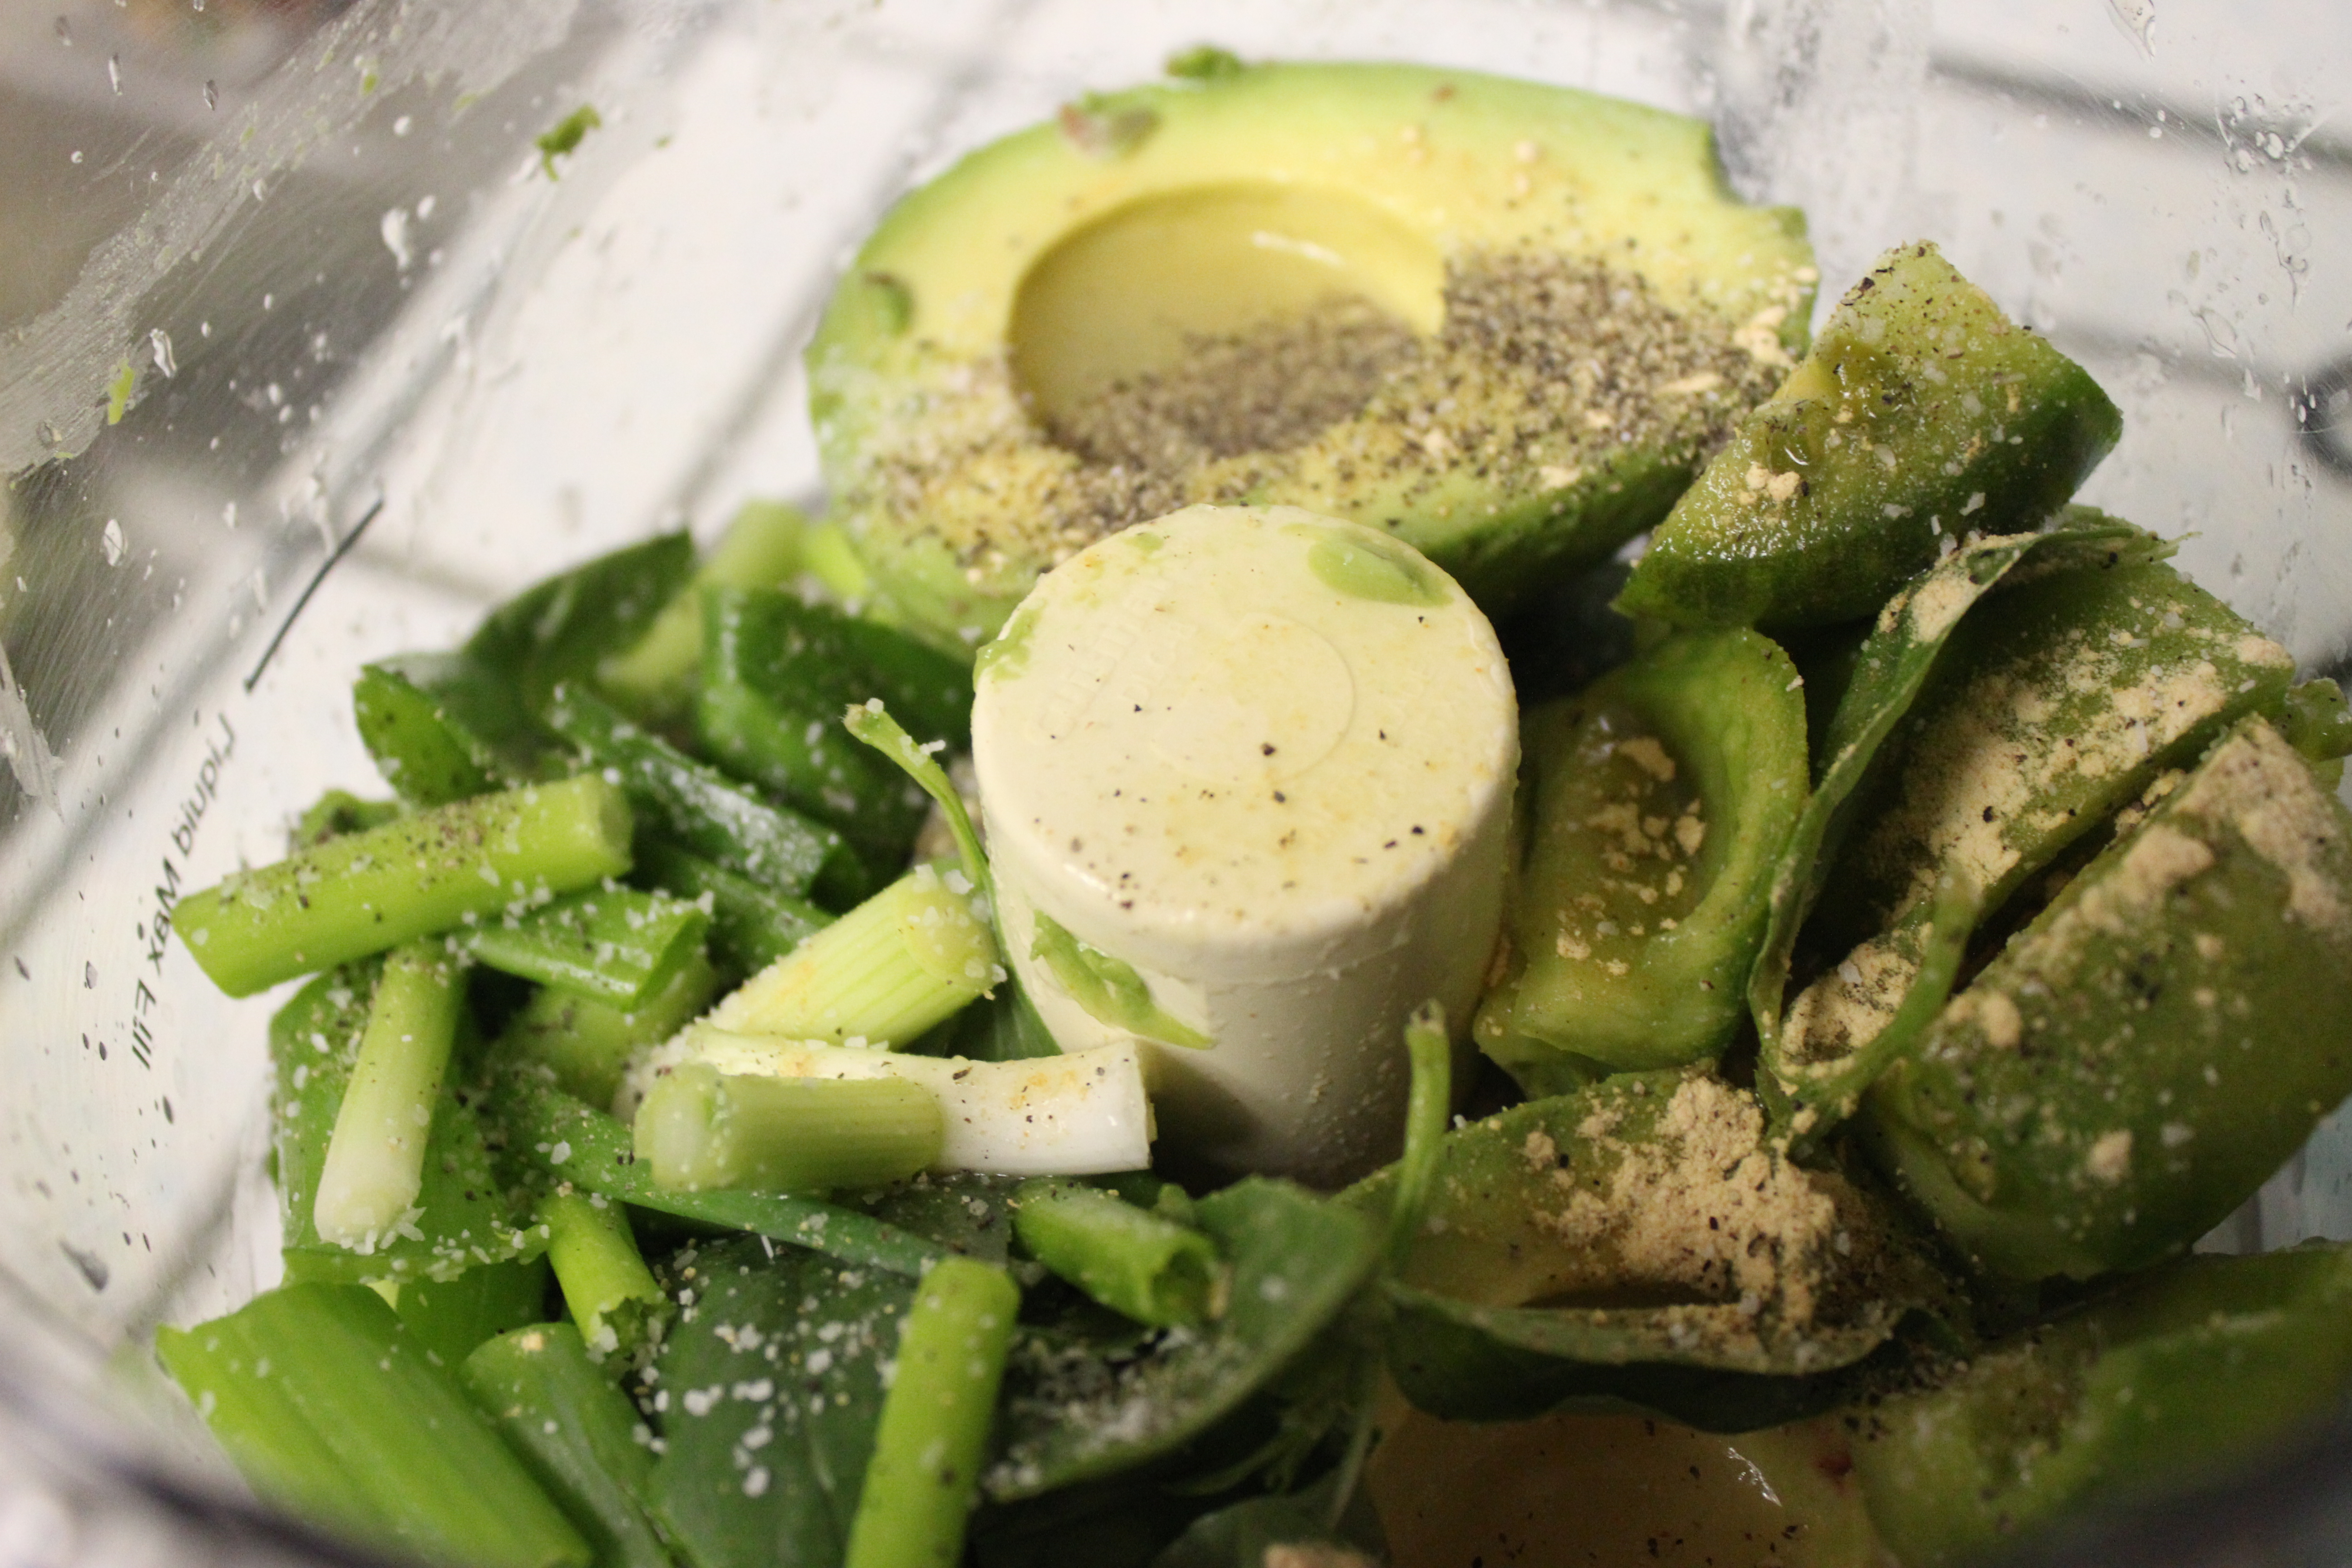
I love all the green.
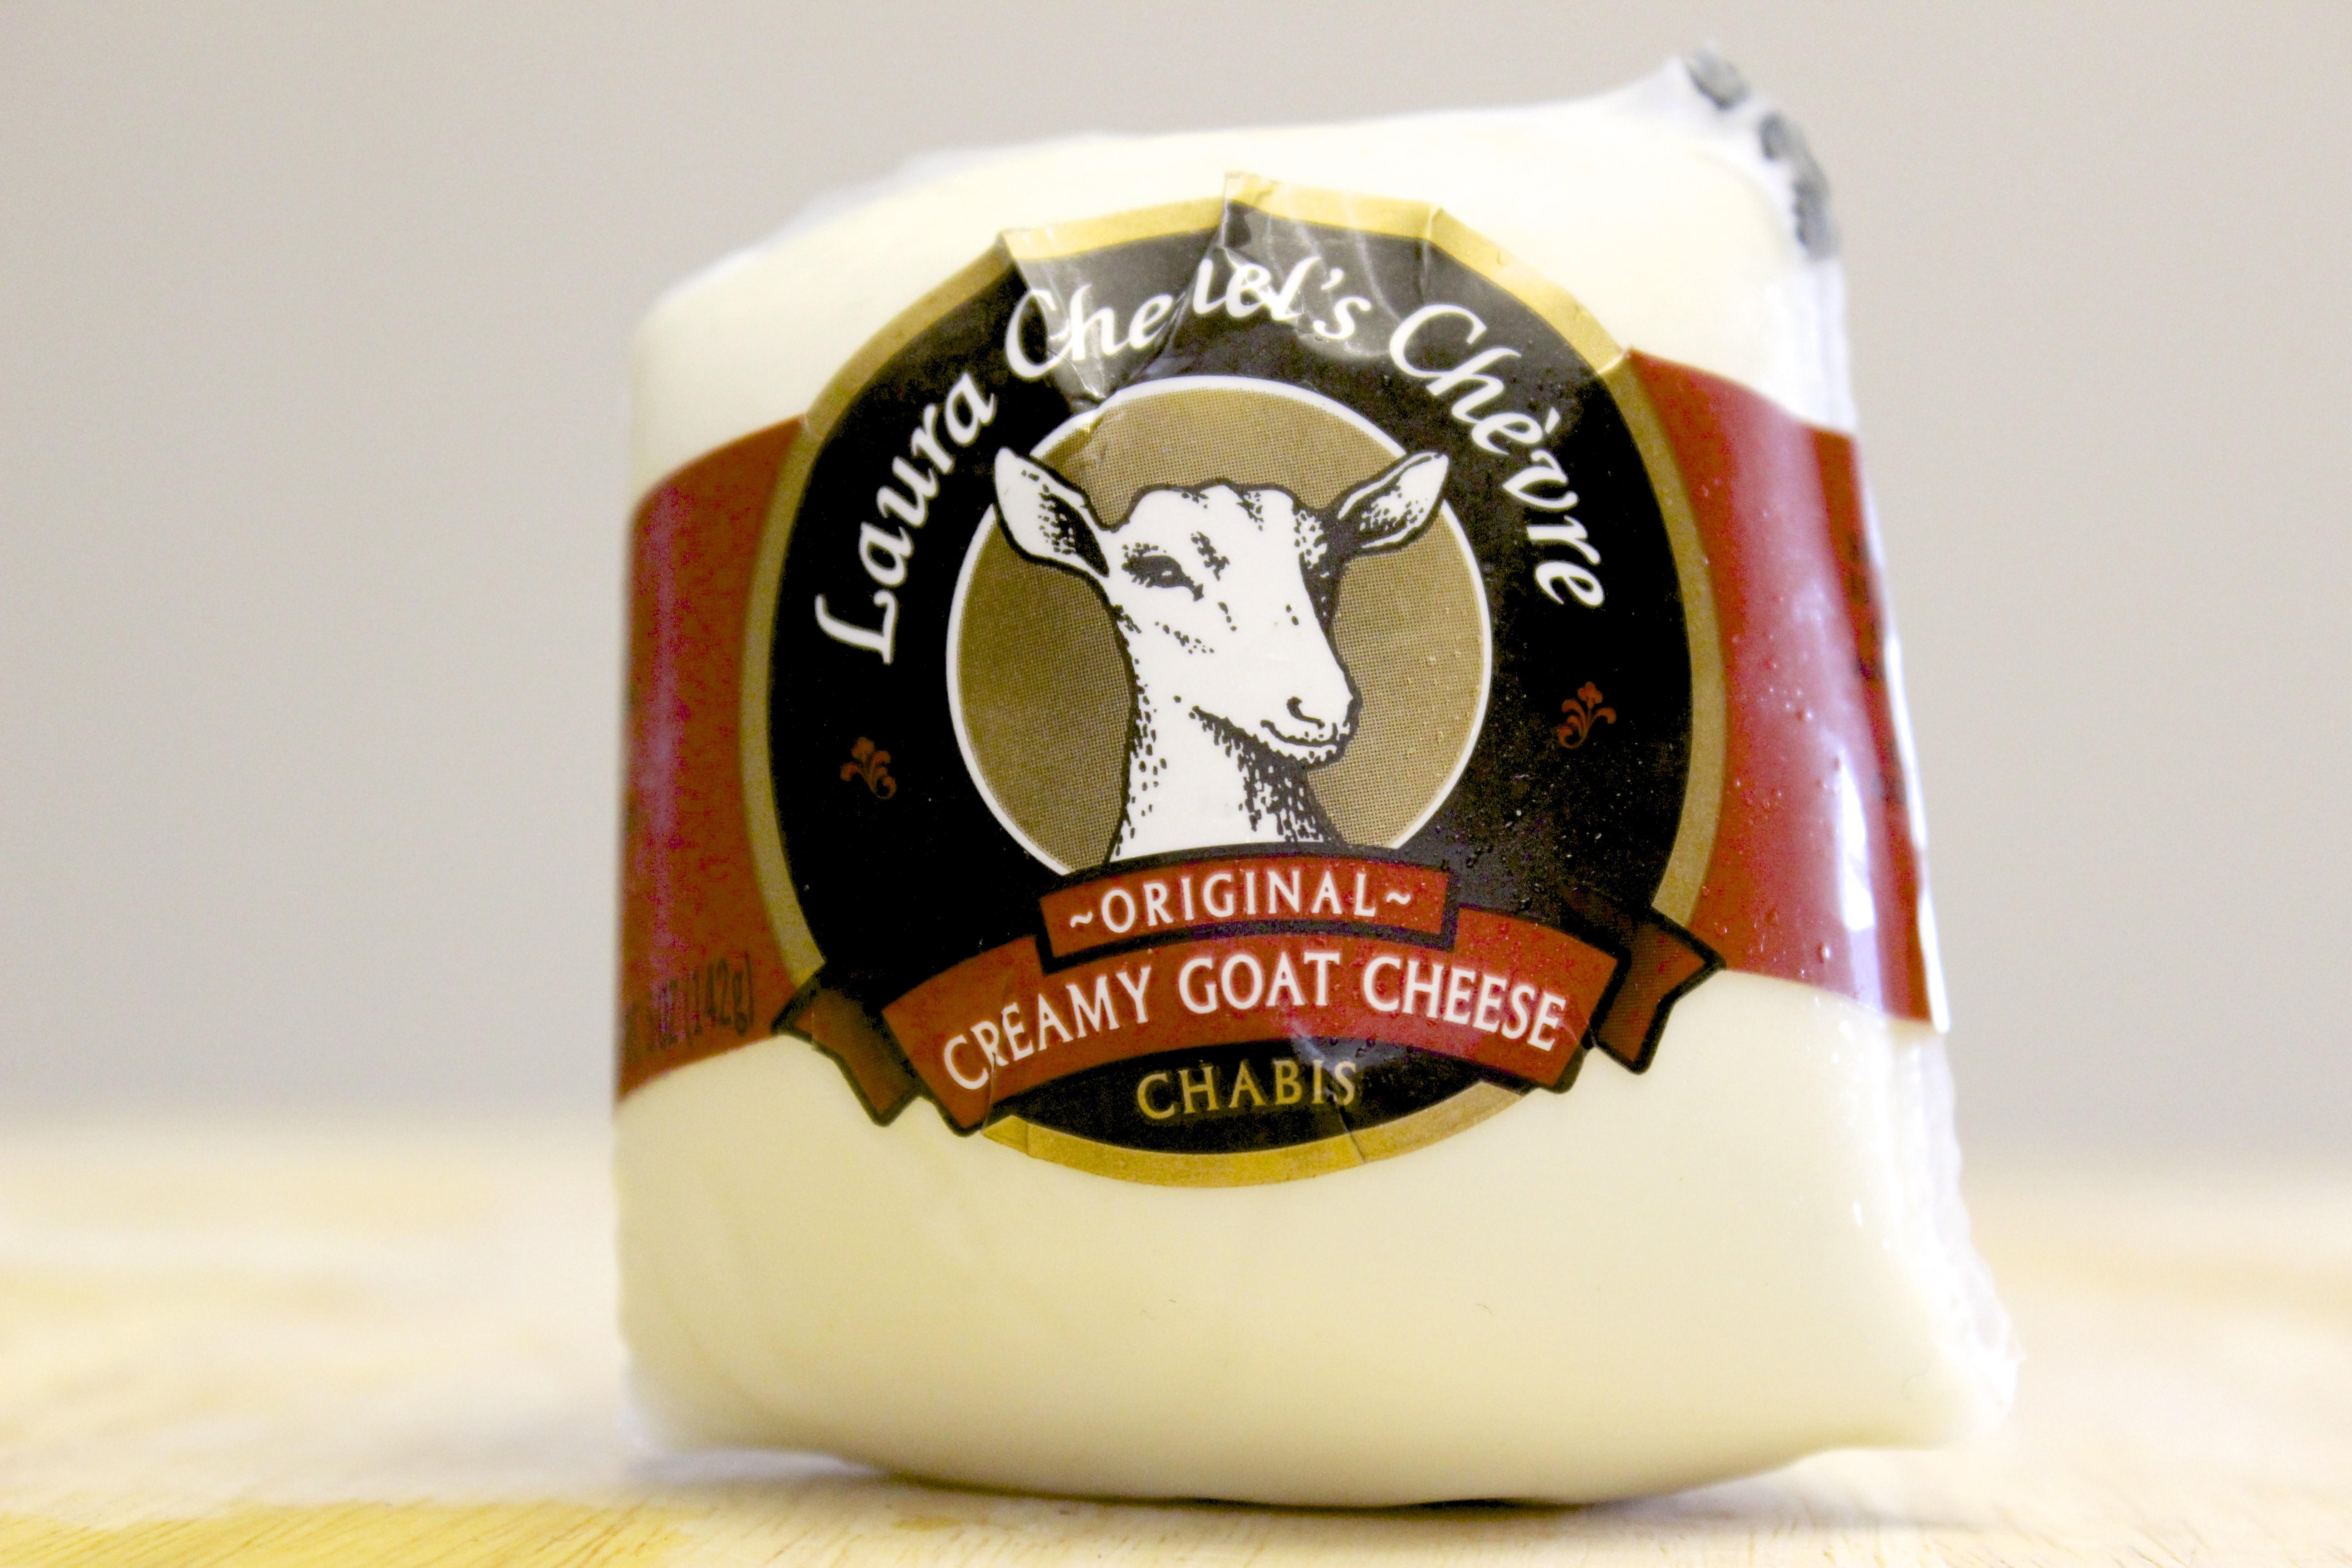
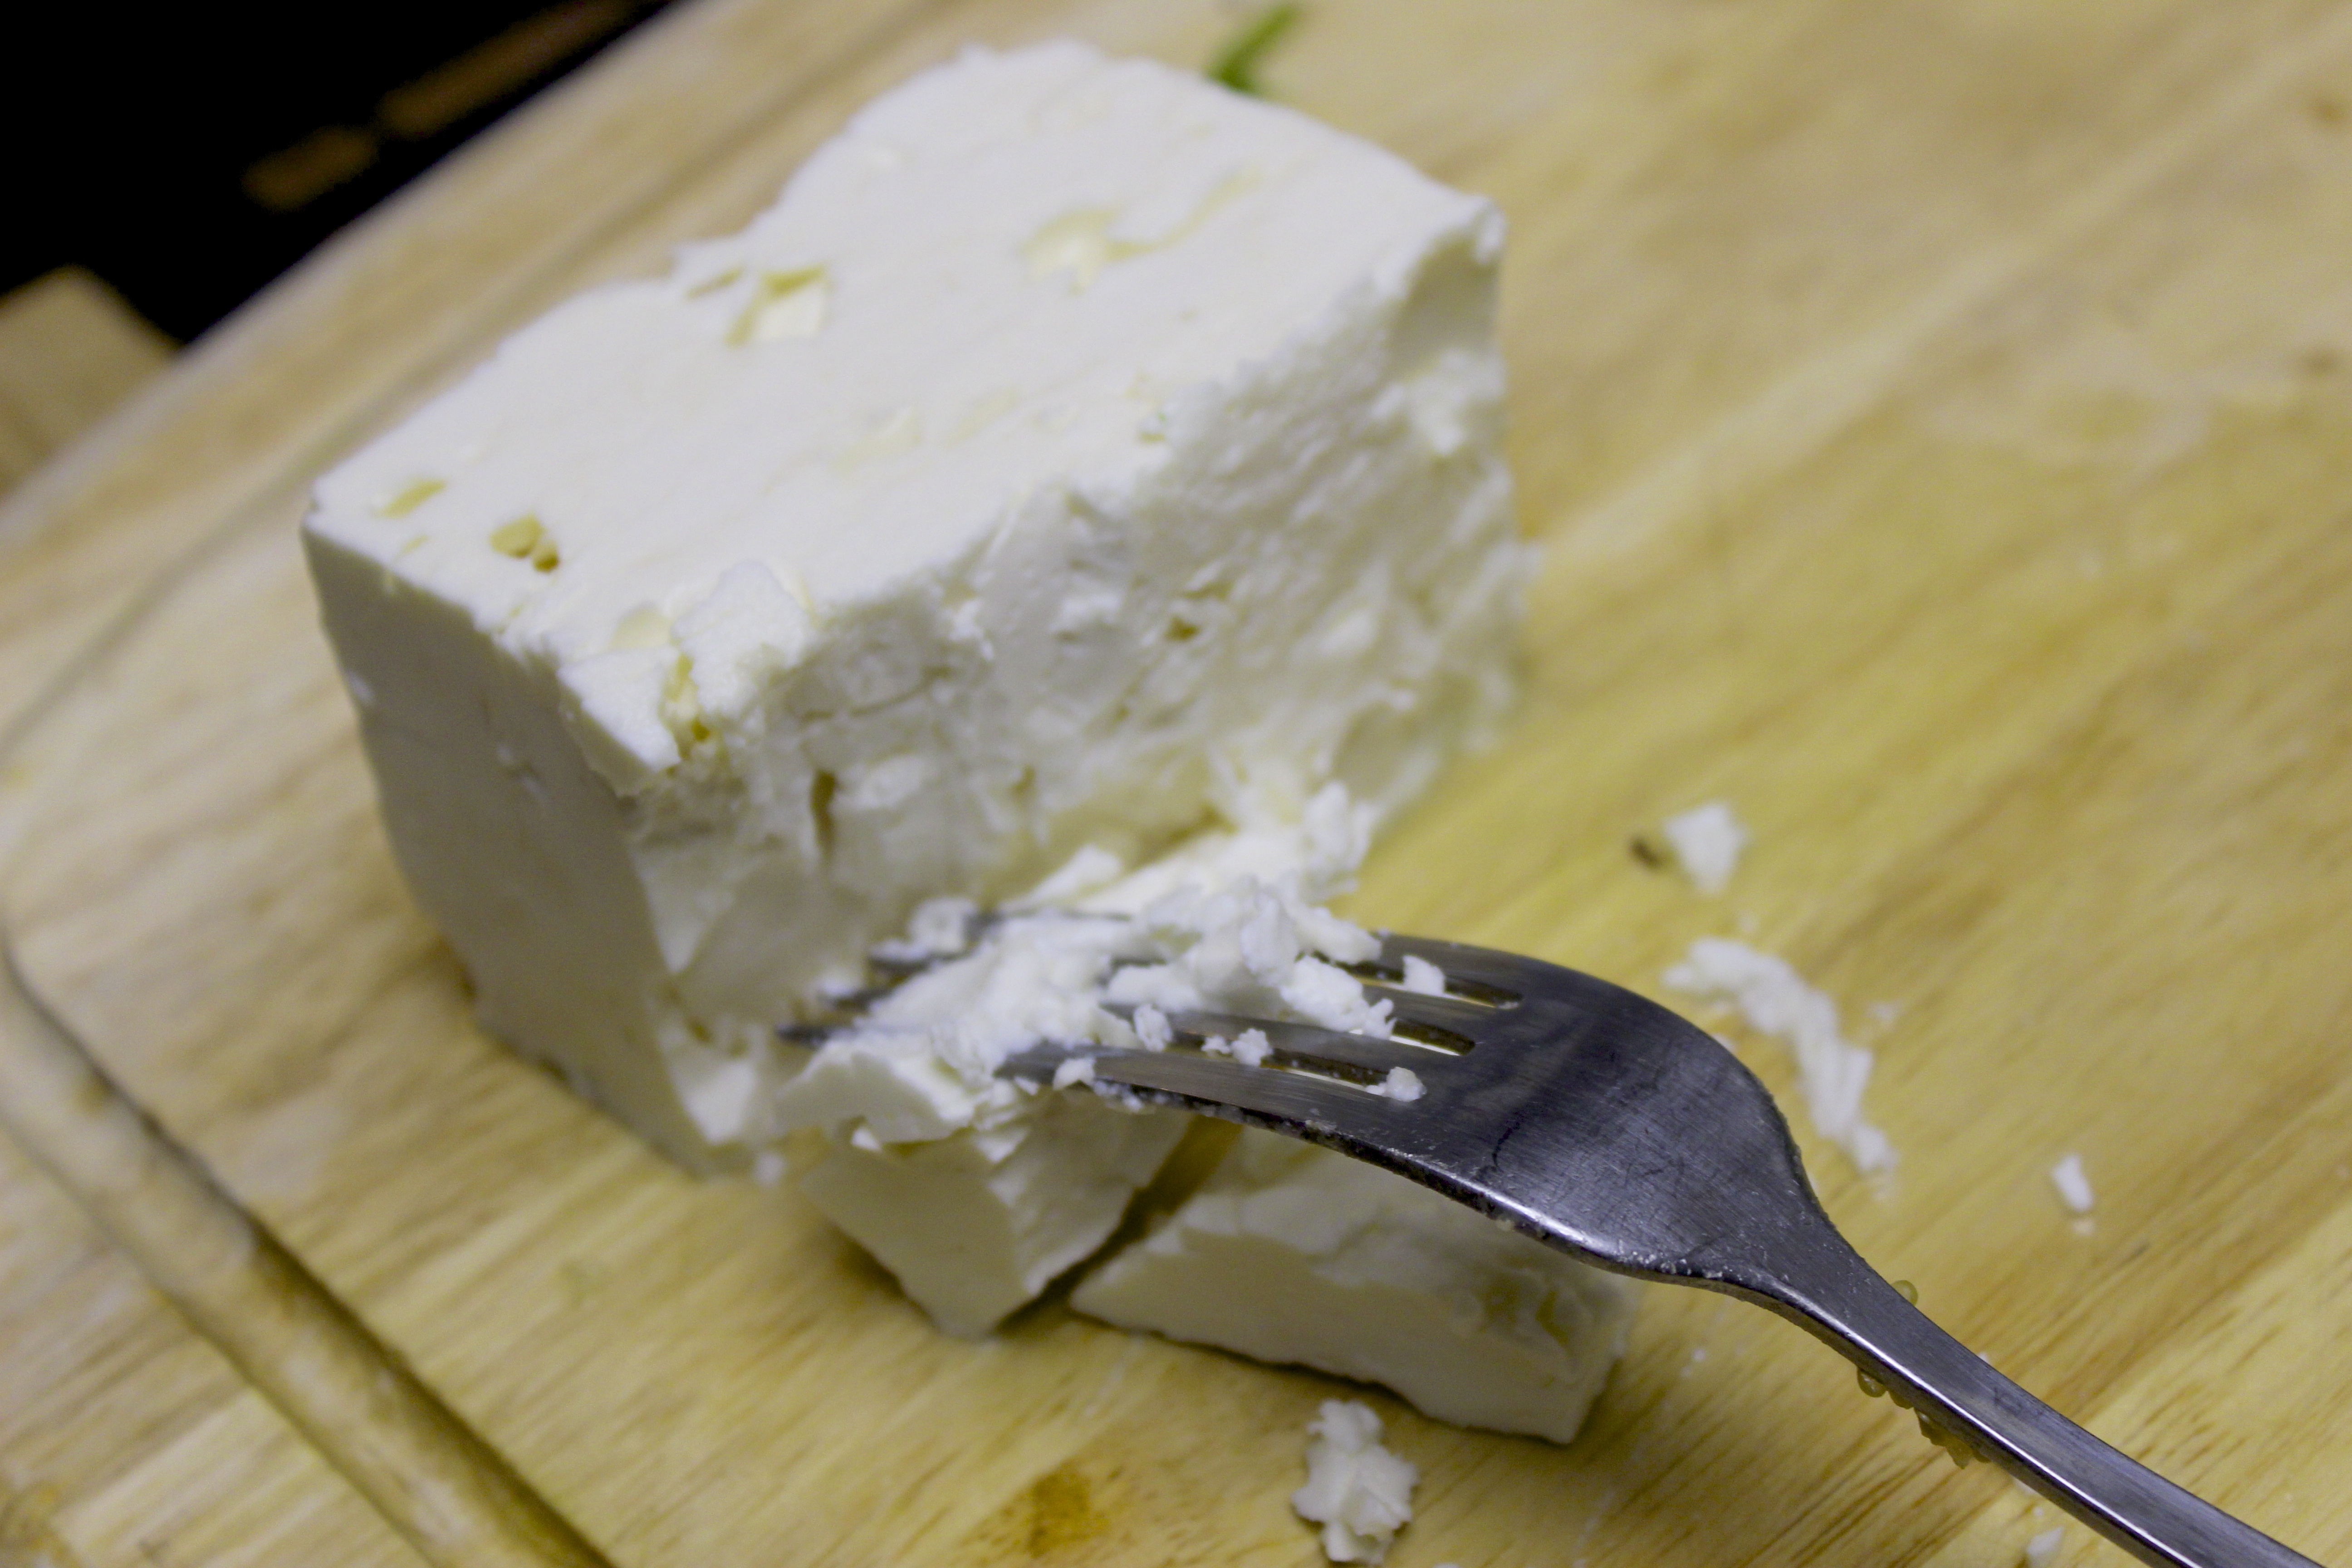
I used about half a block of feta, but you use how much you like based on how intense your feta is.


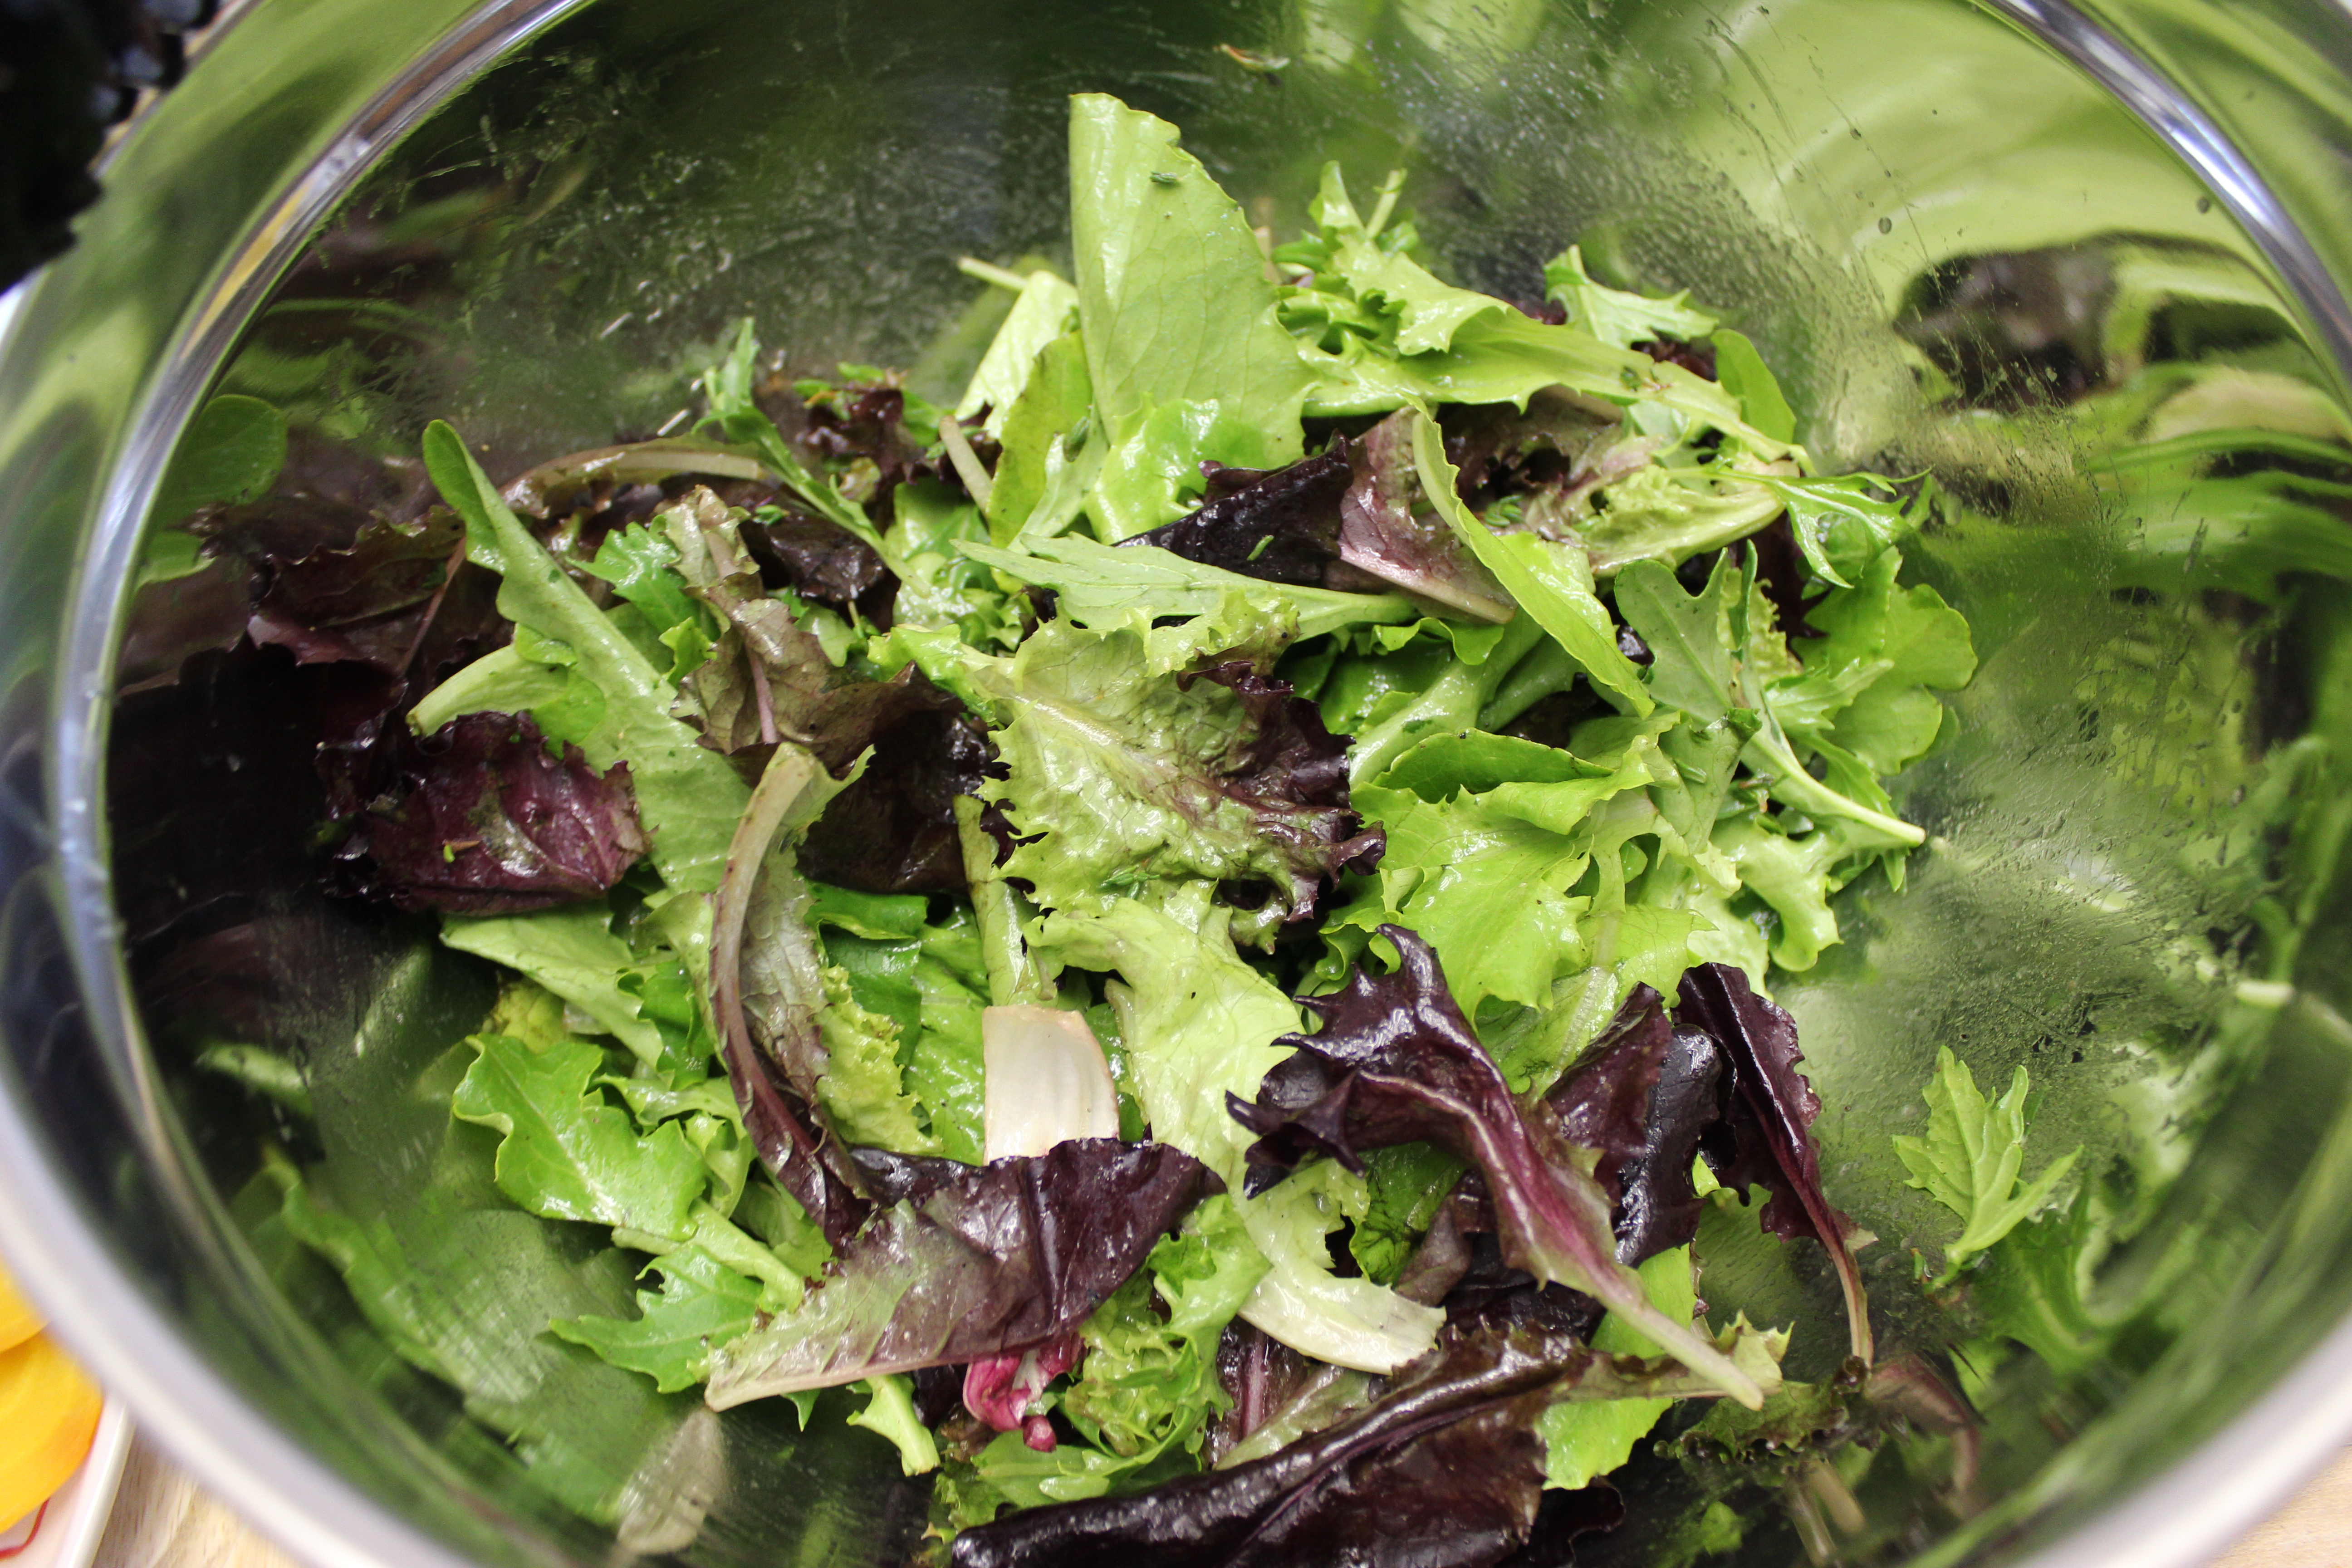
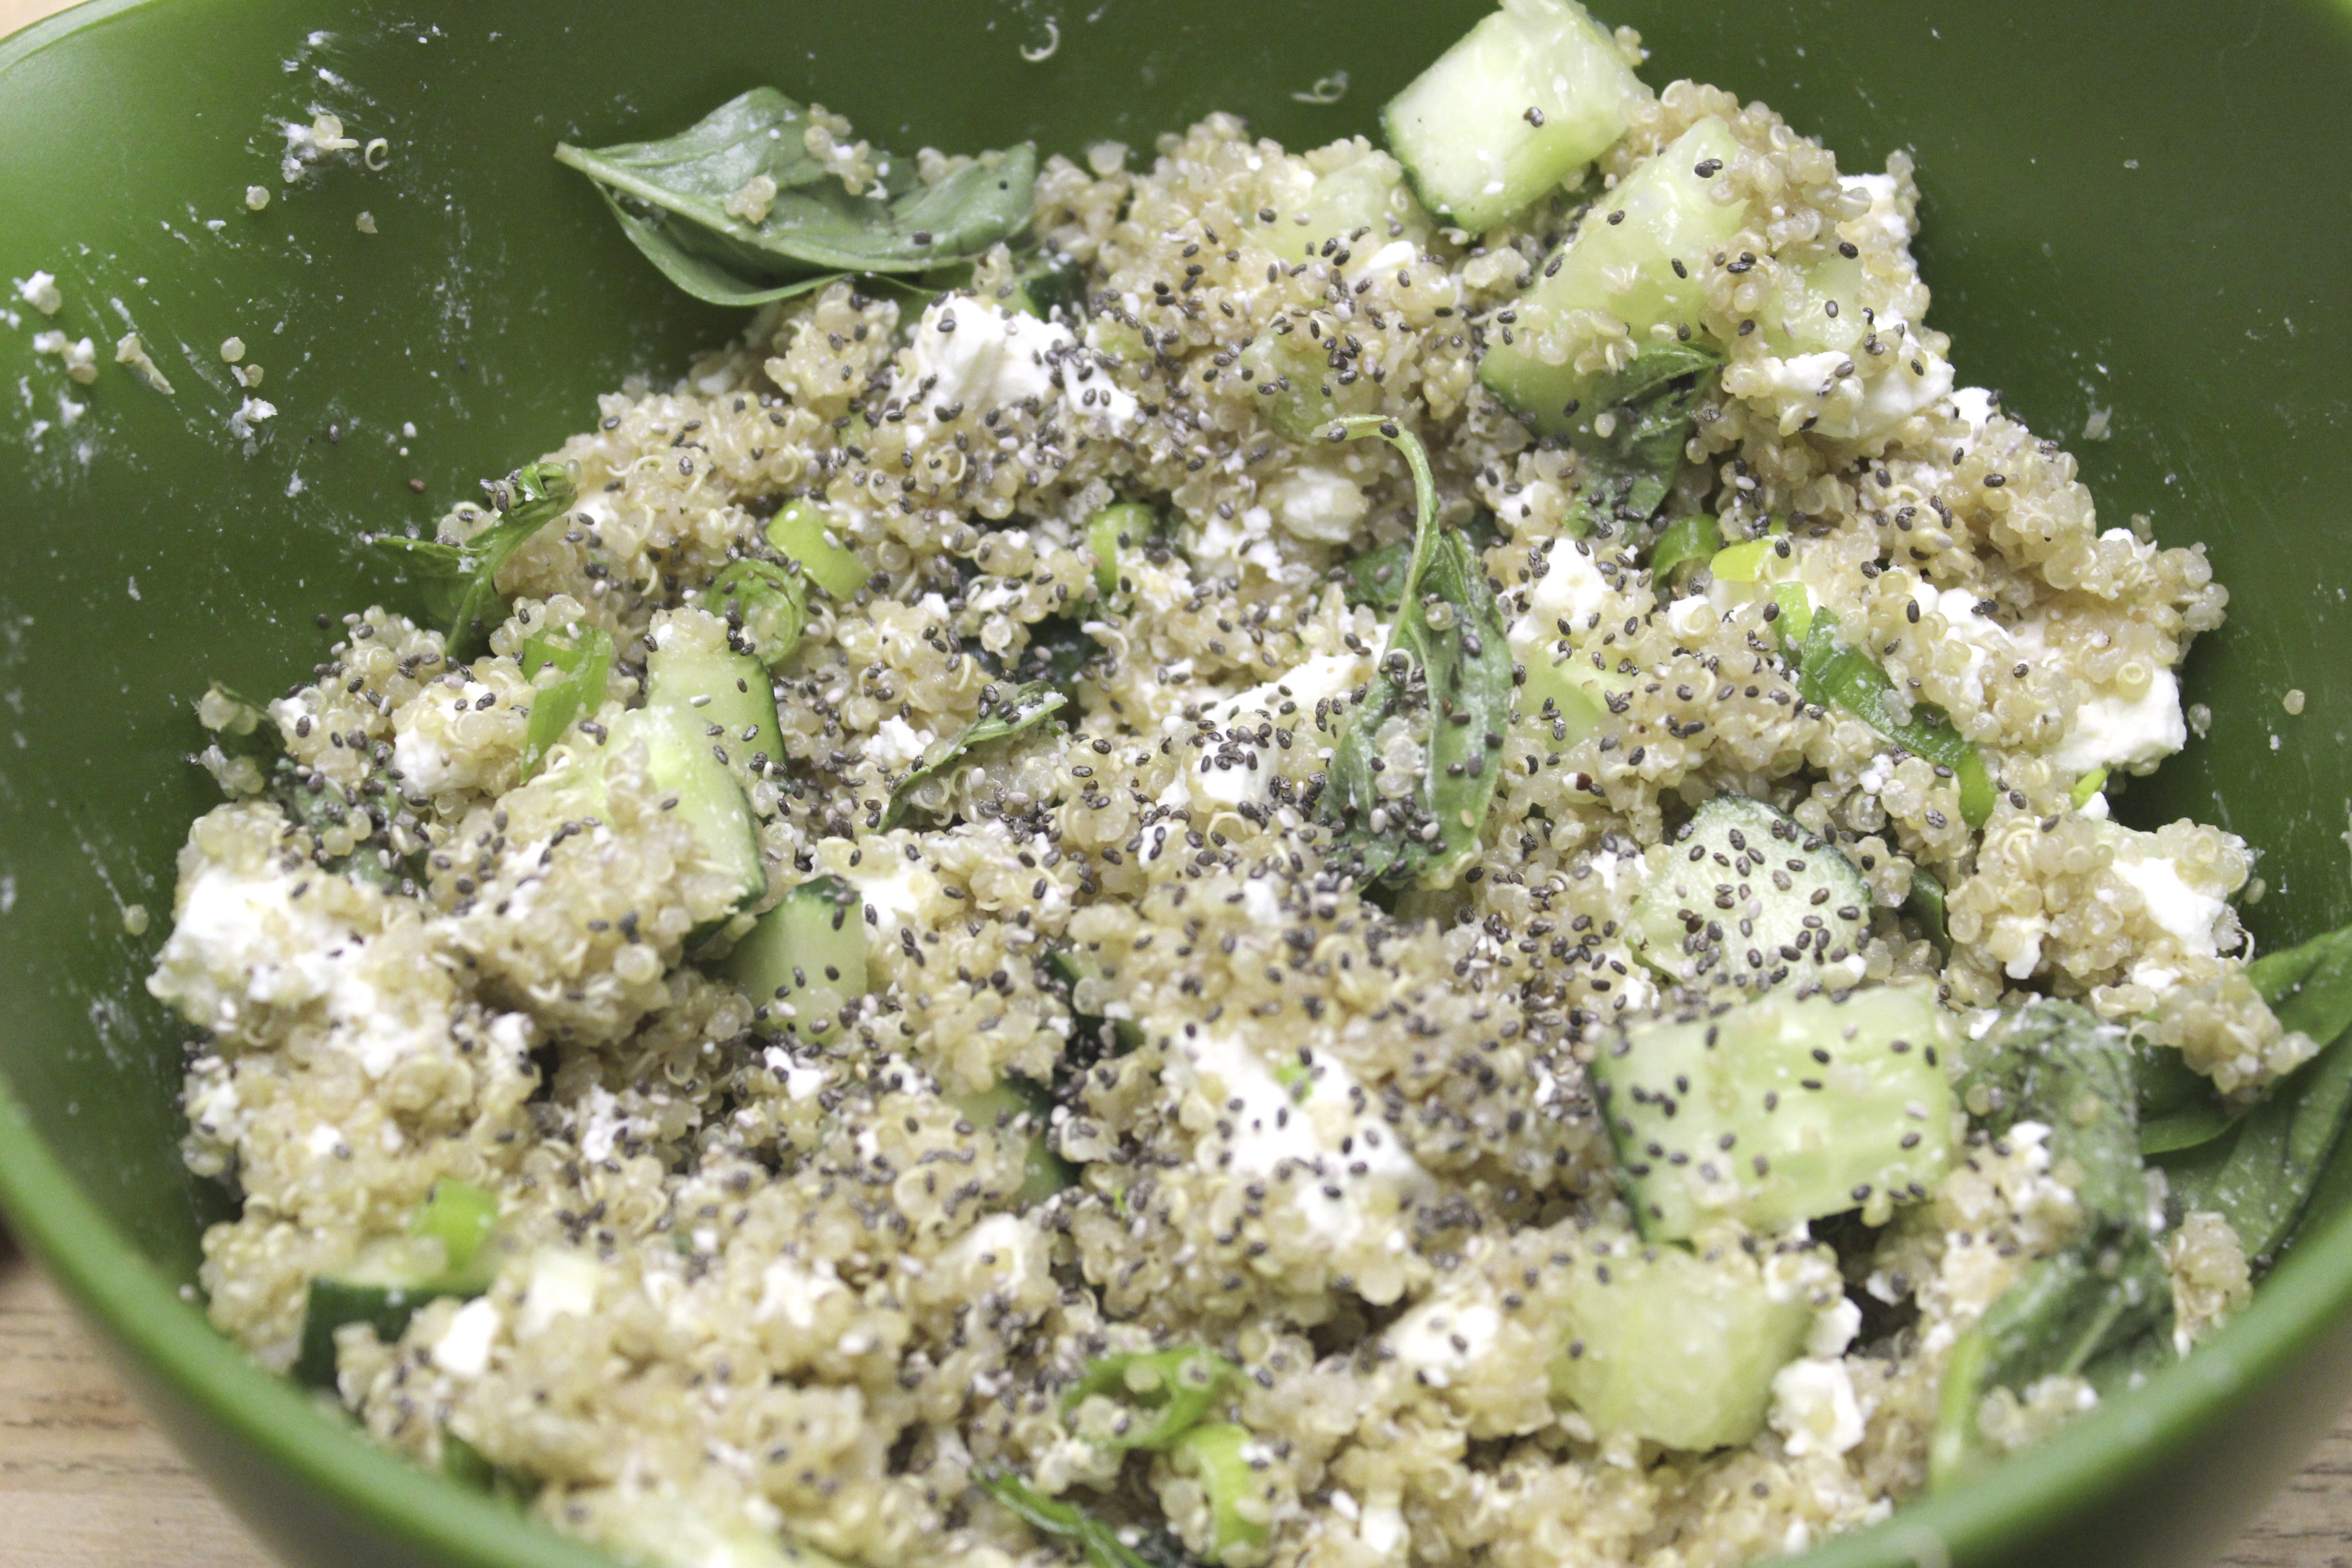
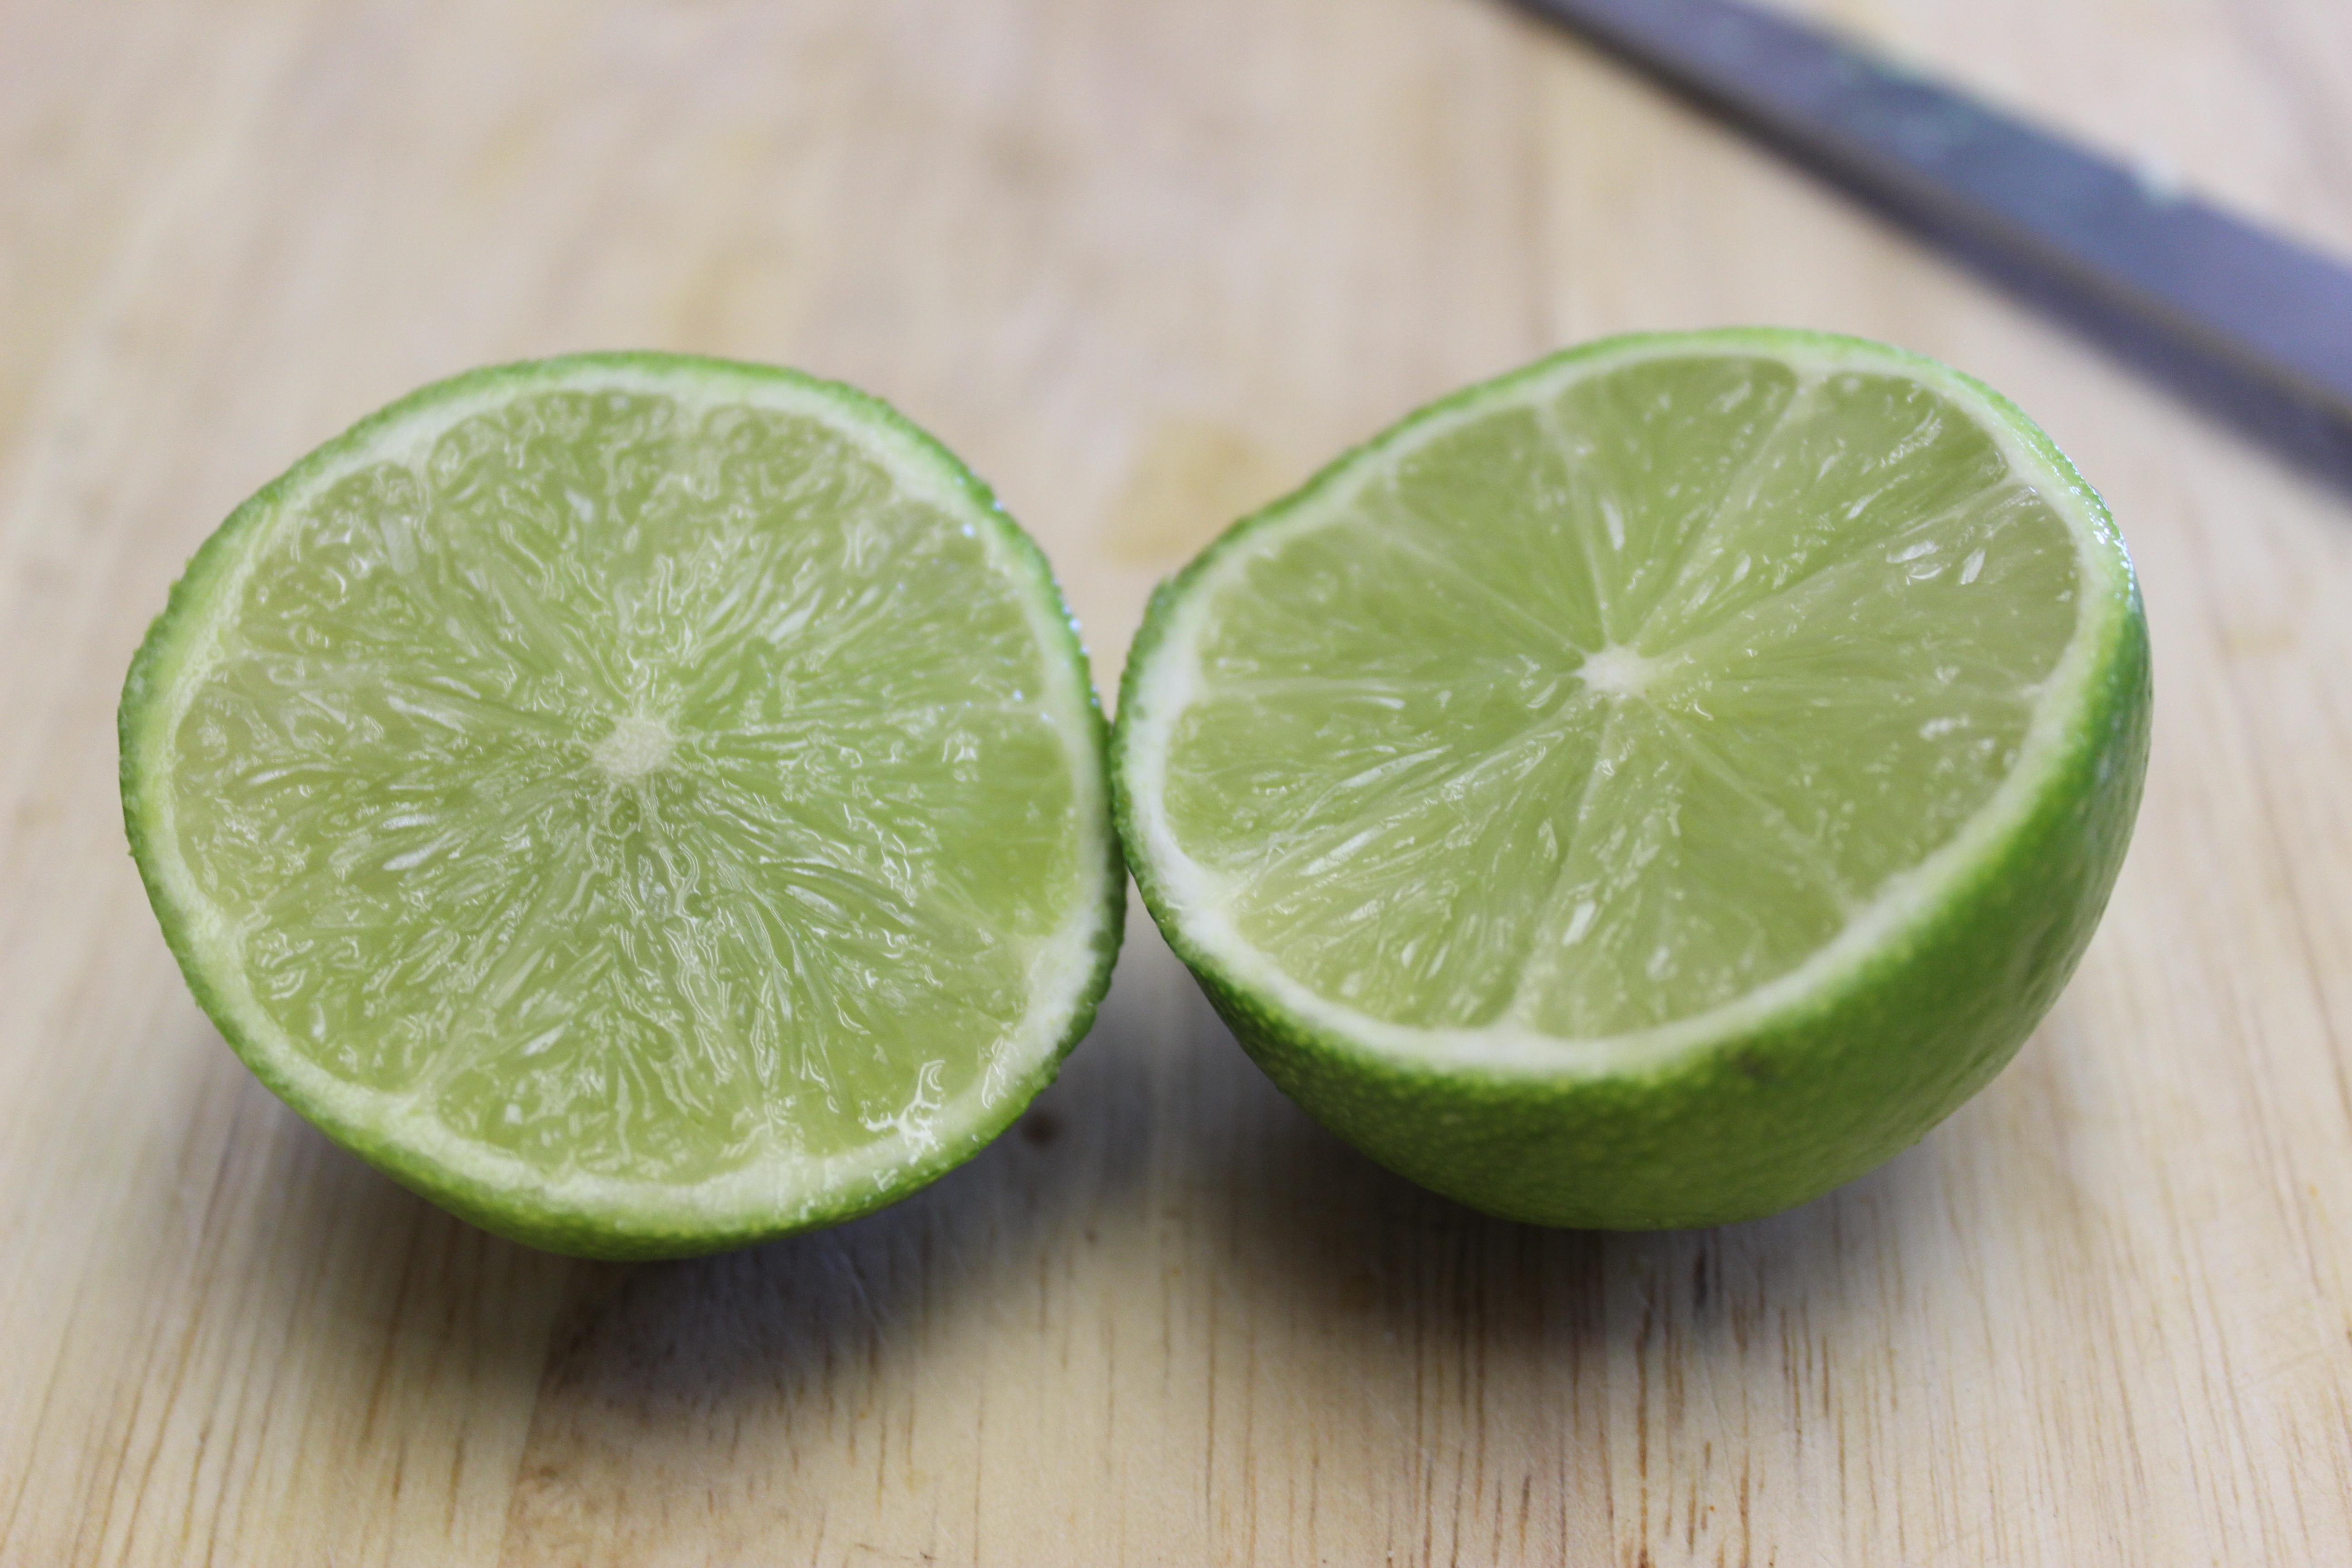
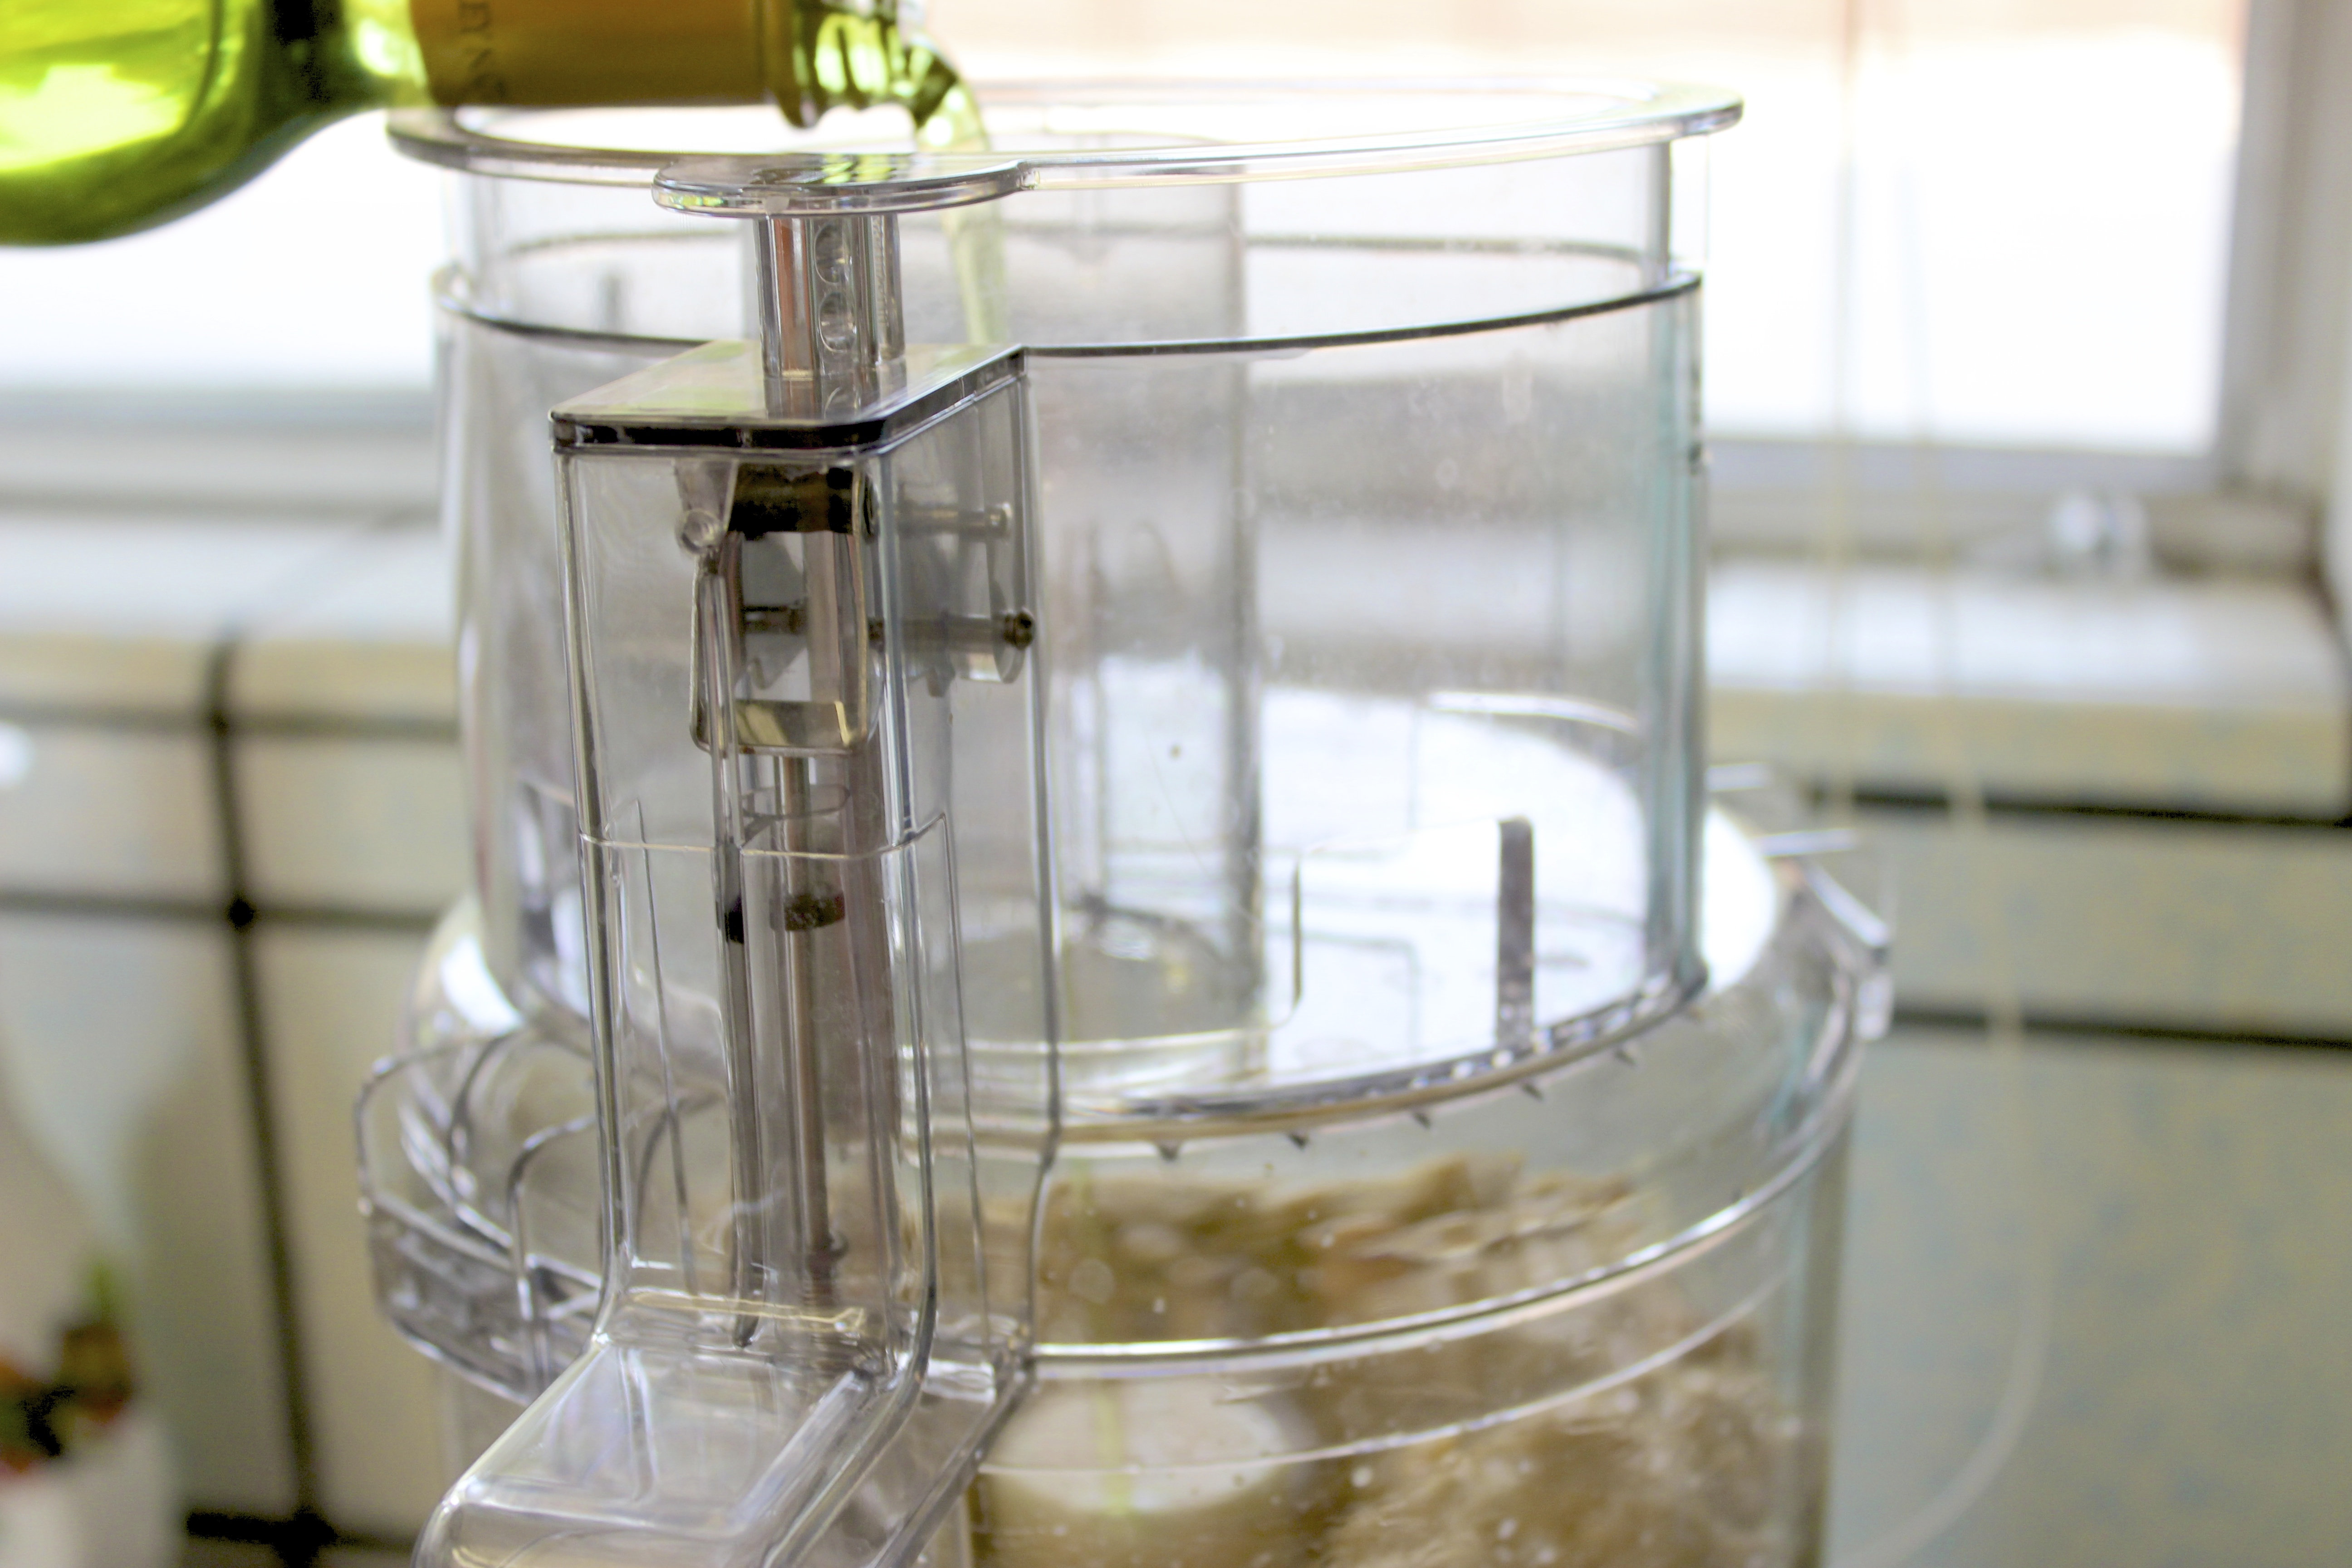
Finally, add some chia seeds and a drizzle of champagne (or white wine, or red wine) vinegar and some oil. I used grapseed but olive oil is fine too.

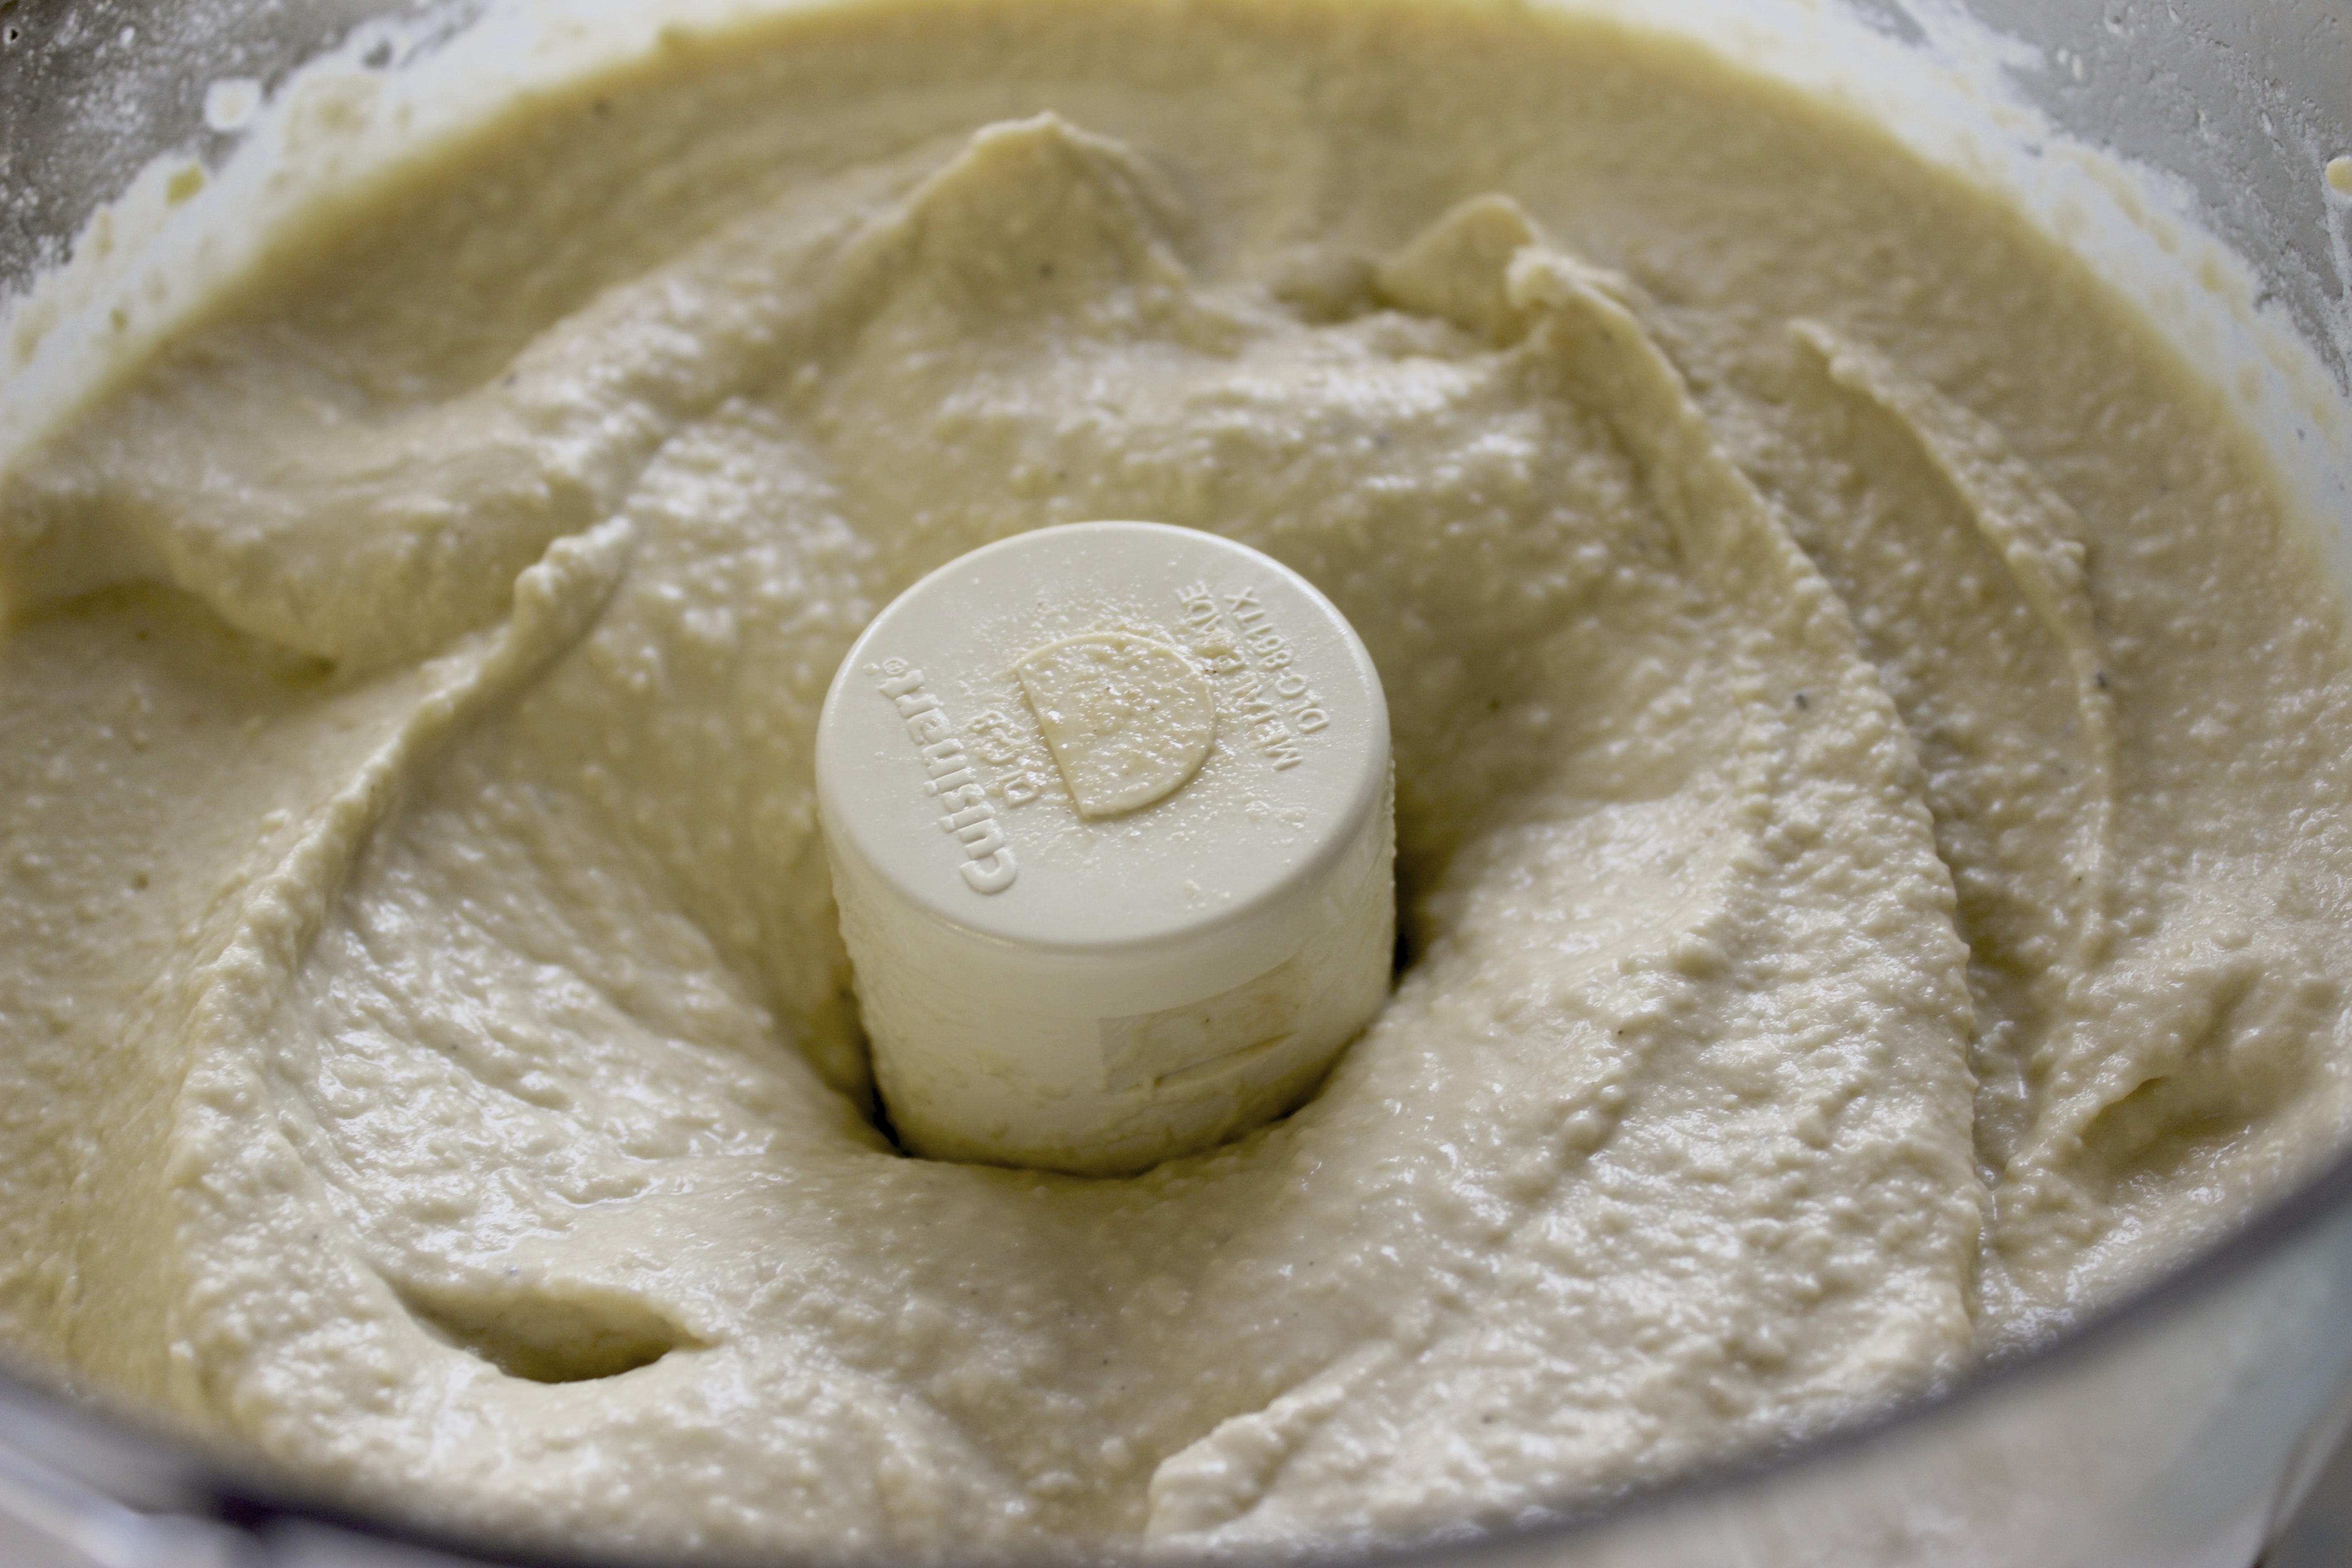
Toss the salad 😉
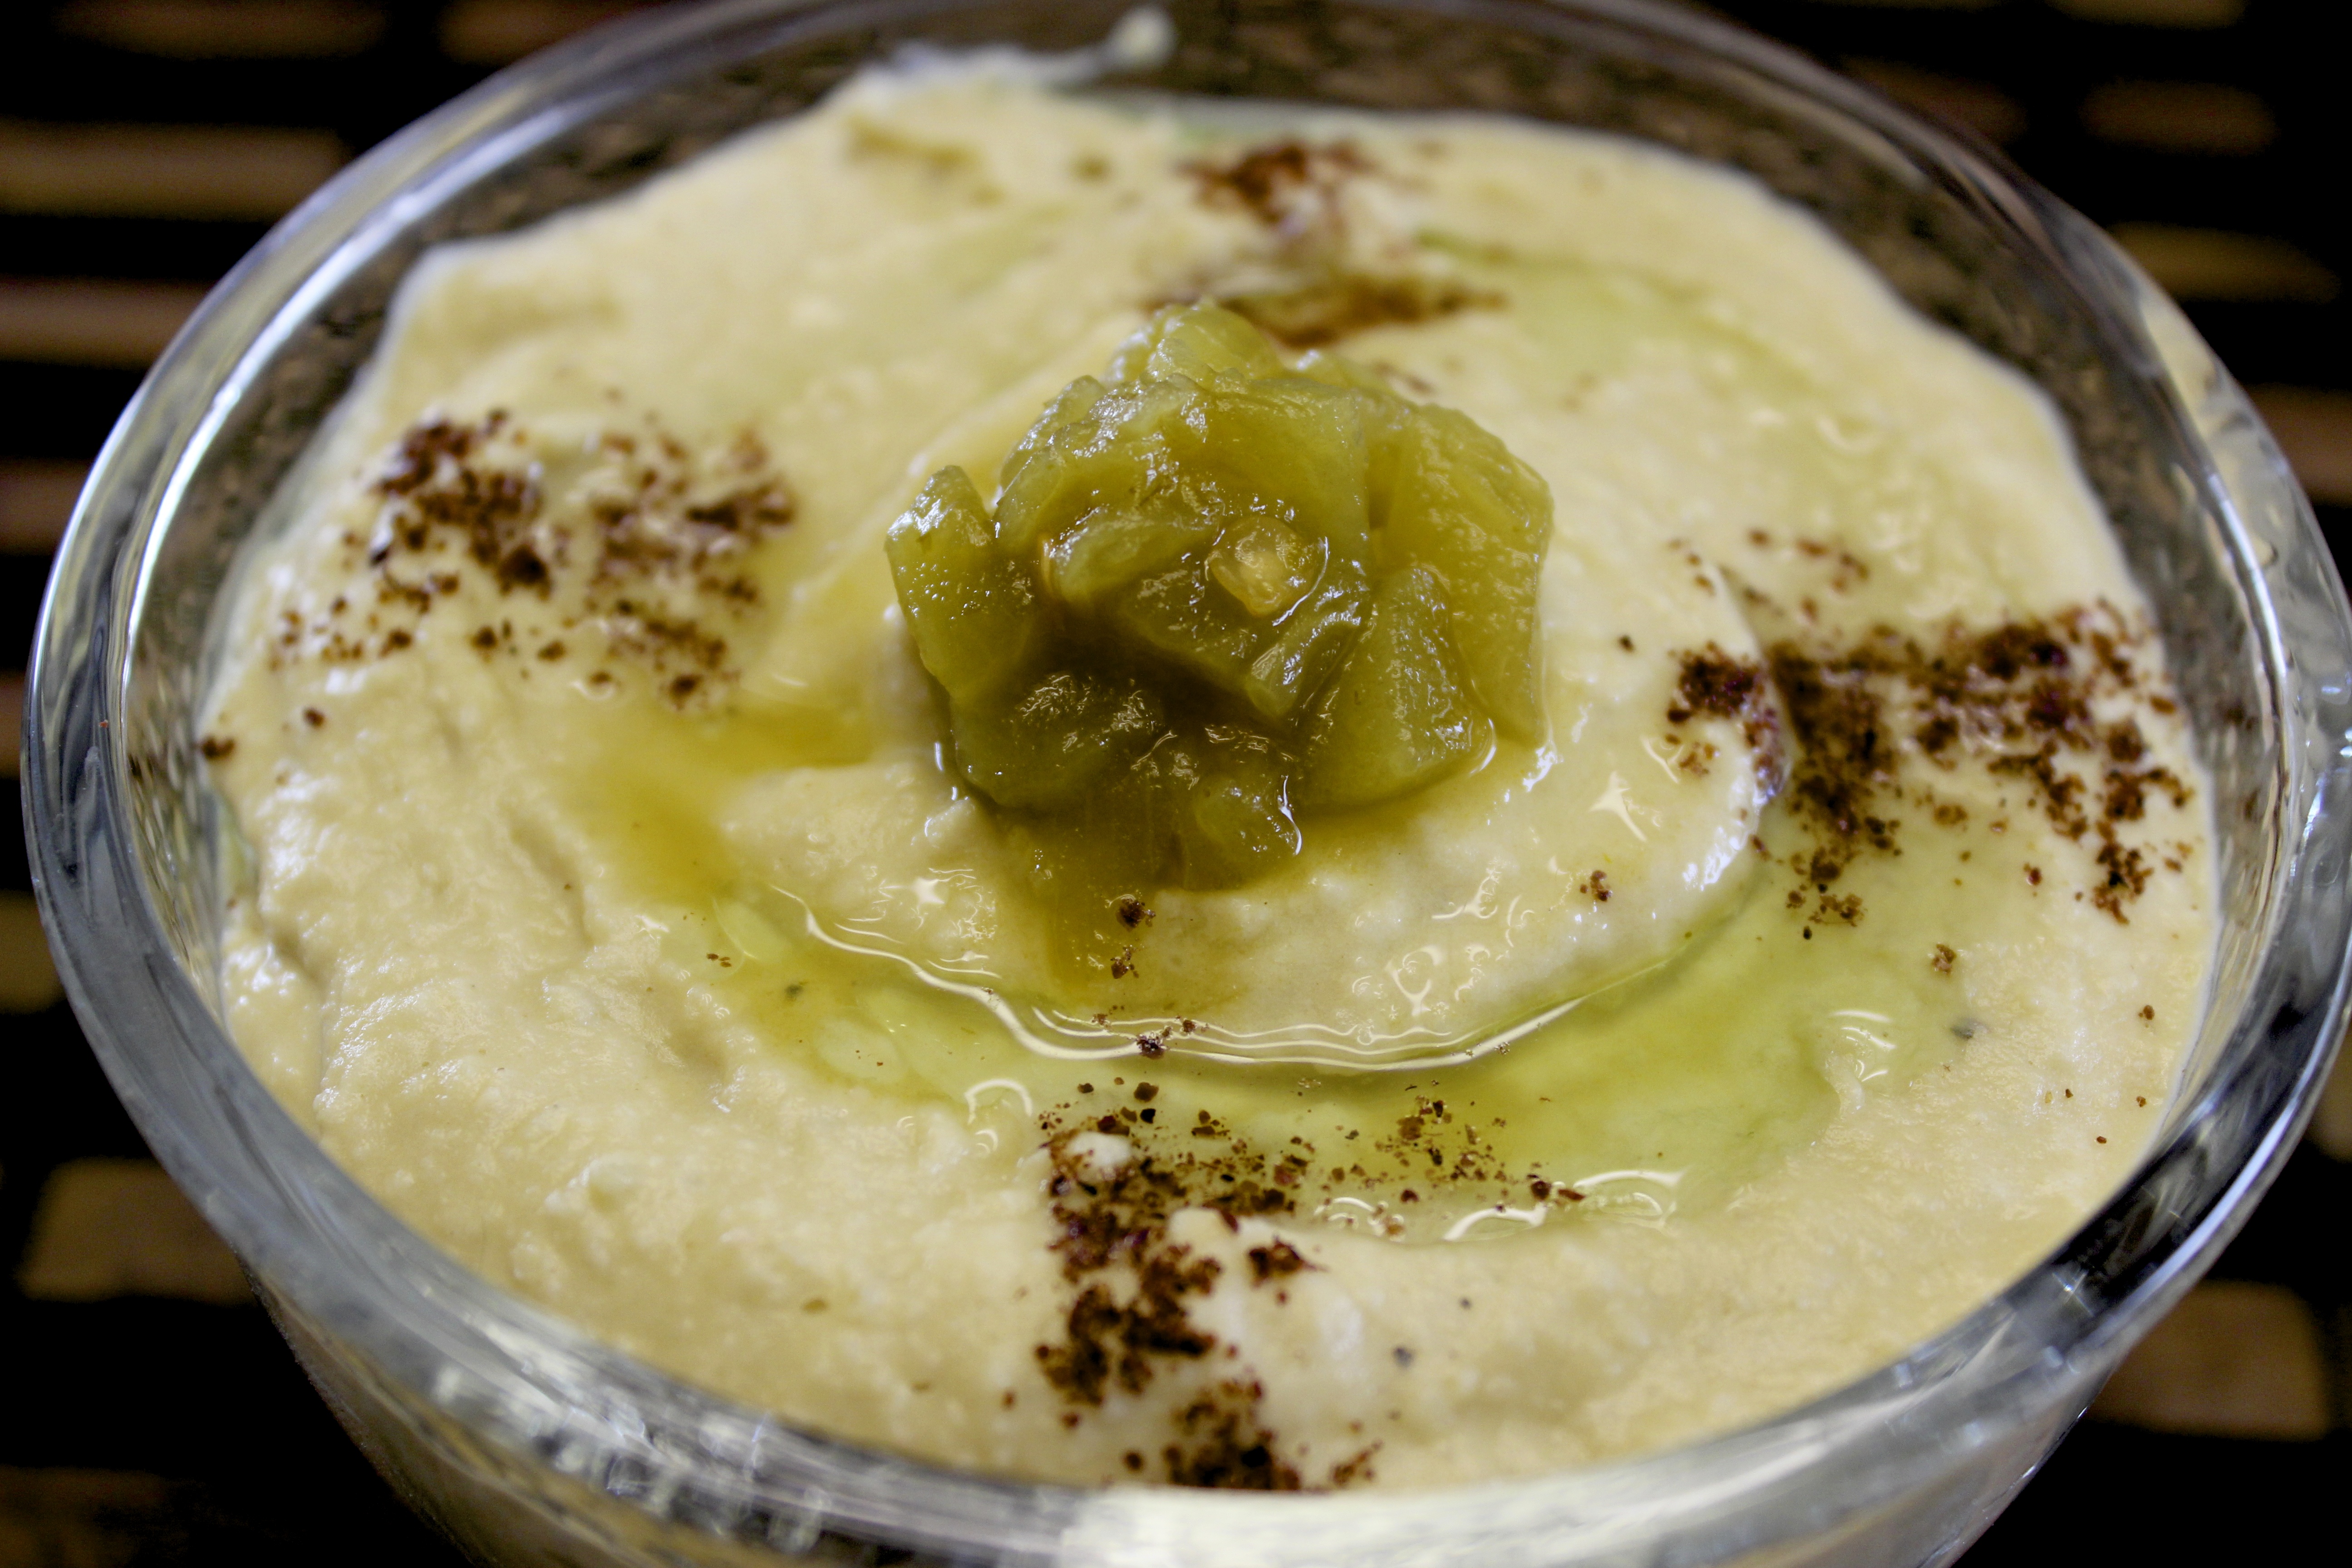
Enjoy!

So, did you enjoy this post? If not, then I’m sorry and I still love me. If you did enjoy it, why don’t you type your email in the box below and you can keep enjoying my blog by subscribing to it? Great idea, huh? Your welcome 🙂
[subscribe2]
[yumprint-recipe id=’64’]


