How to Make Green Juice Without a Juicer

Posted on

IMG_2144

So since I can’t afford a juicer right now. I just purchased a new dSLR which should arrive in a few days (!). This will make the pictures on this blog waaaaay better. I’ve been using my iPhone this whole time and I’m ready to take the plunge and invest in this blog! So stay tuned for waaaaaay better pics!

Anyway, so I wanted to make a juice with my blender and it turns out it’s actually very easy and doable. Not too time consuming at all.

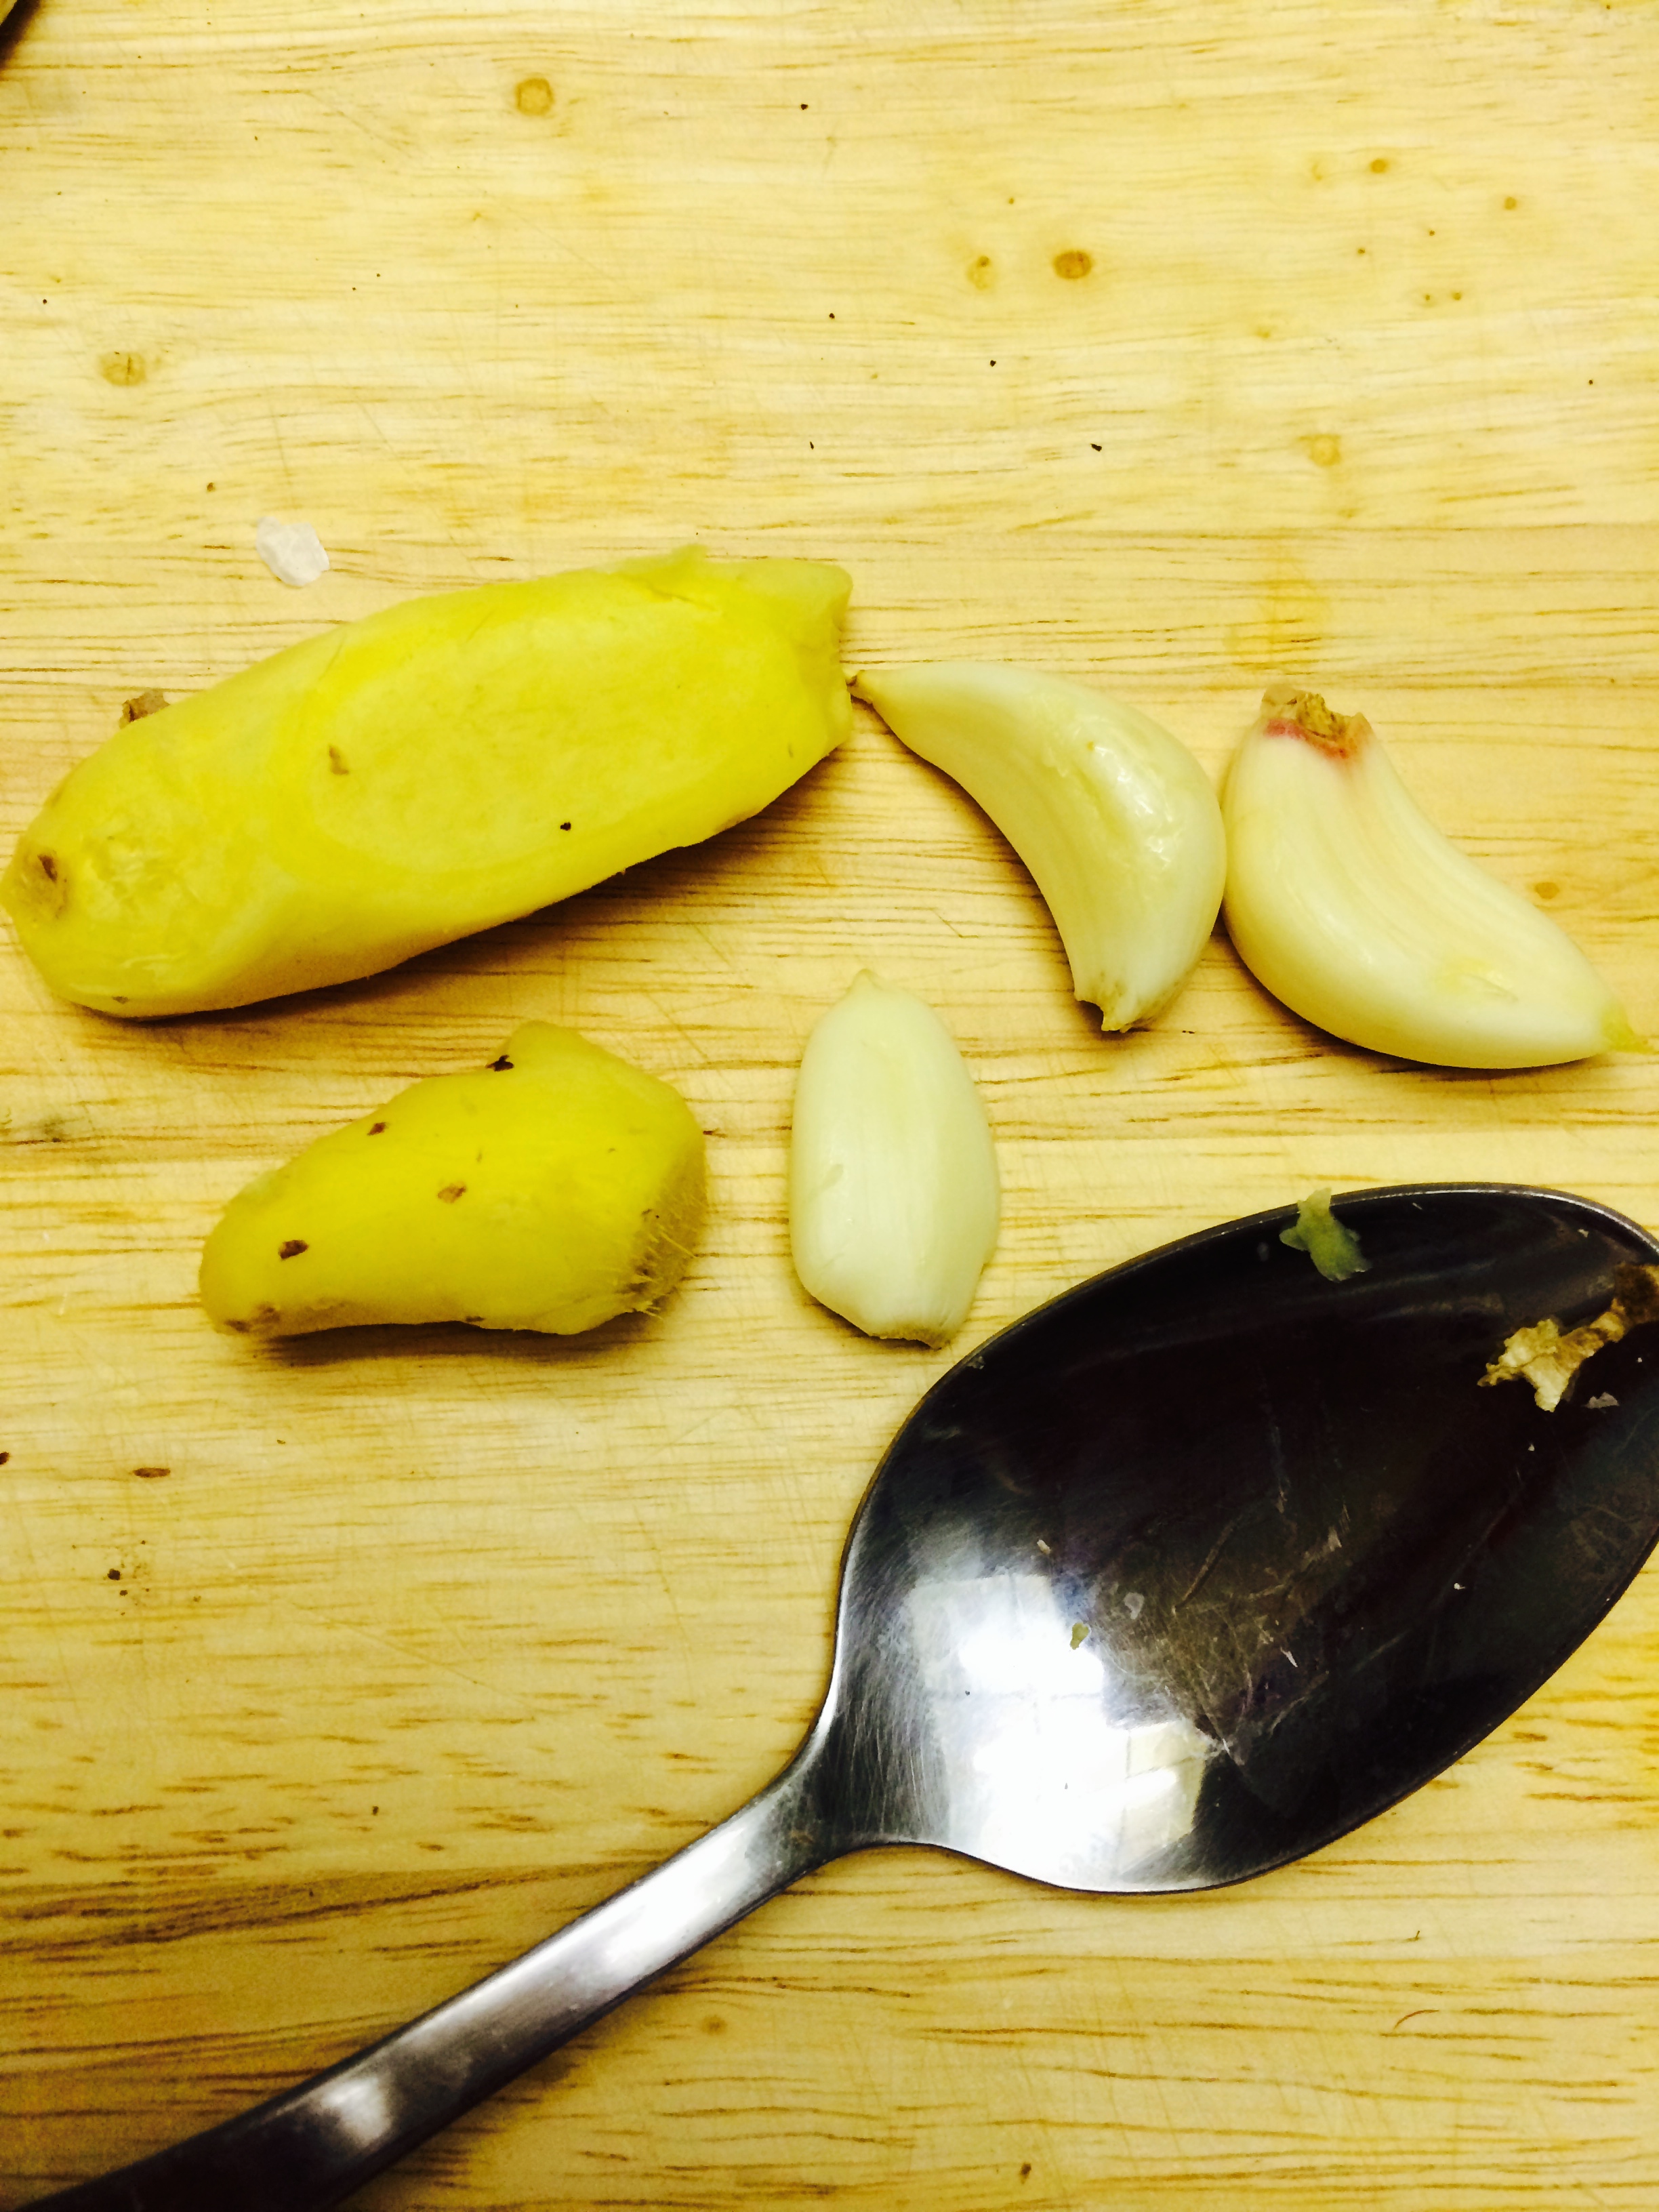
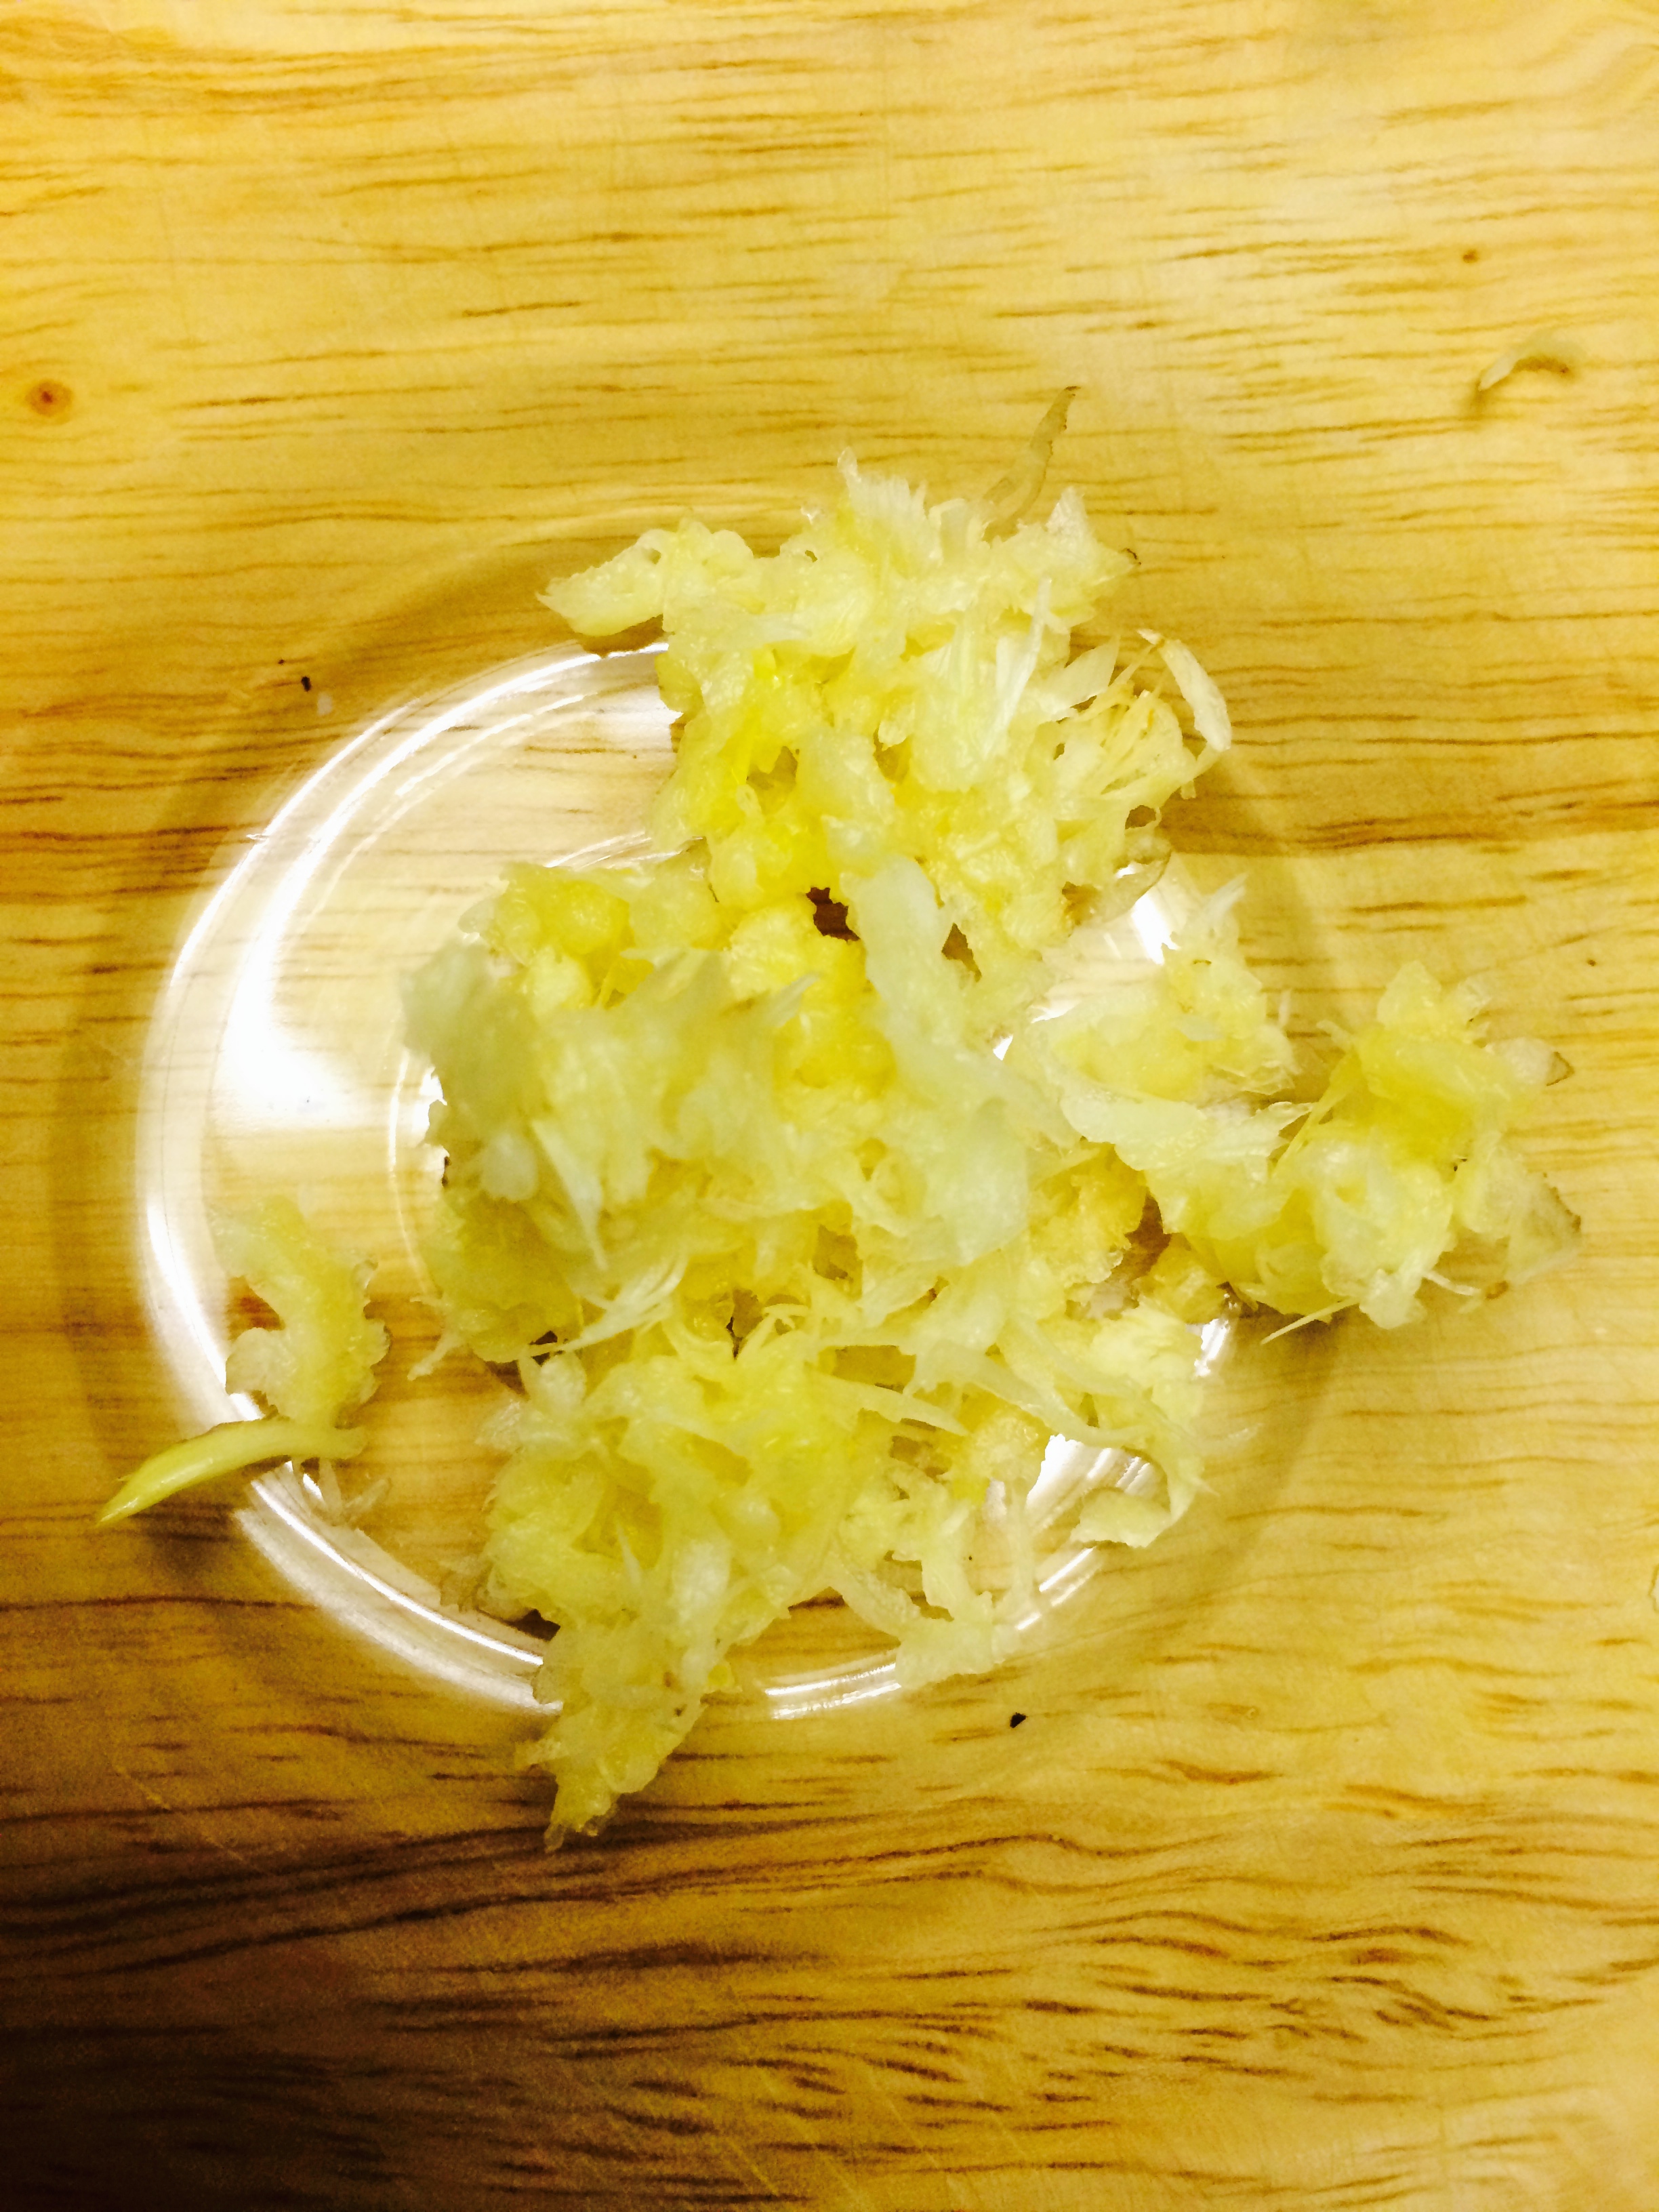
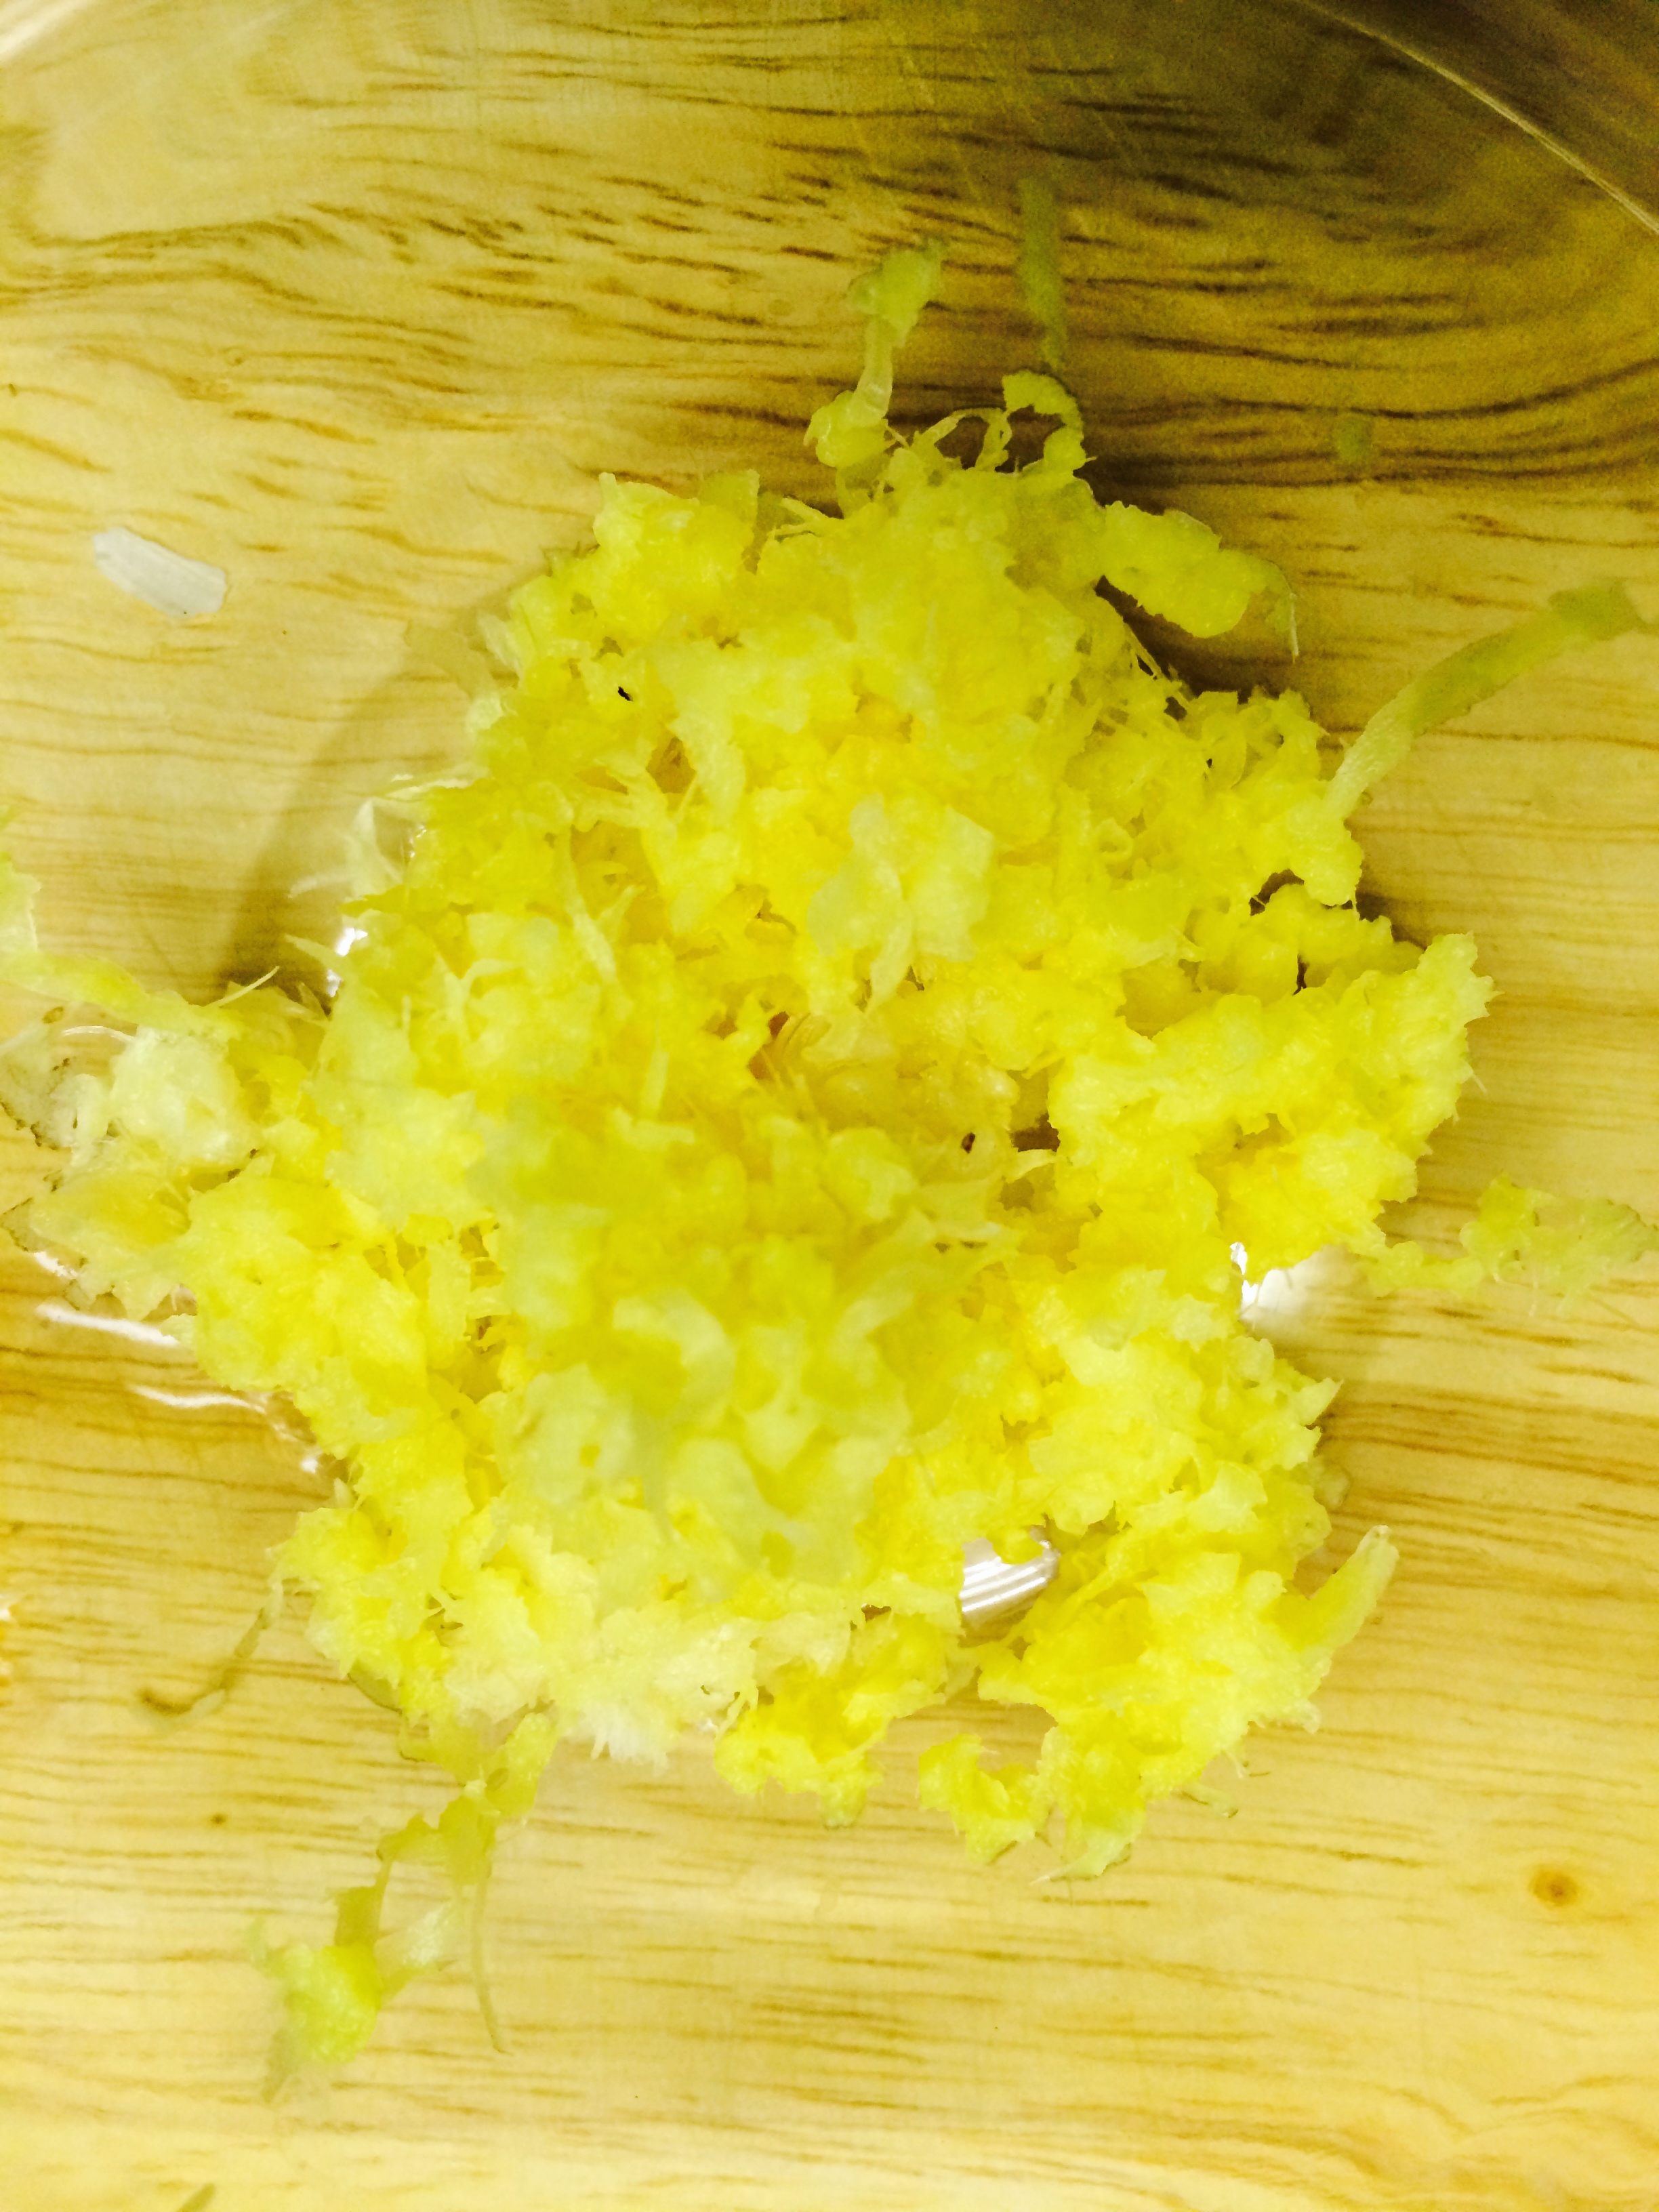
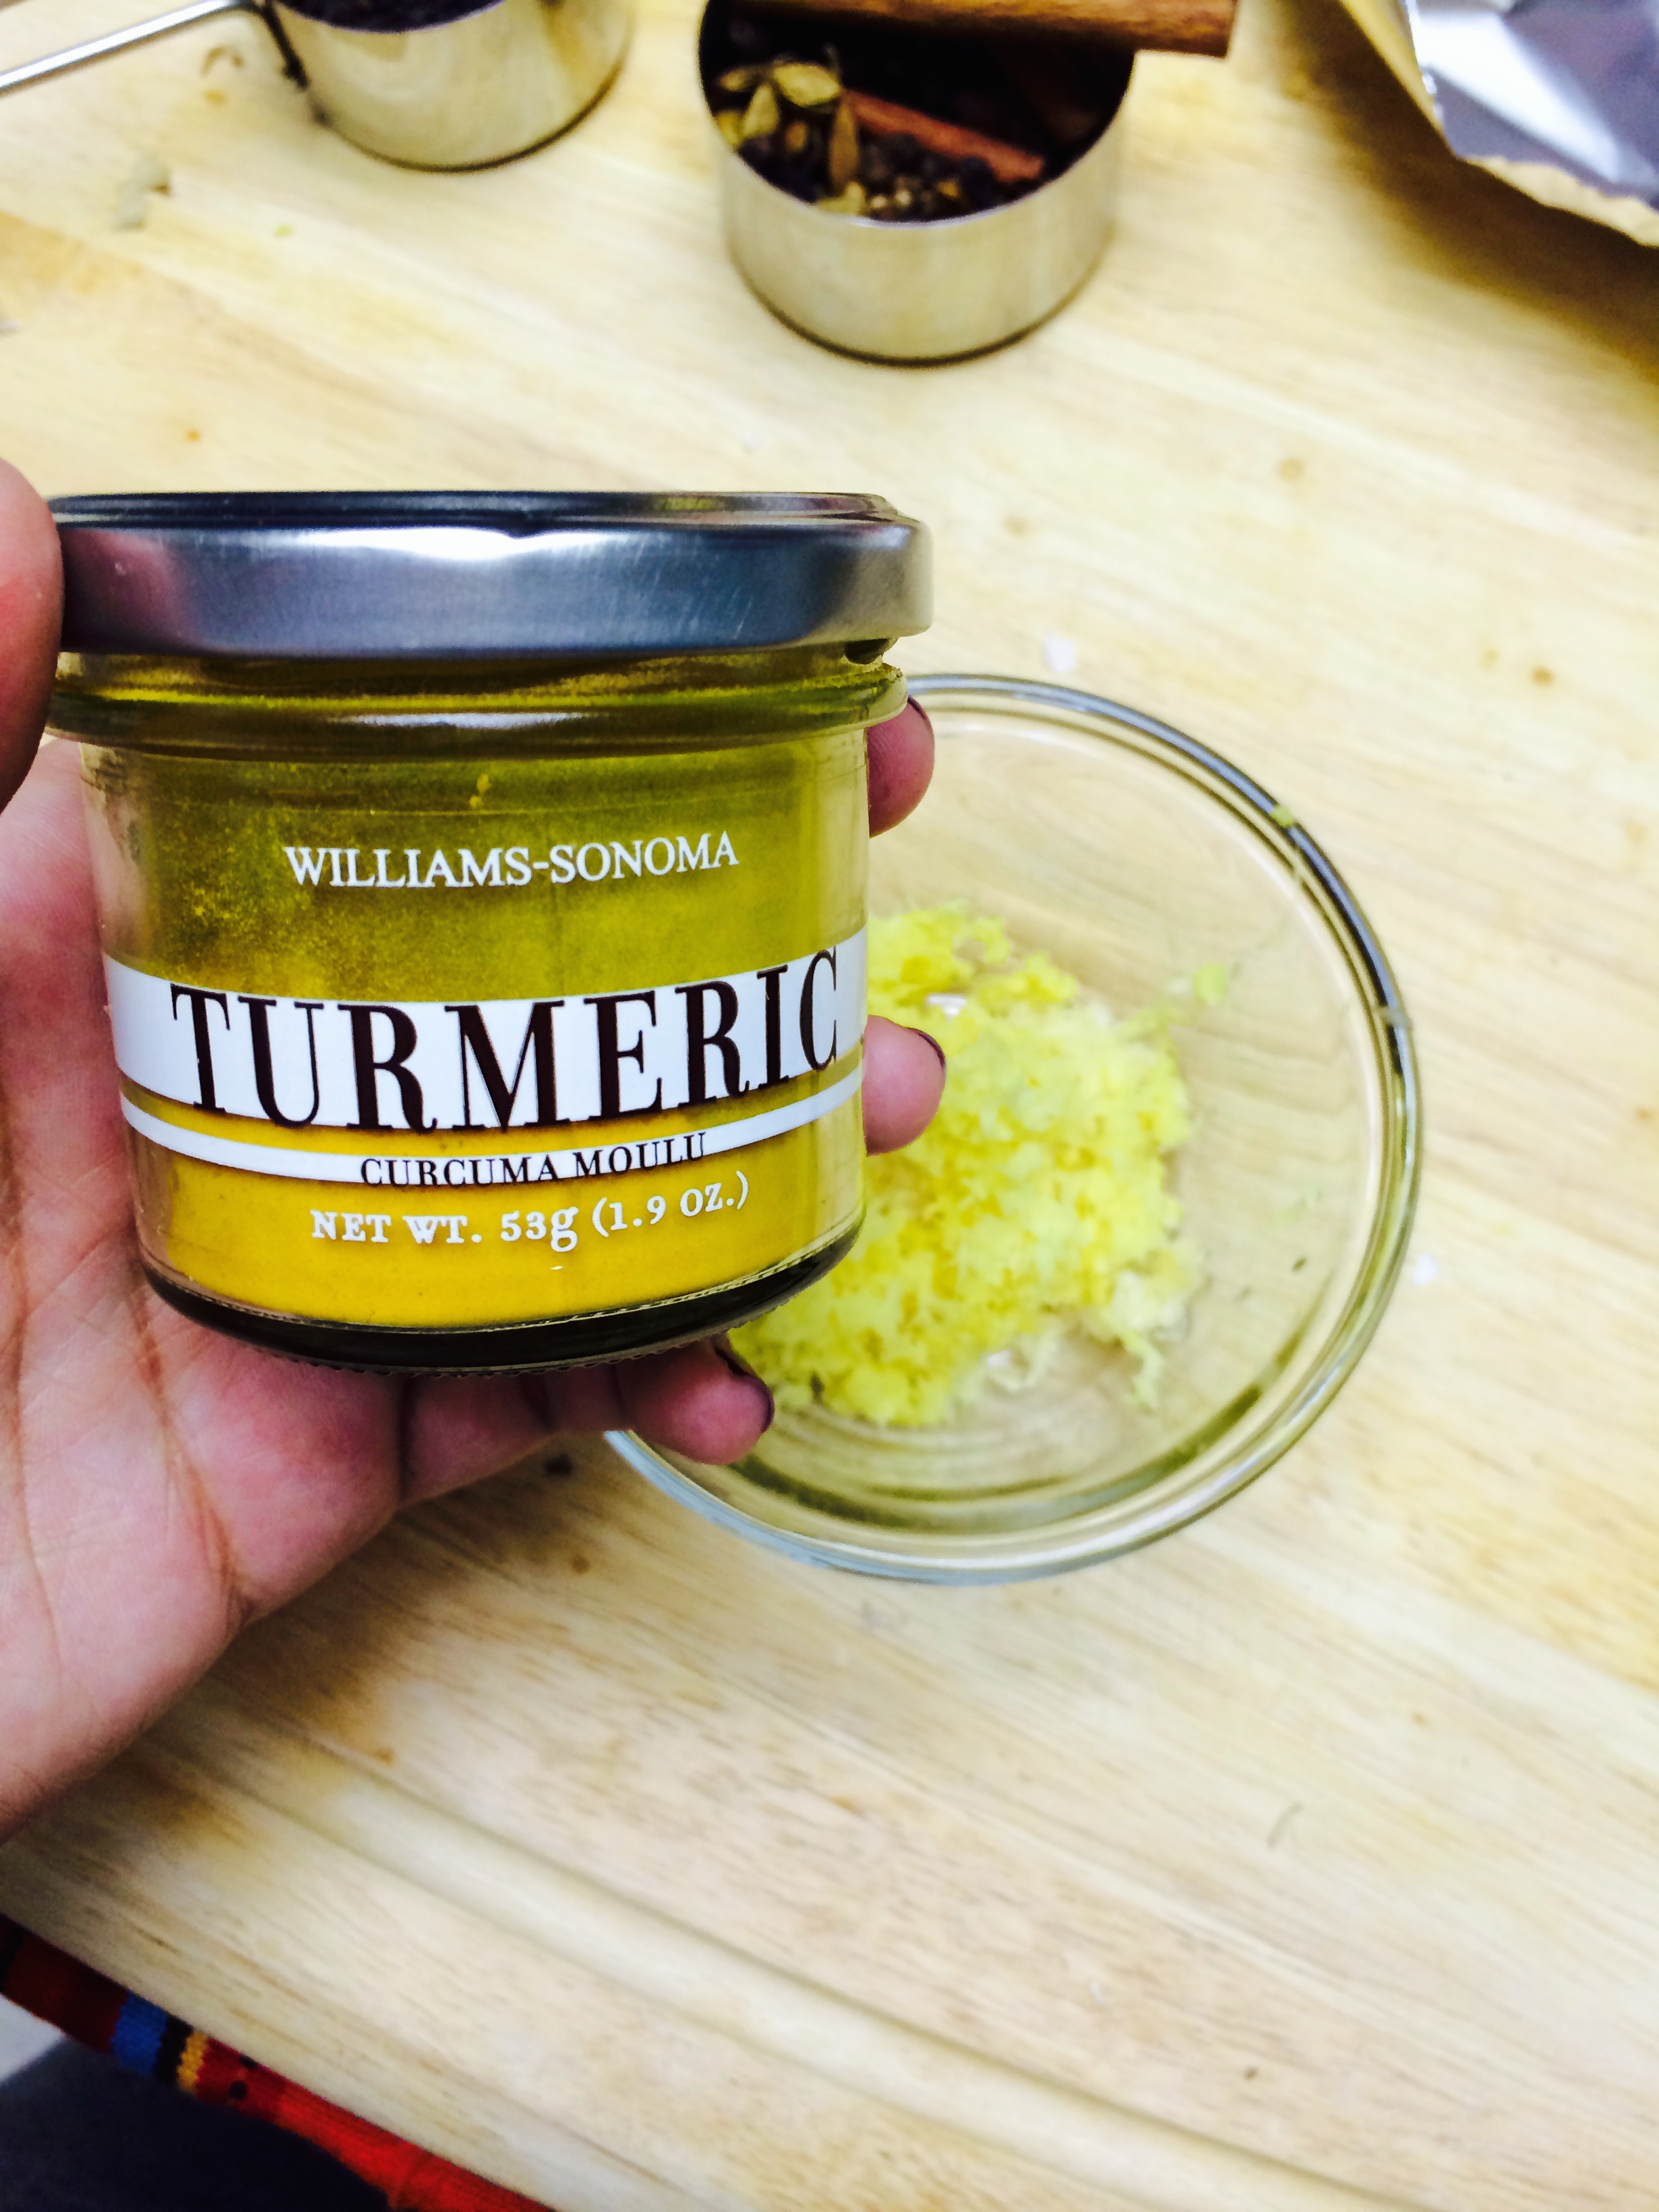
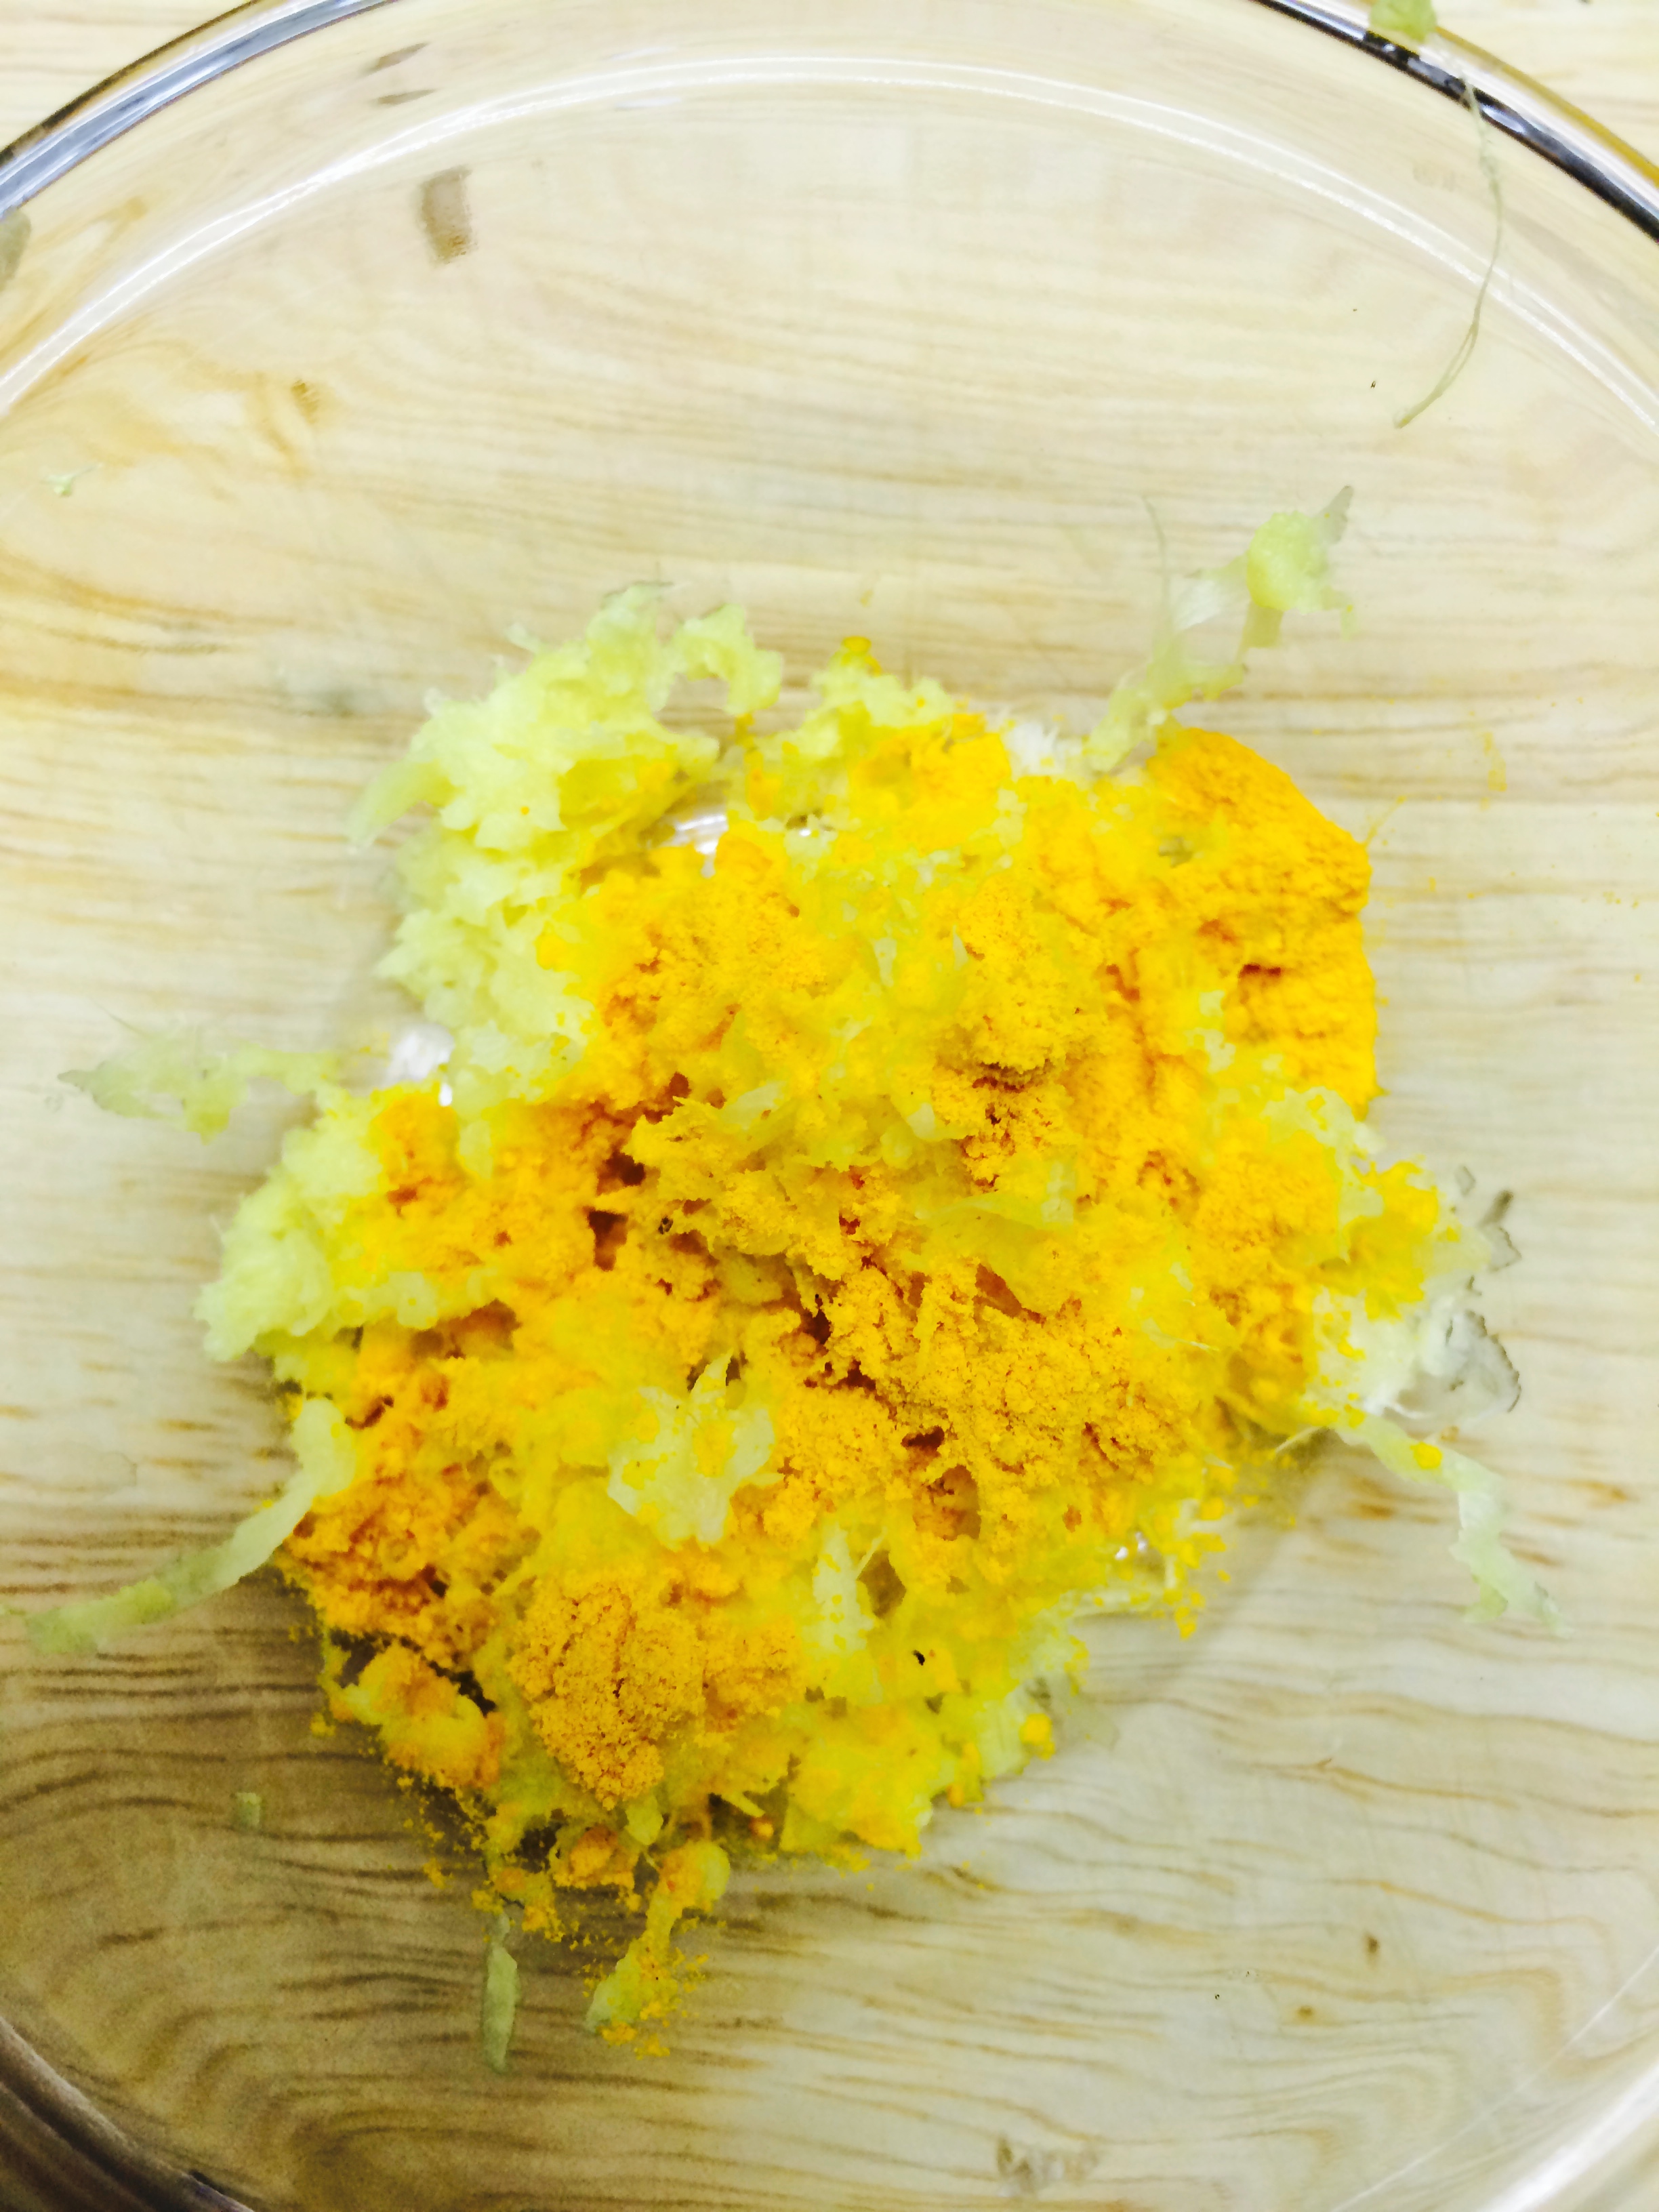
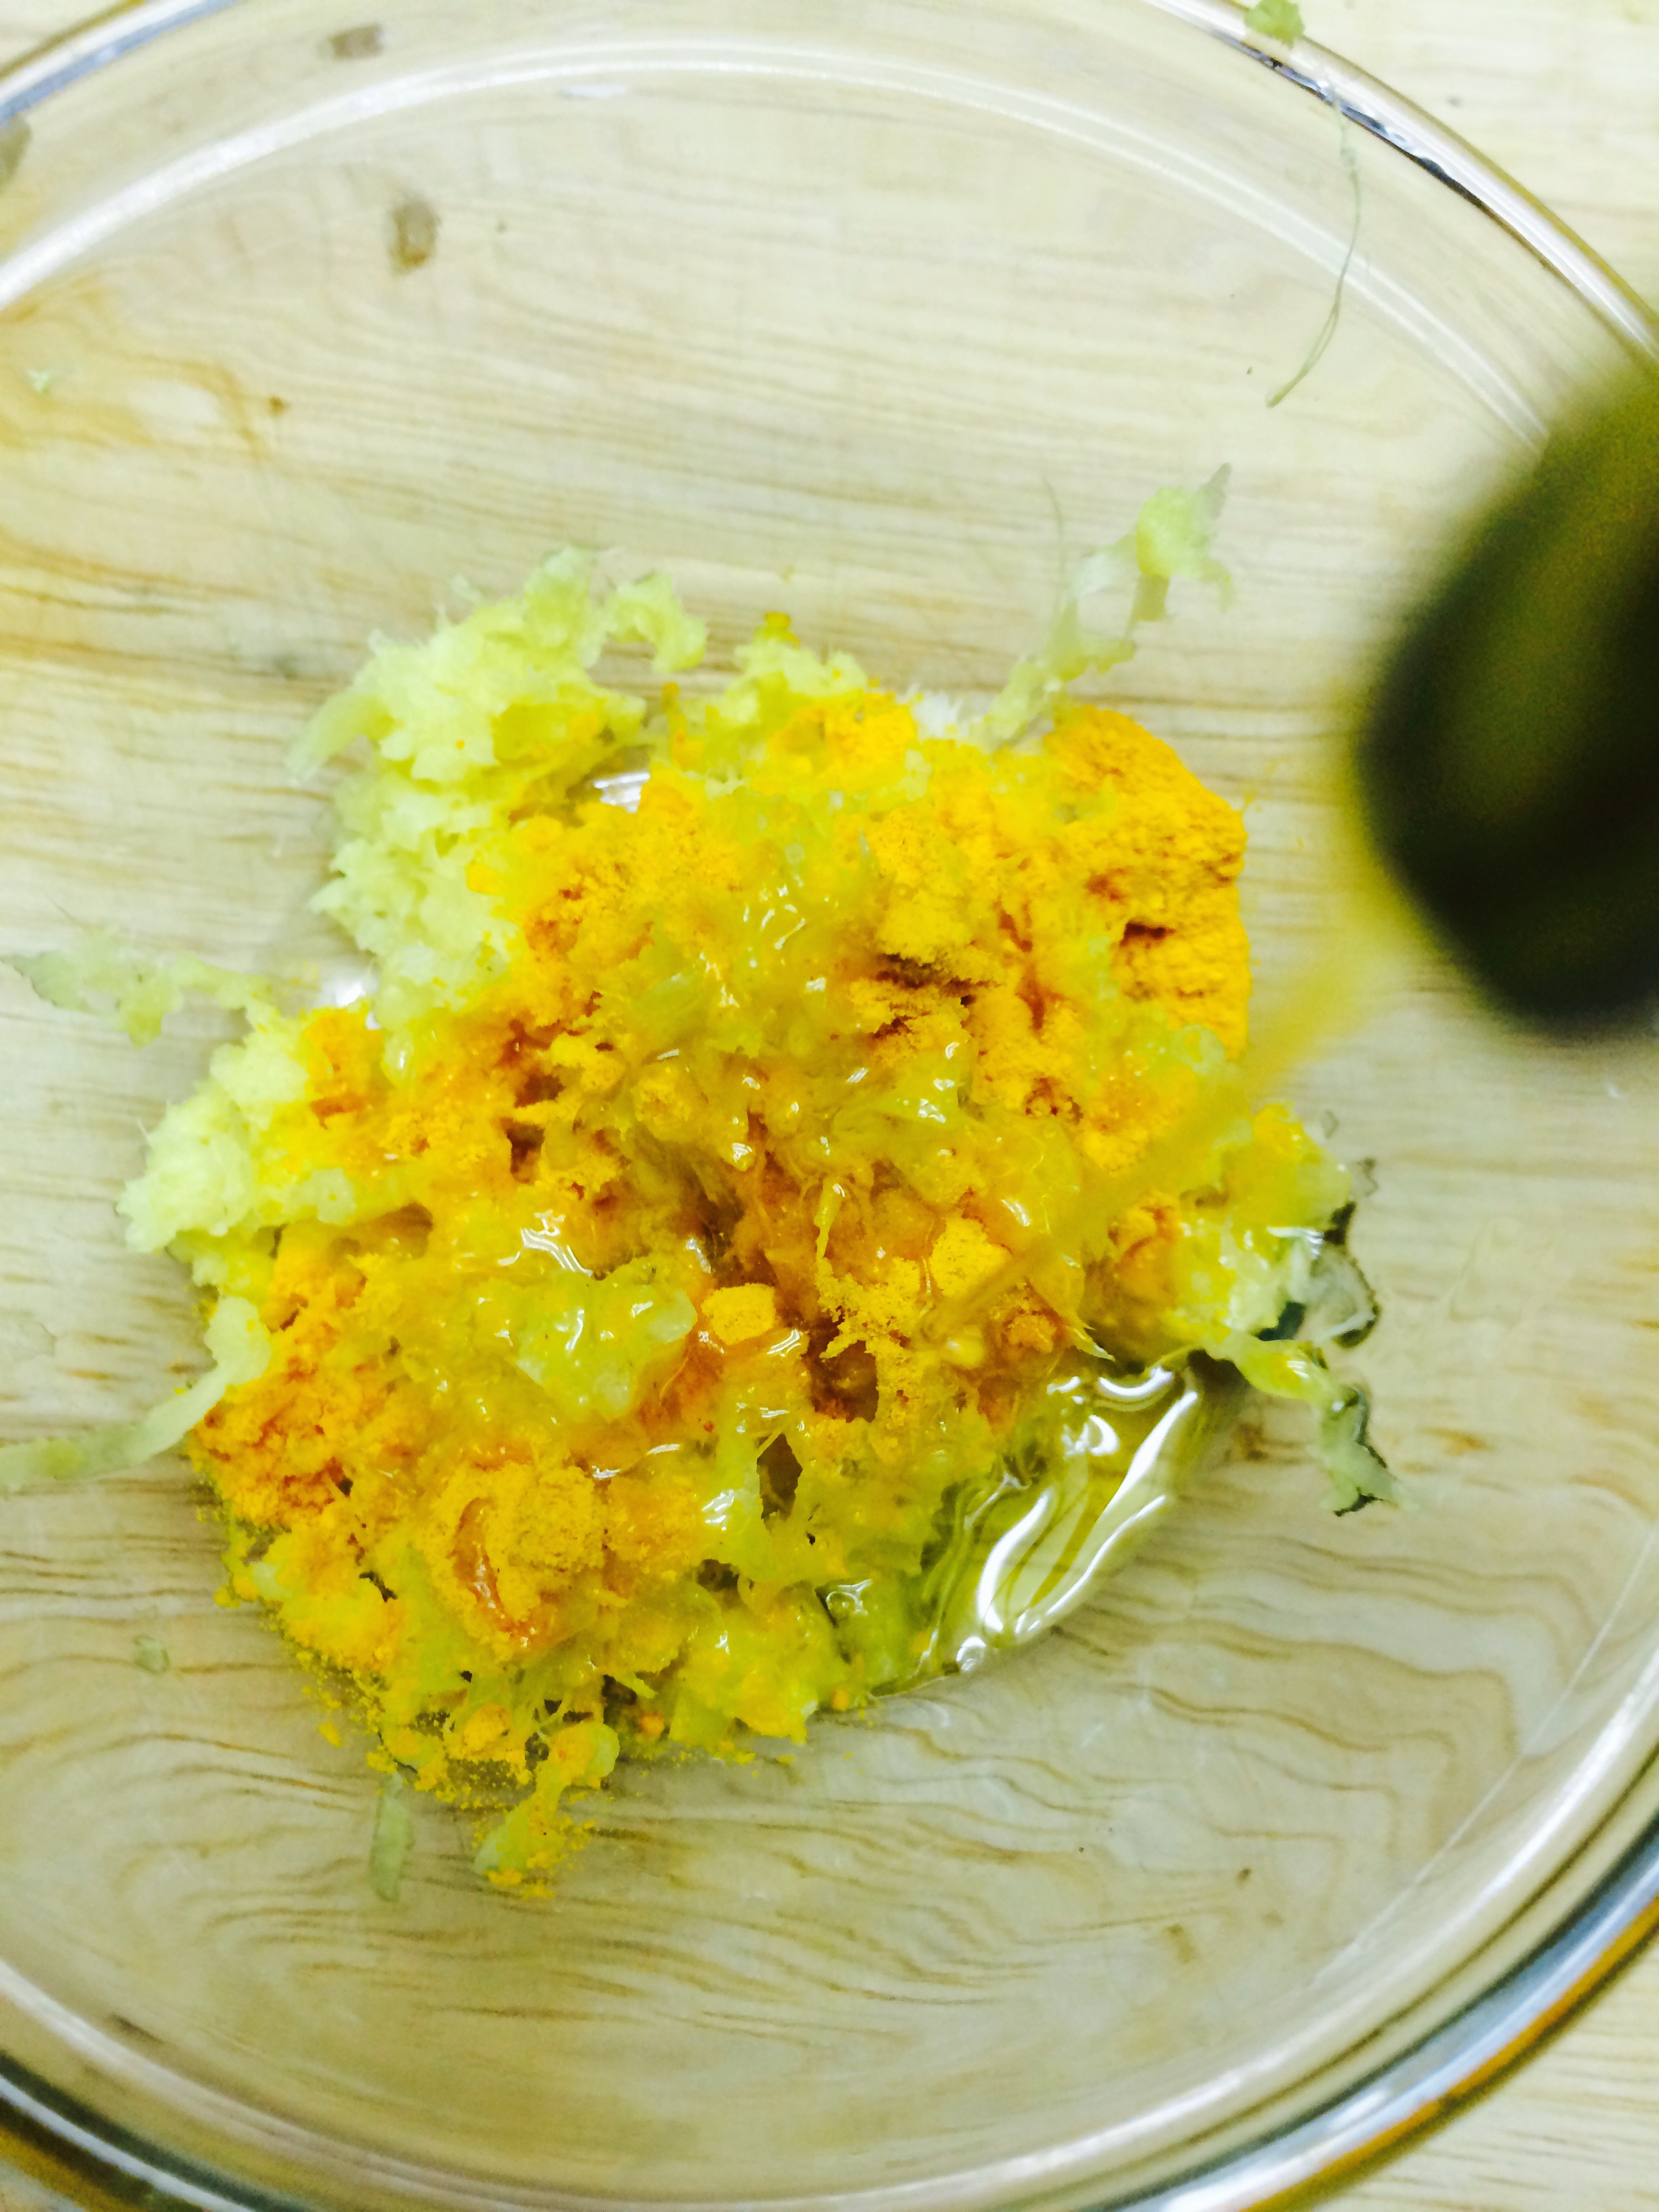
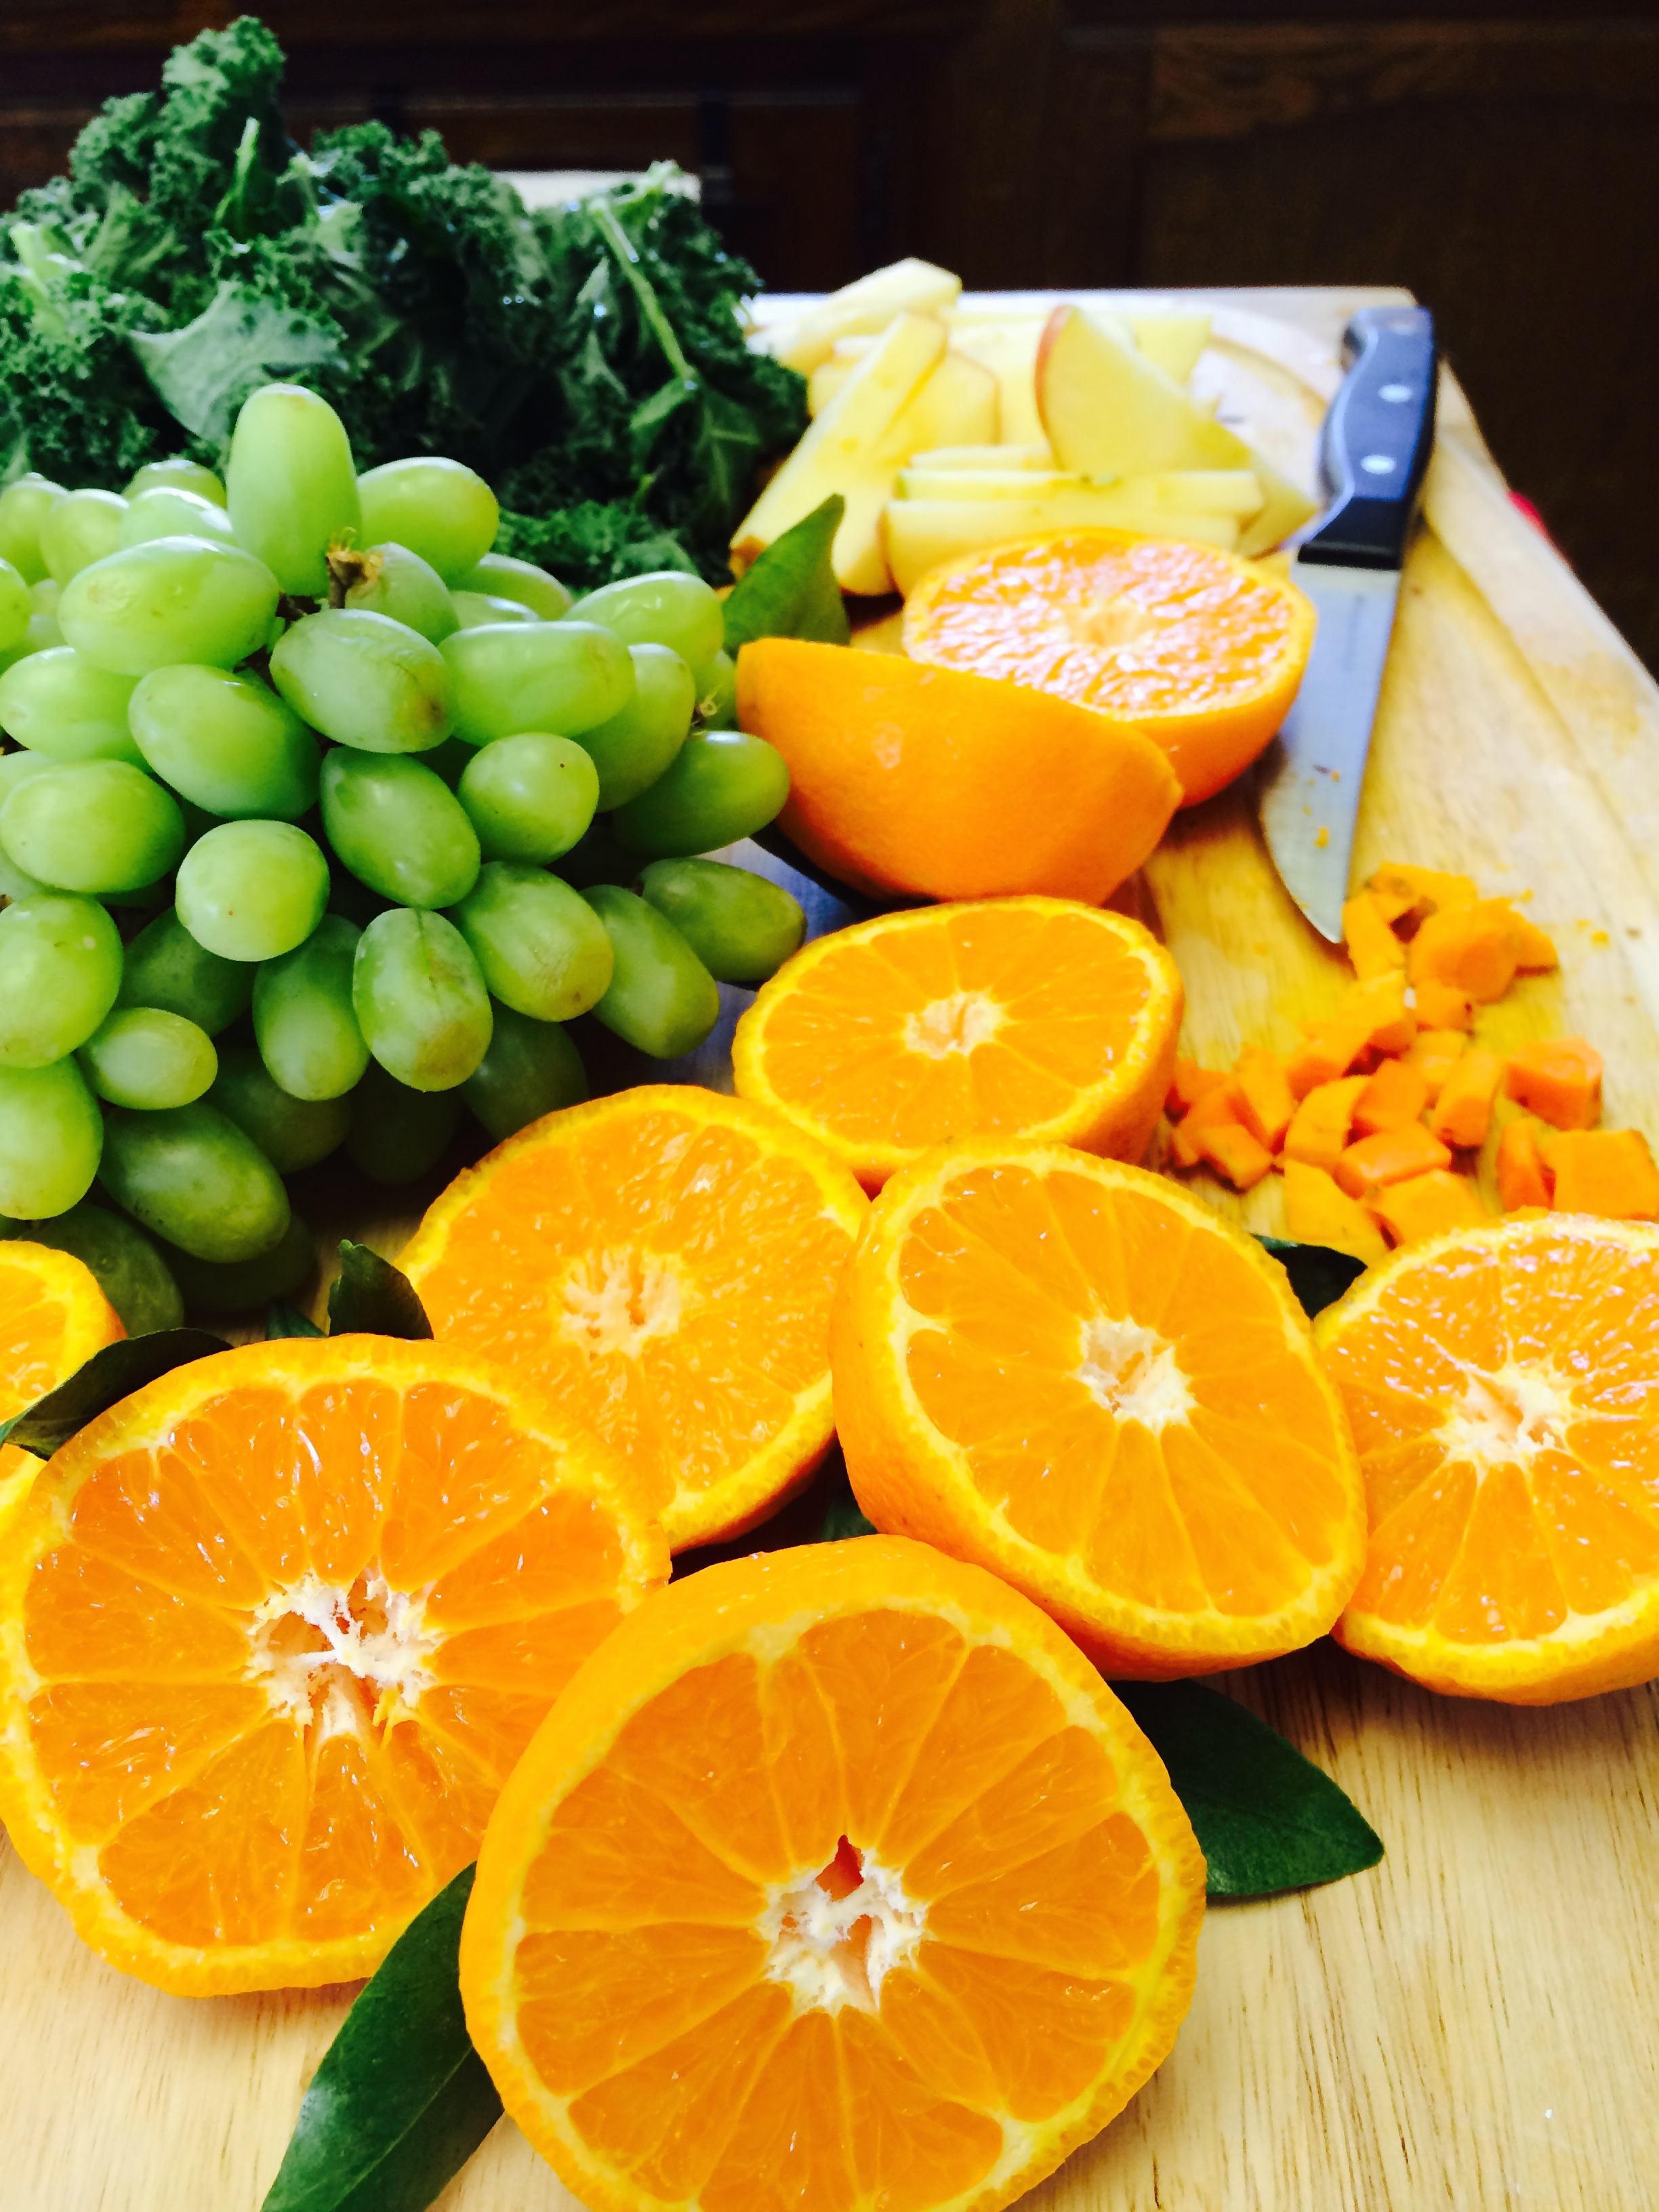
So, I used a bunch of kale, grapes (not all of the grapes in the picture below, about half), an apple, the juice of 6 tangerines and 3 pieces of turmeric root (my new obsession, along with elephant garlic).

IMG_2143

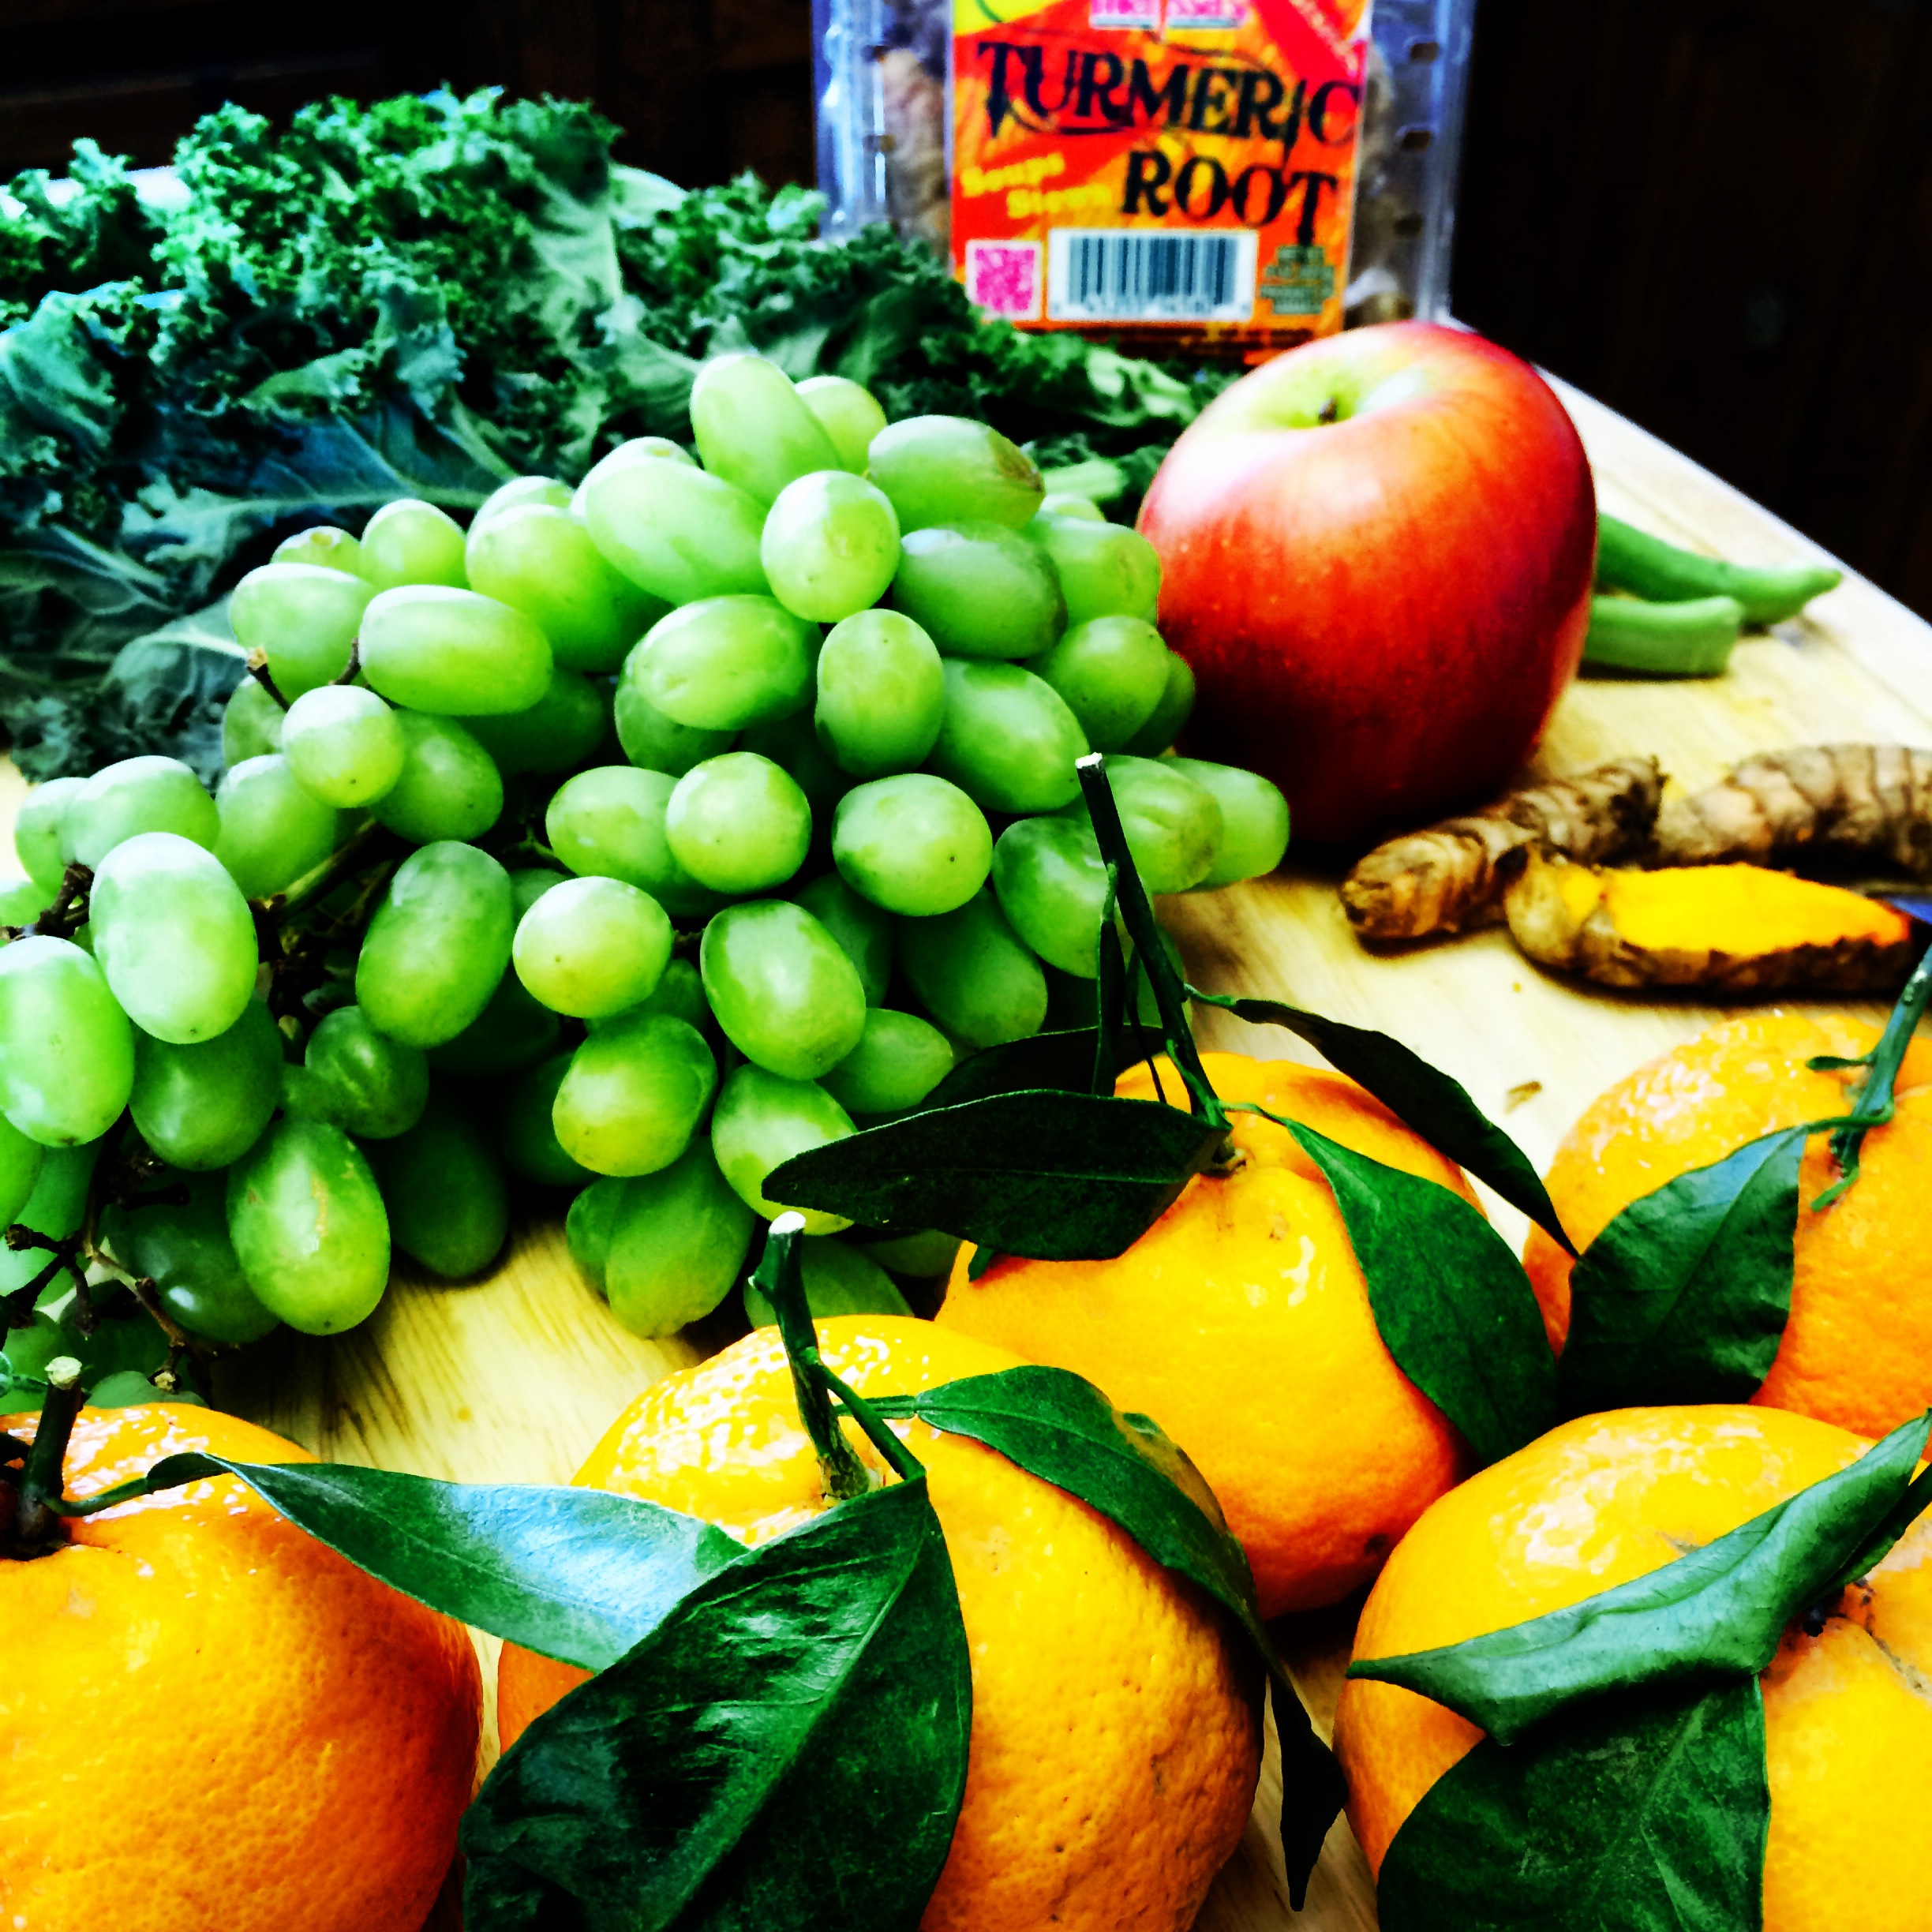
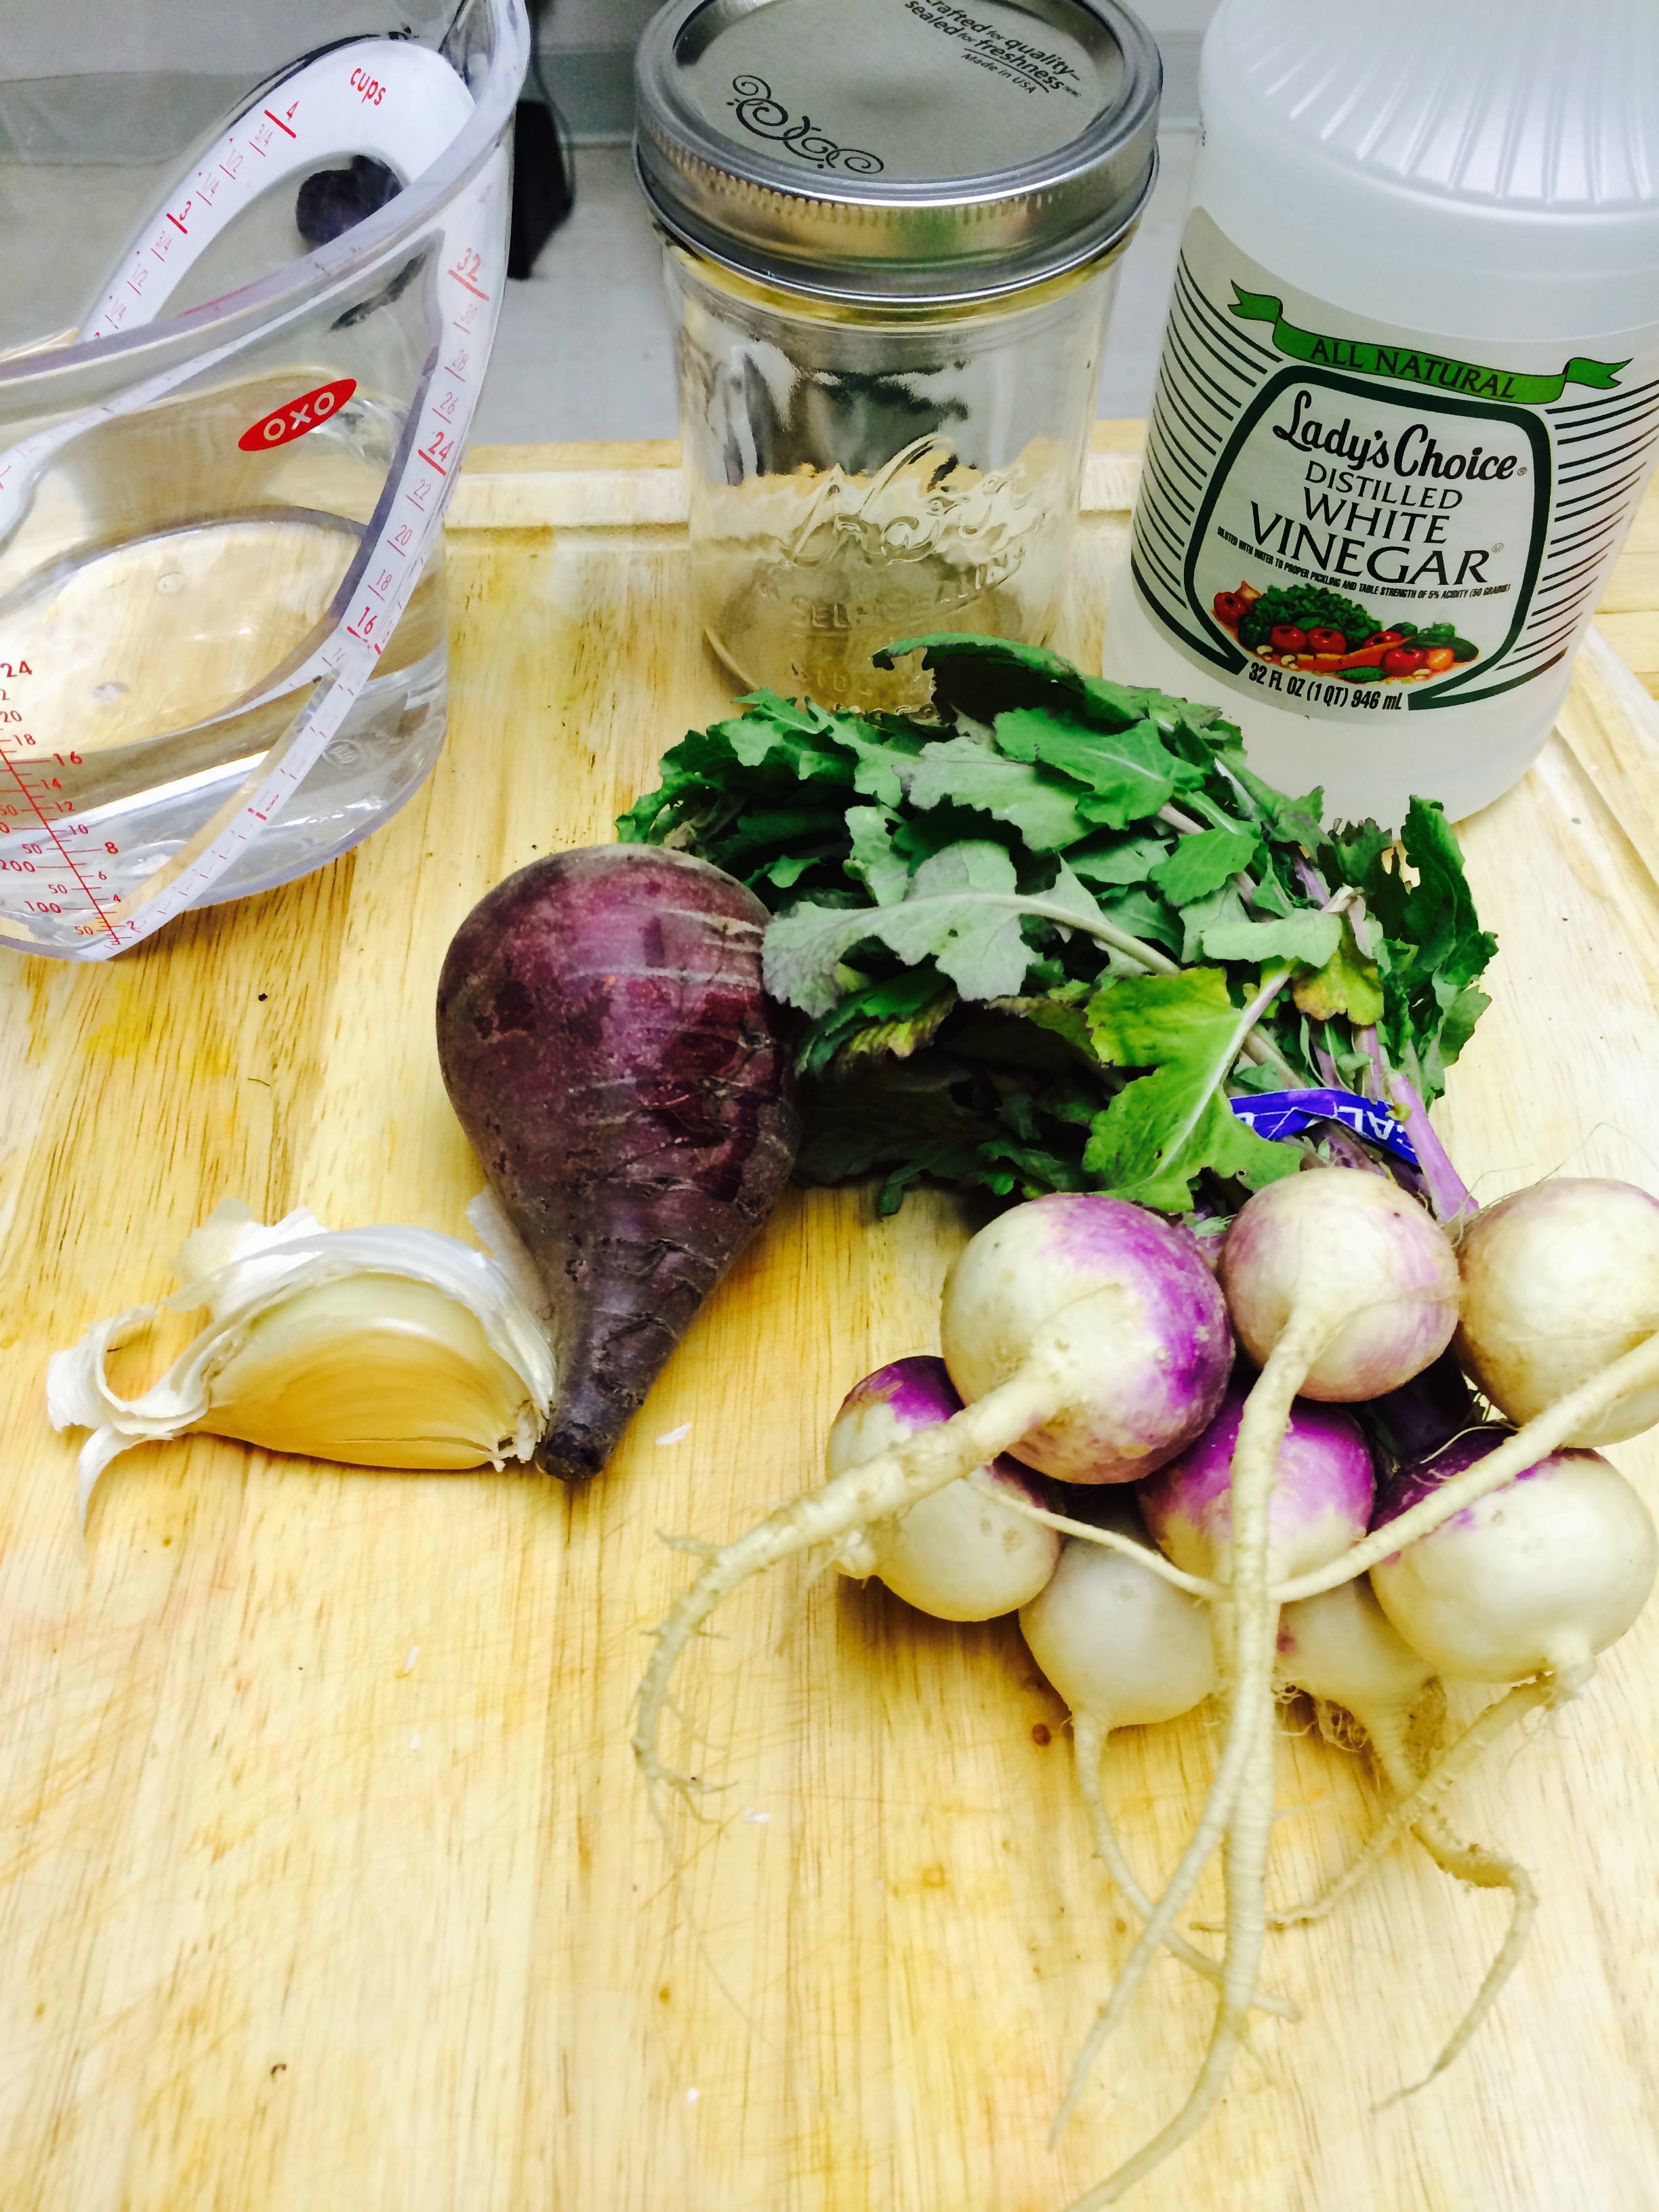
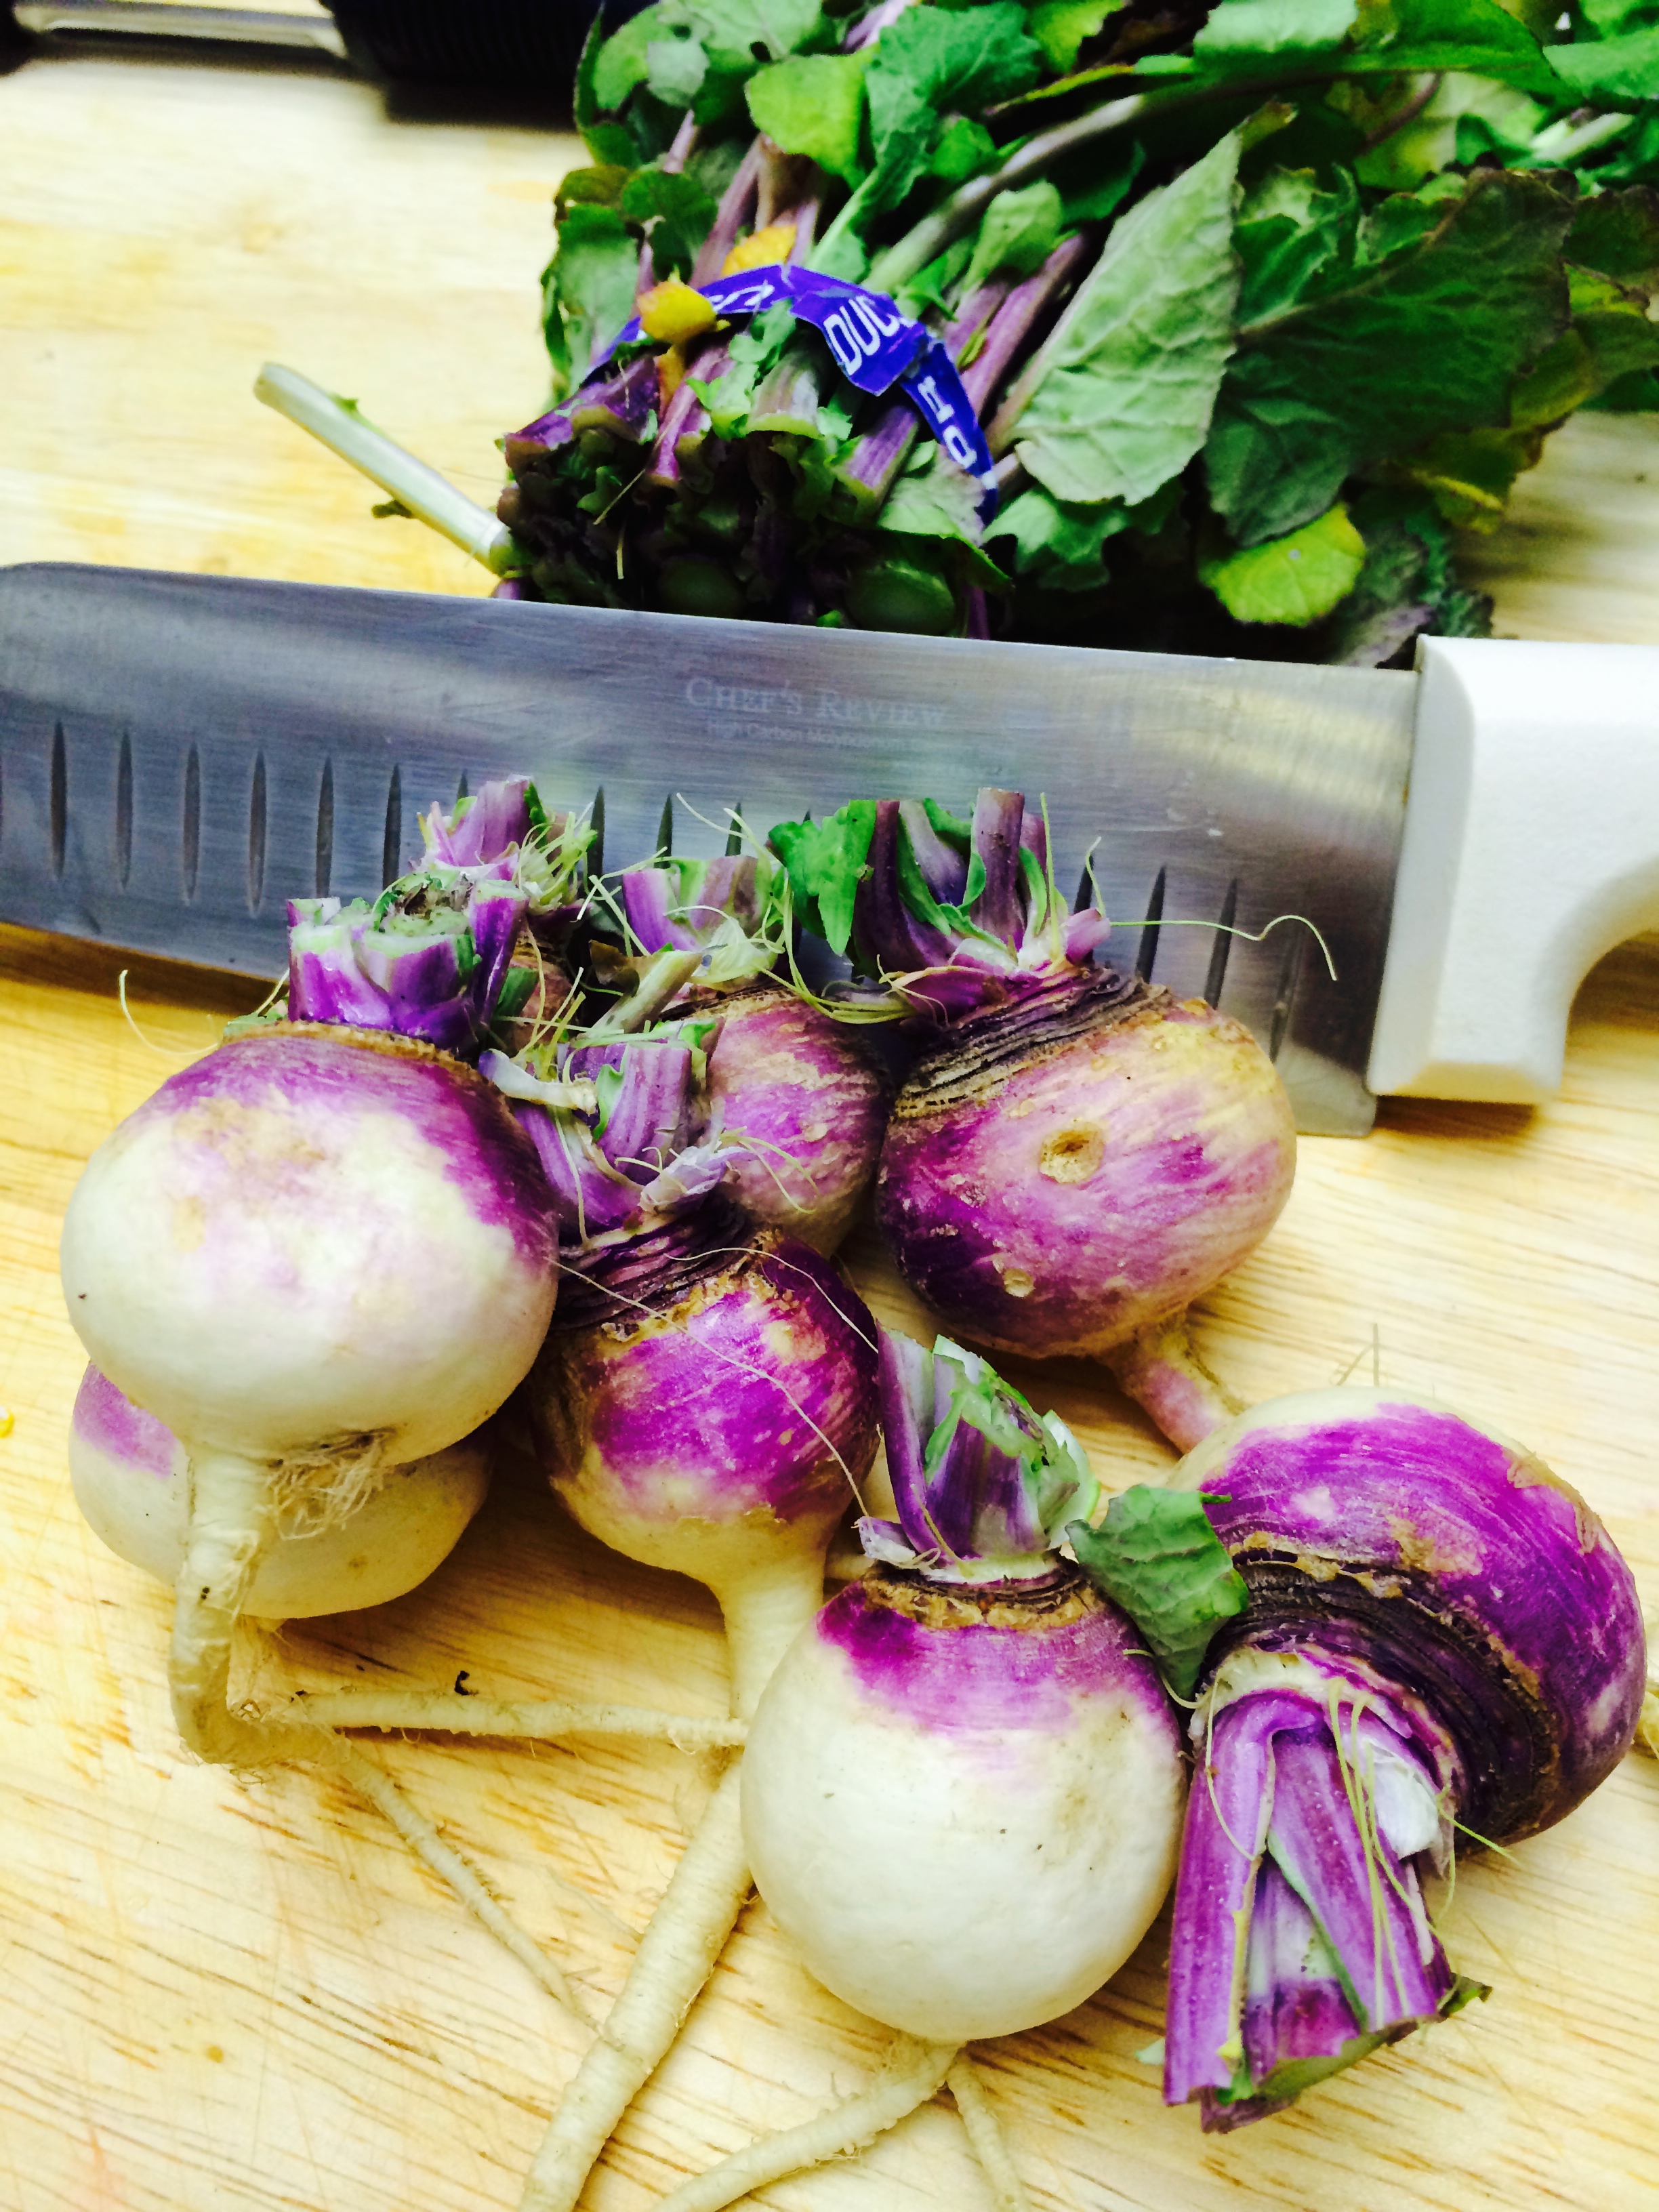
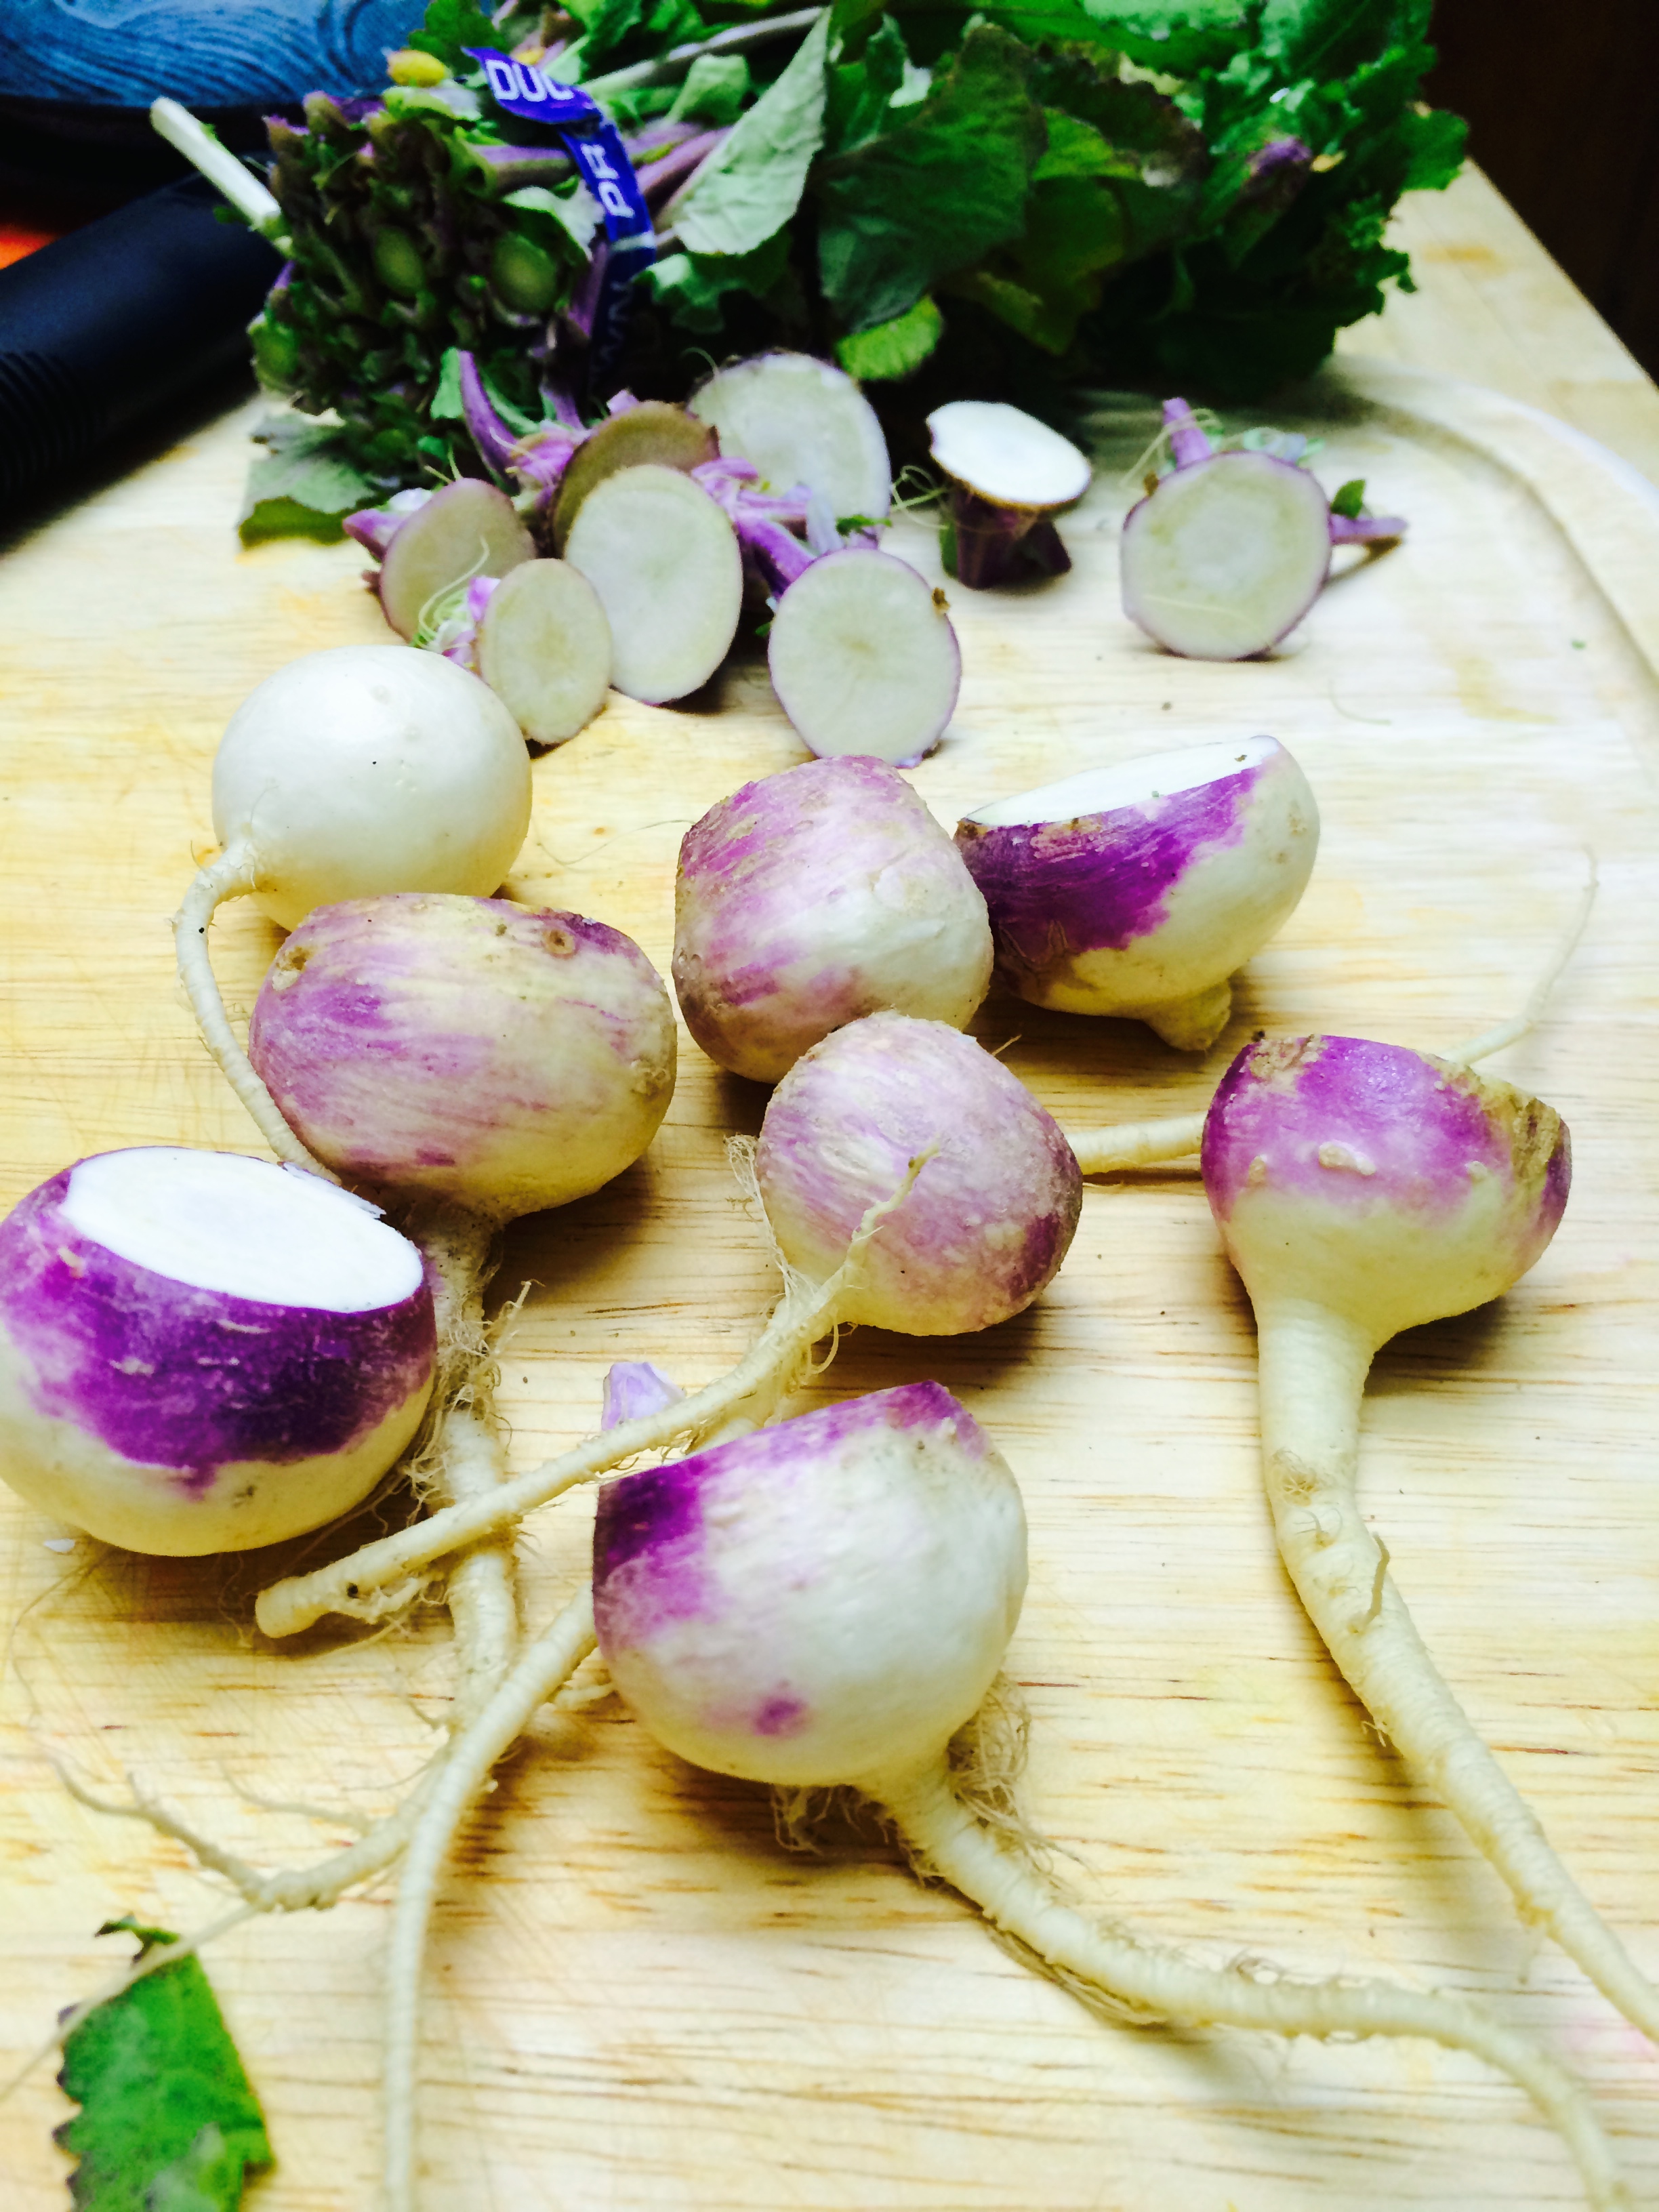
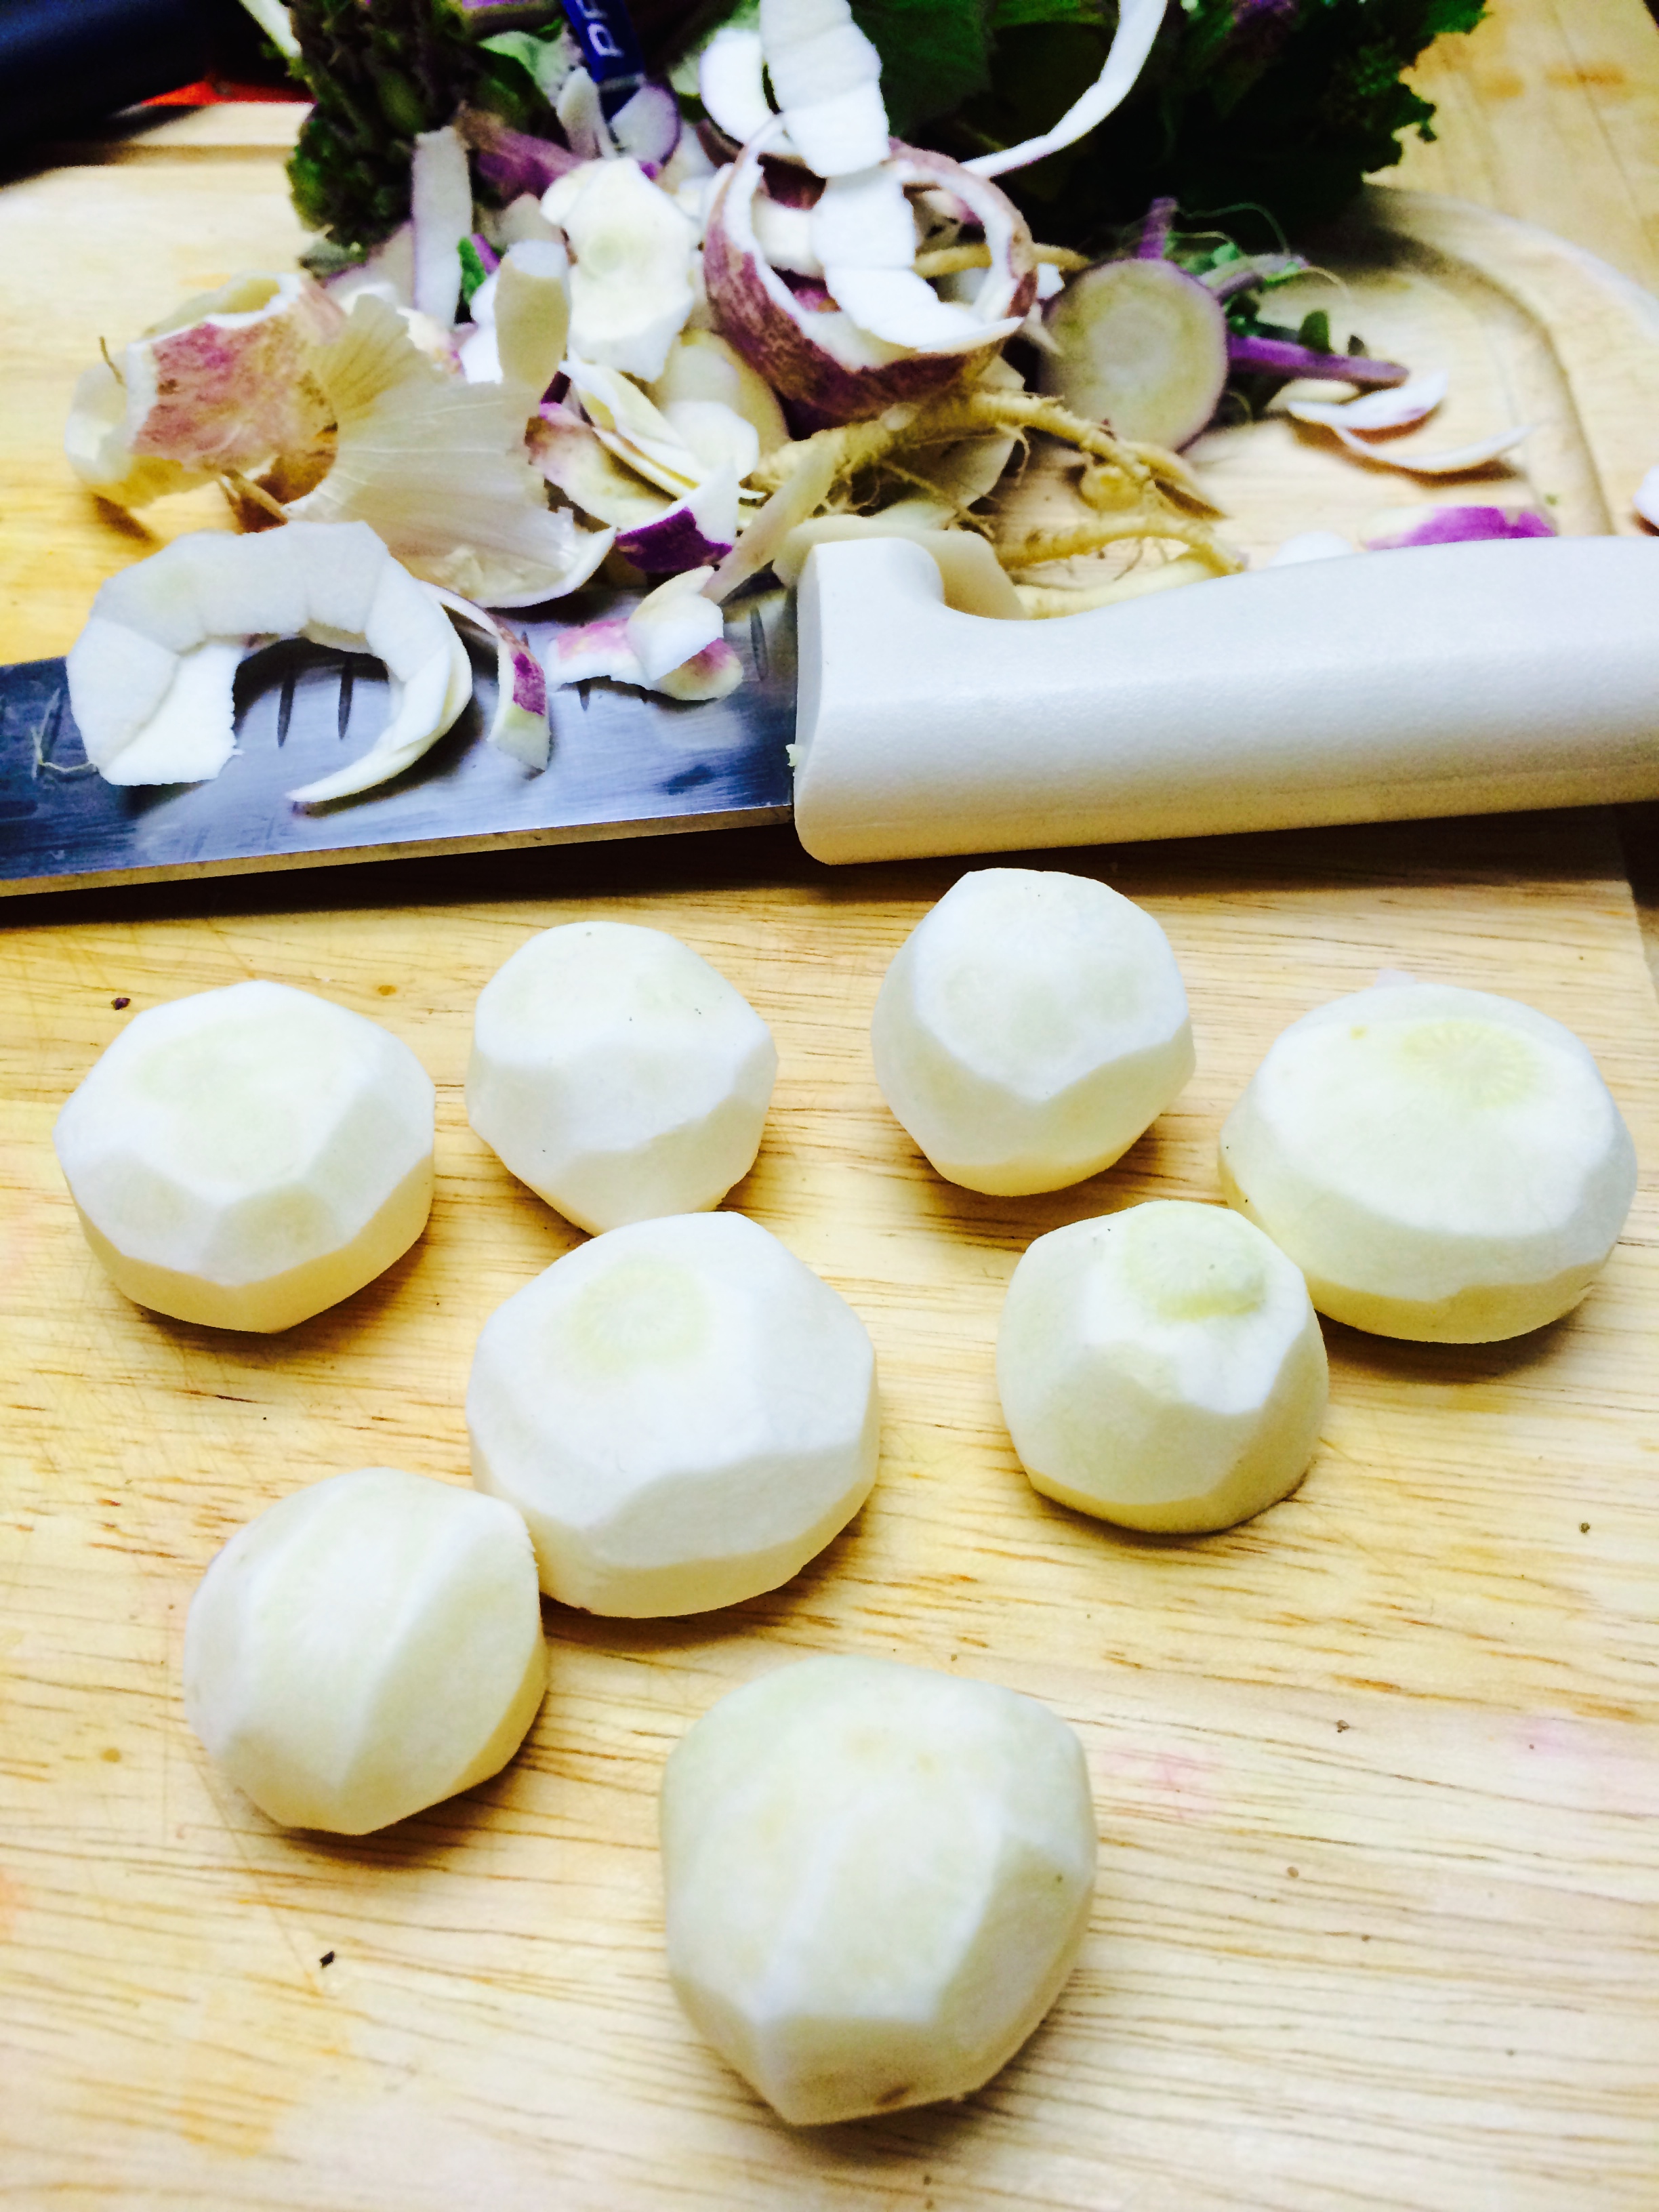
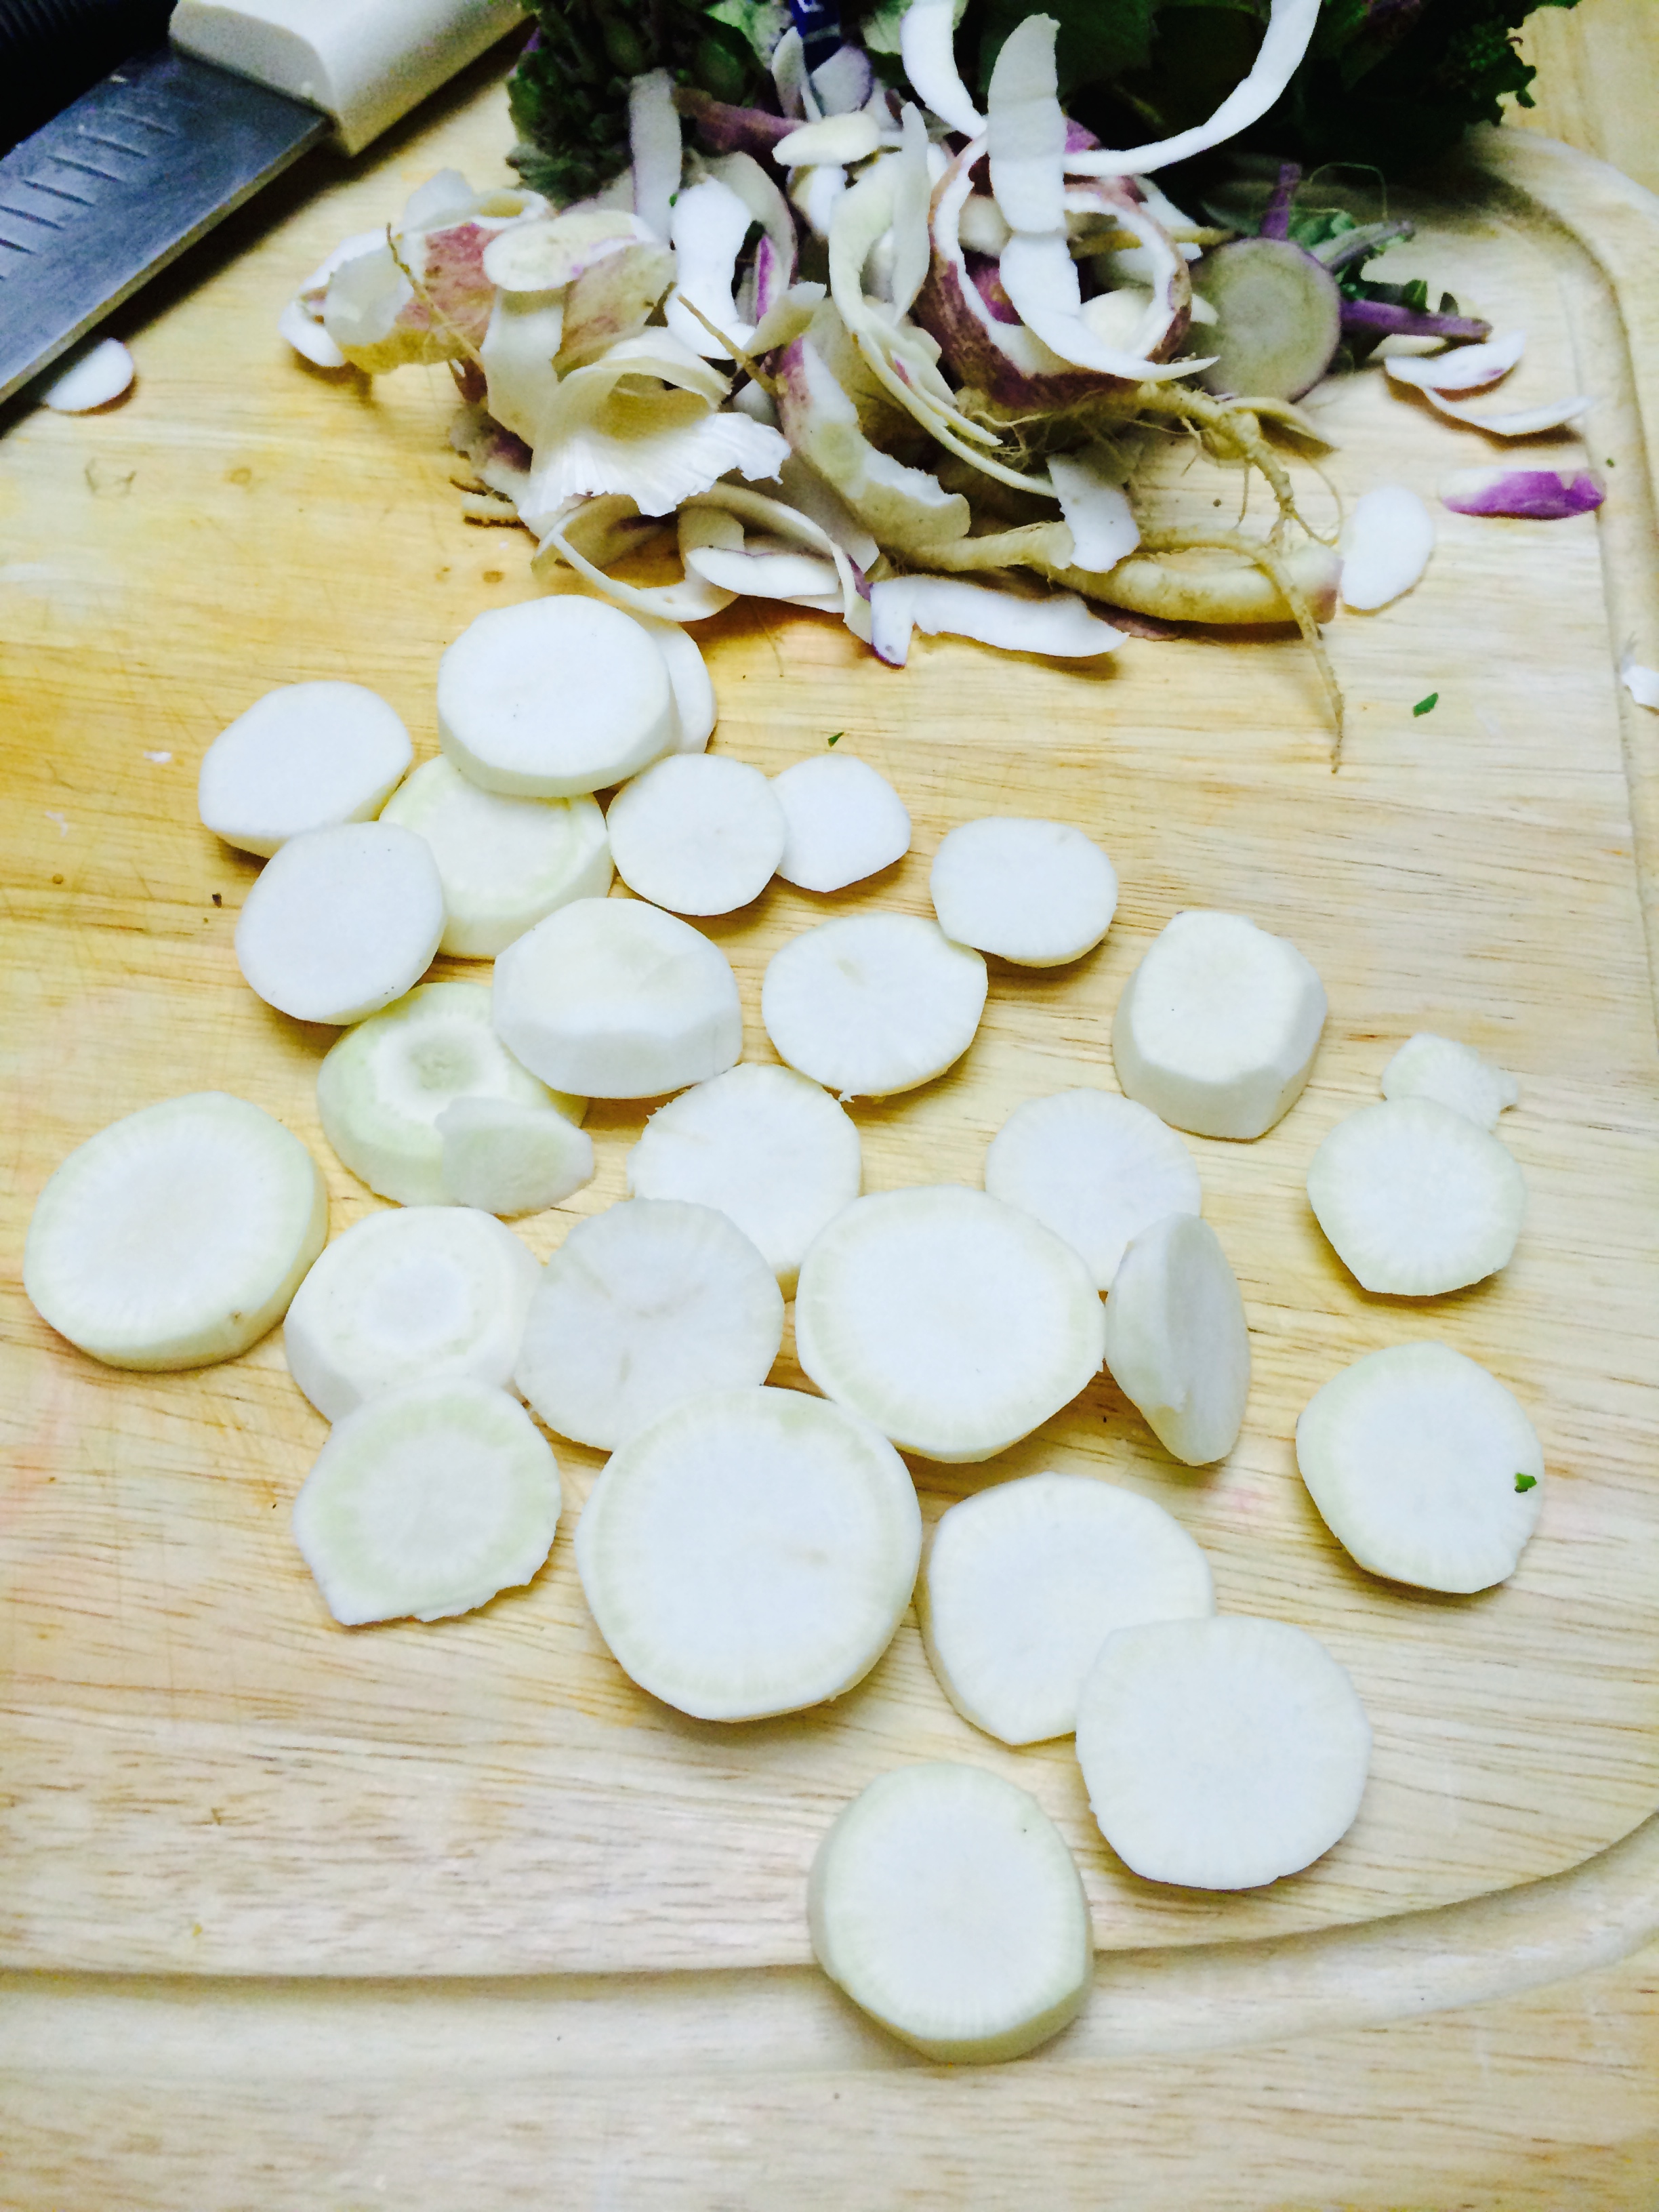
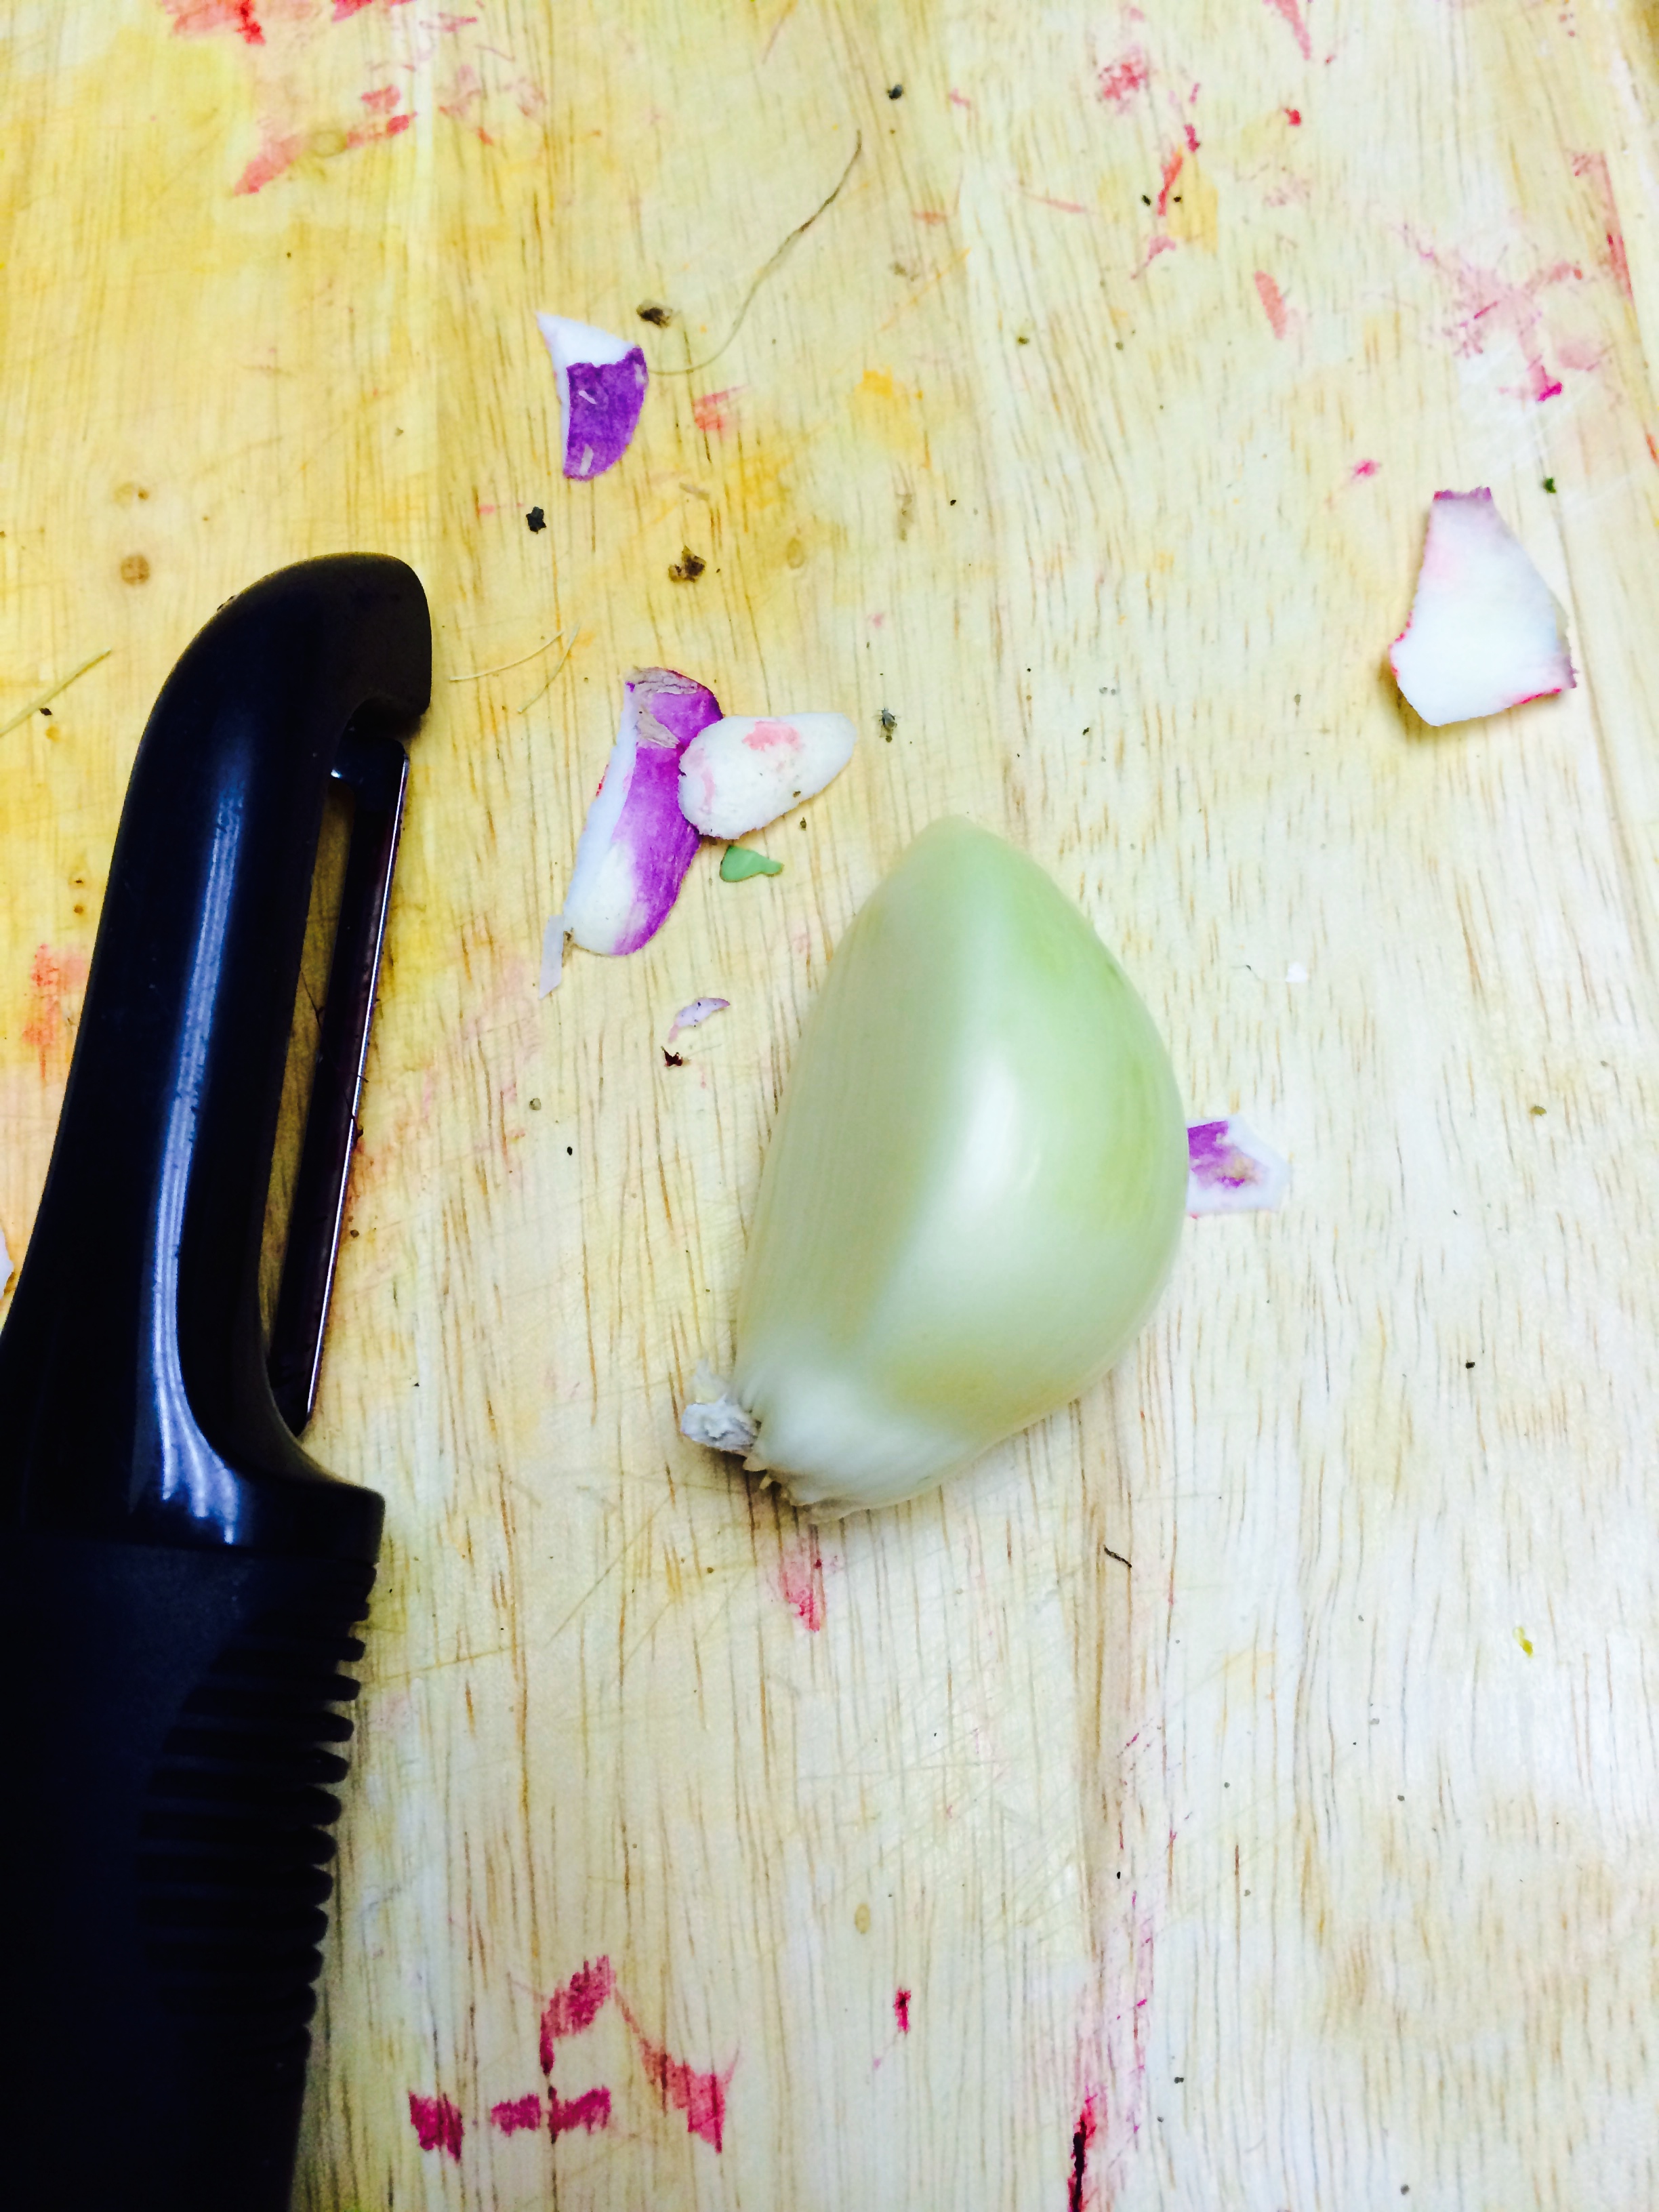
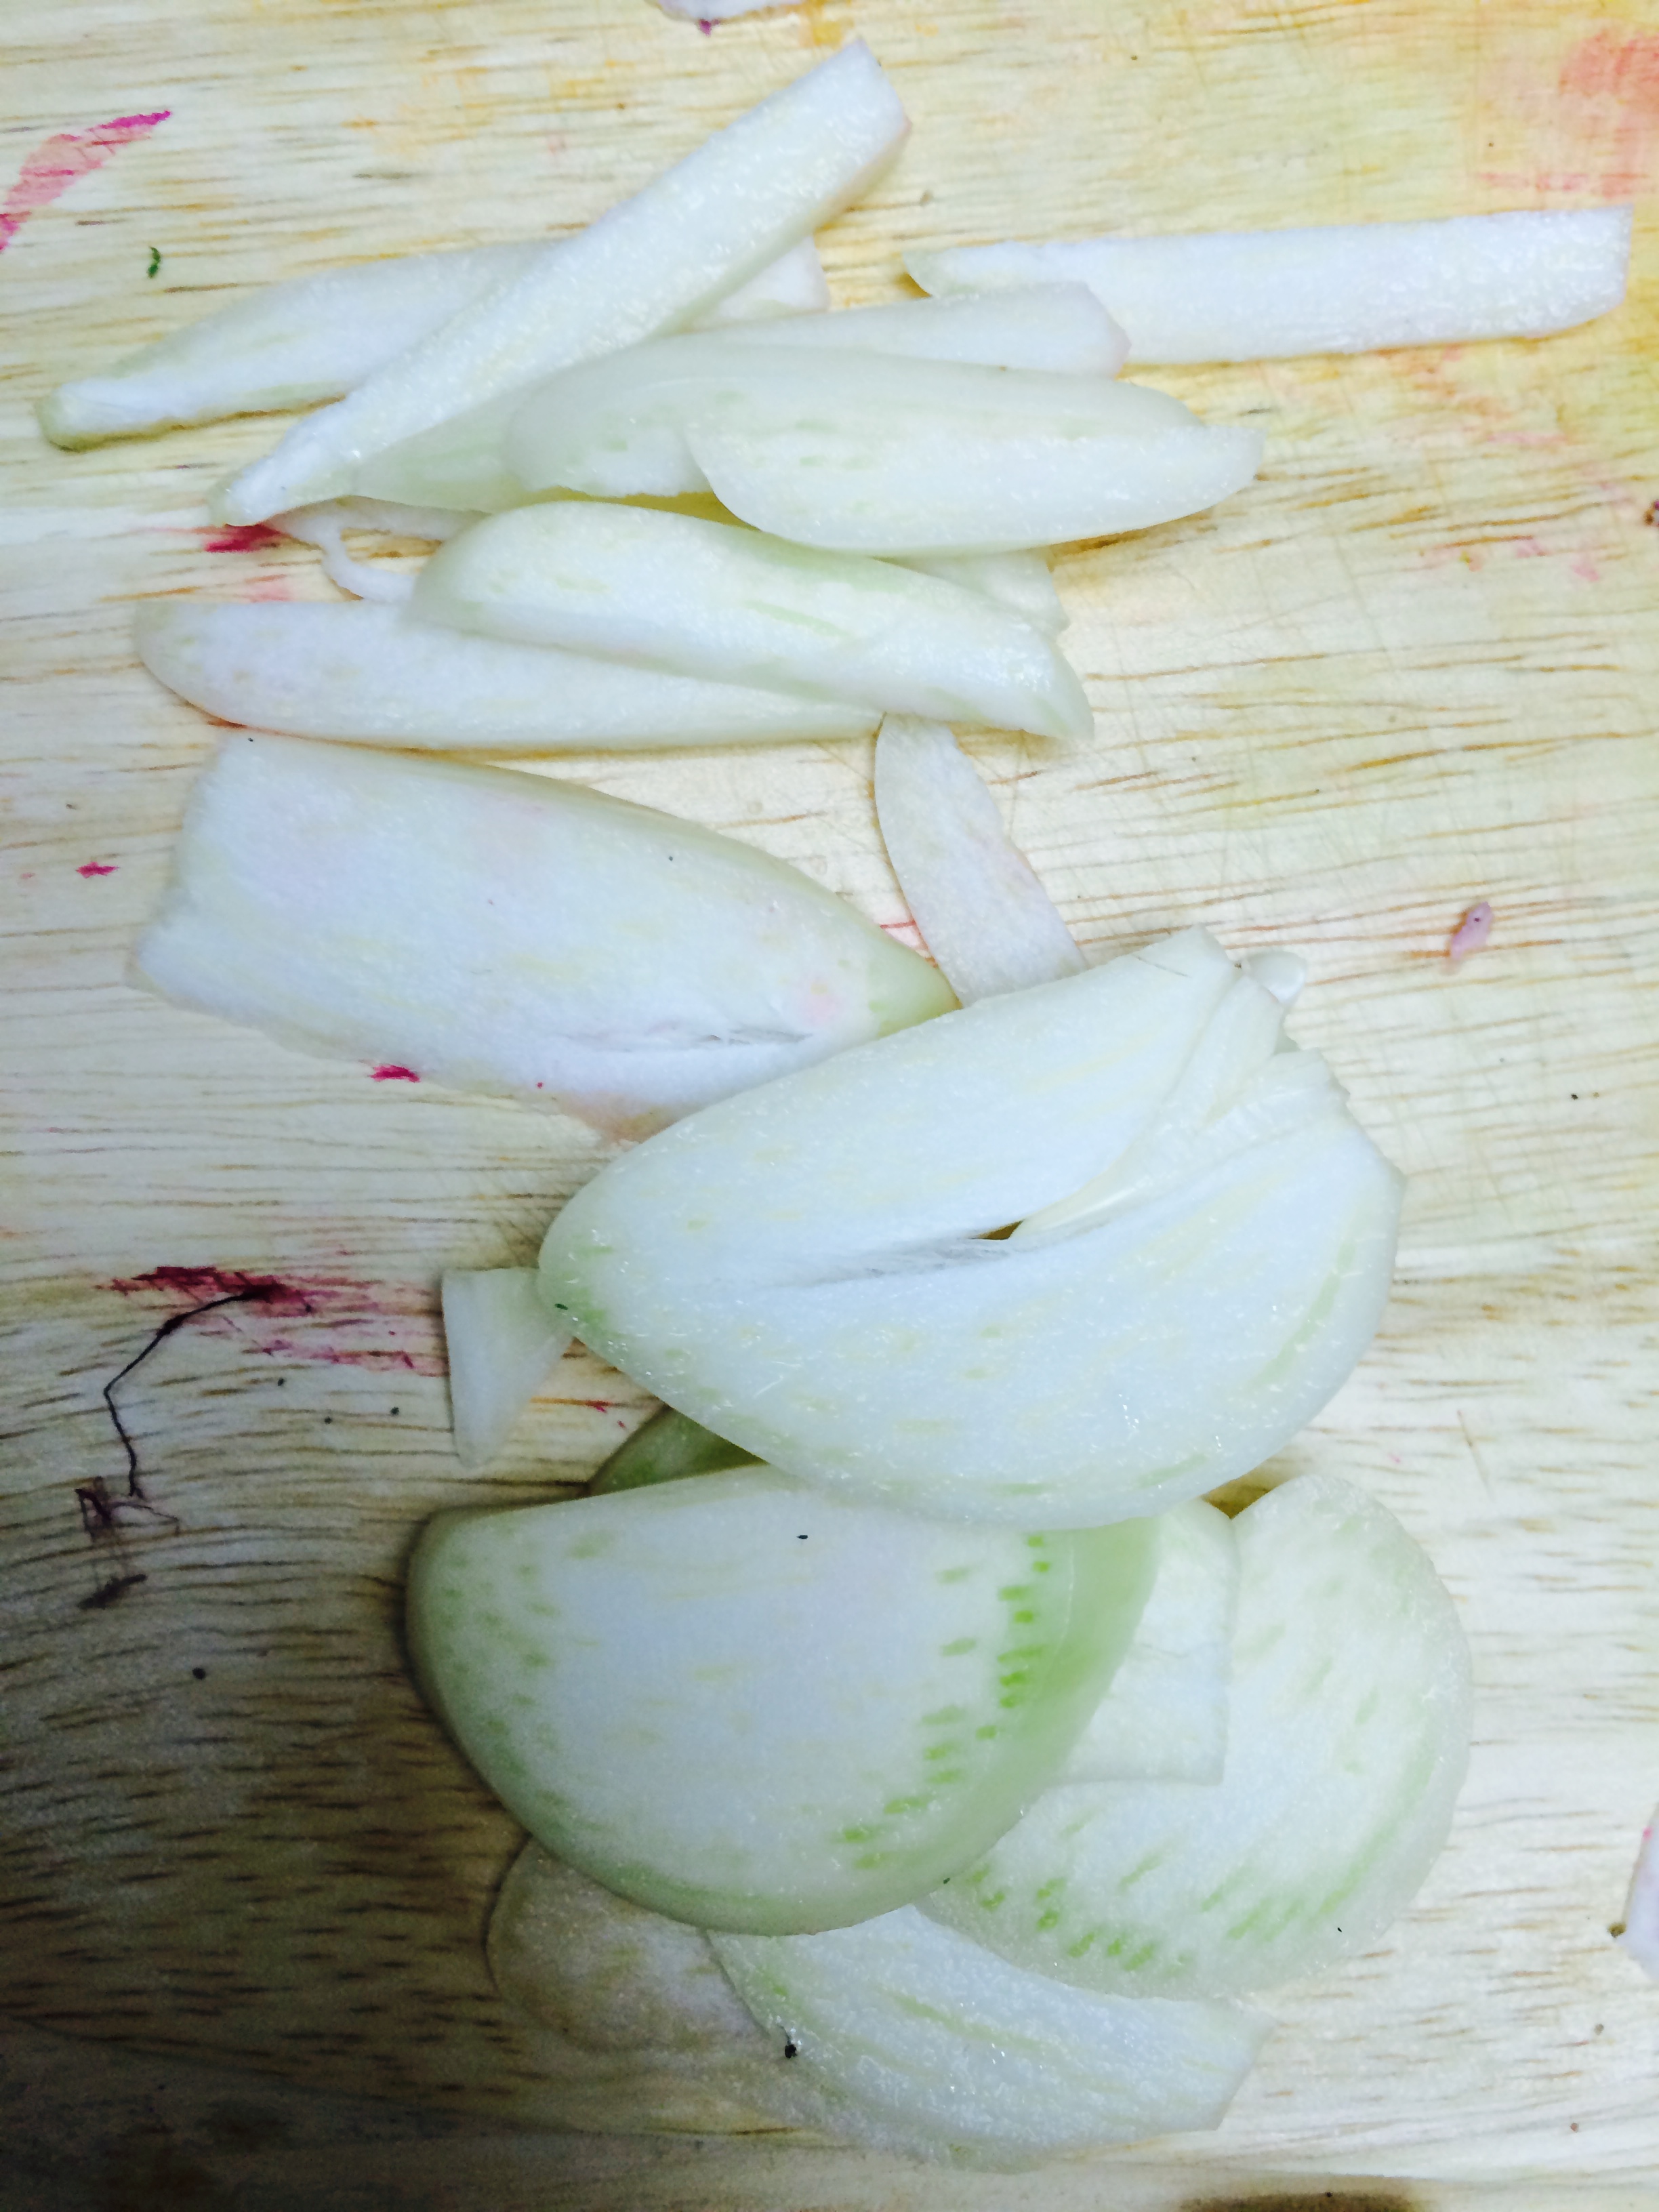
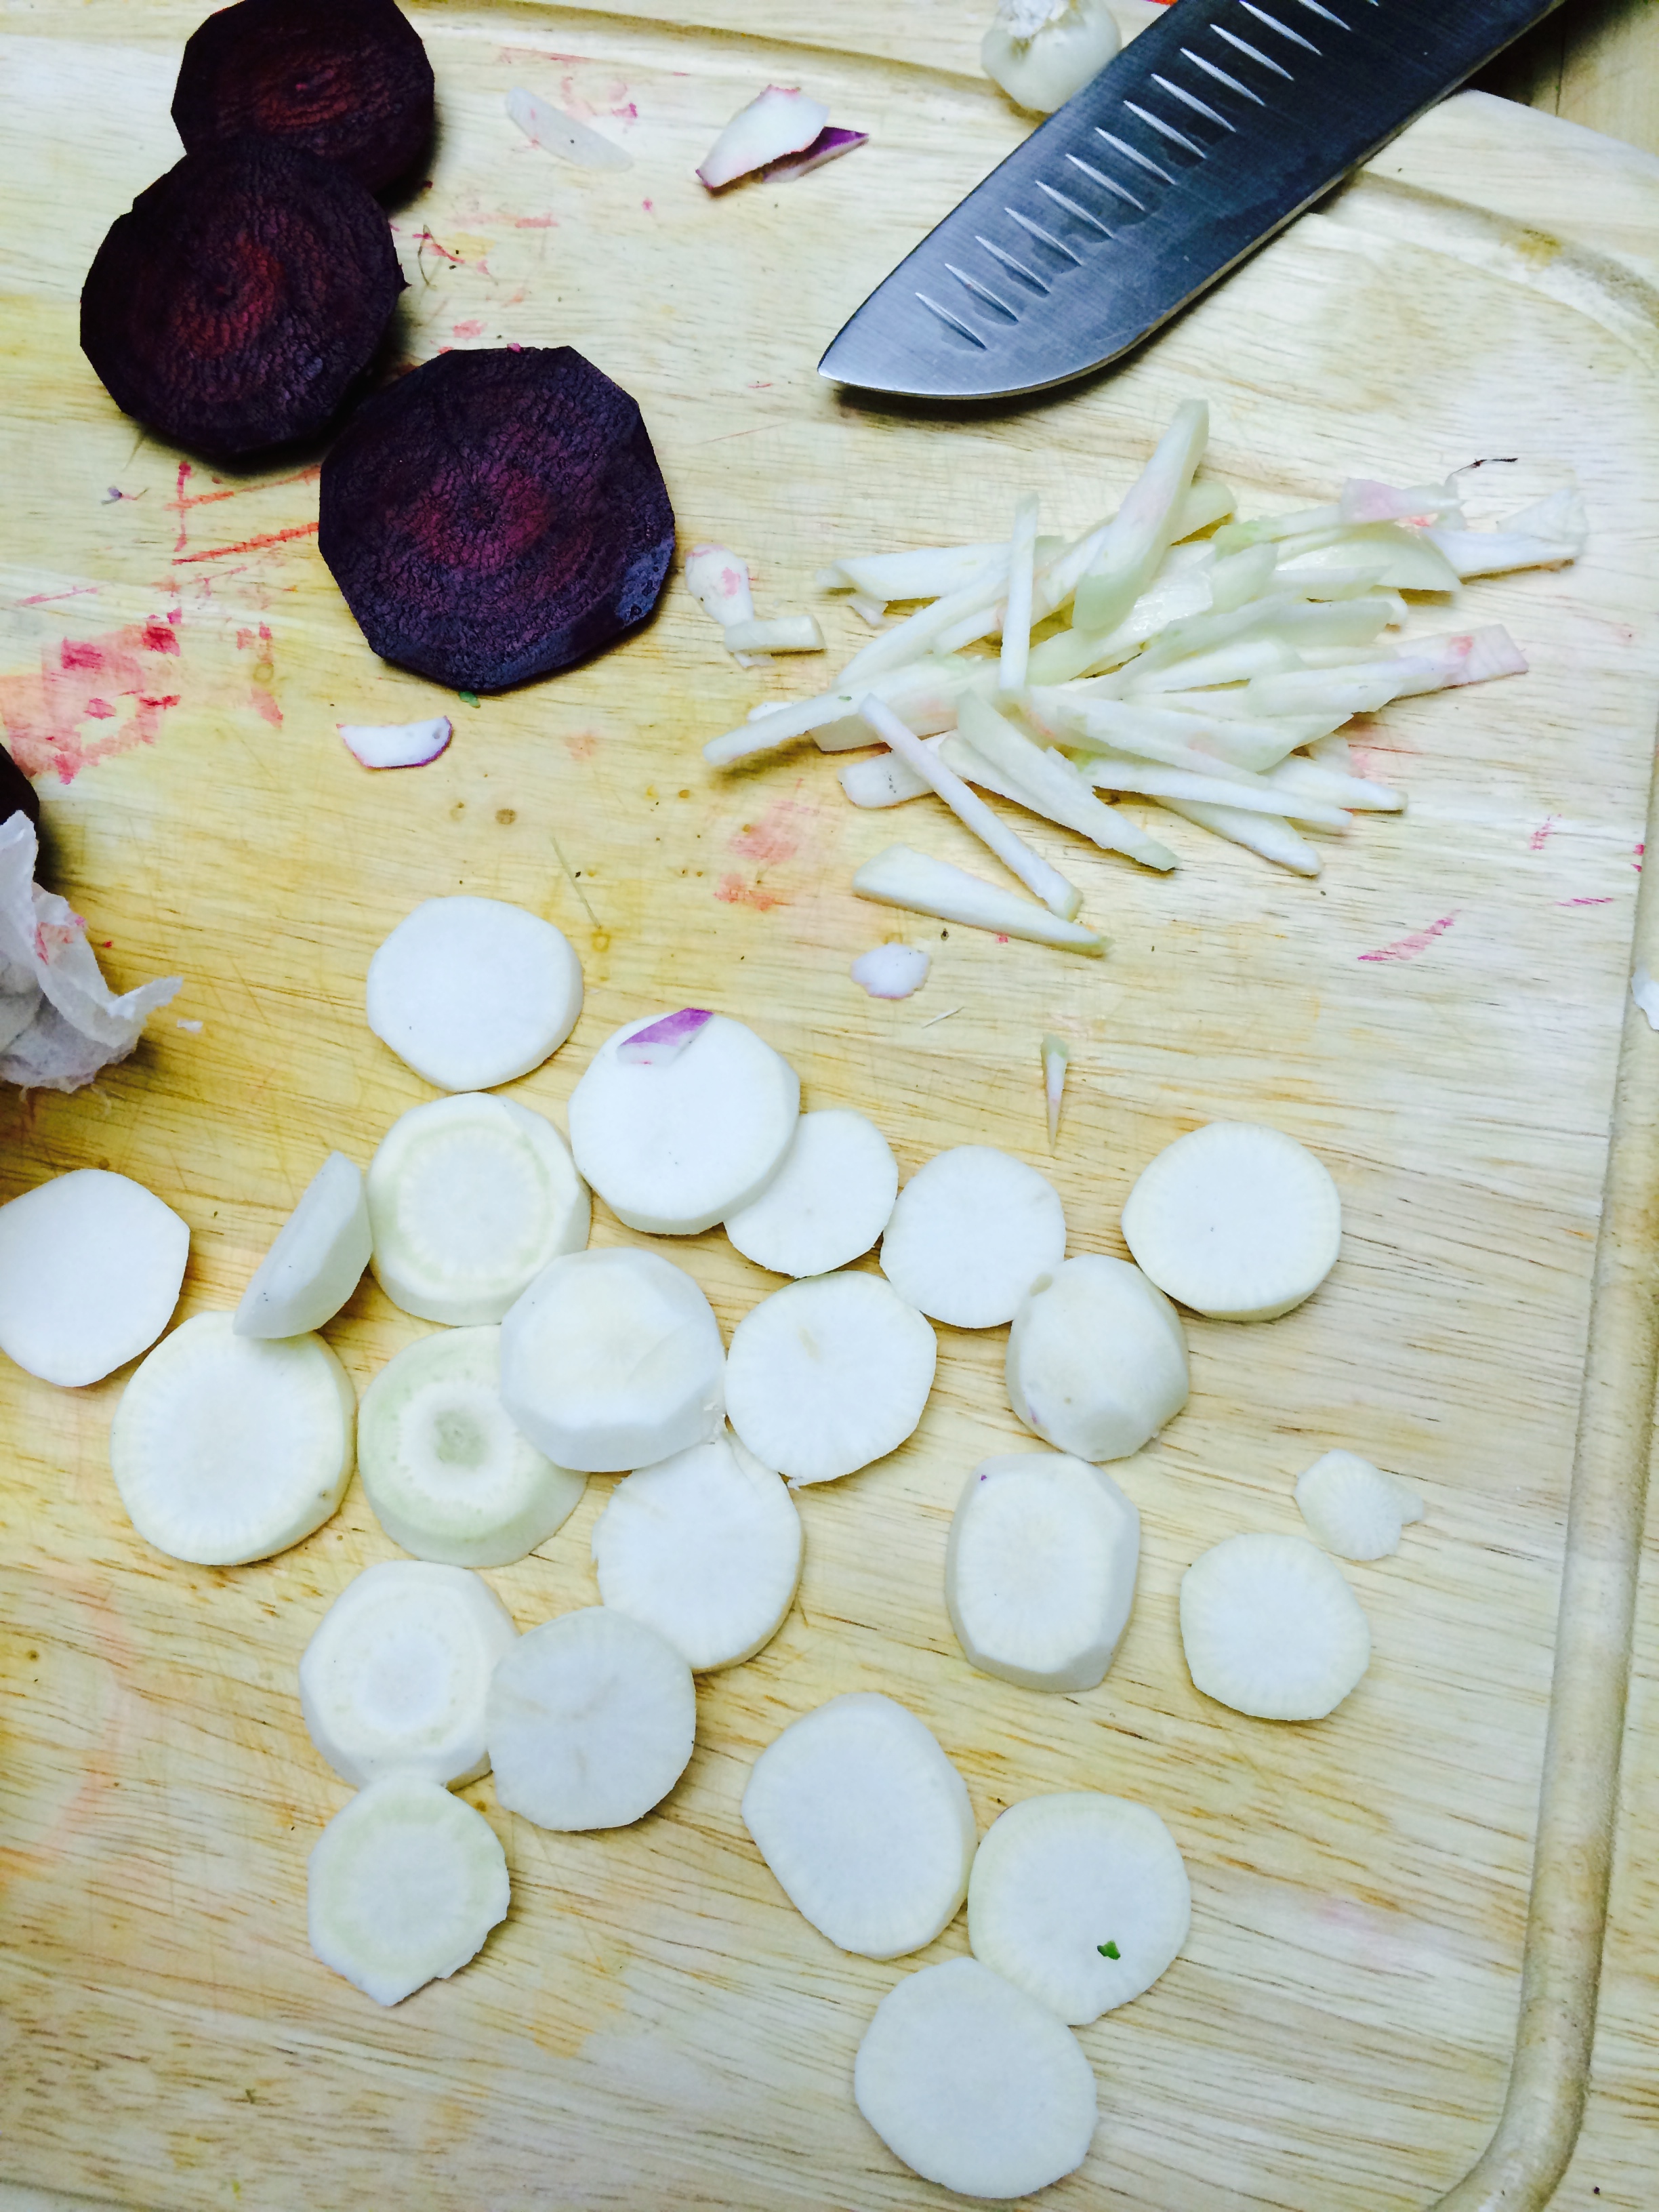
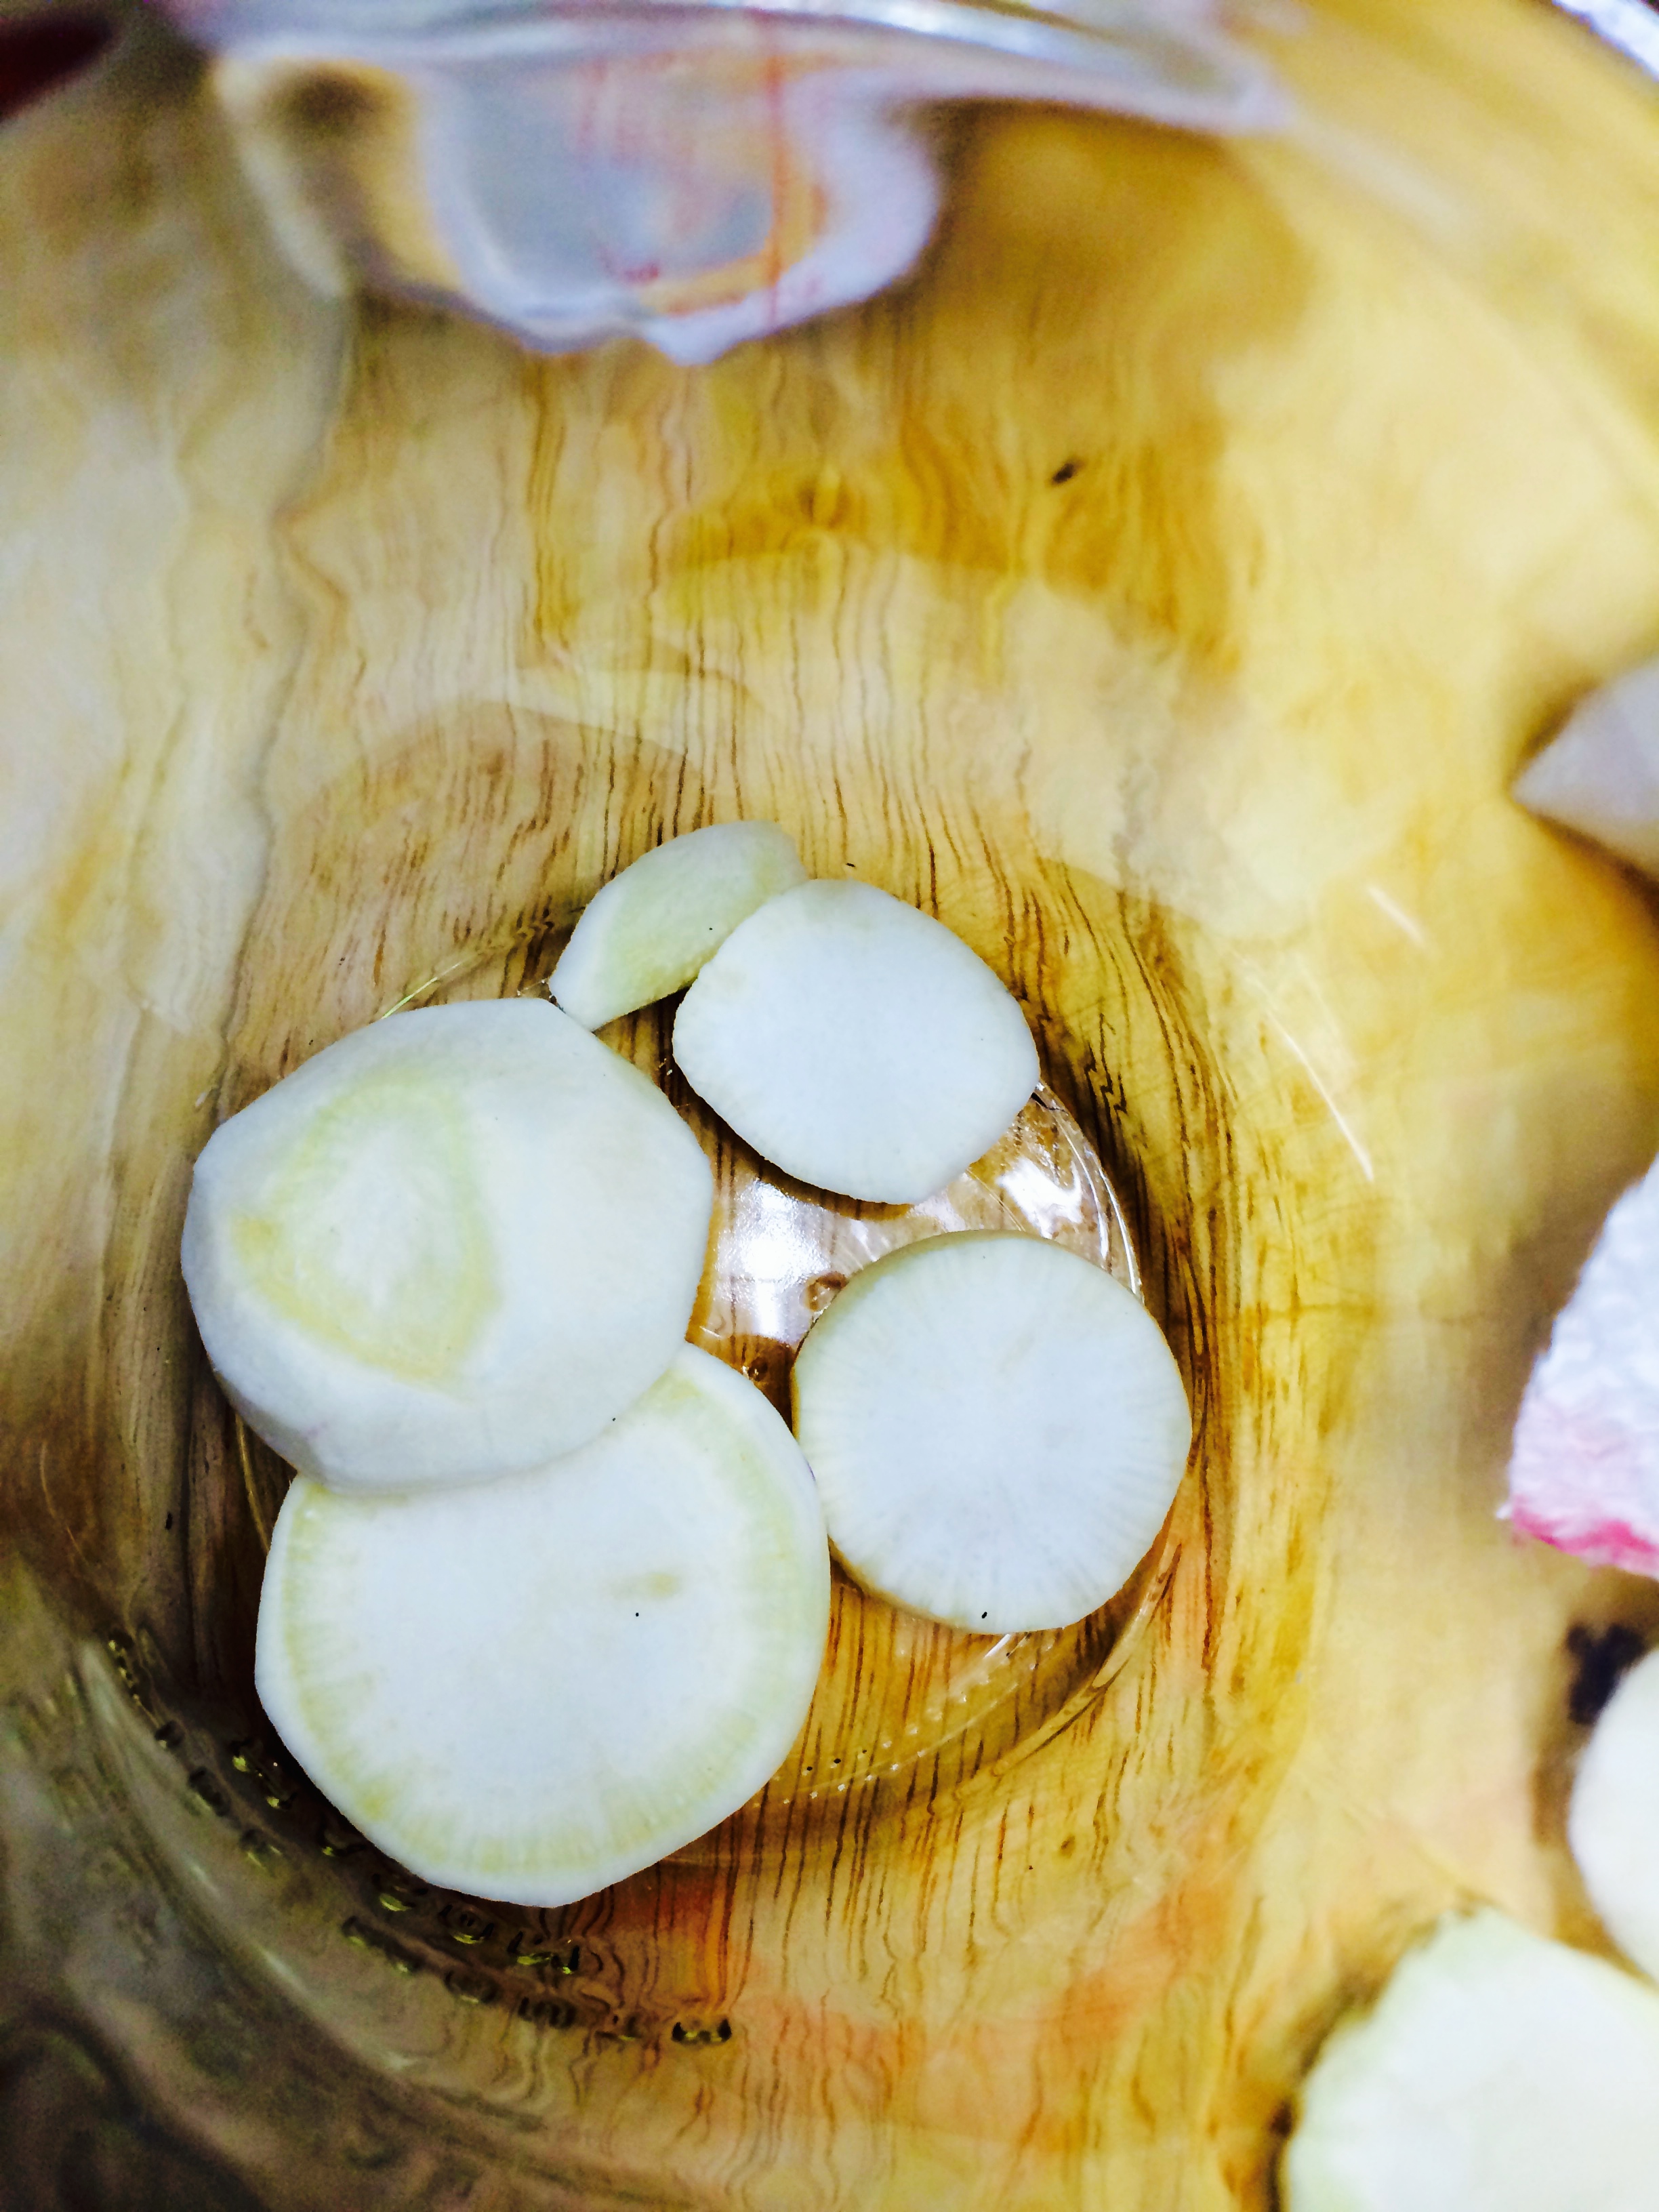
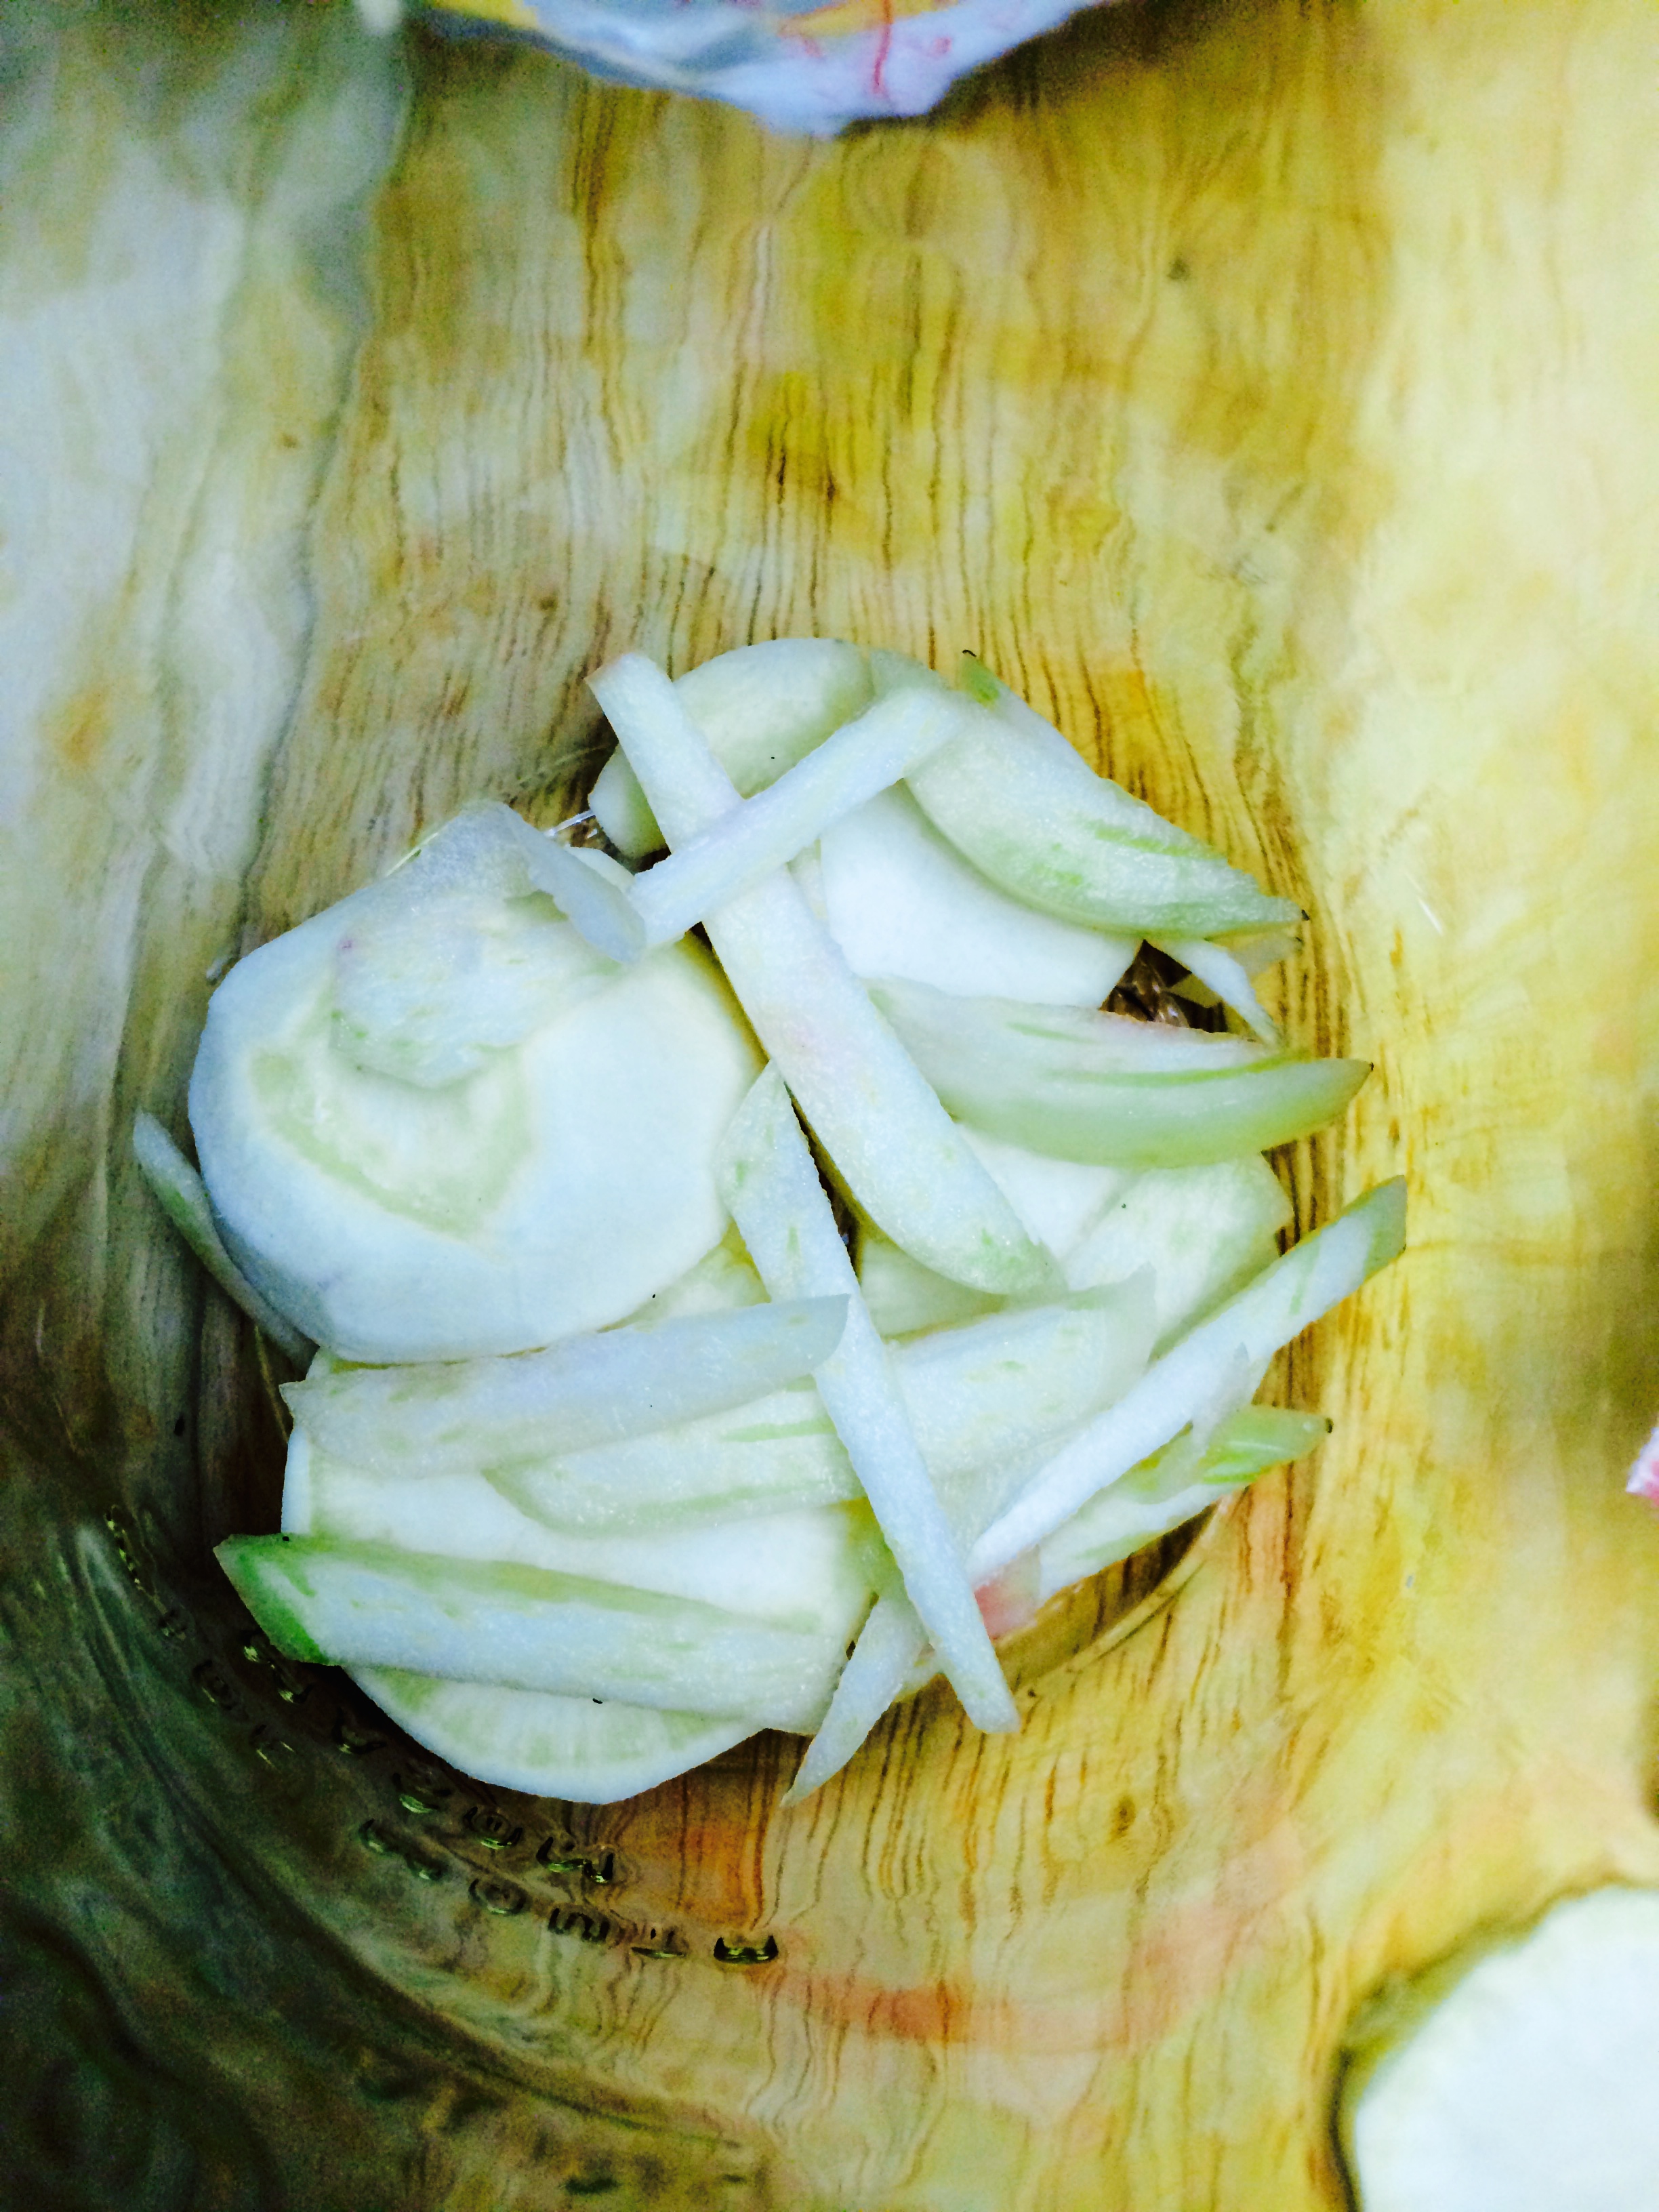
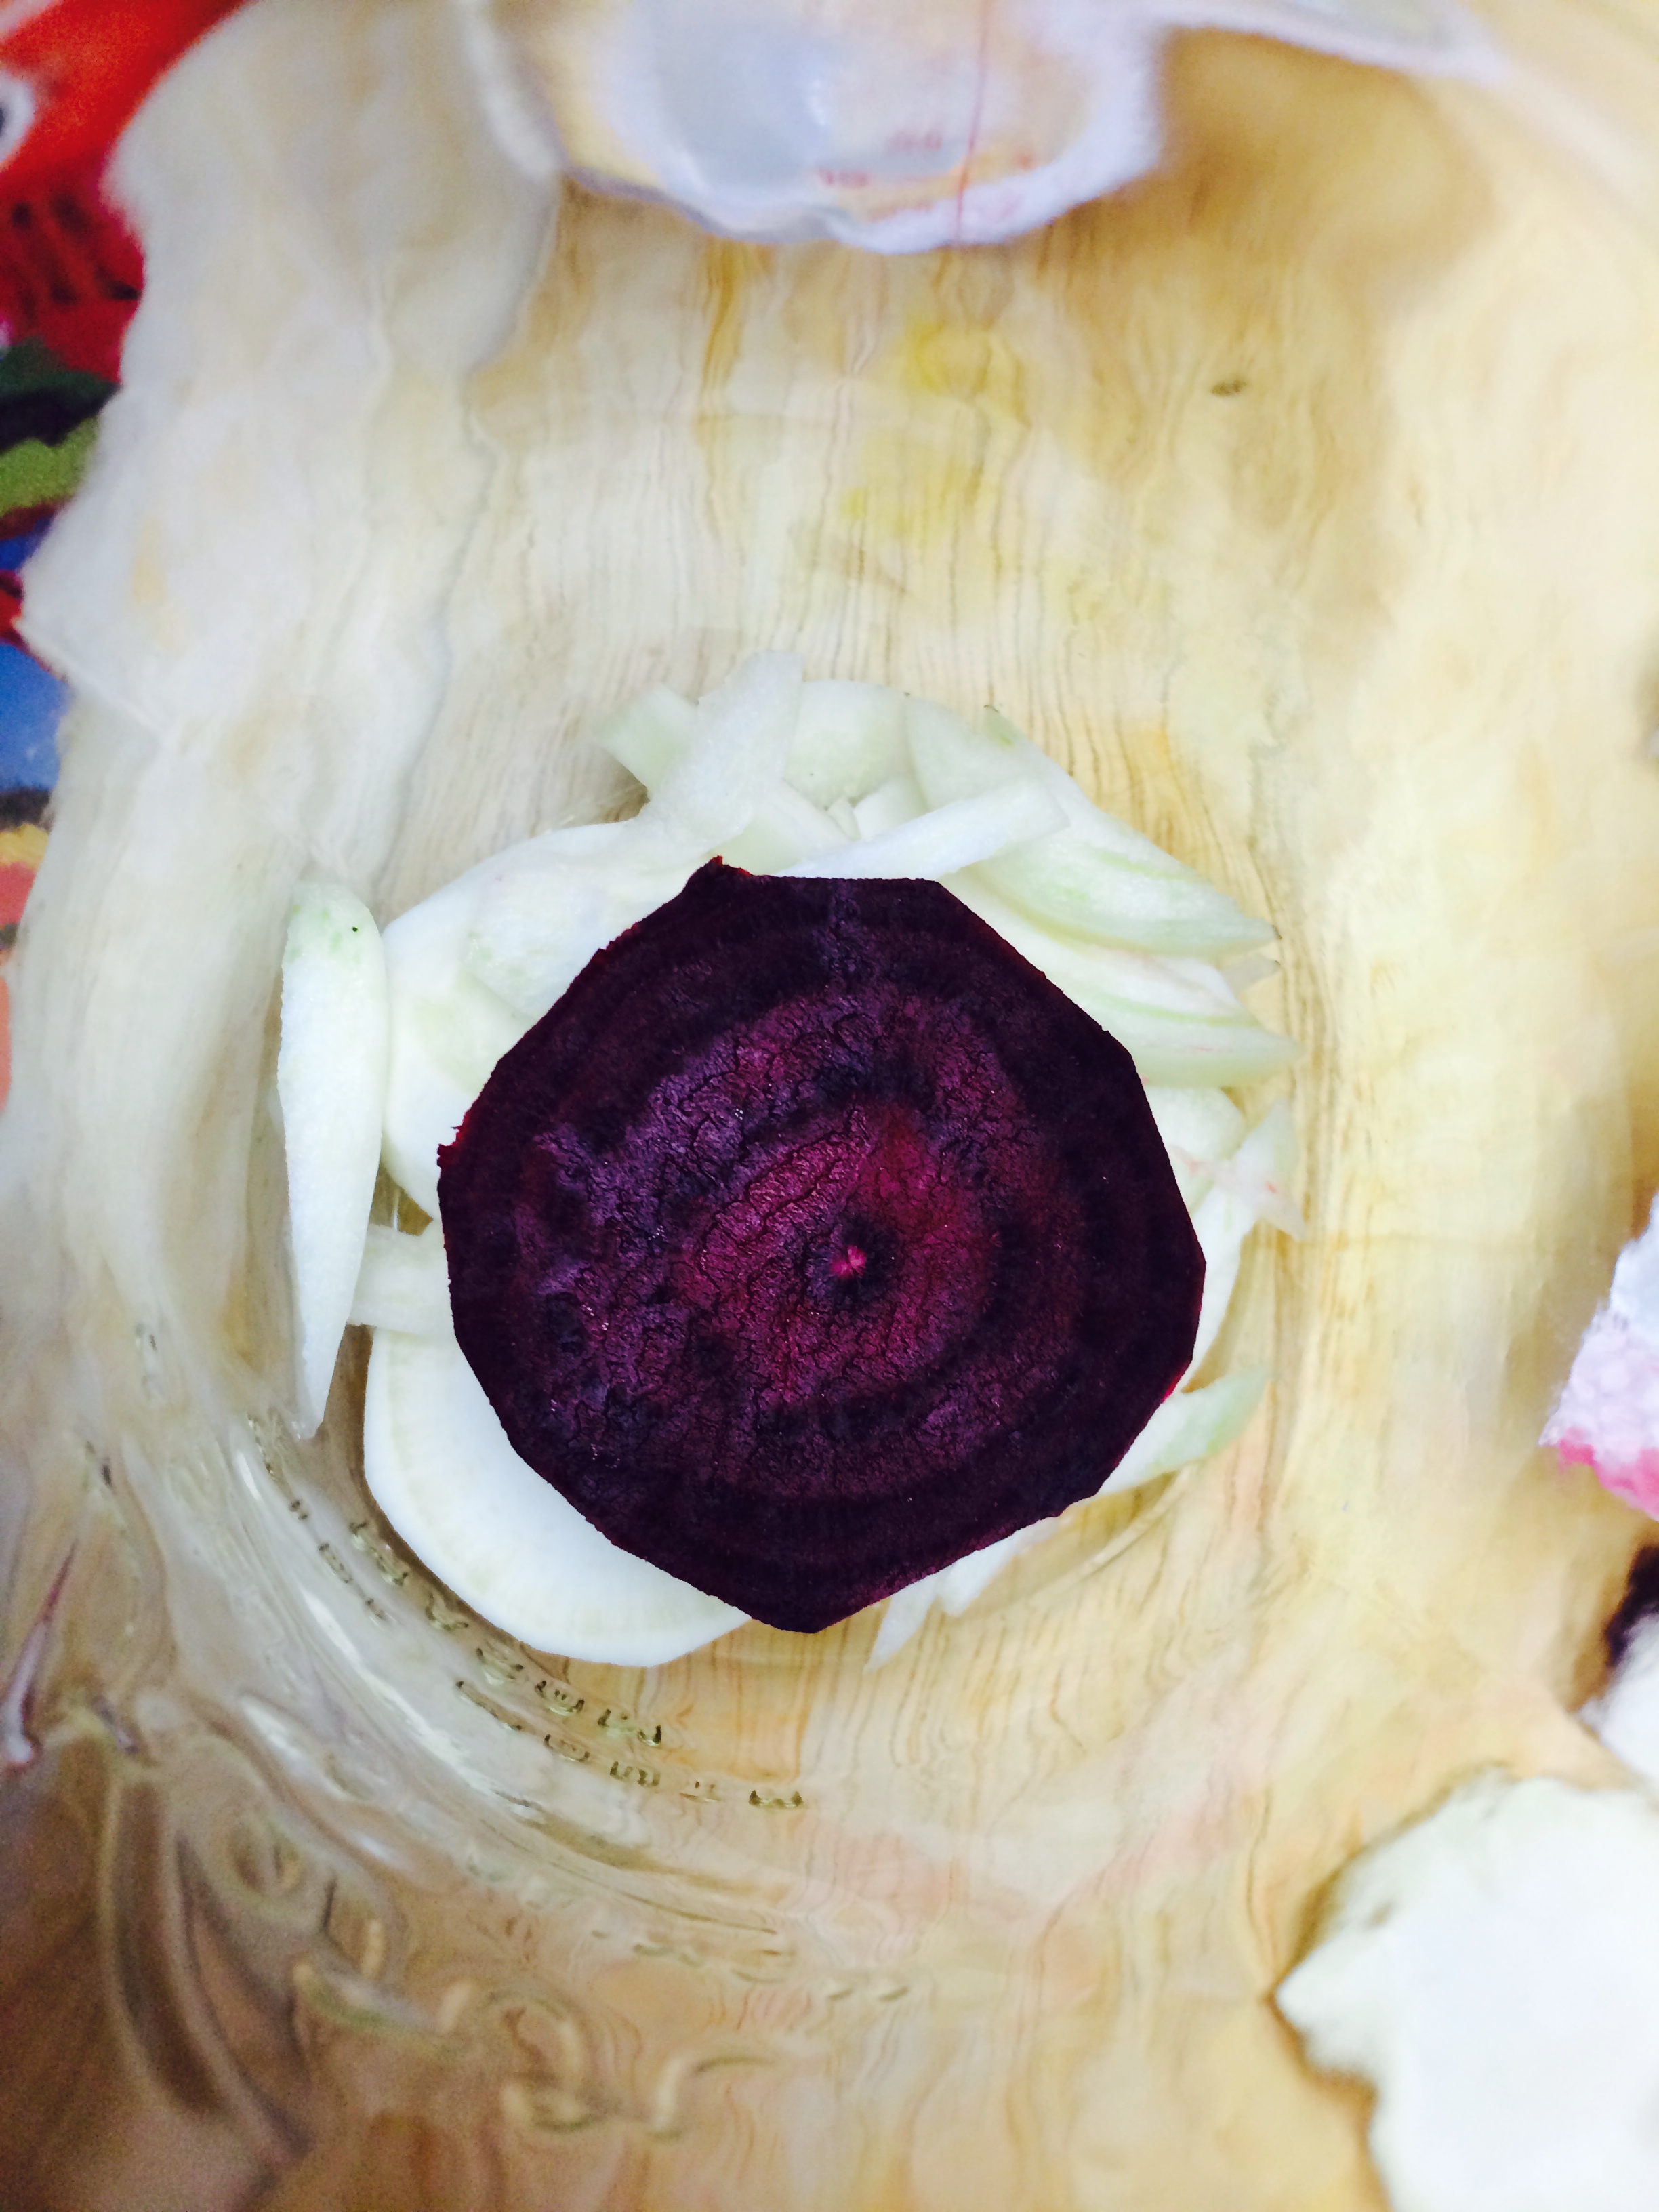
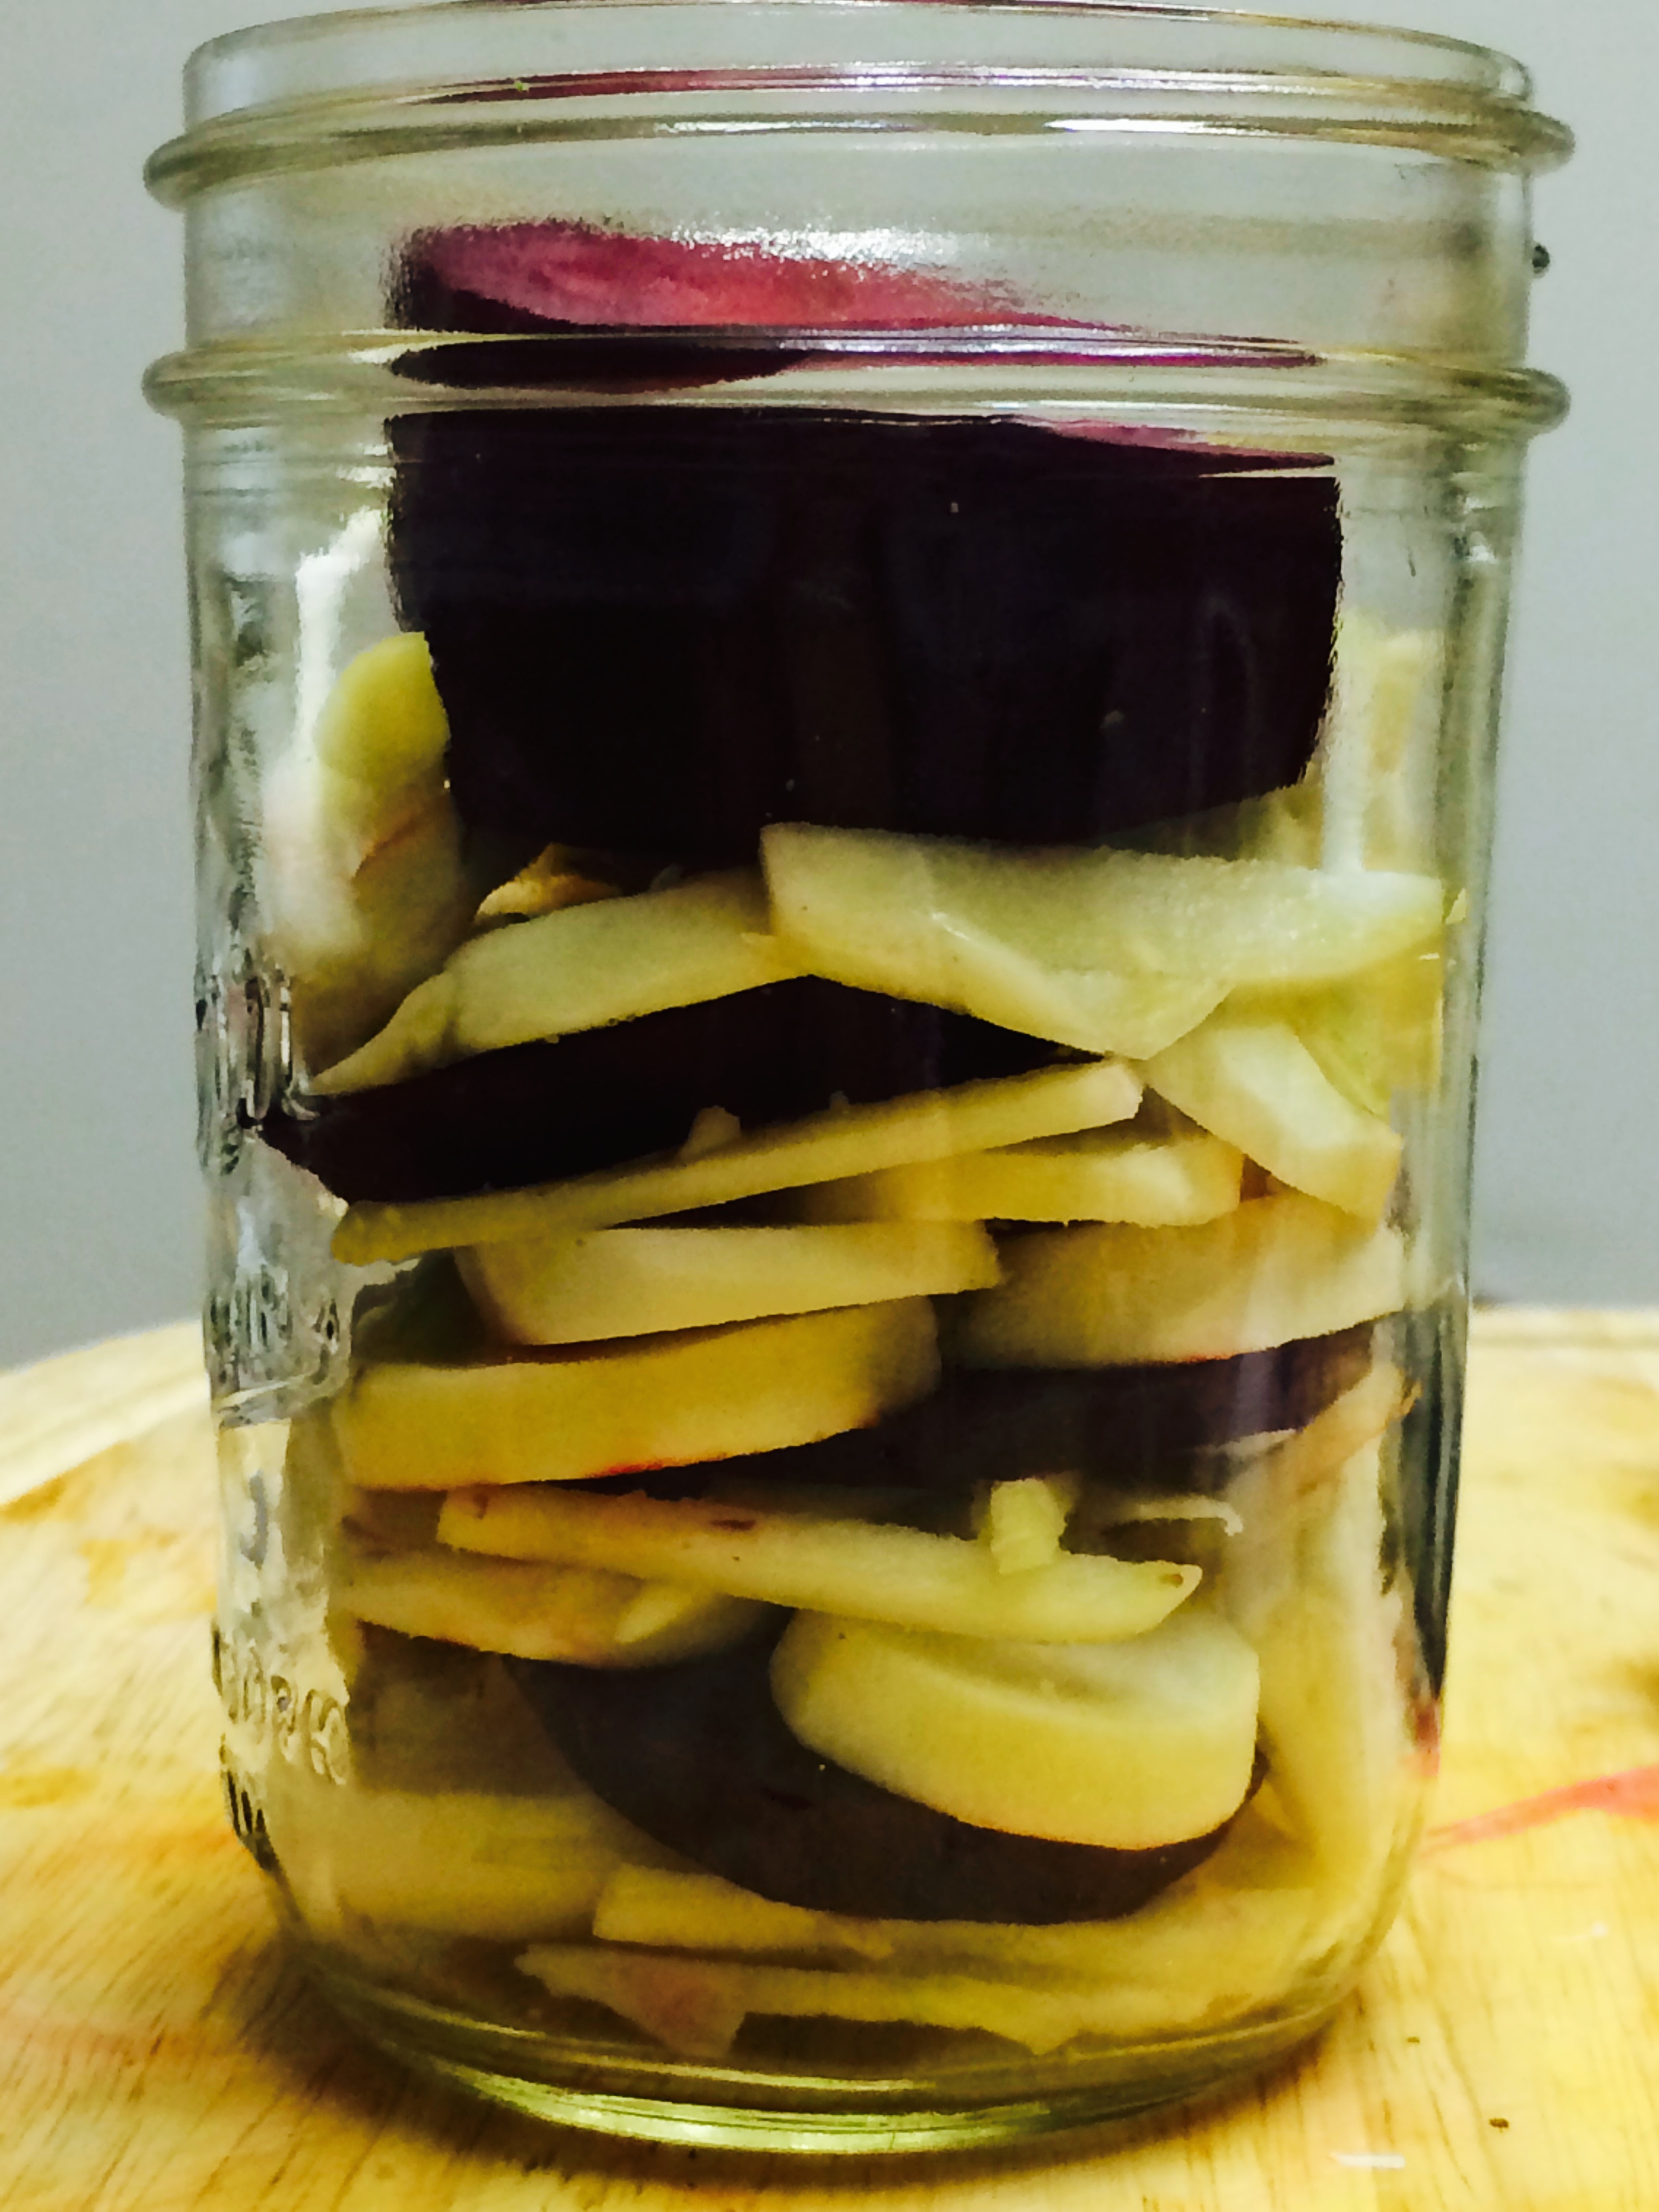
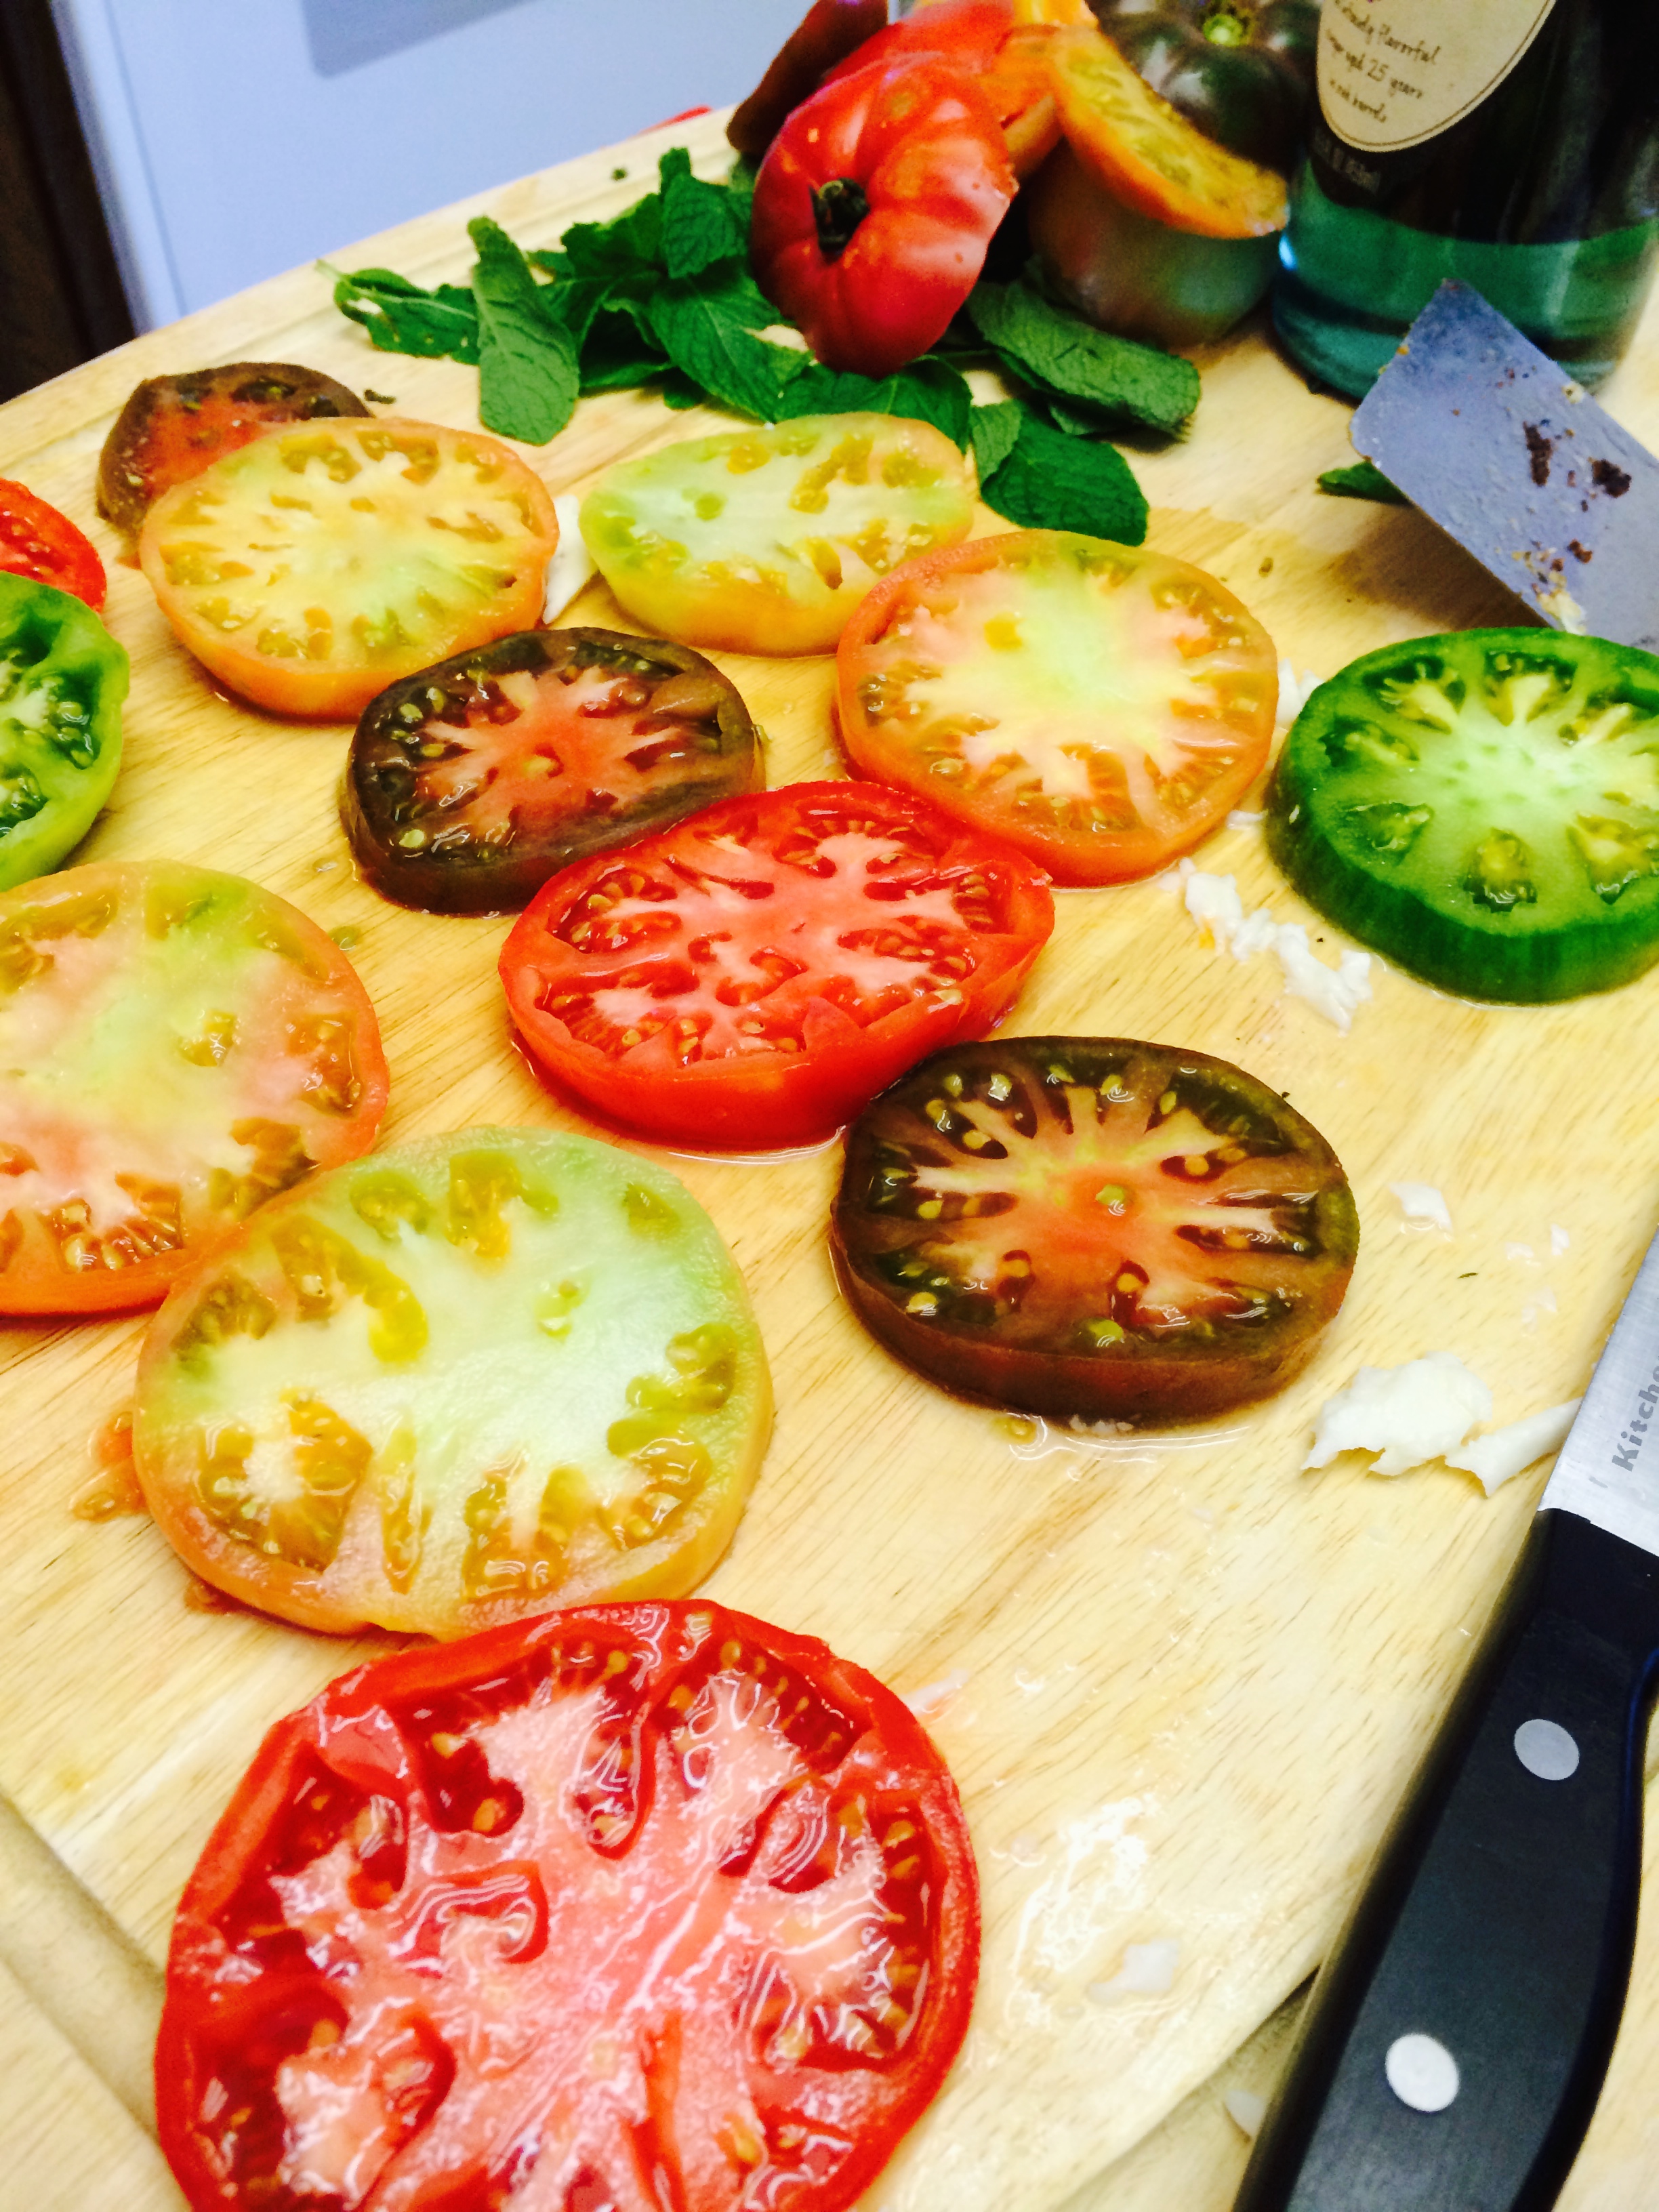
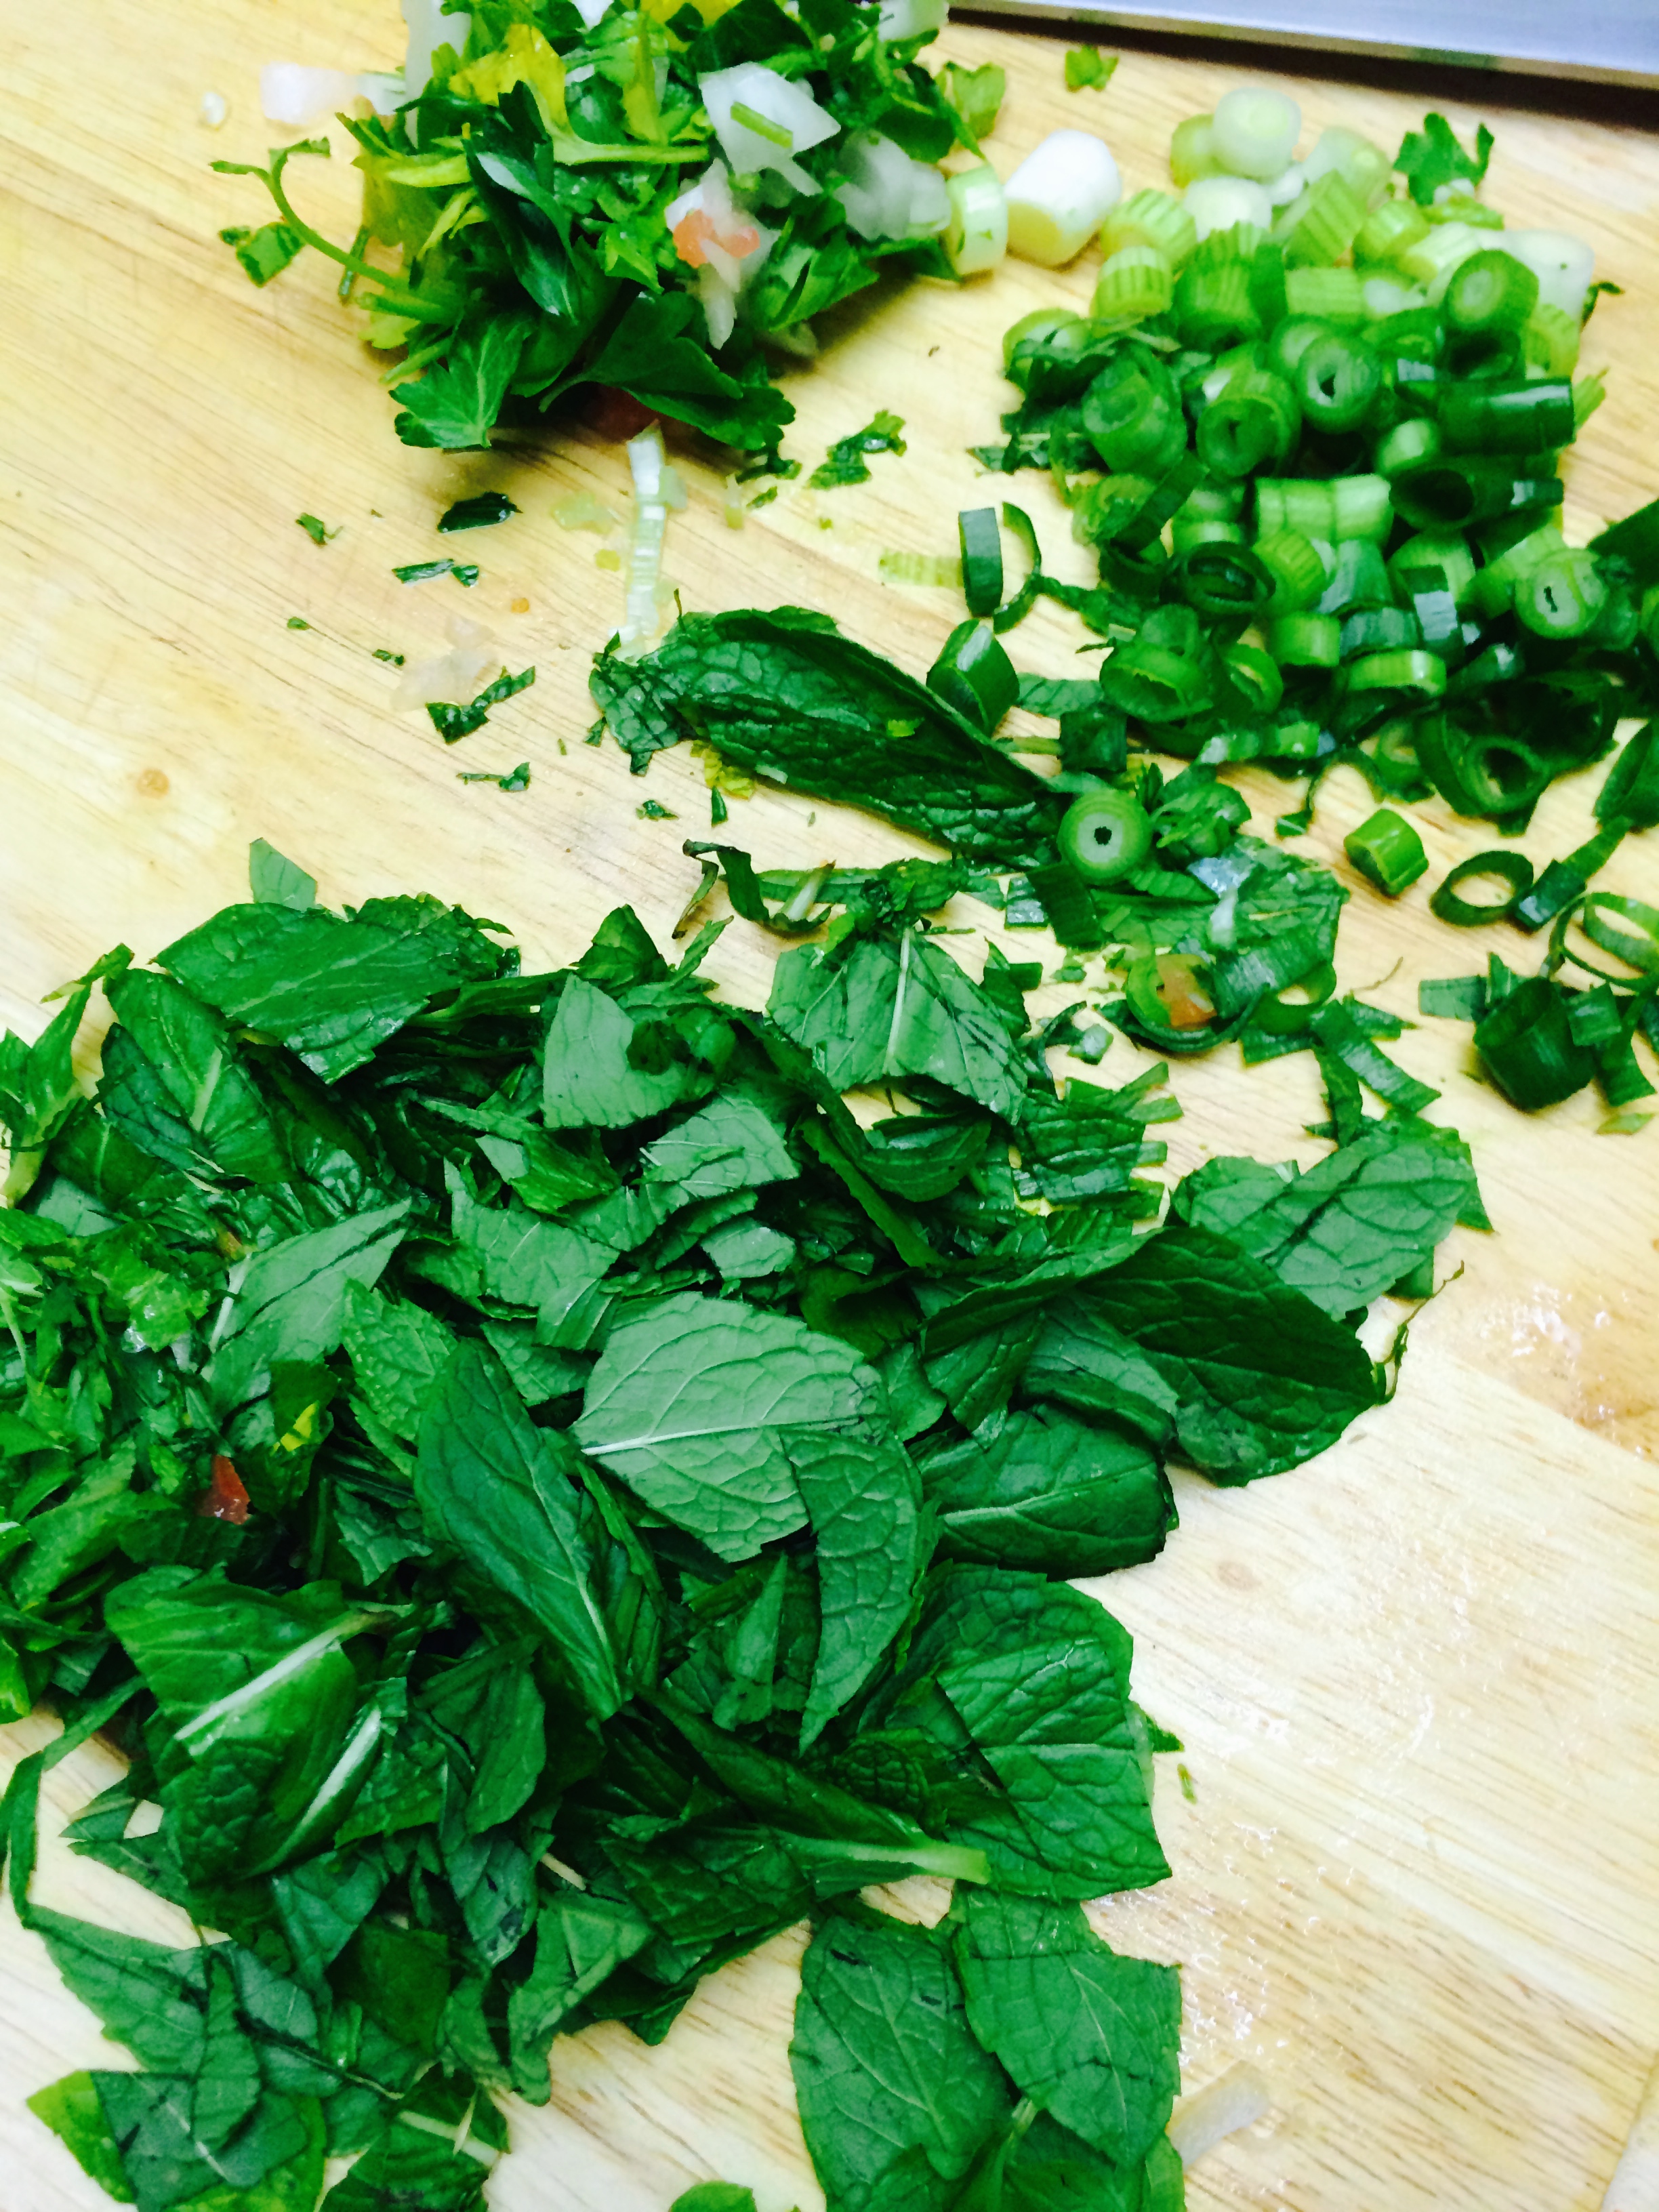
Clean and cut your ingredients like the picture below:

IMG_2123

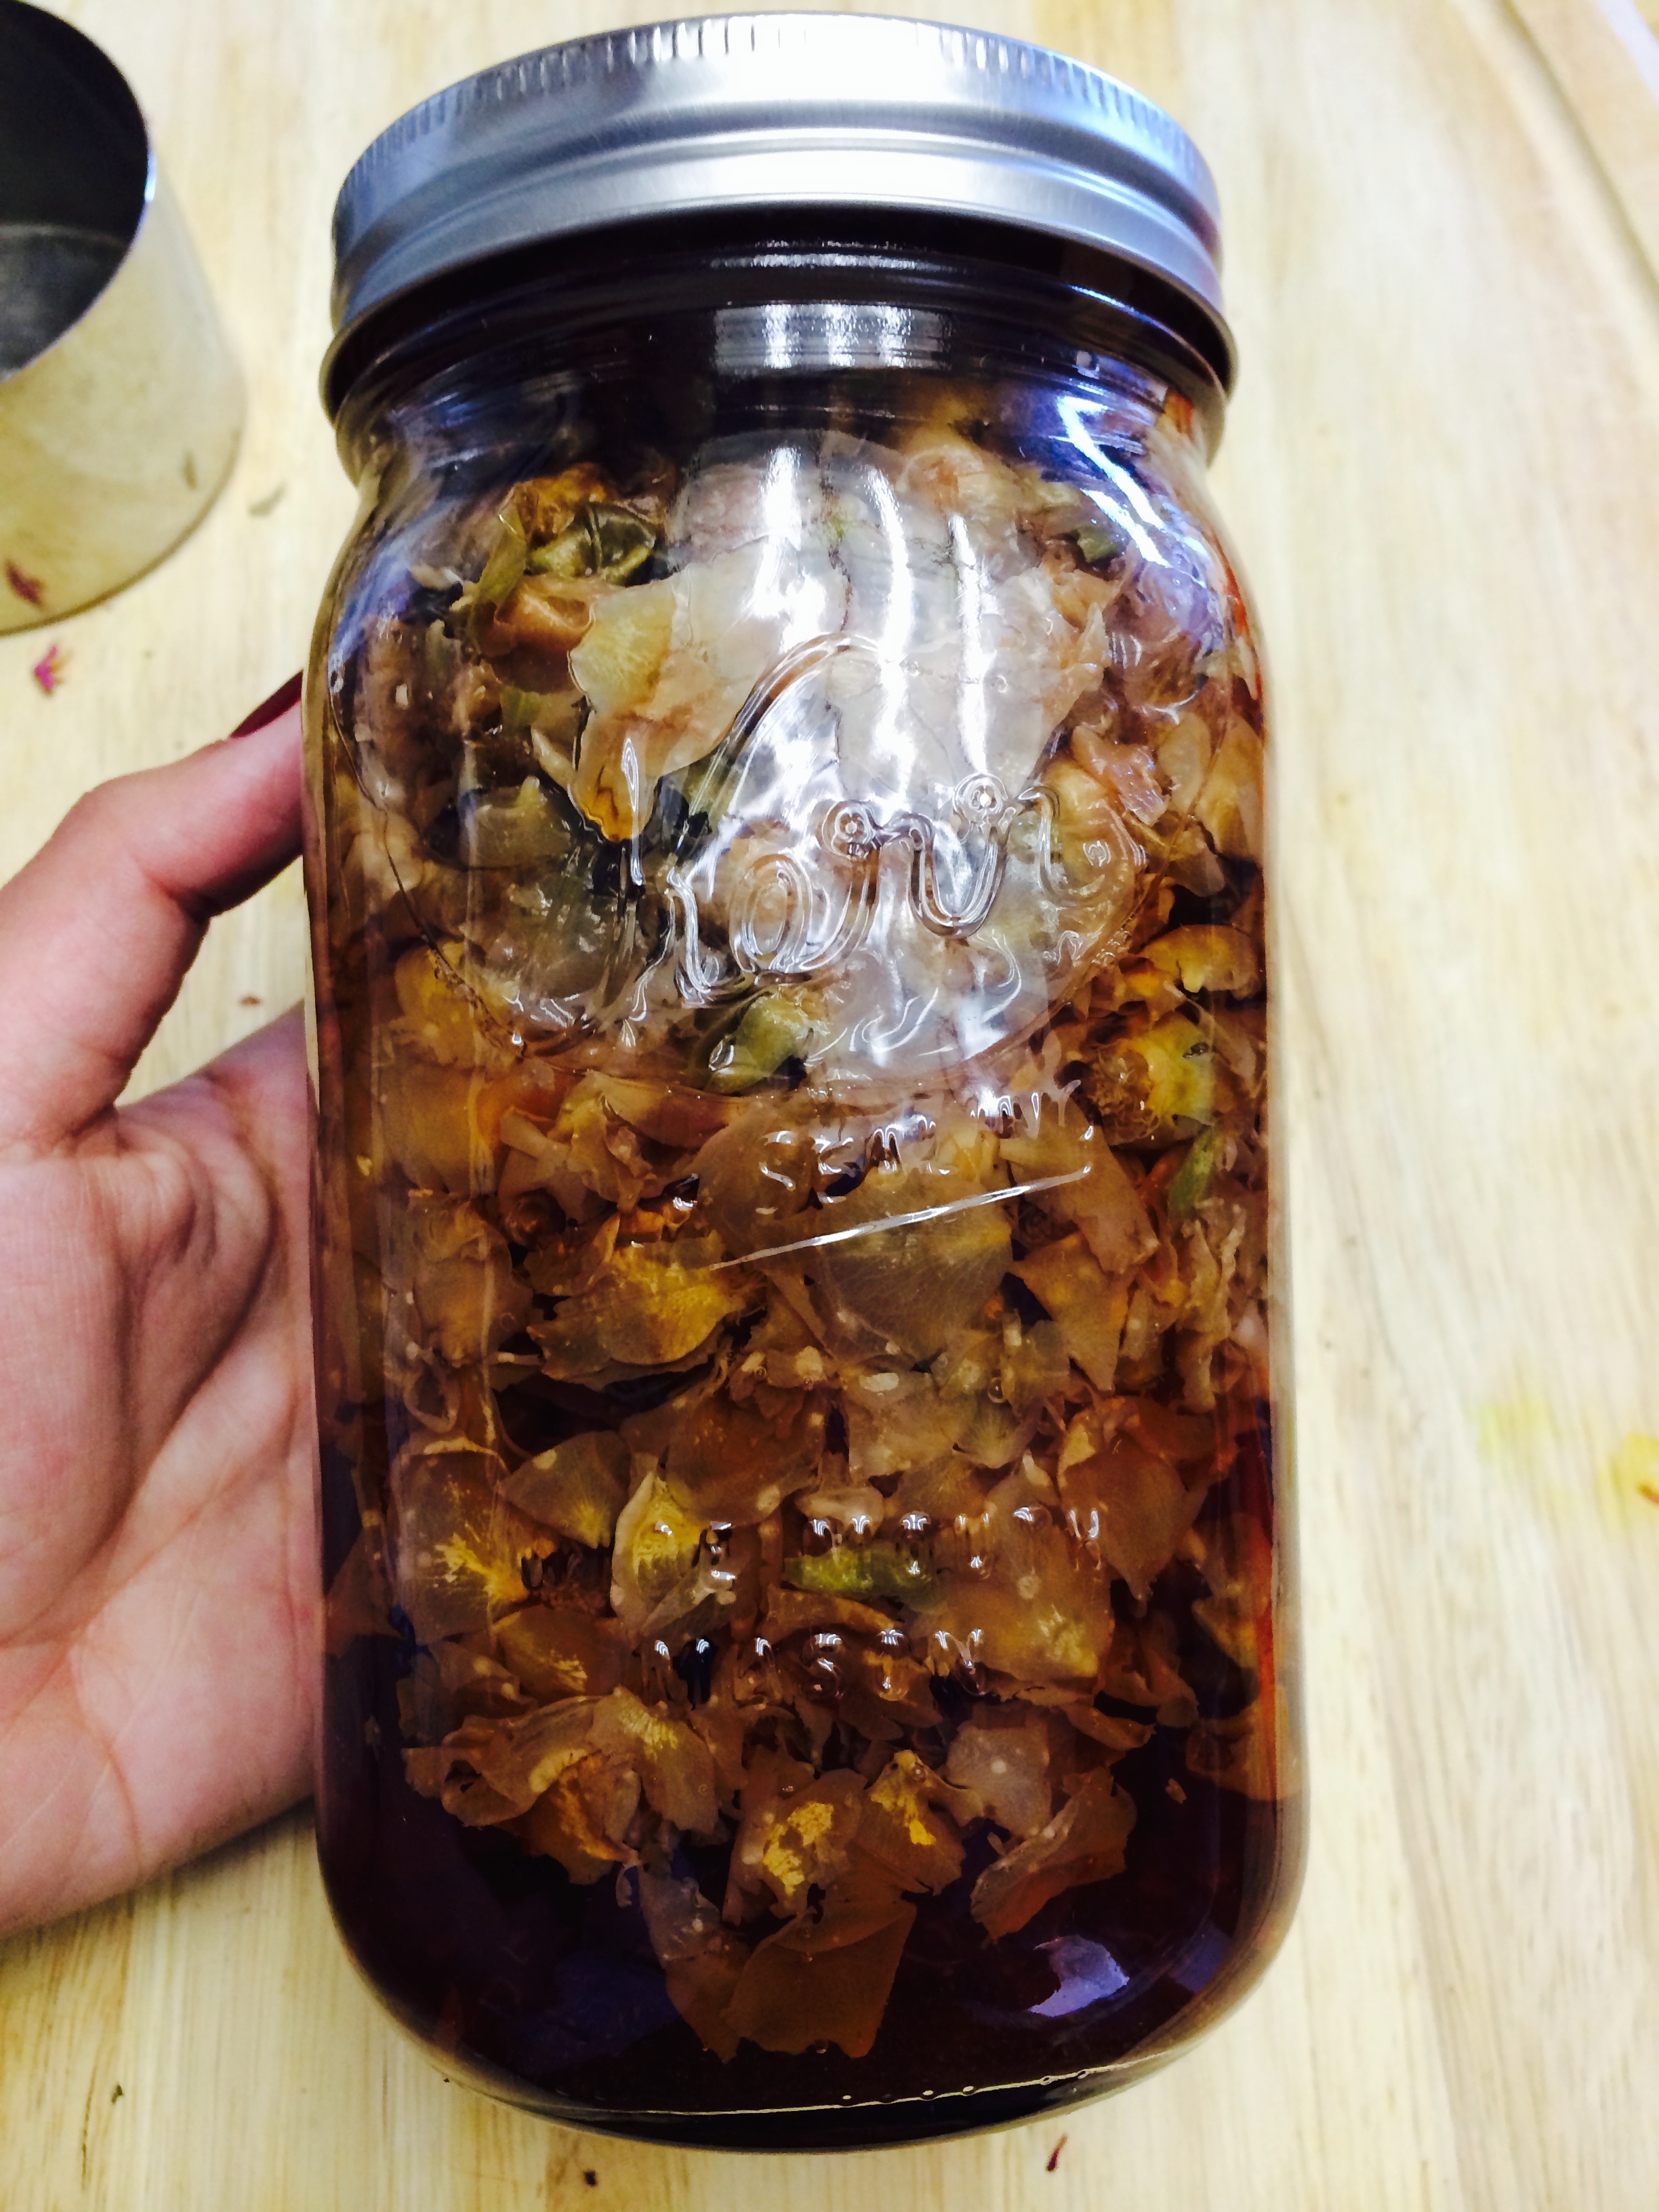
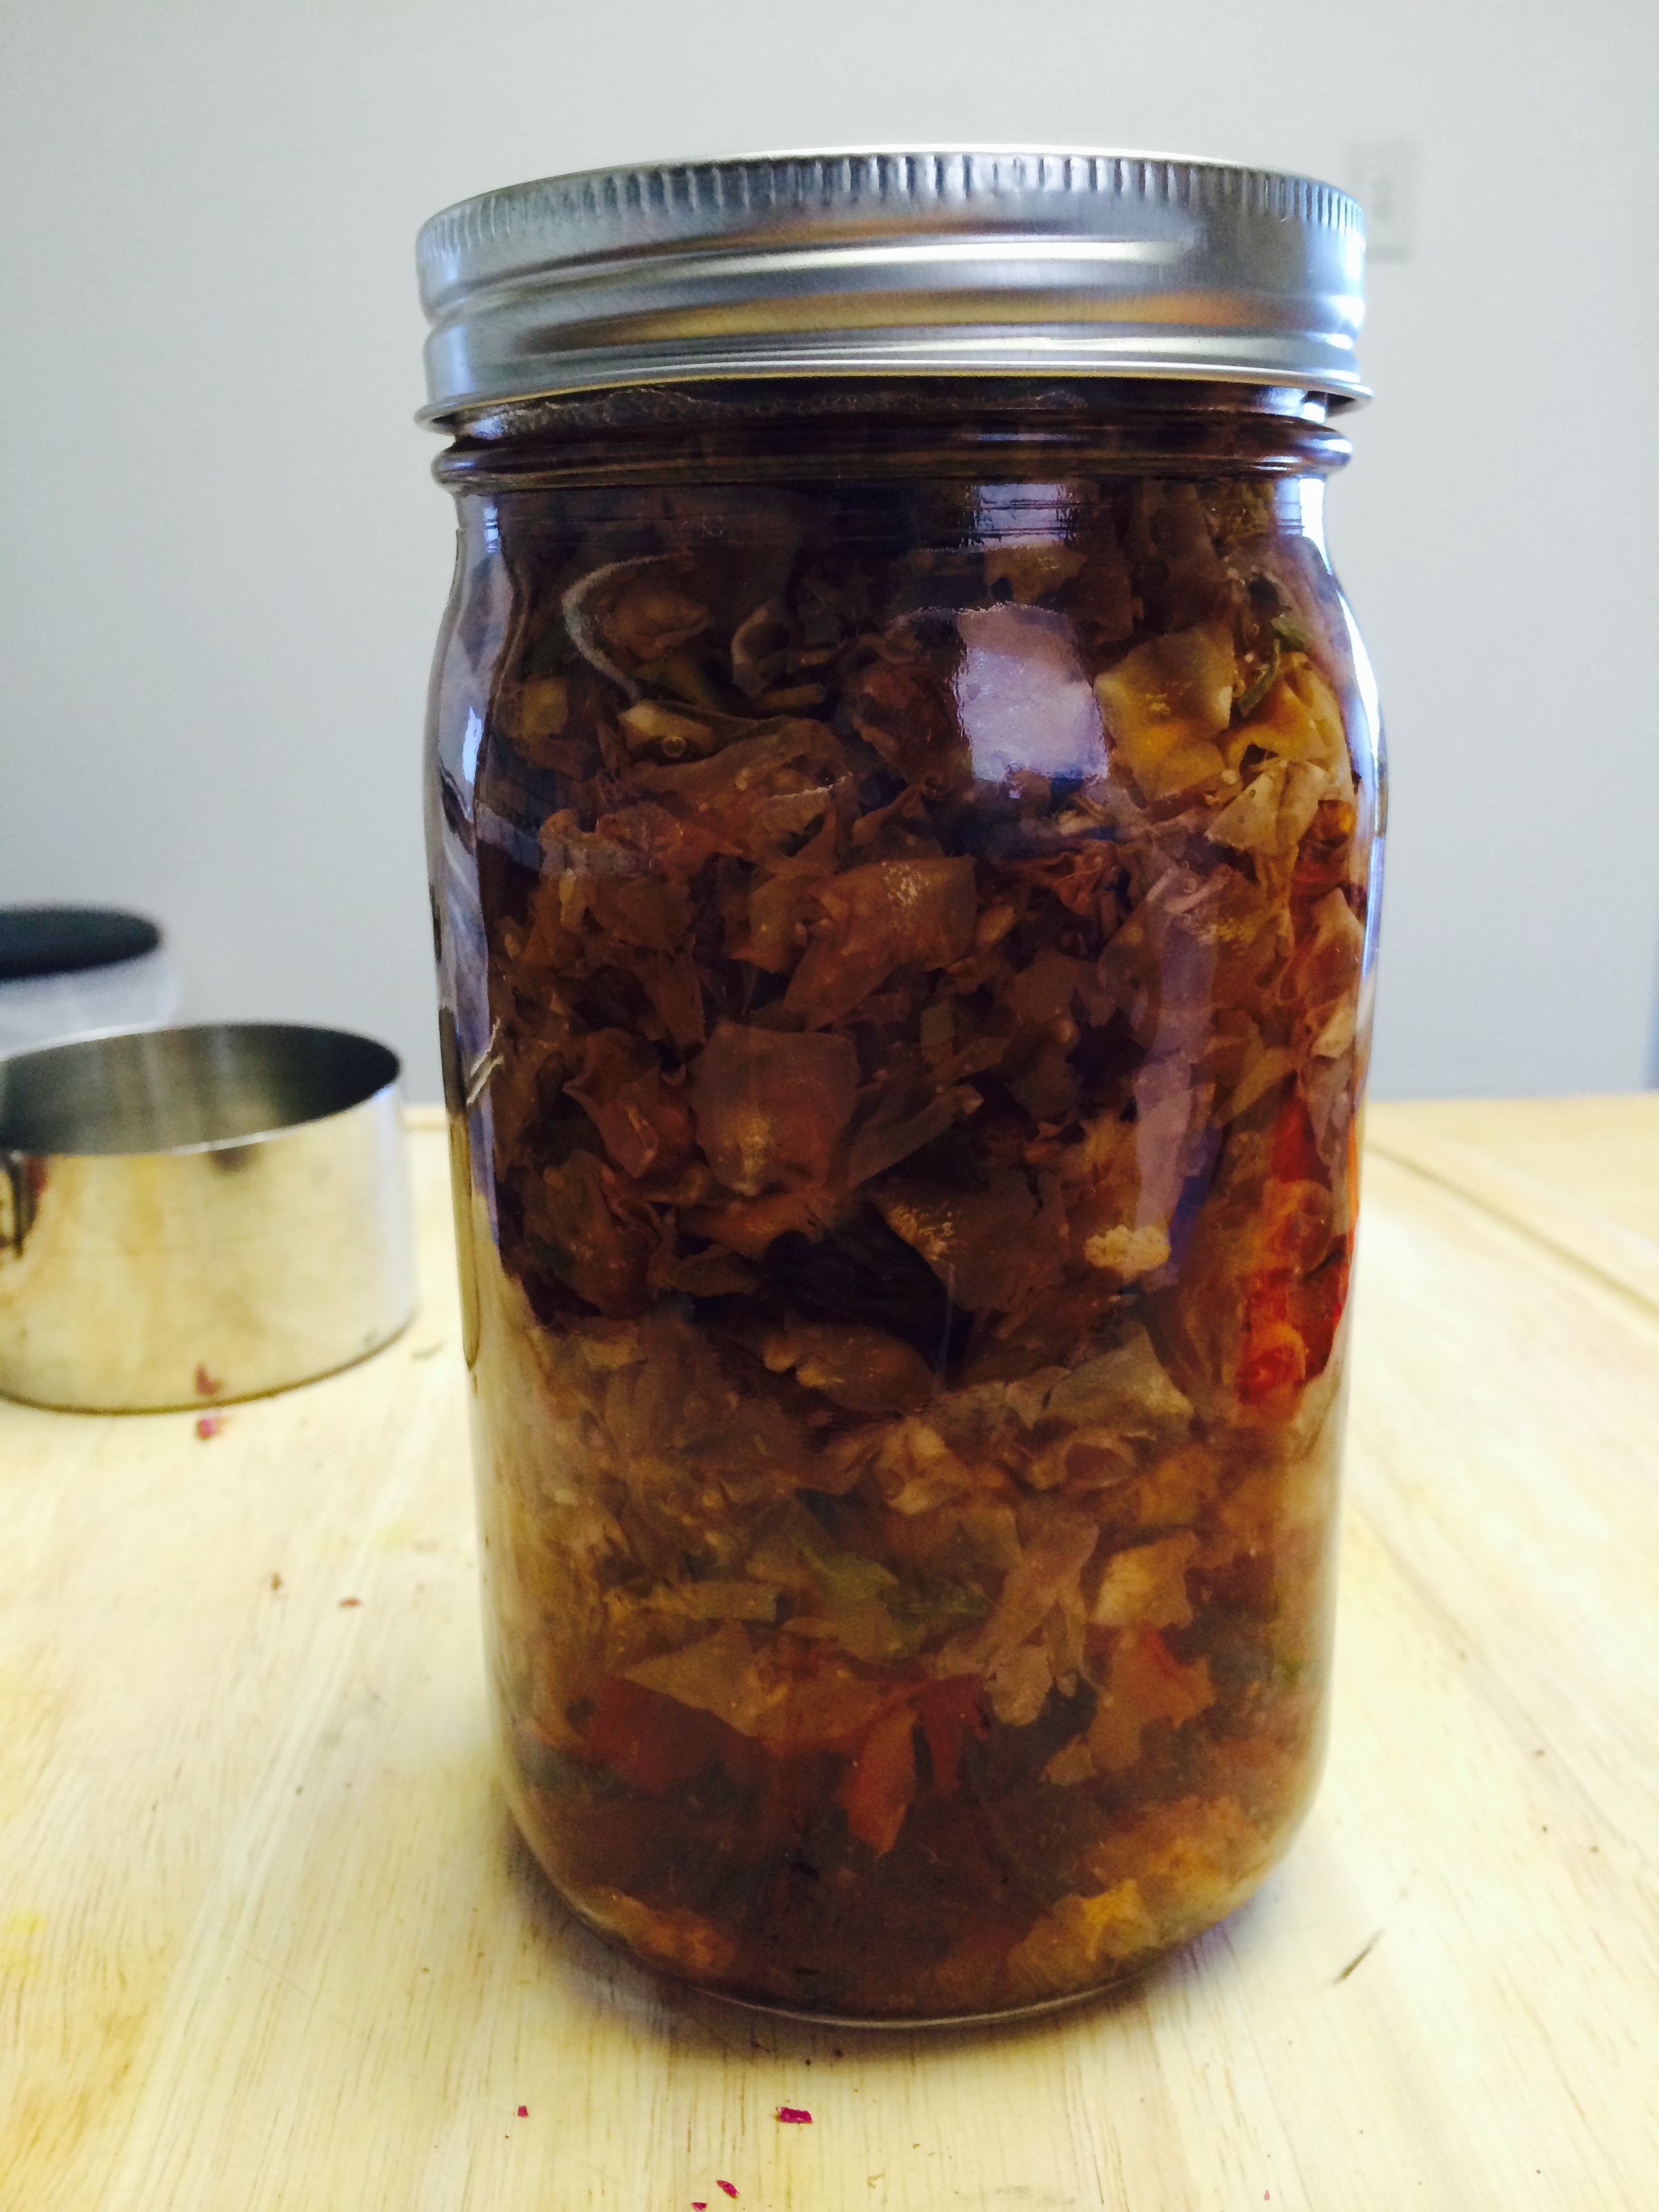
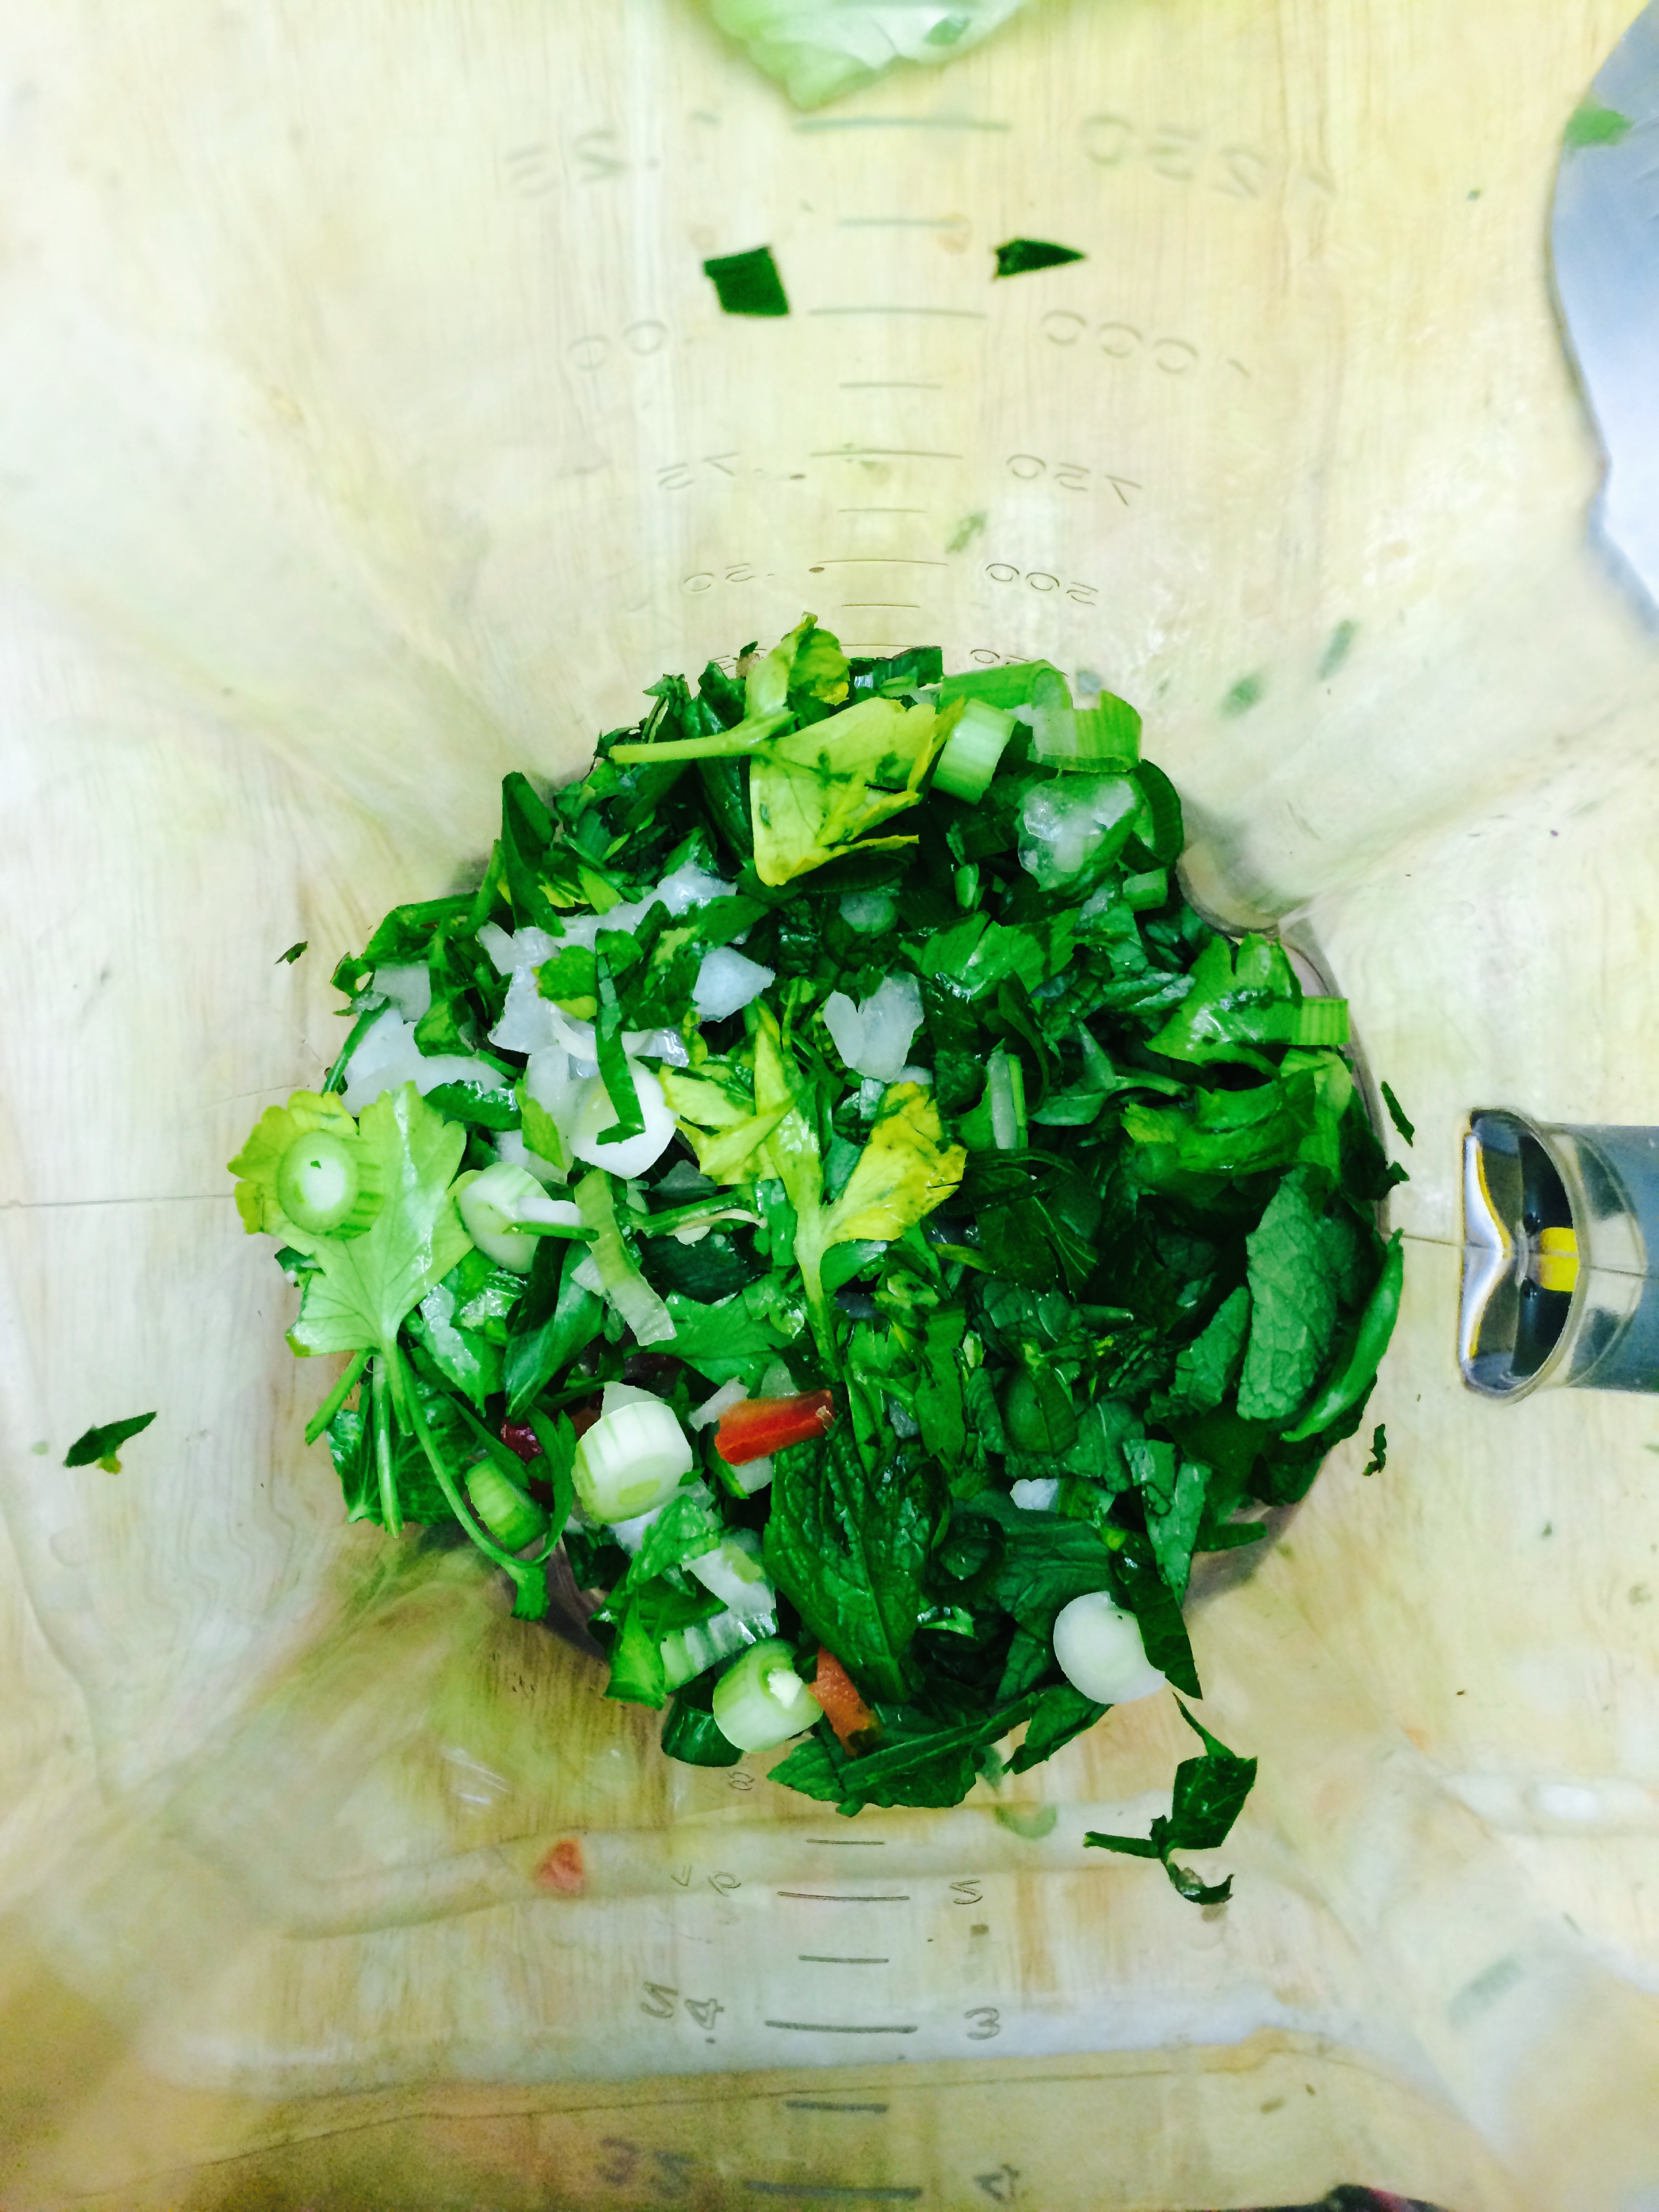
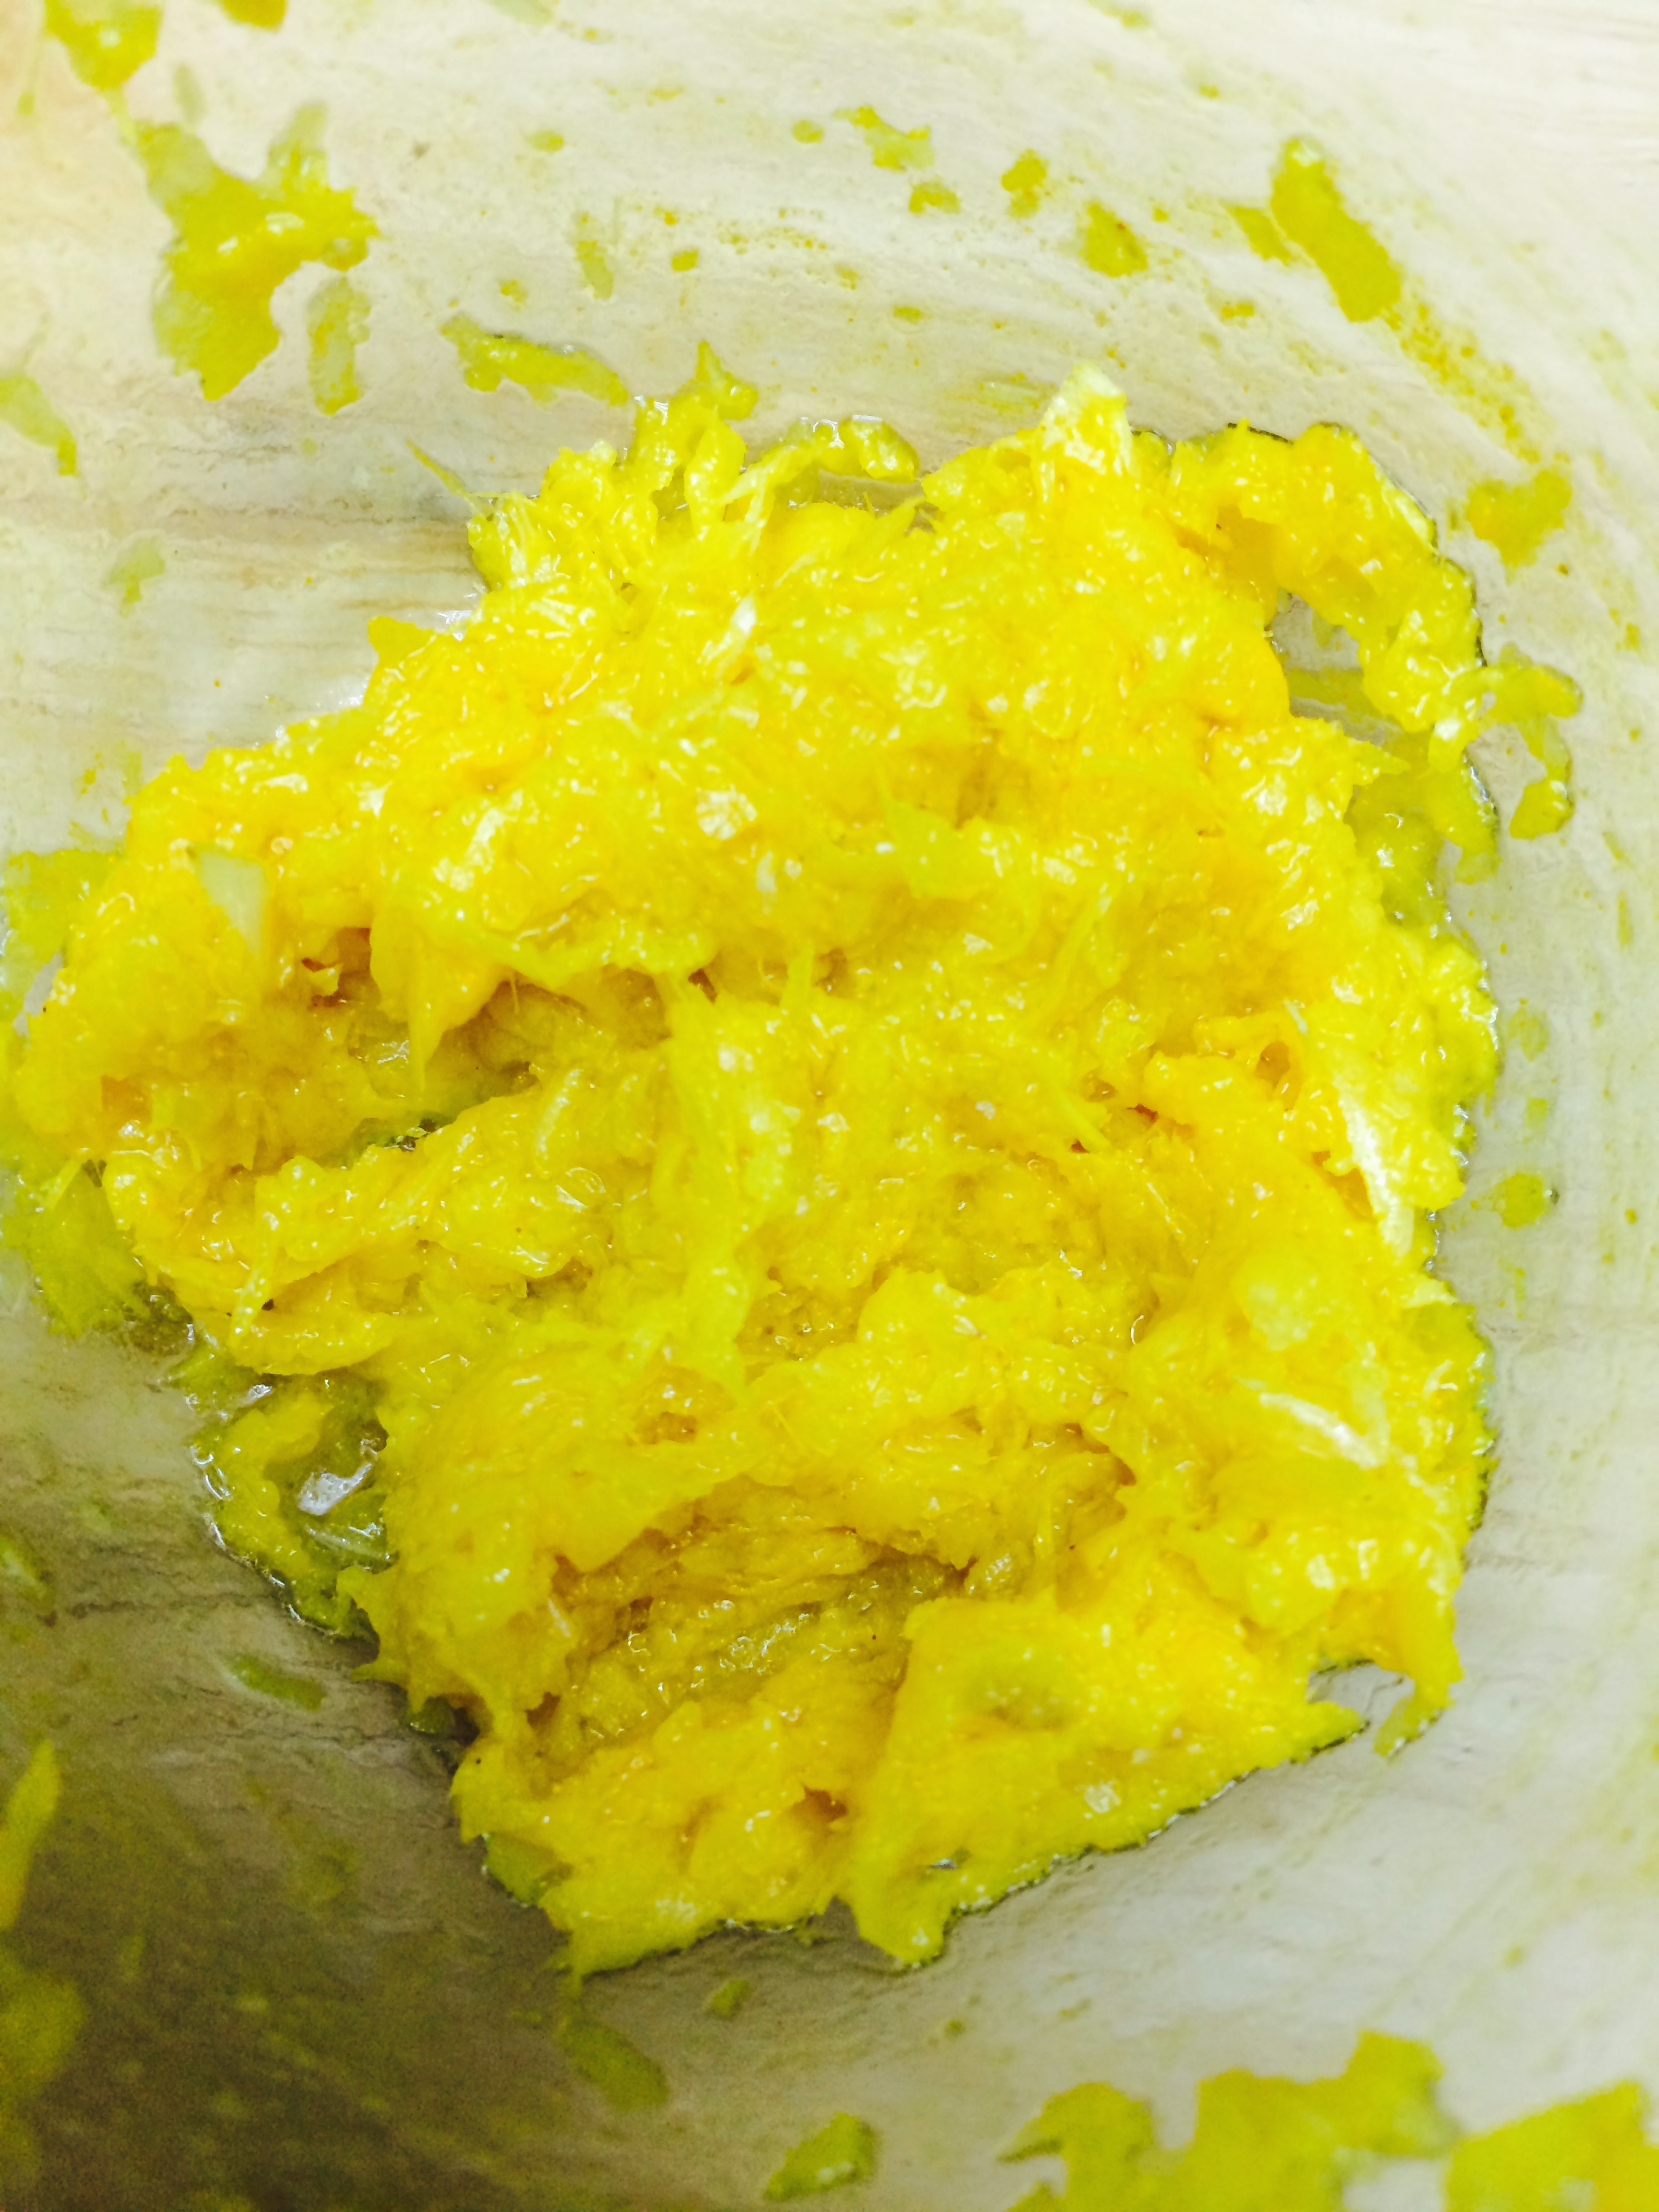
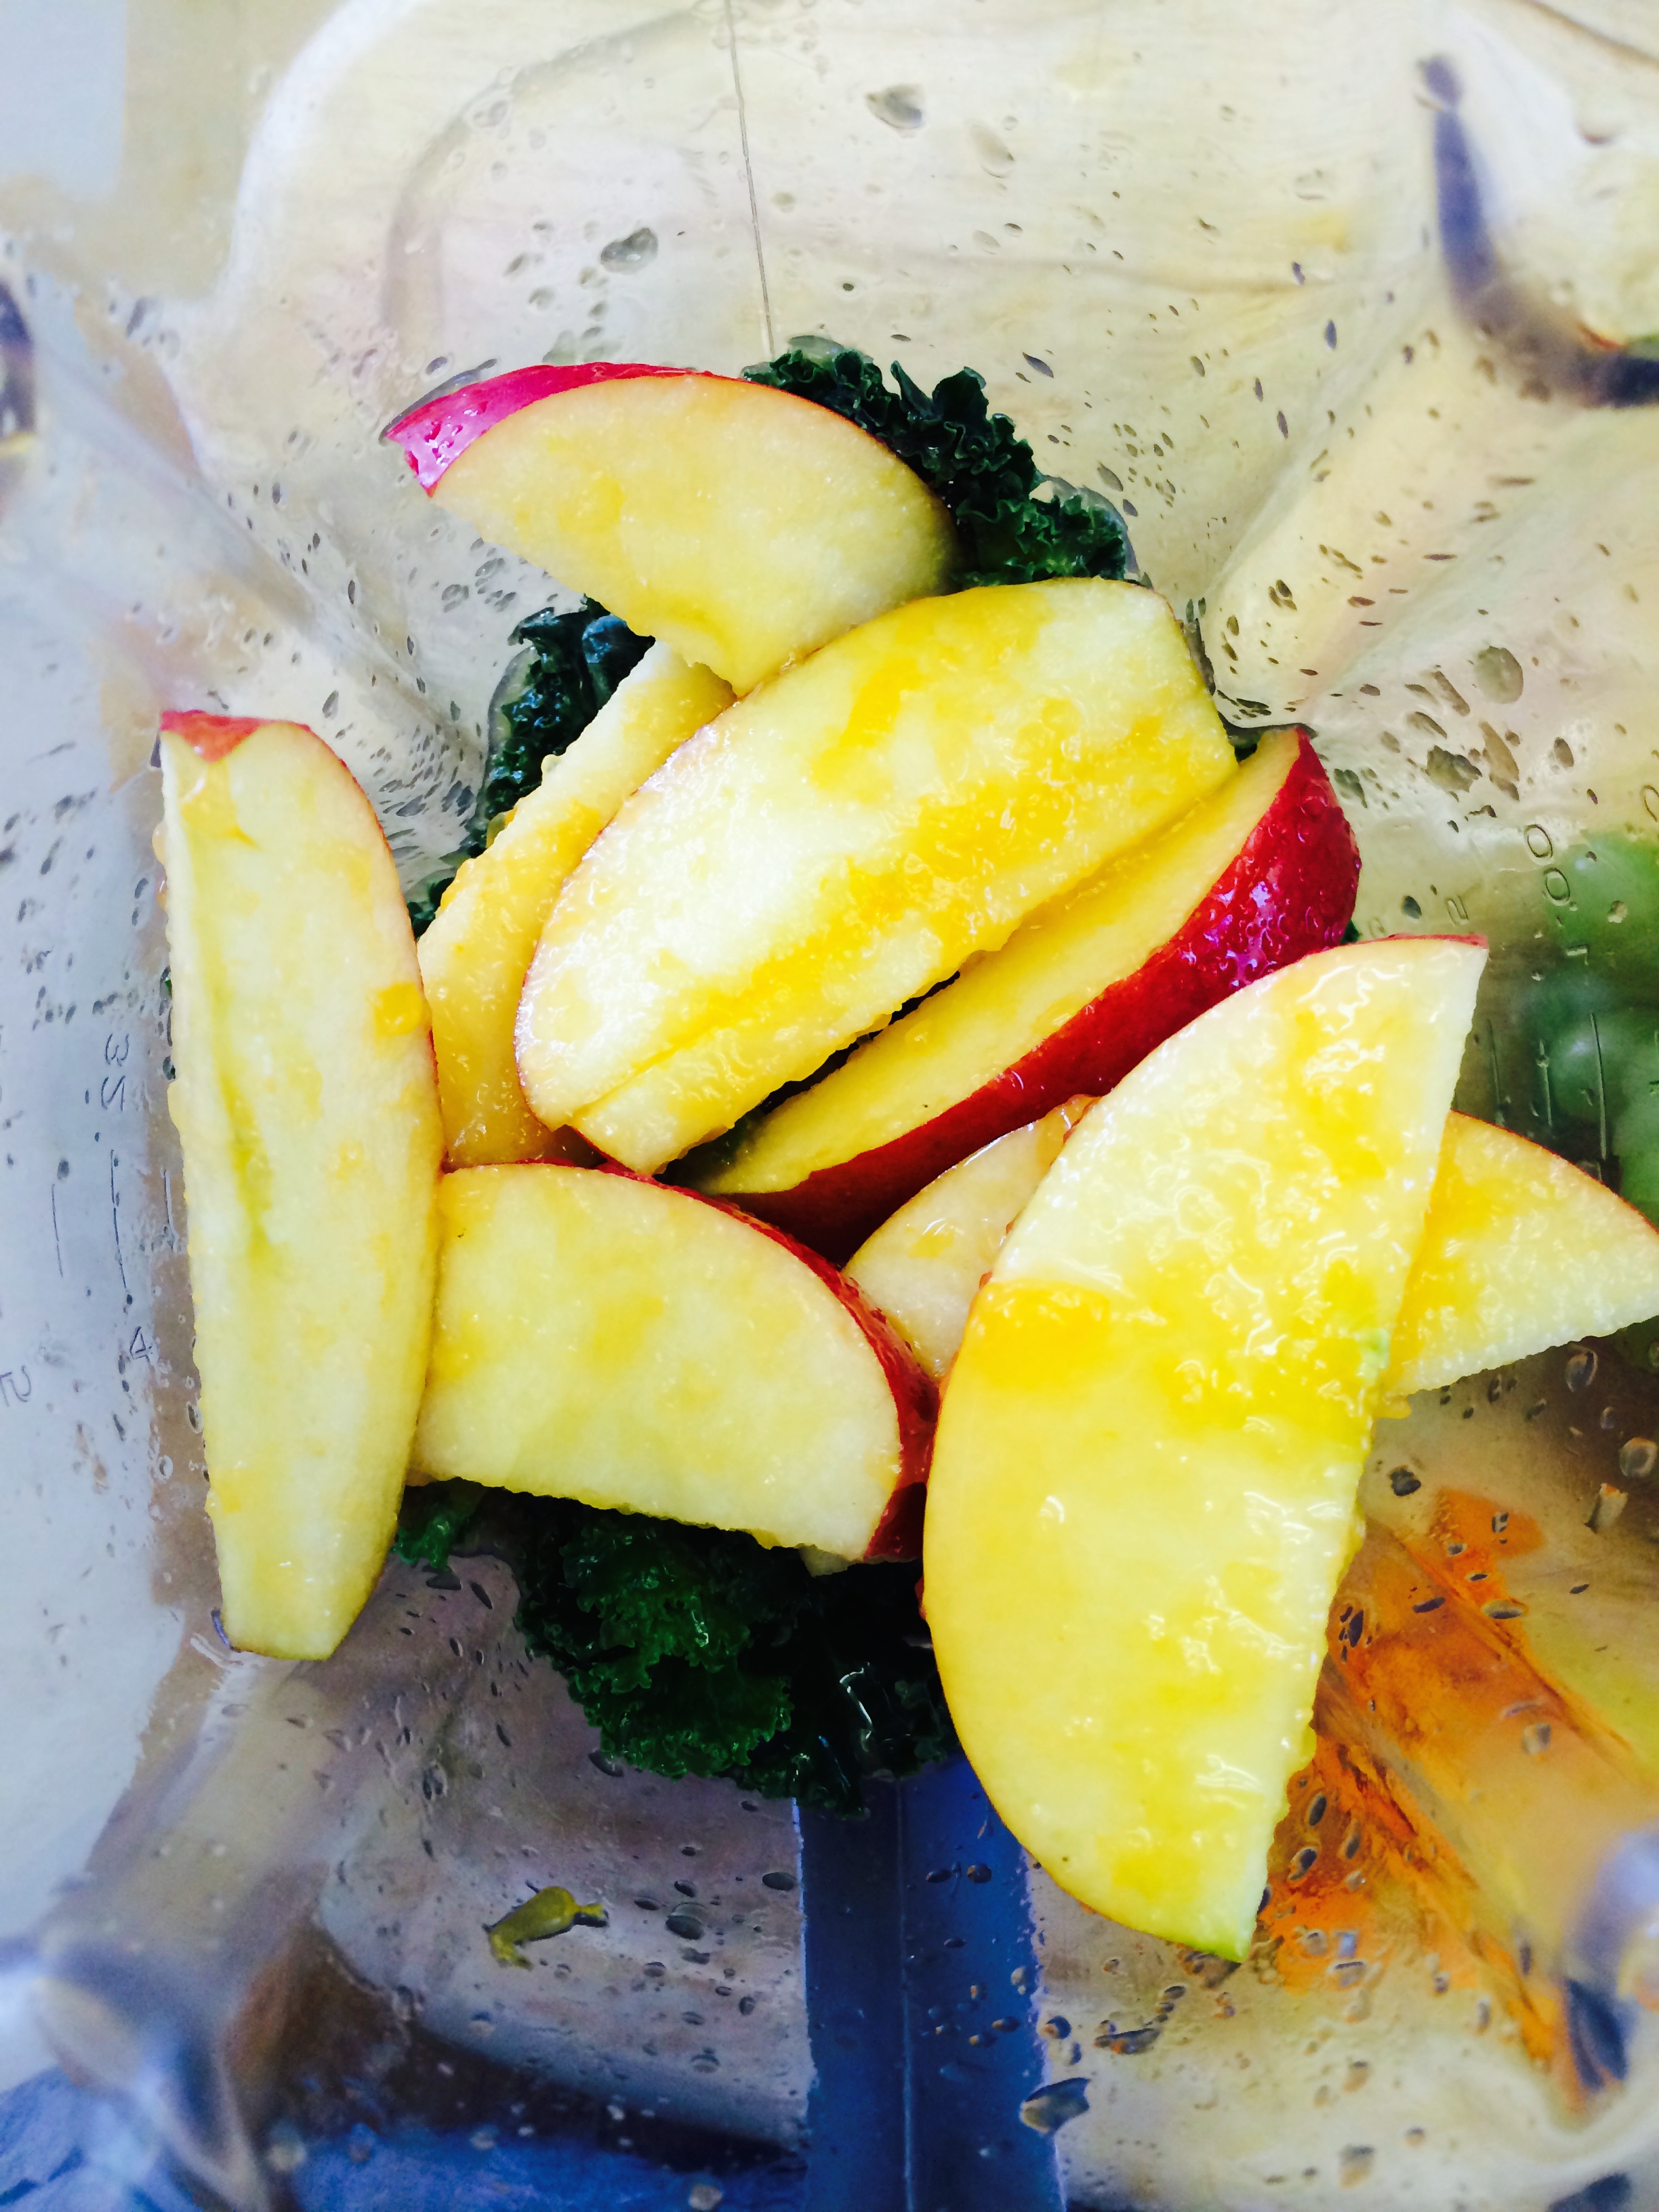
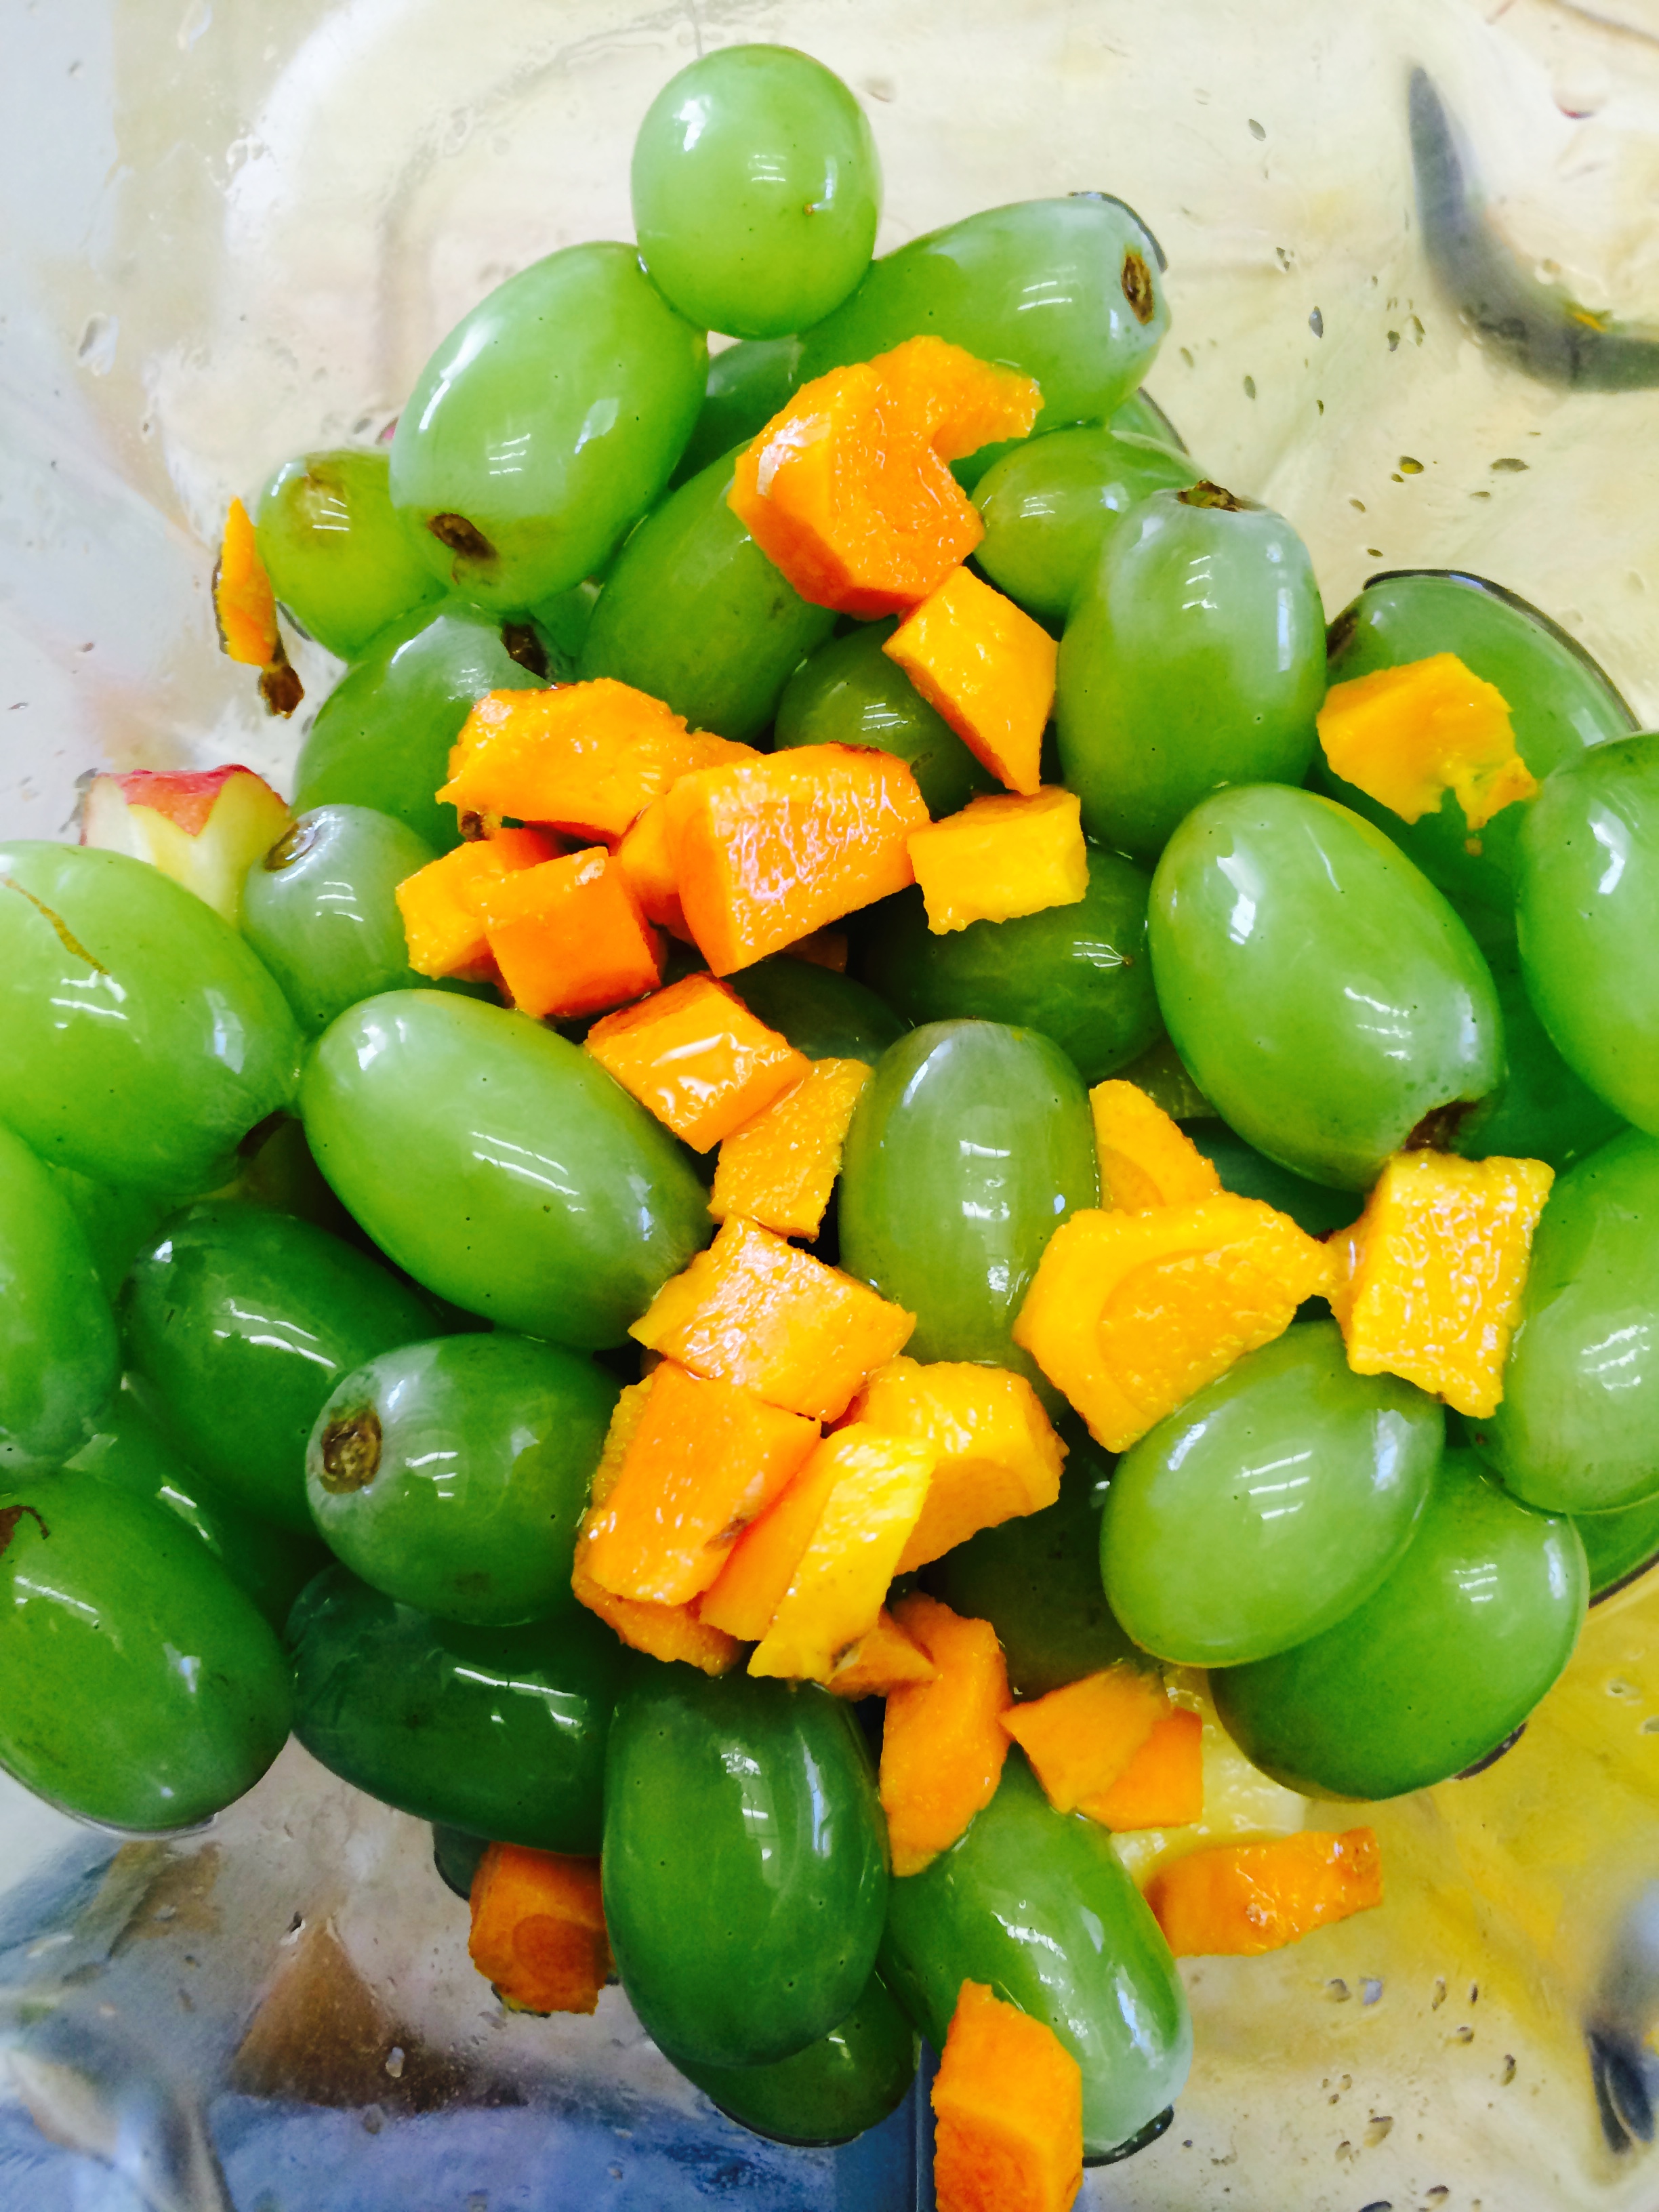
Squeeze the tangerine juice into the blender, then add all the other ingredients.

IMG_2124 IMG_2125

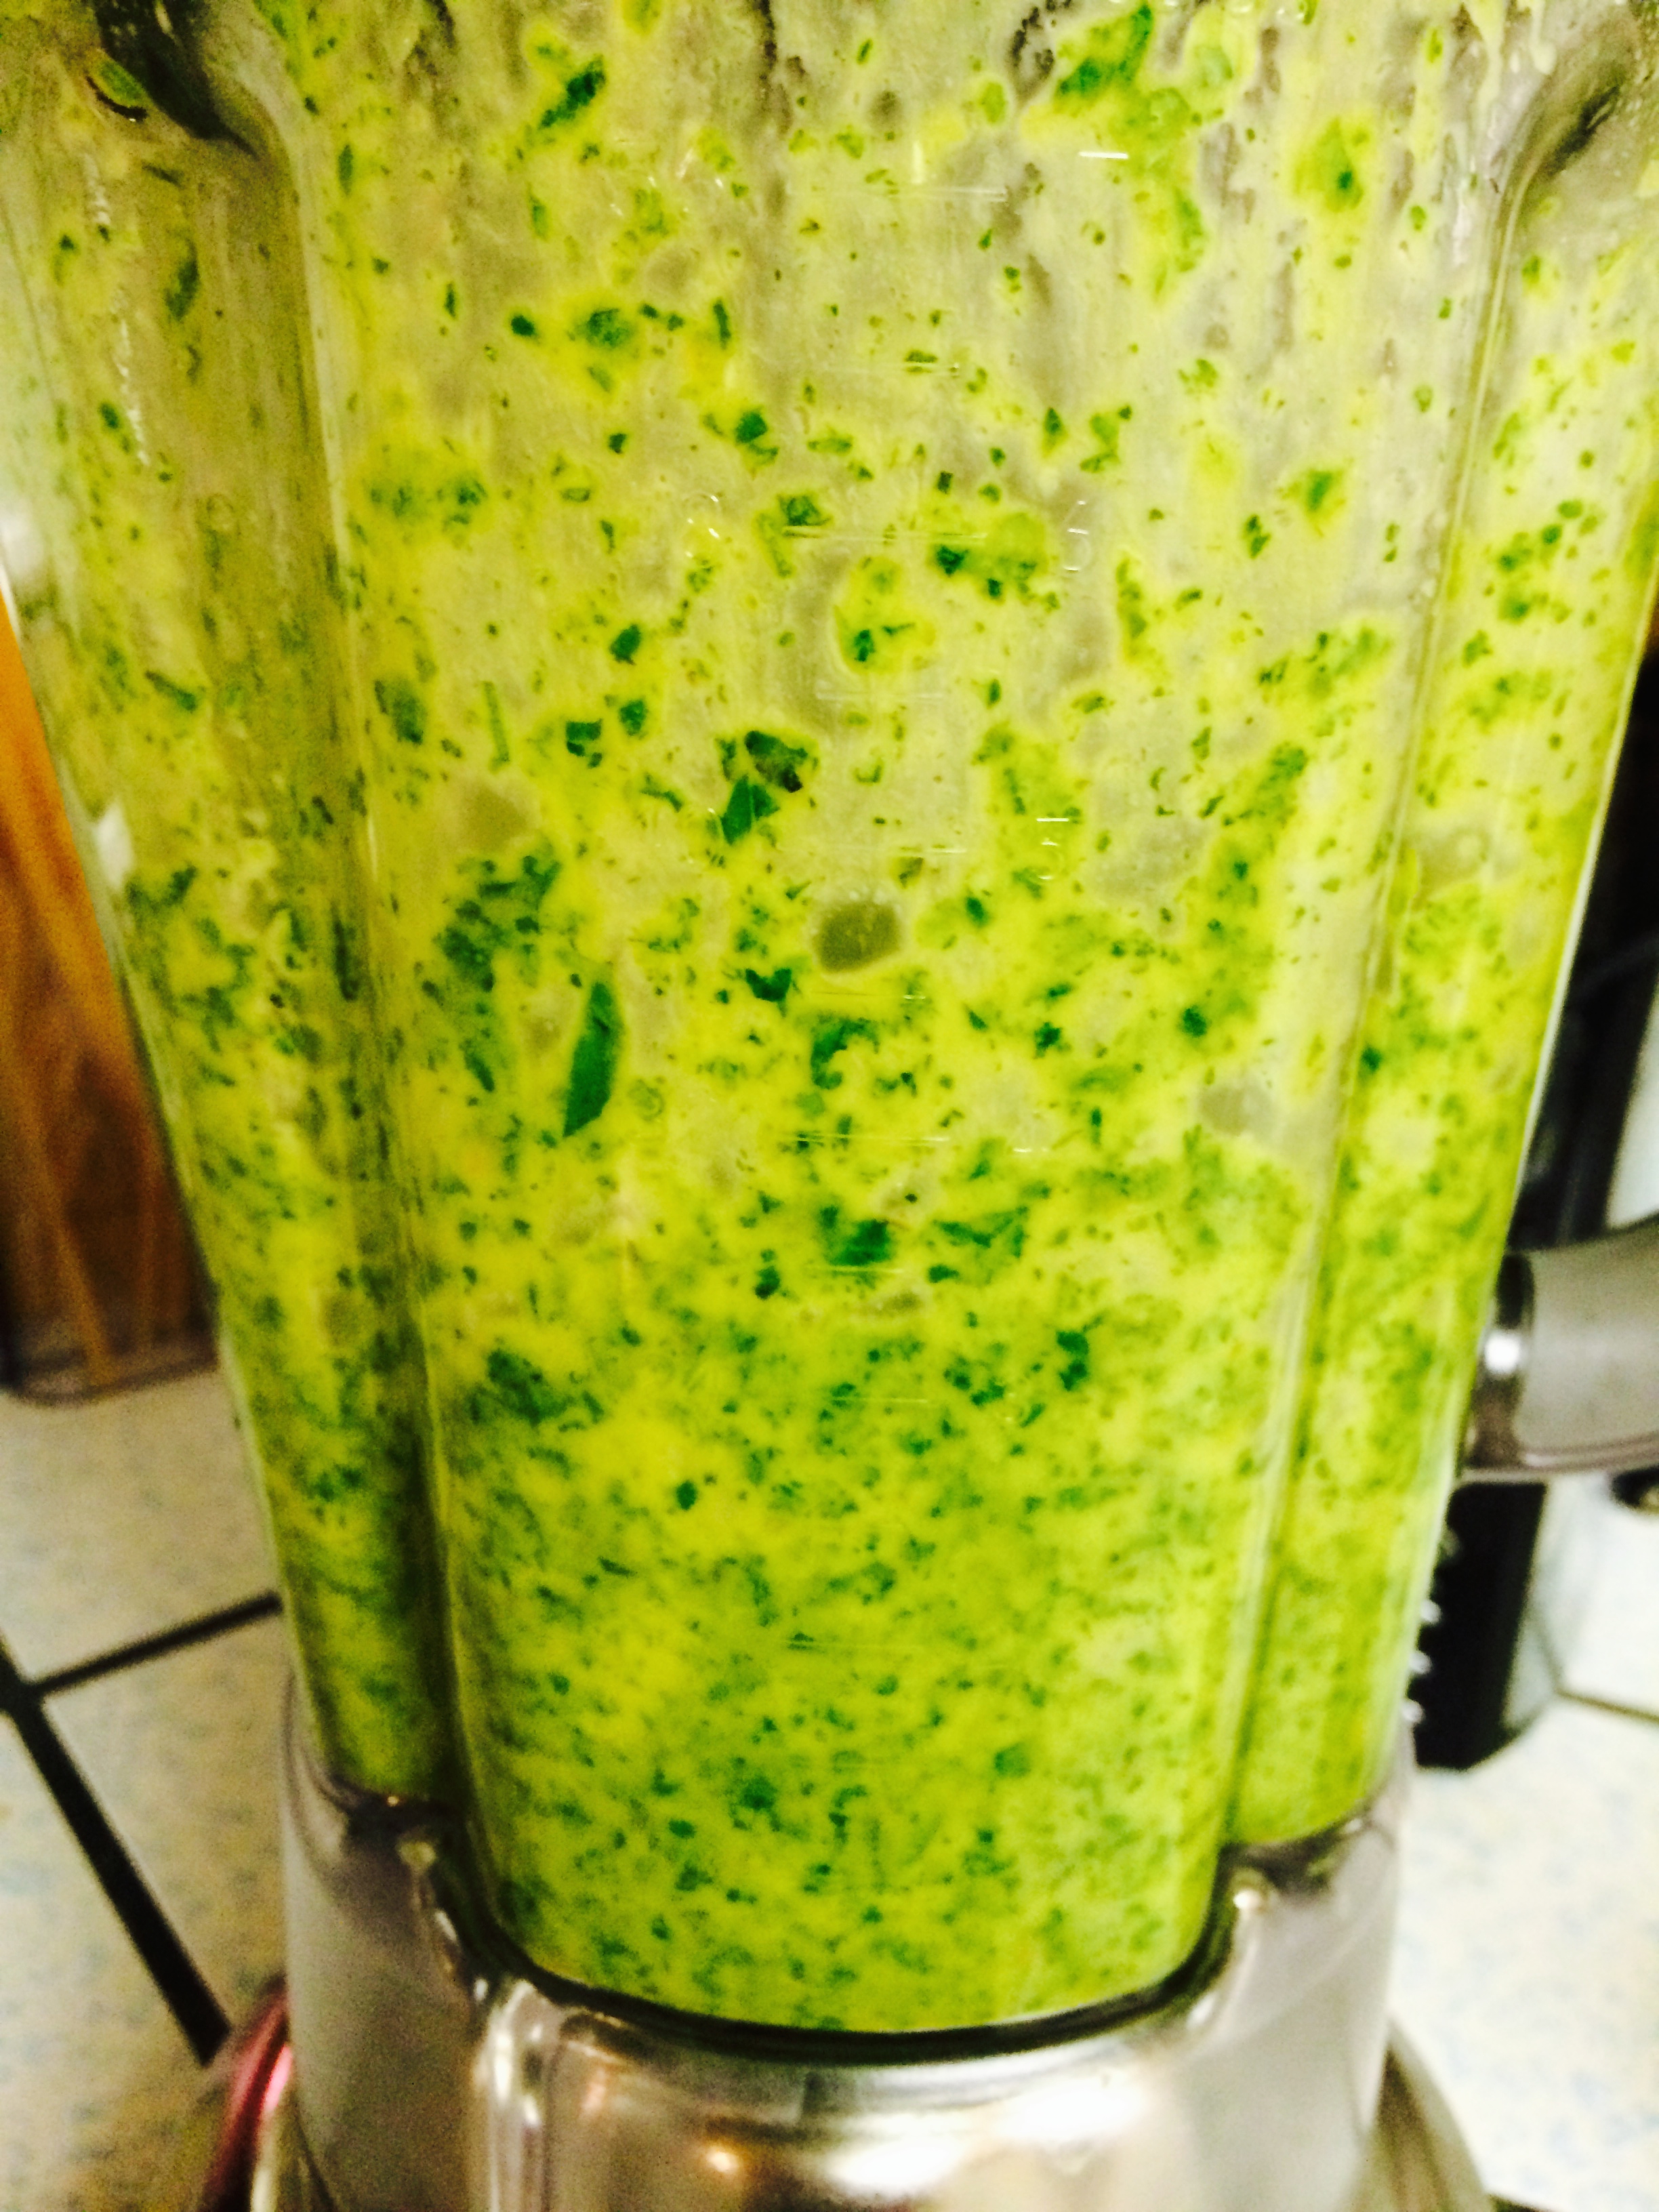
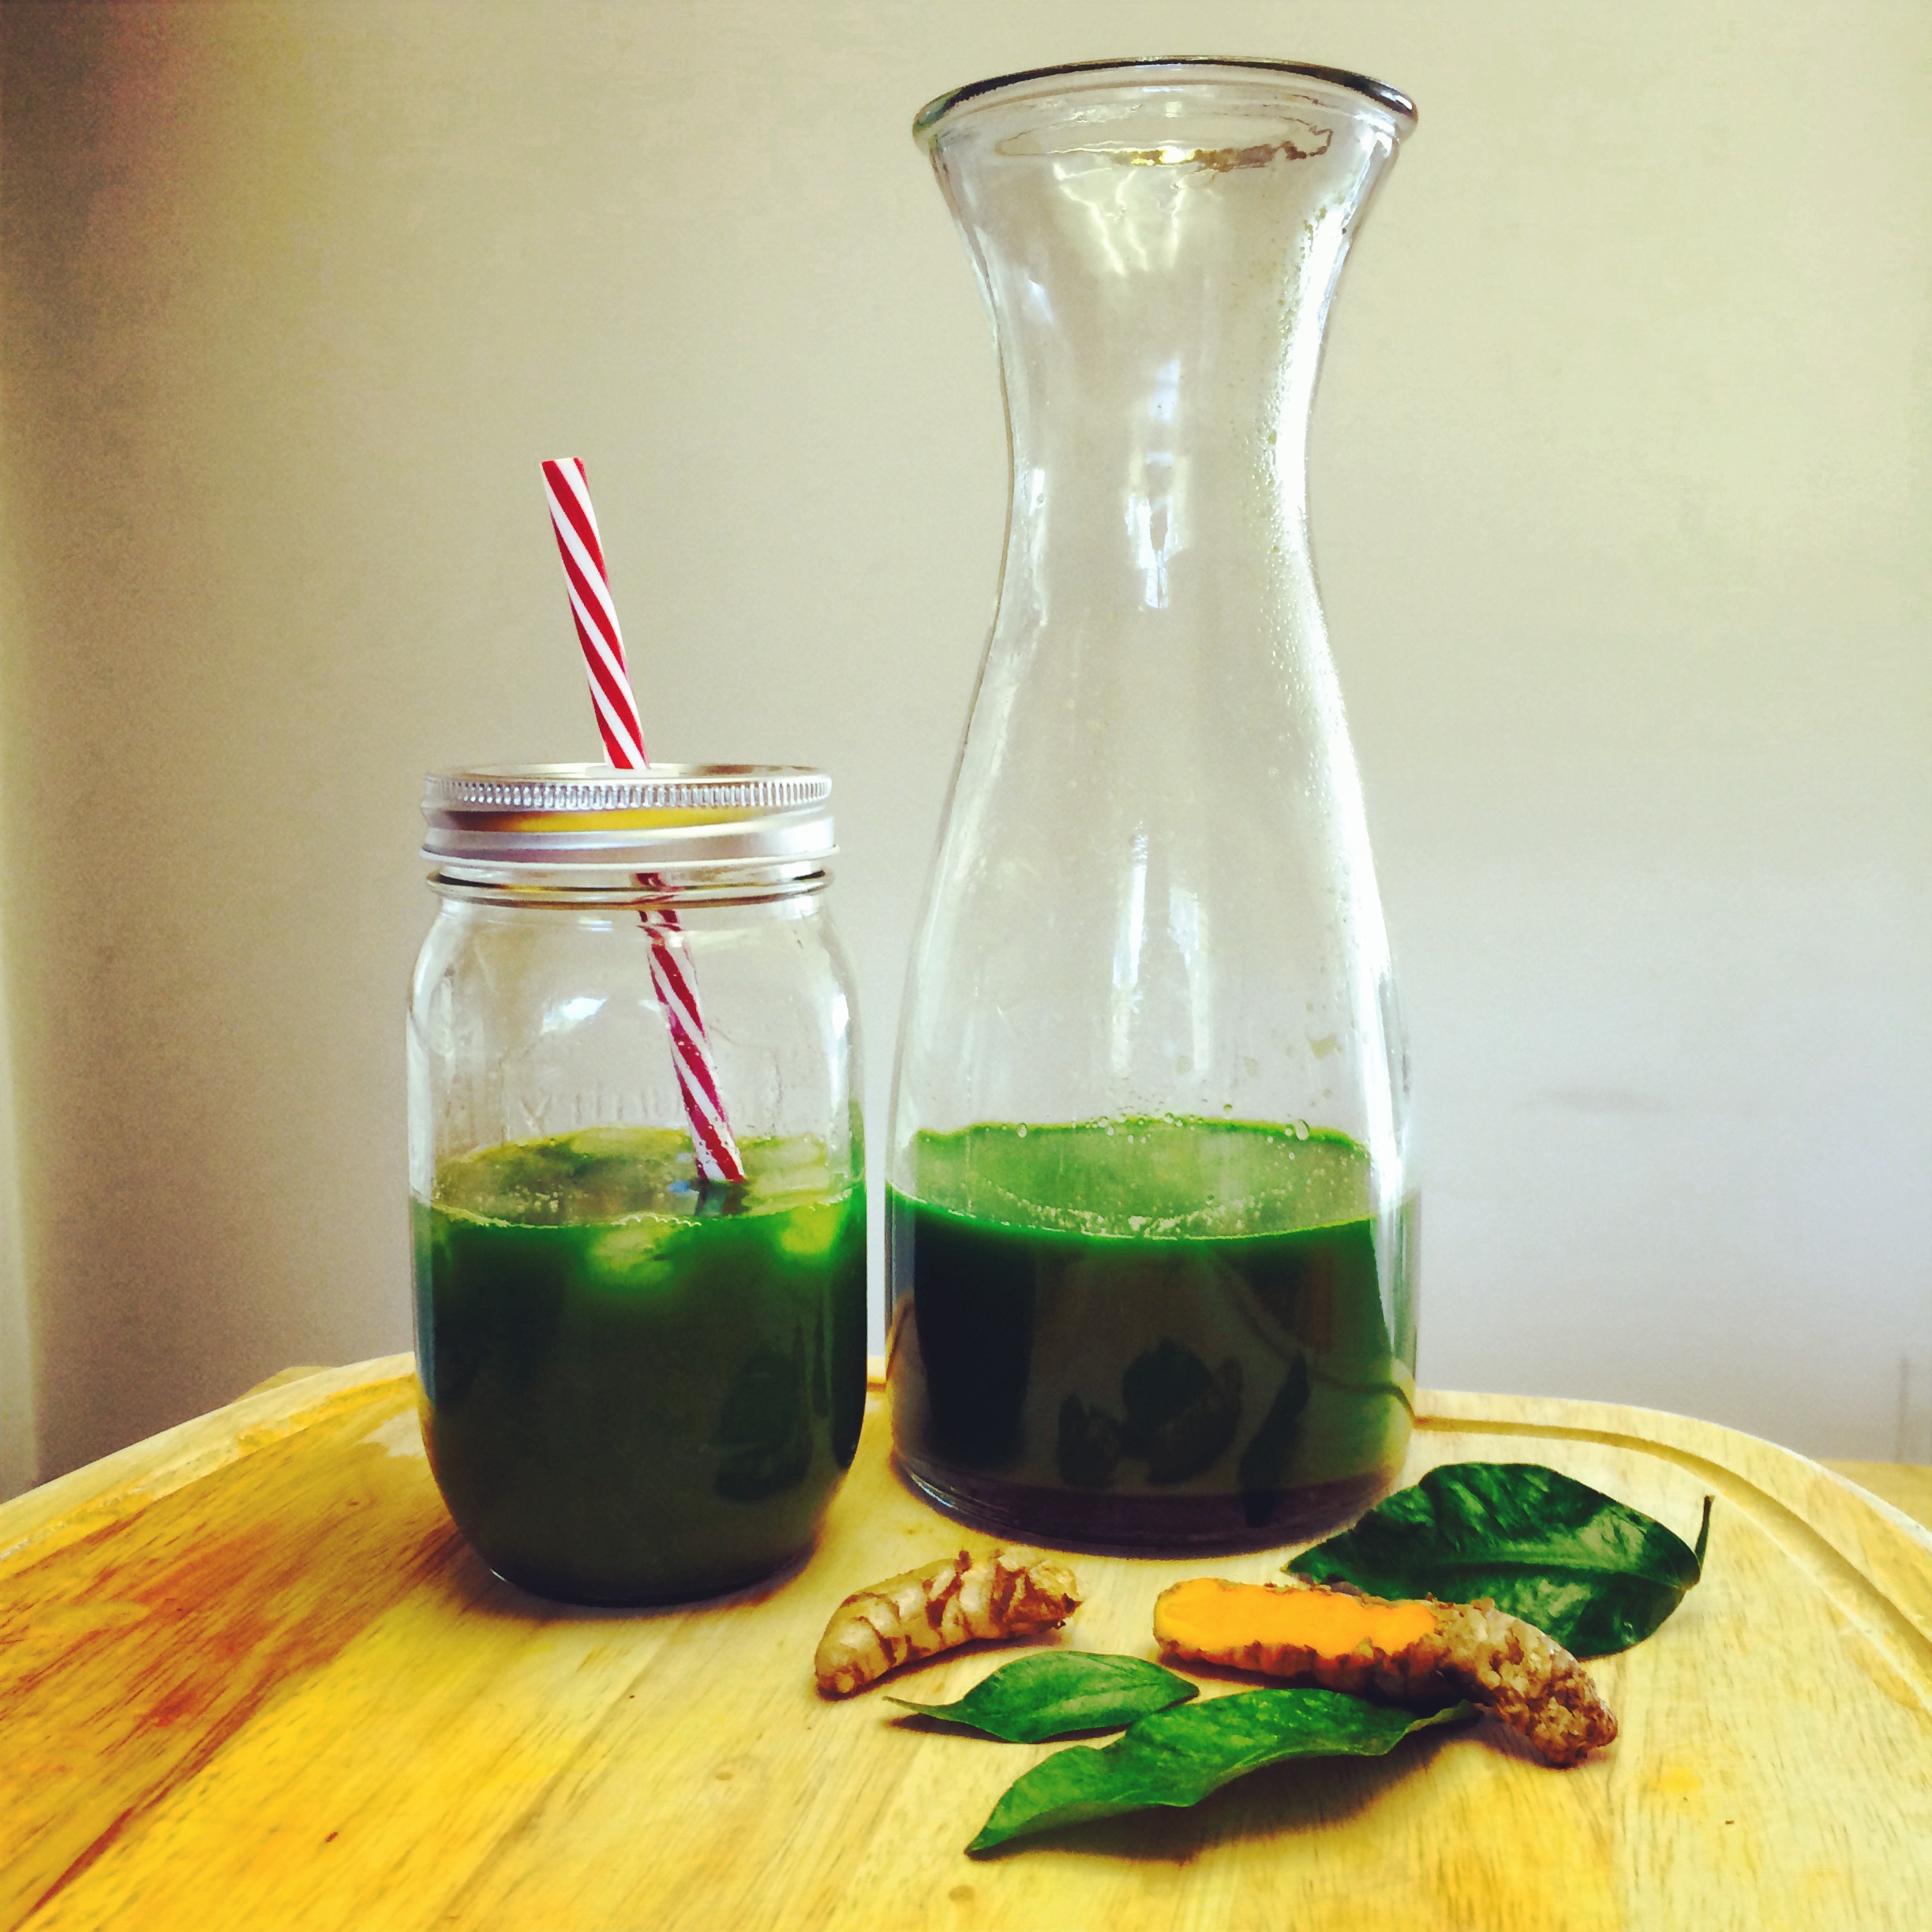
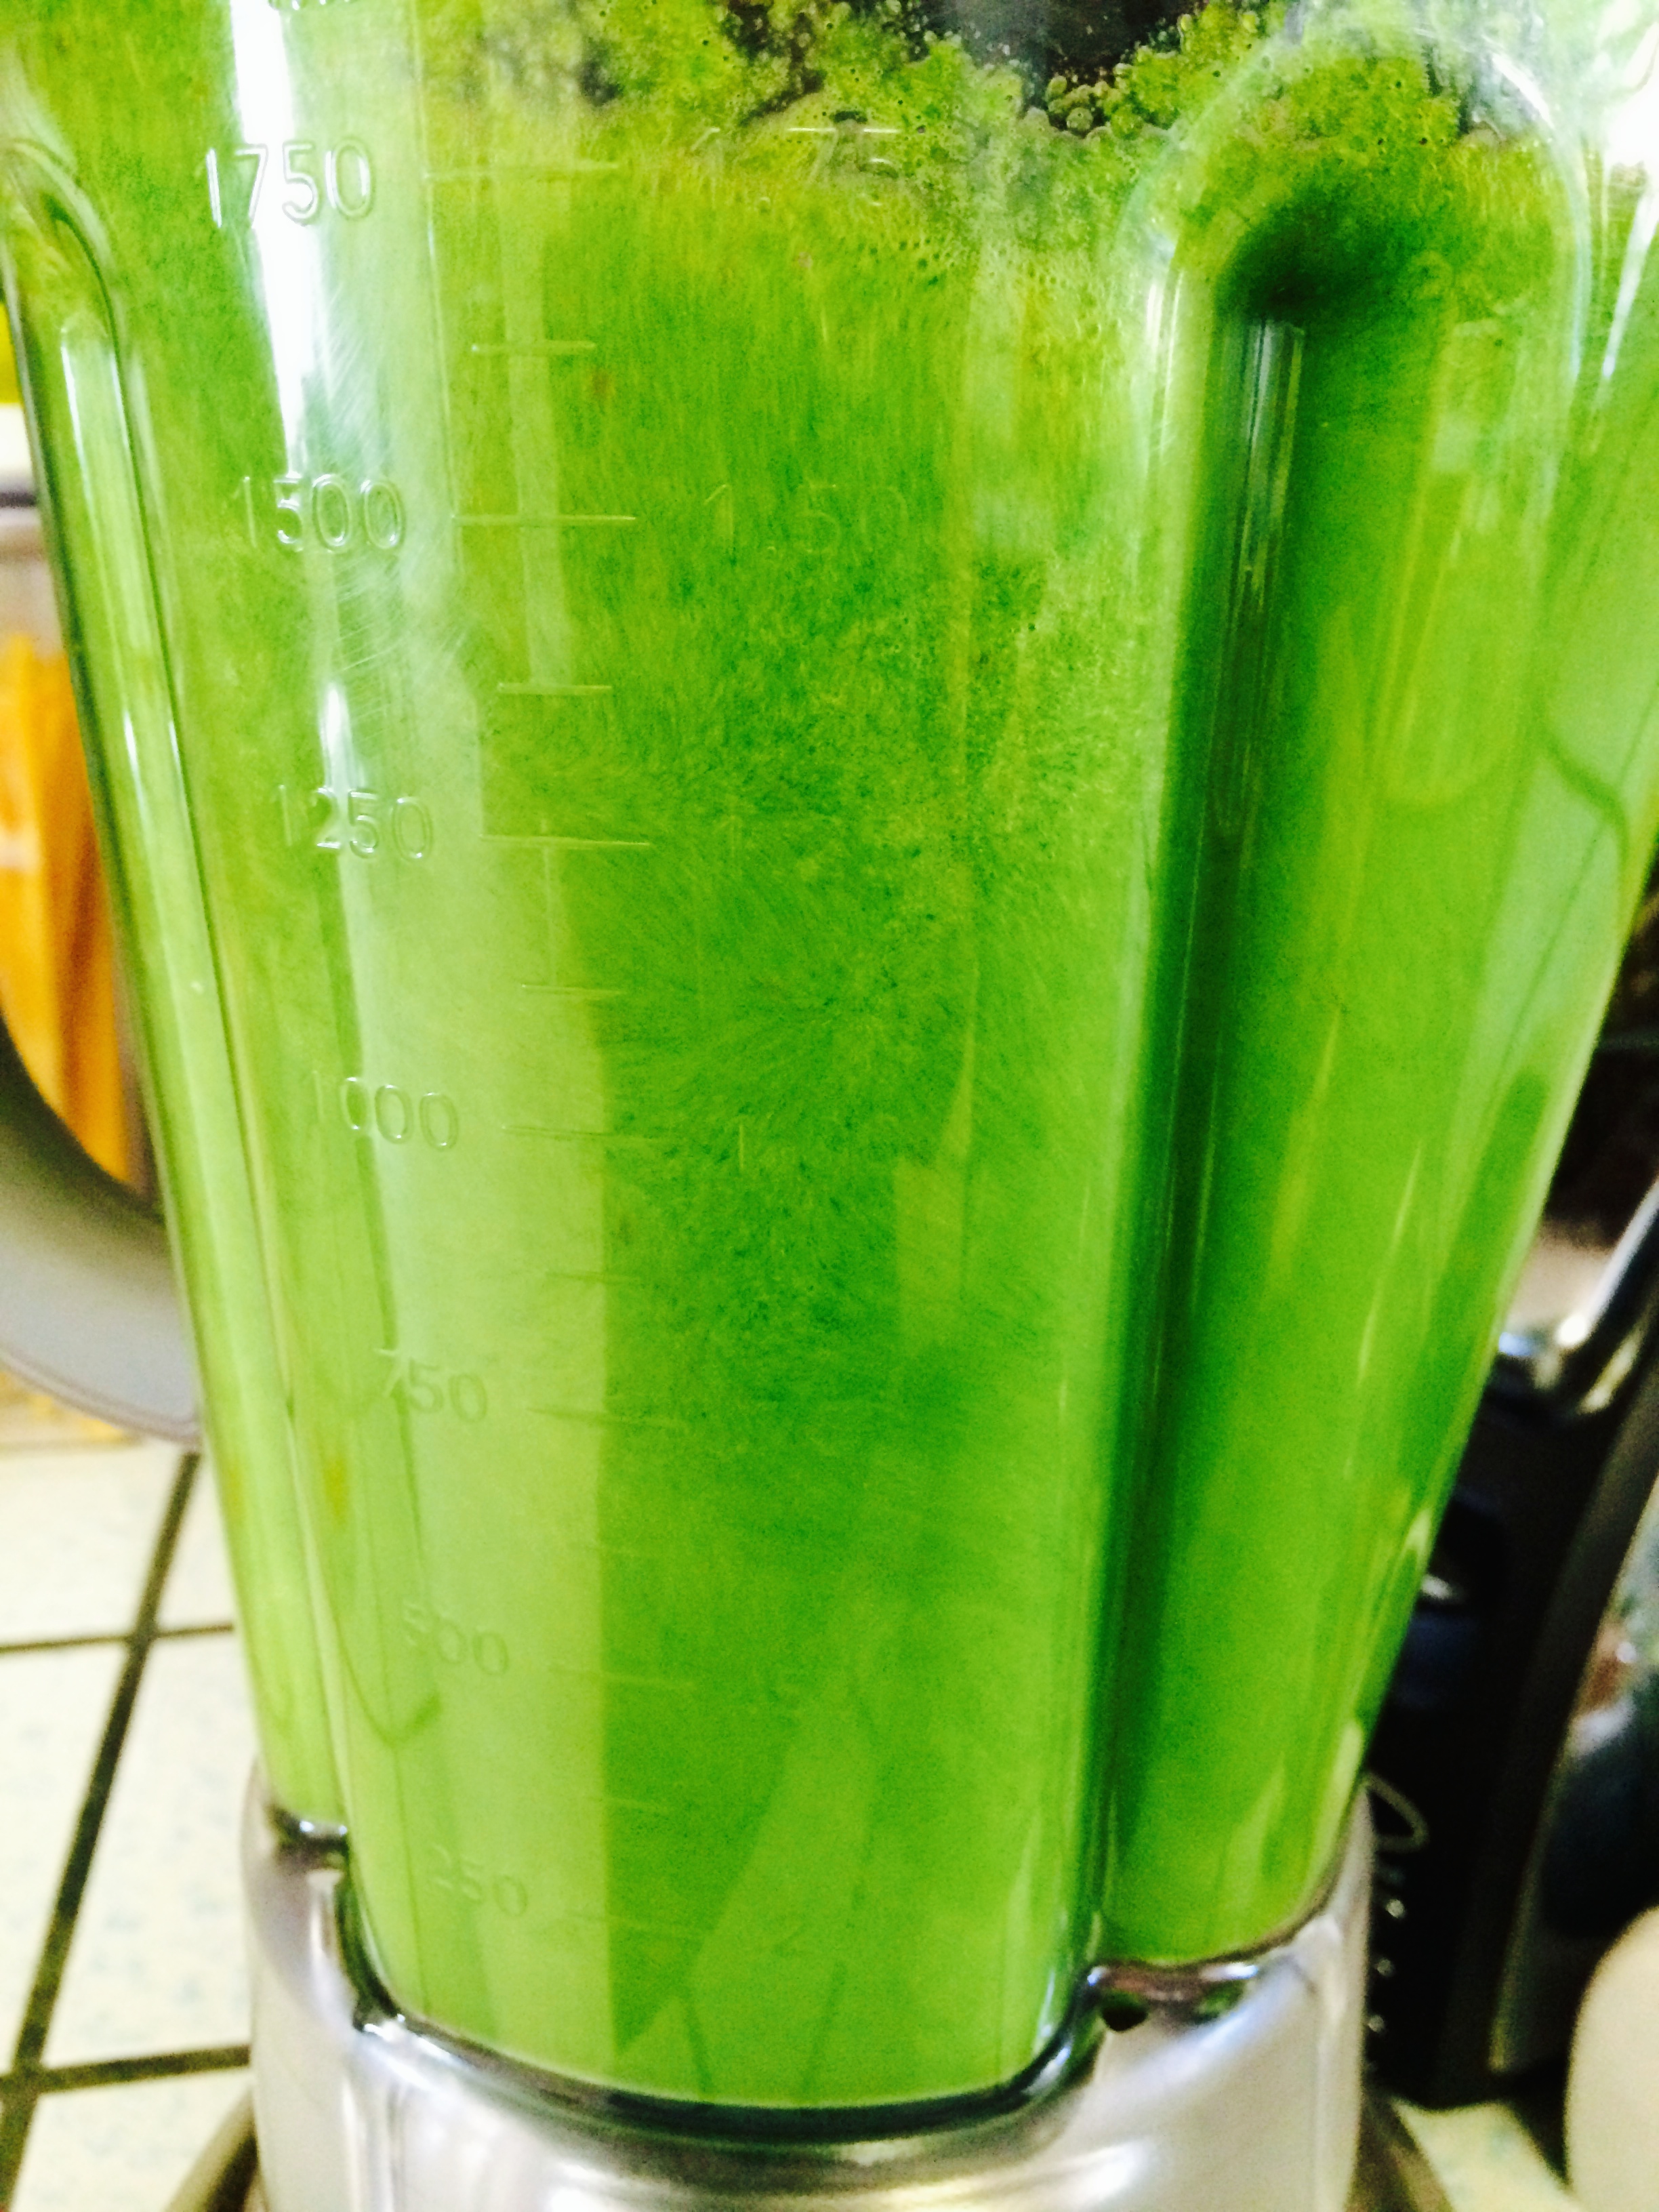
Blend it, blend it, blend it. If it needs more liquid add whatever liquid tickles your fancy, or your casual.

 IMG_2126

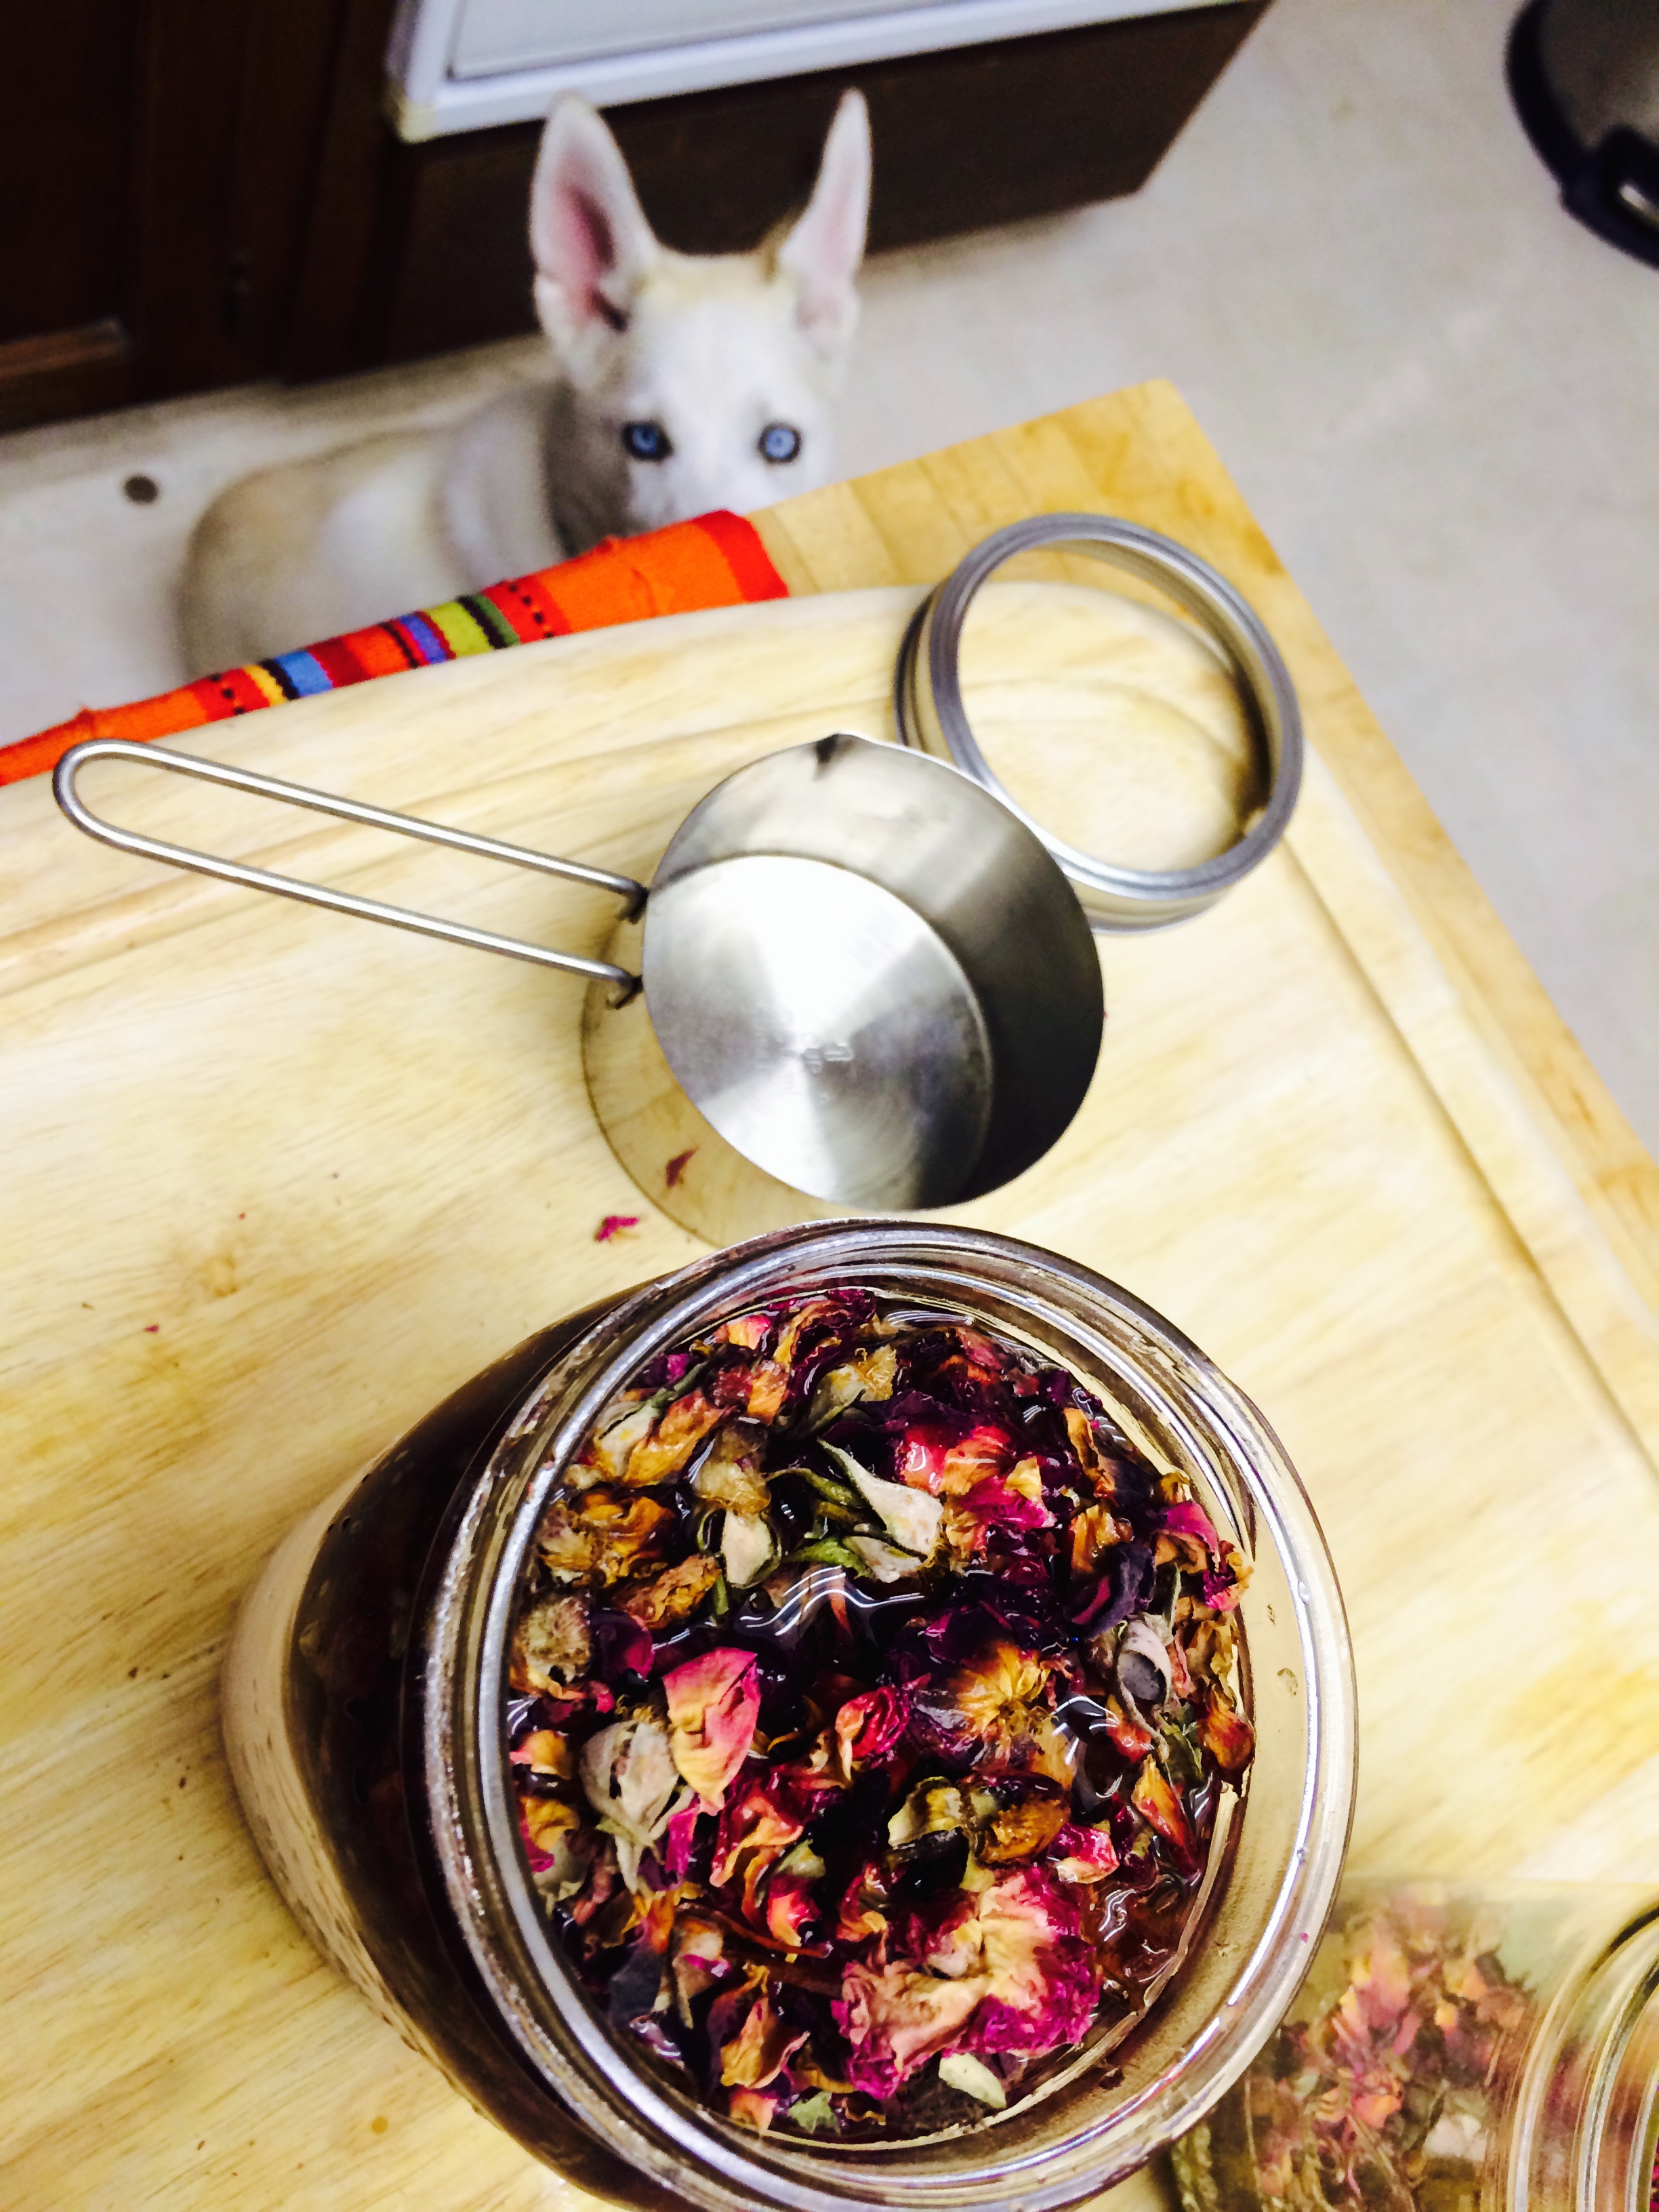
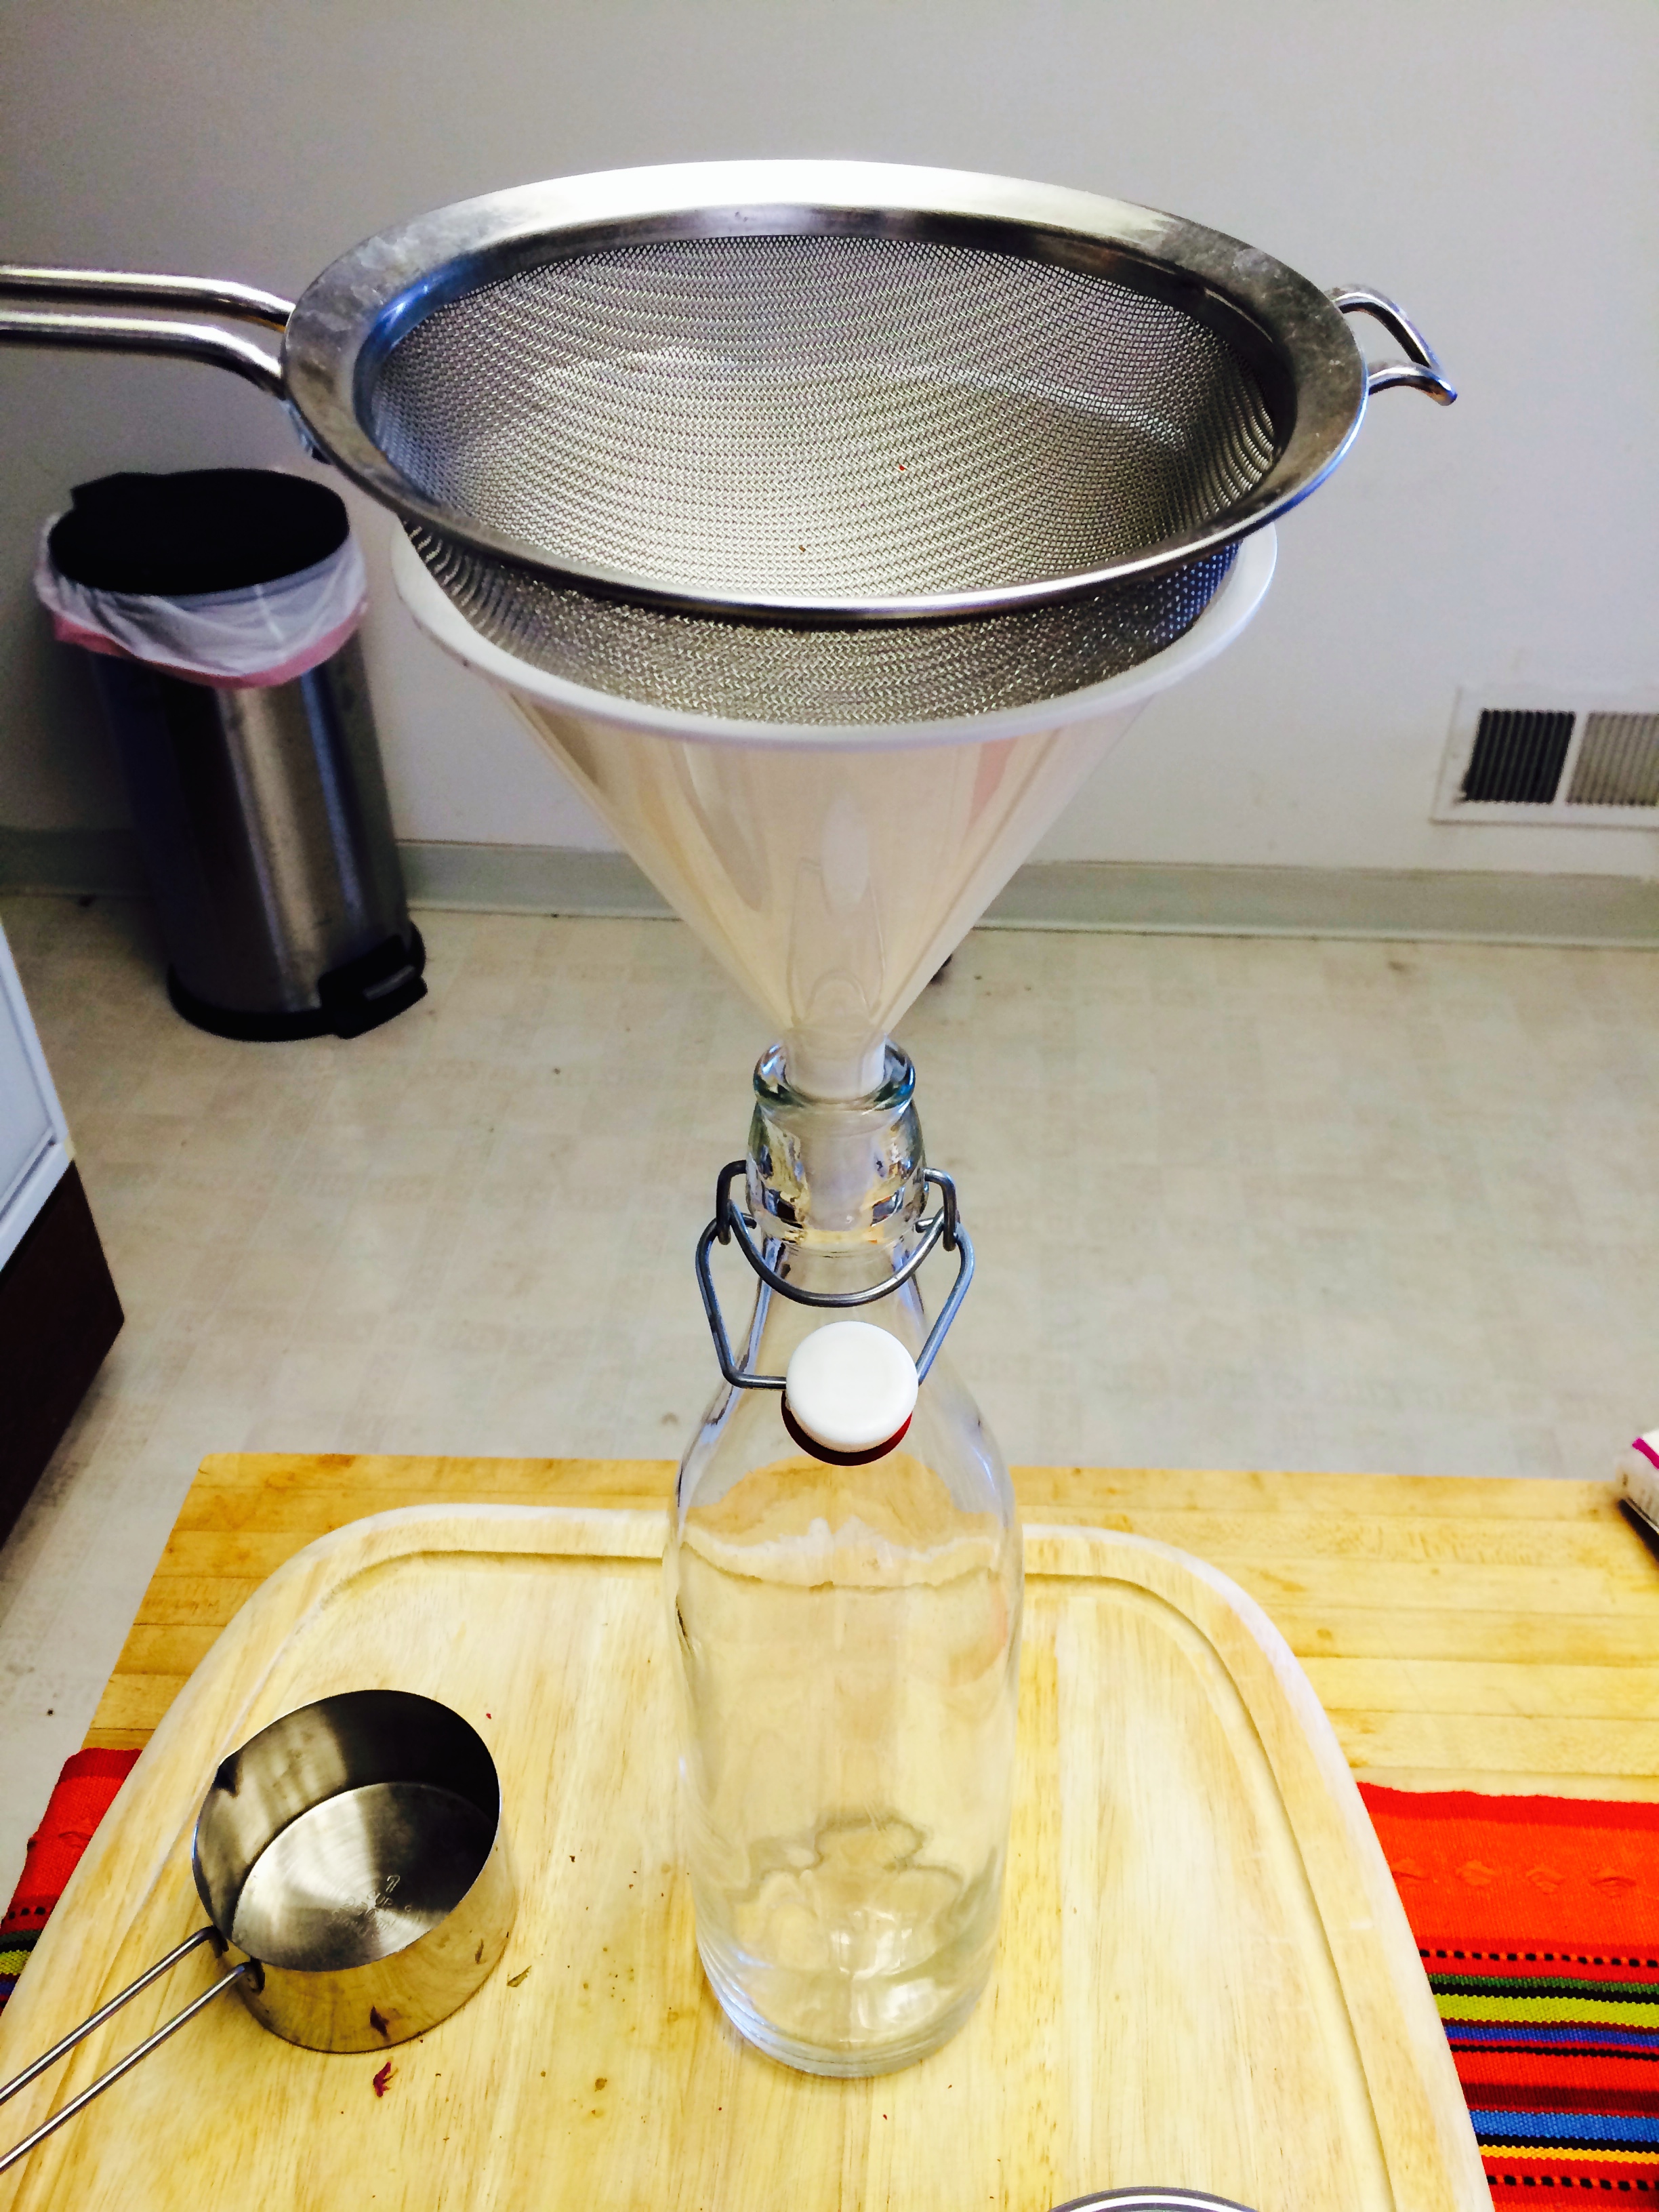
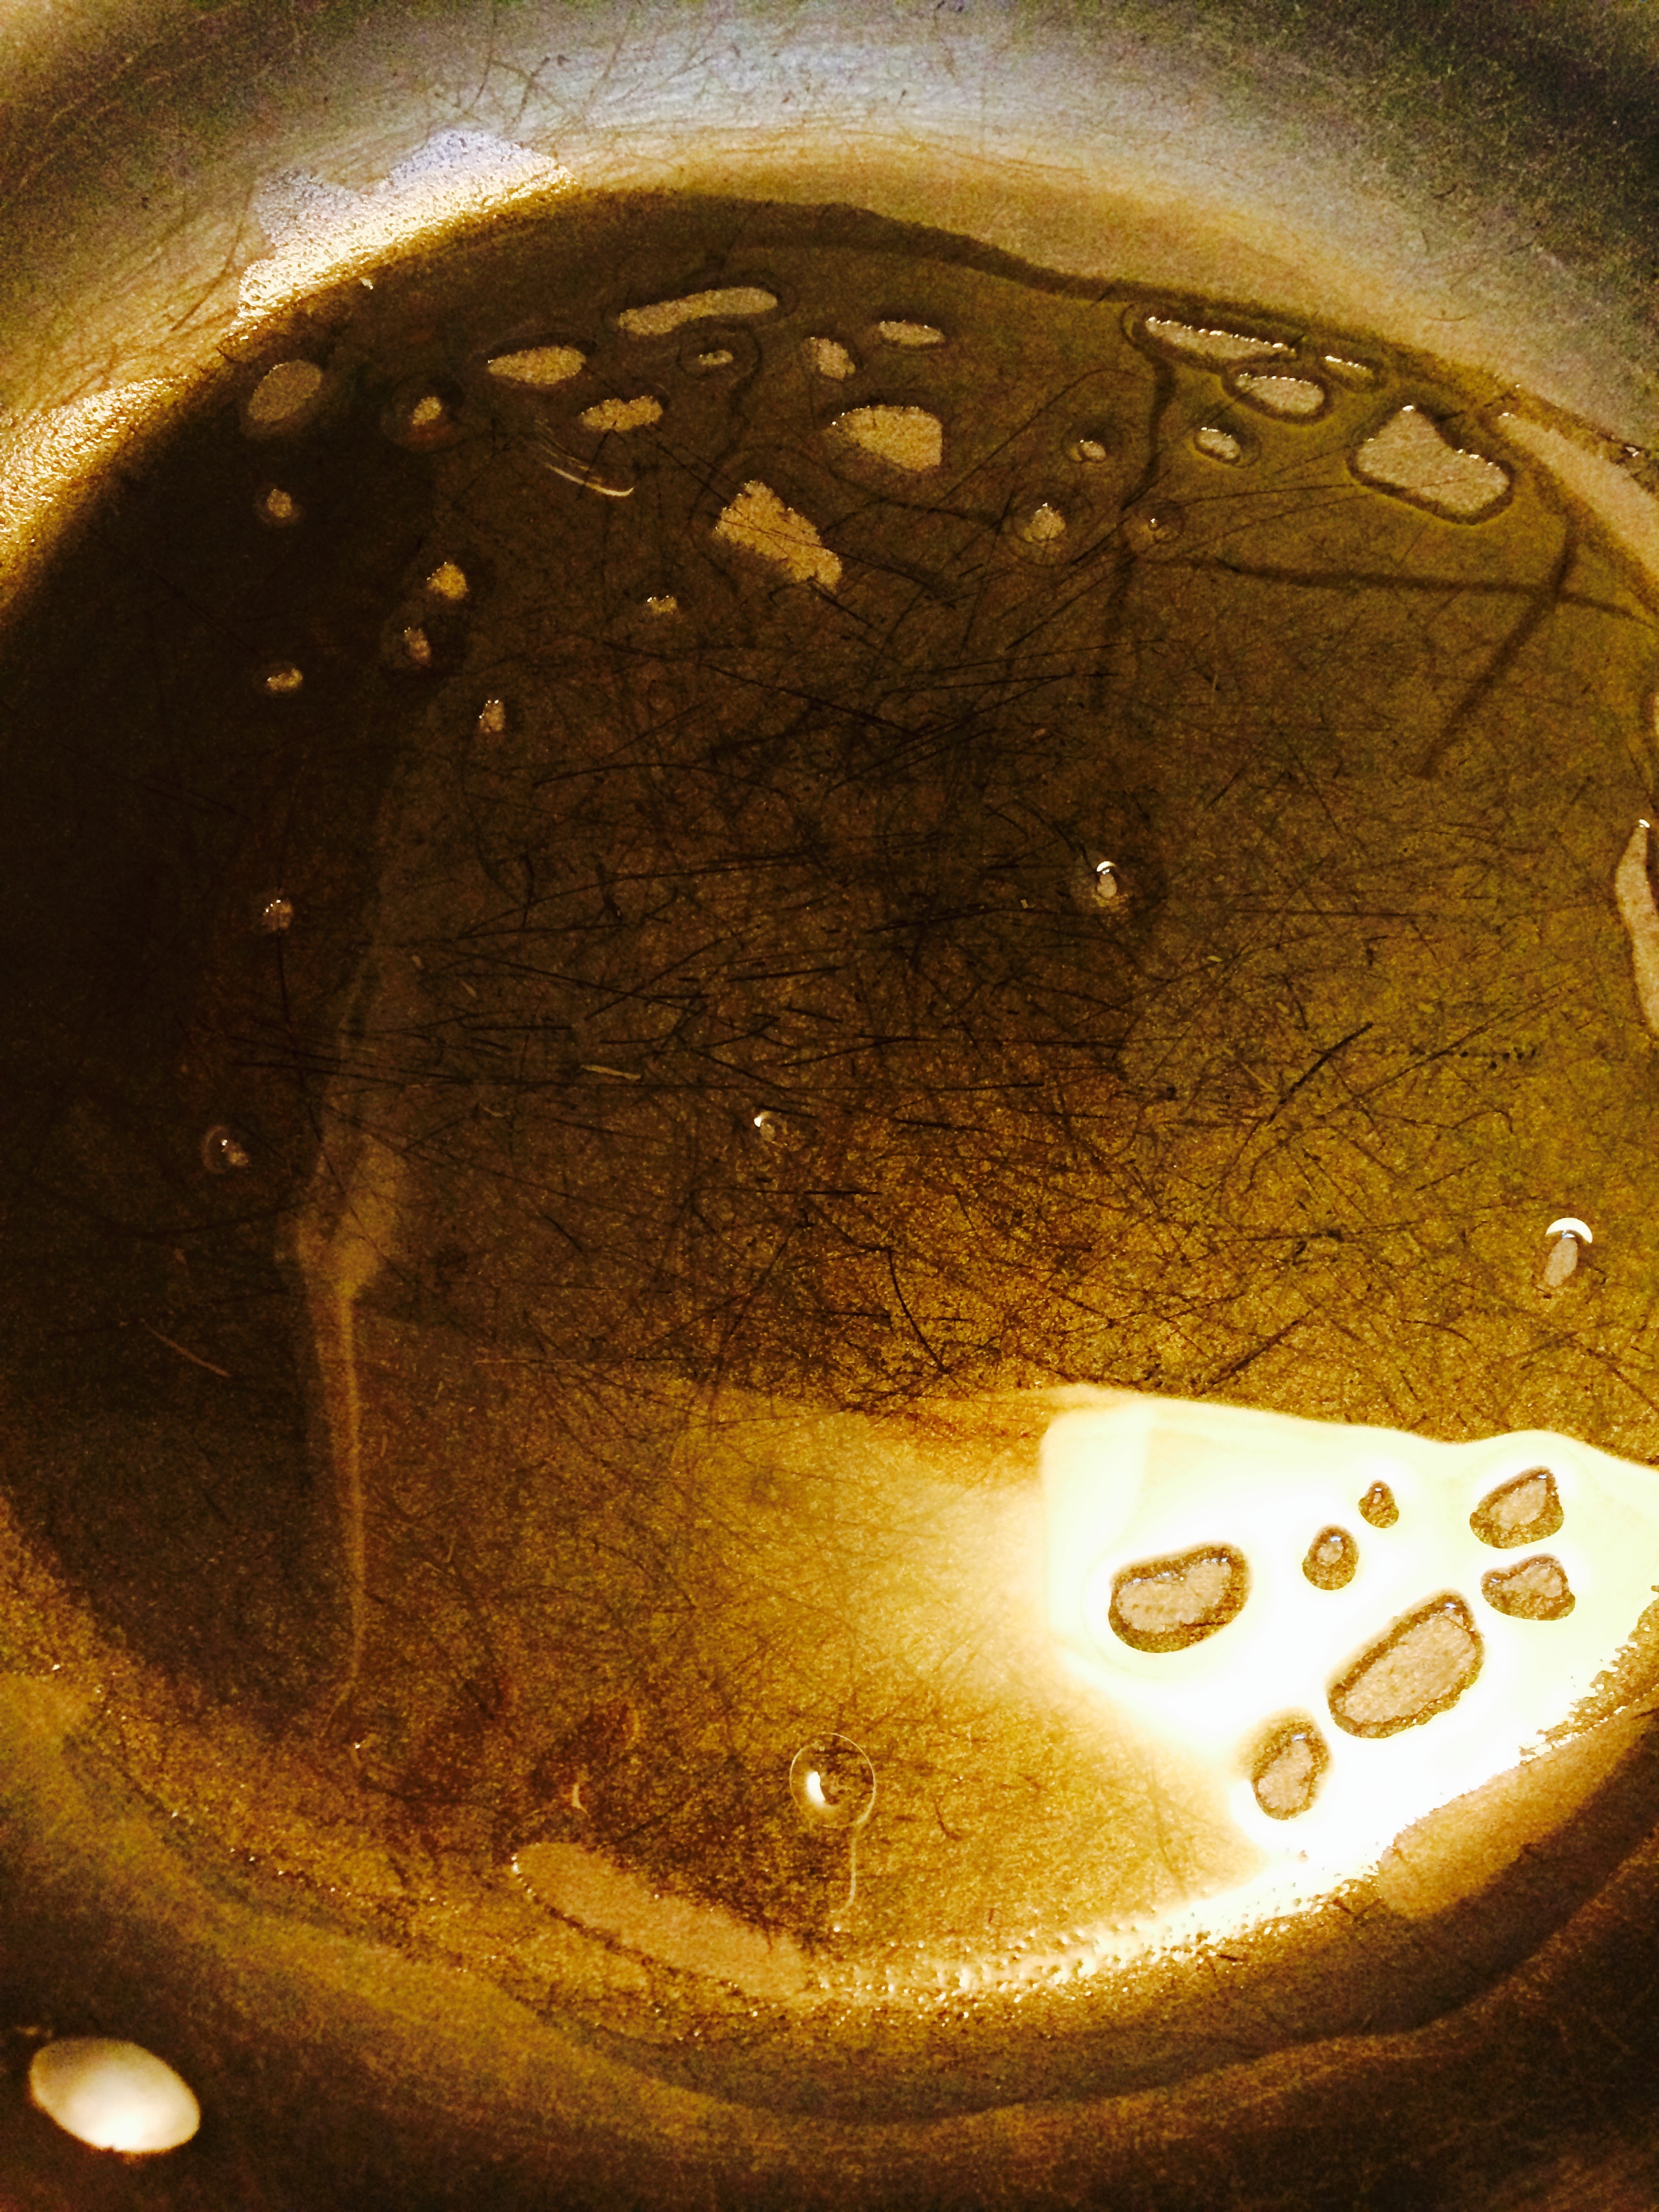
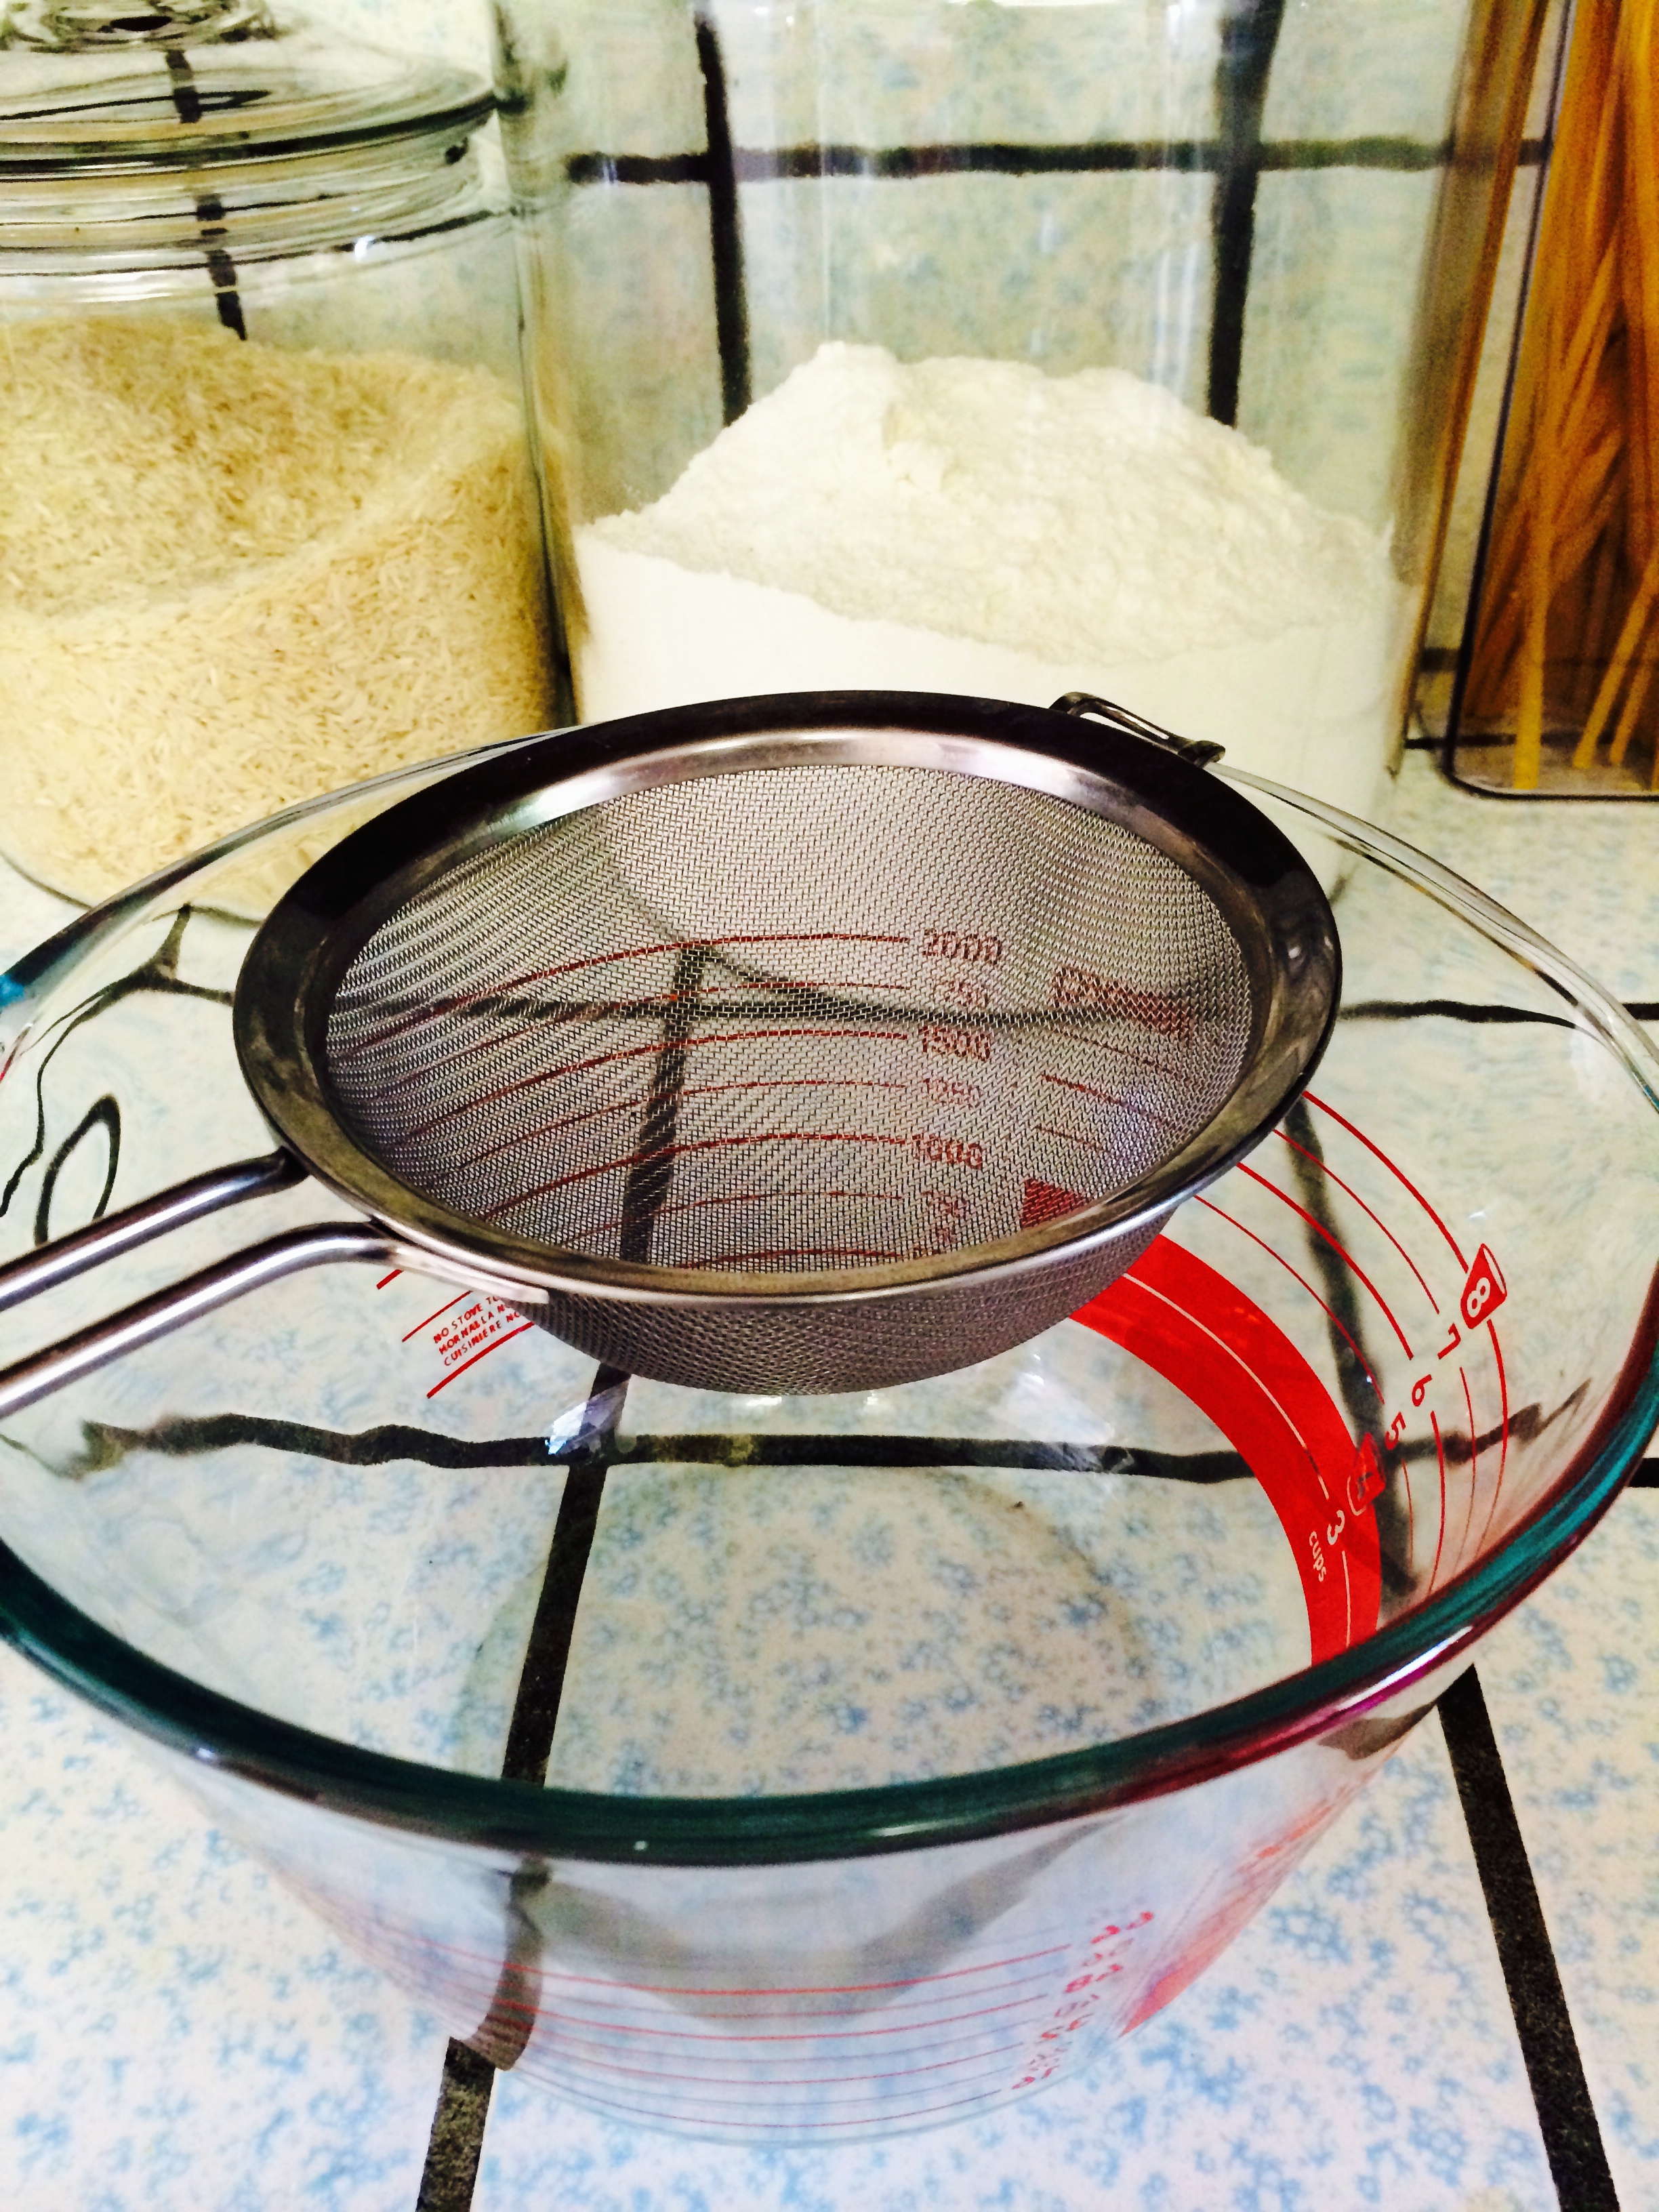
Create a sophisticated straining apparatus thusly: 

IMG_2127 IMG_2129

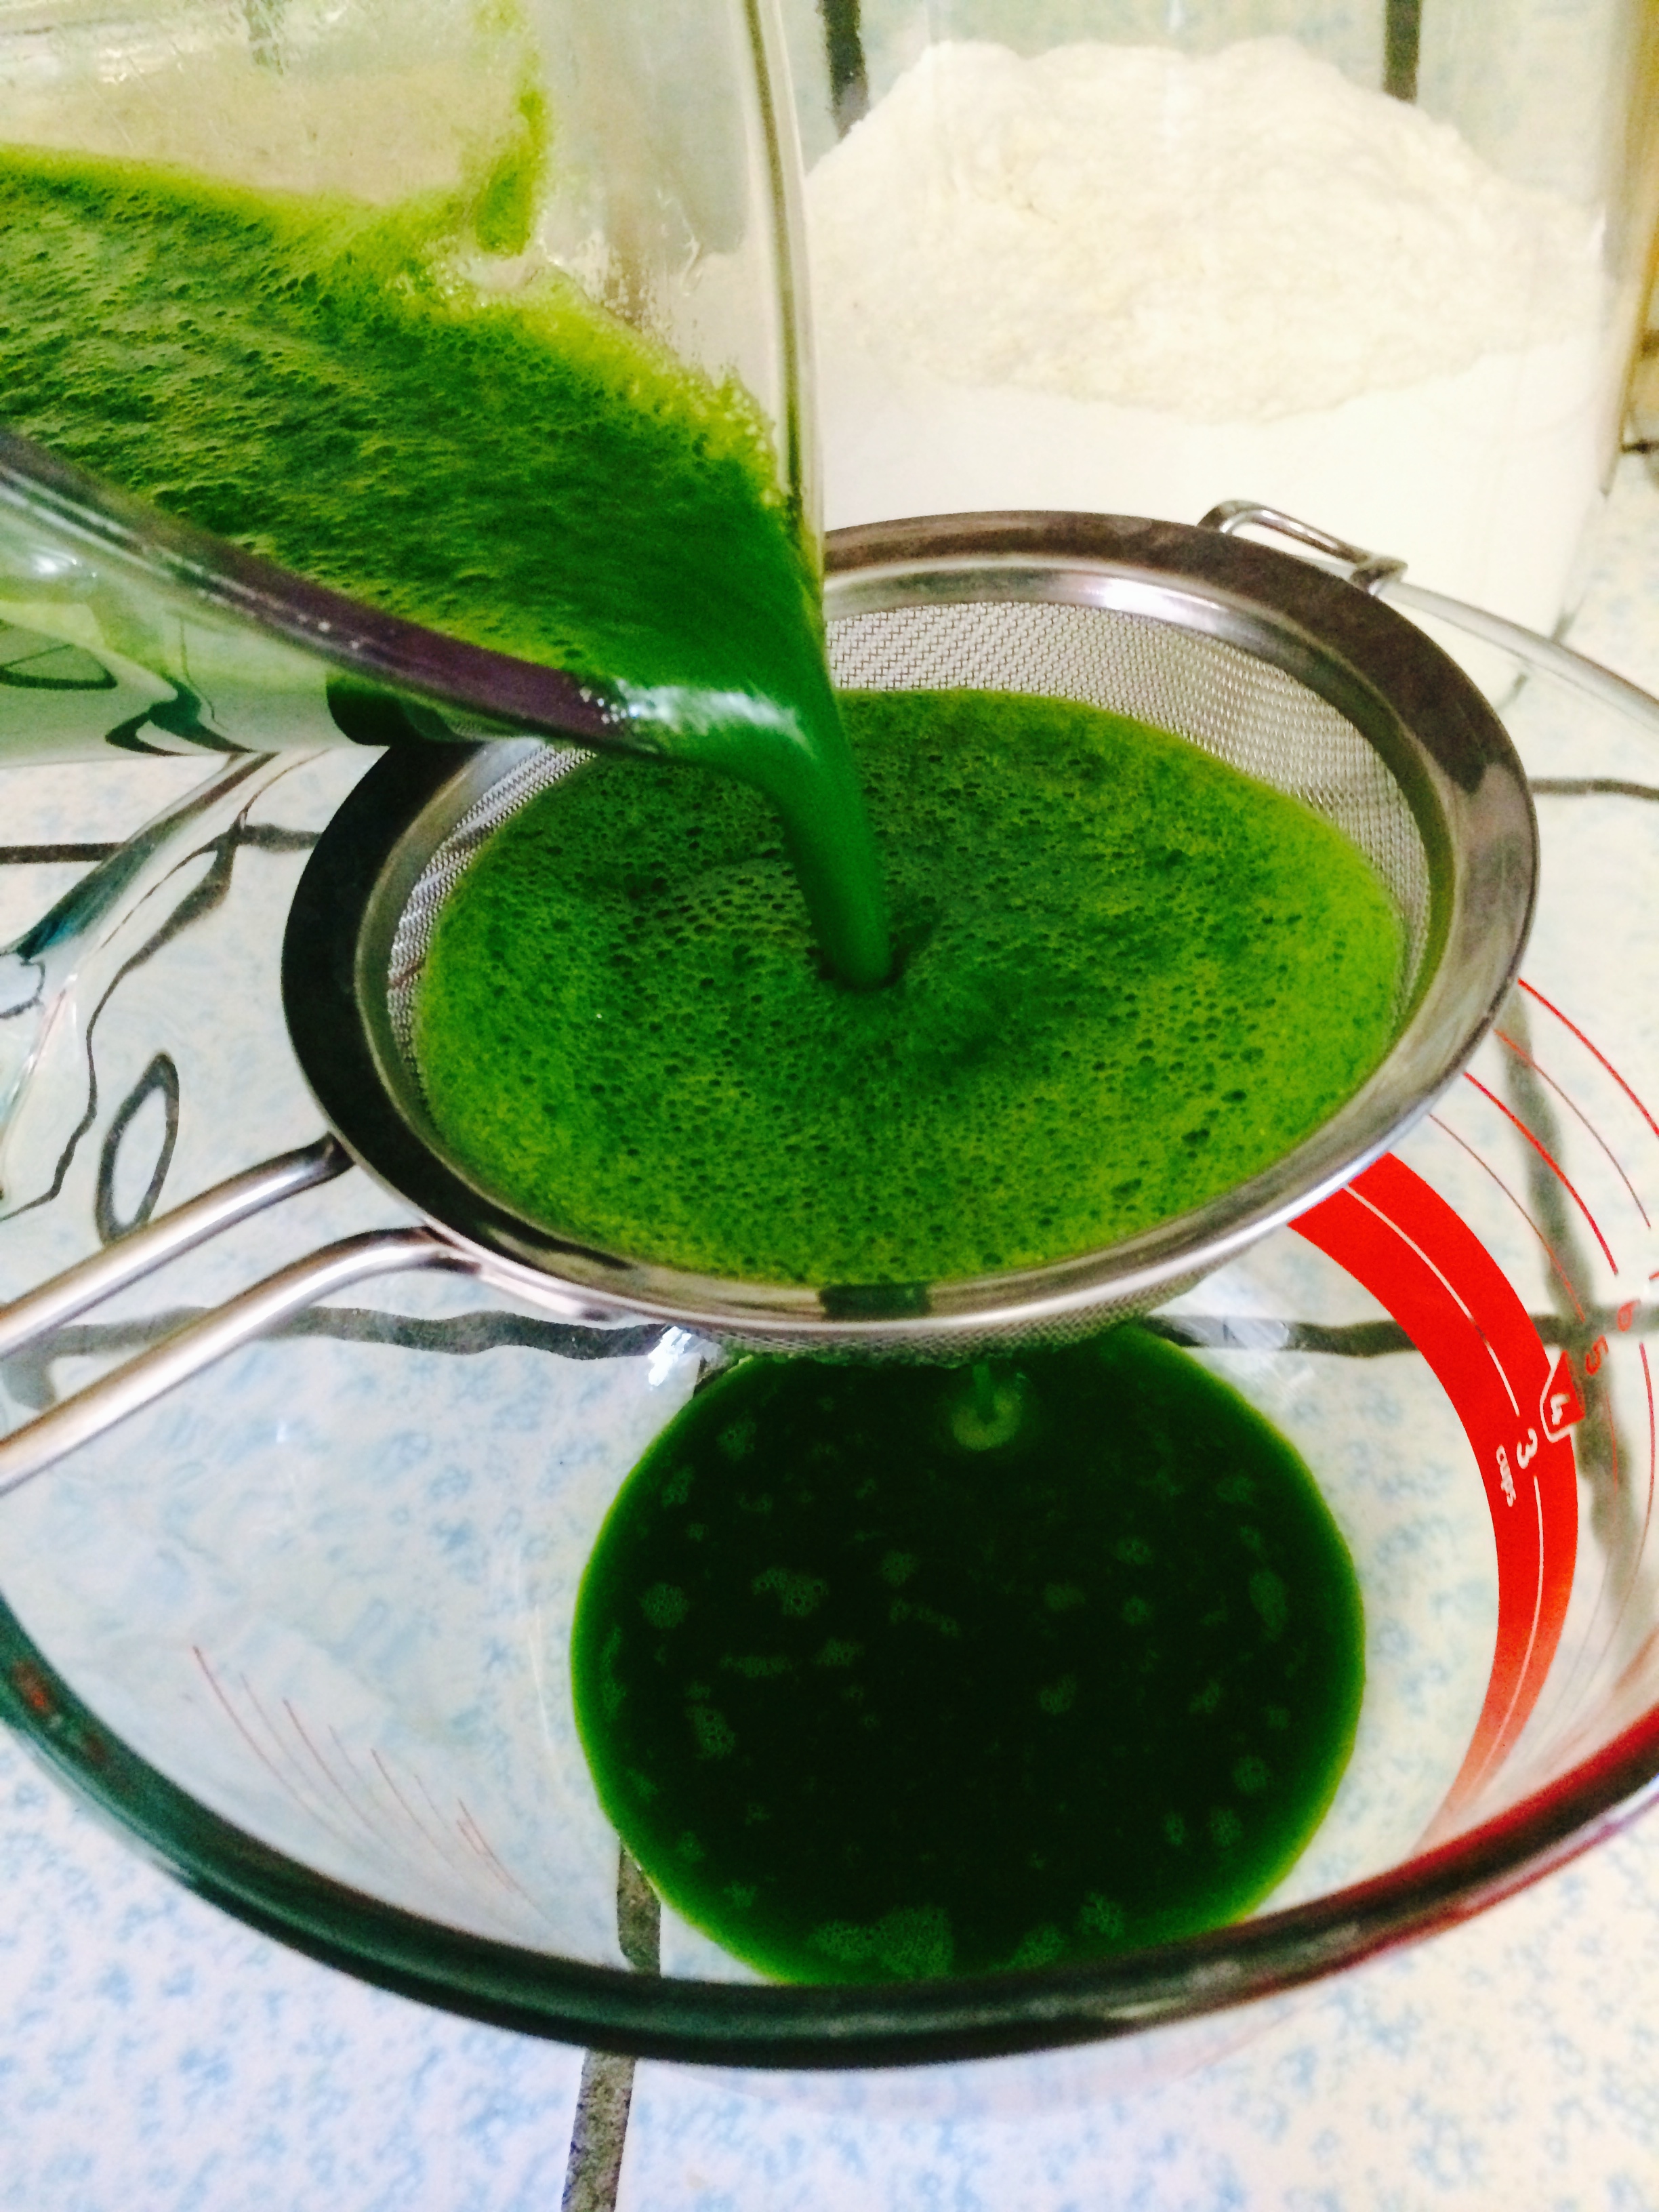
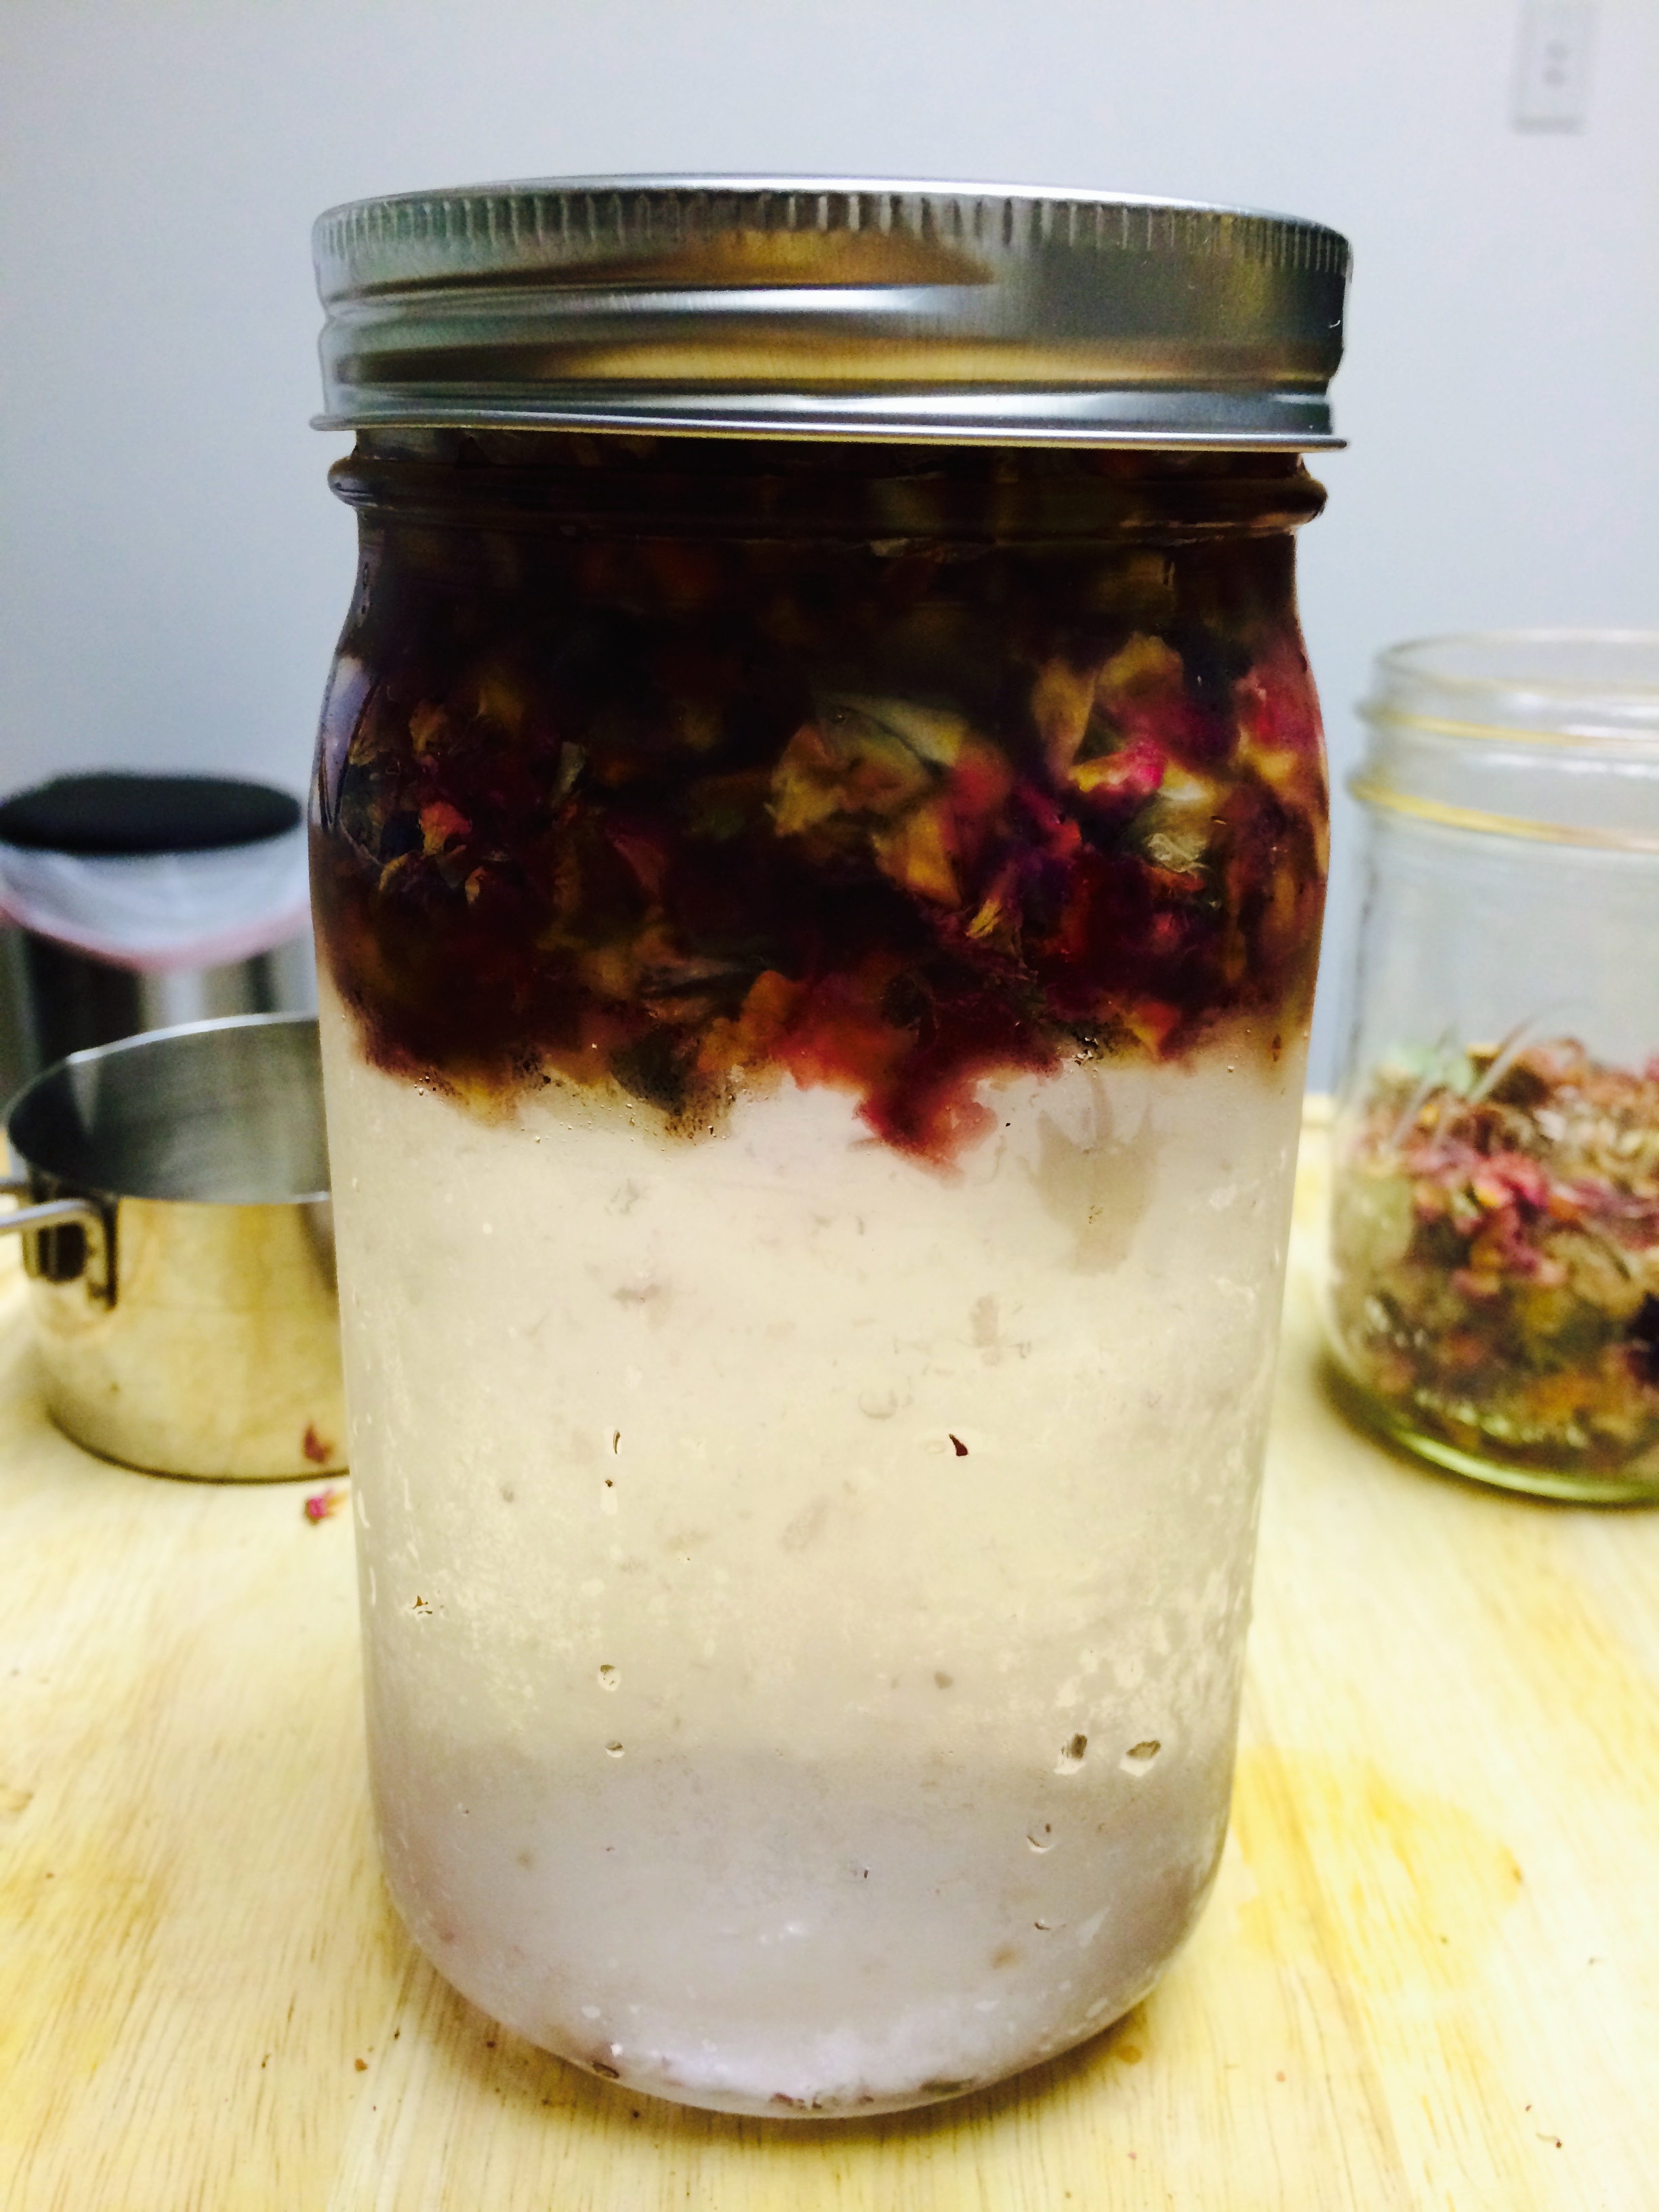
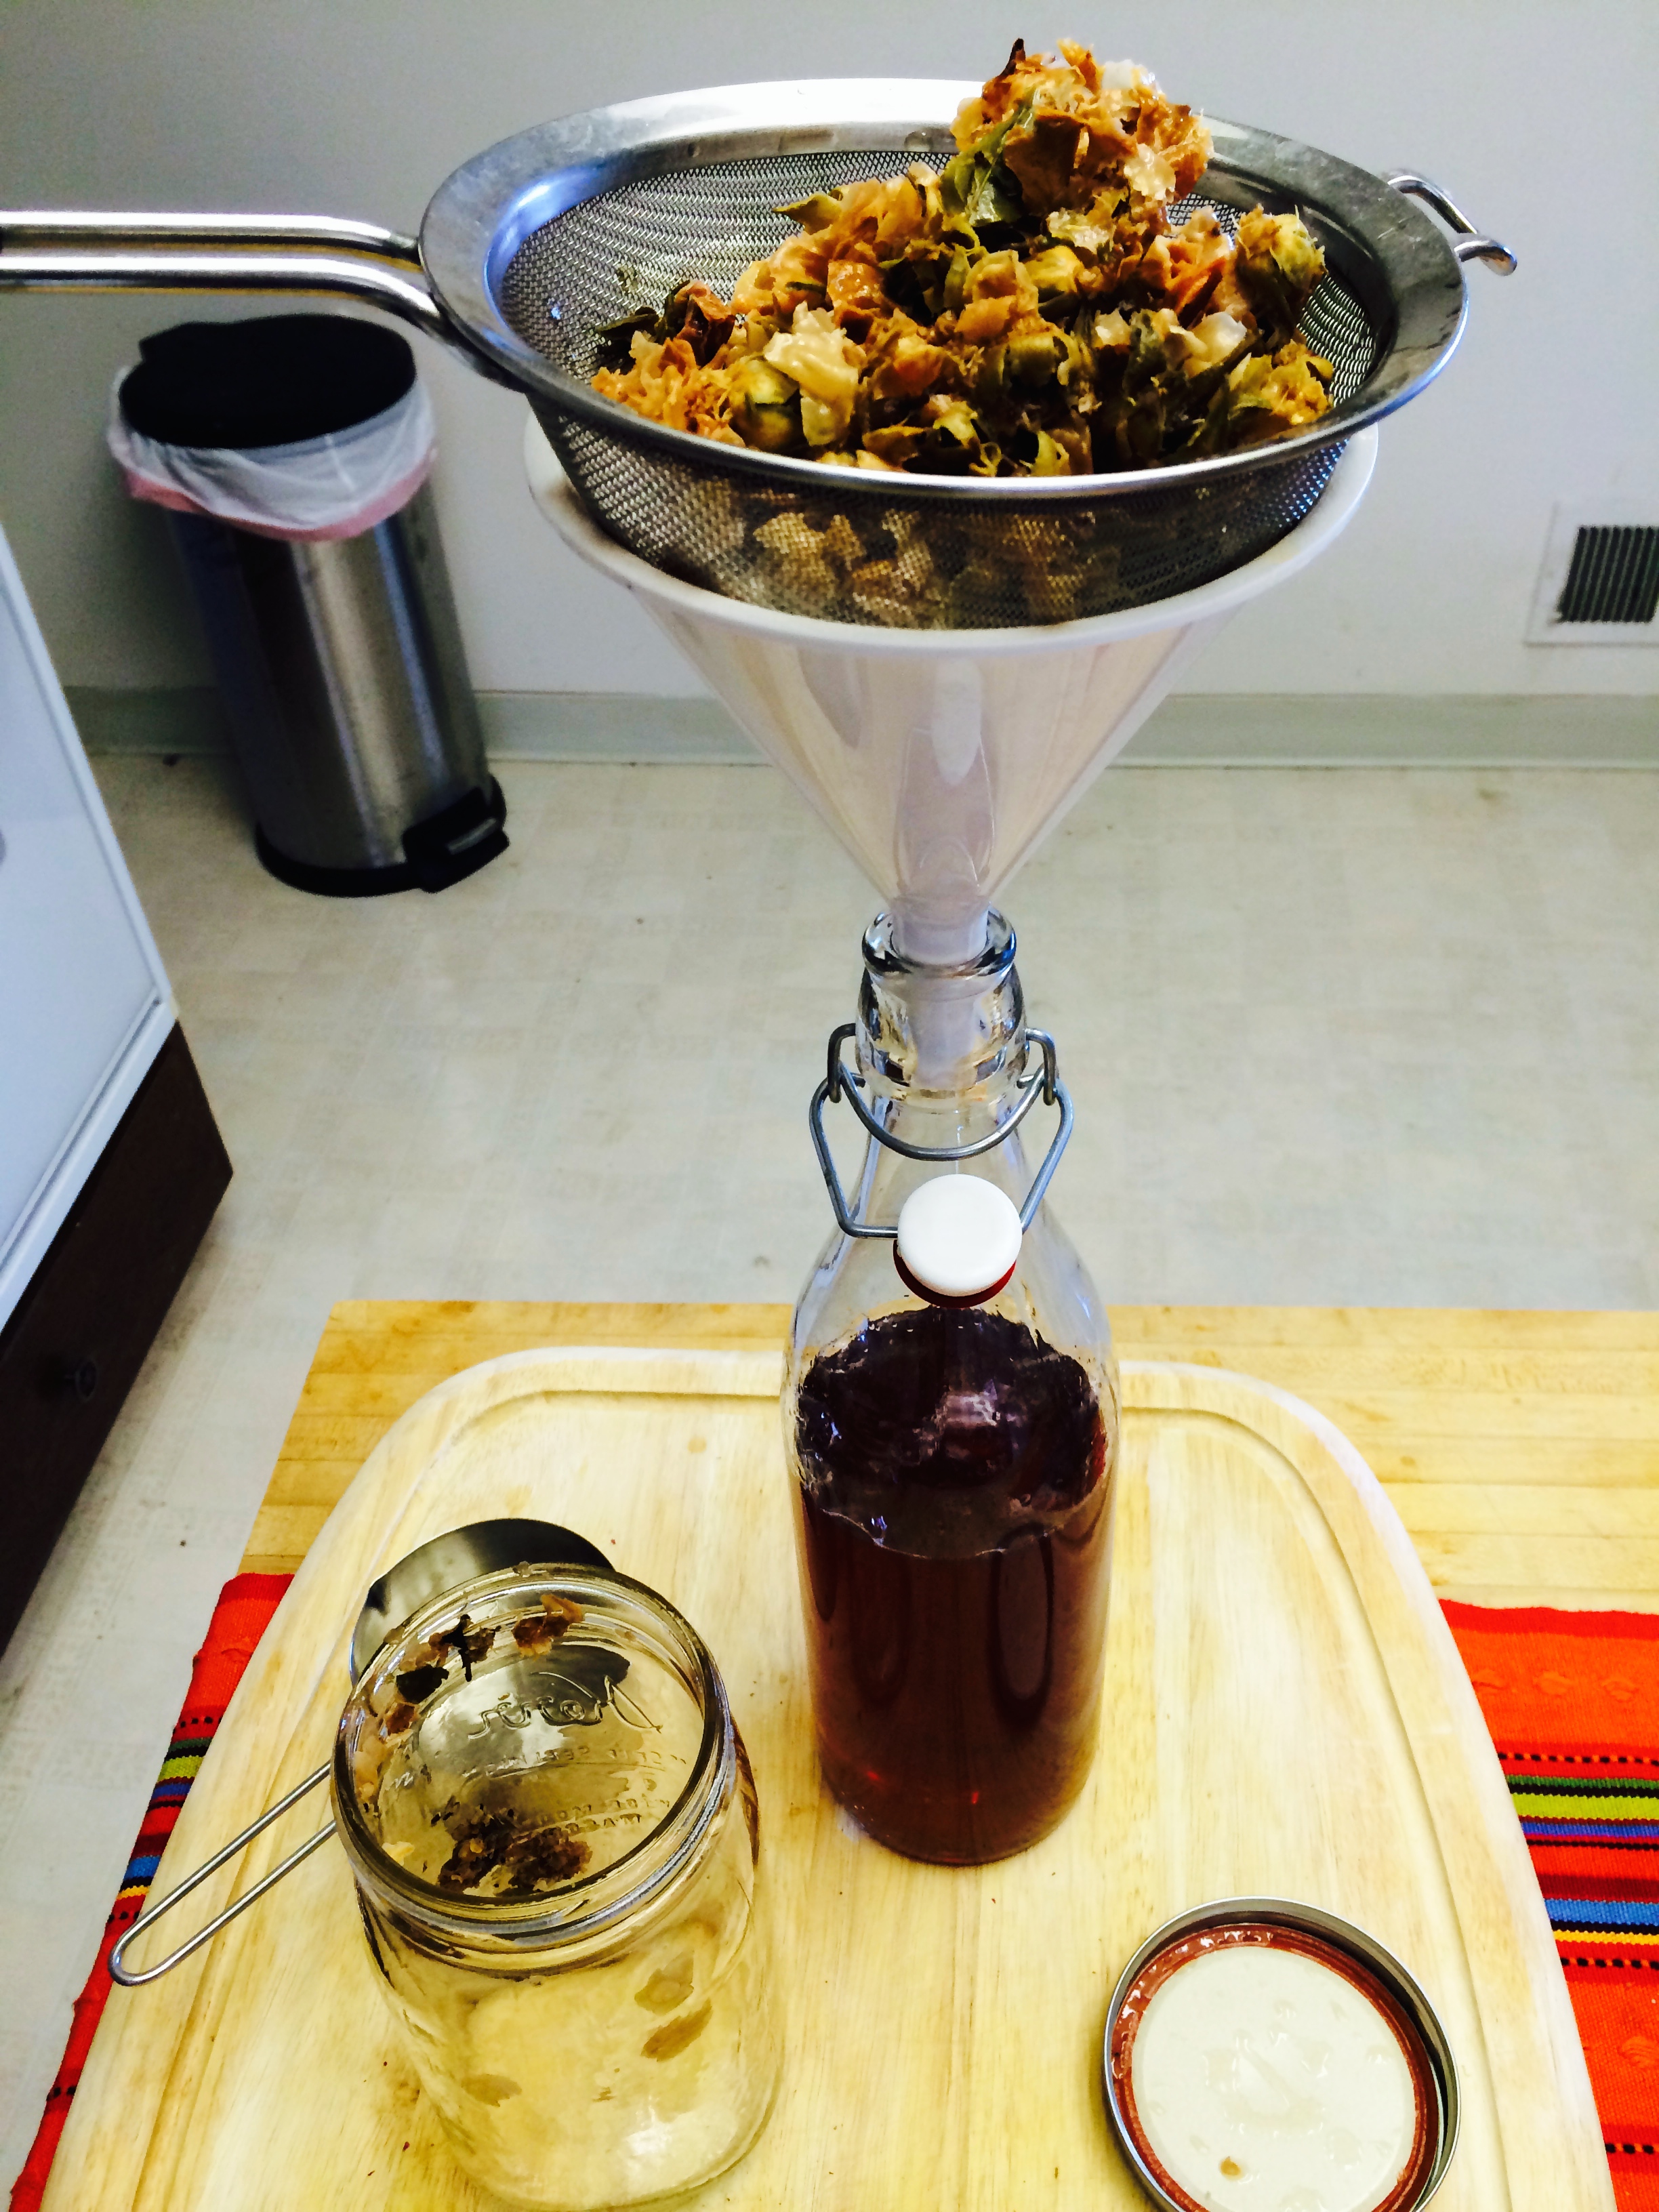
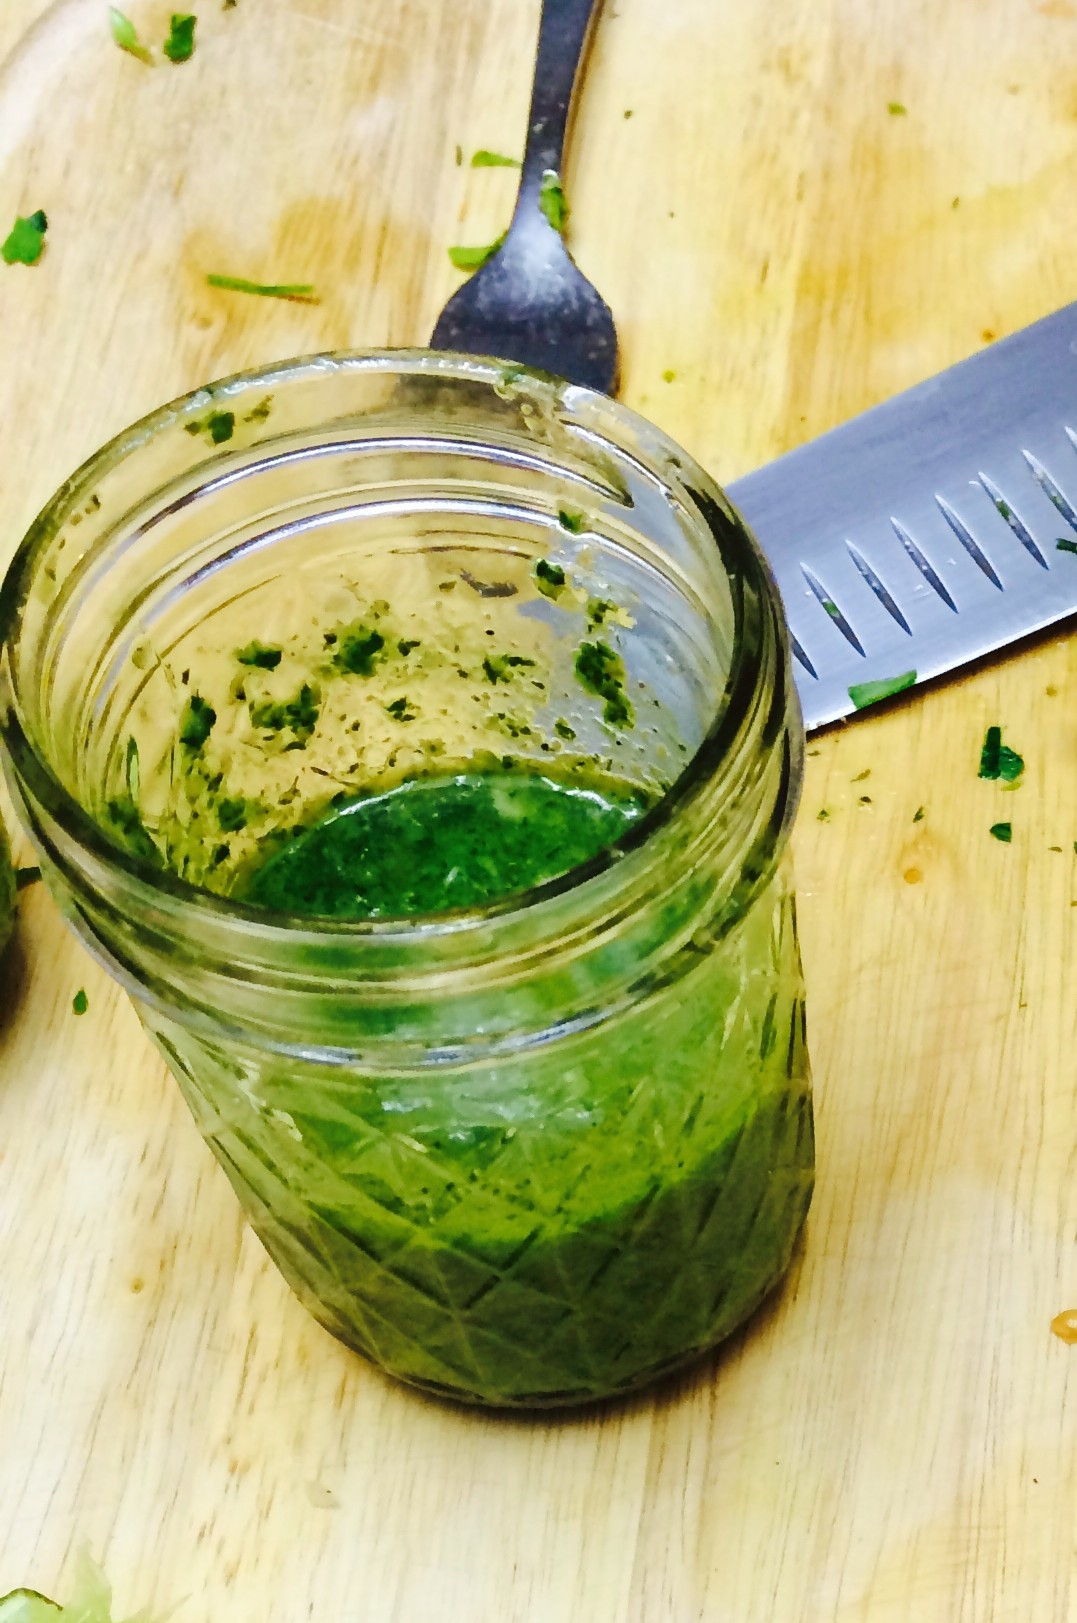
Strain and use a small spatula (or a spoon) to stir the last bits of liquid out of the pulp. Some people use the pulp in other recipes to prevent waste. I haven’t found a good use for my pulp yet, so unfortunately I just toss it in the trash. I’m very ashamed. If you use your juice pulp in another recipe, please do share in the comments section!

IMG_2130 IMG_2135

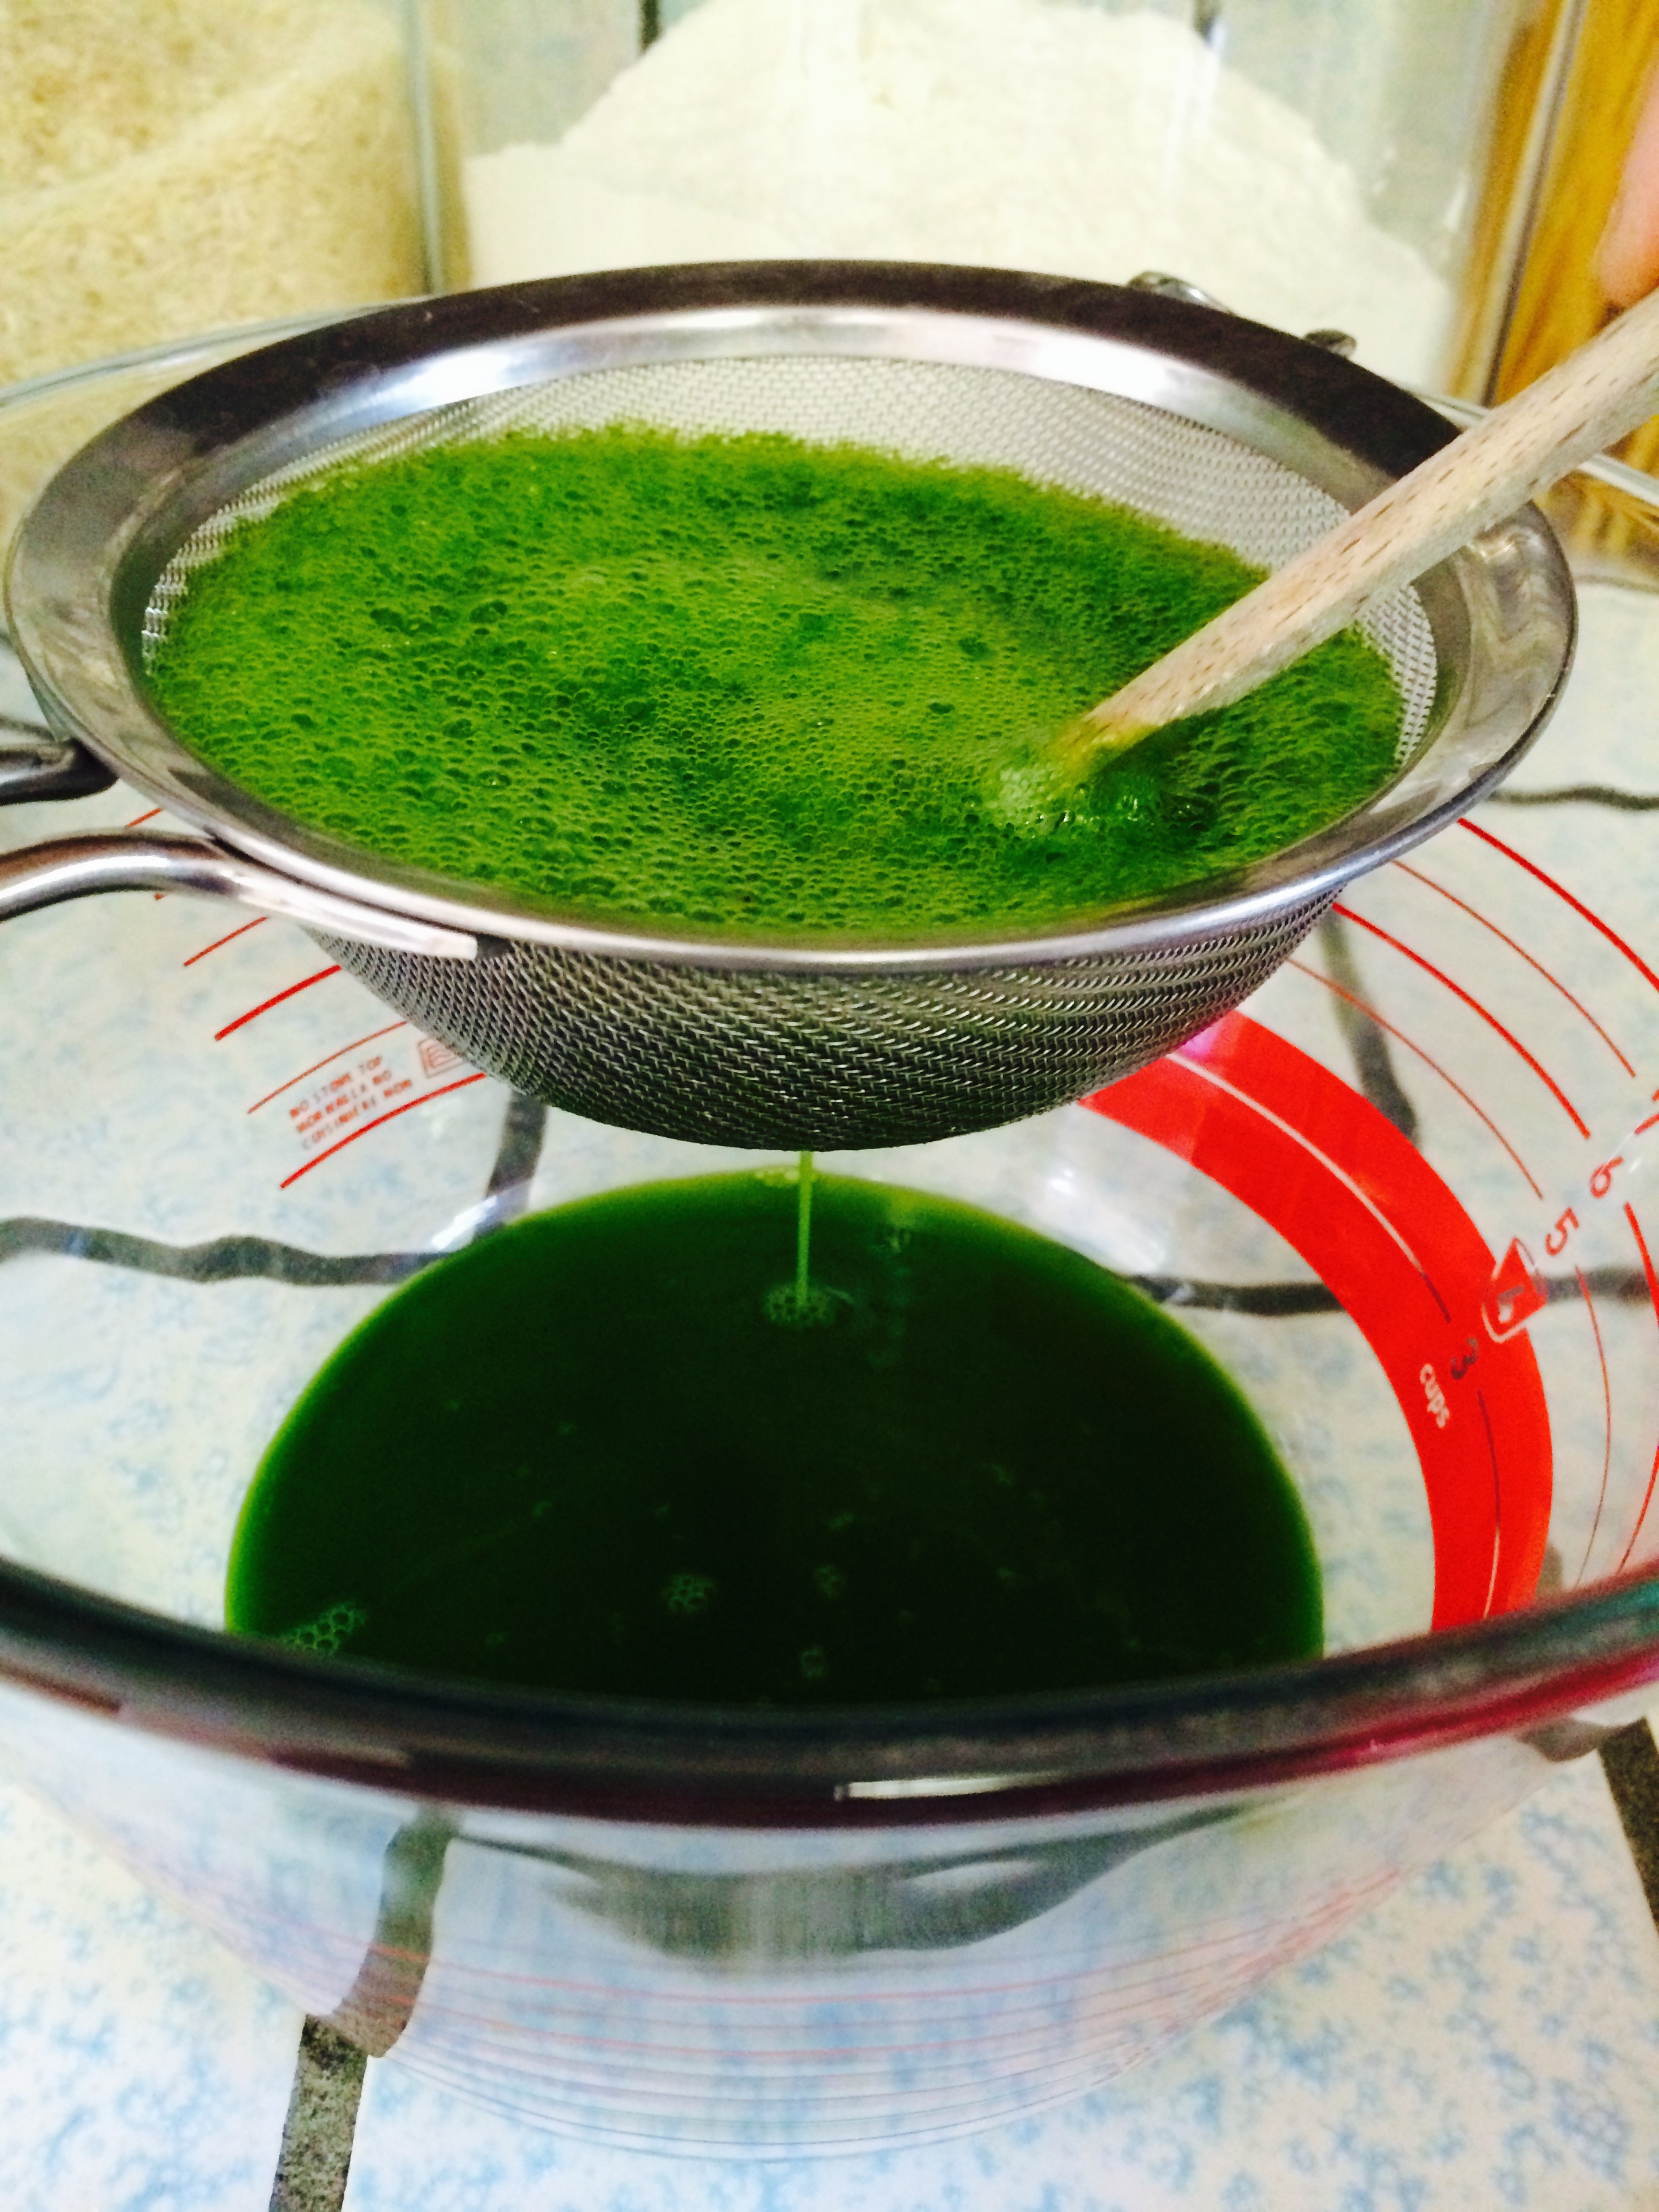
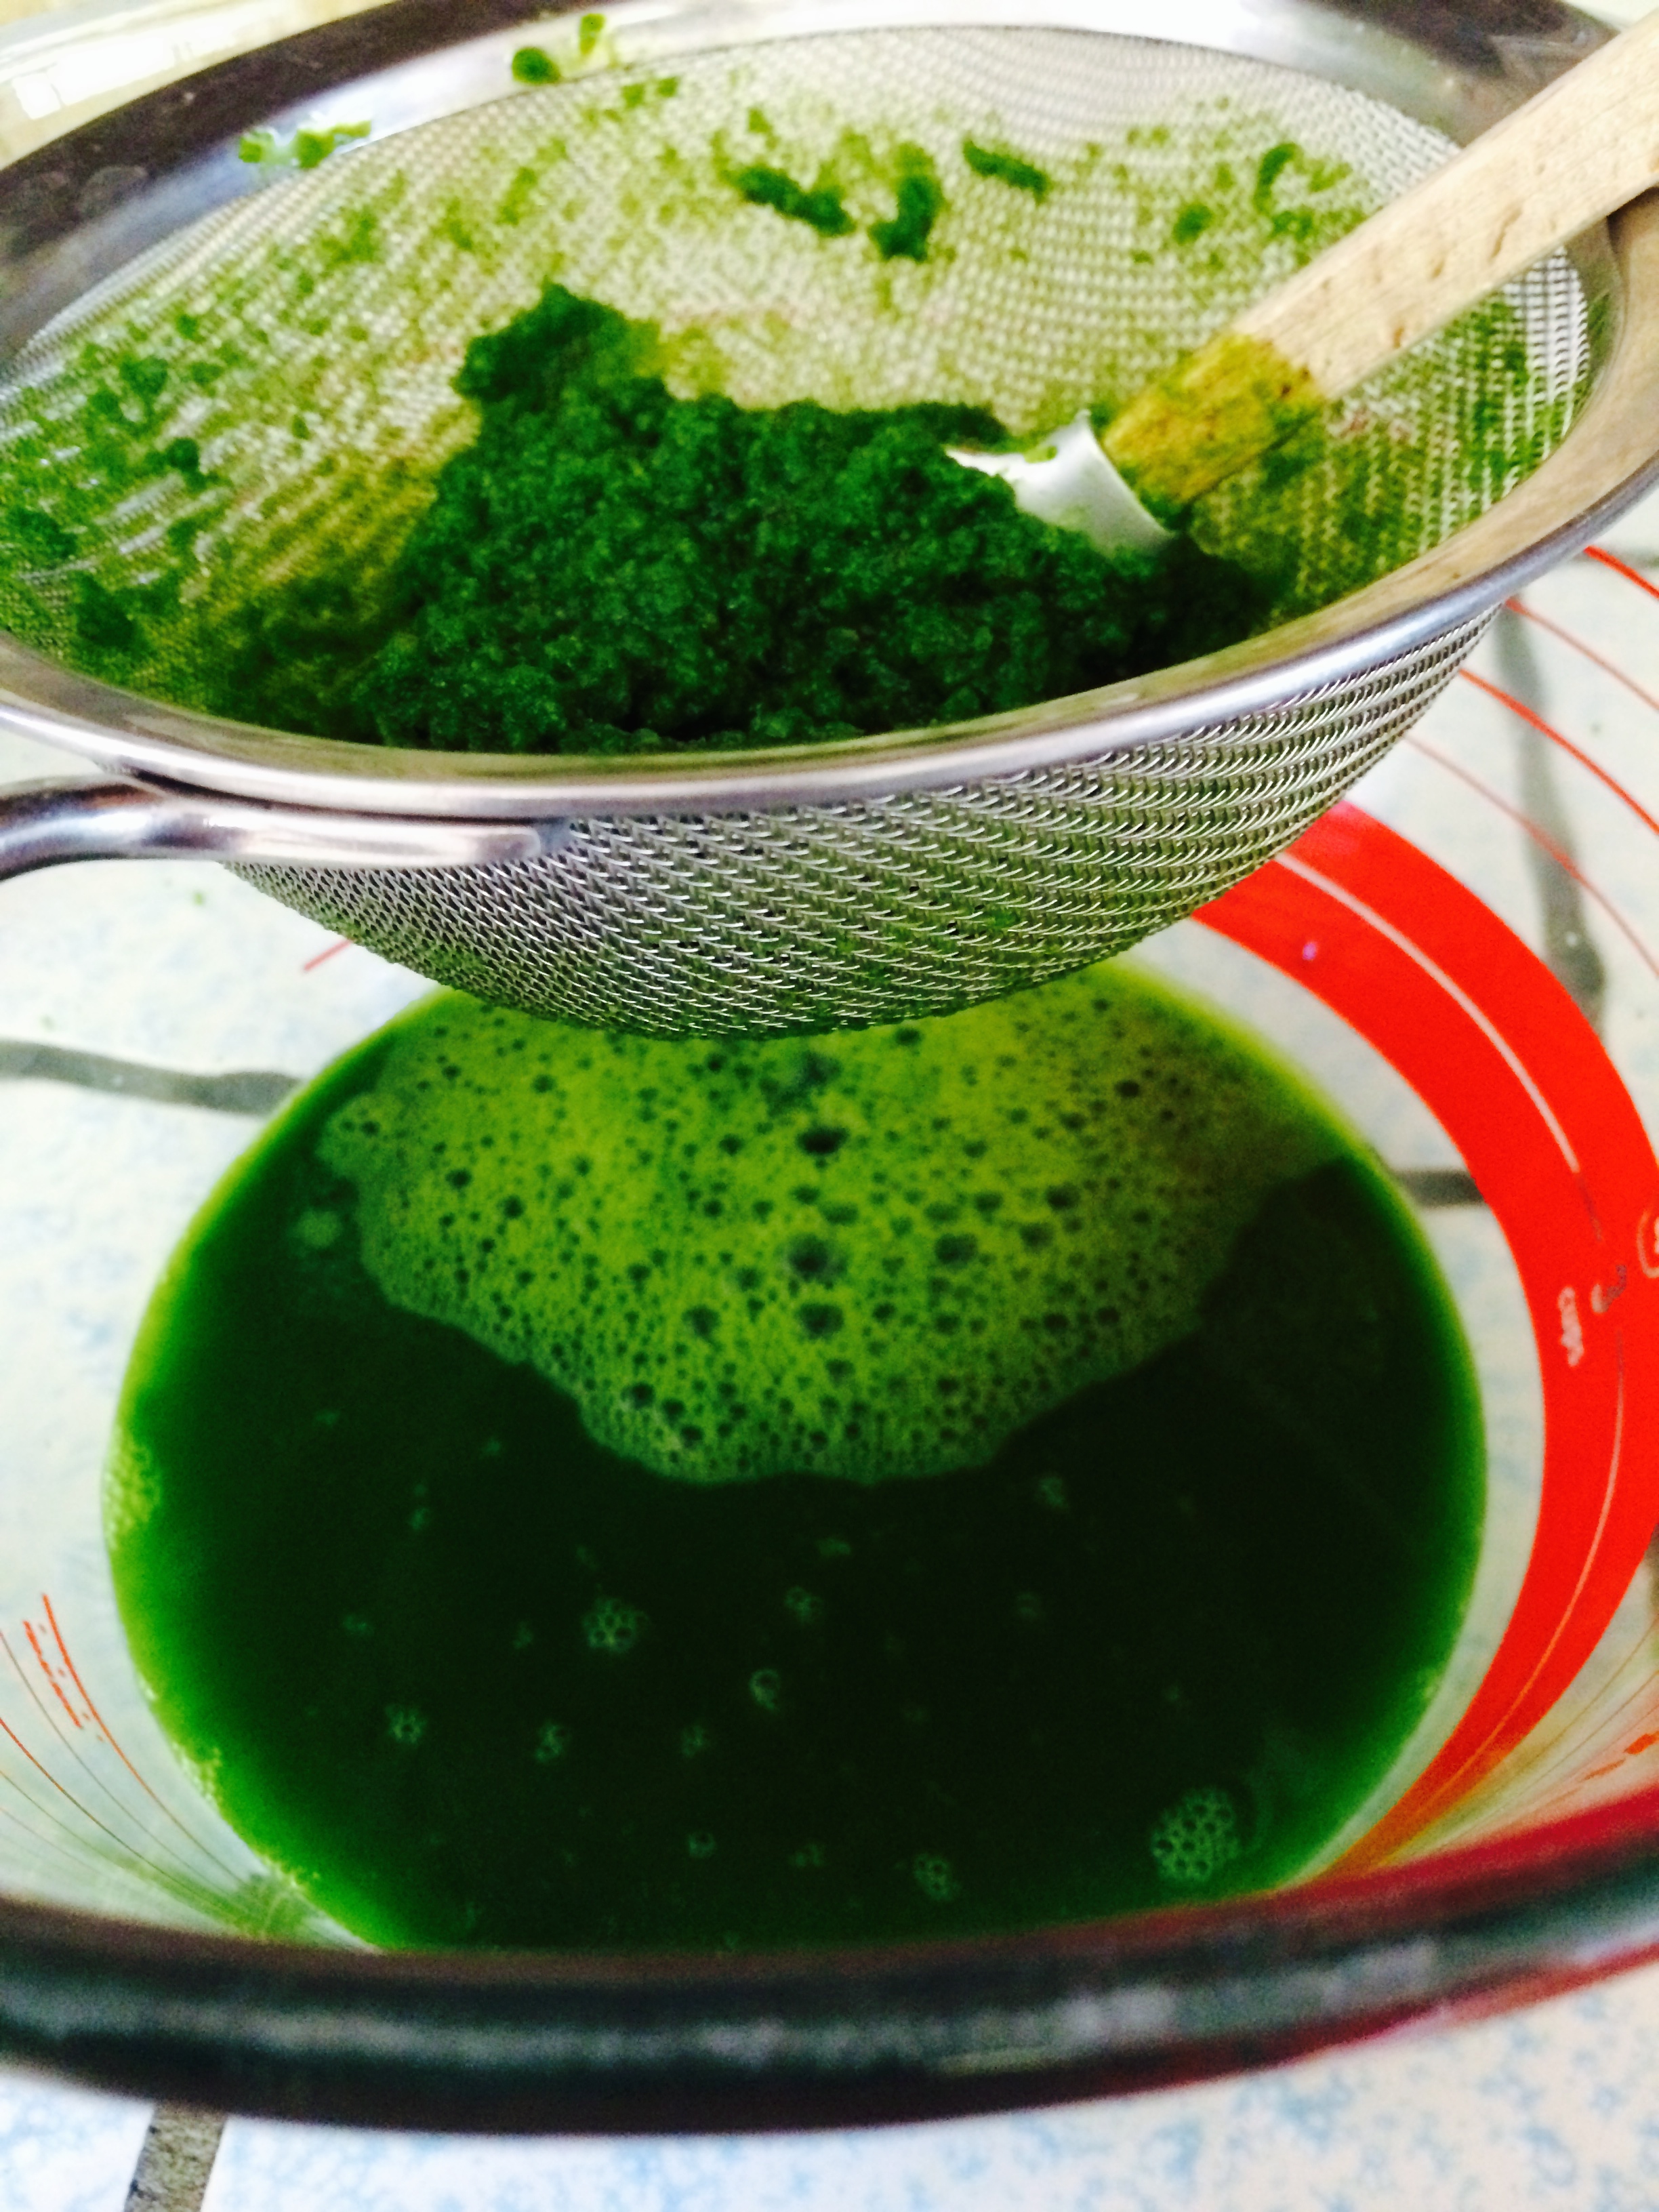
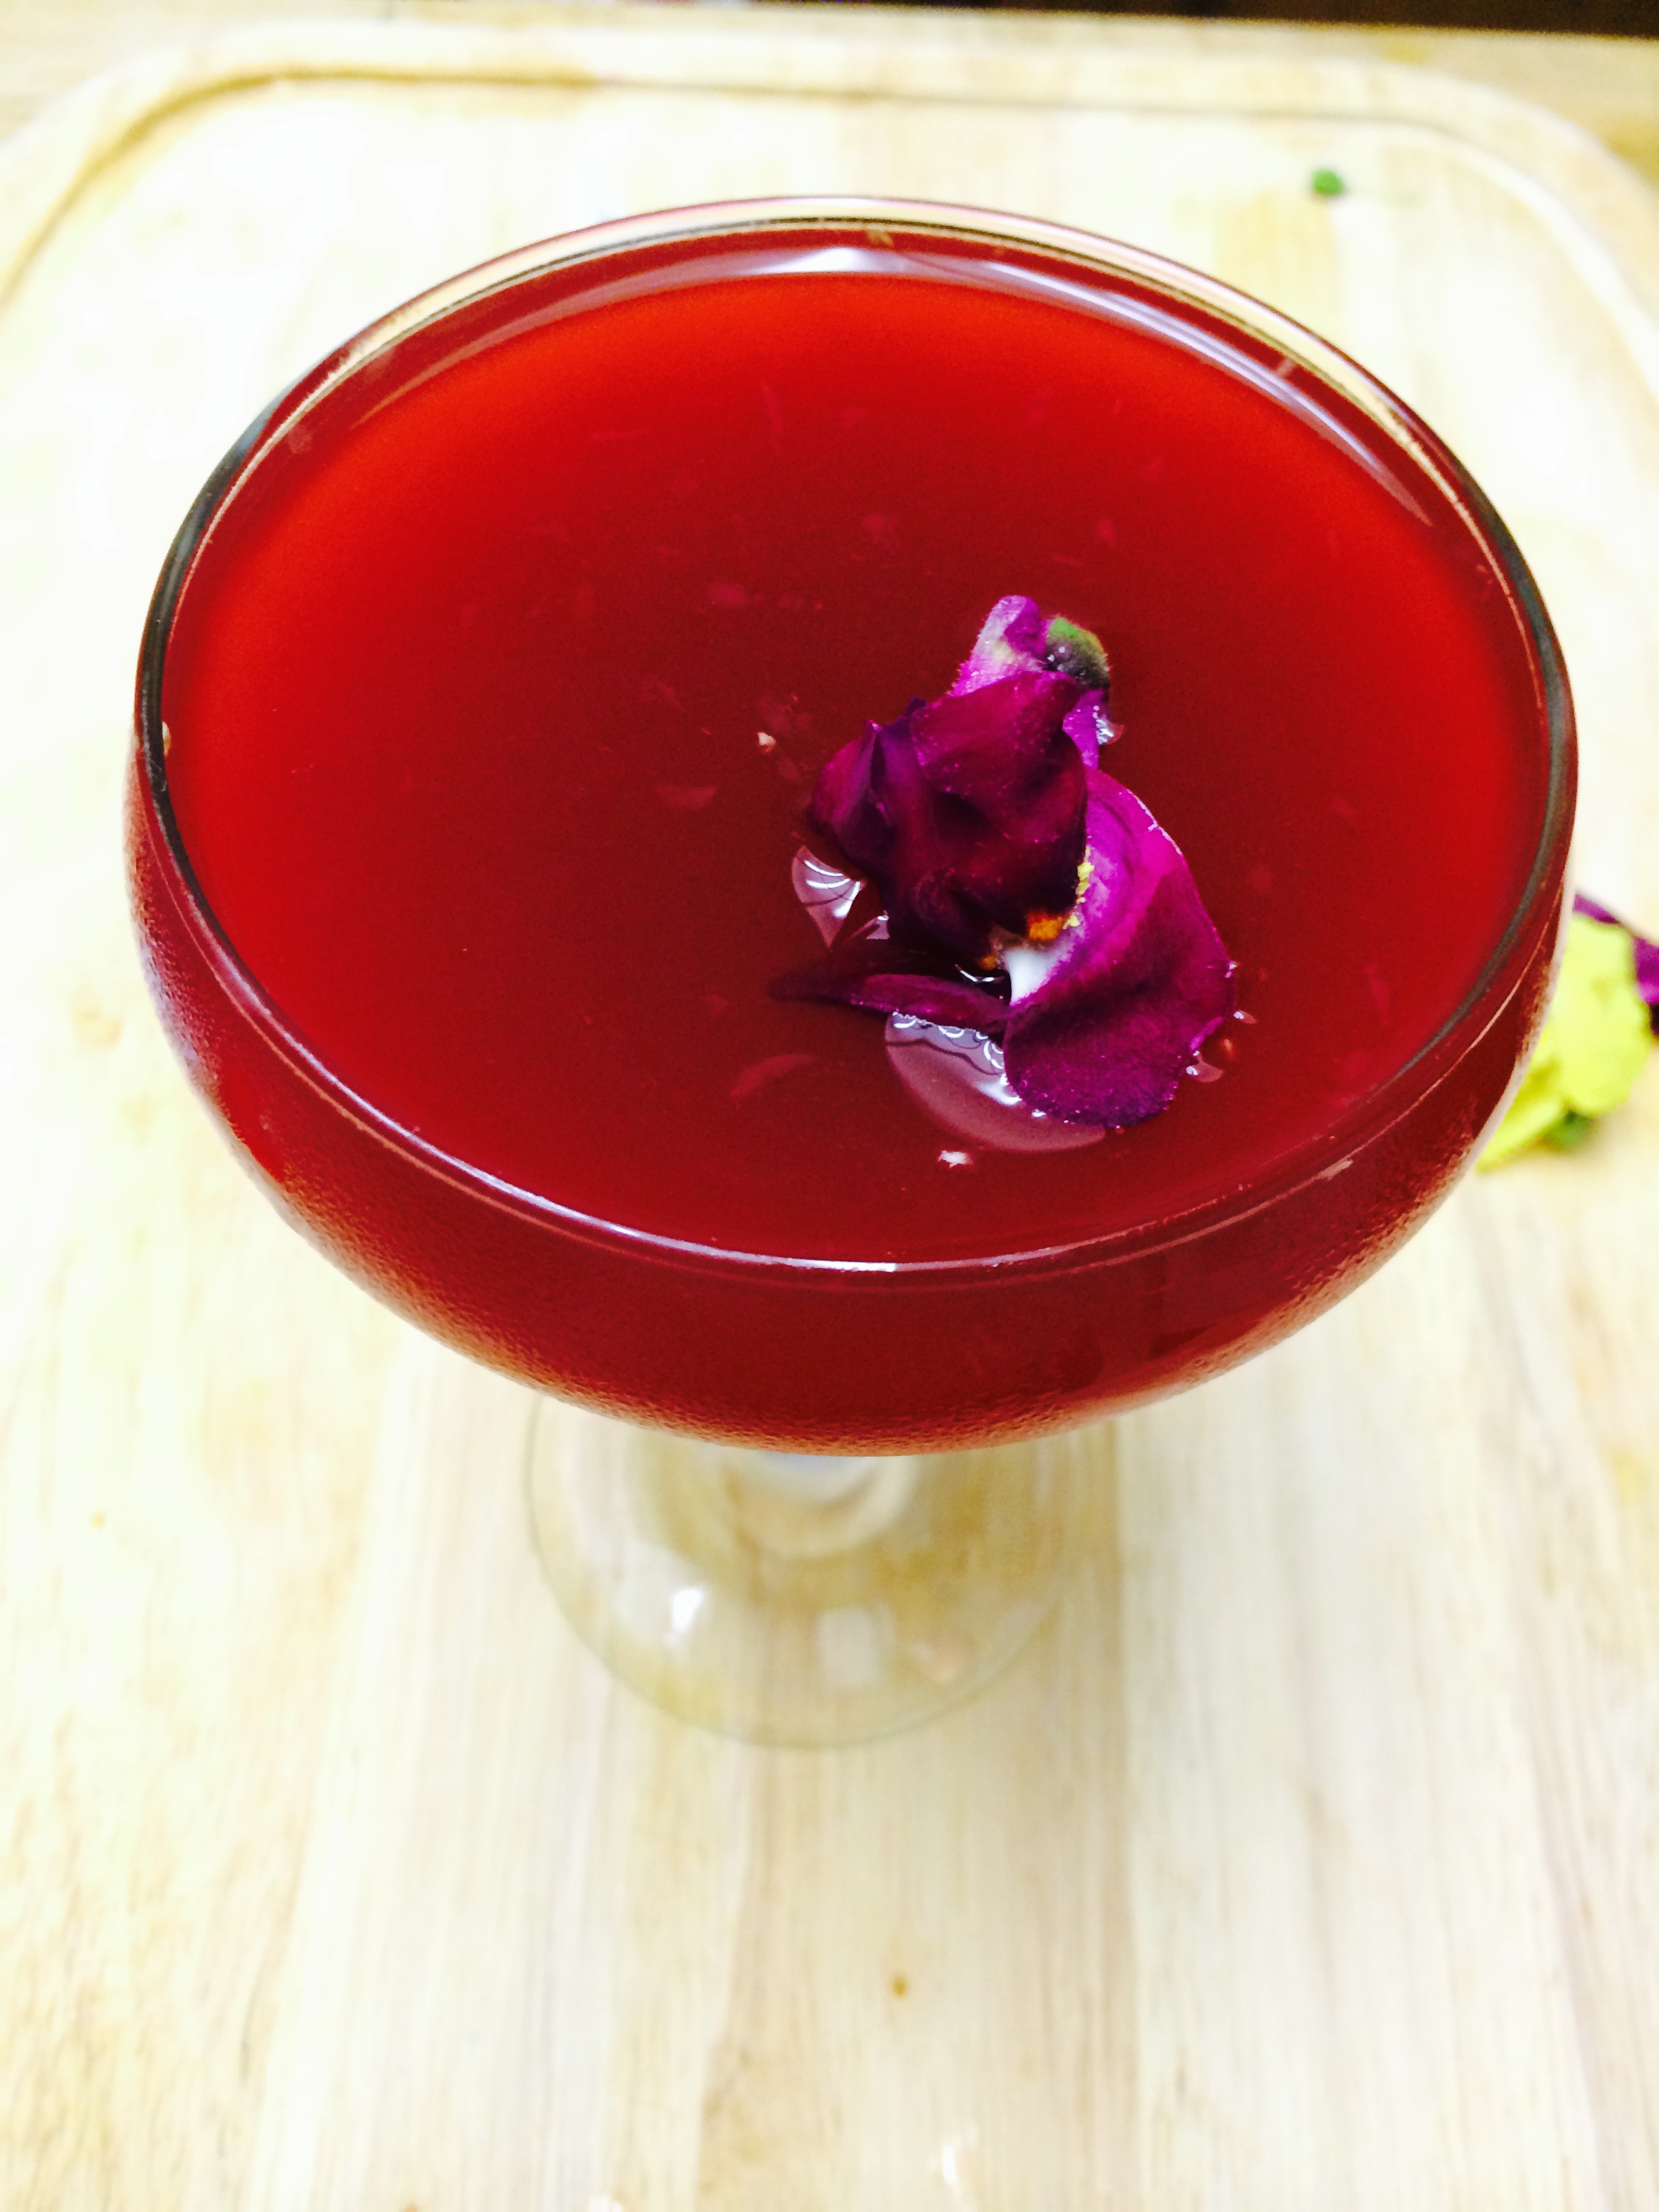
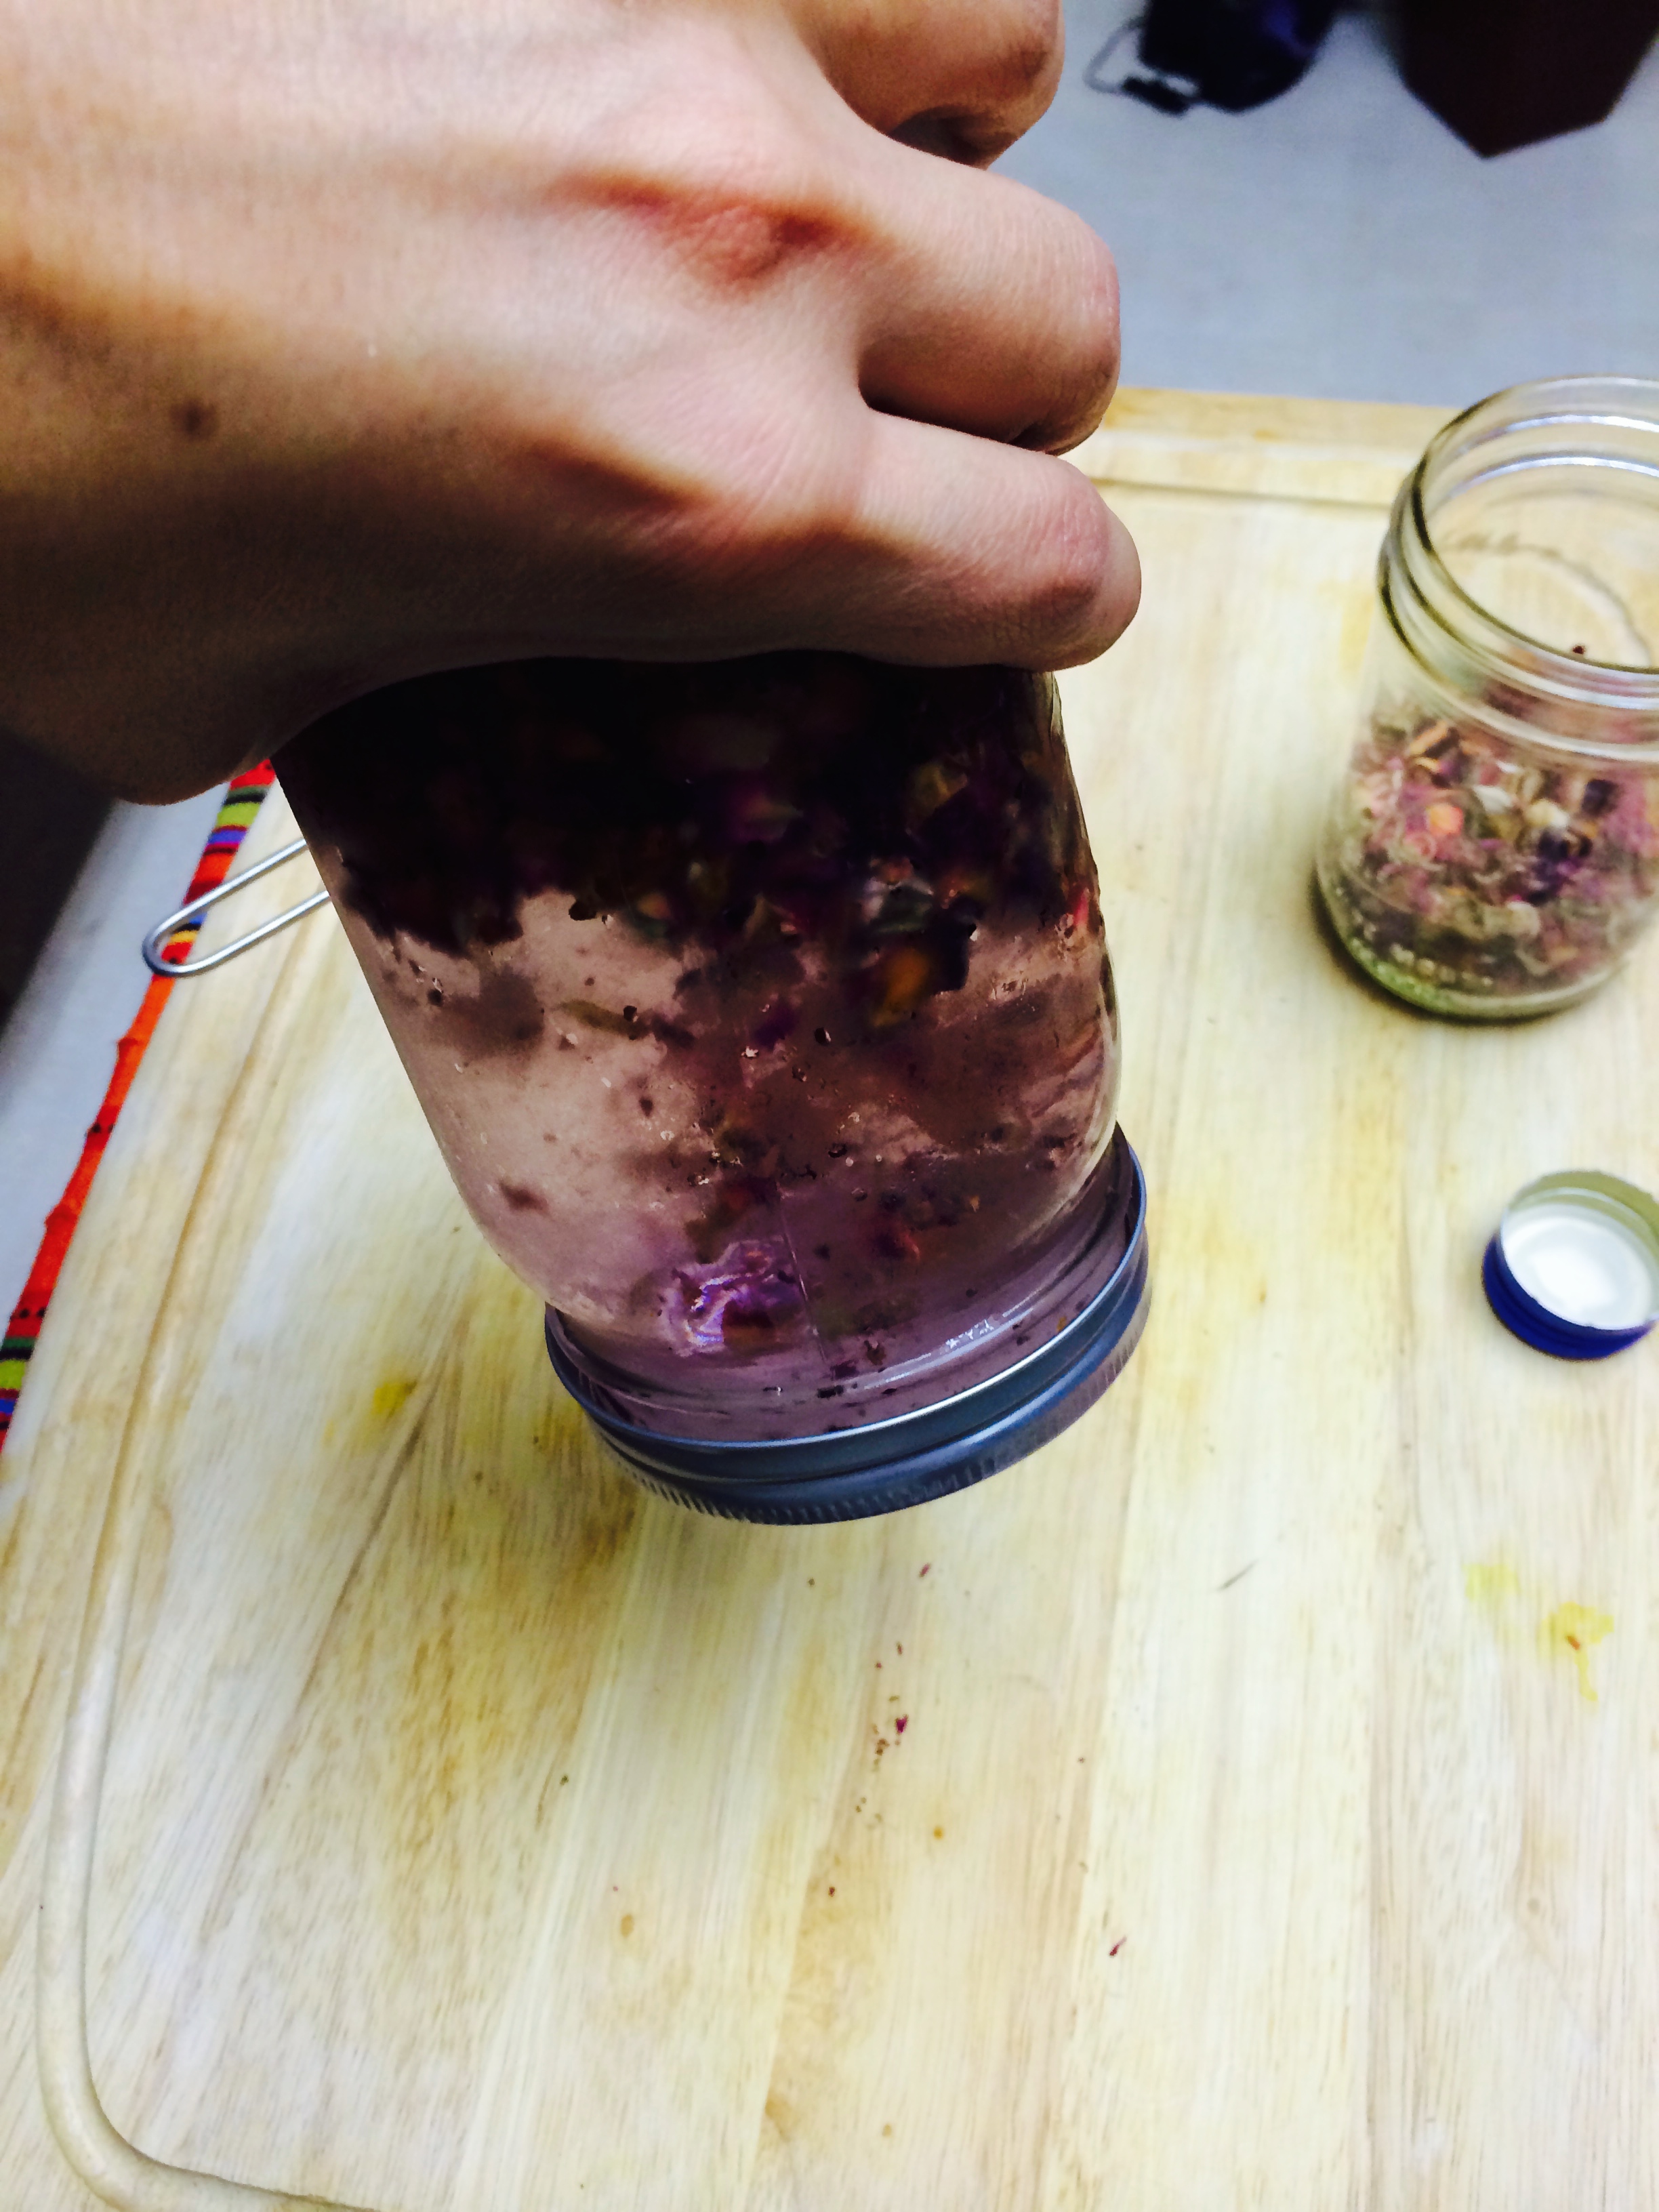
I strain the juice twice just to be annoying. And then I drink the juice to be healthy. It’s nice and sweet with a slight spicy kick in the end from the turmeric. Really good and good for you!

[yumprint-recipe id=’33’]


Mystery Ingredient: Week 2

Posted on

So, I missed last week because I was out of the country and wasn’t going to be able to visit a farmer’s market to get a mystery ingredient. If you are just tuning in, I decided to buy something I’ve never cooked with from a farmer’s market each week and try to make something delicious out of it. Last week was daikon. This week is turnips. 

I never buy them and I’m trying to branch out and eat more veggies so I picked them because they looked fun. I remembered that the only time I ever ate turnips was when I would have shawarma and they would have pickled turnips in the sandwich. They’re fuchsia and taste like pickles, except crunchier. So I decided to make some with this little bunch of turnips I got.

If you like pickles, you will like these. If you love pickles, yep, you guessed it. You will love these.

This is what you need:

IMG_1986

Chop off the tops and bottoms of the turnips.

IMG_1988 IMG_1989

Peel and slice them. I sliced them into discs to look like the pickle chips that usually go in sandwiches to make this more familiar. Traditionally, they are cut into short, chunky strips.

IMG_1992 IMG_1993

Elephant garlic. My new obsession. It’s bigger but milder. Sweeter. I need to roast a whole head of elephant garlic…. 

IMG_1995

This photograph is for size reference purposes. I am very professional and business-like. 

IMG_1996 IMG_1997

Cut the elephant garlic into strips, and cut the turnips and beet into discs. 

IMG_1999 IMG_2001

Layer the turnips, garlic and beet on top of each other in a jar. Repeat until the jar is full.

IMG_2002 IMG_2005

 Then fill the jar with a mixture of the water and vinegar.

IMG_2006   IMG_2010 

Seal and store in the refrigerator for about a week. You want the liquid to look like the jar on the right and the turnips to turn look bright fuchsia. Also, use less beets than I did. A thin slice (or two max) should do it.

IMG_2011  IMG_2100

Excuse my disgusting thumb nail polish situation. 

 IMG_2102

Pickled Turnip (Kabees El Lift)

[yumprint-recipe id=’32’]


Heirloom Tomato & Haloumi Caprese Salad

Posted on

IMG_2095

Caprese Salad. It’s a classic. You know it. You love it. Hopefully. Whether you like it or not, this version is hard to resist. I used organic heirloom tomatoes (um, yum) and haloumi cheese. Haloumi cheese is very common in the Middle East and I believe it’s the only cheese you can grill or fry bare. I also substituted the basil for mint.

This is what you need:

IMG_2070

First thing you wanna do is slice up the cheese and tomatoes.

IMG_2074 IMG_2076

I tried to cut the cheese (lol) into similar sizes as the tomatoes.

IMG_2080

Now, sauté the cheese for a few minutes on each side until golden brown. On medium heat is fine.

IMG_2077

IMG_2083

All that’s left to do is assembling the salad and stuffing your face.

I did a classic layer situation. You could stack them or layer them in a circle or whatever else you can think of. I wanted to be a bit classic since I switched up the ingredients. I want this to look like a Caprese, my Caprese.

After layering, drizzle with olive oil and balsamic vinegar and then sprinkle some fresh mint and S&P.

IMG_2085 IMG_2093

Eat!

IMG_2097

 For more yumminess, subscribe by e-mail below.

[subscribe2]

[yumprint-recipe id=’31’]


“Rosey Posey” Cocktail

Posted on

IMG_2013

“Rosey Posey” Cocktail: a fruity and exotic tasting drink, flavored and scented with rose. Sounds like a commercial. So this is what you need to make this cocktail that will knock your spanx off, or your socks. I think it’s your socks. Ya. It’s your socks:

IMG_1982

Did you see it? Look again.

So the ingredients are: homemade Rose Vodka, (for the easy recipe click here), Jallab Syrup (A syrup popular in Syria, Lebanon and Jordan. Usually made out of dates and/or grapes cooked down to a syrup and scented with rose. Very yummy.), water, fresh orange and lemon juice. Two optional ingredients I used were a drop of rose water and edible flowers for garnish. You can garnish with rose petals or citrus wedges or nothing at all. Whatever  makes you feel good about yourself and the world at large.

I chose edible flowers.

IMG_2012

See. I can prove it. After I poured the cocktail I spent way too much time on the garnishing part. Like, wayyy too much time.

   IMG_2052 IMG_2054

 IMG_2049 IMG_2046

IMG_2057 IMG_2051   

  IMG_2026 IMG_2043

Even the dog got tired of it….

[subscribe2]

[yumprint-recipe id=’30’]


Rose Infused Vodka

Posted on

IMG_1927

So, I love making infusions. You can infuse pretty much anything into any liquid. Water, oil, or ahem, alcohol. I wanted to infuse a vodka with something exotic. Something you don’t see everyday. I used this to make my Rosey Posey Cocktail.

I spotted some dried rose buds in a Middle Eastern market and all of a sudden everything came rushing at me at once. No, it didn’t actually. I was intrigued by the rose buds so I just threw them in my basket. Then a few days later I bought some vodka that I wanted to infuse.

That led to me standing in my kitchen holding a bottle of vodka and just looking around for something to throw into the vodka, besides my face.

Then I spotted the rose buds I had placed in a mason jar to display cuz I’m so original. And then it hit me! Or maybe it gently nudged me. ROSE VODKA. Adios mio! Santa Maria “Heysus”! I had never seen rose vodka before.

IMG_1835

I mean I’m sure it exists and that I’m not as amazing as I feel I am right now but whatever. I haven’t stumbled upon it yet so it must not be that common. Hmph.

Anyway. It actually turned out great! The vodka looks soooo pretty with a rose colored hue. It smells like a bouquet of roses (um, fucking awesome). It tastes like vodka with a bit of the edge taken off, a floral quality that is simply divine. I’ve always wanted to say simply divine, but I find that there is no way to say it without sounding like I’m trying to be the Queen of England. Do you share my sentiments bro? 

OK enough of the yapping. This is how the process went (I wonder if I can express this recipe exclusively through pictures?):

IMG_1840 IMG_1843

IMG_1846 IMG_1847

IMG_1853 IMG_1854

 IMG_1859 IMG_1861

IMG_1862 IMG_1864 

I think that was pretty clear. If not, as always, the recipe card is at the end of the post. You can print it out too if you’re into killing innocent trees. 🙂

Now the patience part of this recipe comes into play. Store it an a cool dry place. Against the wall on your kitchen counter is a good place. Start out infusing it overnight or a few hours if you make this early in the day. Then keep checking on it. Look for the color you want. Smell it. Taste it. Fuck it. Just kidding. Unless you’re into that type of thing. Not judging. 

Basically, you want it to smell like roses and have a slight floral taste and nice rose colored hue. If you infuse it longer than overnight you need to be watching it every now and then because it can turn from floral to funky on you.

This is the how it looked when I decided to stop infusing it:

IMG_1878 IMG_1879

You want the rose buds to lose all their color and flavor and infuse into the voddie.

Now strain the vodka:

IMG_1880 IMG_1881

Store in the fridge for a few weeks (although it would be so sad if it lasted that long in your fridge).

If you’re like me then you usually store your hard liquor in the freezer. This liquor is now a liqueur of sorts, so you don’t wanna freeze it. Cuz it will actually freeze. No bueno.

Enjoy! I’m waiting for it it to chill and then I’m gonna play around with cocktail recipes. After taking a straight shot of it first of course. 😉

IMG_1912

[yumprint-recipe id=’29’] 


Mint & Green Onion Oil

Posted on

IMG_1774

This recipe uses coriander. I grind it fresh because I hate myself. Not really, I do it because it tastes better. Pre-ground is ok too, of course. So do what makes you happy. Life is too short to do otherwise.

IMG_1751

 Loomi. It’s an Arabian Gulf/Persian ingredient. It’s ground dried limes. It’s super tart so a little goes a long way. This part is totally optional so no sweat if you don’t have any.

IMG_1749 IMG_1752

Time to chop up the herbs and onions. I used a combination of mint, green onions, and a bit of chopped parsley.

IMG_1770

 As is the case with most of my recipes, this one is very flexible. Use whatever herbs you have on hand and for aromatics, if you don’t have green onion, any onion or garlic or shallot will work. Leeks will probably work to. They’re all from the same tribe. I think. 

IMG_1772

Add all the chopped “aromatics and herbs” and olive oil and blend it blend it blend it. I get that from this guy. He got pissy drunk on that show Blind Date and I love how passionate he is about blending. He inspired this post (not really, but I’m gonna go with it). I lined up the video at the exact spot so it will only take a few seconds to watch. You’re welcome 🙂 If you have a few minutes you should watch more of the video, it’s hilarious!  

IMG_1773

 I drizzled in oil straight from the bottle until I reached the stage where it looked like the above picture. I feel like I said that in a complicated way for no reason. 

IMG_1777 

When I poured it in a jar it became darker. I haven’t figured out the sorcery behind it, but I think it may have to do with the oil settling somehow.

This sauce can be used in a million different ways. Use it with sautéed or steamed vegetables. Mix a small amount of it with lime or lemon juice for an herb vinaigrette. Dip some warm crusty bread on it. Use it as a pasta sauce and finish with grated parmesan or any other cheese. Brush it on meat before cooking or after (like I did) as a finishing sauce.  

I added it to Primo’s Ginger-Garlic Shrimp

IMG_1796

 tee hee…

Oh, and Primo wanted me to ask you to subscribe to my blog. All you have to do is type your email in the box below and click subscribe.

[subscribe2]

 Primo says thank you.

[yumprint-recipe id=’28’]


Primo’s Ginger-Garlic Shrimp

Posted on

IMG_1801

“What if I sit? Can I get some of that ginger-garlic shrimp then, Mom?” – Primo (the Chihuahua)

I’ve never seen that chihuahua sit so good (so well?) in my life. The sweet and savory smell of the ginger garlic must have knocked some sense into him. Isn’t he just the cutest little thing? I sound like one of those people.

So this shrimp is like some of the tastiest shrimp I’ve had and I’ve had some tasty-ass shrimp. Its so flavorful yet balanced and it is so versatile. Ok so let me get to the point.

IMG_1748 

Get some shrimp. I got a pound of some shrimp with the shells still on. You can get them already peeled and deveined but I don’t mind doing it myself. Plus it’s cheaper. So there’s that.

If you are peeling and deveining this part is for you. My method of peeling is I grab the little feet (ew) on the underside of the shrimp and peel them back, which should remove a chunk (if not all) of the shell.

To remove the tails, I usually hold the bottom of the part of the tail connected to the shrimp and squeeze until the shrimp pops/slides out of the tail. I really hope this makes sense. I need to make a post about peeling and deveining a shrimp with more detailed pictures or a video. Stay tuned.

IMG_1759   

Apologies for the chipped mani. My sumac (google it) colored manicure is dying, chip by chip. 

Now for the part that the evil forces of the universe have created. Deveining. The picture above shows this method of torture reserved only for frugal cooks who love shrimp. Ok so deep breath, slice open the back of the shrimp and (under running water) wash away the “vein”. You know it’s not actually a vein, though. Aha. Yep. That’s what it is. If you still don’t know what it is, ignorance is bliss. 

IMG_1761

I sprinkled S&P and Old Bay on my shrimp. Have I mentioned I hate bland food? I do. With a passion.

Then I added some of my magical Ginger-Garlic Paste to make these golden curls of crustacean some of the best shrimp I’ve ever had. Ever.

IMG_1775 IMG_1778

 Then you want to heat some oil in a pan. Once the oil is hot add shrimp to the pan. If the shrimp isn’t sizzling then your oil ain’t hot enough honey. Test with part of one shrimp if you’re not sure. 

IMG_1779 IMG_1780

Cook the shrimp for a few minutes on each side. You don’t want to overcook your shrimp. No one likes rubbery shrimp. No one that matters anyway. That was mean. I’m sorry. I really like moist and succulent shrimp. 

Anyway, when the shrimp turns white and pink and curls up then it’s done.

Hubby had the shrimp fajita-style with rice, salsa, cheese and flour tortillas. I had them as a salad on some shredded romaine lettuce with a bit of salsa.

  IMG_1784 IMG_1787

Primo got lucky and ate a shrimp that I dropped on the floor while transferring them from the pan to the plate. After a taste he kept staring at the shrimp and then he full-on sat down and was silently begging with his big bug eyes.

IMG_1801

Awwwwwww.

For more cuteness and recipes, type your email in the box below.

[subscribe2]

 No spam, just goodness.

[yumprint-recipe id=’27’]


How to Make Ginger-Garlic Paste

Posted on

IMG_1673

Ginger and garlic. I can’t believe it took me so long to discover the holy combination. Each one balances out the other. One is slightly sweet and floral and the other is sharp and savory. Together it’s heaven. It’s also insanely easy to make.

It’s the basis of many Indian dishes but it can be used in many other dishes.

Let’s get into it. You will need ginger, garlic, turmeric and oil. I usually go for equal amounts of ginger and garlic. But one time I added more ginger and it was really nice and floral. So do you, boo boo.  

IMG_1674 IMG_1676

 Grate the ginger and garlic and then sprinkle enough turmeric to coat the ginger-garlic. 

IMG_1677

Then drizzle a little oil. Just enough to coat the mixture and create a paste consistency. The proportions I used are listed in the recipe card below, use them as a starting point. 

IMG_1678 IMG_1680

Once you mix it up it should turn into a beautiful bright yellow, unless your turmeric is a bit on the orange side : 

IMG_1682

 That’s it! You have made ginger-garlic paste. Yay you! Spread it on meats before cooking, or spread it on veggies or on your body. Whatever. The paste goes really well with seafood: 

IMG_1710 IMG_1711

IMG_1736

 Or with Primo’s Ginger-Garlic Shrimp which turned out amazing! Seriously, best shrimp I’ve ever had. Even Primo the Chihuahua agrees with me and he hates shrimp! 

IMG_1787 

Oh. Hello there Primo! He had his eye on these shrimp like nobody’s business.  

[yumprint-recipe id=’25’]


Sautéed Spinach w/ Roasted Garlic

Posted on

IMG_1730

I love sautéed spinach. It’s soooo easy and quick to make and people are always impressed. Plus they make you big and strong like Popeye. I always love playing with the flavors because nothing is worse than a bland pile of spinach. Blech. 

I really, really dislike bland food. My mouth gets offended.

Shall we begin?

Heat some oil in a large pan and add some of the roasted garlic. The recipe for these little gems can be found right about here.

IMG_1715 IMG_1719

 I used this much oil because I had two huge bags of spinach. Adjust the oil according to the spinach you have. It’s all a personal preference thing.

Once the garlic begins to sizzle, add a layer of spinach and season with S&P.

IMG_1721 IMG_1722

Once the first layer of spinach is wilted add more garlic, a layer of spinach and re-season. Repeat until all your spinach is cooked. 

IMG_1724 IMG_1725

This method is better than just throwing in all your spinach in the pan at once because ensures that all the spinach is well seasoned and prevents spinach from flying all around your kitchen. Don’t you hate when spinach flies all around your kitchen? Ugh. Life is so hard.

 IMG_1726 IMG_1727

This is a great side dish that goes well with almost any meal. Enjoy!

[yumprint-recipe id=’26’]


How to Make Roasted Garlic

Posted on

IMG_1699

Roasting garlic makes the sharp taste that garlic is infamous for completely mellow out. The garlic caramelizes and becomes mild and sweet. This recipe is a basic roasted garlic recipe, but once you have the technique down I encourage you to try different flavor variations.

Maybe you could drizzle some honey to accentuate the sweetness, or perhaps drizzle some balsamic vinegar (the aged syrupy stuff would be amaze balls). Or you could season it with savory spices and maybe sprinkle some parmesan cheese on it when it comes out of the oven. I’m drooling.

 IMG_1661 IMG_1662

Preheat your oven to 400F.

Then grab a nice big head of garlic and chop of a little bit of the top of the garlic. Just enough to expose all of the cloves.

Place the head of garlic in an oven safe container. I used a little cast iron skillet but if you’re roasting more than one head (of garlic, of course) a muffin pan works well.

IMG_1663 IMG_1665

 Drizzle, (that’s my fav culinary term.. drizzle me baby ..eww) some olive oil on the exposed cloves.

IMG_1667 IMG_1669 

Here is your chance to let your imagination run wild. I used plain ol’ S&P but try any flavor you think would work well. The garlic flavor is going to really mellow out so you can go in lots of different directions. Don’t be scared. 

IMG_1670 

Cover and pop it in the oven for 45 minutes. 

IMG_1692 

That’s how it looks when it’s done. However, I think it could go a bit longer if you want more caramelization. Next time I will keep it in the oven for an hour and see how it turns out.

Once the garlic has cooled down enough to handle, squeeze the uncut end of the head of garlic and the cloves should all spill out easily.

IMG_1698 

Spread on toast, use in salad dressing or mashed potatoes. Or you can use them to flavor sautéed spinach like I did. 

IMG_1730 

[subscribe2]

[yumprint-recipe id=’24’]